

Ranger Trino plugin
Enable Trino plugin
To enable the Ranger Trino plugin, follow the steps below:
-
Go to the Clusters → <ADH_cluster> → Services page.
-
Find Trino and click the

 icon in the Actions column. In the drop-down menu, select the Manage Ranger plugin action.
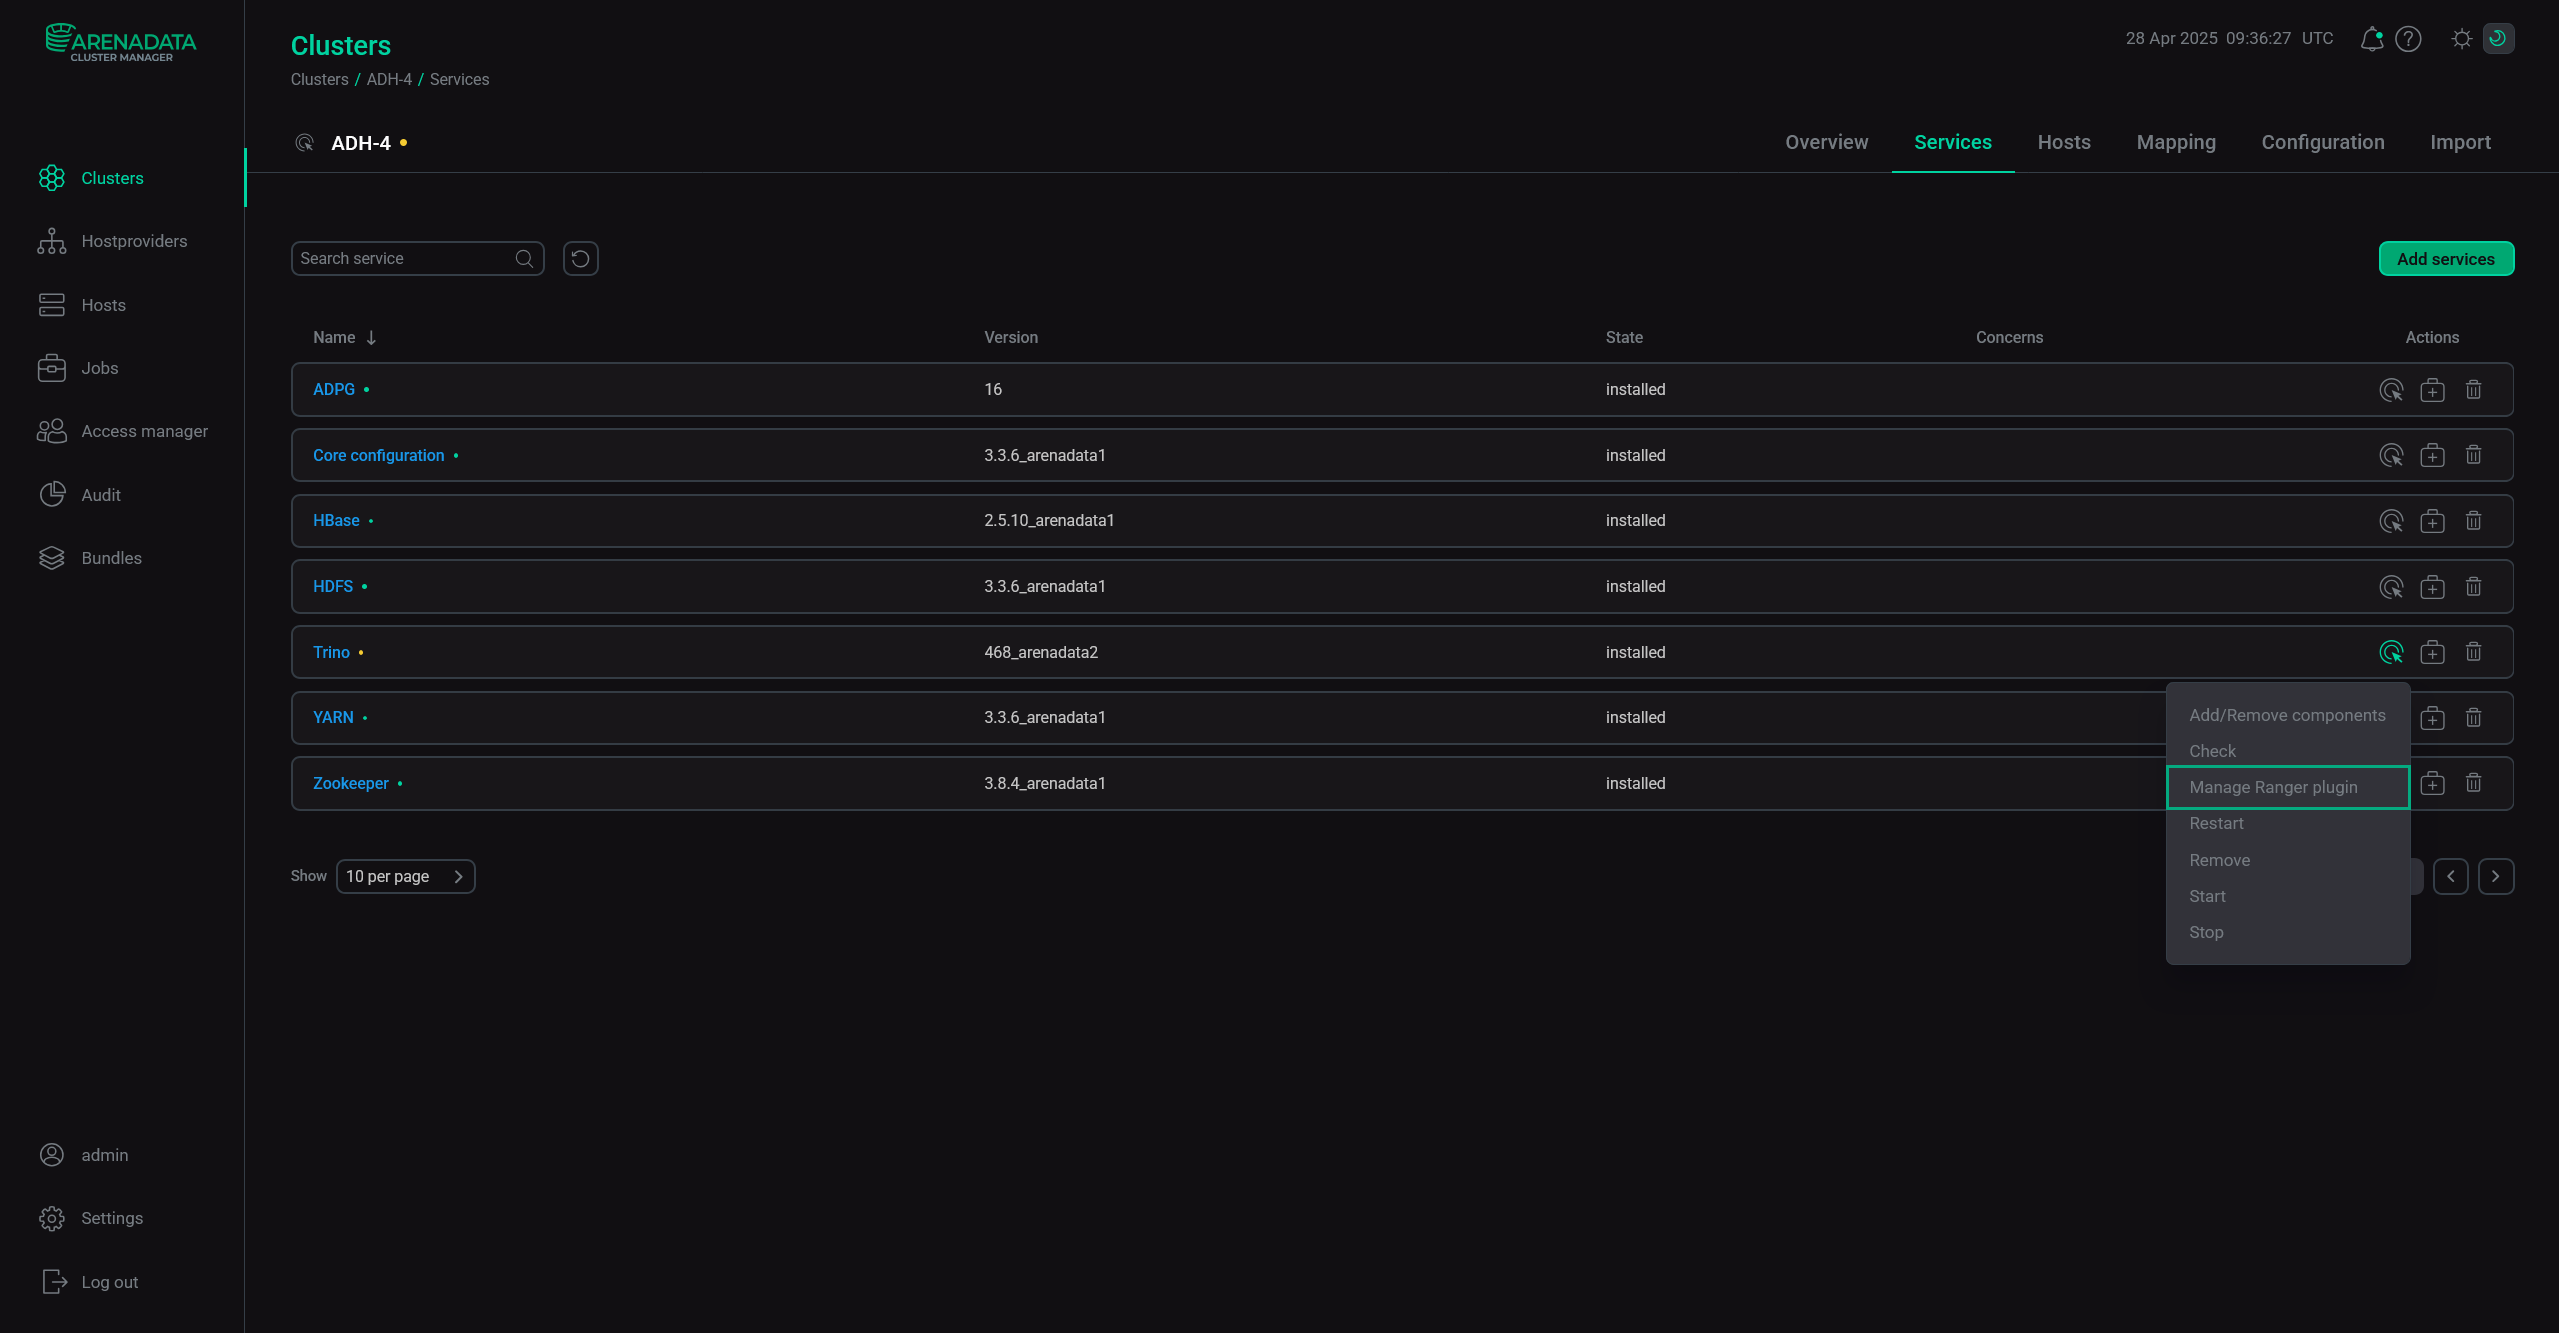 Manage Ranger plugin action
 -
Select the required state of the Plugin enabled flag. Also, here you can set the name of the Ranger service that will be added. If a service with such name already exists, you can override it by enabling the Override service policies parameter — in that case, the old service will be deleted and policies will be generated for the new service.
IMPORTANTTo make the Hive SQL support parameter available, you must turn on the Ranger Hive plugin first. This parameter allows using a shared Hadoop SQL policy with such services as Hive/Impala/SparkSQL.
The policies are applied in the following order:
-
Trino-specific policies are applied first.
-
If a policy is defined in both places, the Trino policy is applied.
-
If a policy is only in one place, it is applied.
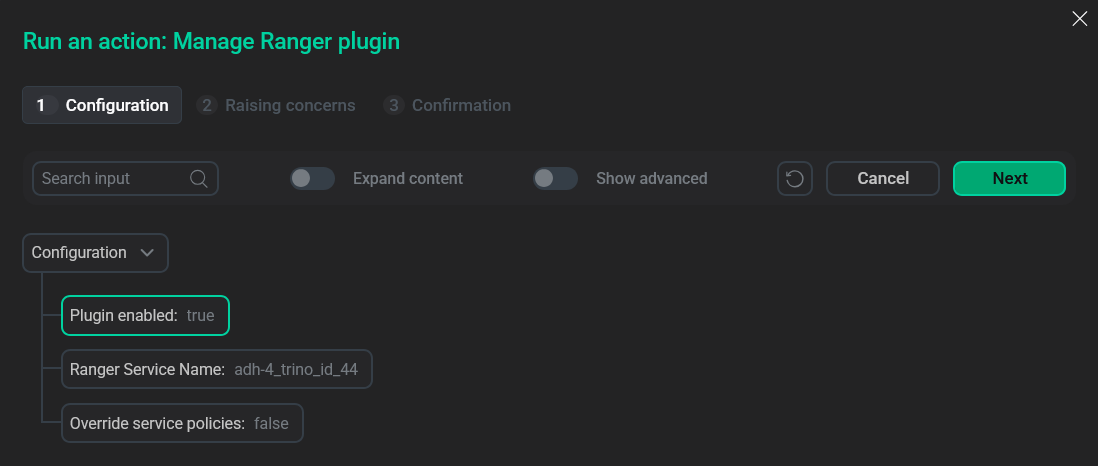 Plugin stateNOTEOn the first plugin enabling, a service with policies will be created (if it doesn’t exist yet) regardless of the Override service policies parameter.
 -
-
Click Run.
-
Сhoose whether to raise non-blocking concerns and click Next.
-
Сonfirm the action in the pop-up window.
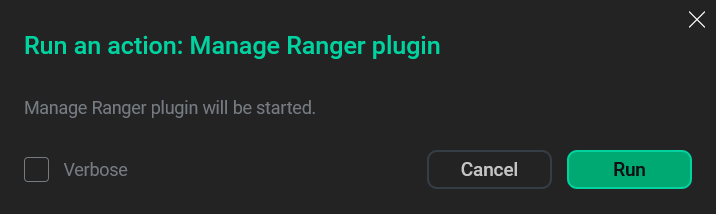 Action confirmation
Trino to Hive resource and access type mapping
The access objects mapping is as follows:
-
{schema}→{database} -
{schema}.{table}→{database}.{table} -
{catalog}.{schema}.{table}.{column}→{database}.{table}.{column}
| Trino access type | Hive access type |
|---|---|
all |
all |
_any |
use |
create |
create |
drop |
drop |
alter |
alter |
select |
use |
show |
use |
use |
use |
| Trino access type | Hive access type |
|---|---|
all |
all |
_any |
use |
create |
create |
drop |
drop |
alter |
alter |
insert |
update |
delete |
update |
select |
select |
show |
use |
use |
use |
| Trino access type | Hive access type |
|---|---|
all |
all |
_any |
use |
select |
select |
Add a new policy in Ranger
To add a new policy to an existing Trino service, you should perform the following actions:
-
On the Service Manager page, click an existing Trino service in the Trino pane.
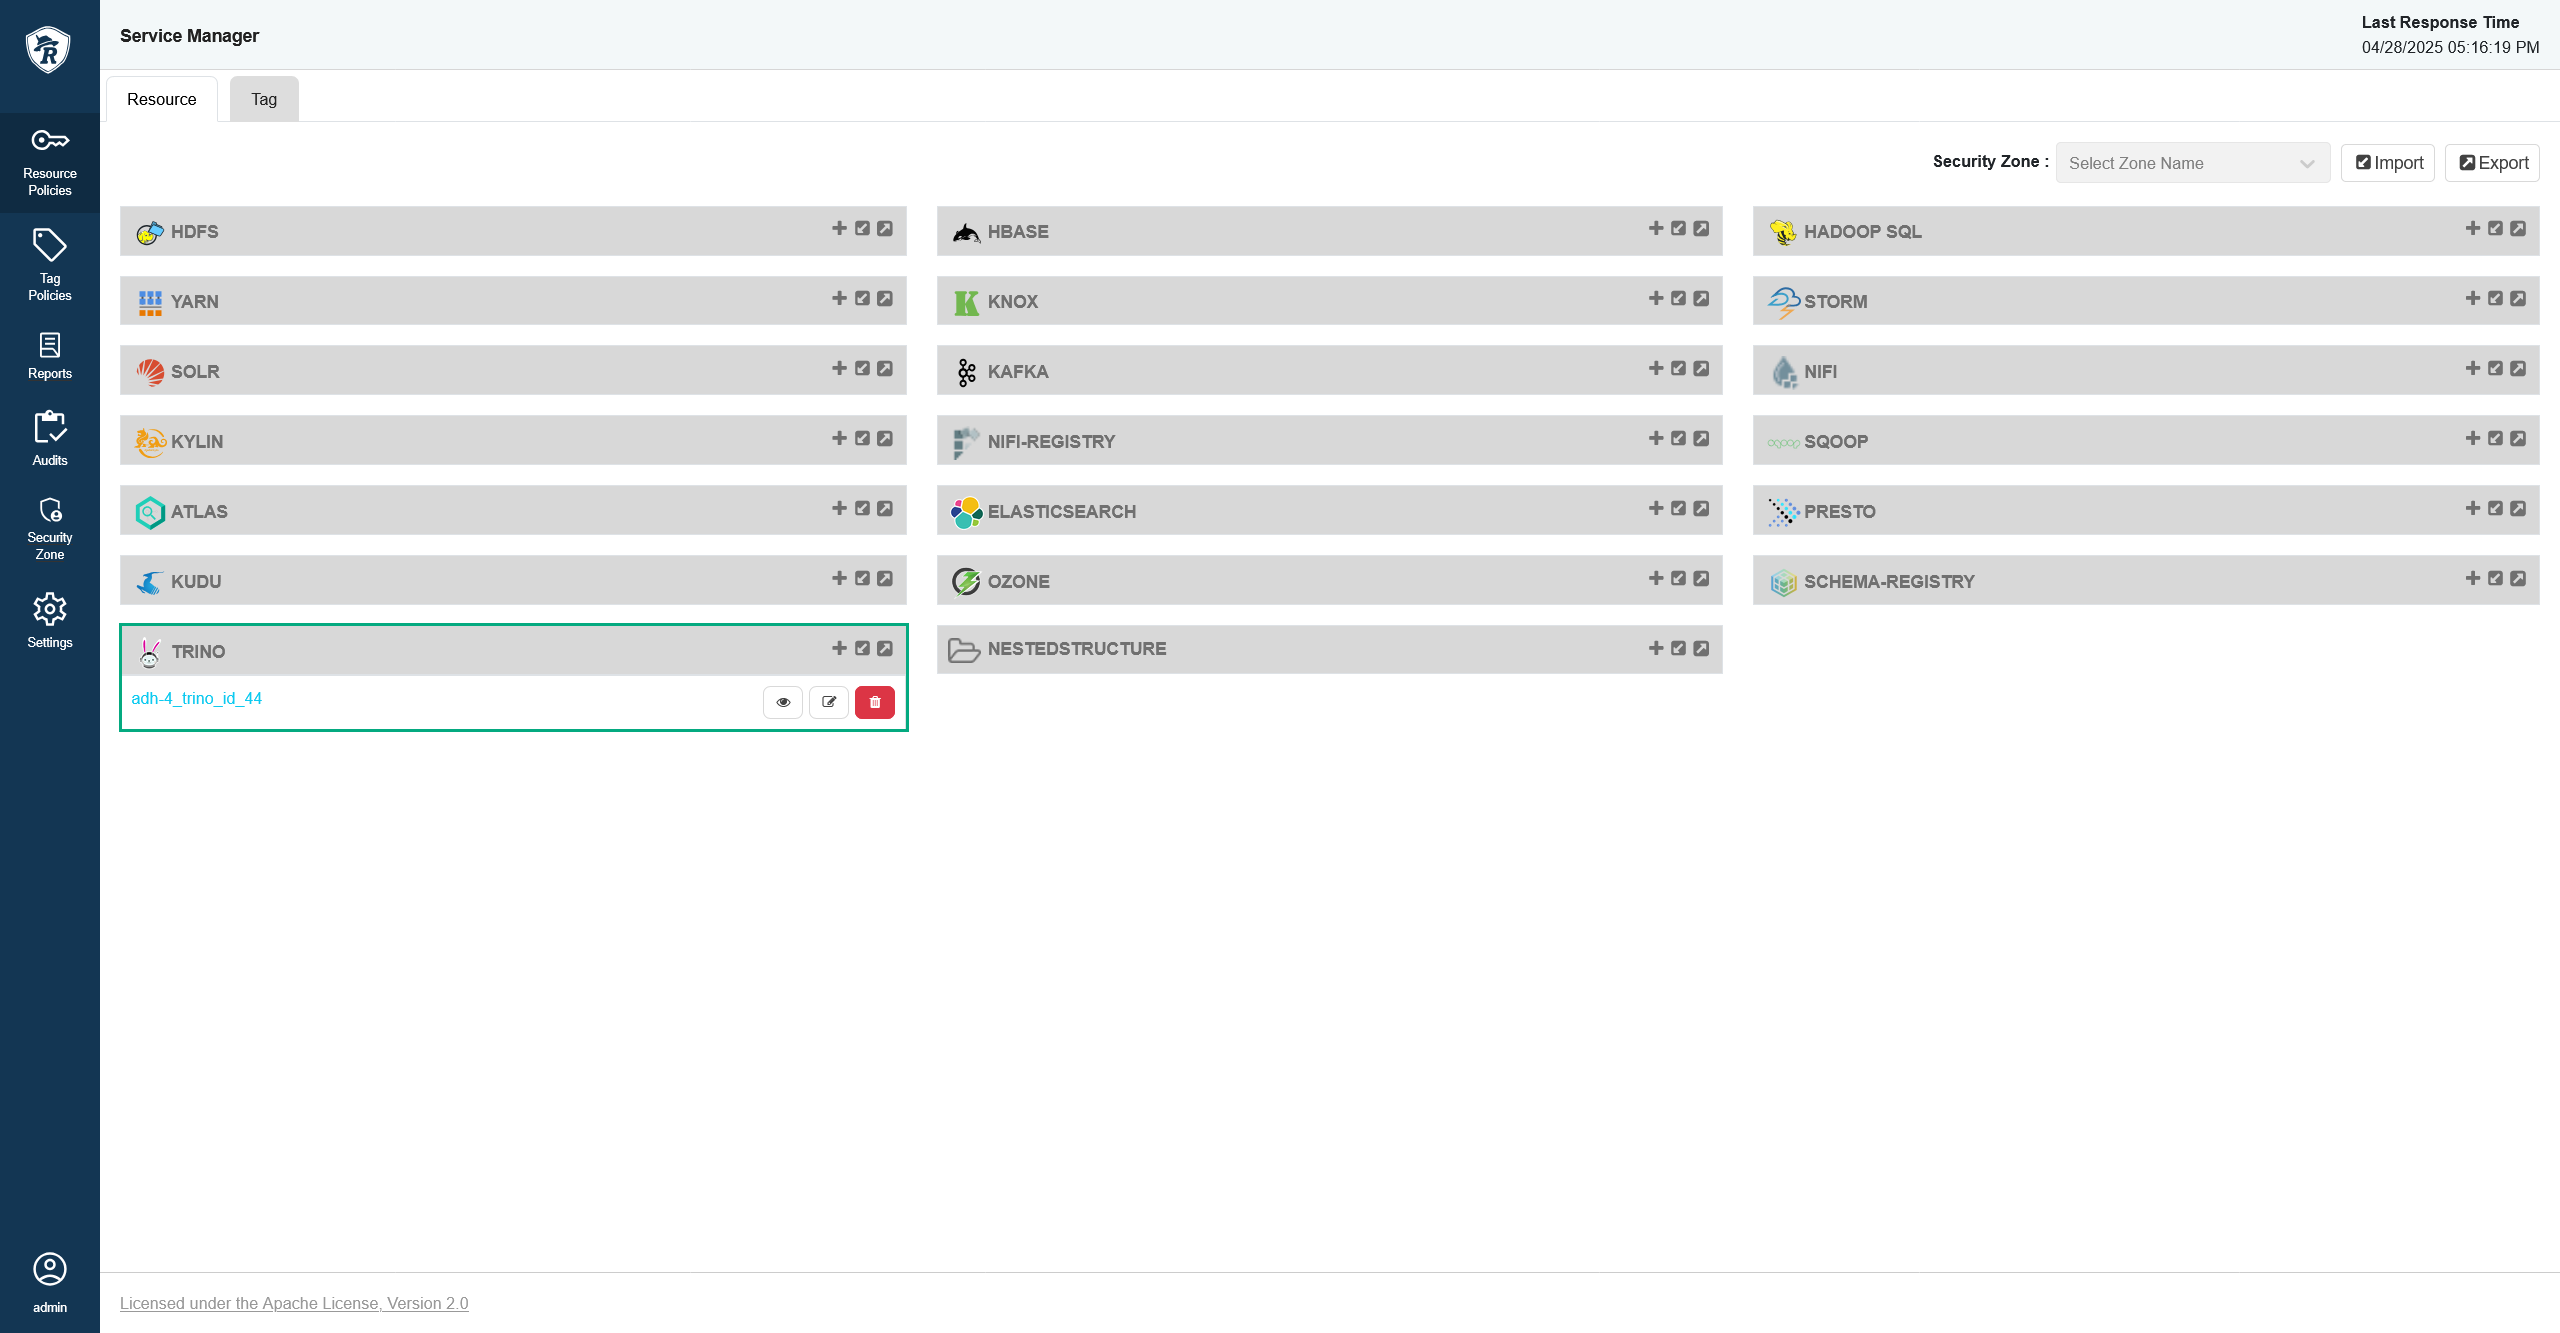 Service Manager
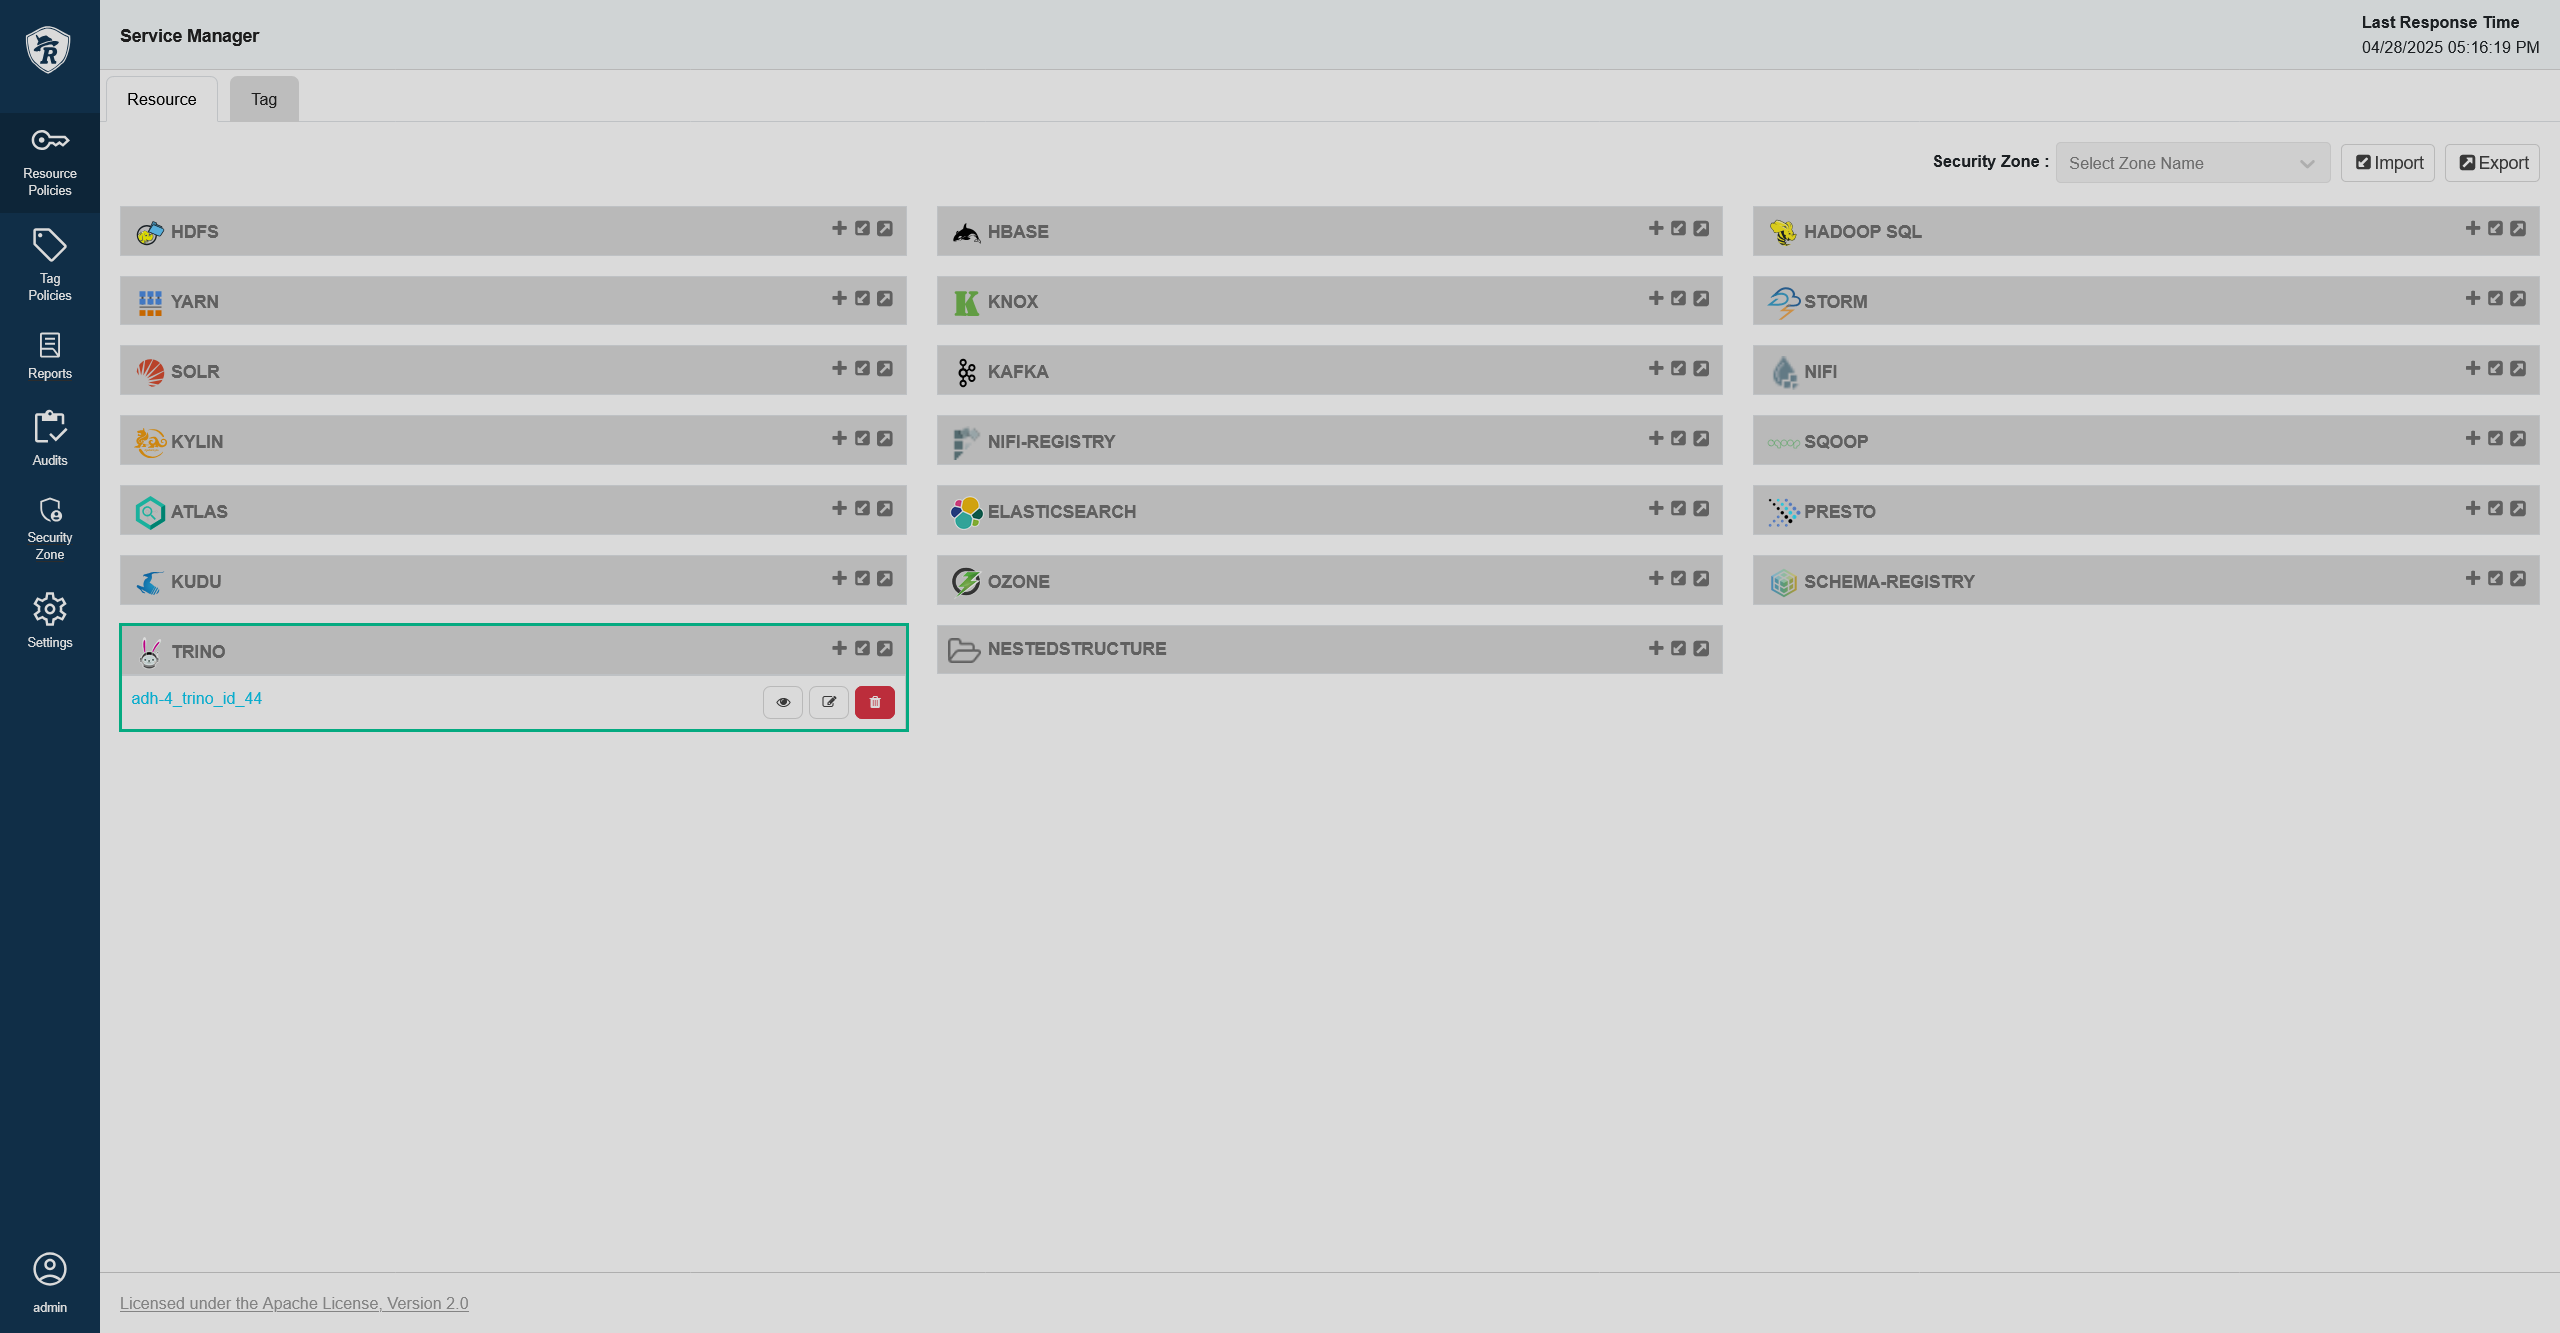 Service Manager
 -
On the Trino policy page, click Add New Policy.
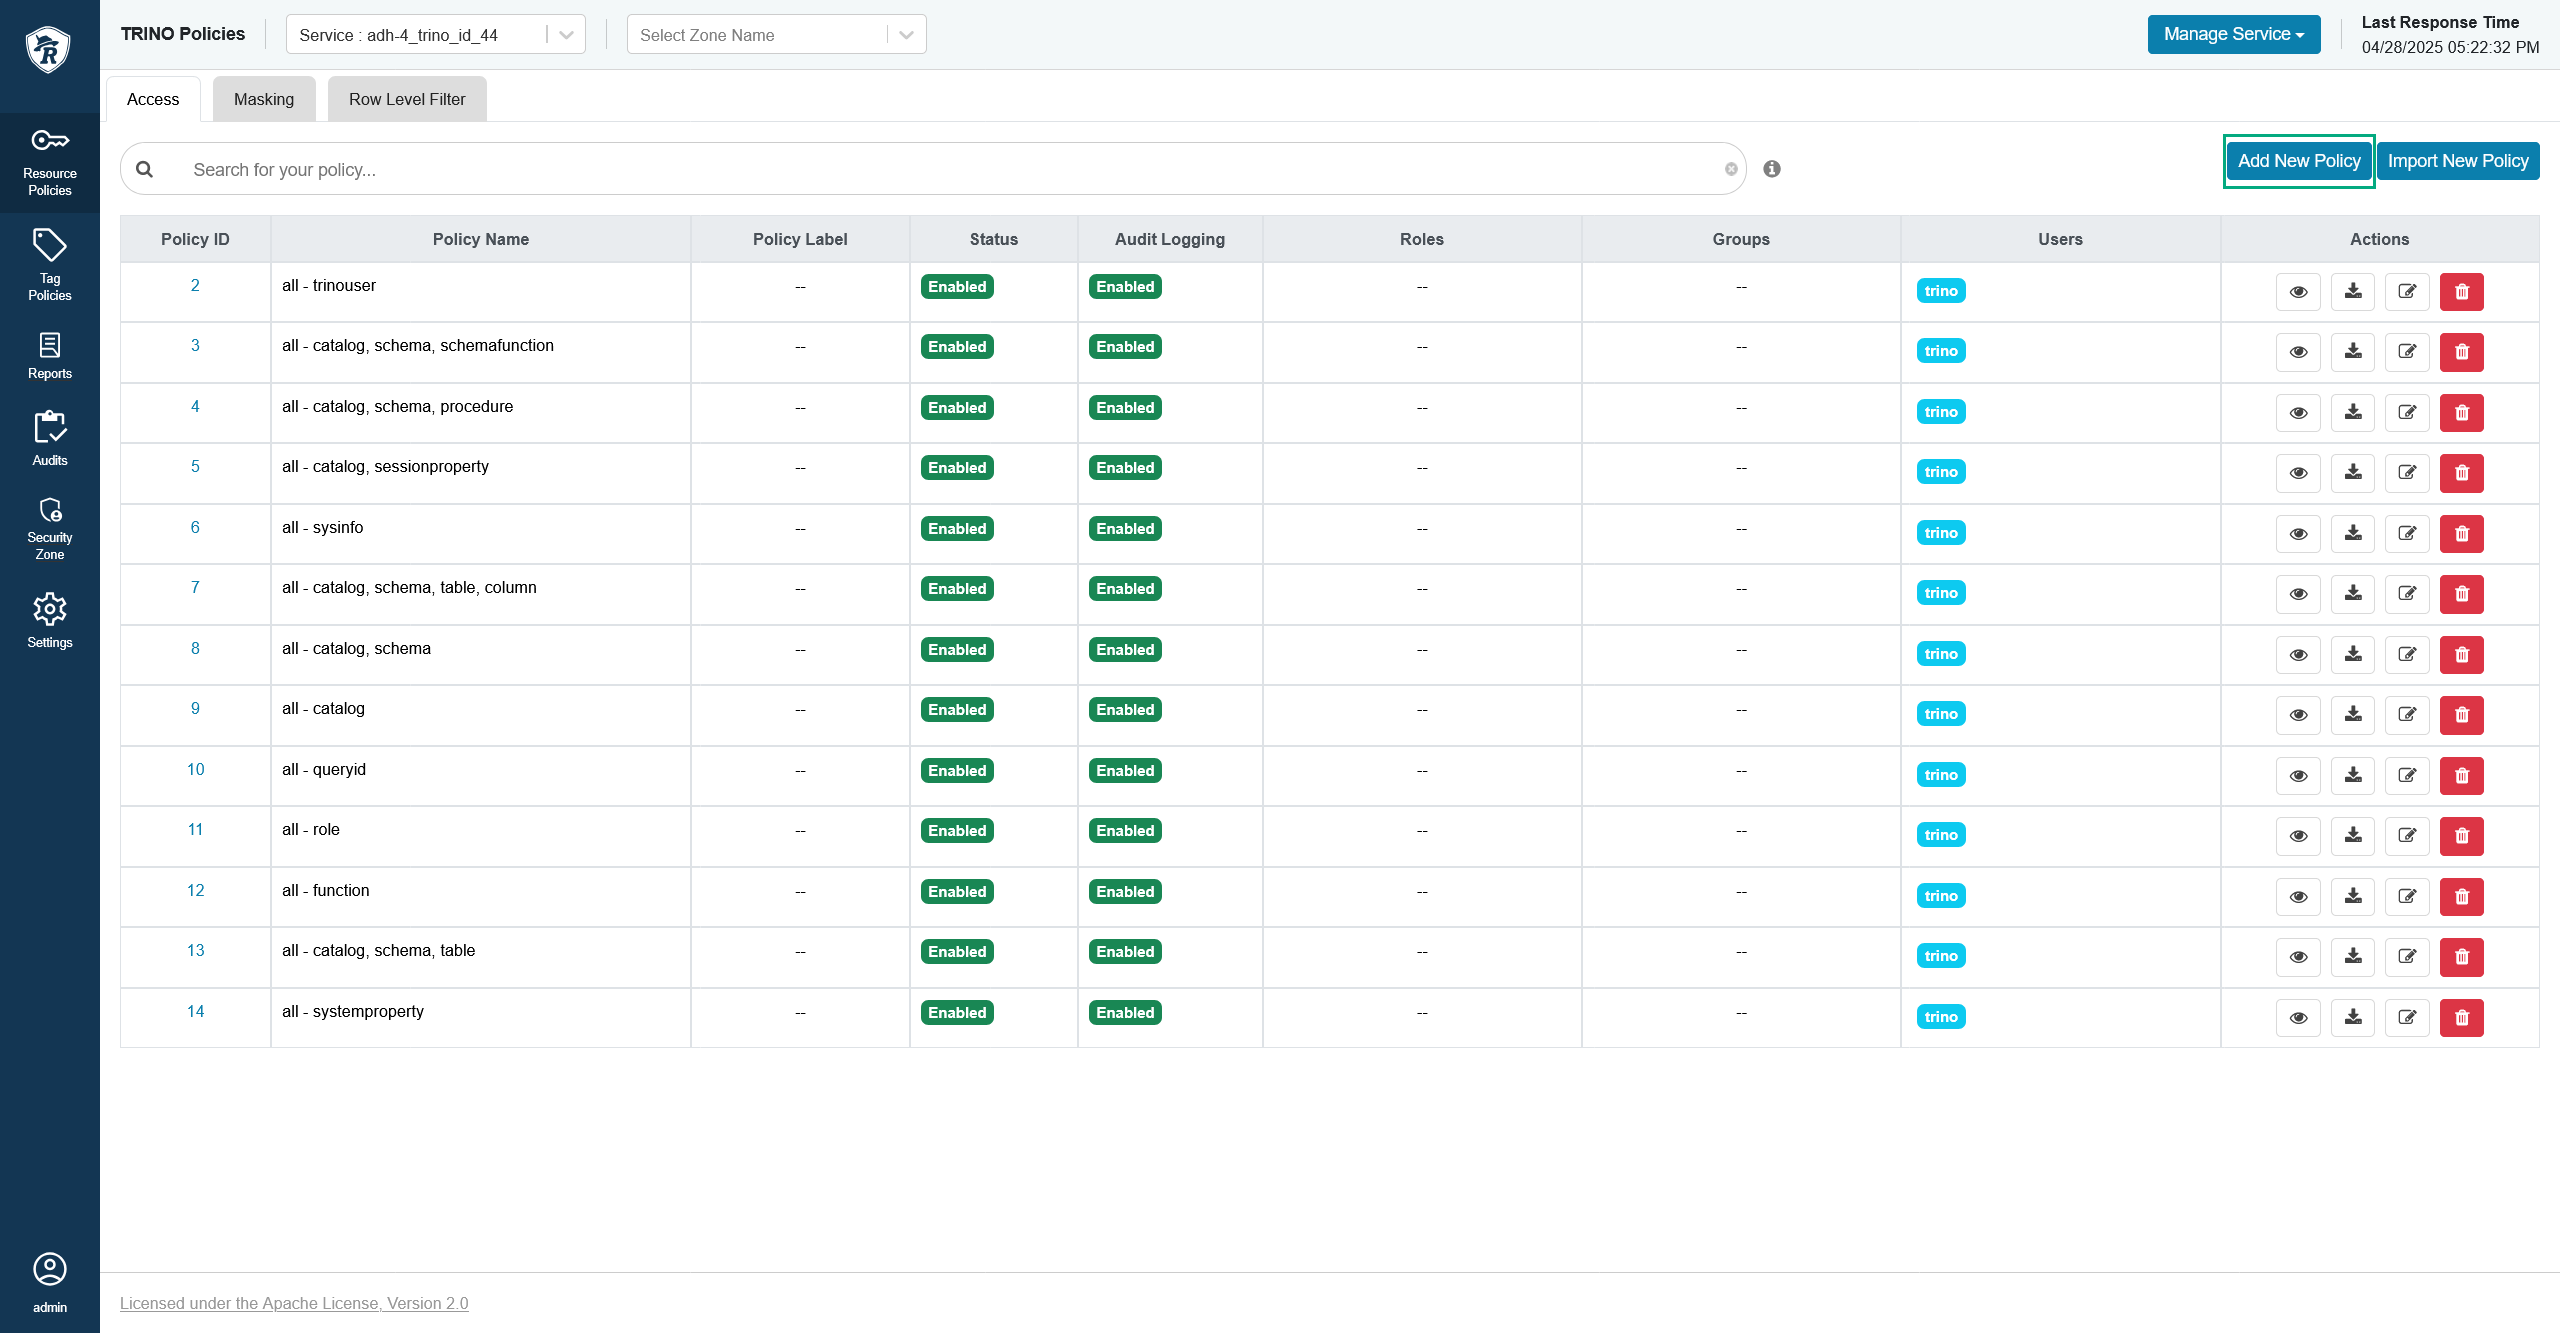 Add new policy
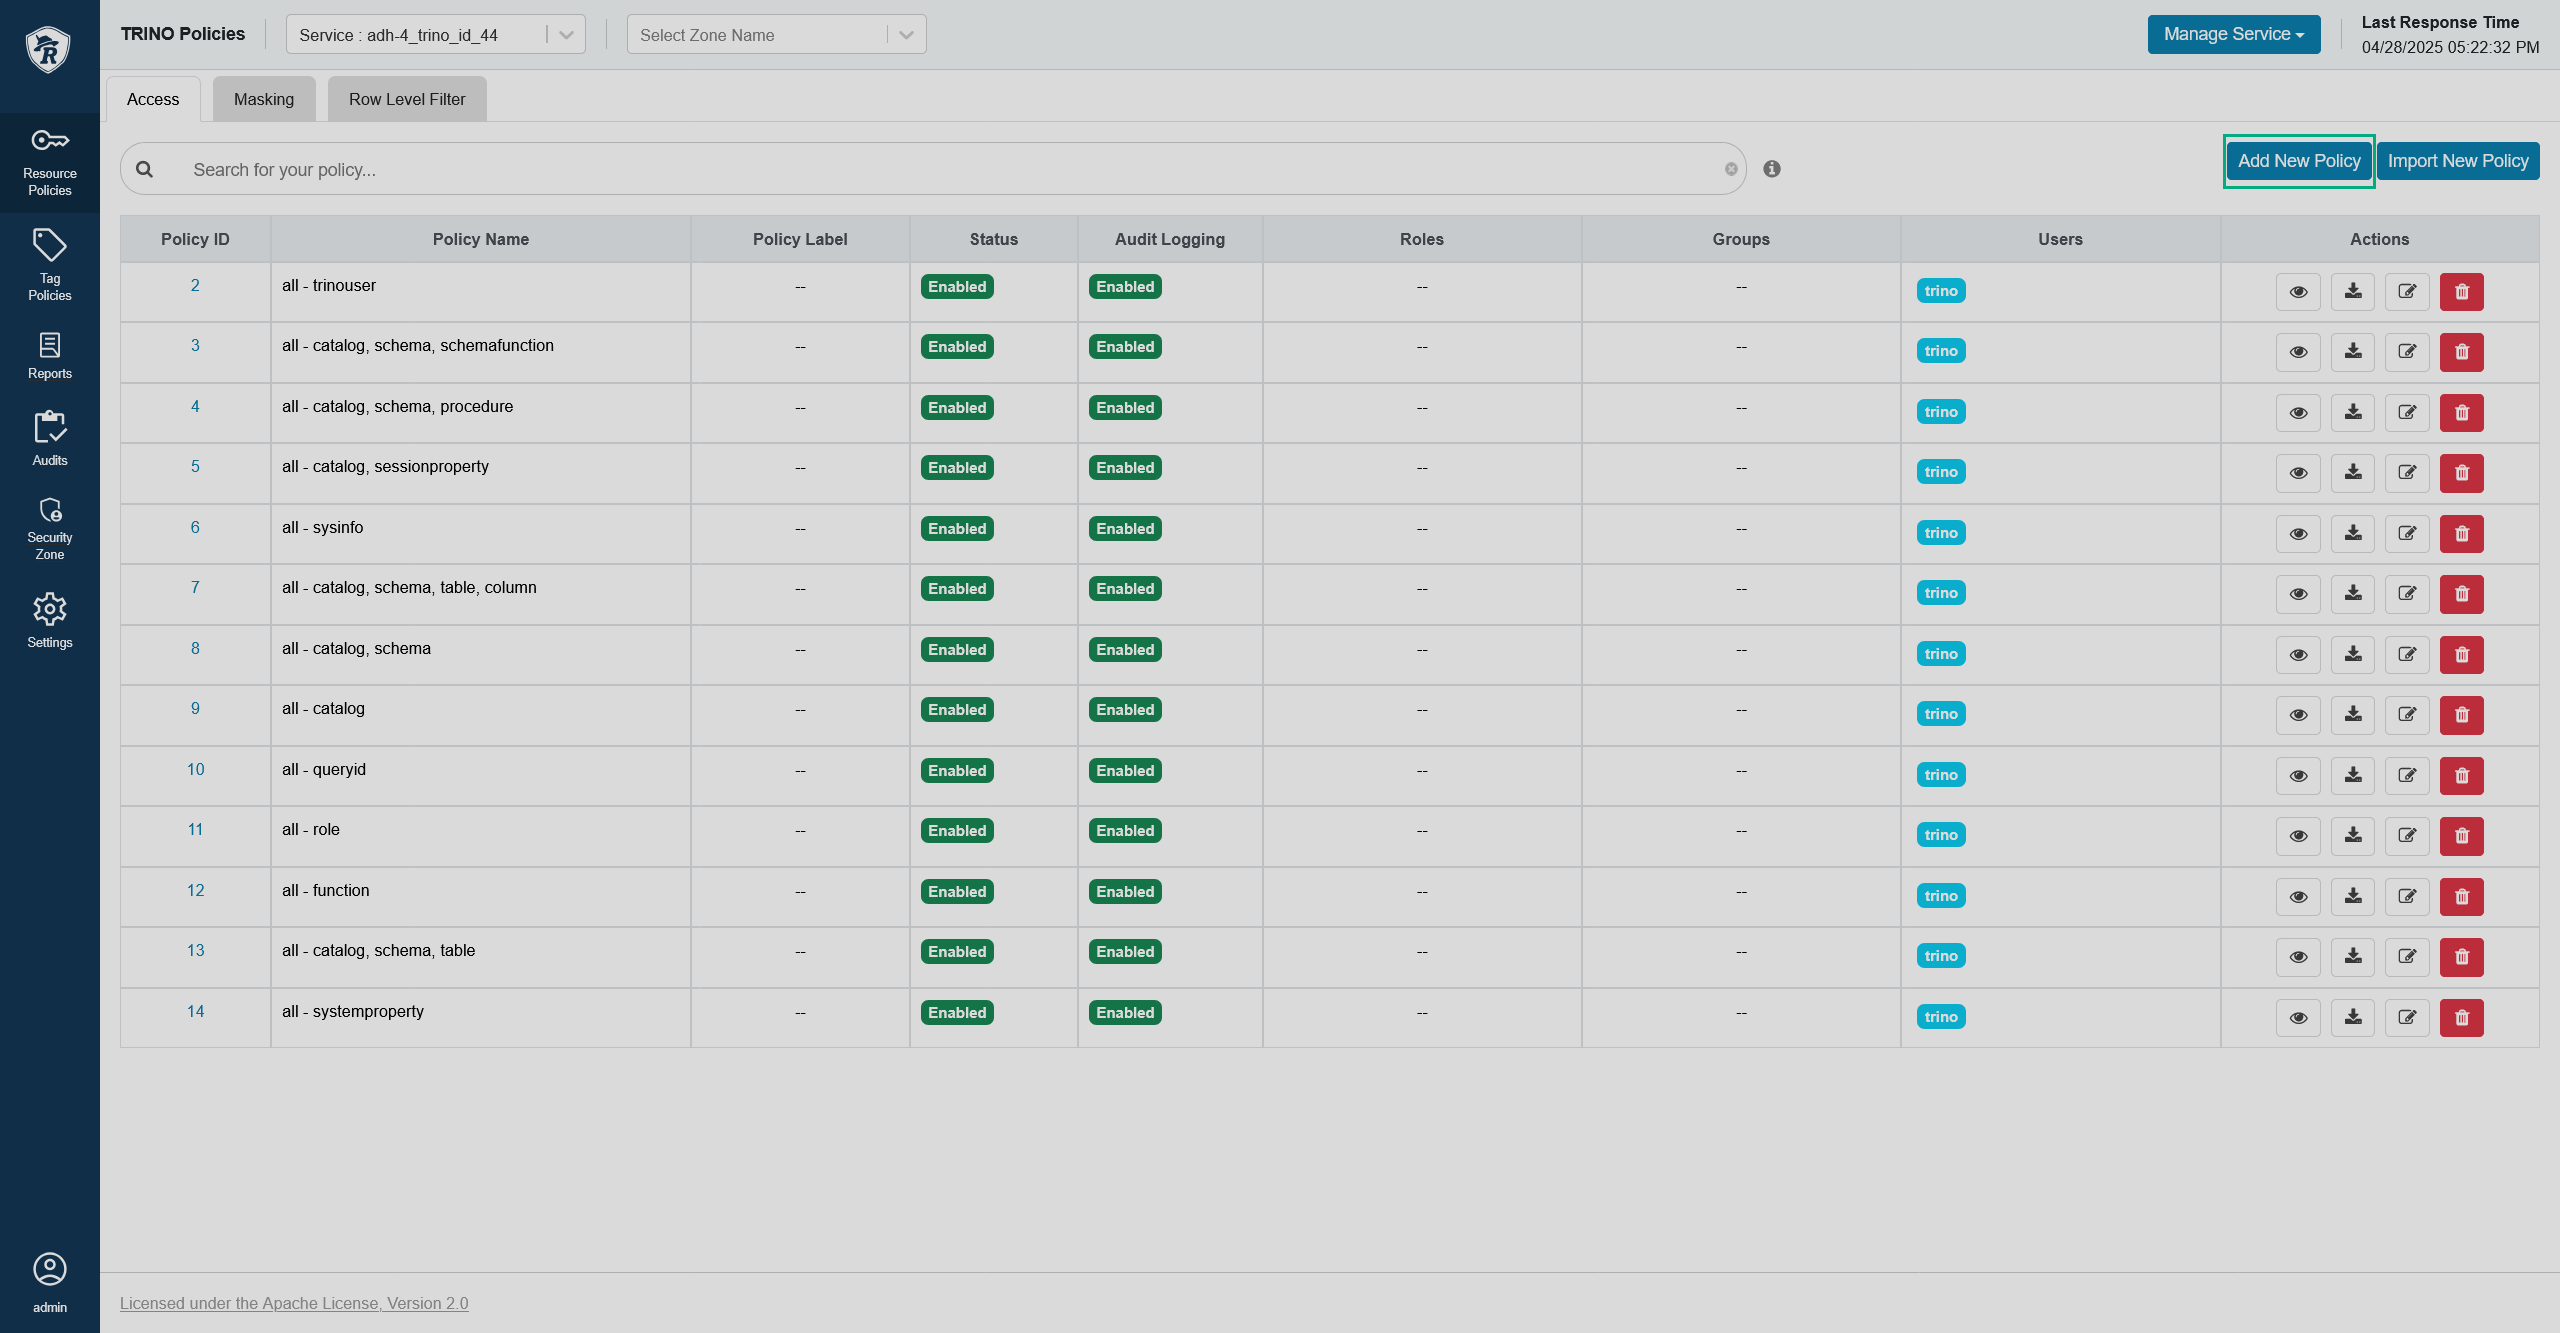 Add new policy
 -
On the opened Create Policy page, fill in the required policy details.
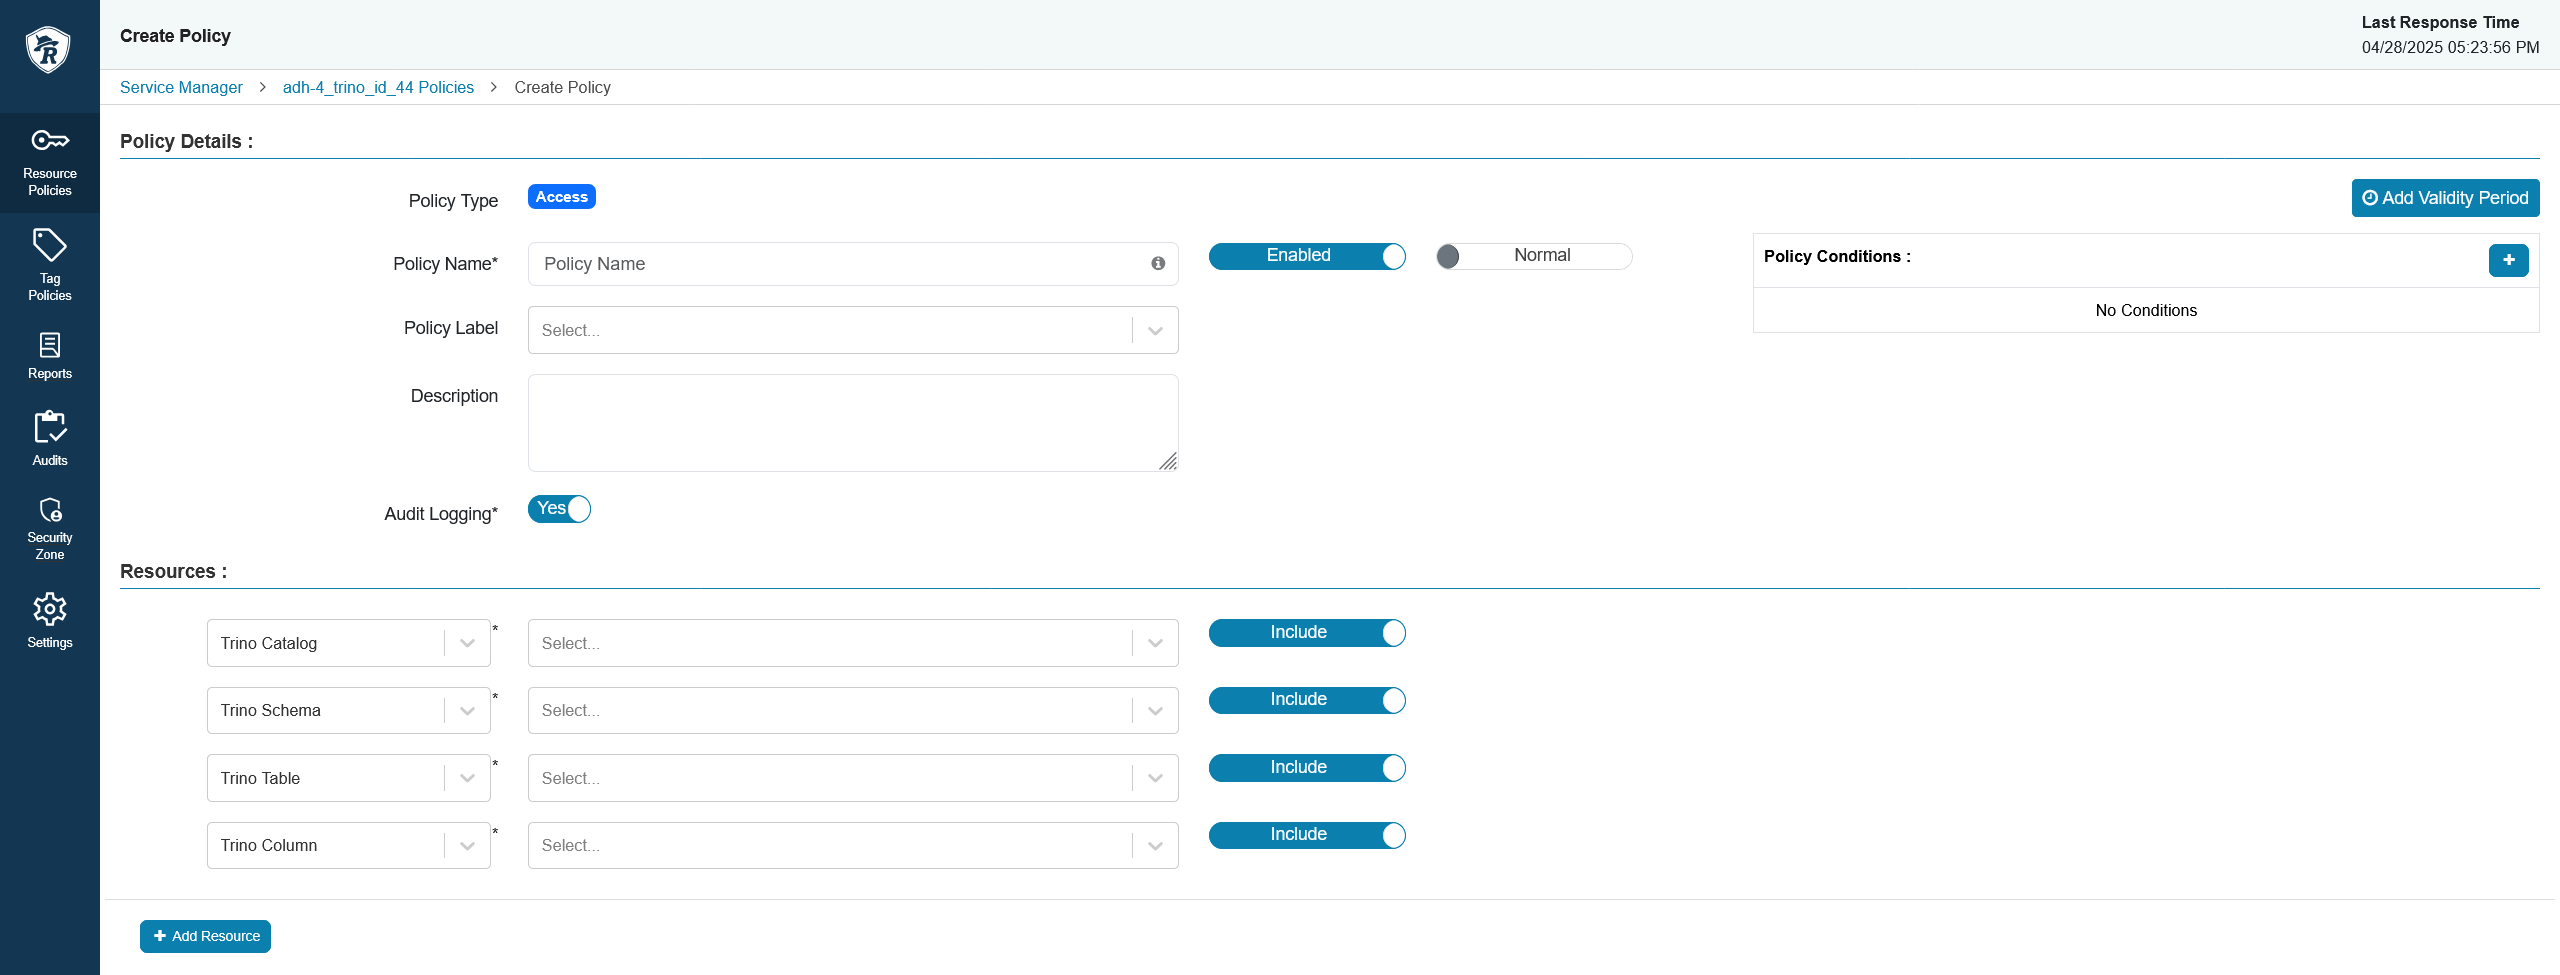 Trino policy details
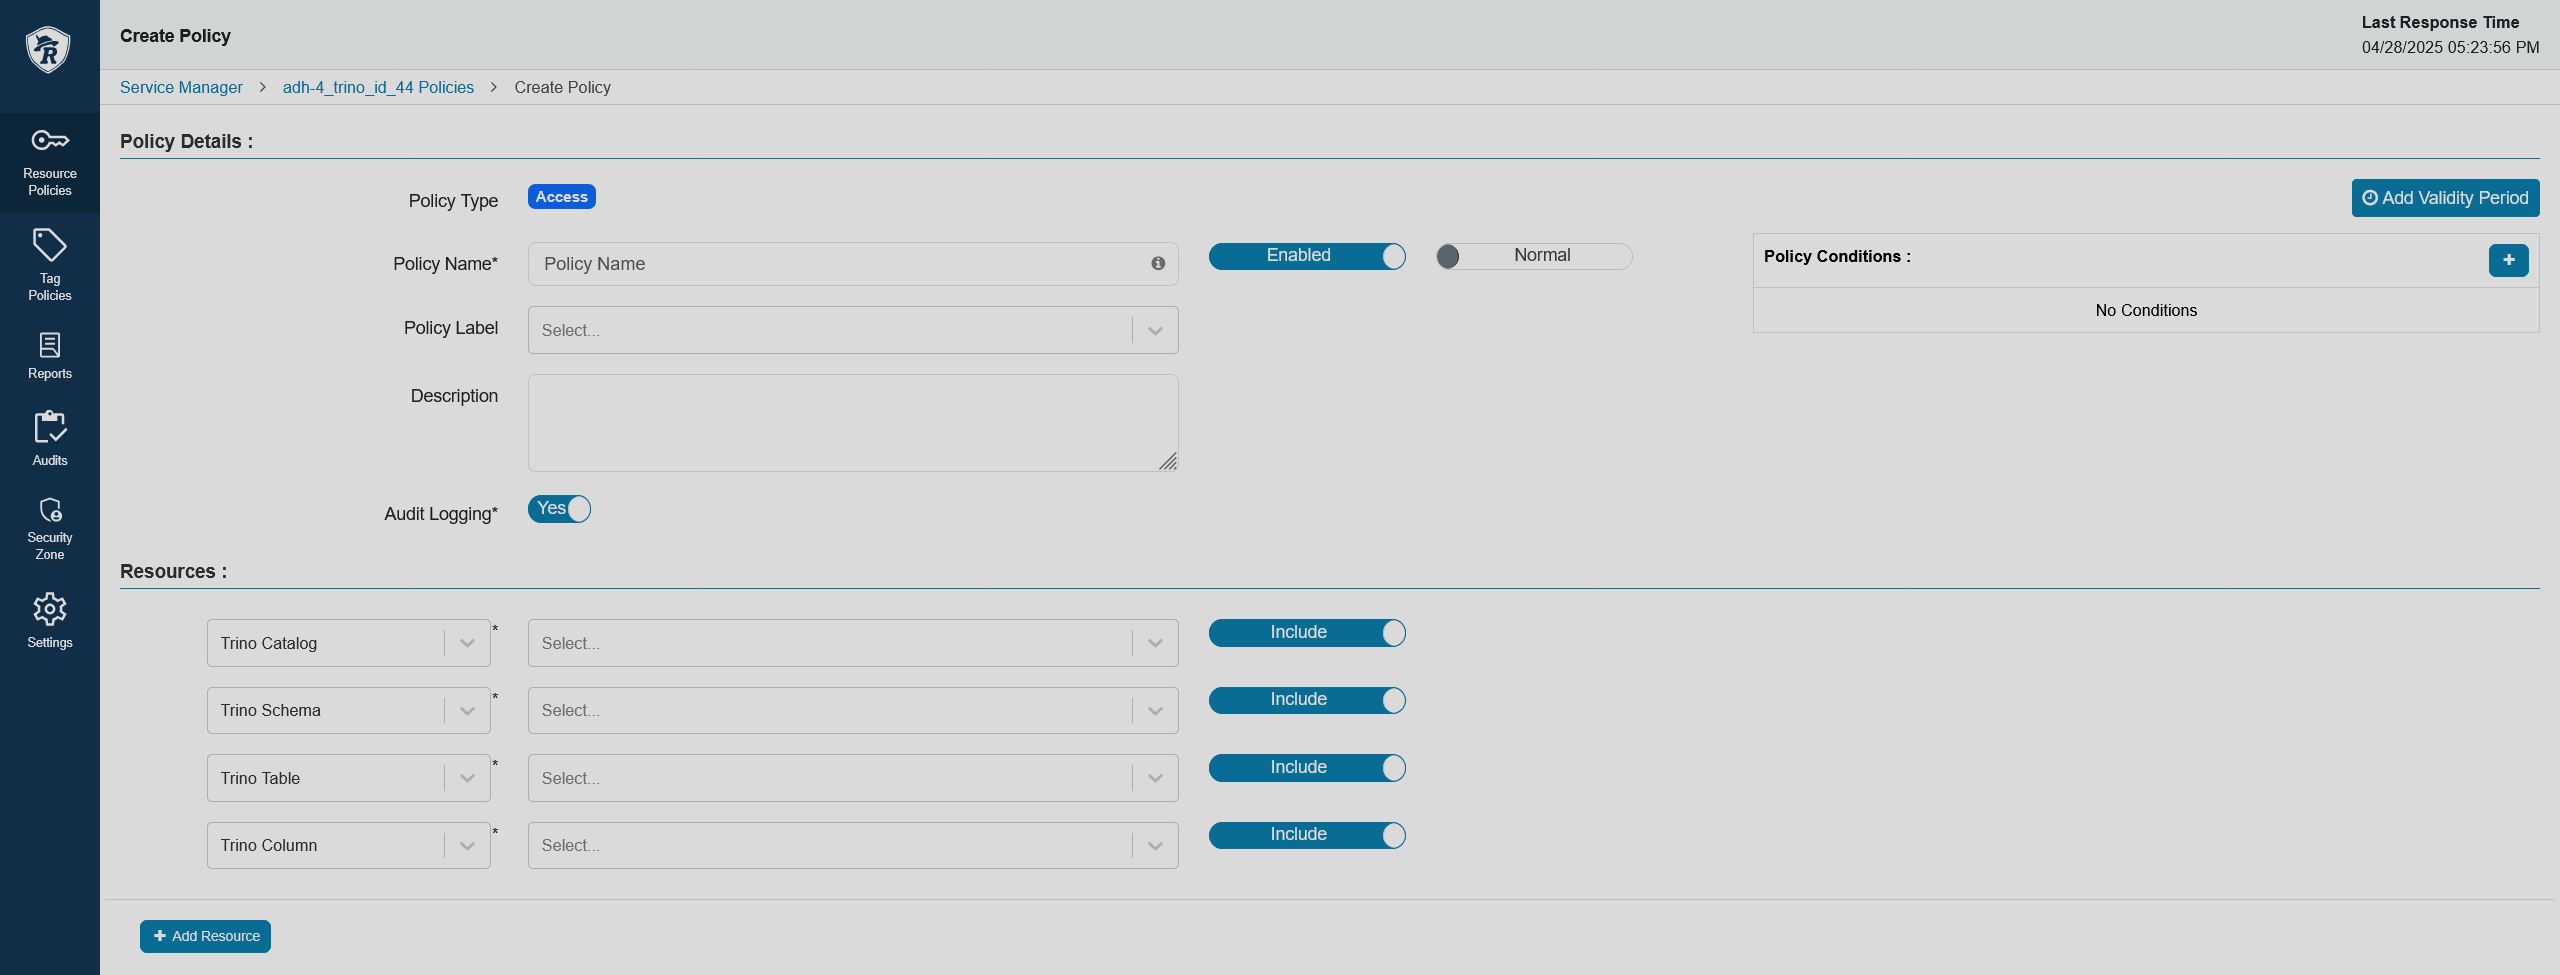 Trino policy details
Policy details parameters Parameter Description Policy Name
The policy name. Must be unique across the system
Enabled
Indicates whether to enable the policy after creation
Normal/Override
Allows you to specify an override policy. When override state is selected, the access permissions of the new policy override the access permissions in existing policies
Policy Label
Allows grouping sets of policies with one or more labels and searching for policies by label names. You can use search on the Policy listing and Reports pages. Also helps to export/import policies. If a user has to export some specific set of policies, then they can search for a policy label and export the specific set of policies
Description
Describes the purpose of the policy
Audit Logging
Enables audit for the policy
Add Validity Period
Allows you to set the lifetime for the policy
Trino Catalog
Name of a Trino catalog
Trino Schema
Name of a Trino schema
Trino Table
Name of a Trino table
Trino Column
Name of a Trino column
Trino User
Name of a Trino user
System Property
Name of a system property
Trino Function
Name of a Trino function
Query ID
Query identifier
System Information
Information about the Trino cluster system environment
Role
Name of a Trino role
-
Configure allow/deny conditions.
The Allow Conditions section lets you grant access to specific roles, groups, or users. Use this section when you want to allow access to specific roles, groups, or users and deny access to everyone else.
The Exclude from Allow Conditions section creates an exception to an allowed condition.
The Deny Conditions section uses the opposite logic: use it to deny access to specific roles, groups, or users while allowing access to everyone else.
The Exclude from Deny Conditions section creates an exception to a deny condition. You can also combine rules from all these sections.
To add more conditions, click
 . Conditions are evaluated in the order in which they are listed in the policy: the condition at the top of the list is applied first, followed by the second, third, and subsequent conditions.
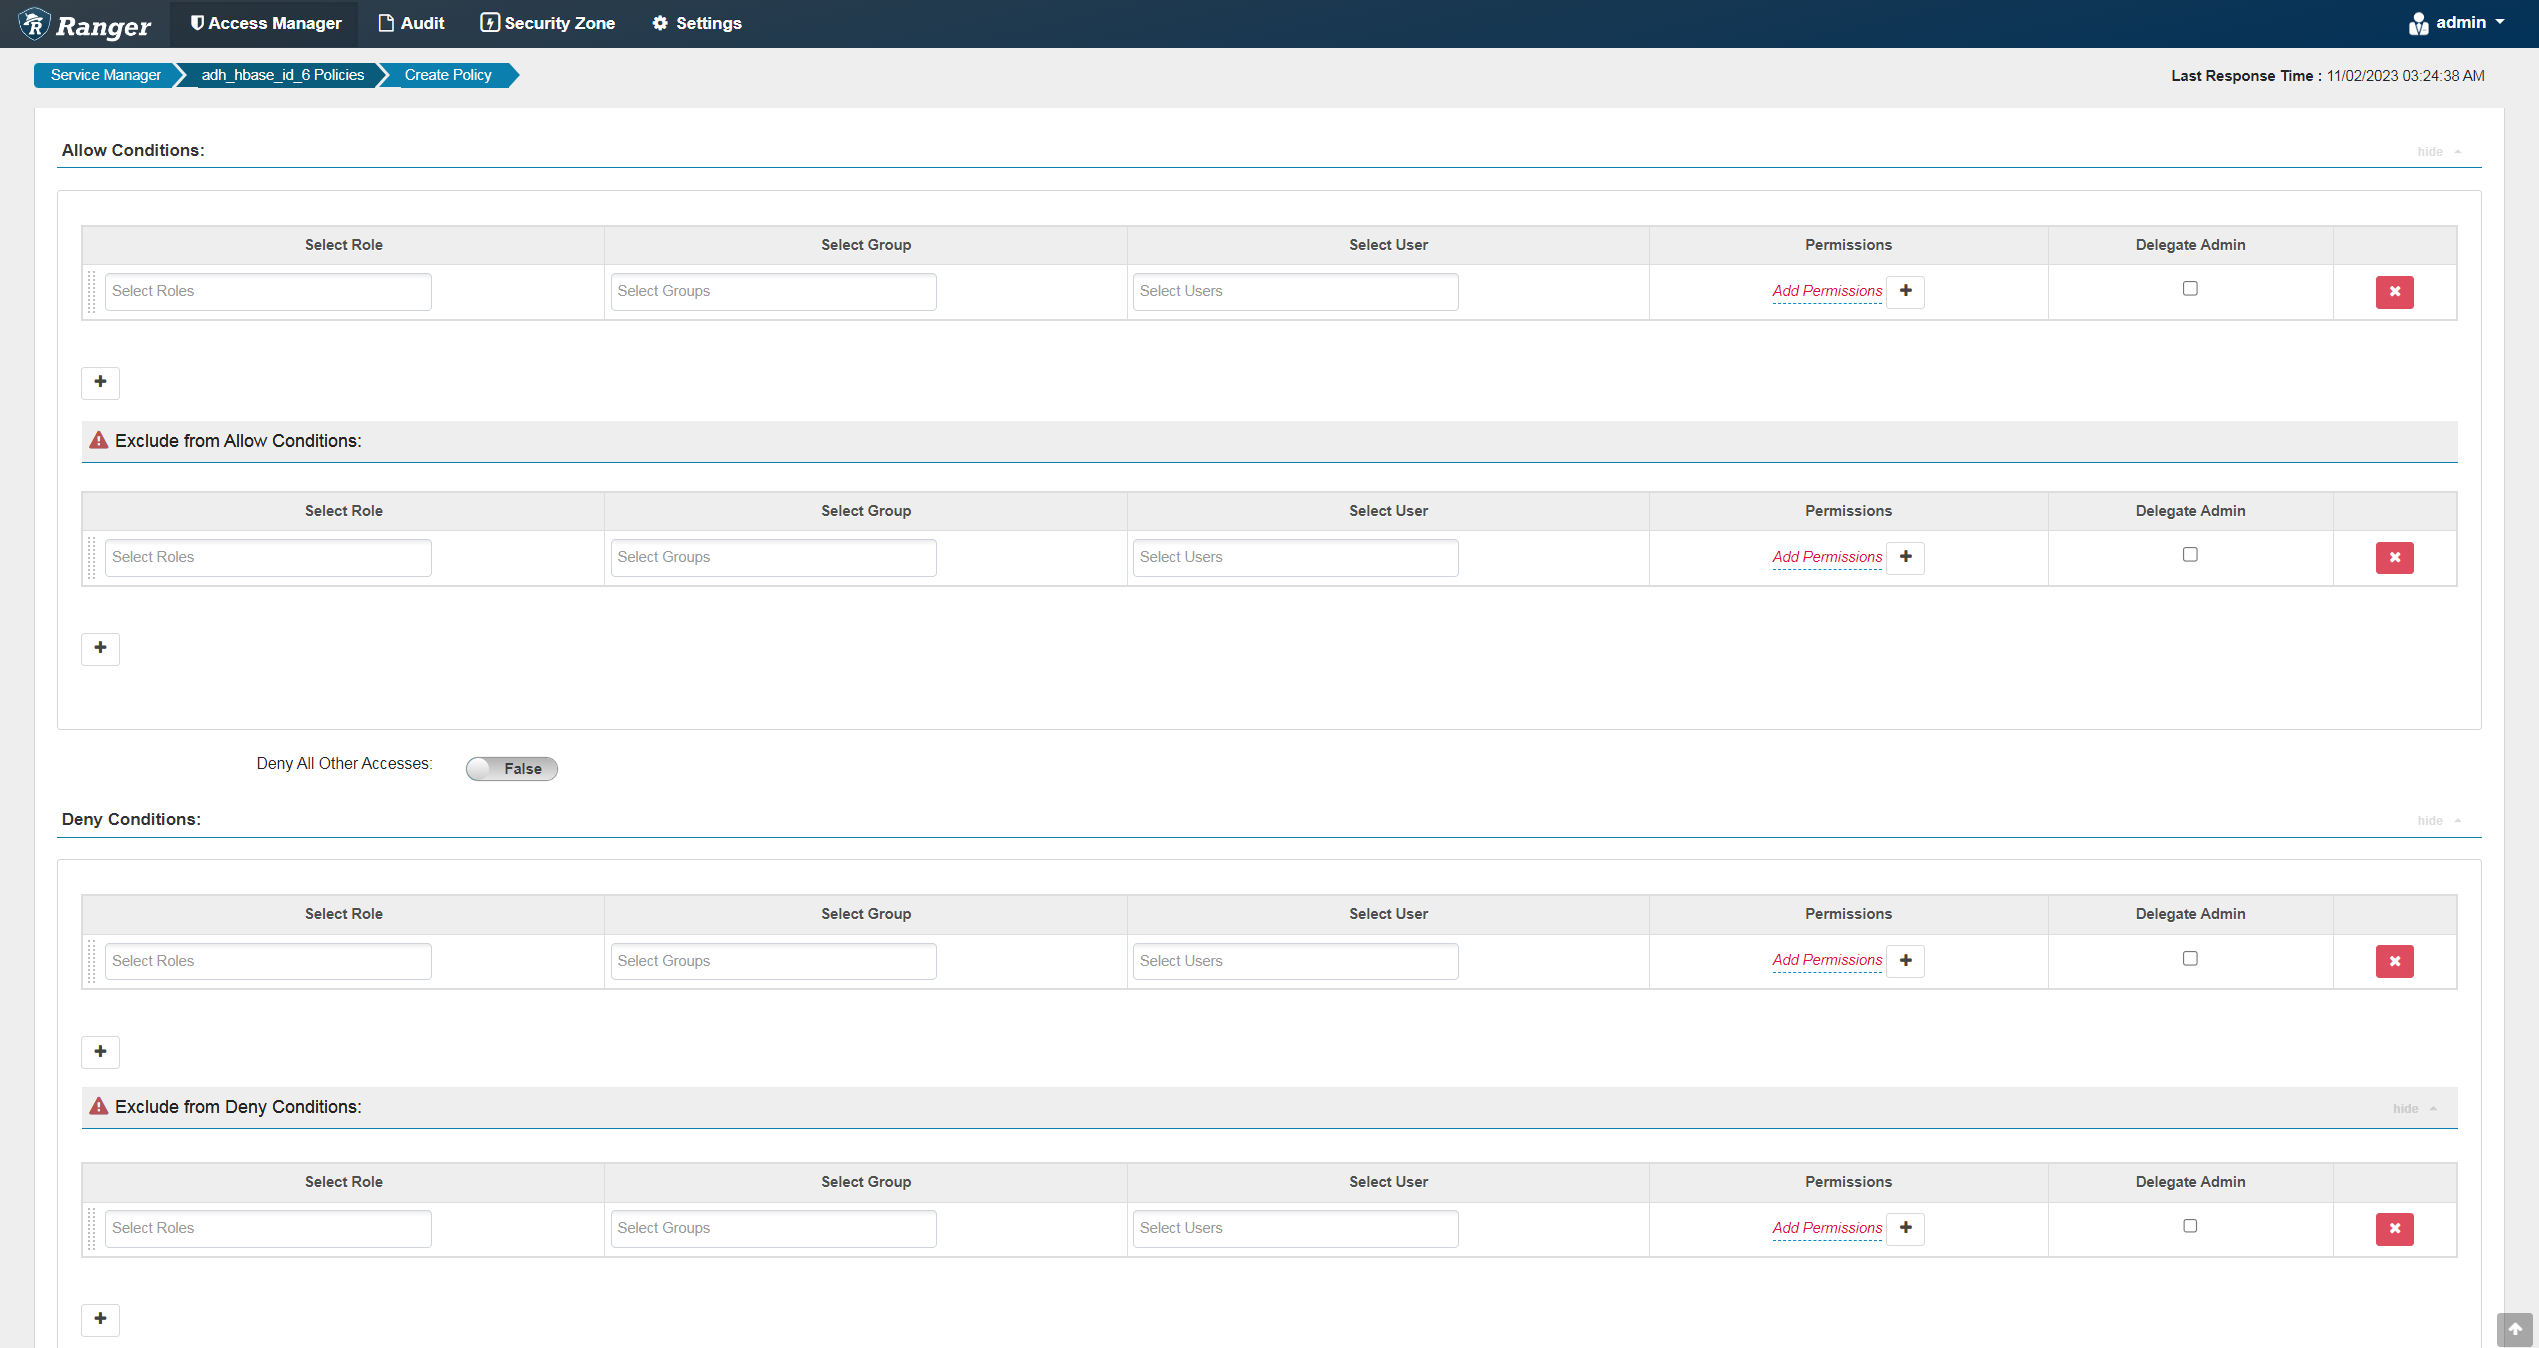 Trino allow conditions parameters
 Trino allow conditions parametersAllow Conditions parameters
Parameter Description Select Role
Specifies the roles to which this policy applies
Select Group
Specifies the groups to which this policy applies. The public group contains all users, so granting access to the public group grants access to all users
Select User
Specifies a user to which this policy applies (outside an already-specified group) or makes the user an Administrator for this policy
Permissions
Allows you to add or edit permissions
Delegate Admin
Grants administrator privileges to the users or groups specified in the policy. Administrators can edit or delete policies and create child policies based on the existing ones
Deny Conditions parametersParameter Description Select Role
Specifies the roles to which this policy does not apply
Select Group
Specifies the groups to which this policy does not apply. The public group contains all users, so denying access to the public group denies access to all users
Select User
Specifies a user to which this policy does not apply (outside an already-specified group) or makes the user an Administrator for this policy
Permissions
Allows you to add or edit permissions
Delegate Admin
Grants administrator privileges to the users or groups specified in the policy. Administrators can edit or delete policies and create child policies based on the existing ones
-
Click Add at the bottom of the page.