

Connect to kerberized Hive using DBeaver
To connect to a Hive instance from DBeaver with Kerberos, complete the following steps.
-
You should start with installing DBeaver CE. In this guide, DBeaver 21.3.4 is used.
NOTEUse DBeaver CE 21.3.4 or later. -
After DBeaver CE is installed, copy the /etc/krb5.conf file from the Kerberos server to the C:\Program Files\DBeaver\jre\conf\security folder of your Windows machine.
-
Edit the krb5.conf file. You must remove all symbols before
[libdefaults]section and comment therenew_lifetime = 7dstring. -
Transfer the keytab principal file. To create a keytab file, you should start the
kadminutility at Kerberos server and run the following command:xst -norandkey -k <file_name> <principal_name>For example:
xst -norandkey -k hive.keytab hive/hive-kerberos.ru-central1.internal@ADREALM.IOYour krb5.conf file should look similar the one below:
krb5.conf[libdefaults] default_realm = ADREALM.IO dns_lookup_realm = false dns_lookup_kdc = false ticket_lifetime = 24h #renew_lifetime = 7d forwardable = true [realms] ADREALM.IO = { kdc = kerberos-server.ru-central1.internal admin_server = kerberos-server.ru-central1.internal } [domain_realm] .adrealm.io = ADREALM.IO adrealm.io = ADREALM.IO .adrealm.io = ADREALM.IO -
Create the jaas.conf file inside the DBeaver folder. In this file, you should specify the path to the principal keytab file used for connecting to Hive. You also have to specify the principal name.
Your jaas.conf file should look similarly to this:
jaas.confClient { com.sun.security.auth.module.Krb5LoginModule required doNotPrompt=true useKeyTab=true keyTab="C:/Users/Administrator/Downloads/hive.keytab" useTicketCache=false renewTGT=false principal="hive/hive-kerberos.ru-central1.internal@ADREALM.IO"; }; -
Create the dbeaver.ini file located in the DBeaver folder. You have to add the paths to the jaas.conf and krb5.conf files that were created earlier. For now, assume that jaas.conf and dbeaver.ini are in the same folder.
dbeaver.ini-startup plugins/org.eclipse.equinox.launcher_1.6.200.v20210416-2027.jar --launcher.library plugins/org.eclipse.equinox.launcher.win32.win32.x86_64_1.2.200.v20210429-1609 -vmargs -XX:+IgnoreUnrecognizedVMOptions --add-modules=ALL-SYSTEM -Dosgi.requiredJavaVersion=11 -Xms64m -Xmx1024m -Djava.security.krb5.conf=C:\Program Files\DBeaver\jre\conf\security\krb5.conf -Djava.security.auth.login.config=jaas.conf -Djavax.security.auth.useSubjectCredsOnly=false
-
Get the authentication ticket using the keytab file. To do this, you should switch to the C:\Program Files\DBeaver\jre\bin folder and run the following command:
./kinit.exe -k -t keytab-file-path principal_nameThe output of the command above is similar to this:
New ticket is stored in cache file C:\Users\Administrator\krb5cc_Administrator
-
Download the driver JAR and unpack it into the DBeaver folder.
-
Now you can run DBeaver. Go to the Database menu and select Driver Manager. Choose New.
-
Fill in the necessary fields:
-
Driver name: Hive Kerberos;
-
URL Template: jdbc:hive2://{host}:{port}/{database};principal=hive/hive-kerberos.ru-central1.internal@ADREALM.IO;
-
Default port: 10000;
-
Default Database: default.
-
-
Go to the Libraries tab and select the
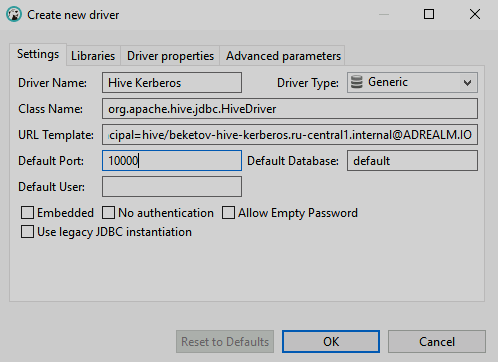
hive-jdbc-3.1.1-arenadata-standalone.jardriver file that you unpacked earlier. Choose FindClass and selectorg.apache.hive.jdbc.HiveDriver. Click Ok.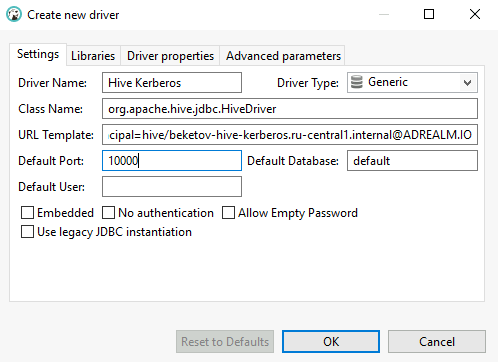 Create a driver
 Create a driver
 -
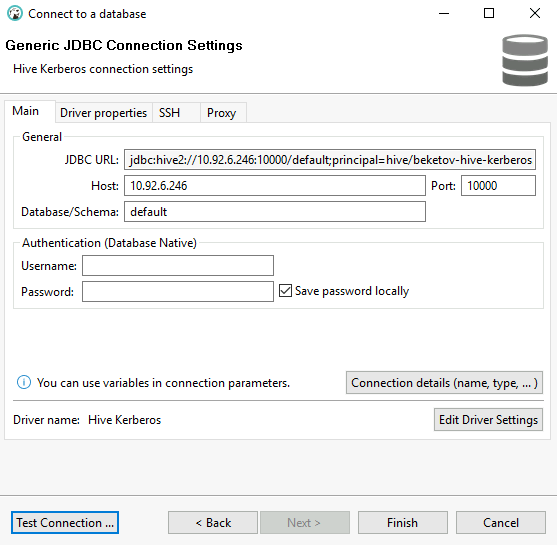
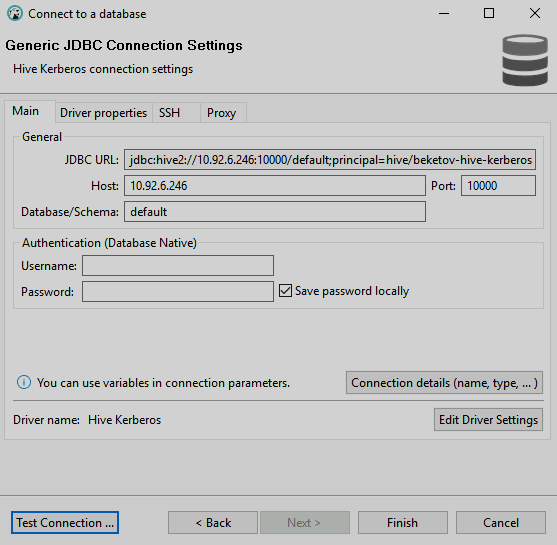
Create a new connection. For this, go to Database → New Database Connection tab. Choose Hive Kerberos. Fill in the Host field with the IP address of the Hive server.
 Create a new connection
 Create a new connection
 -
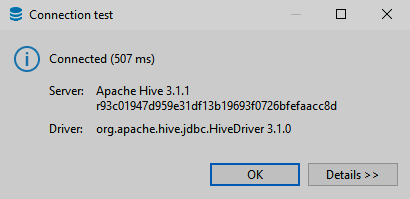
Click Test Connection to verify the connection.
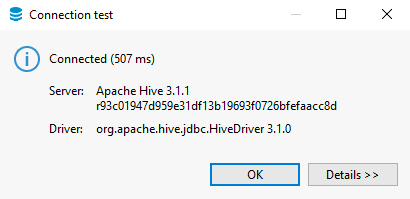 Connection test
 Connection test
 -
Click Finish. The setup is complete.

