
HUE UI overview
The HUE service provides a web interface that allows you to negotiate with various databases and data warehouses in a convenient manner. In ADH distribution, it contains pre-set SQL interpreters for the following solutions:
-
Hive
-
Impala
-
PySpark
-
Trino
-
Kyuubi (with pre-set Spark3)
-
Flink 2
You can find the link to the HUE web interface on the Info tab of the HUE service in the ADCM UI.
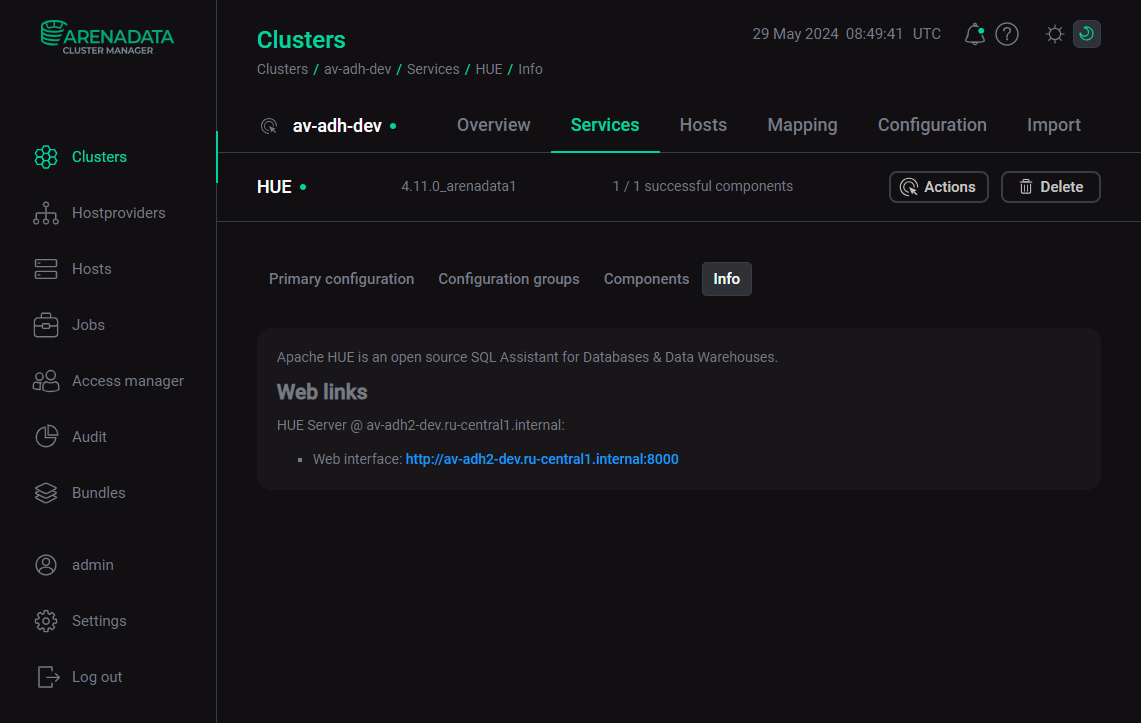
HUE Server UI works on the 8000 port.


The top bar of the home page contains the documents search field, jobs browser and preview buttons, and task history button.
Central part of the UI is occupied by the application area. Most of the work in HUE happens here.
Collapsible menu between the application area and the leftmost part of the UI is the quick browse menu. On the top of it, there is a switch between the database, files, and documents browsers. The main part contains links to various data, such as database elements, files, and documents, depending on the selected browser. You can open these data in the application area by clicking the links. You can also drag and drop the links to the application area to quickly paste the names of the database elements, file paths, etc.
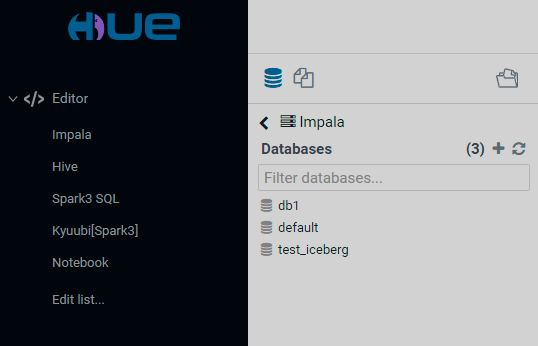
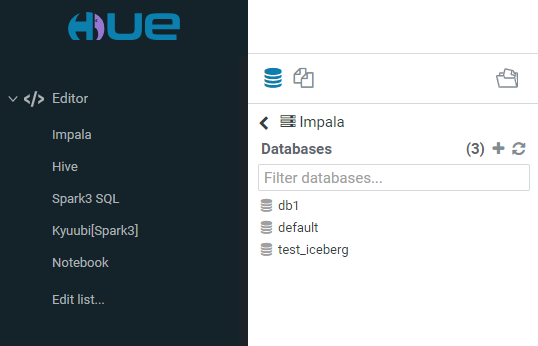
The leftmost collapsible menu contains the following pages:
Editor
The Editor page has the following view.
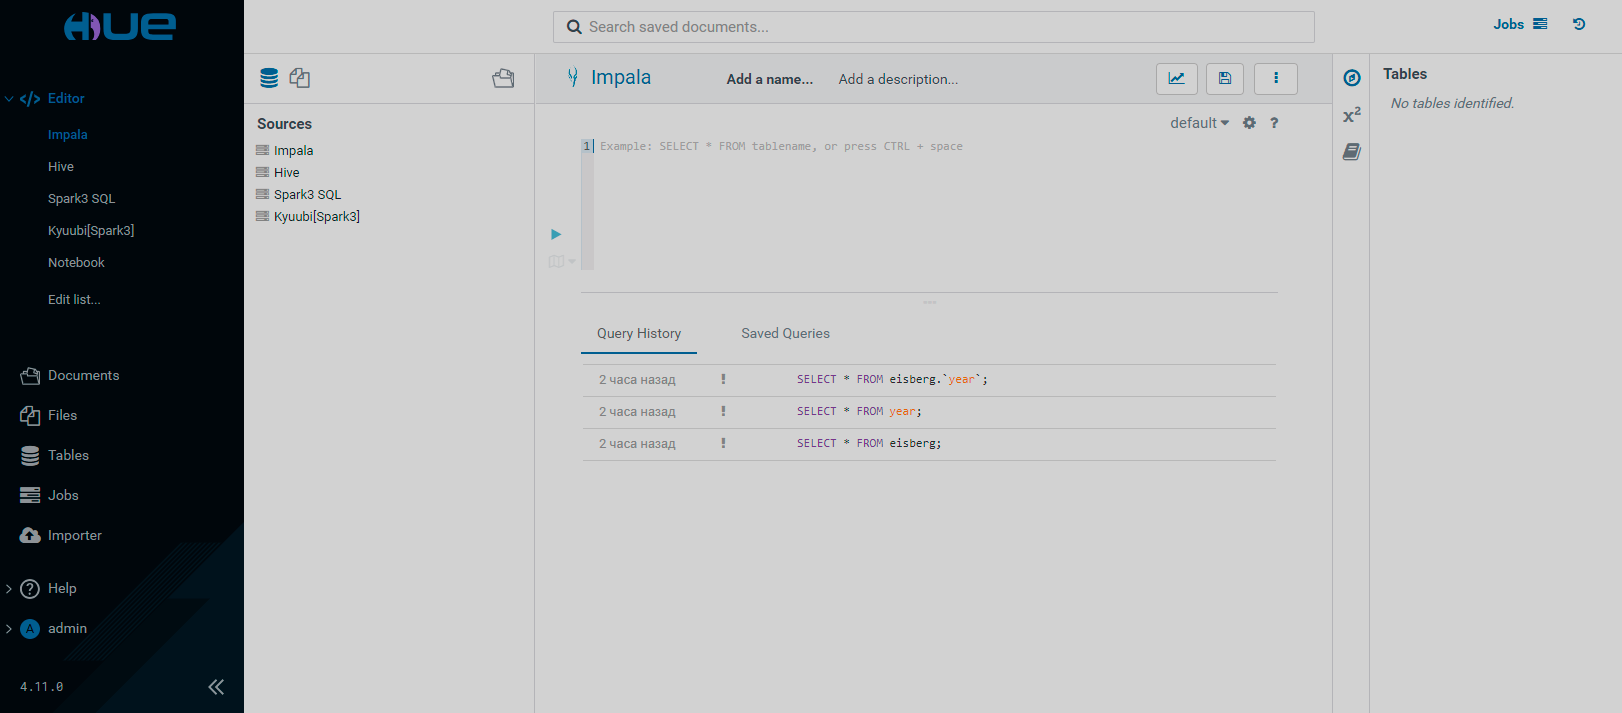
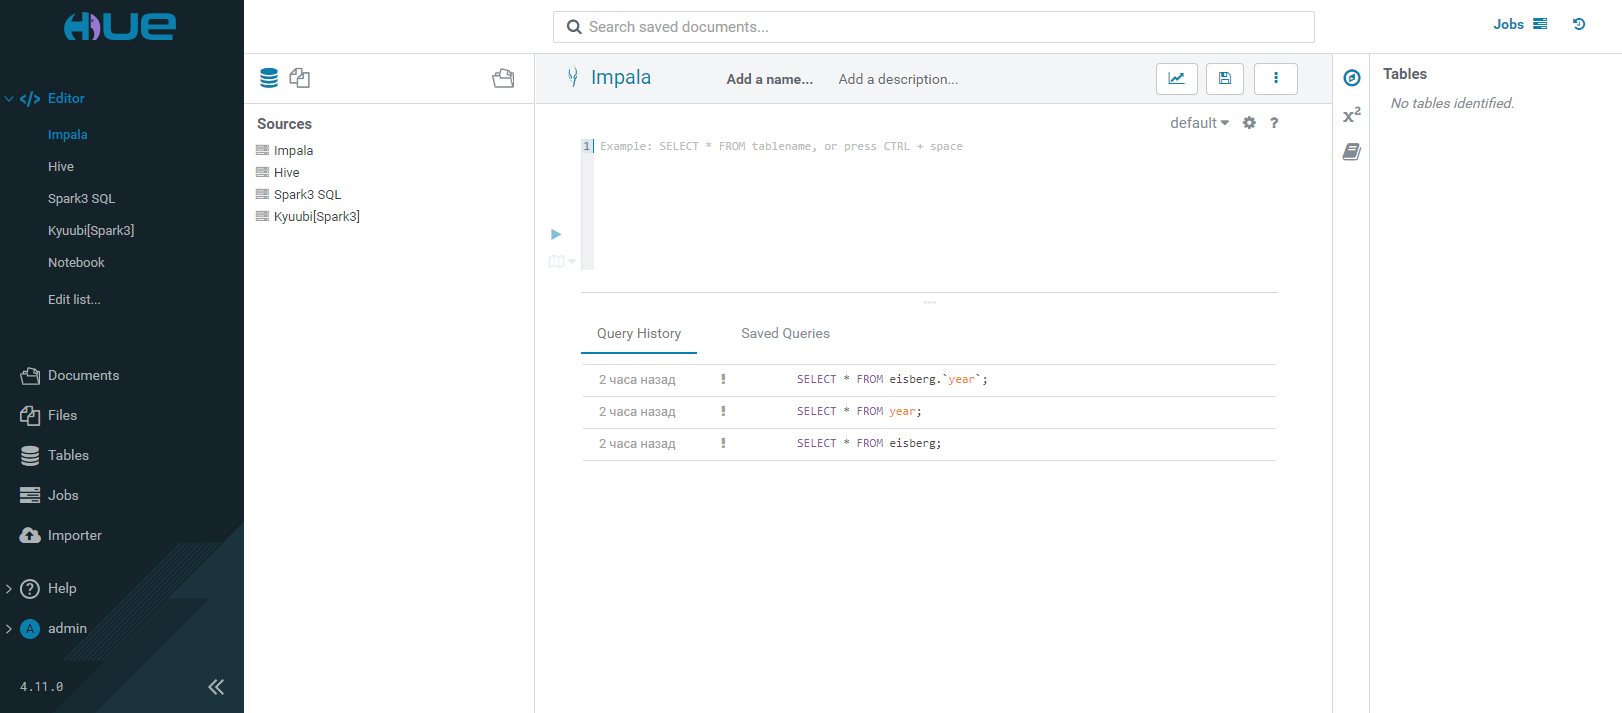
The Editor page provides the application area which allows you to compose, execute, and explain SQL queries. Data sources include impala, hive, and kyuubi. You can also use the notebook mode to create and store SQL snippets.
Documents
The Documents page has the following view.
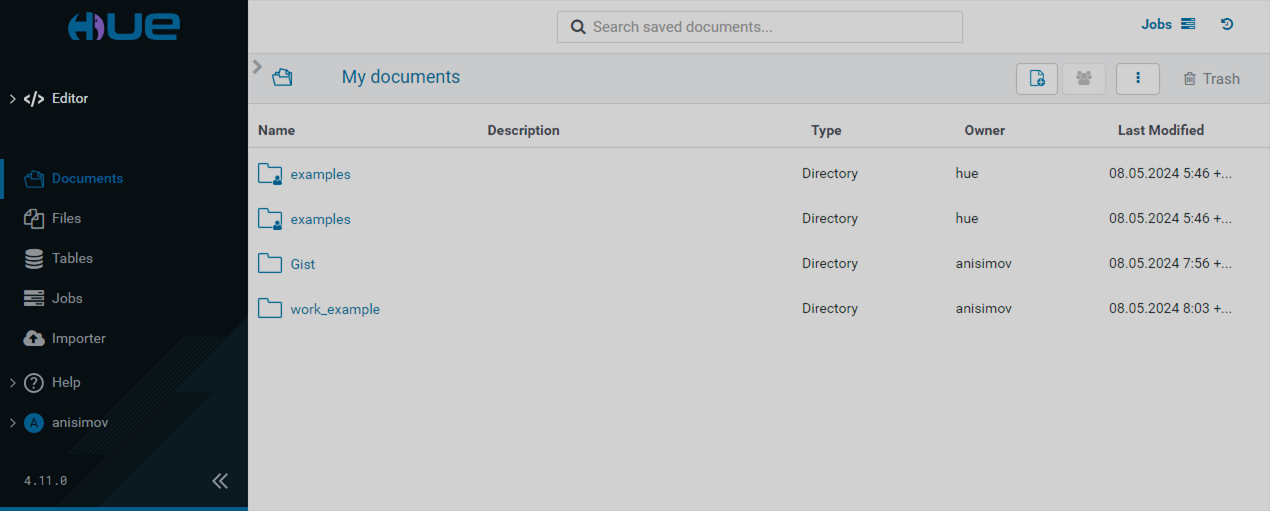
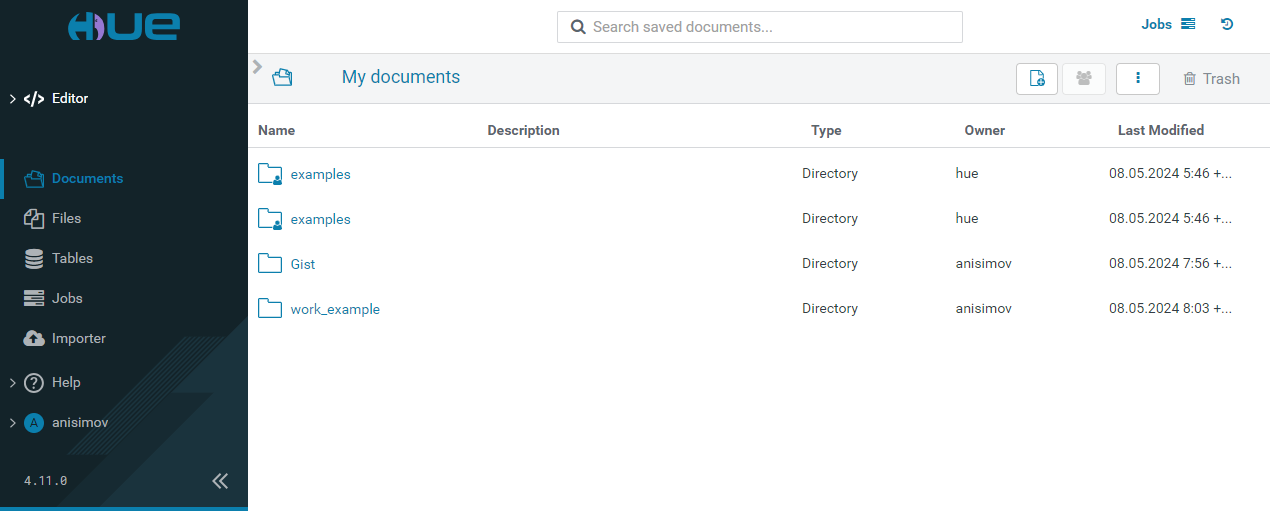
The Documents page contains your documents and folders. You can create, share, and manage your documents, and browse the trash folder using the corresponding buttons.
Files
The Files page has the following view.
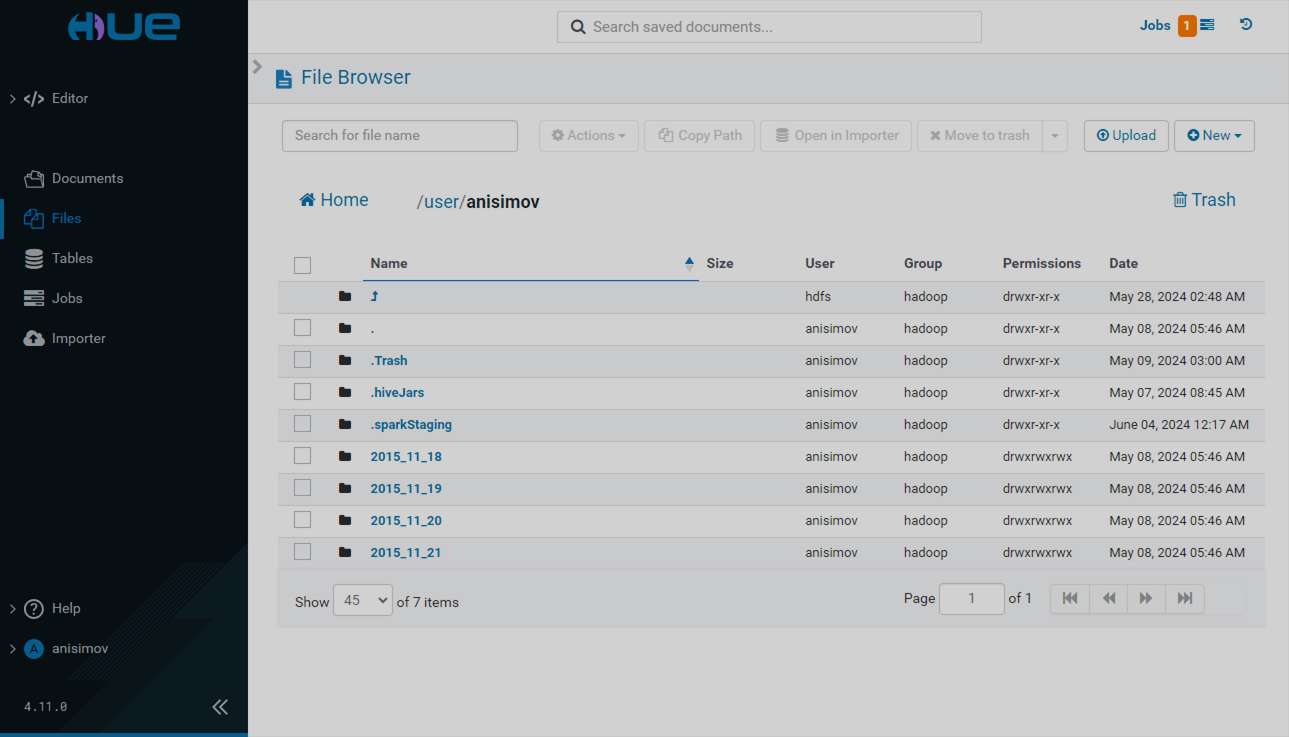
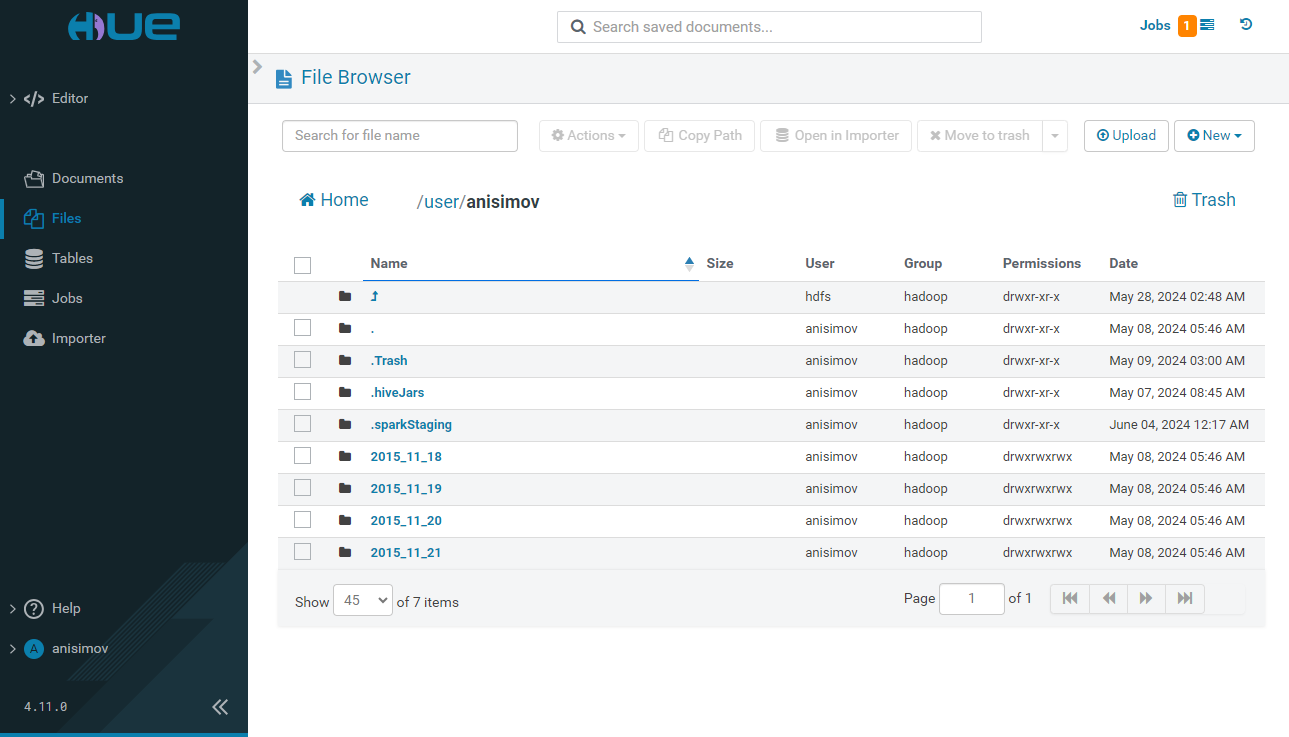
The Files page provides a browser for the Hadoop file system. You can search for files and folders or manage the existing ones. Possible actions include:
-
rename;
-
move;
-
copy;
-
download;
-
change permissions;
-
view summary;
-
change the replication factor;
-
move to the trash folder;
-
delete permanently.
You can also create or upload new files on this page, copy a file path or open it on the Importer page.
Ozone
The Ozone page has the following view.
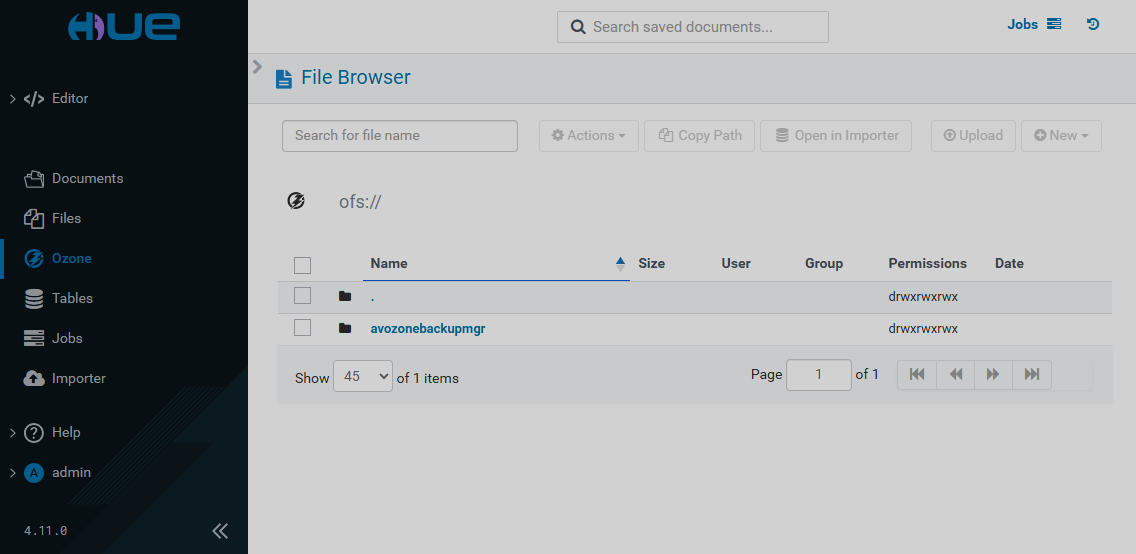
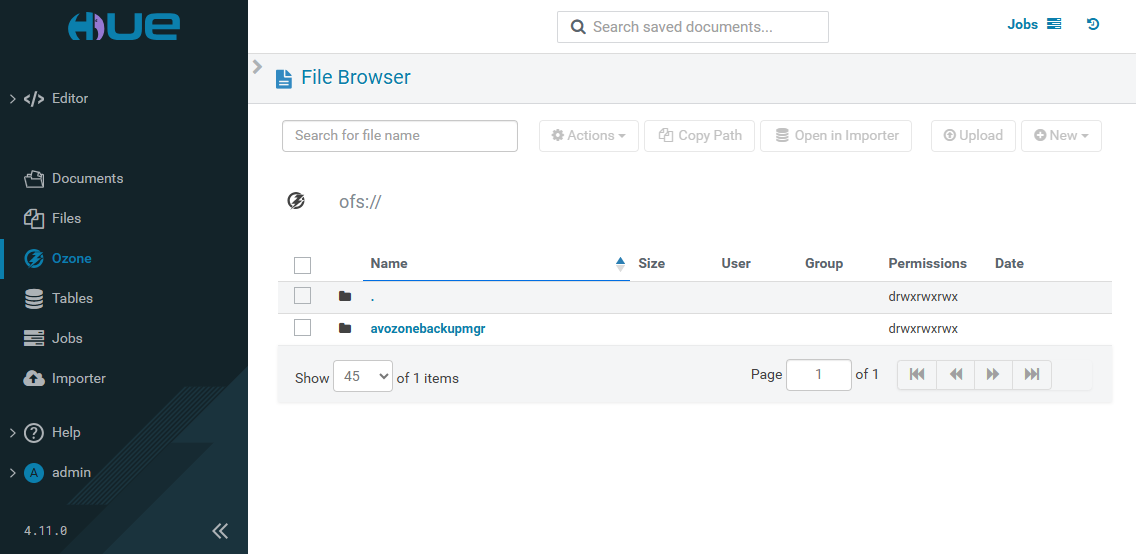
The Ozone page provides a browser for the Ozone file system (OFS). You can search for files and folders or manage the existing ones. Possible actions include:
-
rename;
-
move;
-
copy;
-
download;
-
change permissions;
-
view summary;
-
delete permanently.
You can also create or upload new files on this page, copy a file path or open it on the Importer page.
Tables
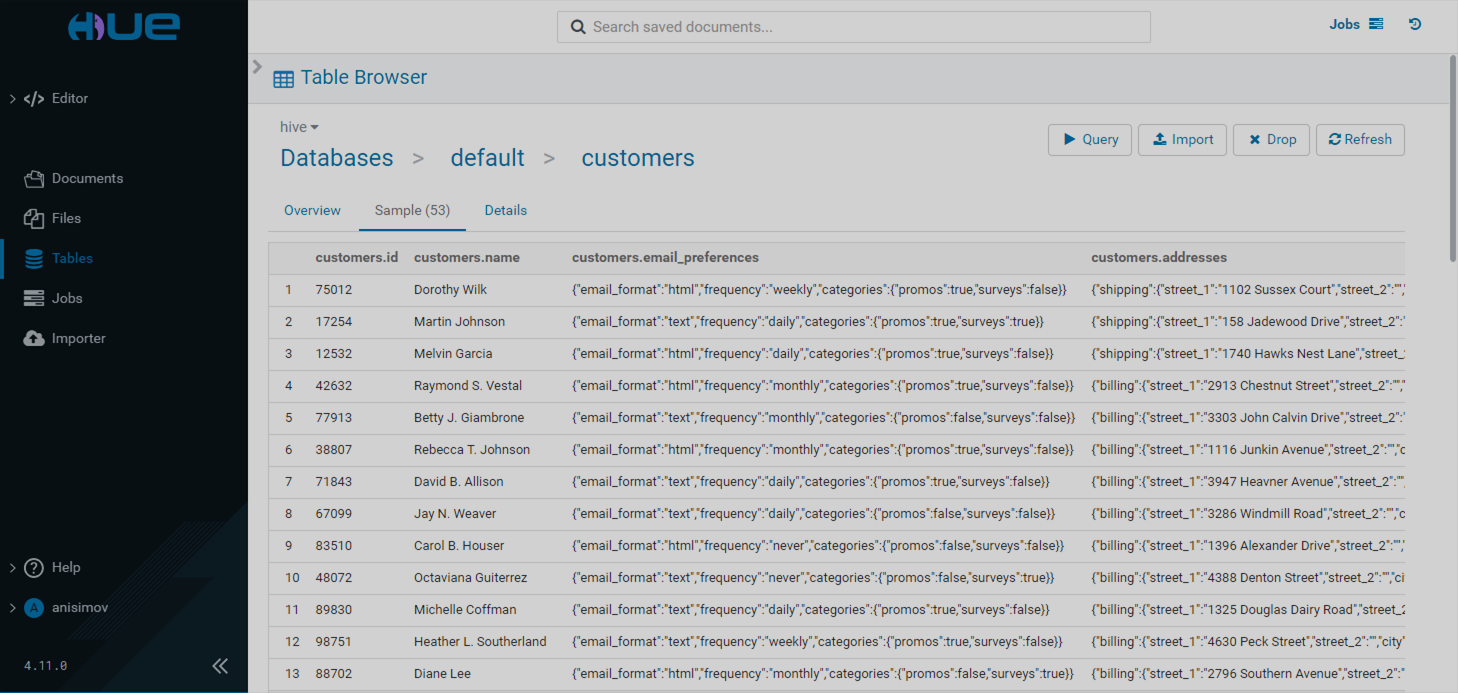
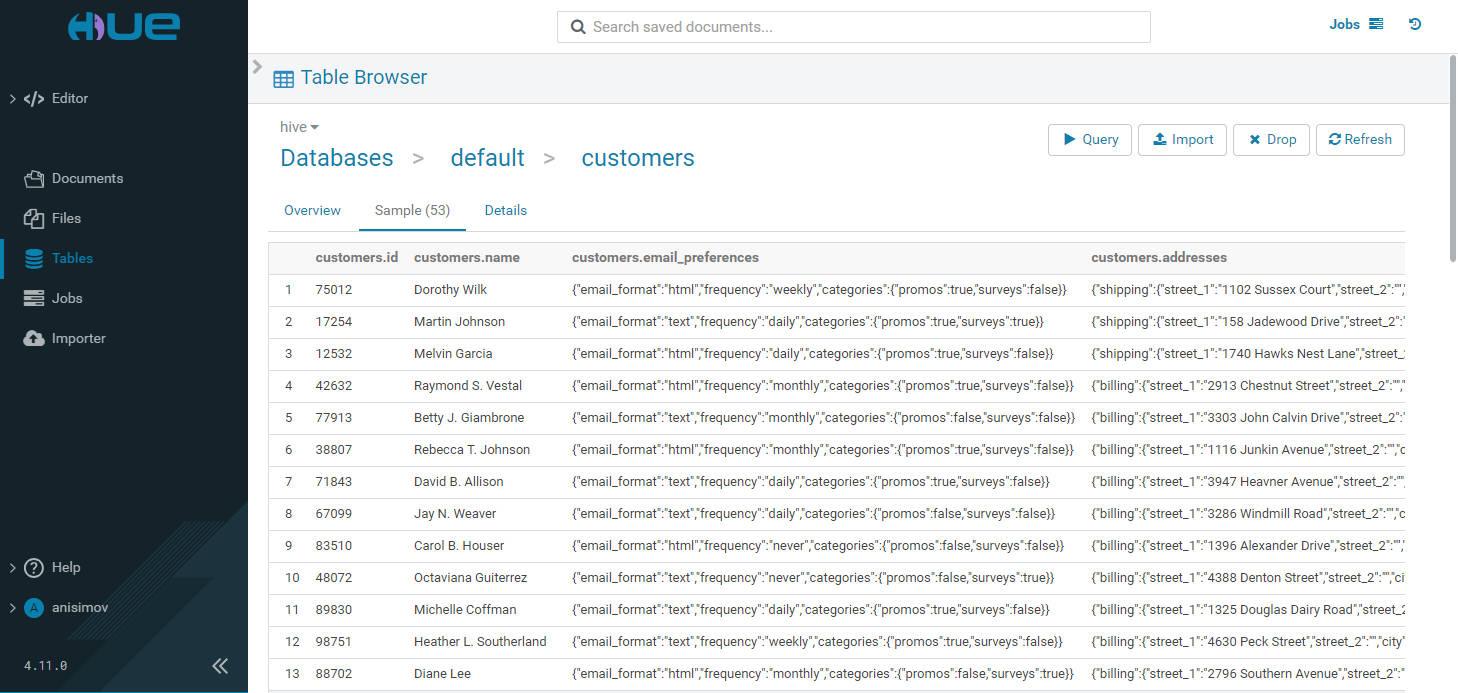
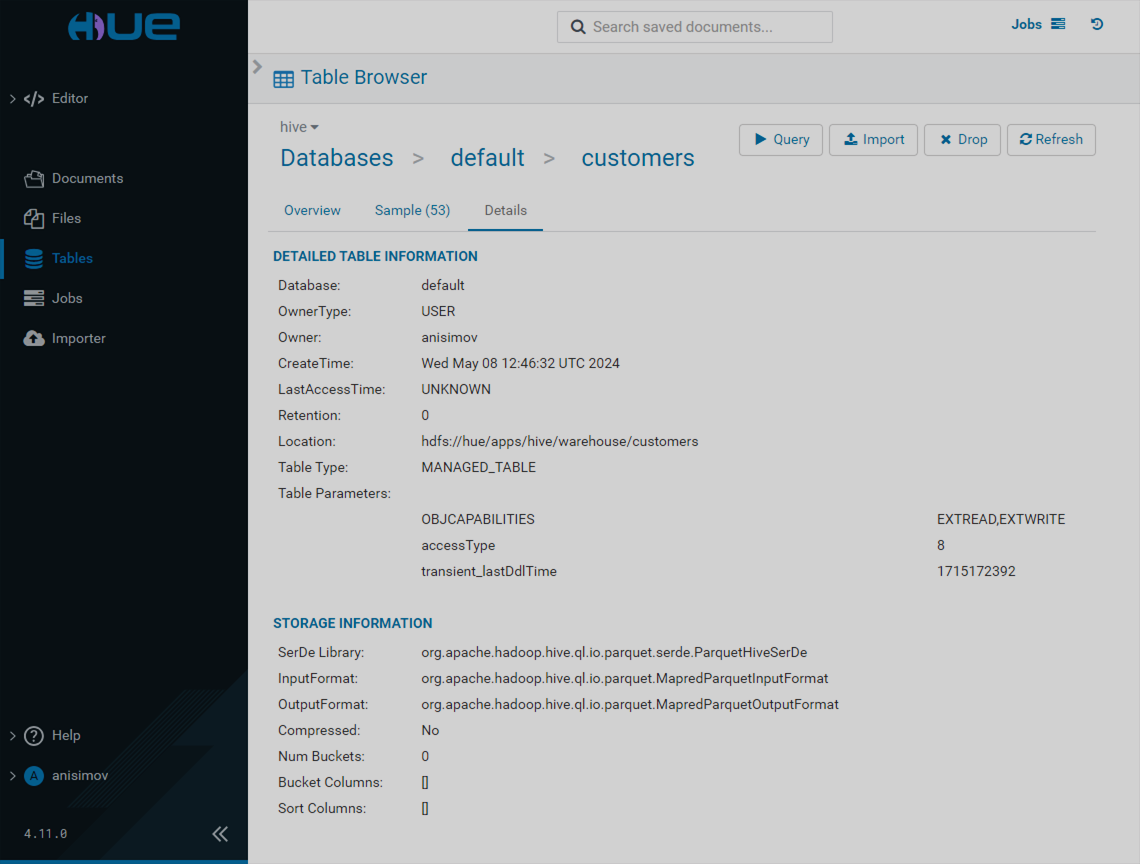
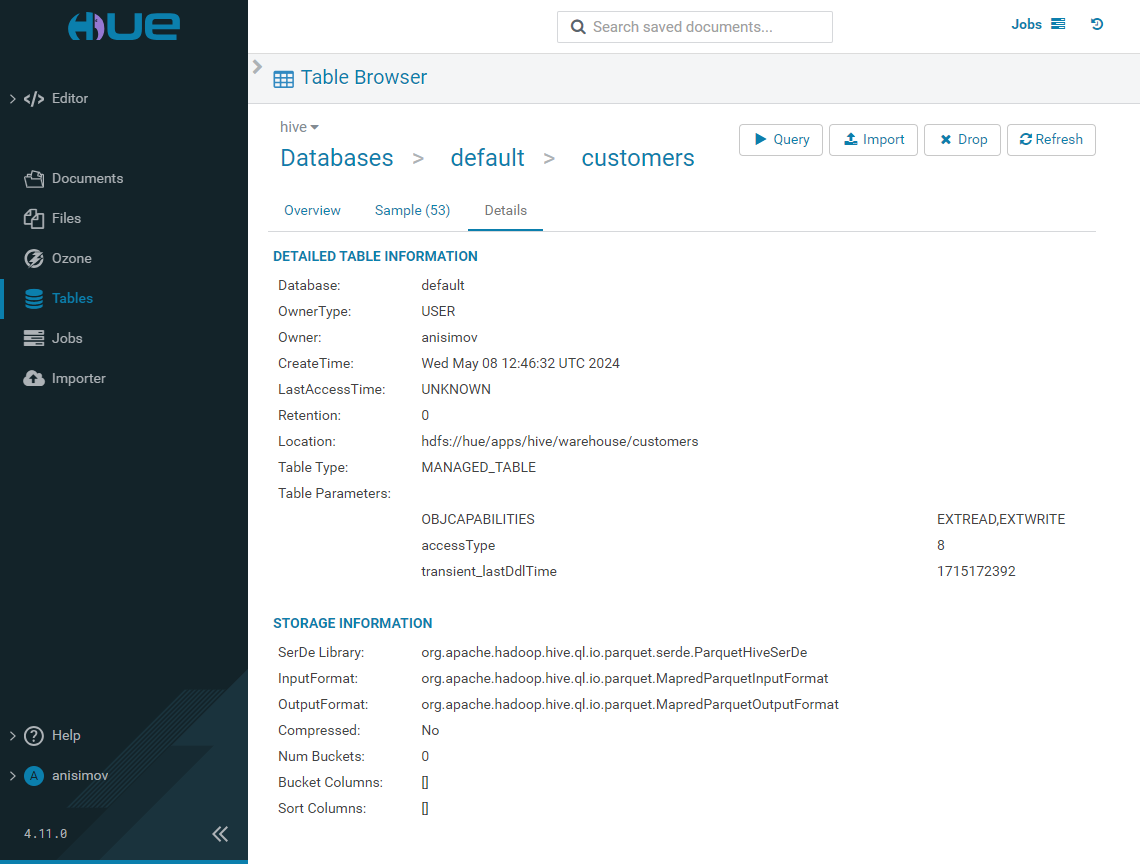
The Tables page has the following view.
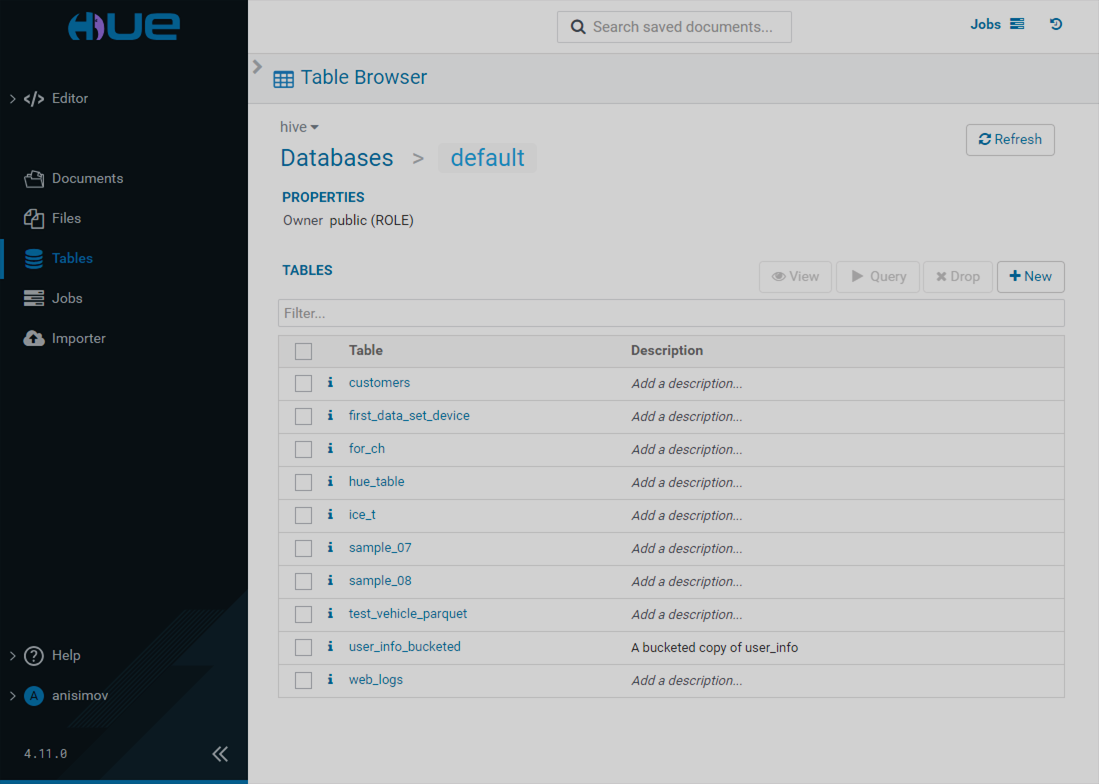
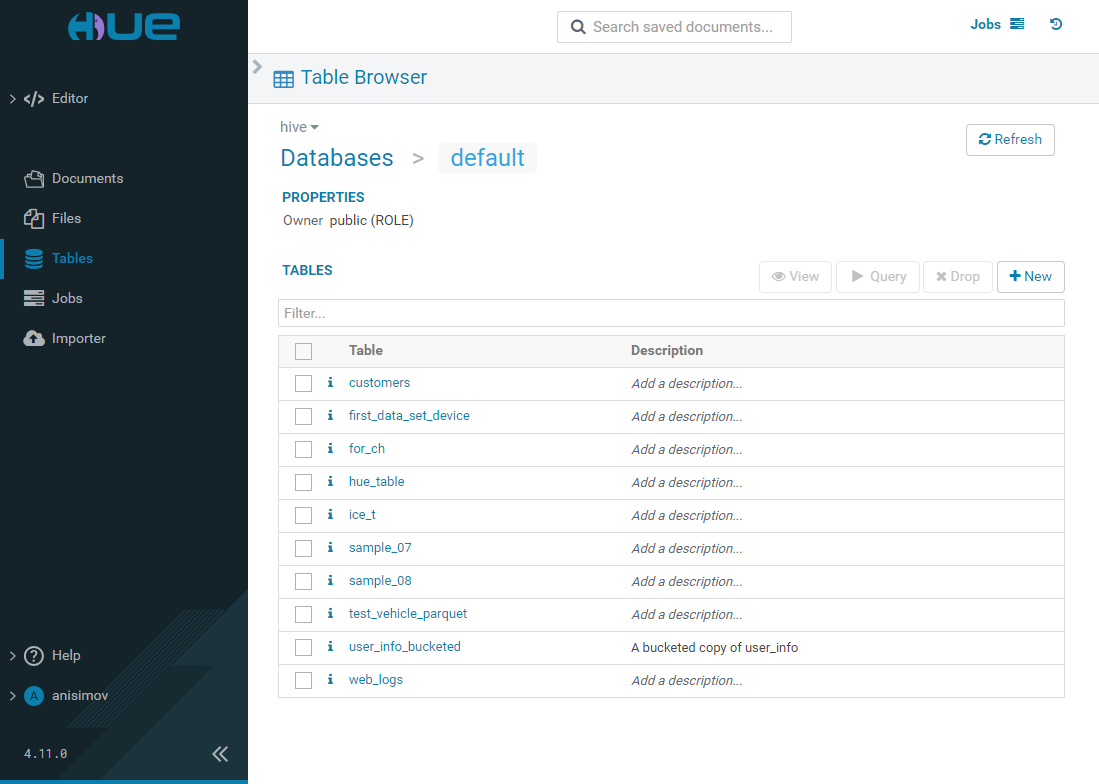
The Tables page allows you to choose the database source and browse through the tables of available databases. The following actions become available when a table is selected:
-
Query — run the following query against the selected table:
SELECT * FROM <selected_db>.<selected_table> LIMIT 100; -
Import — import data from Hadoop filesystem. This action moves the data from its location into the selected table storage location. You can also choose to overwrite existing data during this action.
-
Drop — drop the selected table.
-
Refresh — refresh the displayed data in the selected table.
Overview
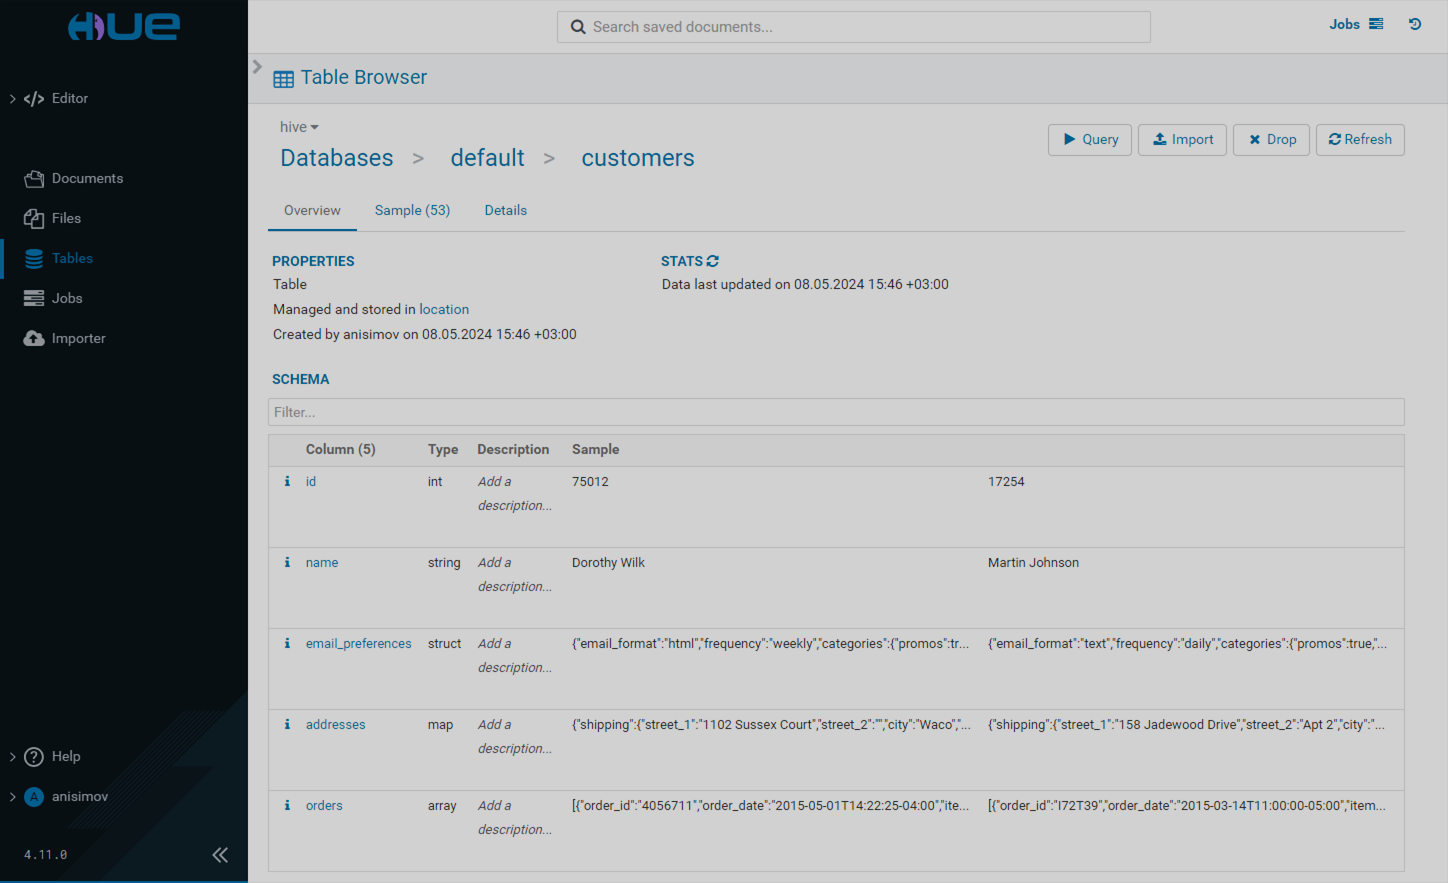
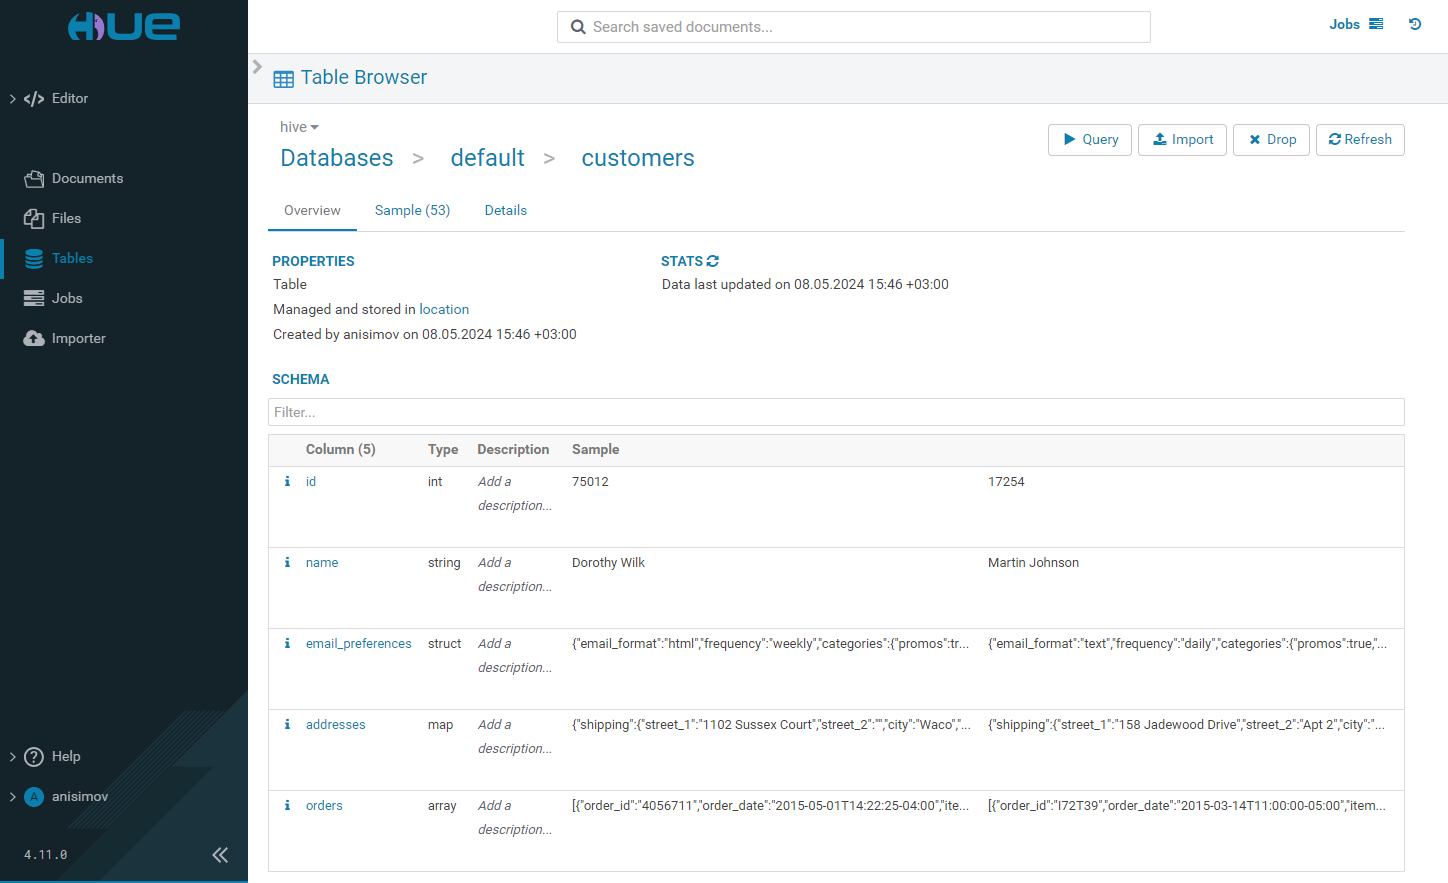
When you select a particular table, you can view the list of its columns along with their descriptions and sample values on the Overview tab.
Jobs
The Jobs page displays the list of all running and completed jobs. You can view the YARN jobs and Impala queries history on the corresponding tabs.
|
NOTE
The tabs only appear if all of the corresponding service components are present in the ADH cluster. |
You can filter the jobs list by checking the boxes Succeeded, Running, or Failed. You can also filter the list by the time period since the task start.
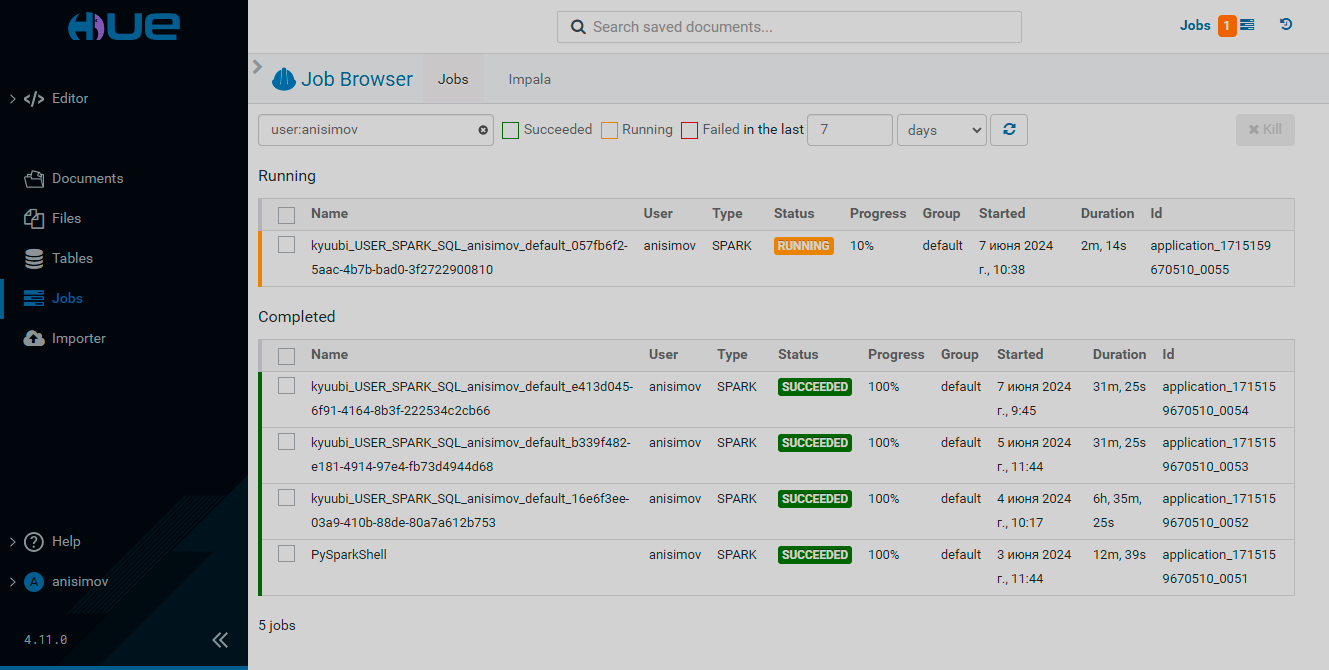
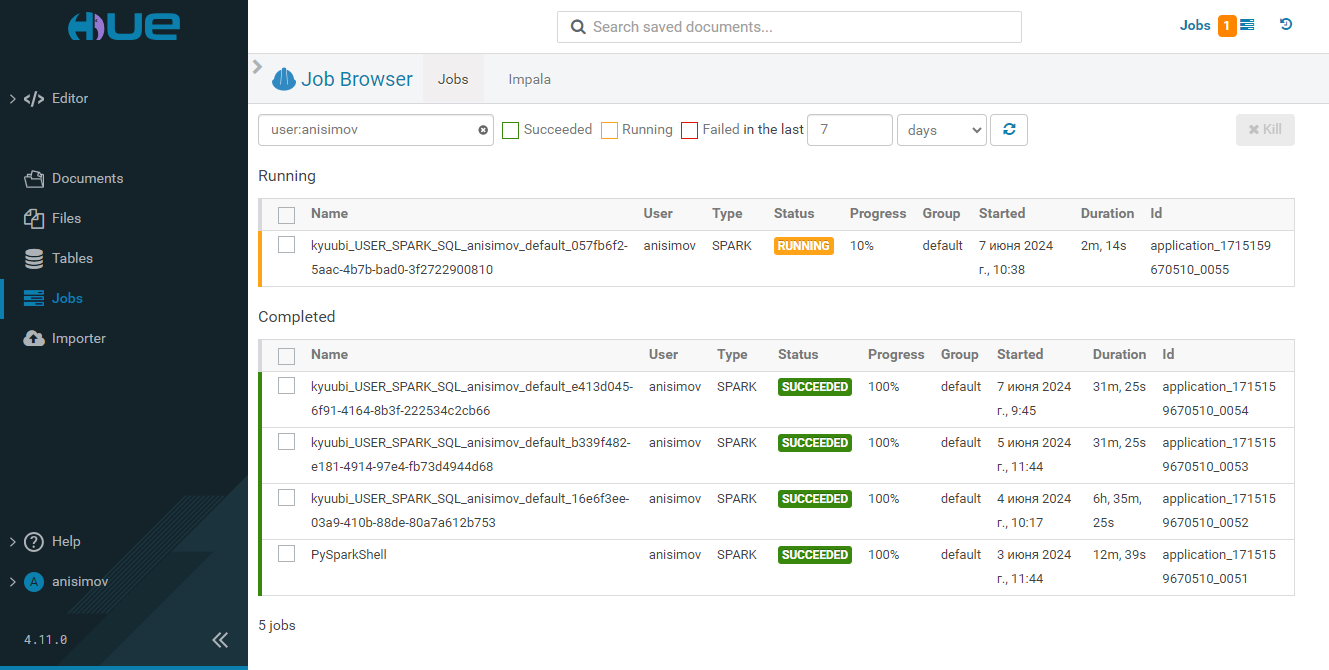
To suspend, resume, or stop a job, select its box and click Suspend, Resume, or Kill, respectively. You can perform these actions on any number of jobs in this manner.
Importer
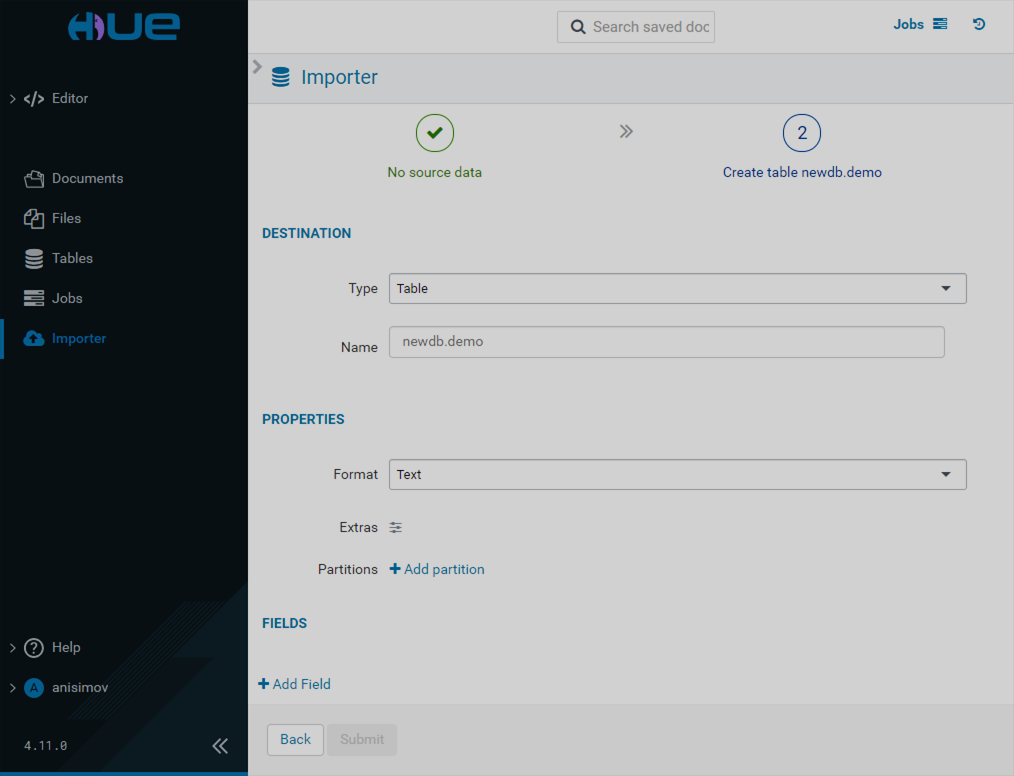
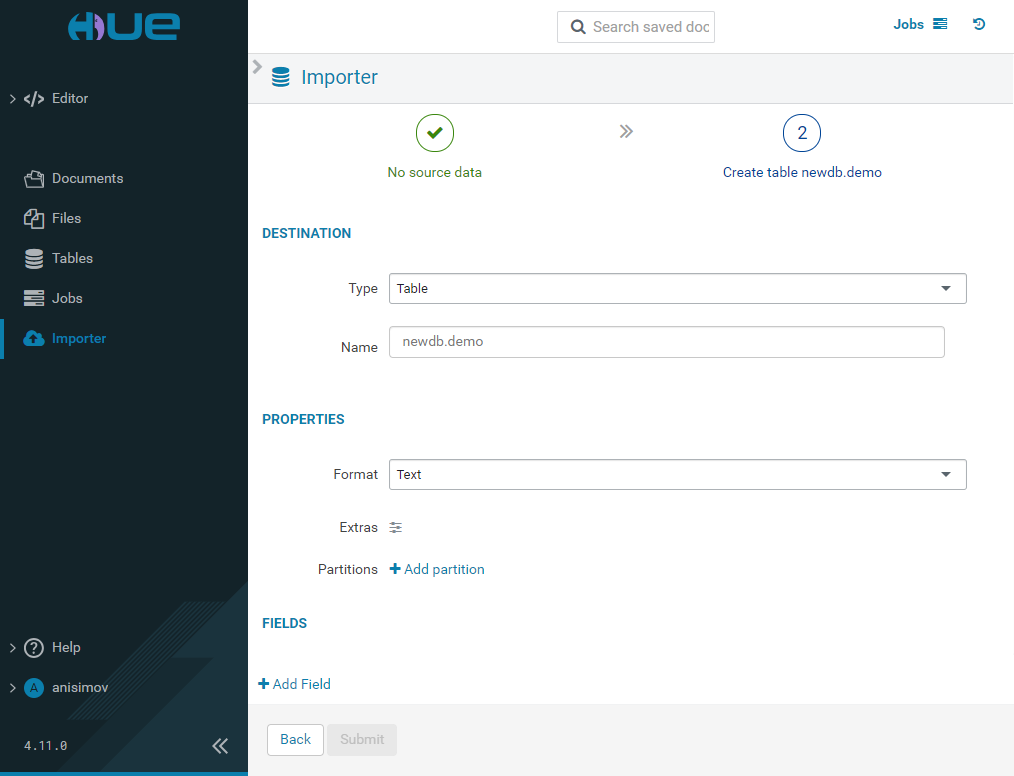
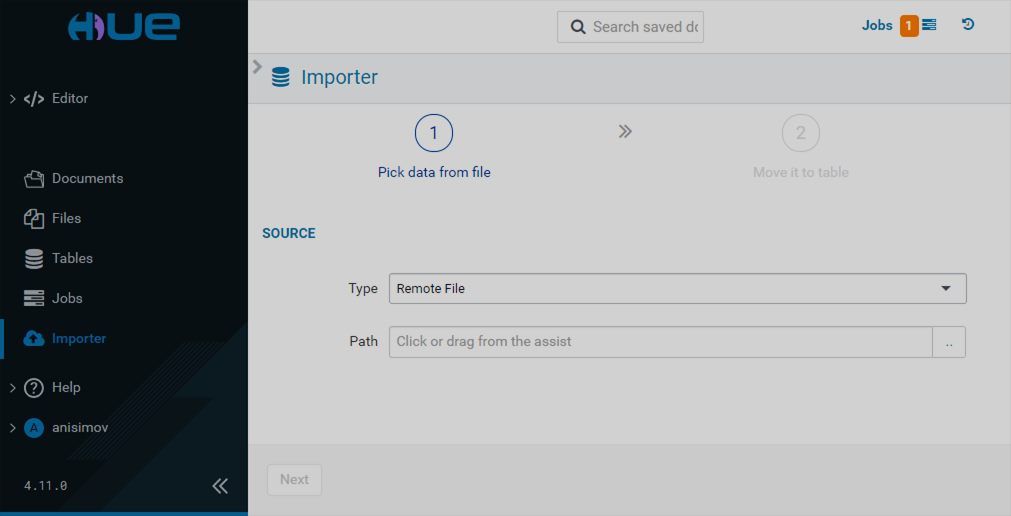
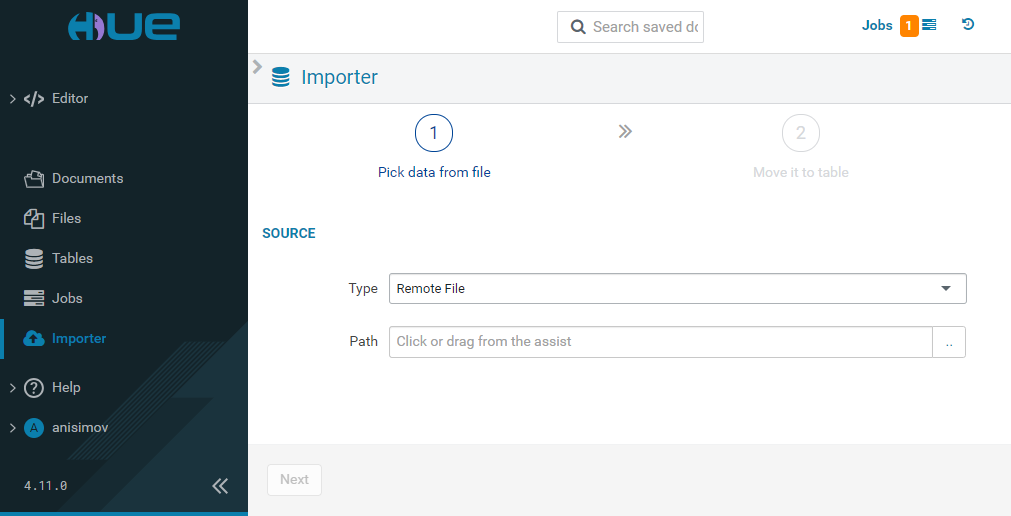
The Importer page allows you to create manually or import existing folders, tables, and databases.
Remote file import
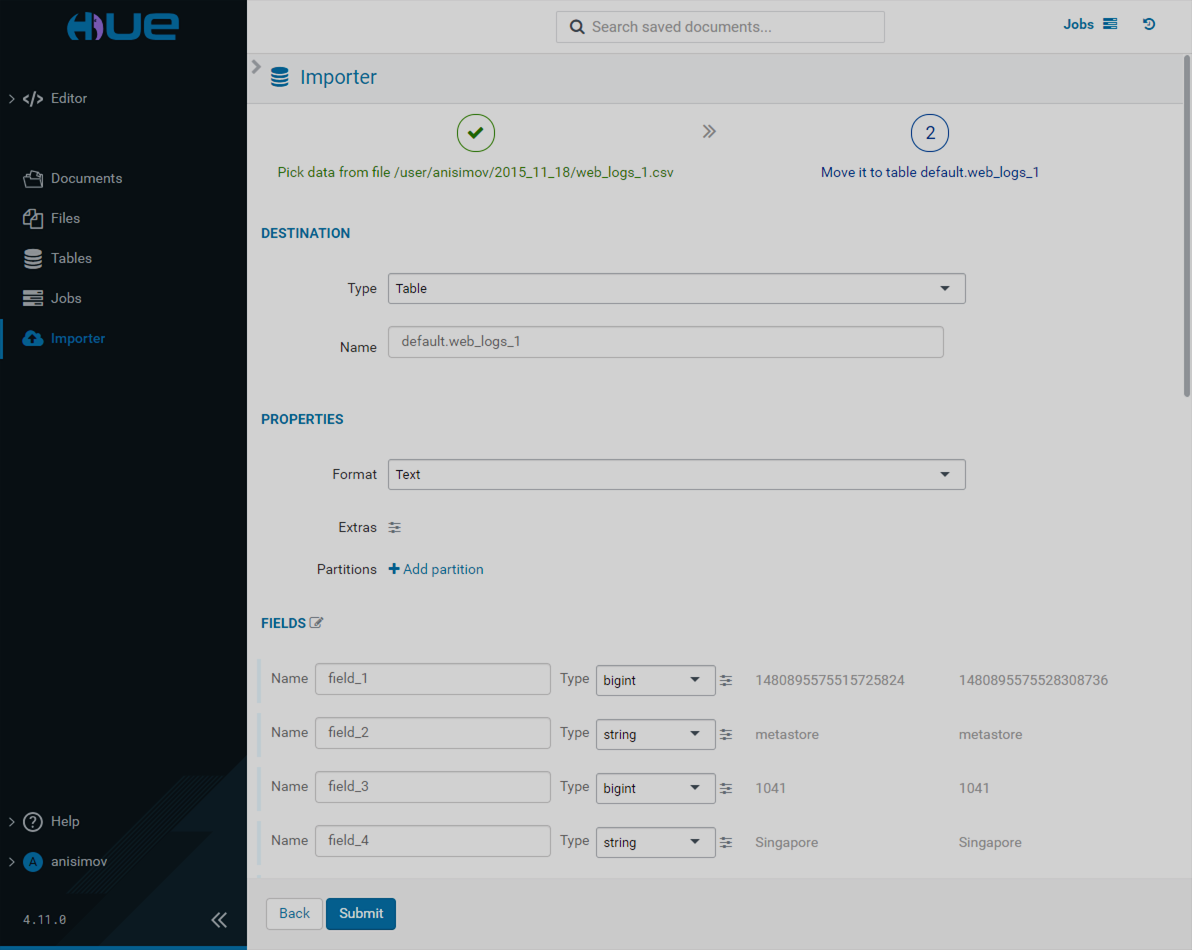
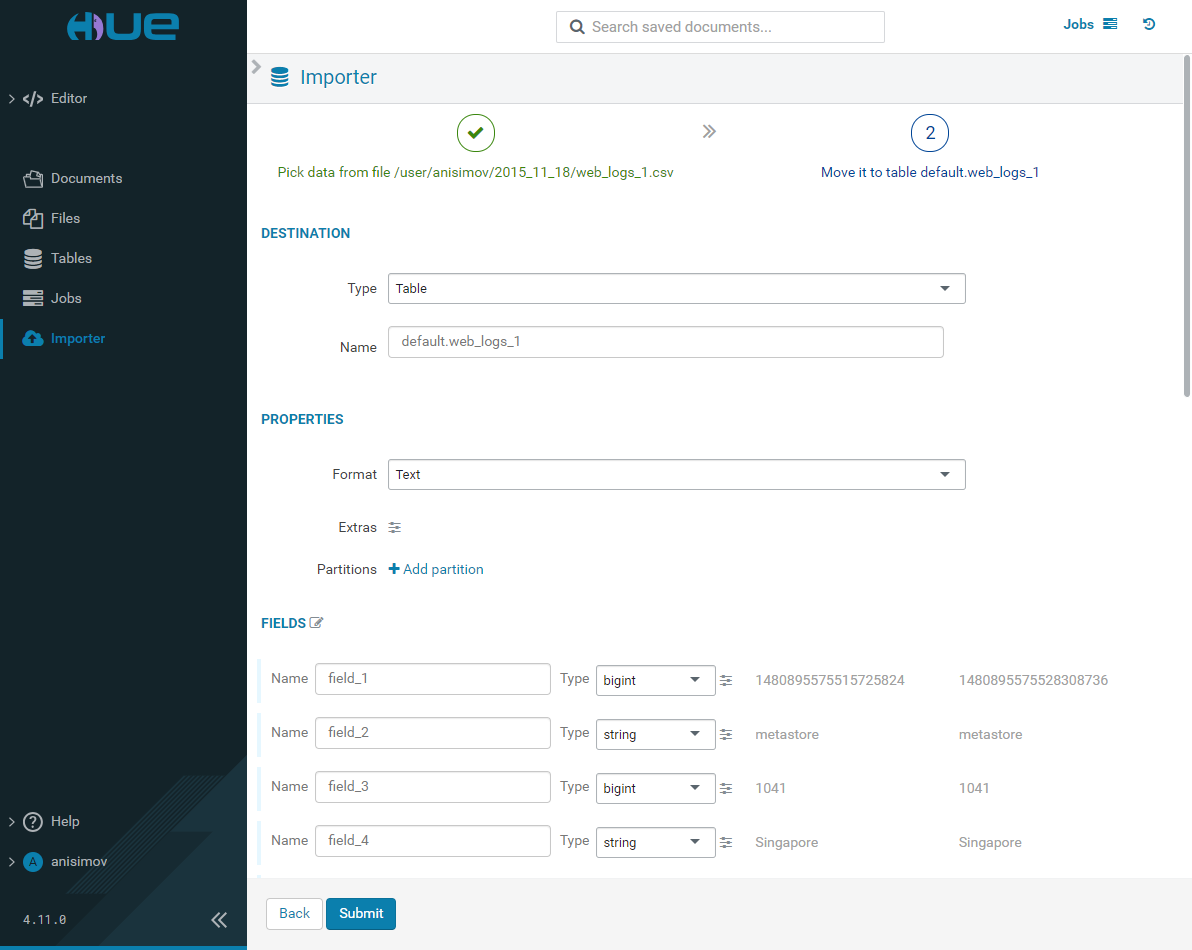
If you want to upload a file-stored table, select the Remote File type and specify the path to that file. Correct the values in the Format section if necessary. Click Next.
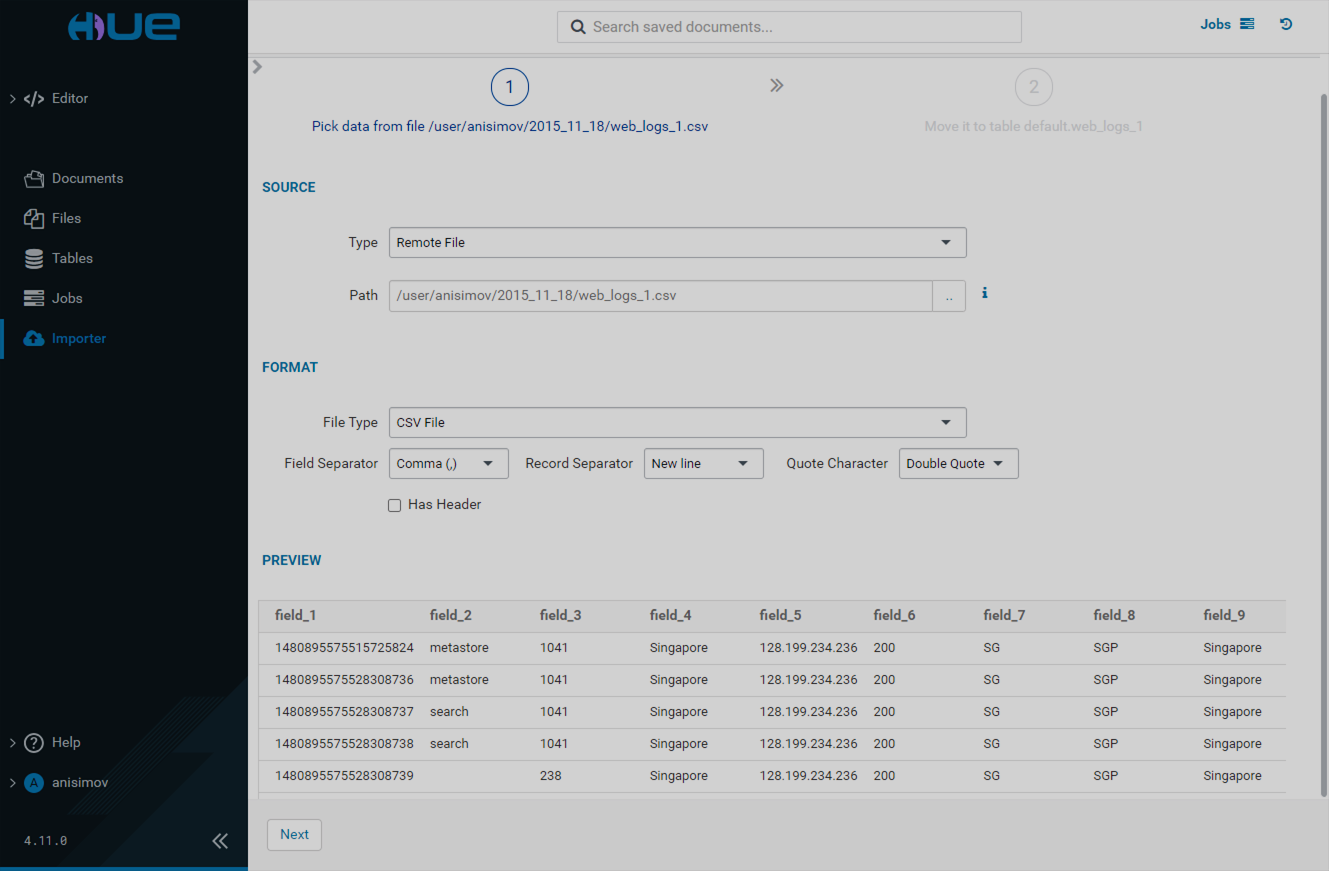
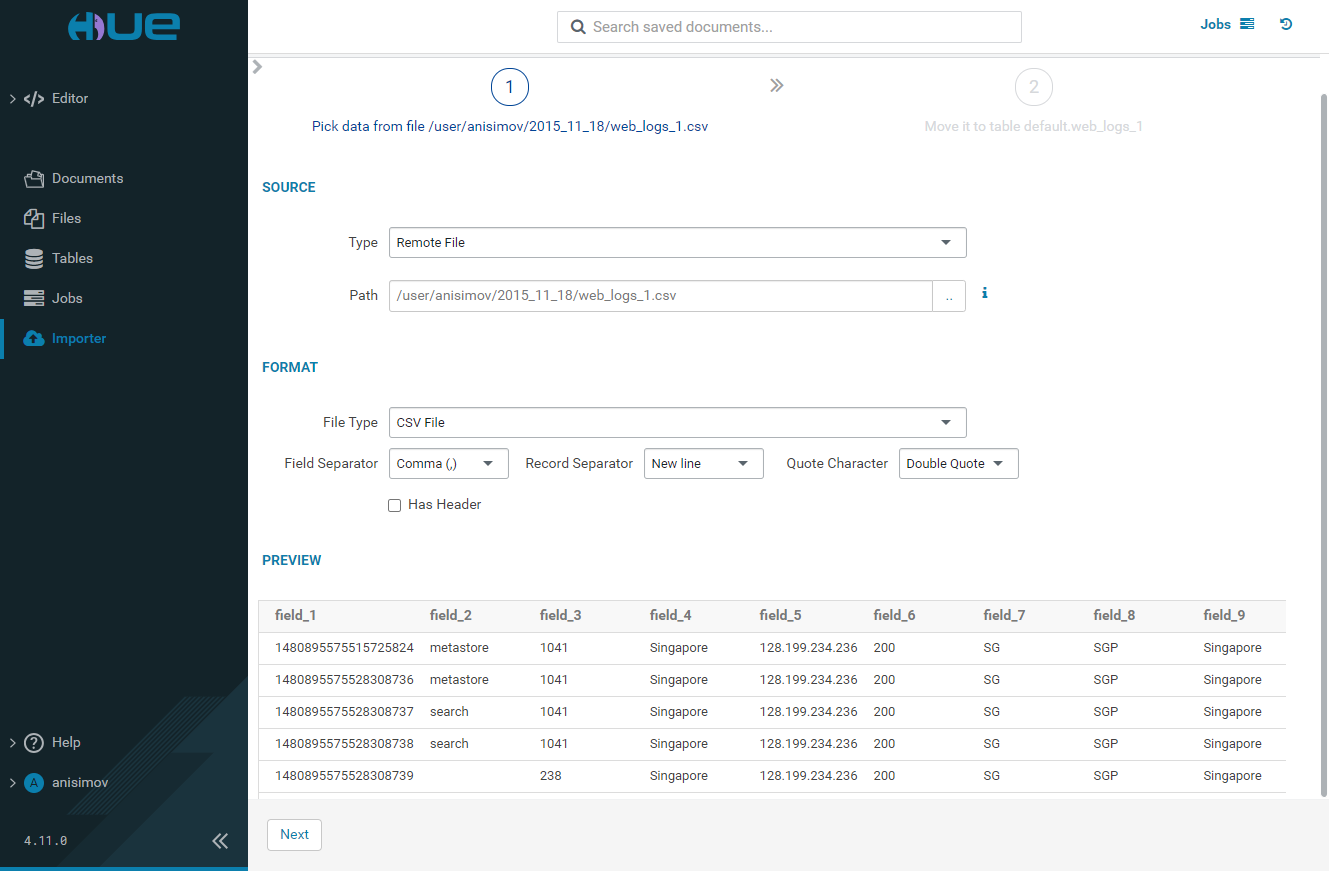
On the next page, specify the data type (table or search index), data properties and field details, and click Submit.
