

Work with Livy
Apache Livy is a Spark3 service component that allows interaction with a Spark cluster via HTTP. Livy exposes a REST API through which one can invoke common Spark functions, like:
-
submit Spark jobs;
-
retrieve synchronous/asynchronous results;
-
manage Spark Context.
This article describes the use of basic Livy operations like create/view/delete a session and also shows how to use Livy impersonation. All the examples in this article refer to the Batch session type, however the REST API for working with Interactive sessions is very similar. Batch sessions are intended for asynchronous, non-interactive execution of Spark jobs and are created automatically when a Spark app starts in the batch mode.
For more details, see Apache Livy REST API.
|
TIP
It is recommended to use the Livy server distributed with the Spark3 service.
This Livy instance runs on the 8999 port and contains latest bug fixes.
|
Prerequisites
To run the examples presented in this section, you need to prepare your ADH cluster.
Add user permissions
First, add permissions to Hadoop directories and copy Spark sample JARs to HDFS.
$ sudo -u hdfs hdfs dfs -mkdir /user/livyDemoUser
$ sudo -u hdfs hdfs dfs -chown livyDemoUser:hadoop /user/livyDemoUser
$ sudo -u hdfs hdfs dfs -chmod -R a+rwx /user/livyDemoUser
$ sudo -u hdfs hdfs dfs -chmod -R a+rwx /var/log/spark3/apps
$ sudo -u hdfs hdfs dfs -mkdir /user/livyDemoUser/spark_examples
$ sudo -u hdfs hdfs dfs -put /usr/lib/spark3/examples/jars/* /user/livyDemoUser/spark_examples
Enable Livy impersonation
By default, when an HTTP request reaches Livy and spawns a new YARN/Spark job, the new job process starts as livy user.
Livy impersonation allows you to substitute the user name and run the process as a different user.
To enable impersonation, follow the steps below:
-
In ADCM, go to <YourClusterName> → Services → HDFS → Custom core-site.xml and specify the
hadoop.proxyuser.livy.groups = *andhadoop.proxyuser.livy.hosts = *properties. Allowing all groups/hosts (*) is a bad practice from the security perspective so it is used solely for demonstration purpose. -
Ensure that /etc/livy/conf/livy.conf (located on the same host as Livy server) contains the
livy.impersonation.enabled = Trueparameter. -
Restart HDFS, YARN, and Spark.
-
If Ranger plugin is enabled, add corresponding policies for
livyDemoUserused in the examples.
Session creation example
The example below shows how to create a new Batch session that runs the SparkPi job:
-
First, create a JSON file that will be POSTed to Livy as HTTP body.
{
    "file": "/user/livyDemoUser/spark_examples/spark-examples_2.11-2.3.2.3.1.0.15-1.jar", (1)
    "className": "org.apache.spark.examples.SparkPi", (2)
    "name": "test-livy-1", (3)
    "args": [10], (4)
    "proxyUser": "livyDemoUser" (5)
}
1 The path to a sample Spark JAR to run. 2 The main class of the SparkPi application. 3 The name for the new session. Must be unique cluster-wide. 4 The list of command-line arguments passed to the Spark application. 5 The user name for impersonation. This user will be used to run the new Spark job process. -
Submit the following POST request to create a new batch session.
$ curl -X POST 'http://<livyServerHost>:8999/batches'
-H "X-Requested-By: livyDemoUser" (1)
-d @request.json -H 'Content-Type: application/json'
1 A mandatory header for CSRF protection NOTEIf your ADH cluster is kerberized, you should enable SPNEGO negotiation for curl. For this, add the--negotiate -v -u:flag to your curl requests.The response from Livy looks as follows:
{"id":1,"name":"test-livy-2","state":"starting","appId":null,"appInfo":{"driverLogUrl":null,"sparkUiUrl":null},"log":["stdout: ","\nstderr: ","\nYARN Diagnostics: "]}
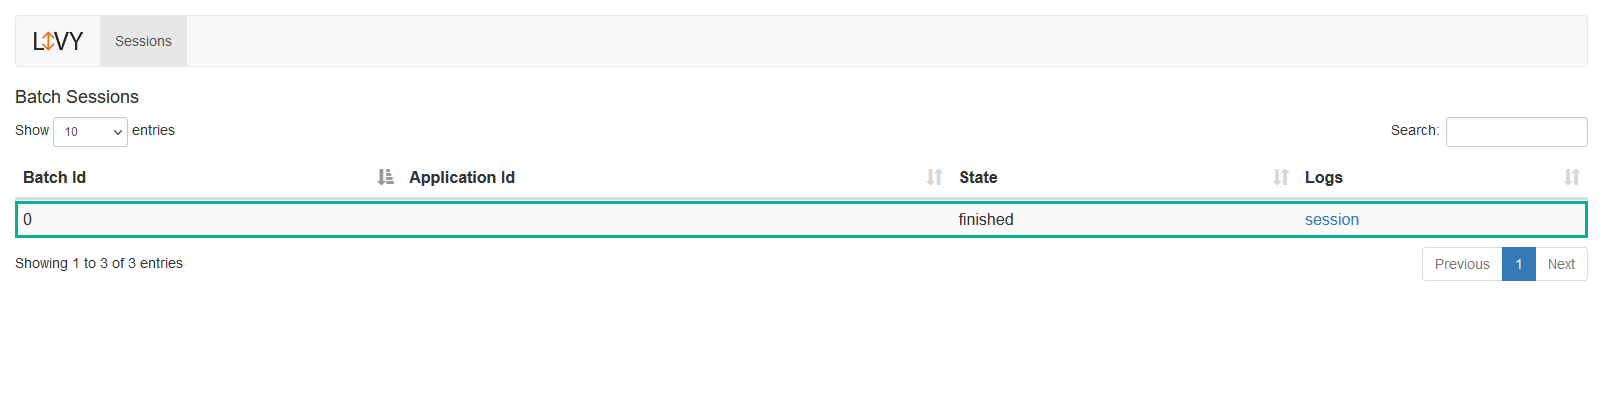
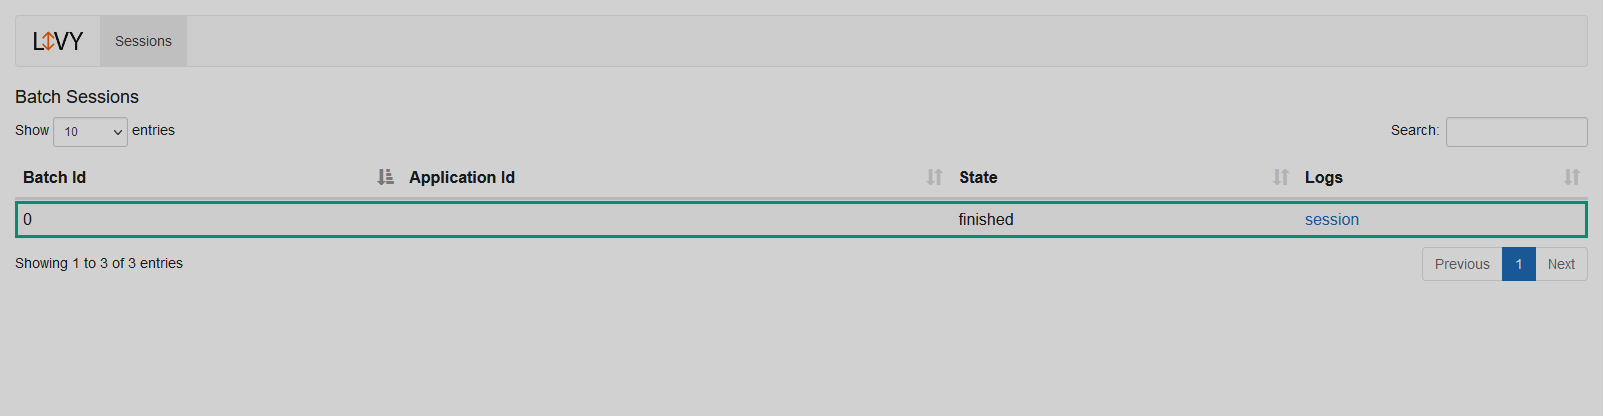
When Livy gets the request, it creates a new session named test-livy-1 (the name field in request.json).
The new session is displayed in Livy UI.
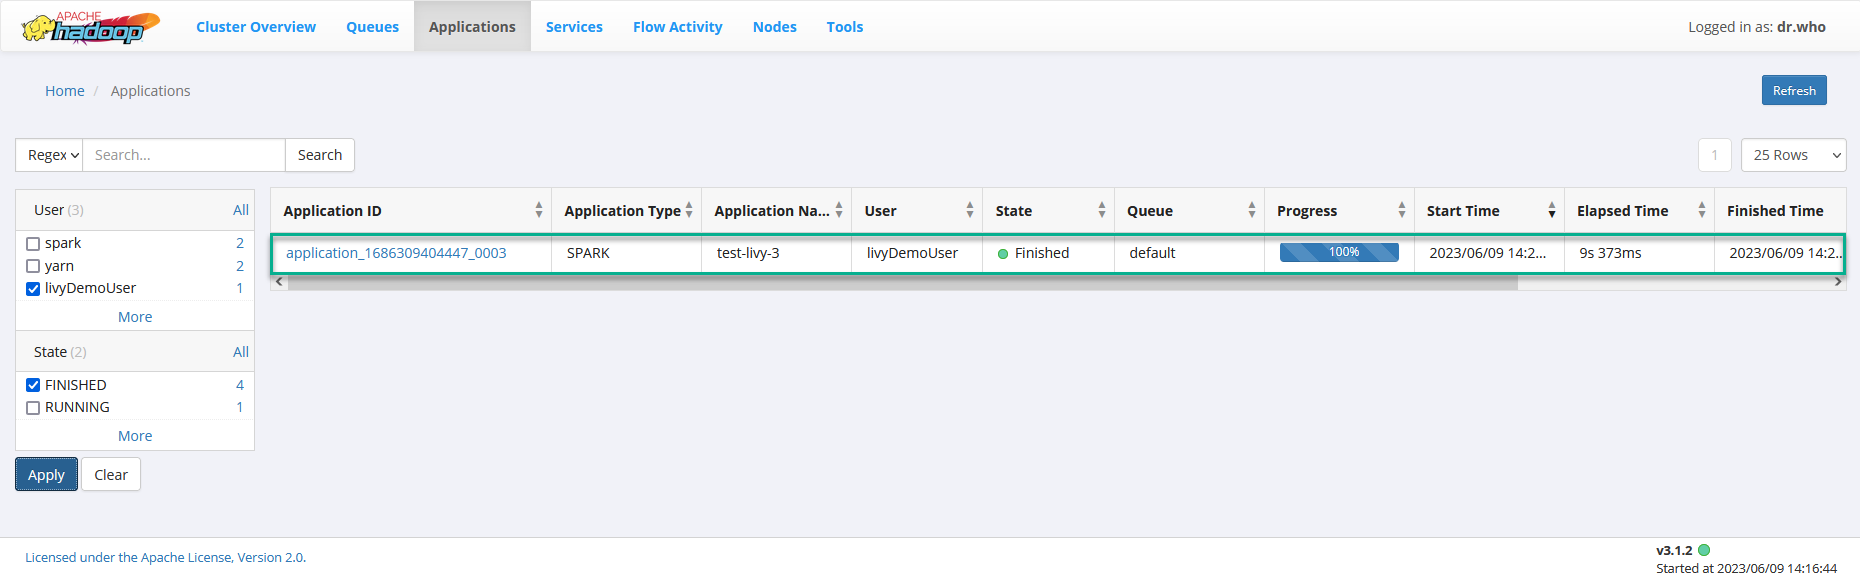
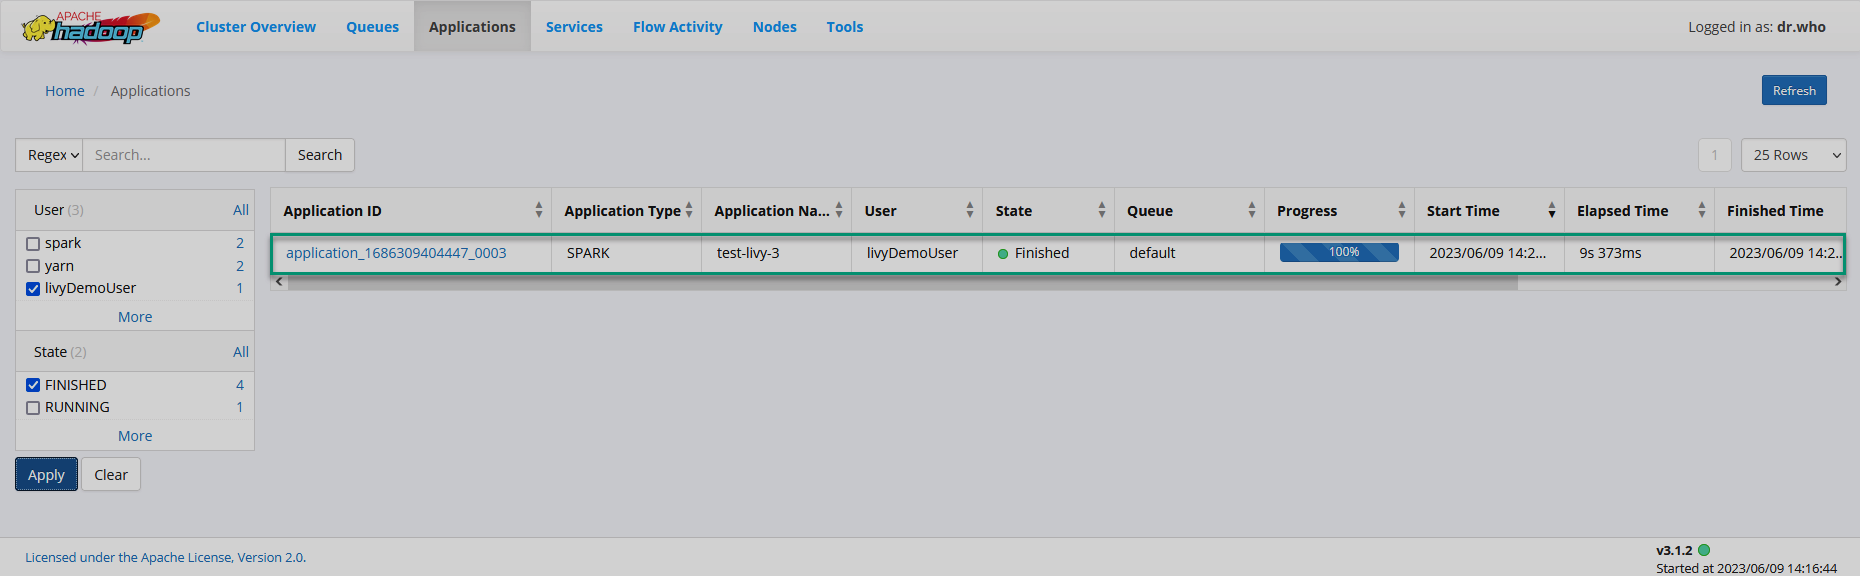
The new session also appears in YARN(UI2).
Get session status
To get the status of a batch session, submit the following request.
$ curl -X GET 'http://<livyServerHost>/batches/x'where x is the session ID, for example 123.
The response from Livy looks as follows:
{"id":2,"name":"test-livy-4","state":"starting","appId":null,"appInfo":{"driverLogUrl":null,"sparkUiUrl":null},"log": [...]}
To get all sessions, submit a request to the following endpoint.
$ curl -X GET 'http://<livyServerHost>/batches'This returns a list of all sessions with metadata, for example:
{"from":0,"total":4,"sessions":[{"id":0,"name":"test-livy-1","state":"finished","appId":null,"appInfo":{"driverLogUrl":null,"sparkUiUrl":null},"log":[...]},...]}
Delete session
To delete a session, make the following request.
$ curl -X DELETE 'http://<livyServerHost>:8999/batches/x'
-H 'X-Requested-By: livyDemoUser'
Where x is the ID of the session to delete.
Common issues
The most common issues that you may encounter while using Livy are described below:
-
Impersonation error.
You may observe the following exception in Livy logs:
org.apache.hadoop.security.authorize.AuthorizationException: User: livy is not allowed to impersonate <username> ...
This indicates misconfigured impersonation. See Enable Livy impersonation for more details.
-
HTTP ERROR: 400in the curl response.This error indicates a missing required HTTP header for CSRF protection. Try adding
-H "X-Requested-By: <userName>"to your curl requests. -
Errors related to Ranger policies.
If Ranger plugin is enabled, the user can’t start a new session in the default YARN queue. For this, you need to set corresponding Ranger policies for YARN.