

Сreate a note using Phoenix
|
NOTE
Before creating a note, make sure that your Phoenix interpreter is configured as described in the Add a custom interpreter to a group article.
|
-
In the Zeppelin web UI, click the Create new note list item or click the main menu item Notebook → Create new note.
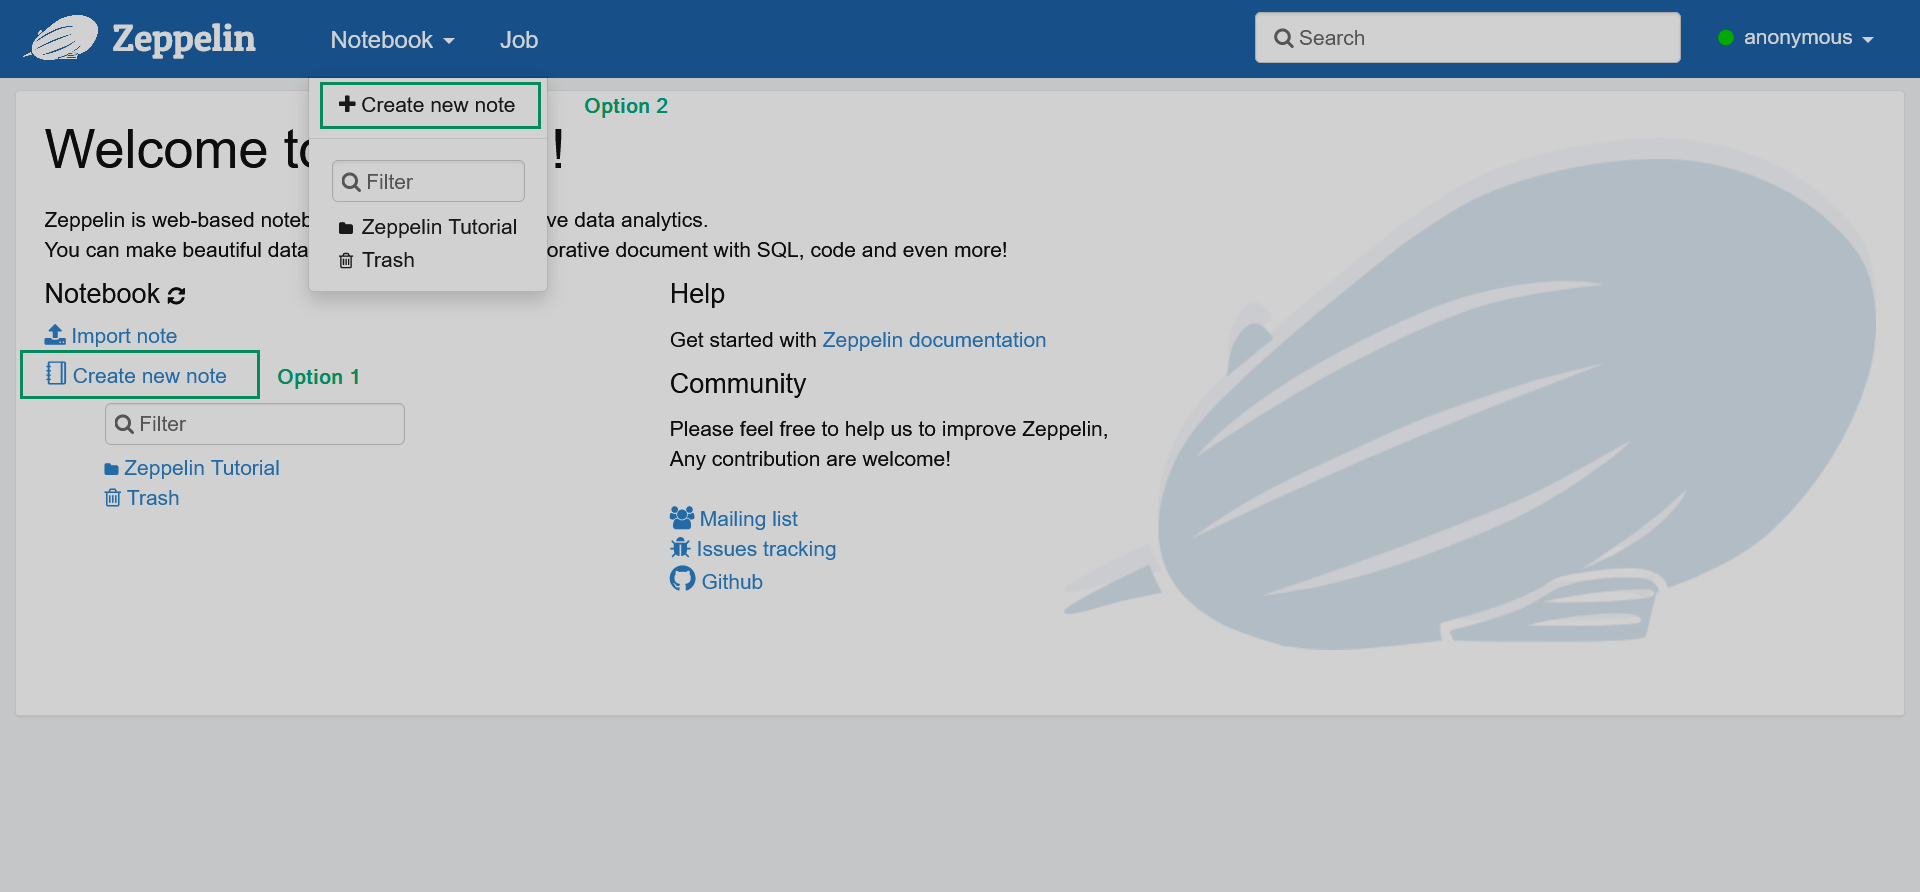 Adding a new note
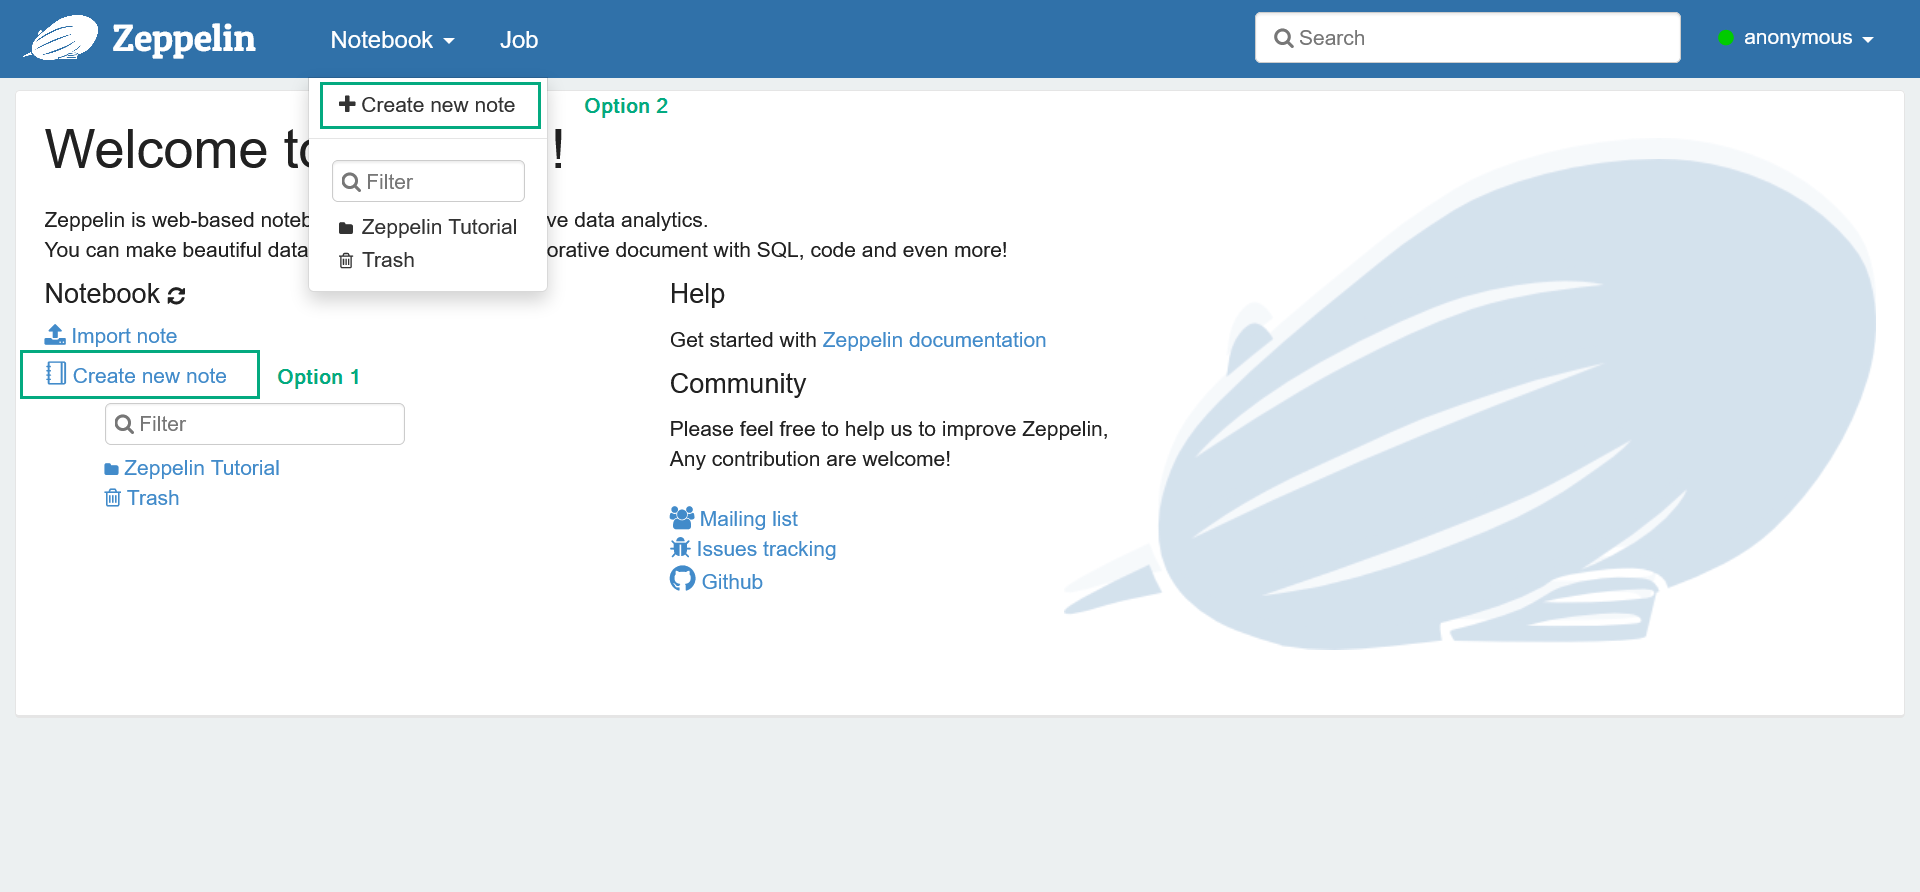 Adding a new note
 -
In the opened dialog, enter the note name and select the default interpreter that will be used in cases when the interpreter type is not specified explicitly. Notice that you can create different folders for your notes. Then, click Create.
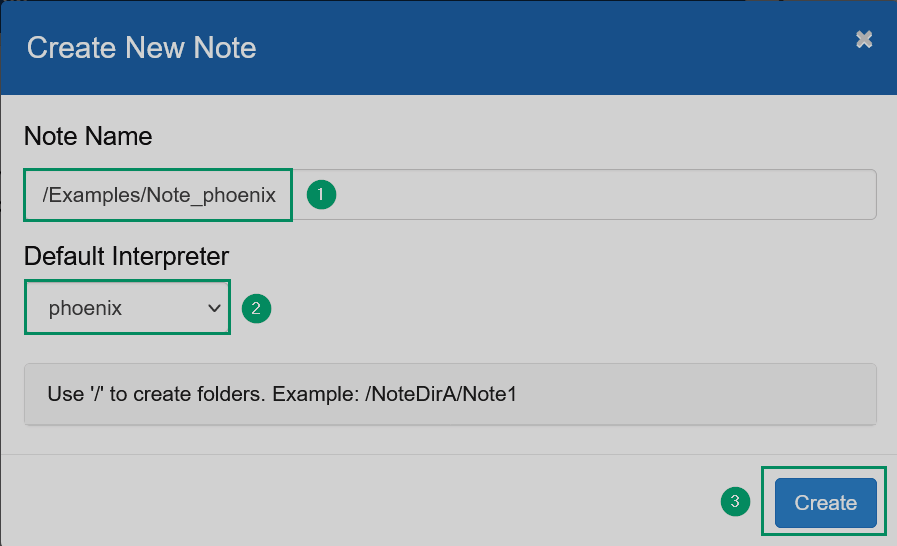 Describing a new note
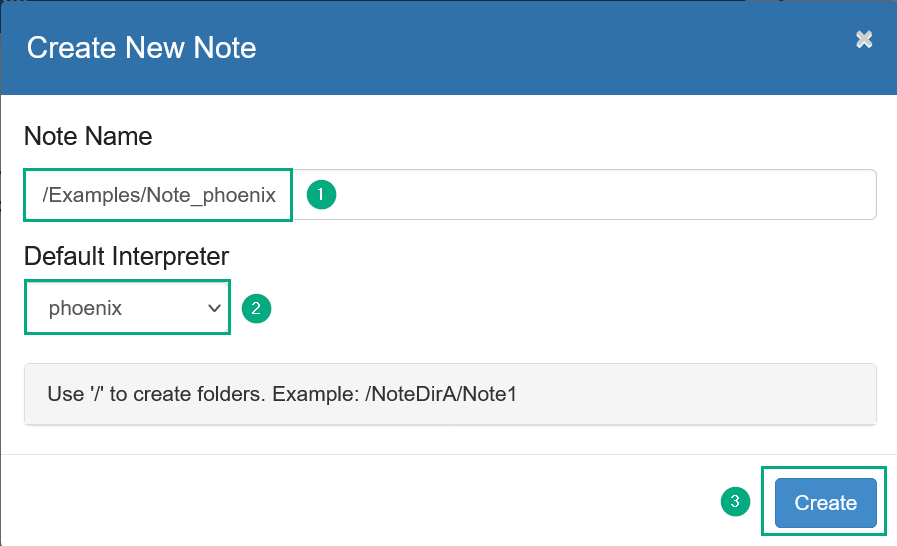 Describing a new note
 -
In the opened window, click the Interpreter binding icon to view the available interpreters.
 Switch to binding interpreters
 Switch to binding interpreters
 -
Verify that the interpreters
%jdbcand%phoenixare selected in the opened list, select them otherwise. Click Save.NOTEYou can use only one interpreter, however this section shows working with both of them.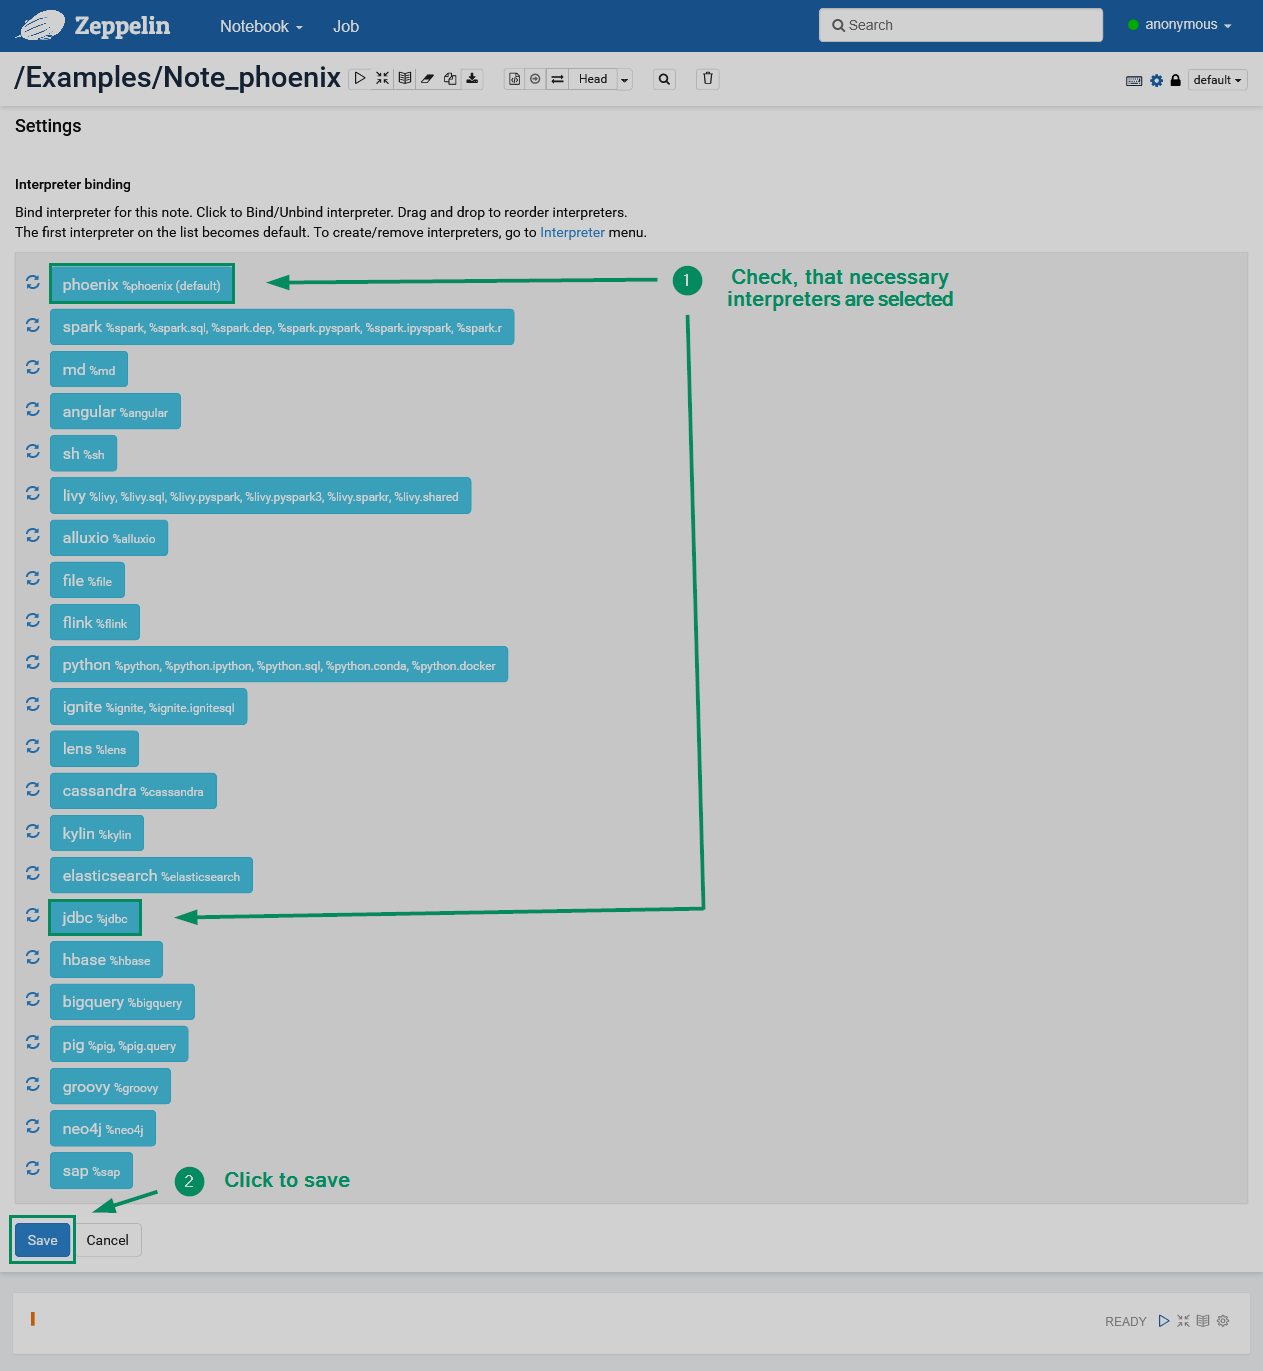 Binding necessary interpreters
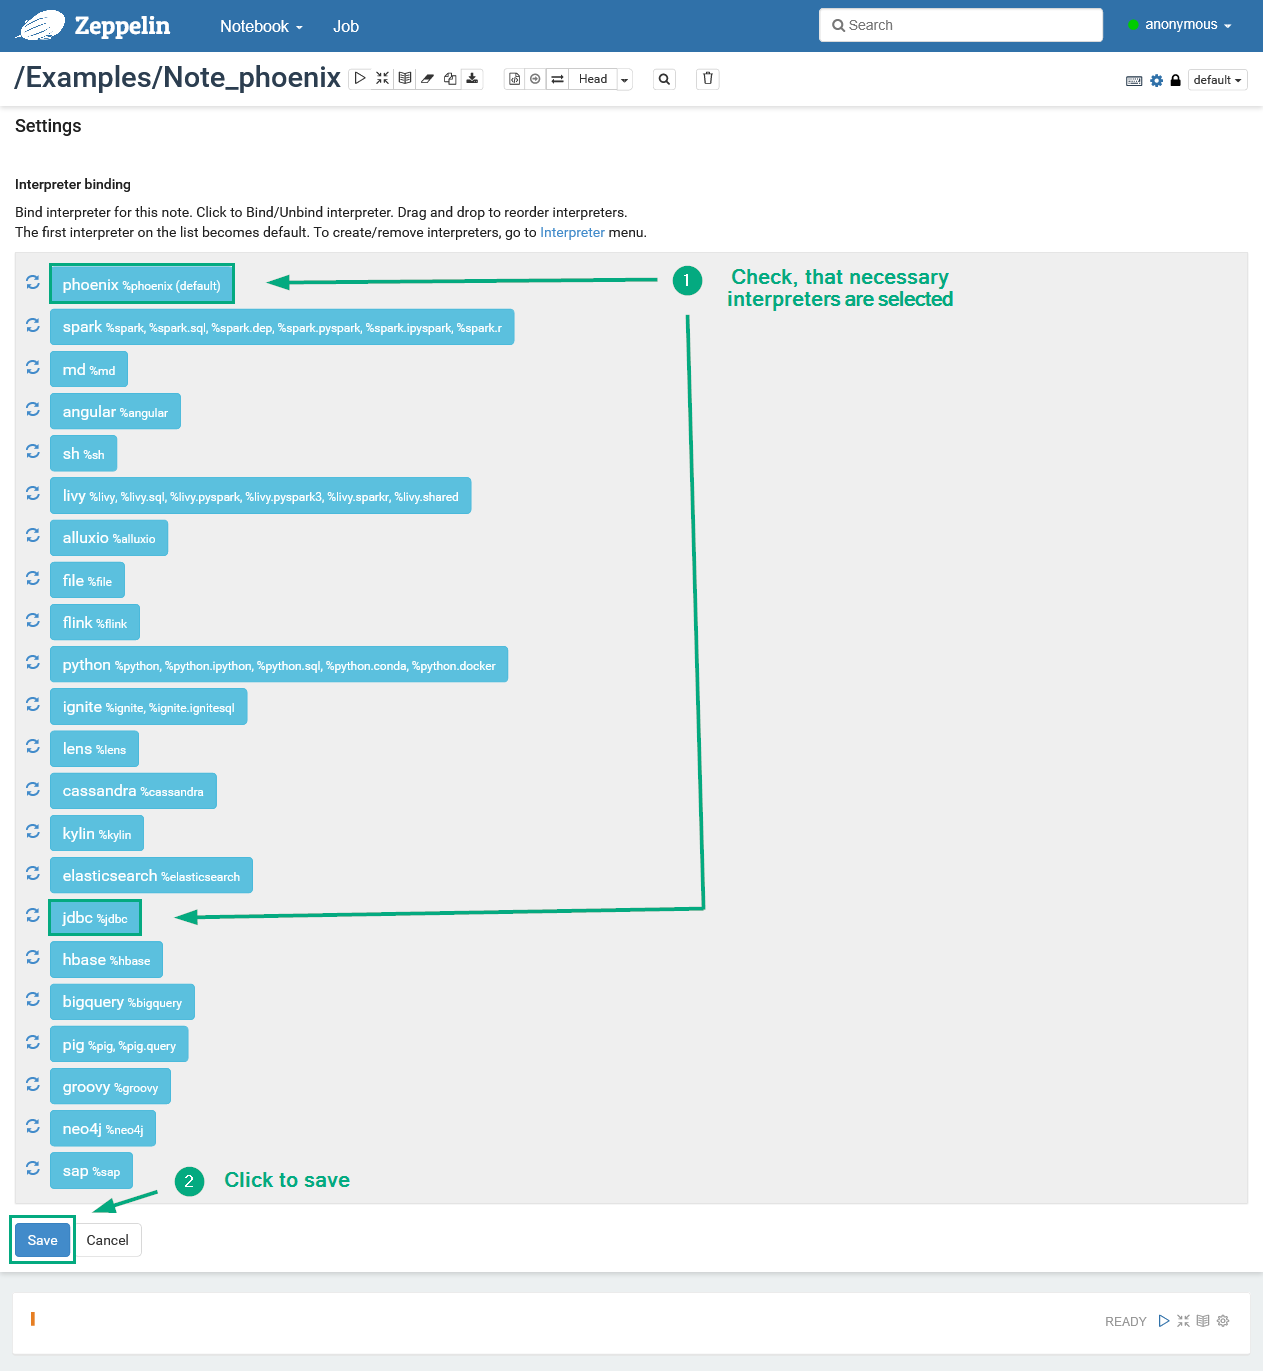 Binding necessary interpreters
 -
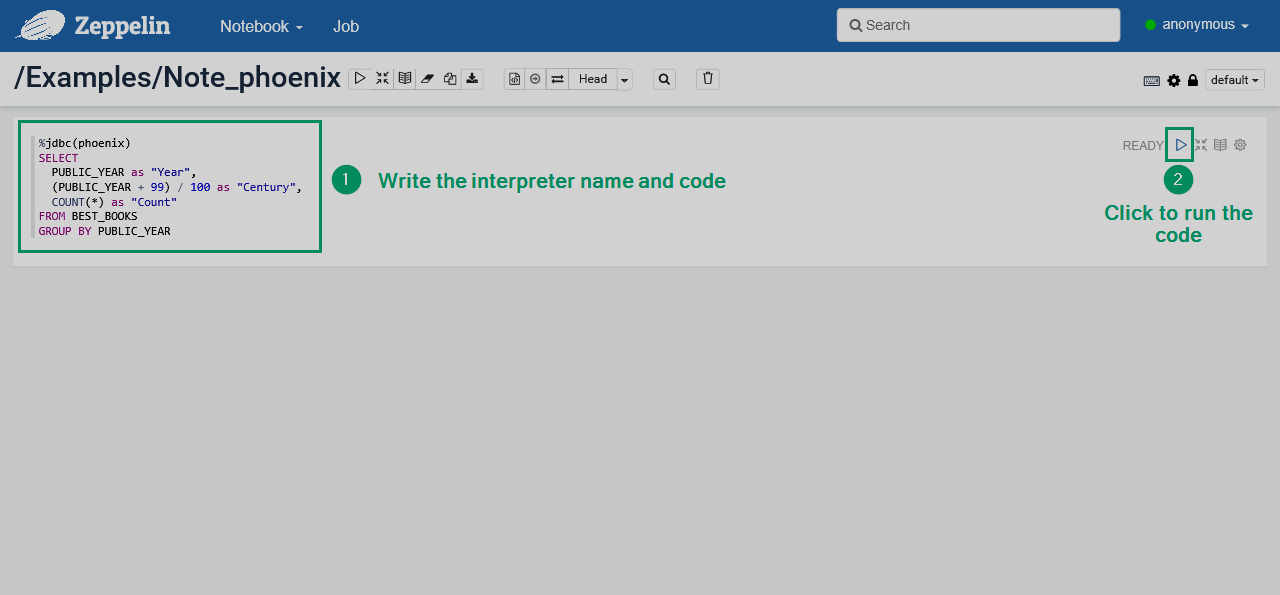
First, use the %jdbc interpreter with the settings marked with the
phoenix_prefix. Enter the following code in the first paragraph of your note. This query returns the number of books grouped by their first publication year.%jdbc(phoenix) SELECT PUBLIC_YEAR as "Year", (PUBLIC_YEAR + 99) / 100 as "Century", COUNT(*) as "Count" FROM BEST_BOOKS GROUP BY PUBLIC_YEARNOTEThis query uses theBEST_BOOKStable. Its creation is described in Bulk loading in Phoenix. If you did not create this table, you can run any other query on your Phoenix tables. -
To run the code, click Run this paragraph.
 Running the code
 Running the code
 -
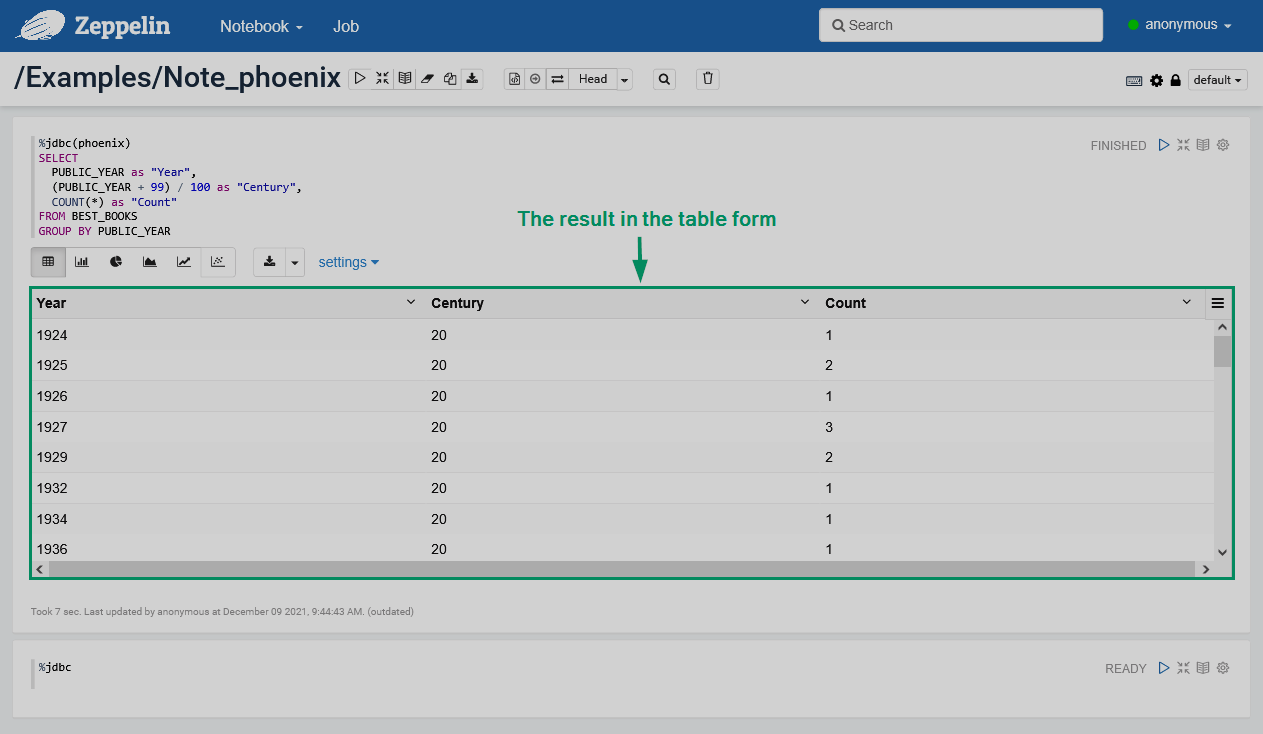
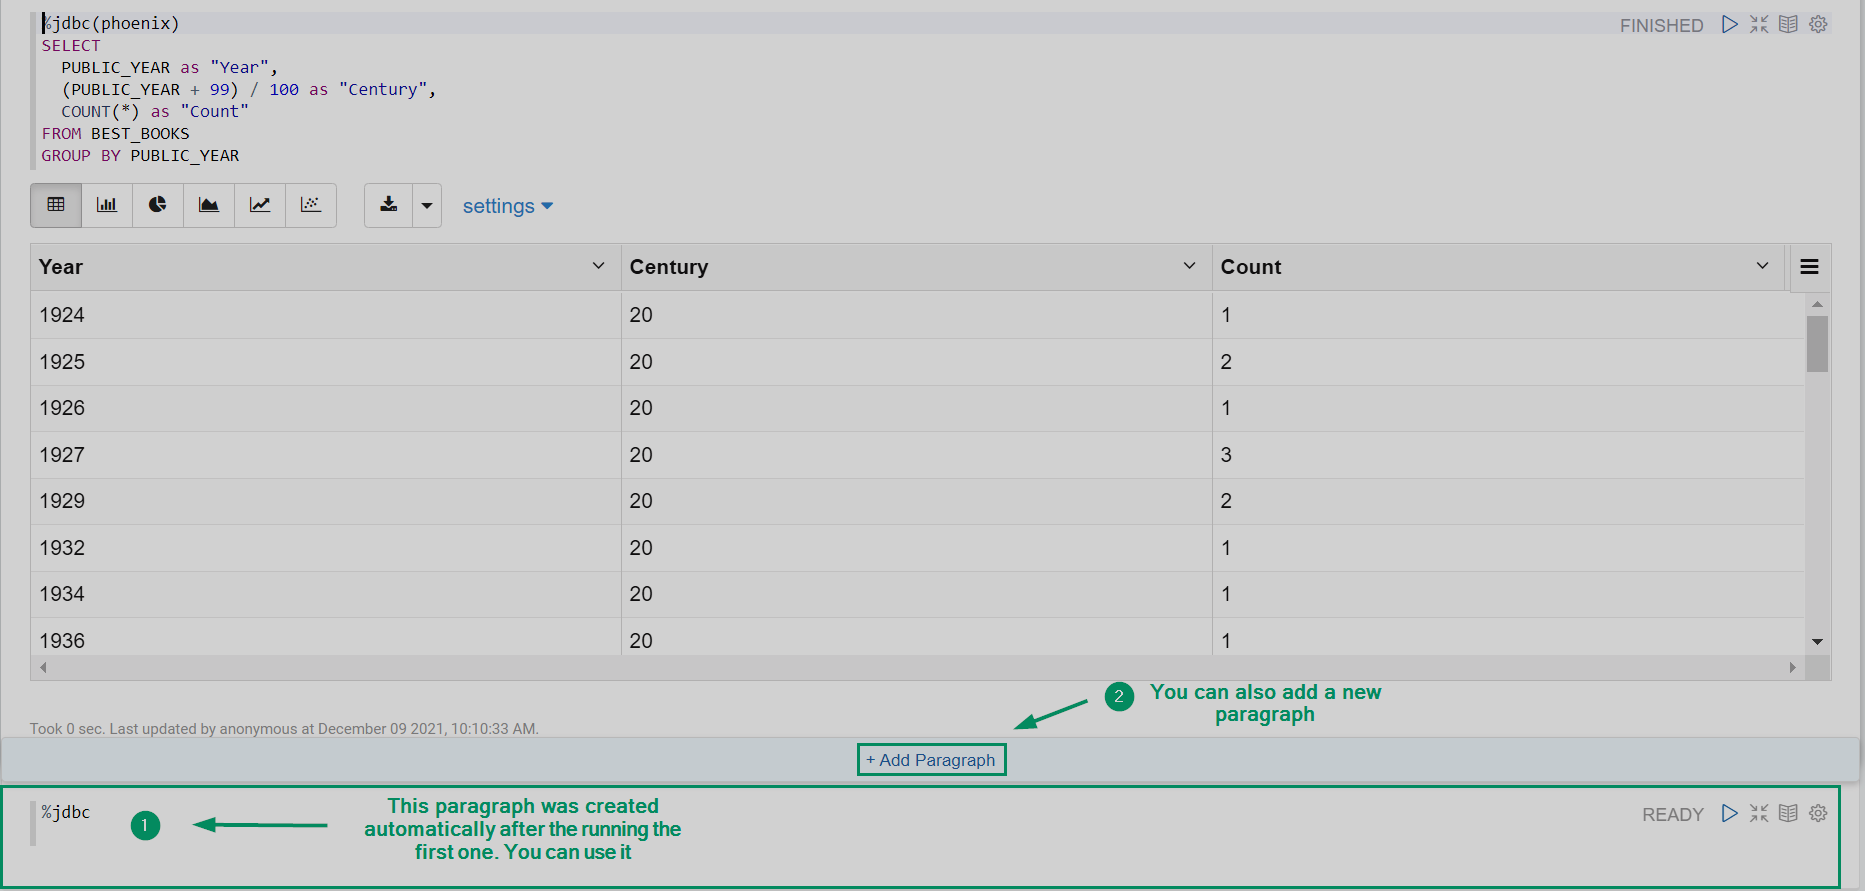
View the query results in the table form.
 Results table
 Results tableTIP
You can also use other result visualization types. To do this, click the icon that corresponds to the specified view mode, expand the settings pane, and distribute output fields of your query between available axes. Use drag-and-drop method for this purpose.
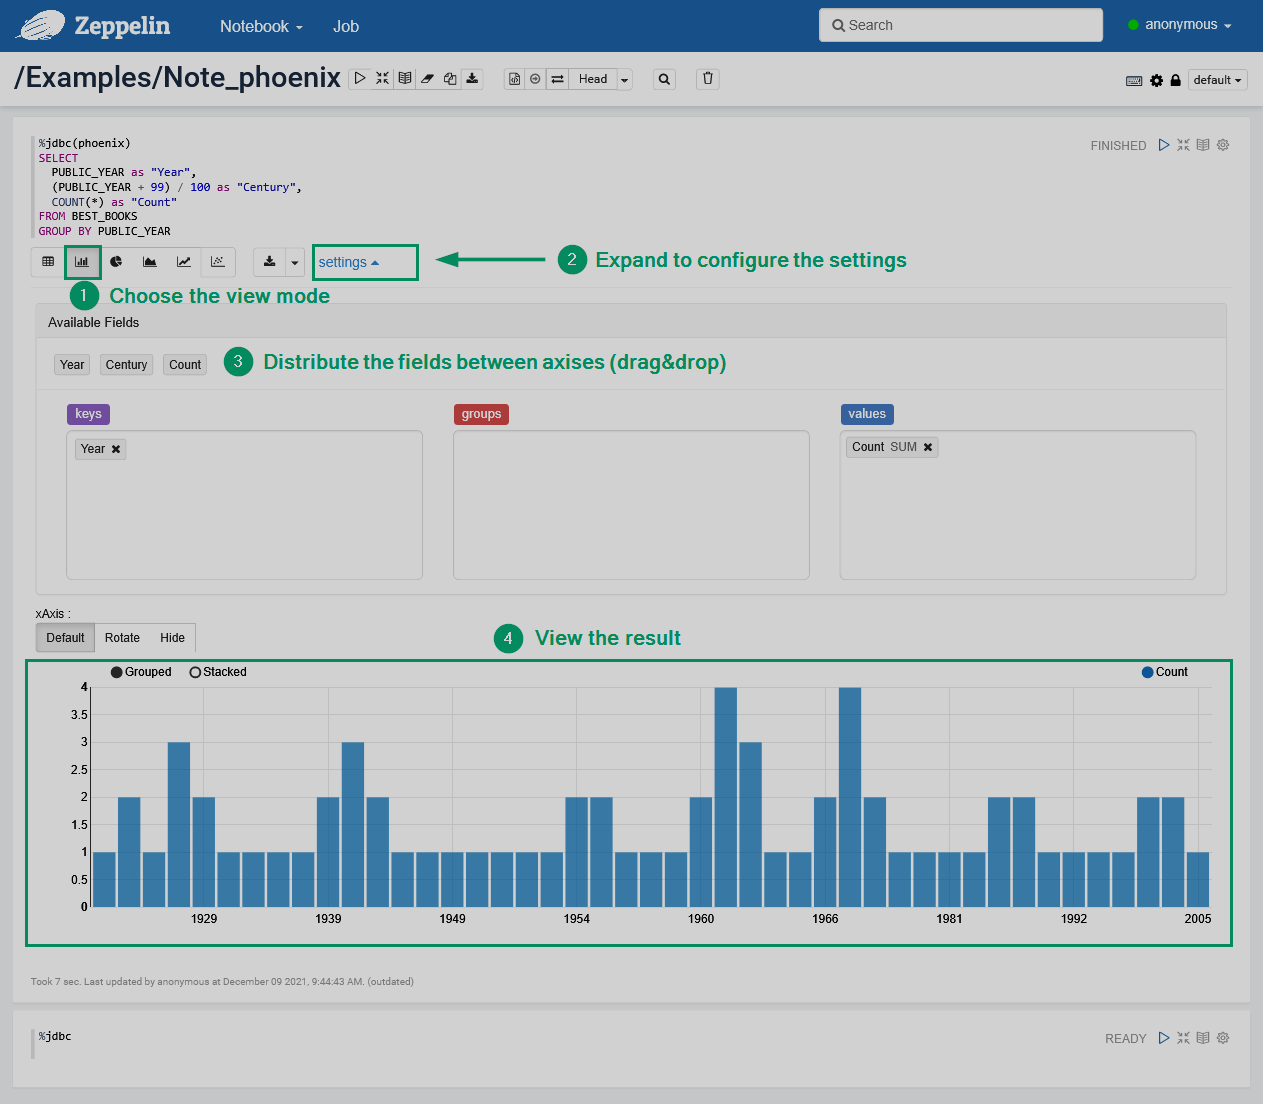 Bar chart with results
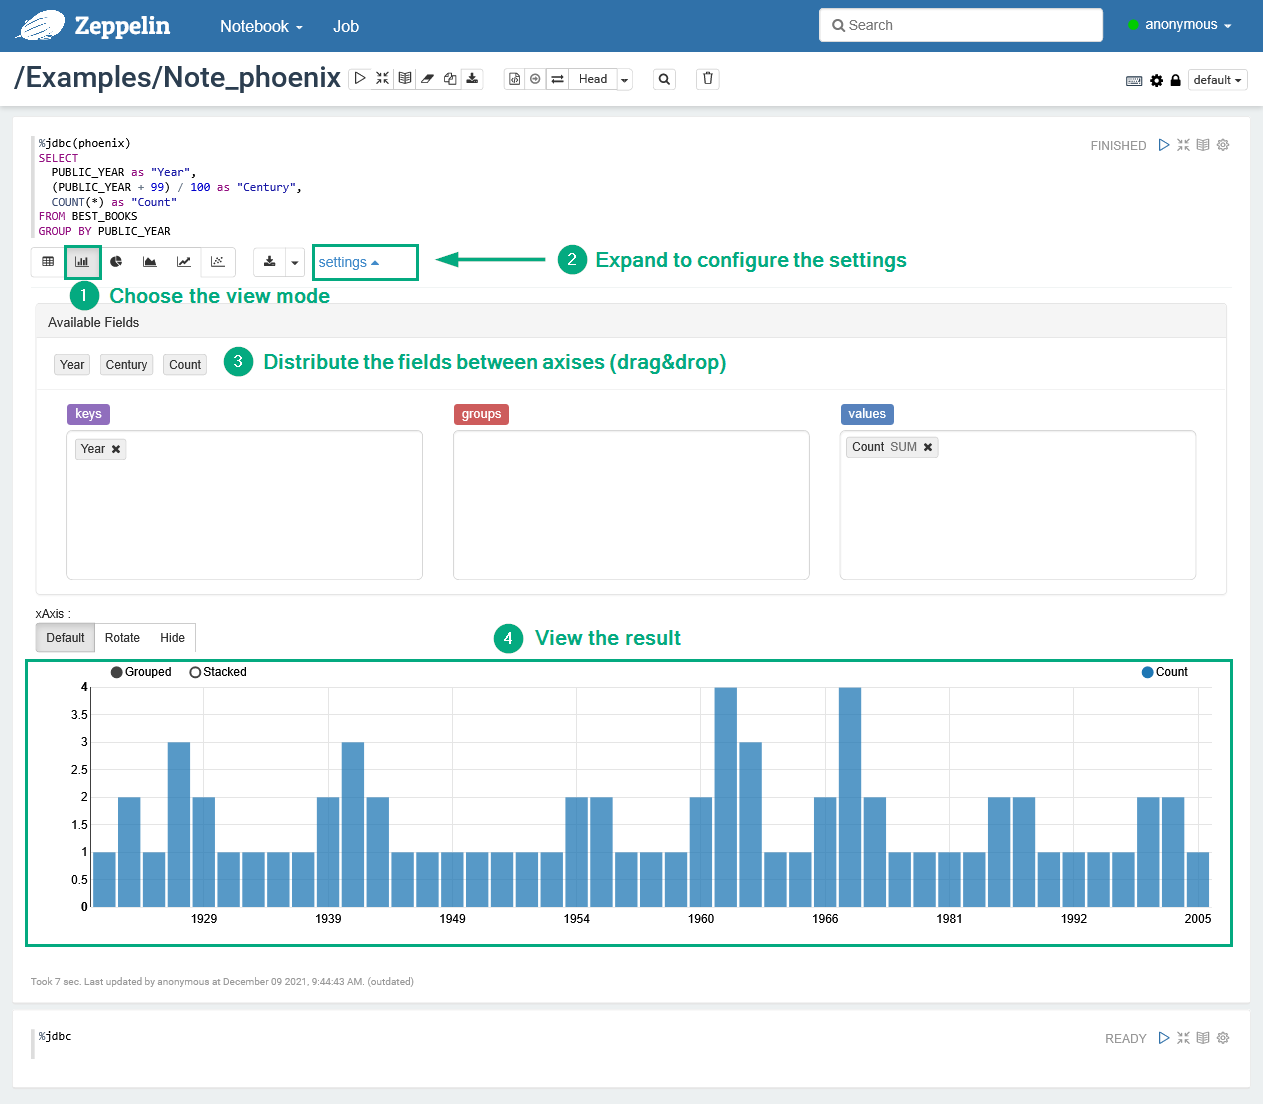 Bar chart with resultsAvailable result visualization types
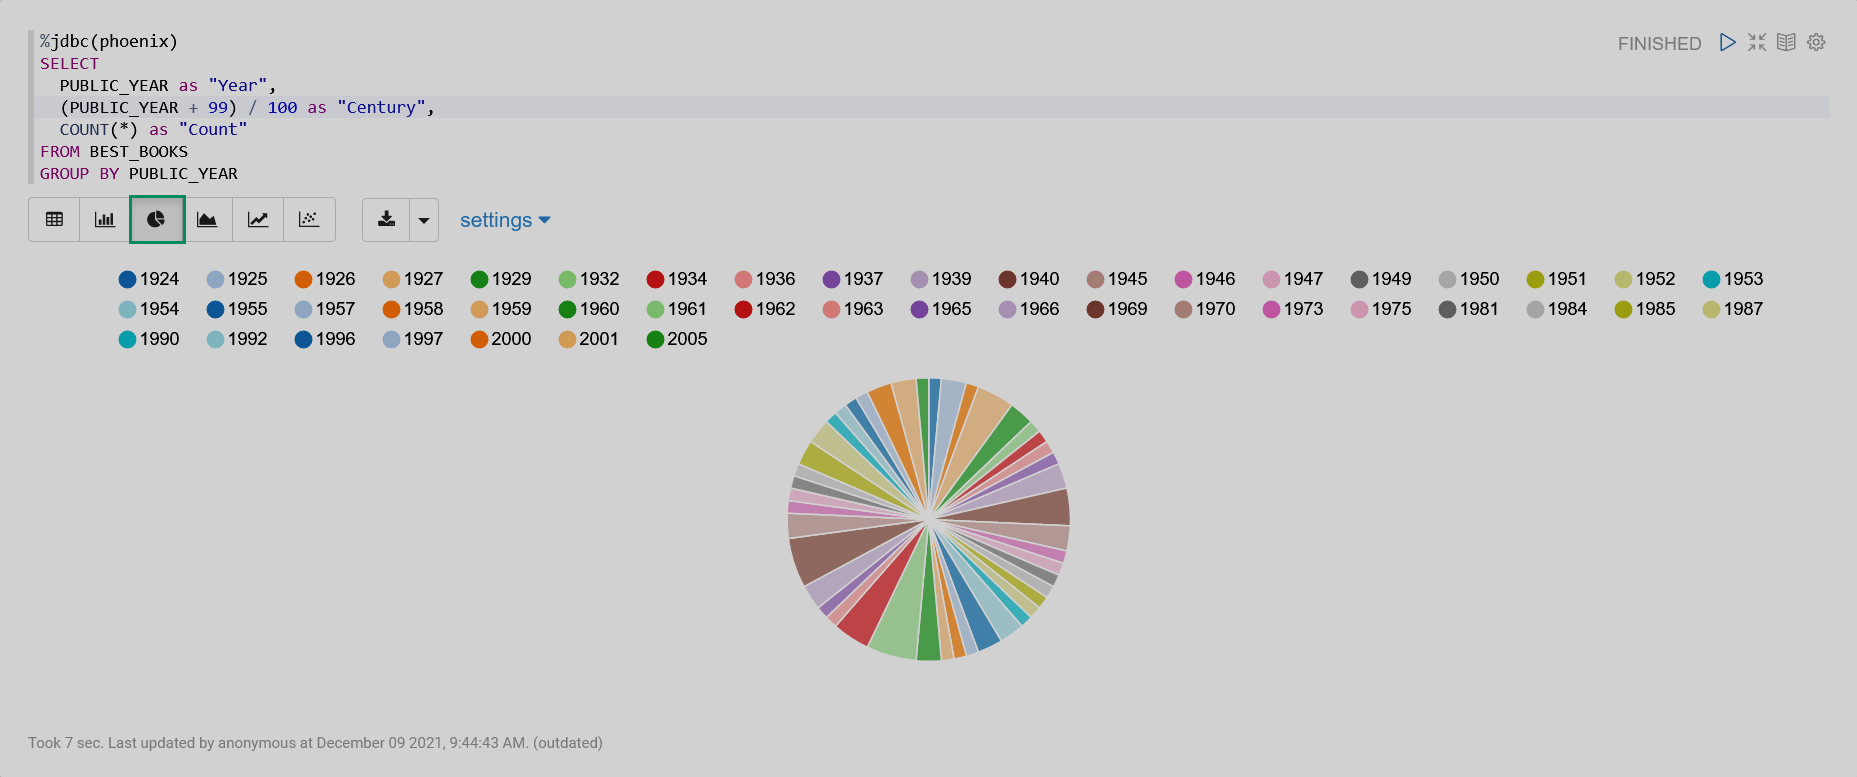 A pie chart
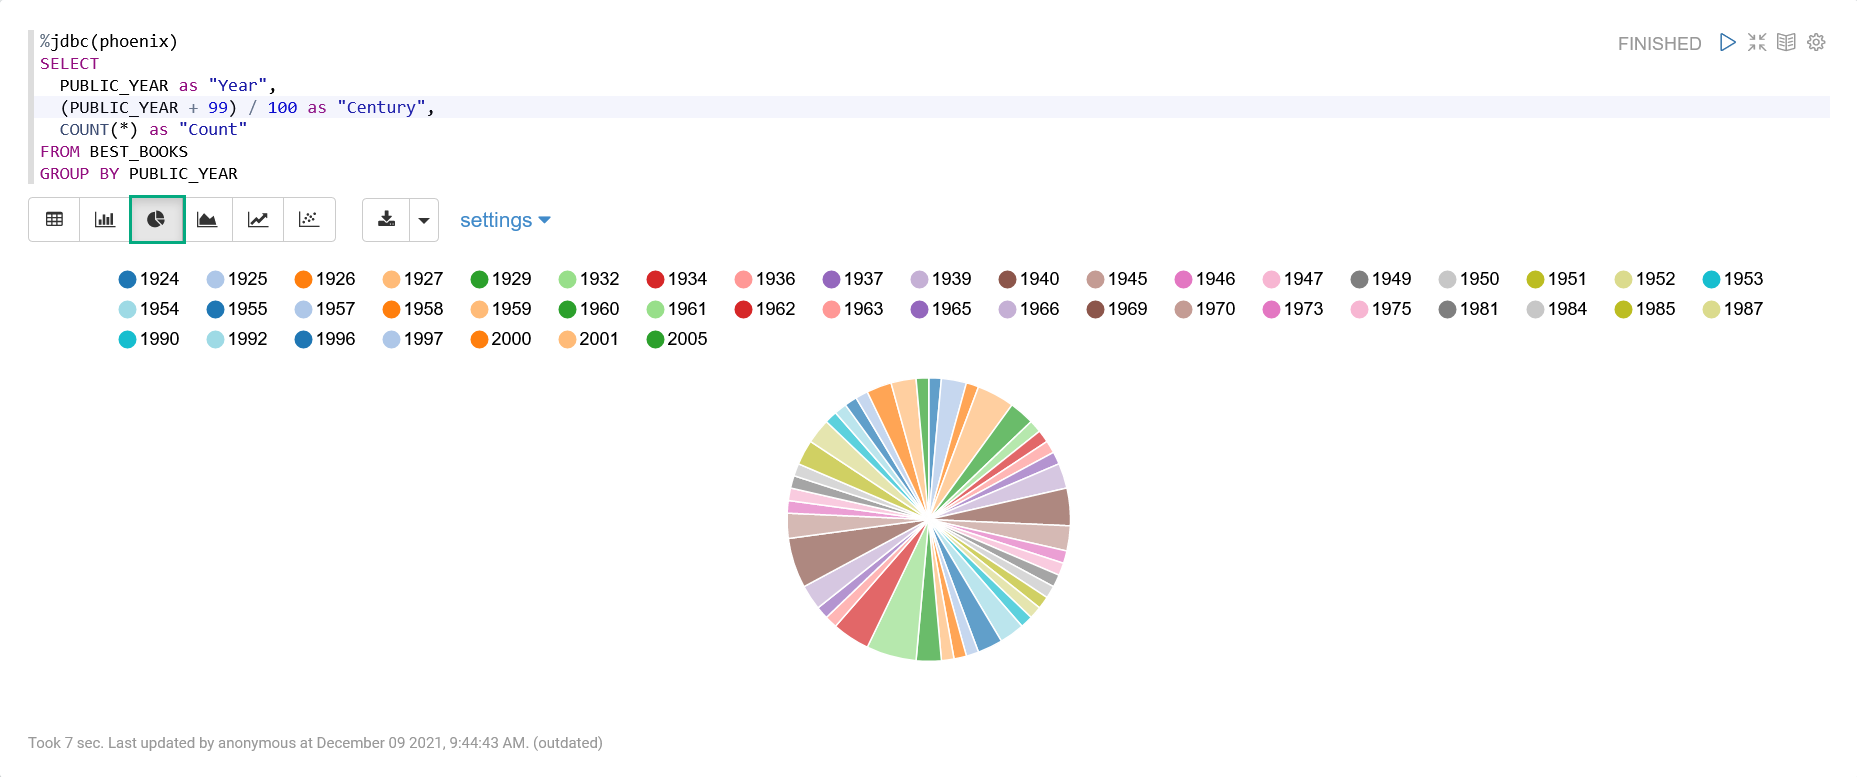 A pie chart
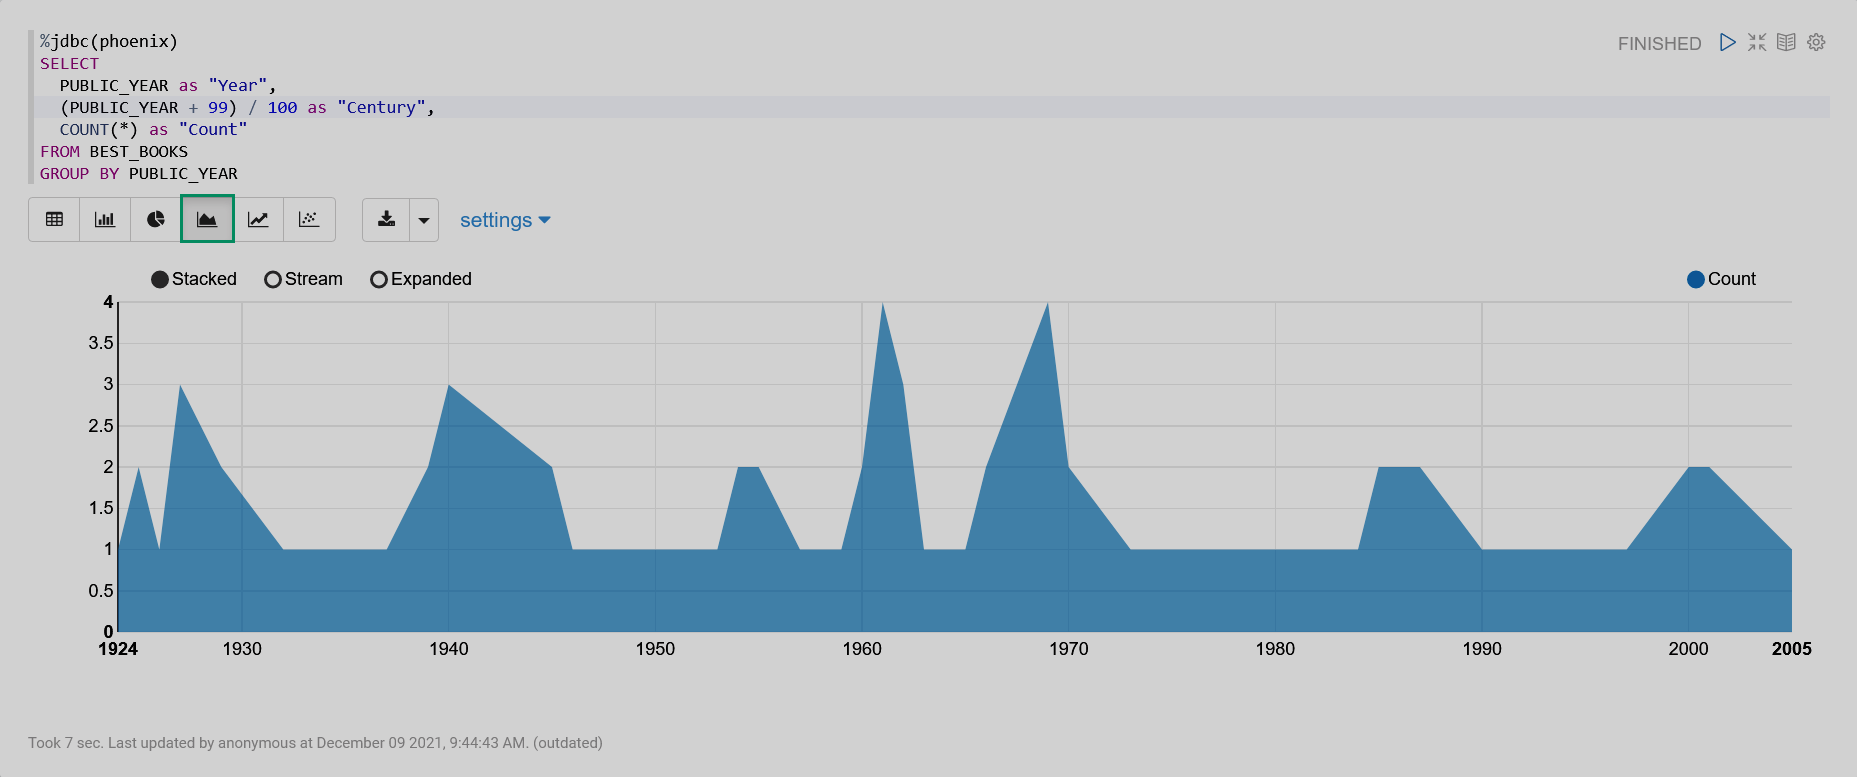 An area chart
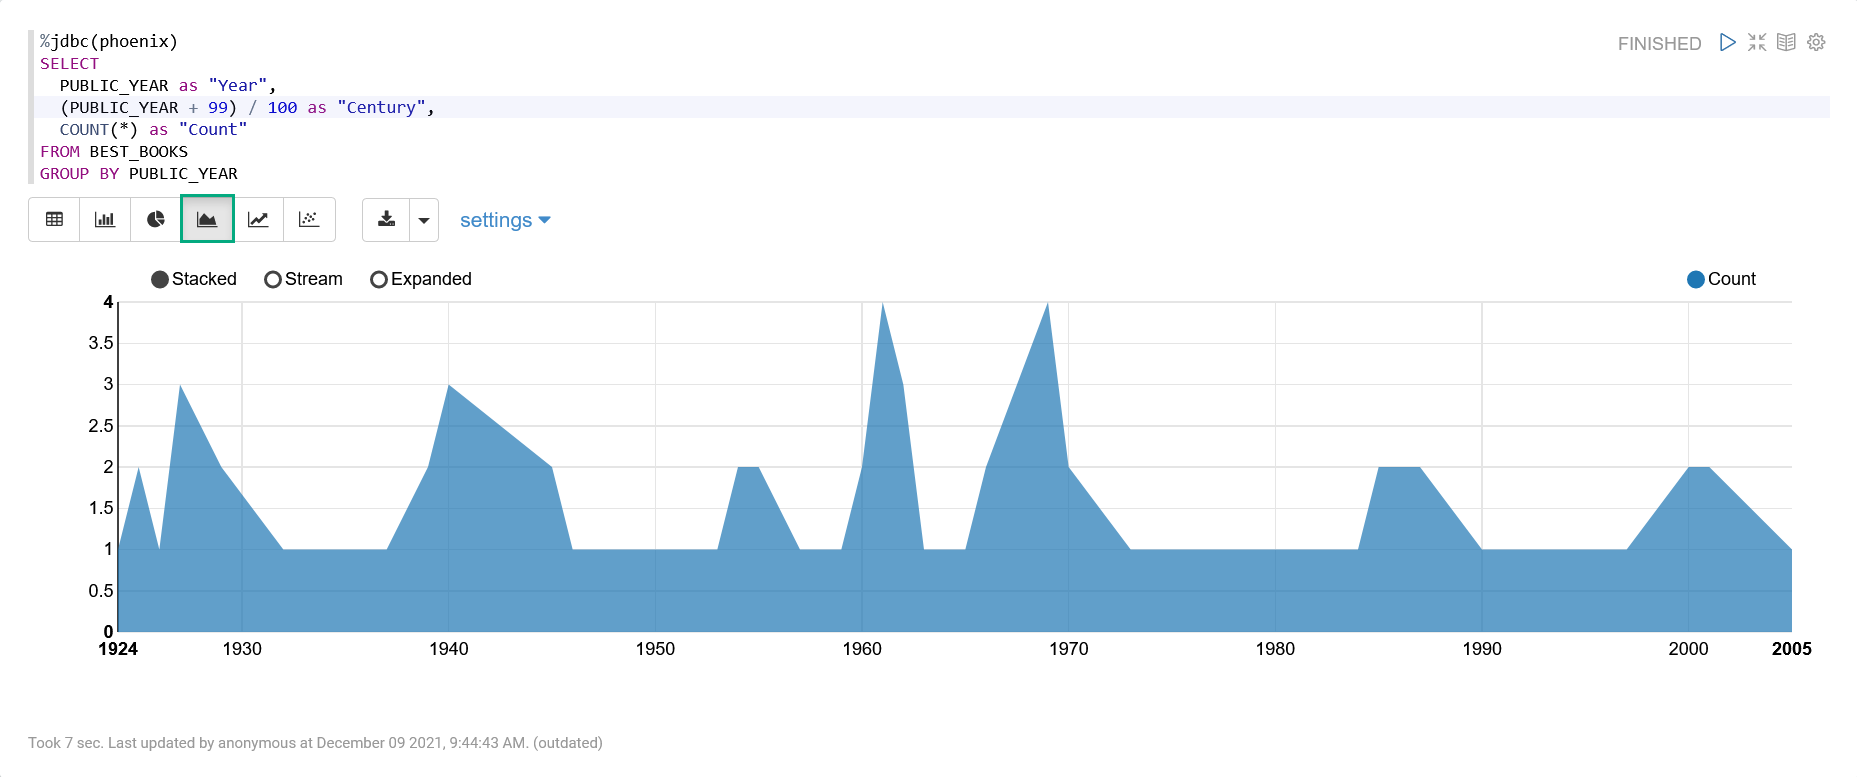 An area chart
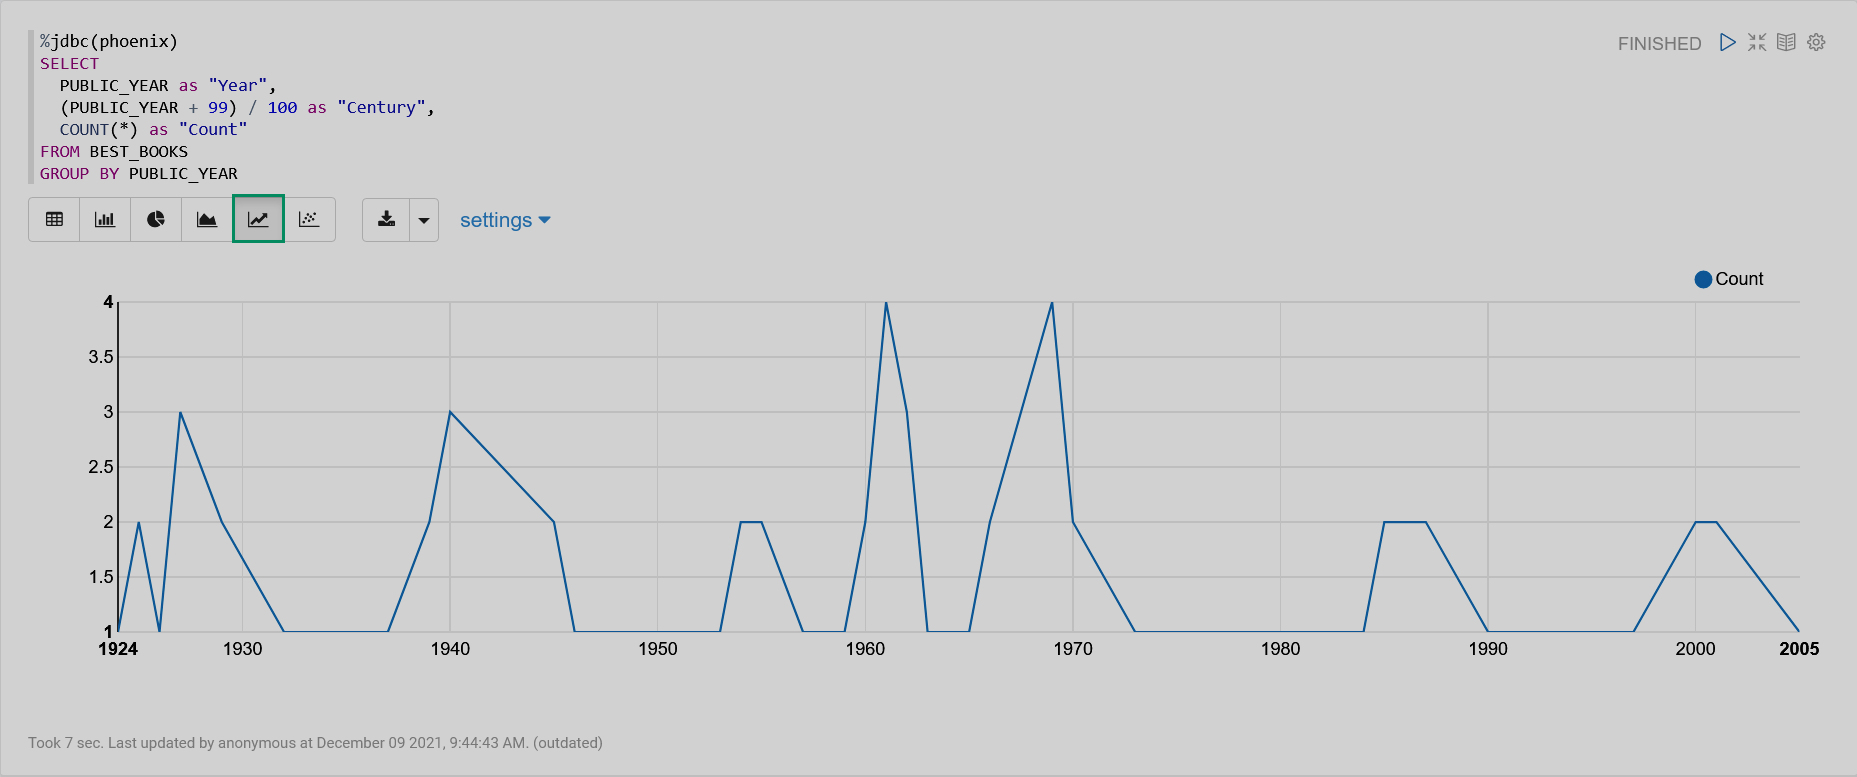 A line chart
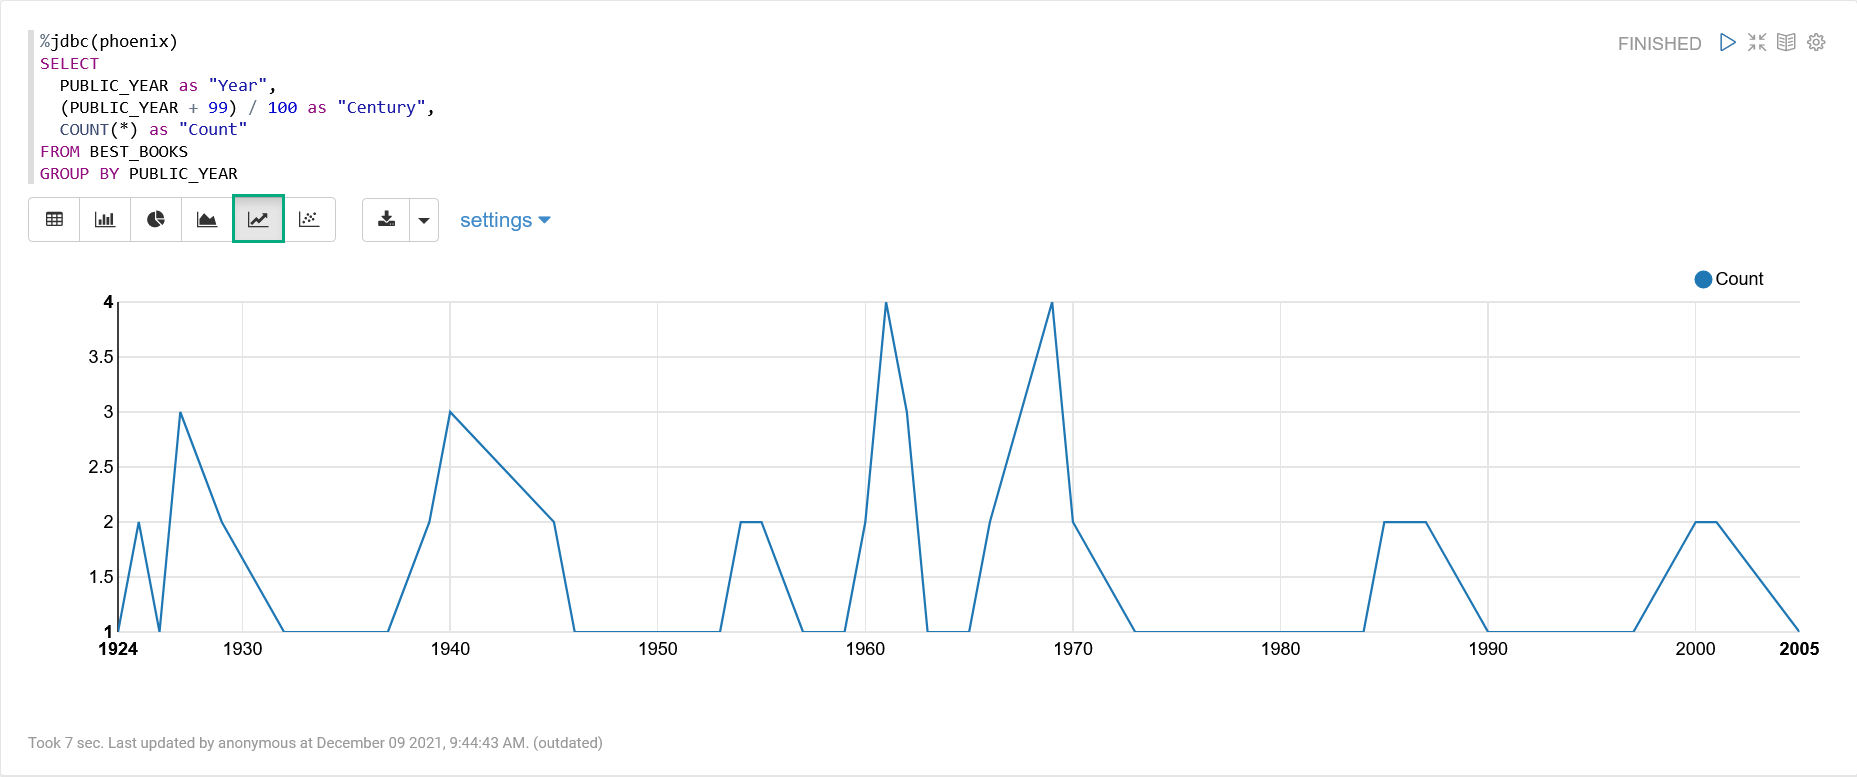 A line chart
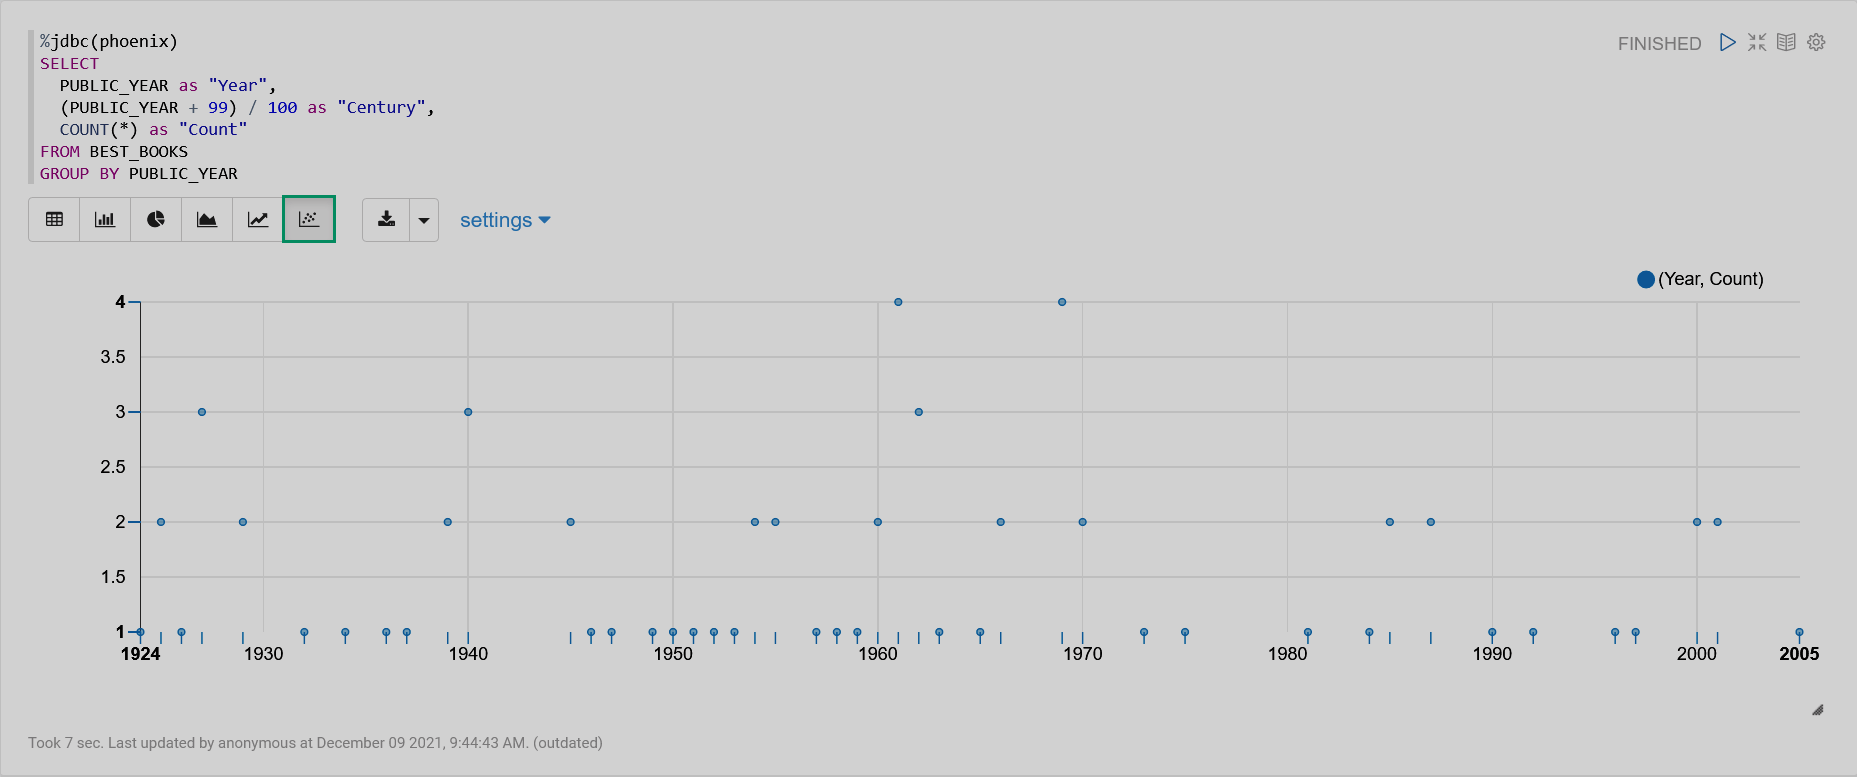 A scatter chart
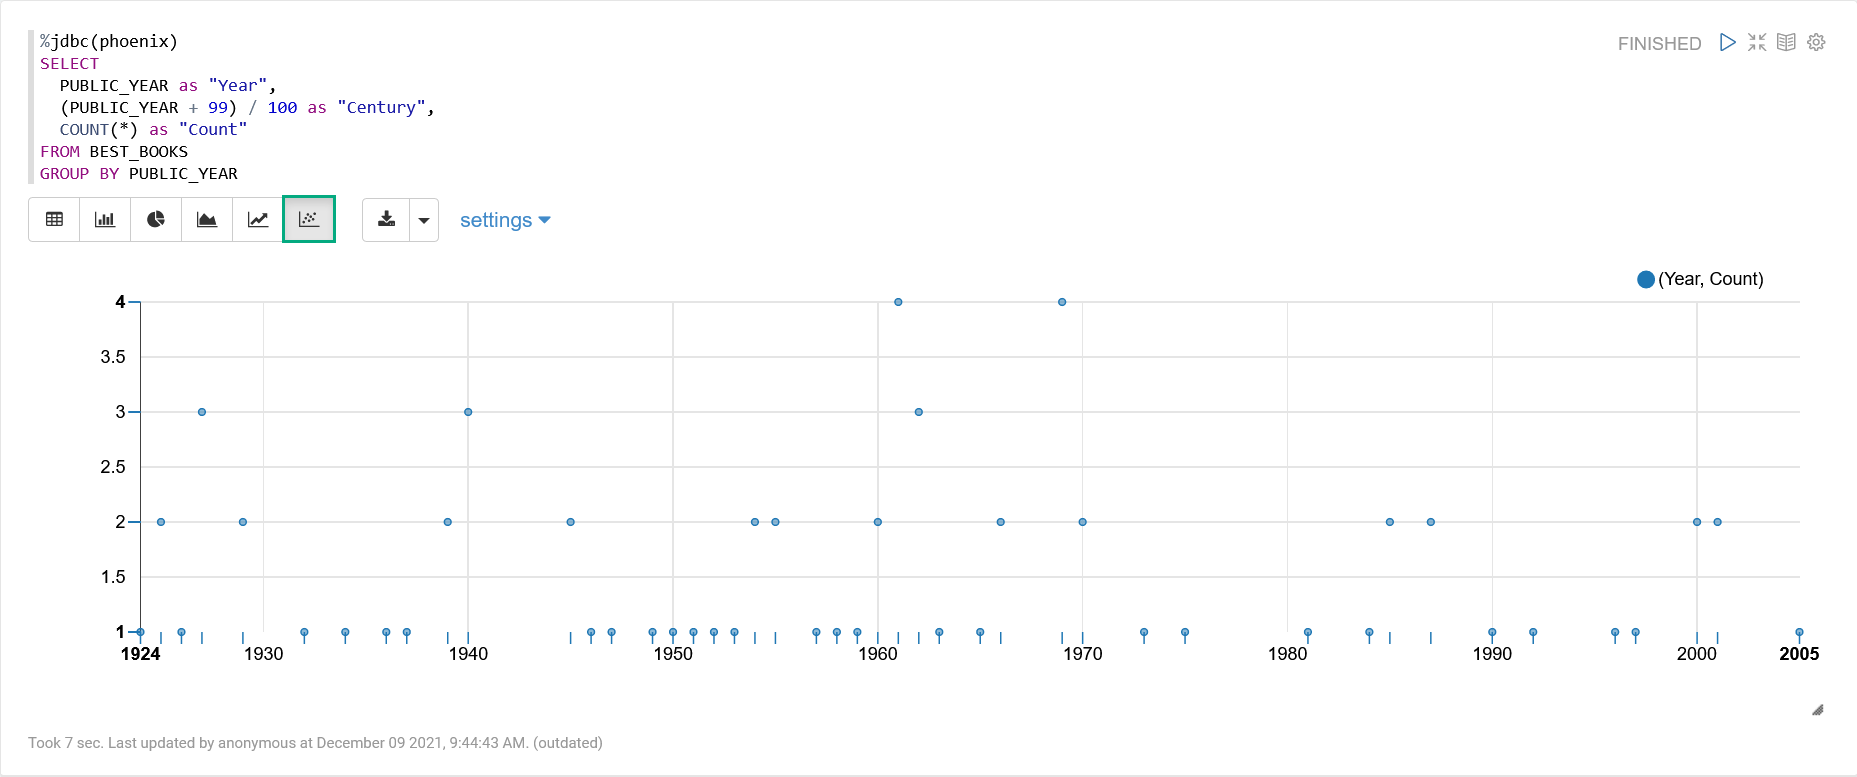 A scatter chart
 -
Create the second note paragraph to use the %phoenix interpreter. You can use the paragraph that is automatically created after successful running of the first paragraph. Or you can add a new paragraph by clicking the Add Paragraph button that becomes visible on hover.
 Adding a new note paragraph
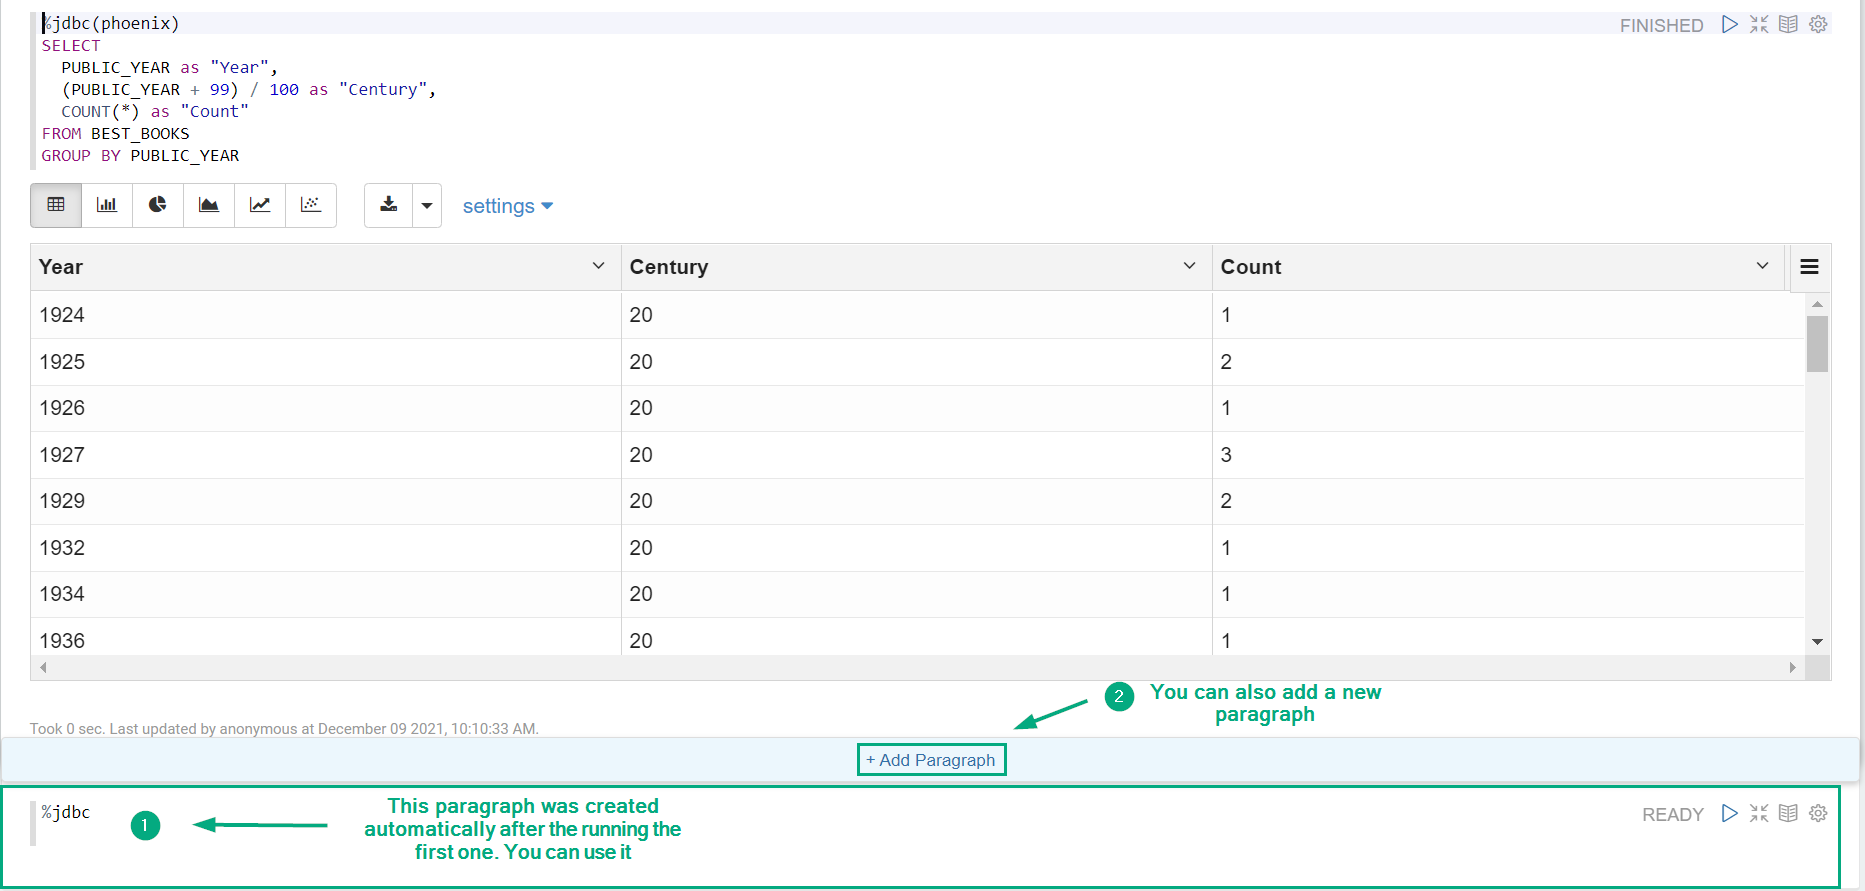 Adding a new note paragraph
 -
Enter the following code in the second paragraph and run it. This query returns the rows count from the
BEST_BOOKStable.%phoenix SELECT COUNT(*) FROM BEST_BOOKS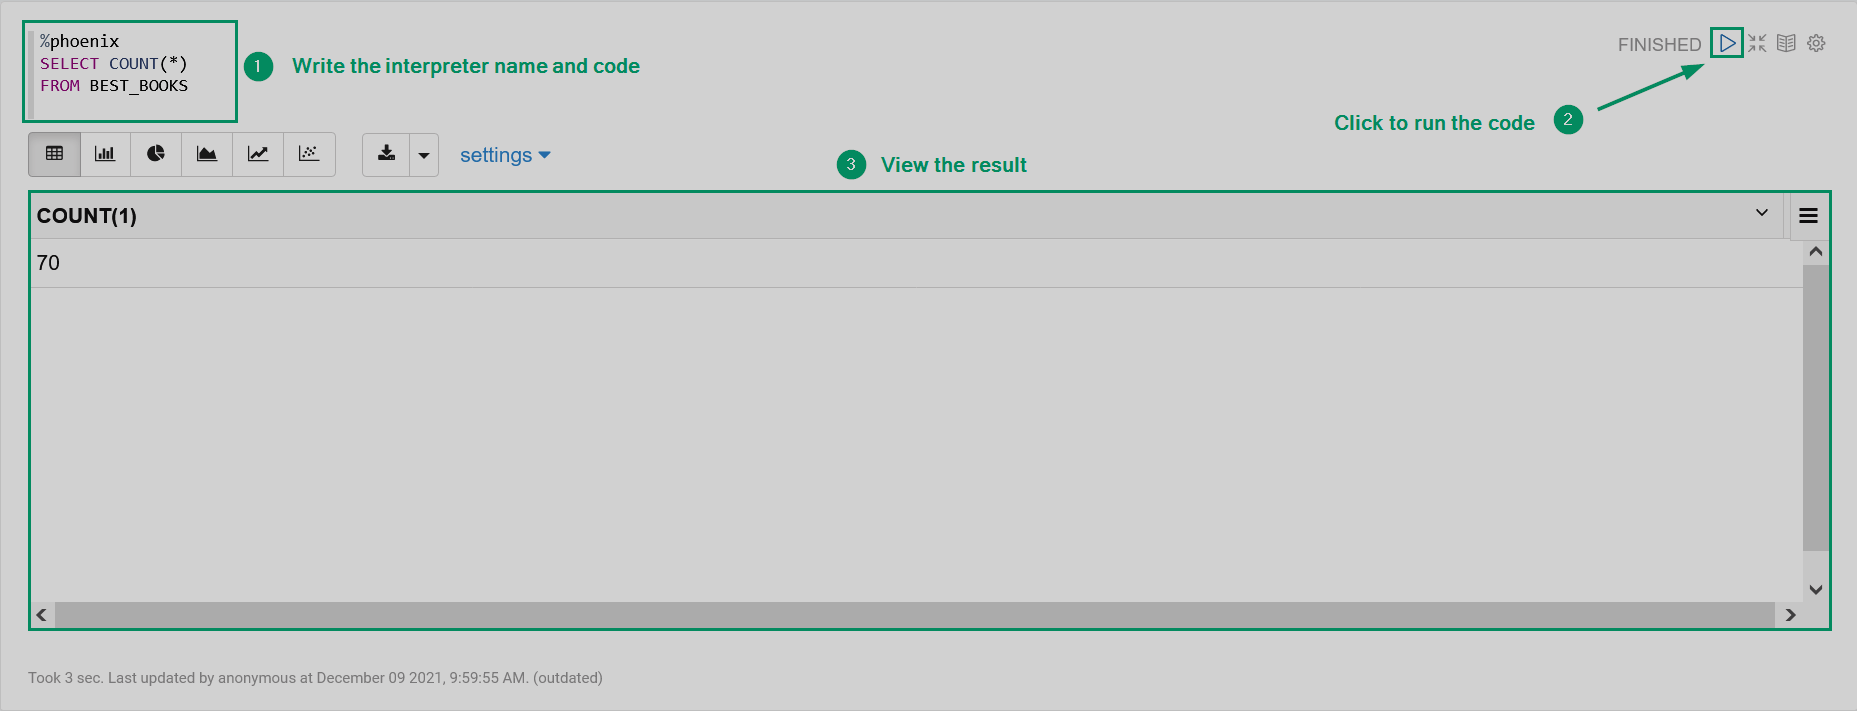 Running the code
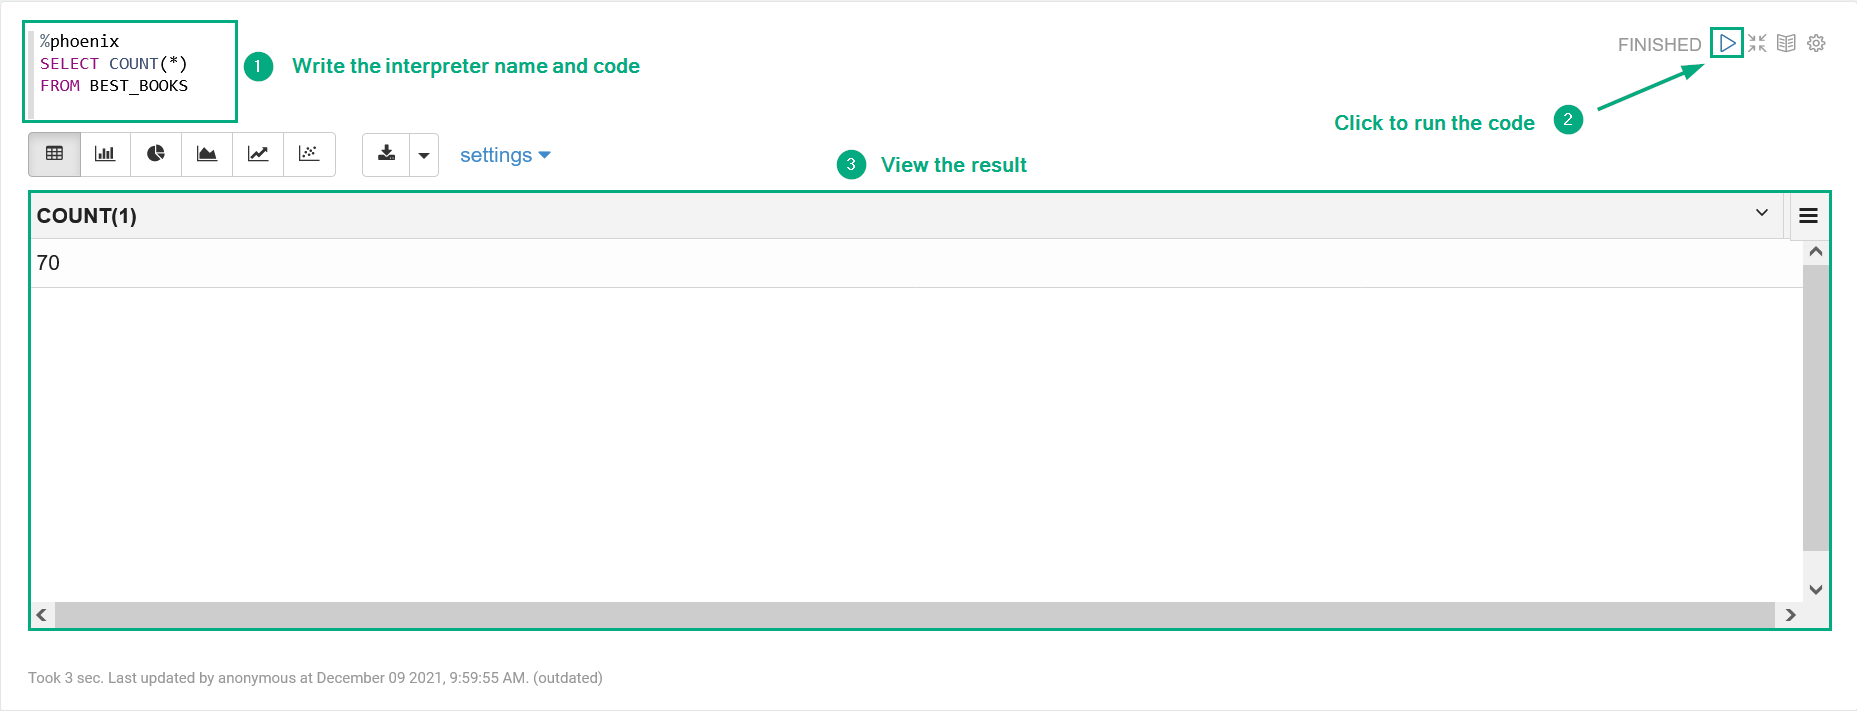 Running the code