

Connect to StarRocks
This page describes how to connect to StarRocks using MySQL, JDBC, and DBeaver.
Connection parameters
The following parameters are required to connect to StarRocks.
| Parameter | Description | Source in ADH |
|---|---|---|
<fe_host> |
Hostname or IP address of at least one of the StarRocks frontend (FE) nodes. Frontend nodes are the entry point for client connections |
|
<query_port> |
MySQL protocol port on Frontend nodes intended for client connections.
In ADH, the default value is |
Services → StarRocks → Components → StarRocks FE → fe.conf → query_port |
<user> |
User account to authenticate in StarRocks with the appropriate privileges |
Create your own user or use a service user account from Services → StarRocks → Credentials → Service_user |
<password> |
User password |
Create your own user or use a service user account from Services → StarRocks → Credentials → Service_user password |
|
NOTE
When a StarRocks cluster is created, the |
MySQL command-line client
To connect to StarRocks, you can use mysql, a standard MySQL client.
When ADH installs StarRocks, it also installs a MySQL or MariaDB client package (depending on the OS) as a dependency — either of them allows you to connect via mysql.
The basic syntax is:
mysql -h <fe_host> -P <query_port> -u <user> -p<password>For example:
mysql -h 192.0.2.123 -P 19030 -u joe -p123StarRocks does not create a local UNIX socket file, so even when connecting locally, you must explicitly specify a host address (for example, 127.0.0.1) or pass the --protocol=TCP option.
Once connected, you’ll see the standard mysql> prompt:
mysql>As a sample query, you can run:
SELECT current_version();The output shows the current version of StarRocks:
+--------------------------+
| current_version()        |
+--------------------------+
| 4.0.10.1-4.4.0-0-1a3b13d |
+--------------------------+
1 row in set (0.01 sec)
JDBC drivers
StarRocks uses the MySQL wire protocol, so you can connect to it with the MySQL JDBC driver. Additionally, StarRocks has a native JDBC driver, which is the recommended driver for interacting with StarRocks.
|
TIP
The actual JDBC connection strings depend on your cluster configuration and on whether SSL is enabled.
For your StarRocks FE nodes, the connection strings are shown in ADCM, in Clusters → Services → StarRocks → Info.
This also includes a failover URL.
|
The dependency versions in the examples below are provided for illustration only. Use the versions compatible with your application.
Get the MySQL JDBC driver
Download the MySQL JDBC driver from Maven Central and add it to the classpath of your application. Or add the driver as a dependency in your build tool, for example:
Add the dependency to the pom.xml file:
<dependency>
    <groupId>com.mysql</groupId>
    <artifactId>mysql-connector-j</artifactId>
    <version>8.0.33</version>
</dependency>
Add the dependency to the build.gradle.kts file:
dependencies {
    implementation("com.mysql:mysql-connector-j:8.0.33")
}
Add the dependency to the build.gradle file:
dependencies {
    implementation 'com.mysql:mysql-connector-j:8.0.33'
}
Get the StarRocks JDBC driver
Download the StarRocks JDBC driver from Maven Central and add it to the classpath of your application. Or add the driver as a dependency in your build tool, for example:
Add the dependency to the pom.xml file:
<dependency>
    <groupId>com.starrocks</groupId>
    <artifactId>starrocks-connector-j</artifactId>
    <version>1.1.2</version>
</dependency>
Add the dependency to the build.gradle.kts file:
dependencies {
    implementation("com.starrocks:starrocks-connector-j:1.1.2")
}
Add the dependency to the build.gradle file:
dependencies {
    implementation 'com.starrocks:starrocks-connector-j:1.1.2'
}
Example of using JDBC
Below is an example of using JDBC drivers to connect to StarRocks. This code establishes two separate connections (using both drivers) and performs the same operation — queries the list of catalogs.
import java.sql.*;

public class StarRocksDrivers {
    public static void main(String[] args) {
        String host = "192.0.2.171";
        int port = 19030;
        String user = "joe";
        String password = "123";

        String[] urls = {
                String.format("jdbc:mysql://%s:%d", host, port),
                String.format("jdbc:starrocks://%s:%d", host, port)
        };

        for (String url : urls) {
            try (Connection conn = DriverManager.getConnection(url, user, password)) {

                System.out.println(System.lineSeparator() + "Driver: " + conn.getMetaData().getDriverName());
                try (ResultSet rs = conn.getMetaData().getCatalogs()) {
                    System.out.println("Catalogs:");
                    while (rs.next()) System.out.println("  - " + rs.getString(1));
                }
            } catch (Exception e) {
                System.out.println("Error: " + e.getMessage());
            }
        }
    }
}
The output illustrates one of the differences in these two JDBC drivers, namely in the getCatalogs method implementation.
StarRocks has its own notion of catalogs, and the StarRocks driver queries the list of actual catalogs.
In this example, it returns the internal catalog, default_catalog.
In contrast, the MySQL JDBC driver returns the list of databases (accessible to the connecting user):
Driver: MySQL Connector/J
Catalogs:
  - information_schema
  - test_db

Driver: StarRocks Connector/J
Catalogs:
  - default_catalog
High availability using multi-host failover URL
Both JDBC drivers can be configured to work with a list of addresses, so a client can keep working even if one of the FE nodes is unreachable. You can pass a comma-separated host list in the connection URL (failover URL), and if the first host is not available, the driver tries the next one in the list.
The following code gets information about all FE nodes (using SHOW FRONTENDS) and shows the current leader and the alive status.
import java.sql.*;

public class StarRocksHAExample {

    public static void main(String[] args) {
        String hosts = "192.0.2.106:19030,192.0.2.171:19030,192.0.2.253:19030";
        String user = "joe";
        String password = "123";
        String url = String.format("jdbc:starrocks://%s", hosts);

        try (Connection conn = DriverManager.getConnection(url, user, password);
             Statement stmt = conn.createStatement()) {

            try (ResultSet rs = stmt.executeQuery("SHOW FRONTENDS")) {
                System.out.println("FE nodes (IP -> Role -> Alive):");
                while (rs.next()) {
                    System.out.printf("%s -> %s -> %s%n",
                            rs.getString("IP"),
                            rs.getString("Role"),
                            rs.getString("Alive"));
                }
            }

        } catch (SQLException e) {
            e.printStackTrace();
        }
    }
}-
Run the code above. The output should be similar to:
FE nodes (IP -> Role -> Alive):
192.0.2.253 -> FOLLOWER -> true
192.0.2.171 -> FOLLOWER -> true
192.0.2.106 -> LEADER -> true
-
To emulate a FE node failure, stop the FE service on the leader host:
$ sudo systemctl stop starrocks-fe.service -
Run the code again. Because one of the target URLs is not available, the driver connects to another host from the connection URL and successfully executes the query. The output shows that the previous leader is not reachable (
Alive=false) and that another node has been elected as a new leader node:FE nodes (IP -> Role -> Alive): 192.0.2.253 -> FOLLOWER -> true 192.0.2.171 -> LEADER -> true 192.0.2.106 -> FOLLOWER -> false
DBeaver
To connect to StarRocks, you can also use DBeaver, an open-source database tool. By default, it uses the StarRocks JDBC driver, which is automatically downloaded if not yet installed.
To connect to StarRocks:
-
Launch DBeaver and click Database → New Database Connection.
-
Select StarRocks in the Connect to a database window.
-
Click Next, provide the connection parameters, and click Finish.
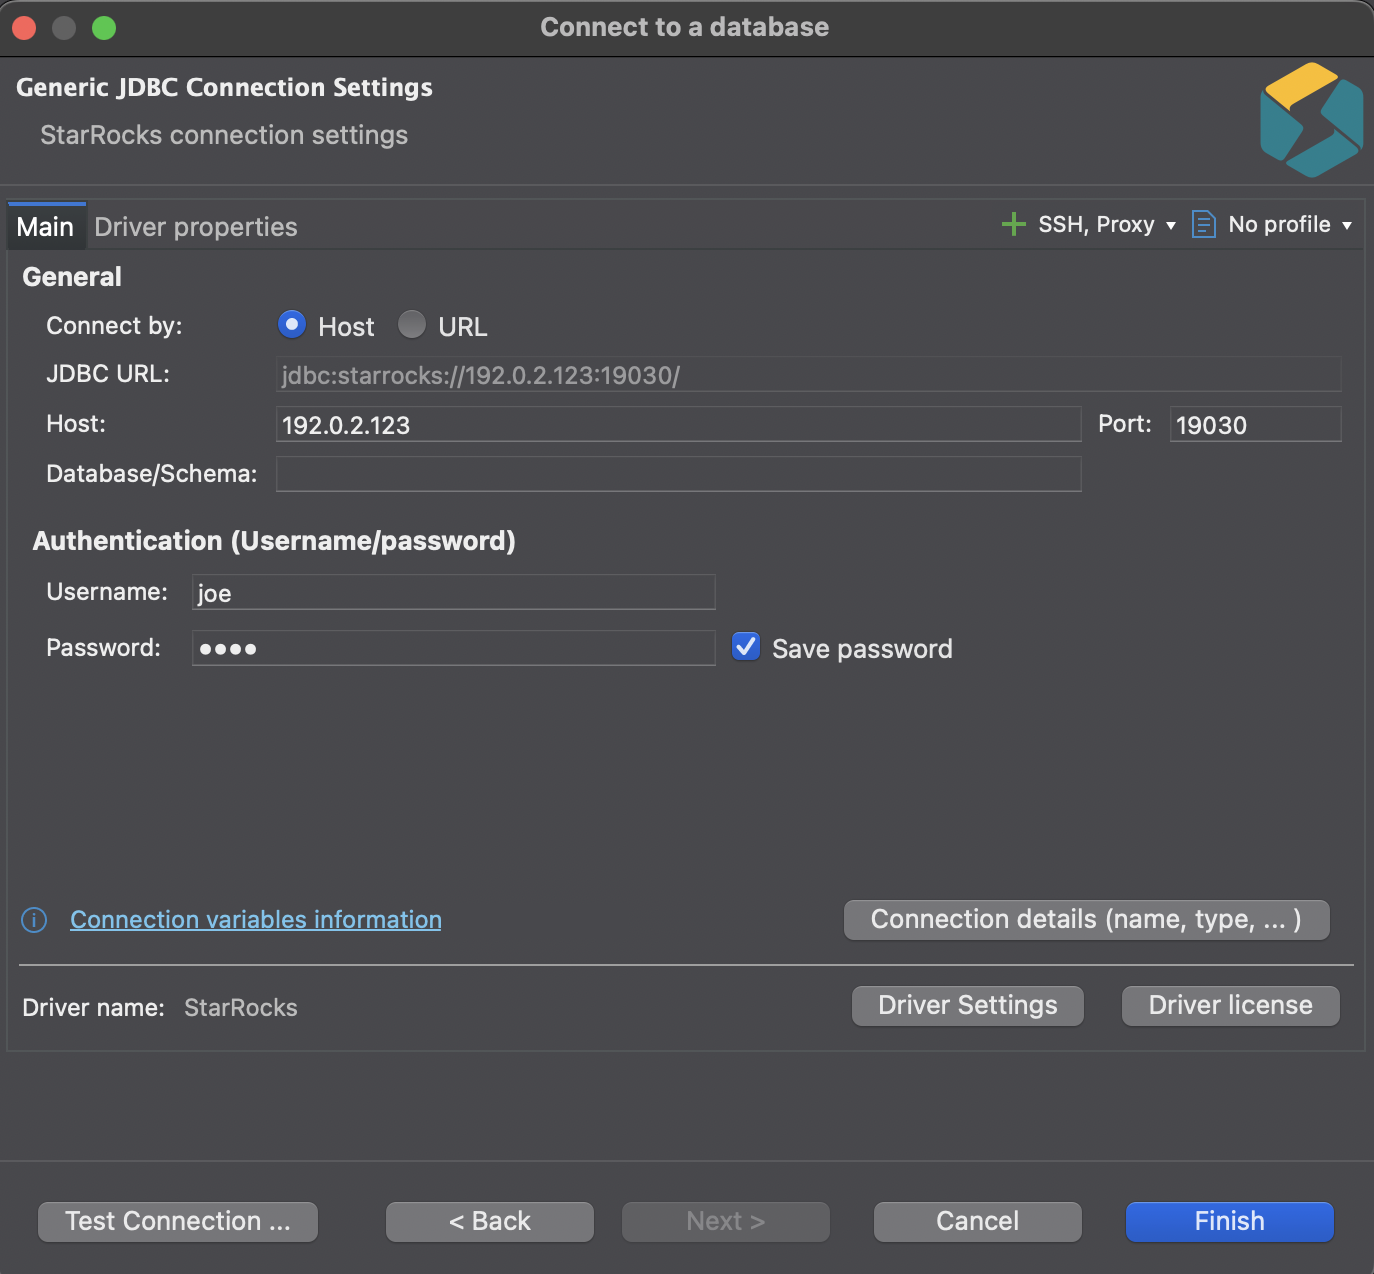 Configure a StarRocks connection in DBeaver
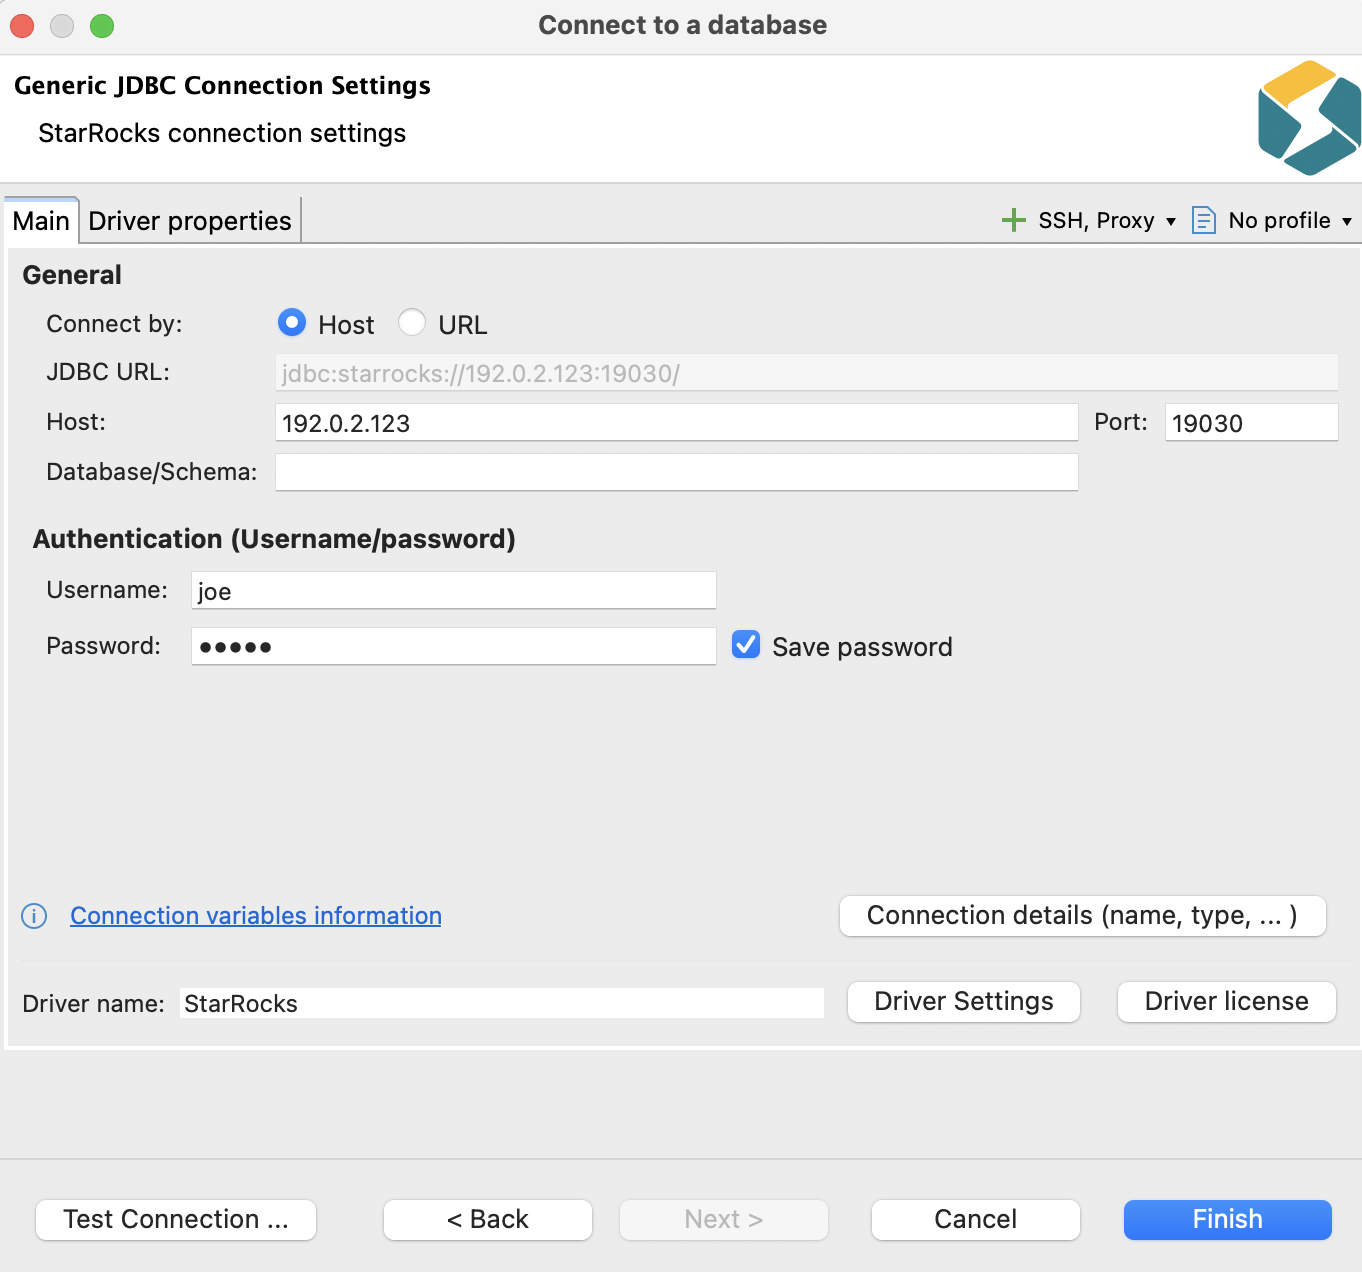 Configure a StarRocks connection in DBeaver
 -
If the connection is established successfully, the StarRocks catalogs are shown with the data stored in them.
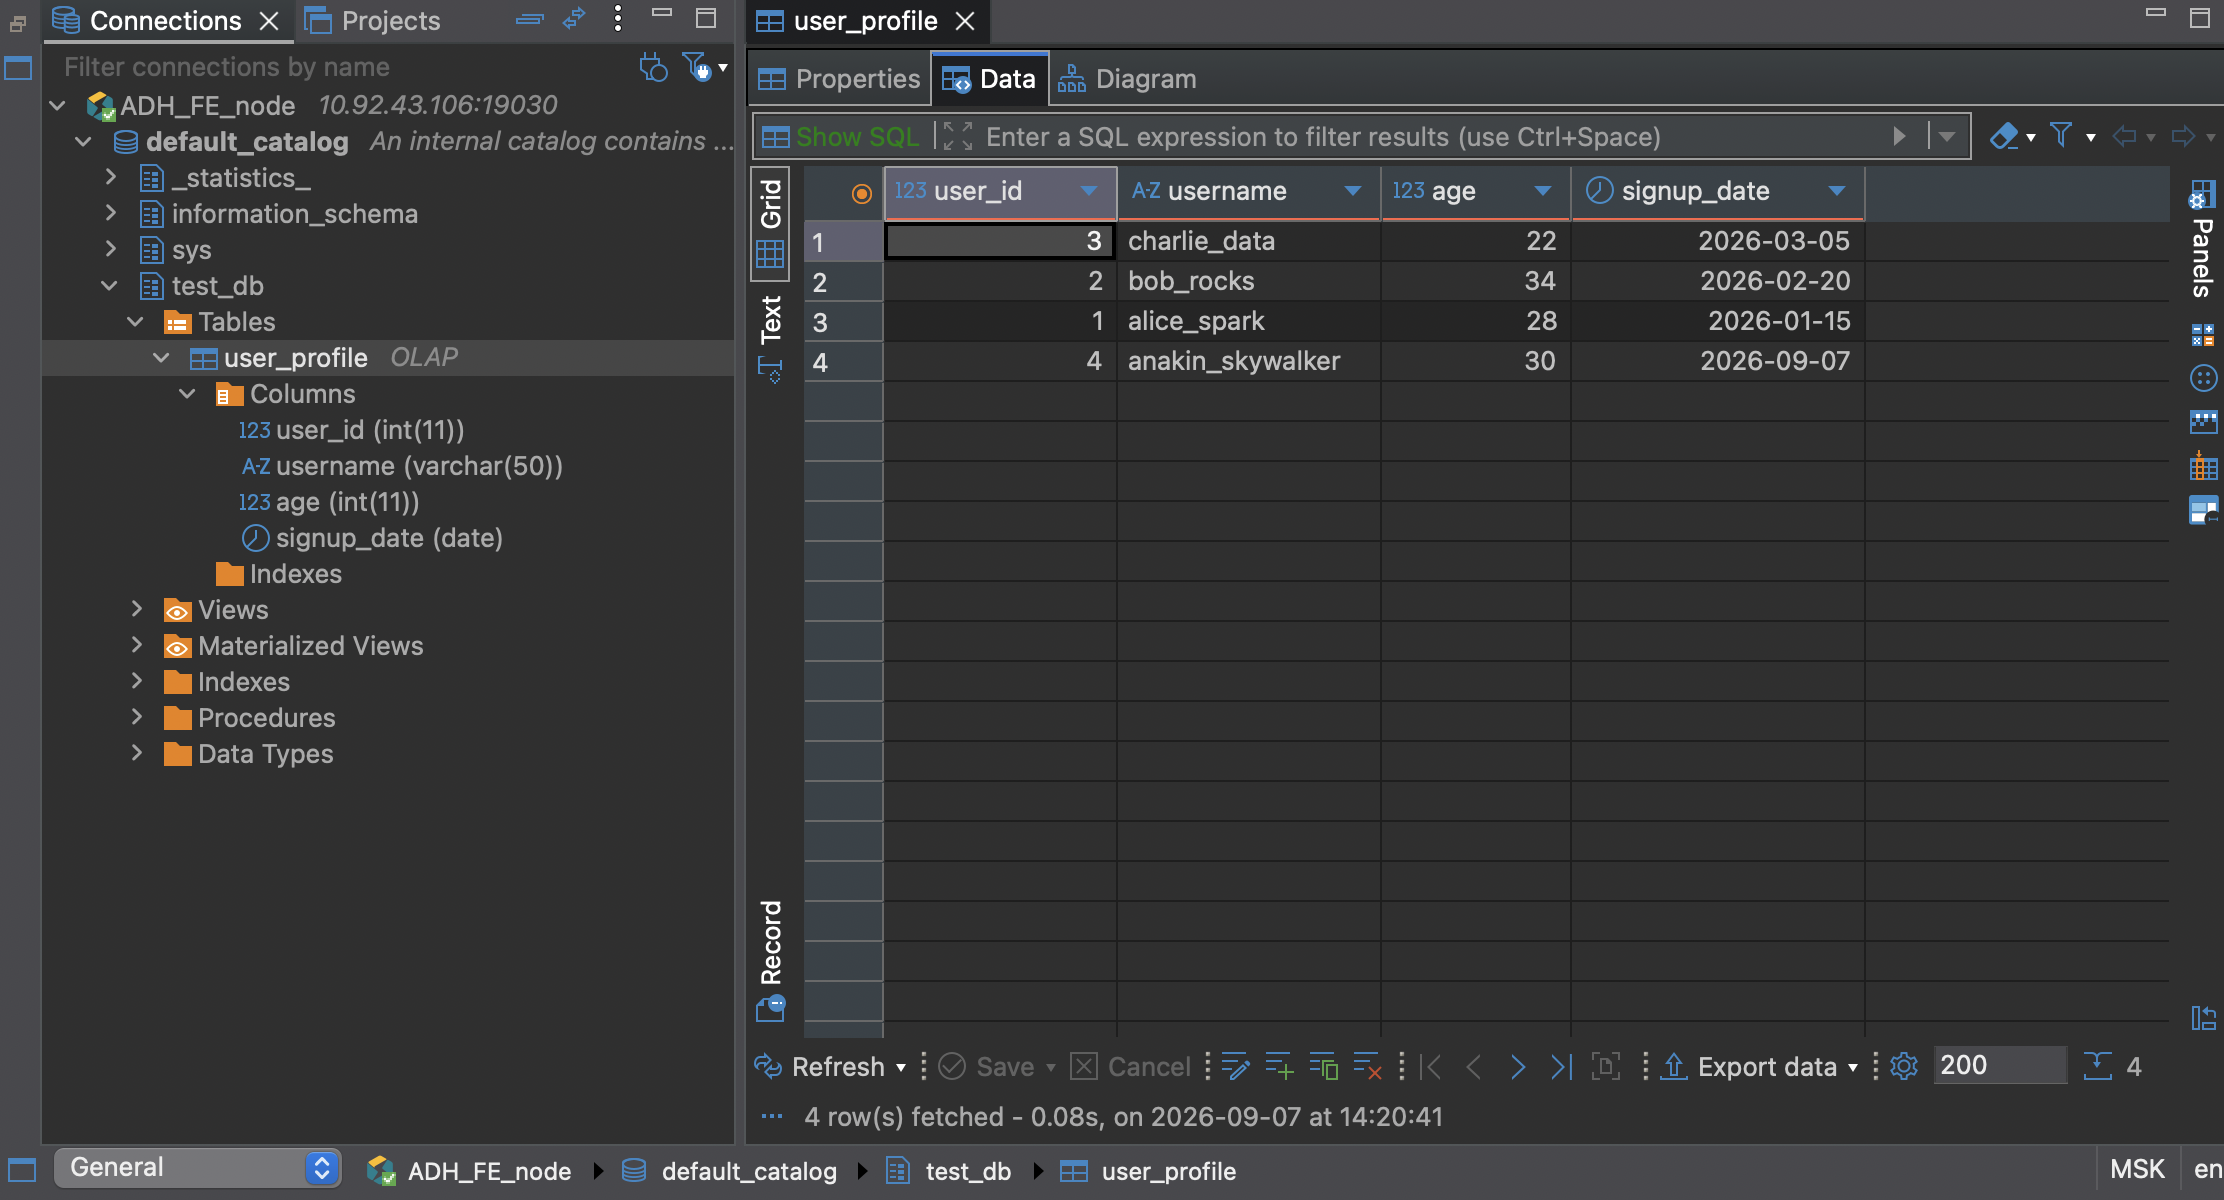 StarRocks connection established
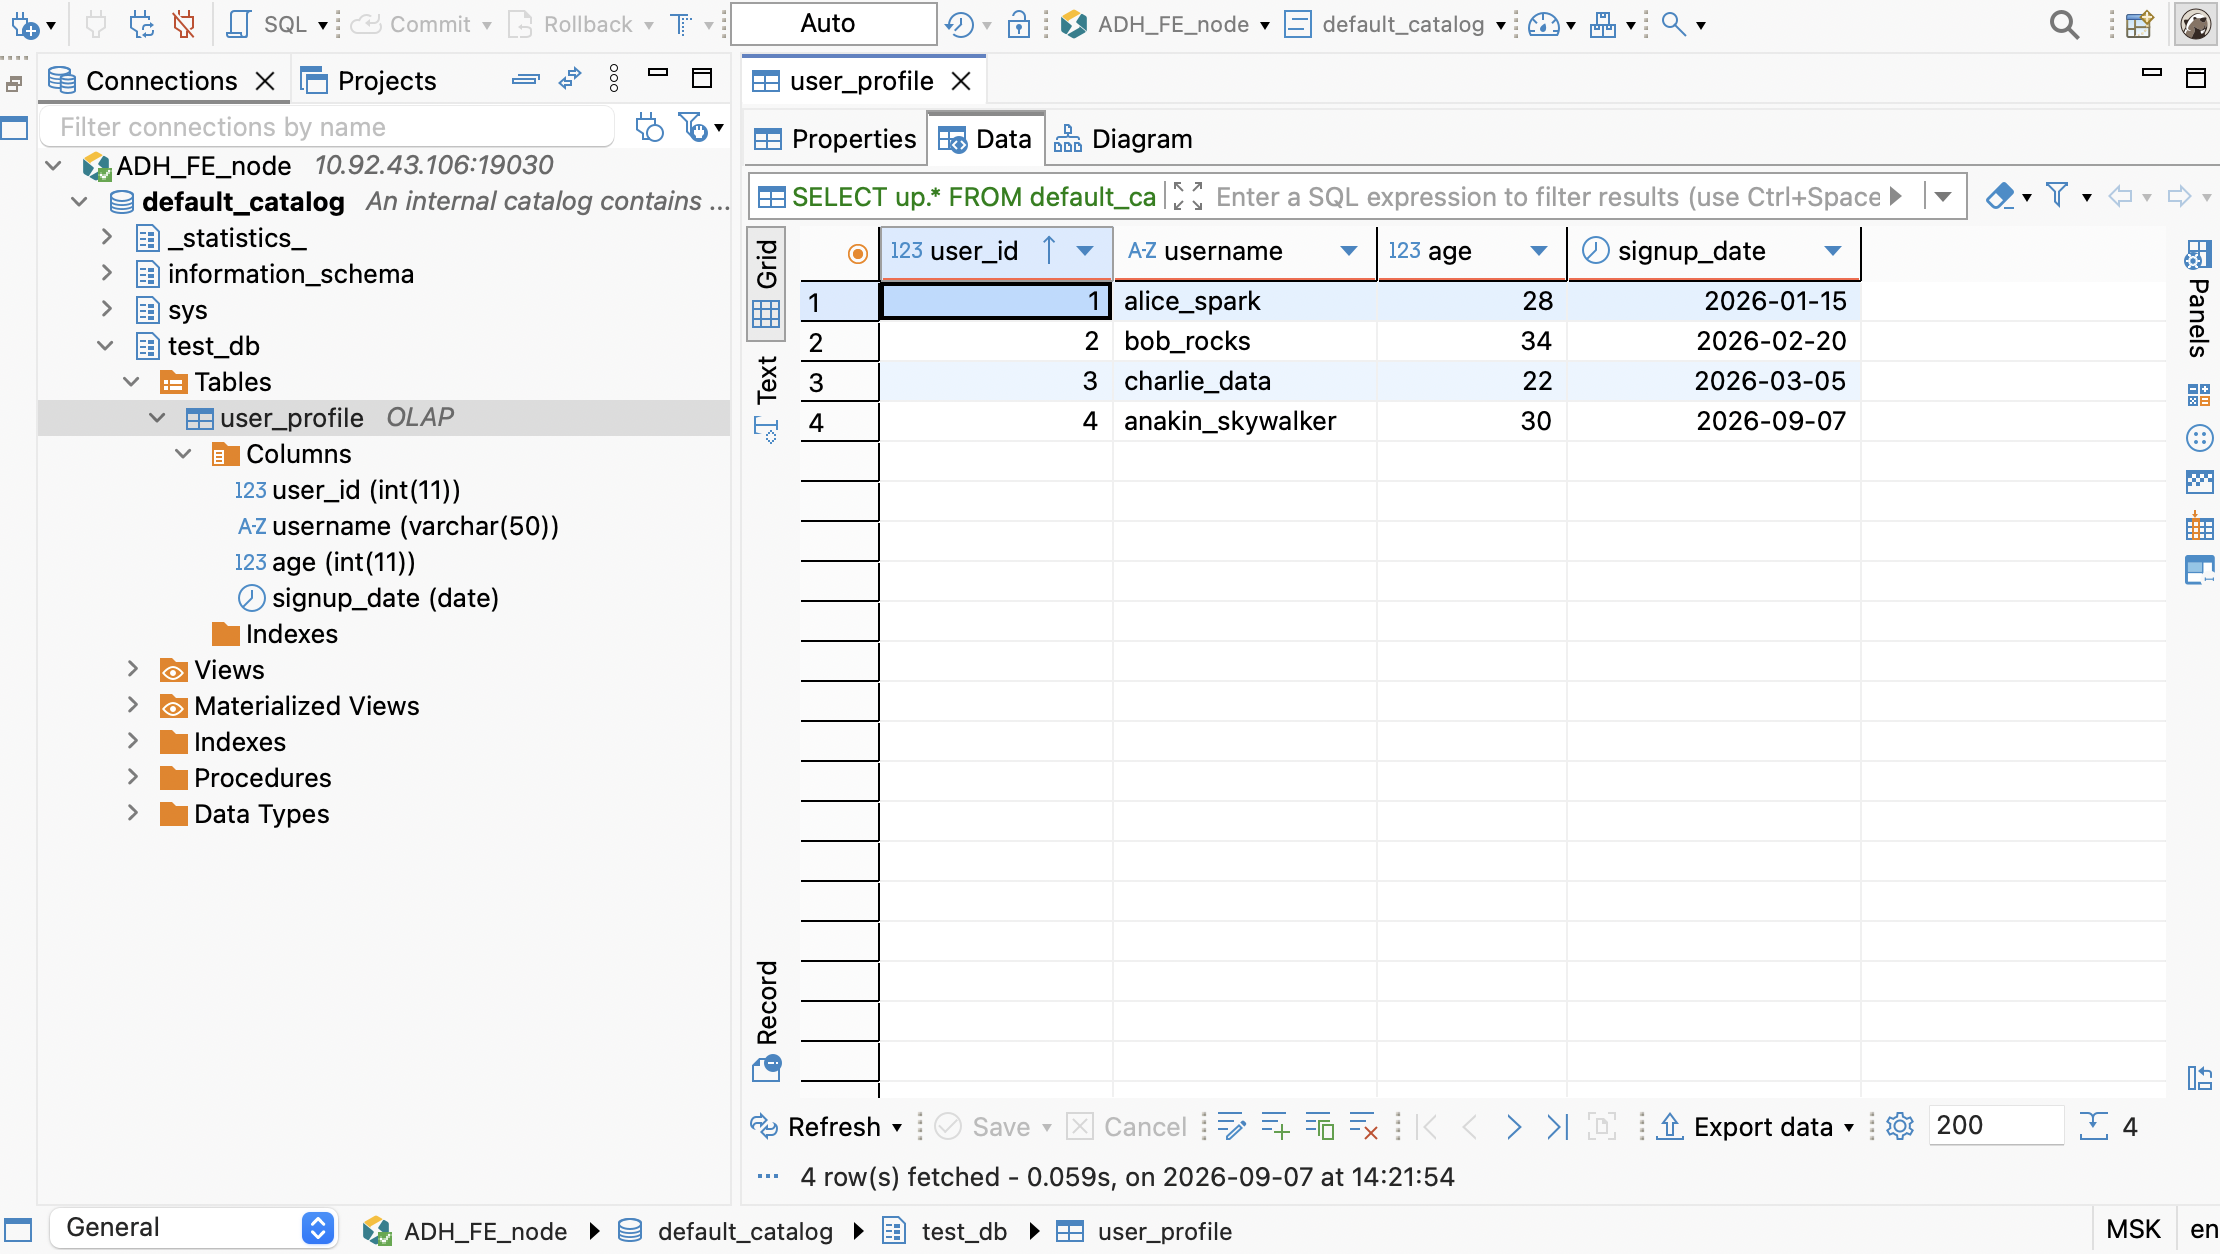 StarRocks connection established