

Install Impala on Kubernetes using Helm
This article describes how to deploy ADH Impala service in Kubernetes.
Prerequisites
To deploy Impala on Kubernetes, you need:
-
A Kubernetes cluster 1.32 or later with access configured through
kubectl. -
Helm (3.8.0 or higher) — a package manager for Kubernetes that allows quick deployment of OCI images in Kubernetes.
-
Impala artifacts (Docker images and Helm charts) loaded to your private OCI registry. These artifacts can be found in offline packages, which can be requested from the Arenadata support team. To deploy Impala on Kubernetes, you need to unpack the following images:
-
hub.arenadata.io/adc-enterprise/impala-operator:<version>
-
hub.arenadata.io/adh-enterprise/impala-docker:<version>
-
hub.arenadata.io/adc-enterprise/charts/impala-cluster:<version>
-
hub.arenadata.io/adc-enterprise/charts/impala-operator:<version>
-
-
An up-and-running ADH cluster (4.2.0 or later) with the following services:
-
Core configuration
-
ADPG
-
Zookeeper
-
HDFS
-
YARN
-
Hive
Impala runs outside the ADH cluster — in Kubernetes pods, and communicates with ADH over the network.
-
Deployment steps
The steps below describe how to install and configure Impala components on Kubernetes. Configurations related to providing external access, Ingress controllers, load balancers, DNS, and cloud annotations should be performed with respect to your Kubernetes infrastructure characteristics.
Step 1. Install Impala operator
-
Create impala_operator_values.yaml:
# Default values for impala-operator.
# This is a YAML-formatted file.
# Declare variables to be passed into your templates.

# This will set the replicaset count more information can be found here: https://kubernetes.io/docs/concepts/workloads/controllers/replicaset/
replicas: 1
payloadNamespaces: (1)
  # Managed namespaces for Impala payload resources.
  names:
    - impala
  # Explicit opt-in for cluster-wide RBAC when payloadNamespaces.names is empty.
  # When false, the operator starts without payload RBAC until namespaces are specified.
  allowClusterRole: false
  deleteProtection: false
  avoidCreation: false

# This sets the container image more information can be found here: https://kubernetes.io/docs/concepts/containers/images/
image:
  registry: "<registry>" (2)
  repository: "<image>" (3)
  tag: "<tag>"
  # This is for the secrets for pulling an image from a private repository more information can be found here: https://kubernetes.io/docs/tasks/configure-pod-container/pull-image-private-registry/
  pullSecret: (4)
    name: ""
    ## List of secrets to create for image pulling in all product namespaces
    credentials: {}
#      registry: private-docker-registry
#      username: user
#      password: pass

# This is to override the chart name.
nameOverride: ""
fullnameOverride: ""

# This section builds out the service account more information can be found here: https://kubernetes.io/docs/concepts/security/service-accounts/
serviceAccount:
  automount: true
  # Annotations to add to the service account
  annotations: {}
  # The name of the service account to use.
  # If not set and create is true, a name is generated using the fullname template
  name: ""

# This is for setting Kubernetes Annotations to a Pod.
# For more information checkout: https://kubernetes.io/docs/concepts/overview/working-with-objects/annotations/
podAnnotations: {}
# This is for setting Kubernetes Labels to a Pod.
# For more information checkout: https://kubernetes.io/docs/concepts/overview/working-with-objects/labels/
podLabels: {}

podSecurityContext: {}
  # fsGroup: 2000

securityContext:
  readOnlyRootFilesystem: true
  privileged: false
  allowPrivilegeEscalation: false
  runAsNonRoot: true
  runAsUser: 65532
  capabilities:
    drop:
      - ALL
  seccompProfile:
    type: RuntimeDefault


# This is for setting up a service more information can be found here: https://kubernetes.io/docs/concepts/services-networking/service/
service:
  # This sets the service type more information can be found here: https://kubernetes.io/docs/concepts/services-networking/service/#publishing-services-service-types
  type: ClusterIP
  # This sets the ports more information can be found here: https://kubernetes.io/docs/concepts/services-networking/service/#field-spec-ports
  port: 8443

resources: {}
  # We usually recommend not to specify default resources and to leave this as a conscious
  # choice for the user. This also increases chances charts run on environments with little
  # resources, such as Minikube. If you do want to specify resources, uncomment the following
  # lines, adjust them as necessary, and remove the curly braces after 'resources:'.
  # limits:
  #   cpu: 100m
  #   memory: 128Mi
  # requests:
  #   cpu: 100m
  #   memory: 128Mi

nodeSelector: {}

tolerations: []

affinity: {}

terminationGracePeriodSeconds: 10
1 List of namespaces for the operator to manage resources. 2 The address of your OCI registry to pull images from. 3 The name of repository in your registry. 4 Provide credentials to access your private Docker registry. -
Install Impala operator:
$ helm upgrade --install impala-operator oci://<registry-address>/adc-enterprise/charts/impala-operator:<version> --version <version> -f impala_operator_values.yaml --namespace impala-operator --create-namespacewhere
<registry-address>is the address of your OCI registry with loaded Impala Helm charts.Example output:
Release "impala-operator" does not exist. Installing it now.
Pulled: hub.arenadata.io/adc-enterprise/charts/impala-operator:<version>
Digest: sha256:b44ae368dbeef7d7ef71b365e7b829b96ac41641febfd98516737ad7d39c3490
NAME: impala-operator
LAST DEPLOYED: Tue Apr 28 14:11:23 2026
NAMESPACE: impala-operator
STATUS: deployed
REVISION: 1
DESCRIPTION: Install complete
TEST SUITE: None
NOTES:
-
Verify the Impala operator installation using the command:
$ kubectl get pods -n impala-operatorThe output:
NAME                               READY   STATUS    RESTARTS      AGE
impala-operator-7d86645656-xzw7q   1/1     Running   1 (46h ago)   46h
Step 2. Create Kubernetes secrets with ADH configurations
To allow Impala in Kubernetes to communicate with your ADH cluster, it is necessary to provide ADH configurations to every Kubernetes pod. A way to do this is through Kubernetes secrets. In this case, ADH configuration files will be available in every pod at /opt/impala/conf/.
For this:
-
Create the configuration files (core-site.xml, hdfs-site.xml, hive-site.xml), using the following templates. Use configuration values from your ADH cluster.
core-site.xml<?xml version="1.0"?> <configuration> <property> <name>fs.defaultFS</name> <value>hdfs://adh</value> (1) </property> <property> <name>hadoop.security.authentication</name> <value>simple</value> </property> </configuration>1 Replace with a value from your ADH cluster’s /etc/hadoop/conf/core-site.xml. hdfs-site.xmlAll properties in this file must be replaced with values from your ADH cluster’s /etc/hadoop/conf/hdfs-site.xml.
<?xml version="1.0"?> <configuration> <property> <name>dfs.nameservices</name> <value>adh</value> </property> <property> <name>dfs.ha.namenodes.adh</name> <value>nn_ka-adh-1,nn_ka-adh-2</value> </property> <property> <name>dfs.namenode.rpc-address.adh.nn_ka-adh-1</name> <value>ka-adh-1.ru-central1.internal:8020</value> </property> <property> <name>dfs.namenode.rpc-address.adh.nn_ka-adh-2</name> <value>ka-adh-2.ru-central1.internal:8020</value> </property> <property> <name>dfs.client.failover.proxy.provider.adh</name> <value>org.apache.hadoop.hdfs.server.namenode.ha.ObserverReadProxyProvider</value> </property> </configuration>hive-site.xml<?xml version="1.0"?> <configuration> <property> <name>hive.metastore.uris</name> <value>thrift://ka-adh-2.ru-central1.internal:9083</value> (1) </property> <property> <name>metastore.use.SSL</name> <value>False</value> </property> <property> <name>hive.metastore.sasl.enabled</name> <value>False</value> </property> </configuration>1 Replace with a value from your ADH cluster’s /etc/hive/conf/hive-site.xml. TIPYour ADH cluster’s configuration files can be found on cluster hosts at /etc/hadoop/conf/ and /etc/hive/conf/. -
Create secrets:
$ kubectl -n impala create secret generic hadoop-conf --from-file=core-site.xml --from-file=hdfs-site.xml --from-file=hive-site.xmlVerify the secrets:
$ kubectl get secrets -n impalaThe output:
NAME                                   TYPE                        DATA   AGE
hadoop-conf                            Opaque                      3      23h
Step 3. Install Impala cluster
-
Create impala_cluster_values.yaml:
image:
  registry: "<registry>" (1)
  repository: "<image>" (2)
  tag: "<tag>"
  pullSecret: (3)
    name: ""
    ## List of secrets to create for image pulling in all product namespaces
    credentials: {}
#      registry: private-docker-registry
#      username: user
#      password: pass

useRanger: false
clusterDomain: cluster.local
configsSecretName: "hadoop-conf"

securityContext: {}
  # capabilities:
  #   drop:
  #   - ALL
  # readOnlyRootFilesystem: true
  # runAsNonRoot: true
  # runAsUser: 1000

catalog:

coordinator:

executor:
  replicas: 2

statestore:
1 The address of your OCI registry to pull images from. 2 The name of repository in your registry. 3 Provide credentials to access your private Docker registry. -
Install Impala cluster:
$ helm upgrade --install impala-cluster oci://<registry-address>/adc-enterprise/charts/impala-cluster:<version> --version <version> -f impala_cluster_values.yaml --namespace impala --create-namespacewhere
<registry-address>is the address of your registry with Helm charts for Impala.Example output:
Release "impala-cluster" does not exist. Installing it now.
Pulled: hub.arenadata.io/adc-enterprise/charts/impala-cluster:<version>
Digest: sha256:05ed88d95cb7c981f763a3a79b7ed48bc5457603b511a6776173d629b8f9a1eb
NAME: impala-cluster
LAST DEPLOYED: Wed Apr 29 12:59:09 2026
NAMESPACE: impala
STATUS: deployed
REVISION: 1
DESCRIPTION: Install complete
TEST SUITE: None
-
Verify the installation using the commands:
$ kubectl get clusters.impala.arenadata.io -n impala
$ kubectl get pods -n impala
The output:
konstantin@ka-impala-k8s-1:~$ kubectl get clusters.impala.arenadata.io -n impala
NAME             AGE
impala-cluster   25h
konstantin@ka-impala-k8s-1:~$ kubectl get pods -n impala
NAME                           READY   STATUS    RESTARTS   AGE
impala-cluster-catalog-0       1/1     Running   0          23h
impala-cluster-coordinator-0   1/1     Running   0          23h
impala-cluster-executor-0      1/1     Running   0          23h
impala-cluster-executor-1      1/1     Running   0          23h
impala-cluster-statestore-0    1/1     Running   0          23h
Ensure that the cluster pods are in the
Runningstate.
|
To inspect Impala logs within a pod, use the command: |
Step 4. Allow JDBC connection to Impala
For external JDBC access to Impala, you need to expose the service using one of the supported publication methods, for example, through a load balancer or Ingress controller. All configurations related to exposing a service, including DNS, annotations, Ingress settings, load balancing rules, and other platform-specific settings, must be specified according to your Kubernetes environment.
-
Get the external IP address of your Ingress controller or load balancer. For example:
impala-lb LoadBalancer 10.96.231.158 10.92.42.144 21050:32154/TCP,26000:30753/TCP,24000:32645/TCP 25h
Copy the external IP address (
10.92.42.144in this example) for the next steps. -
Connect to the Impala cluster over JDBC, for example, using DBeaver. For this, the JDBC connection string looks as follows:
jdbc:impala://<external-ip>:21050/default
where
<external-ip>is the external IP address of your load balancer or Ingress controller. -
Once connected, verify the Impala cluster operability:
SHOW DATABASES;The output:
name            |comment                                     |
----------------+--------------------------------------------+
_impala_builtins|System database for Impala builtin functions|
default         |Default Hive database                       |
Step 5. Provide access to Impala web UI
To access Impala web interface, you need to expose the service using one of the supported publication methods, for example, through a load balancer or Ingress controller. All configurations related to exposing a service, including DNS, annotations, Ingress settings, load balancing rules, and other platform-specific settings, must be specified according to your Kubernetes environment.
-
Get the external IP address of your load balancer or Ingress controller. For example:
NAME             CLASS   HOSTS                               ADDRESS       PORTS   AGE
impala-ingress   nginx   impala-cloud.ru-central1.internal   10.92.41.95   80      8m45s
Copy the external IP address (
10.92.41.95in this example) for the next steps. -
Add a line to your /etc/hosts:
<external-ip> ka-impala-k8s-1.ru-central1.internalwhere
<external-ip>is the Ingress/load balancer IP address from the previous step. -
Open Impala web UI in your browser, using the URL: http://ka-impala-k8s-1.ru-central1.internal.
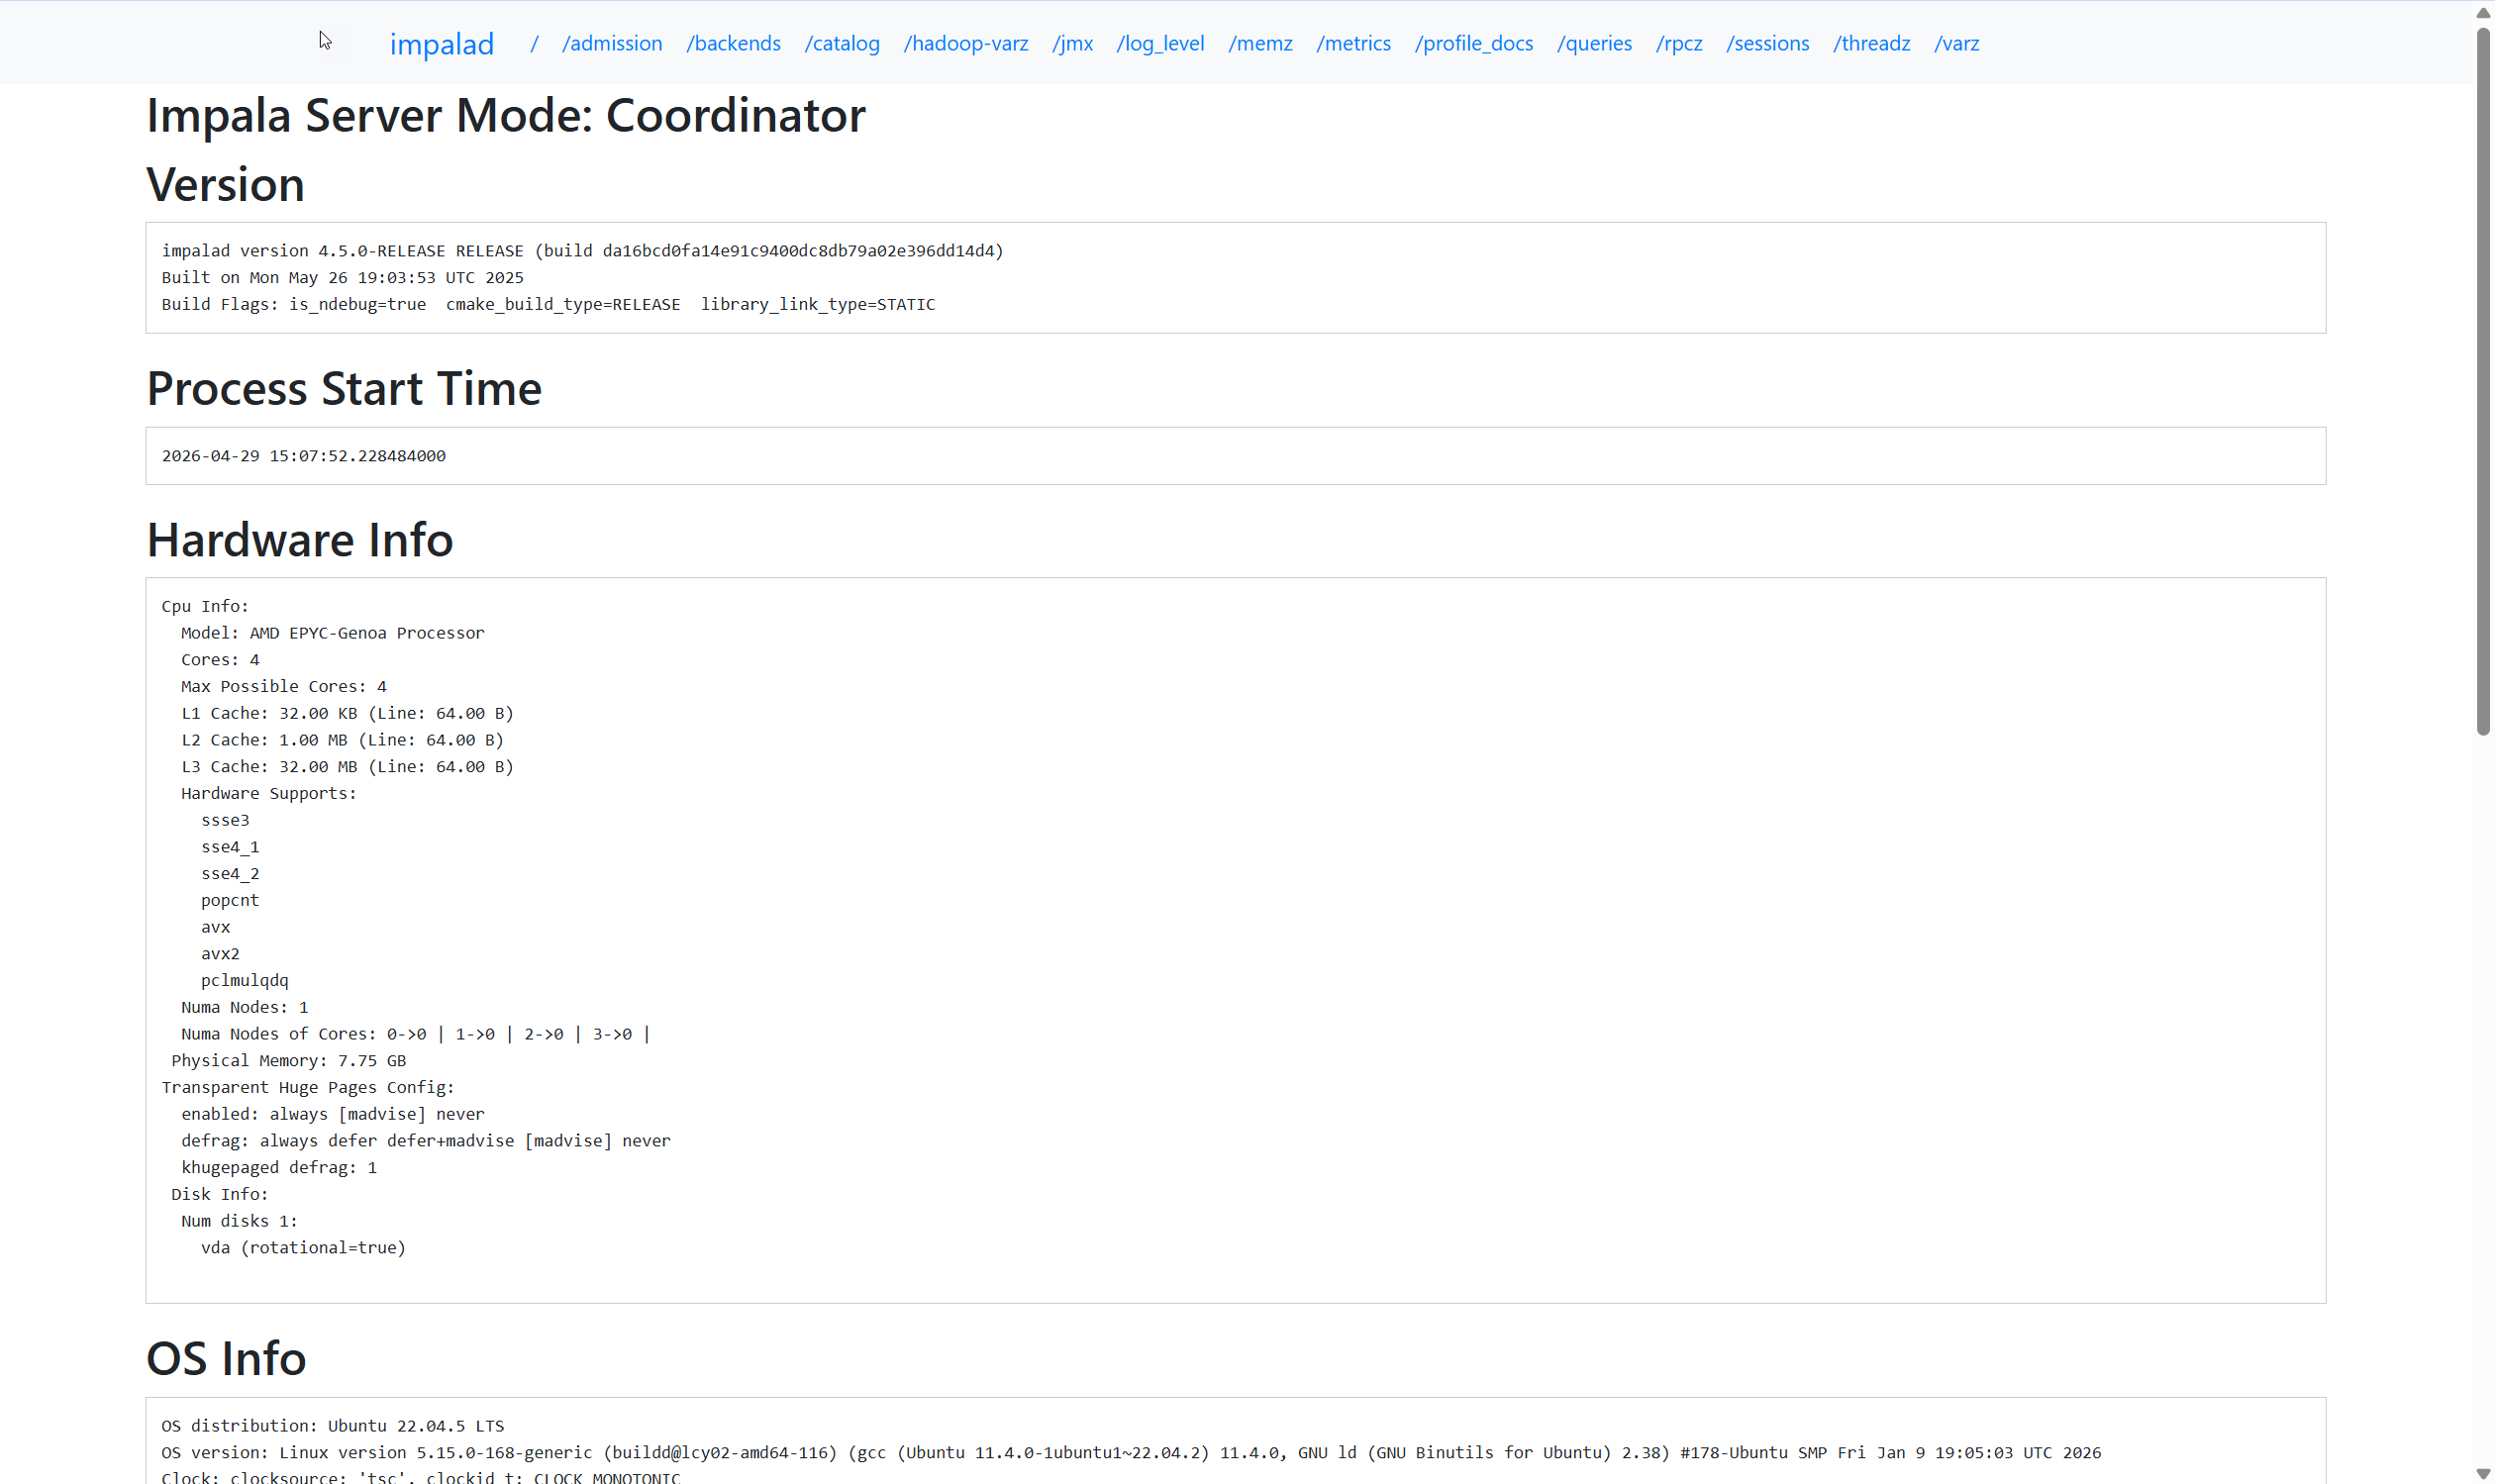 Impala web UI
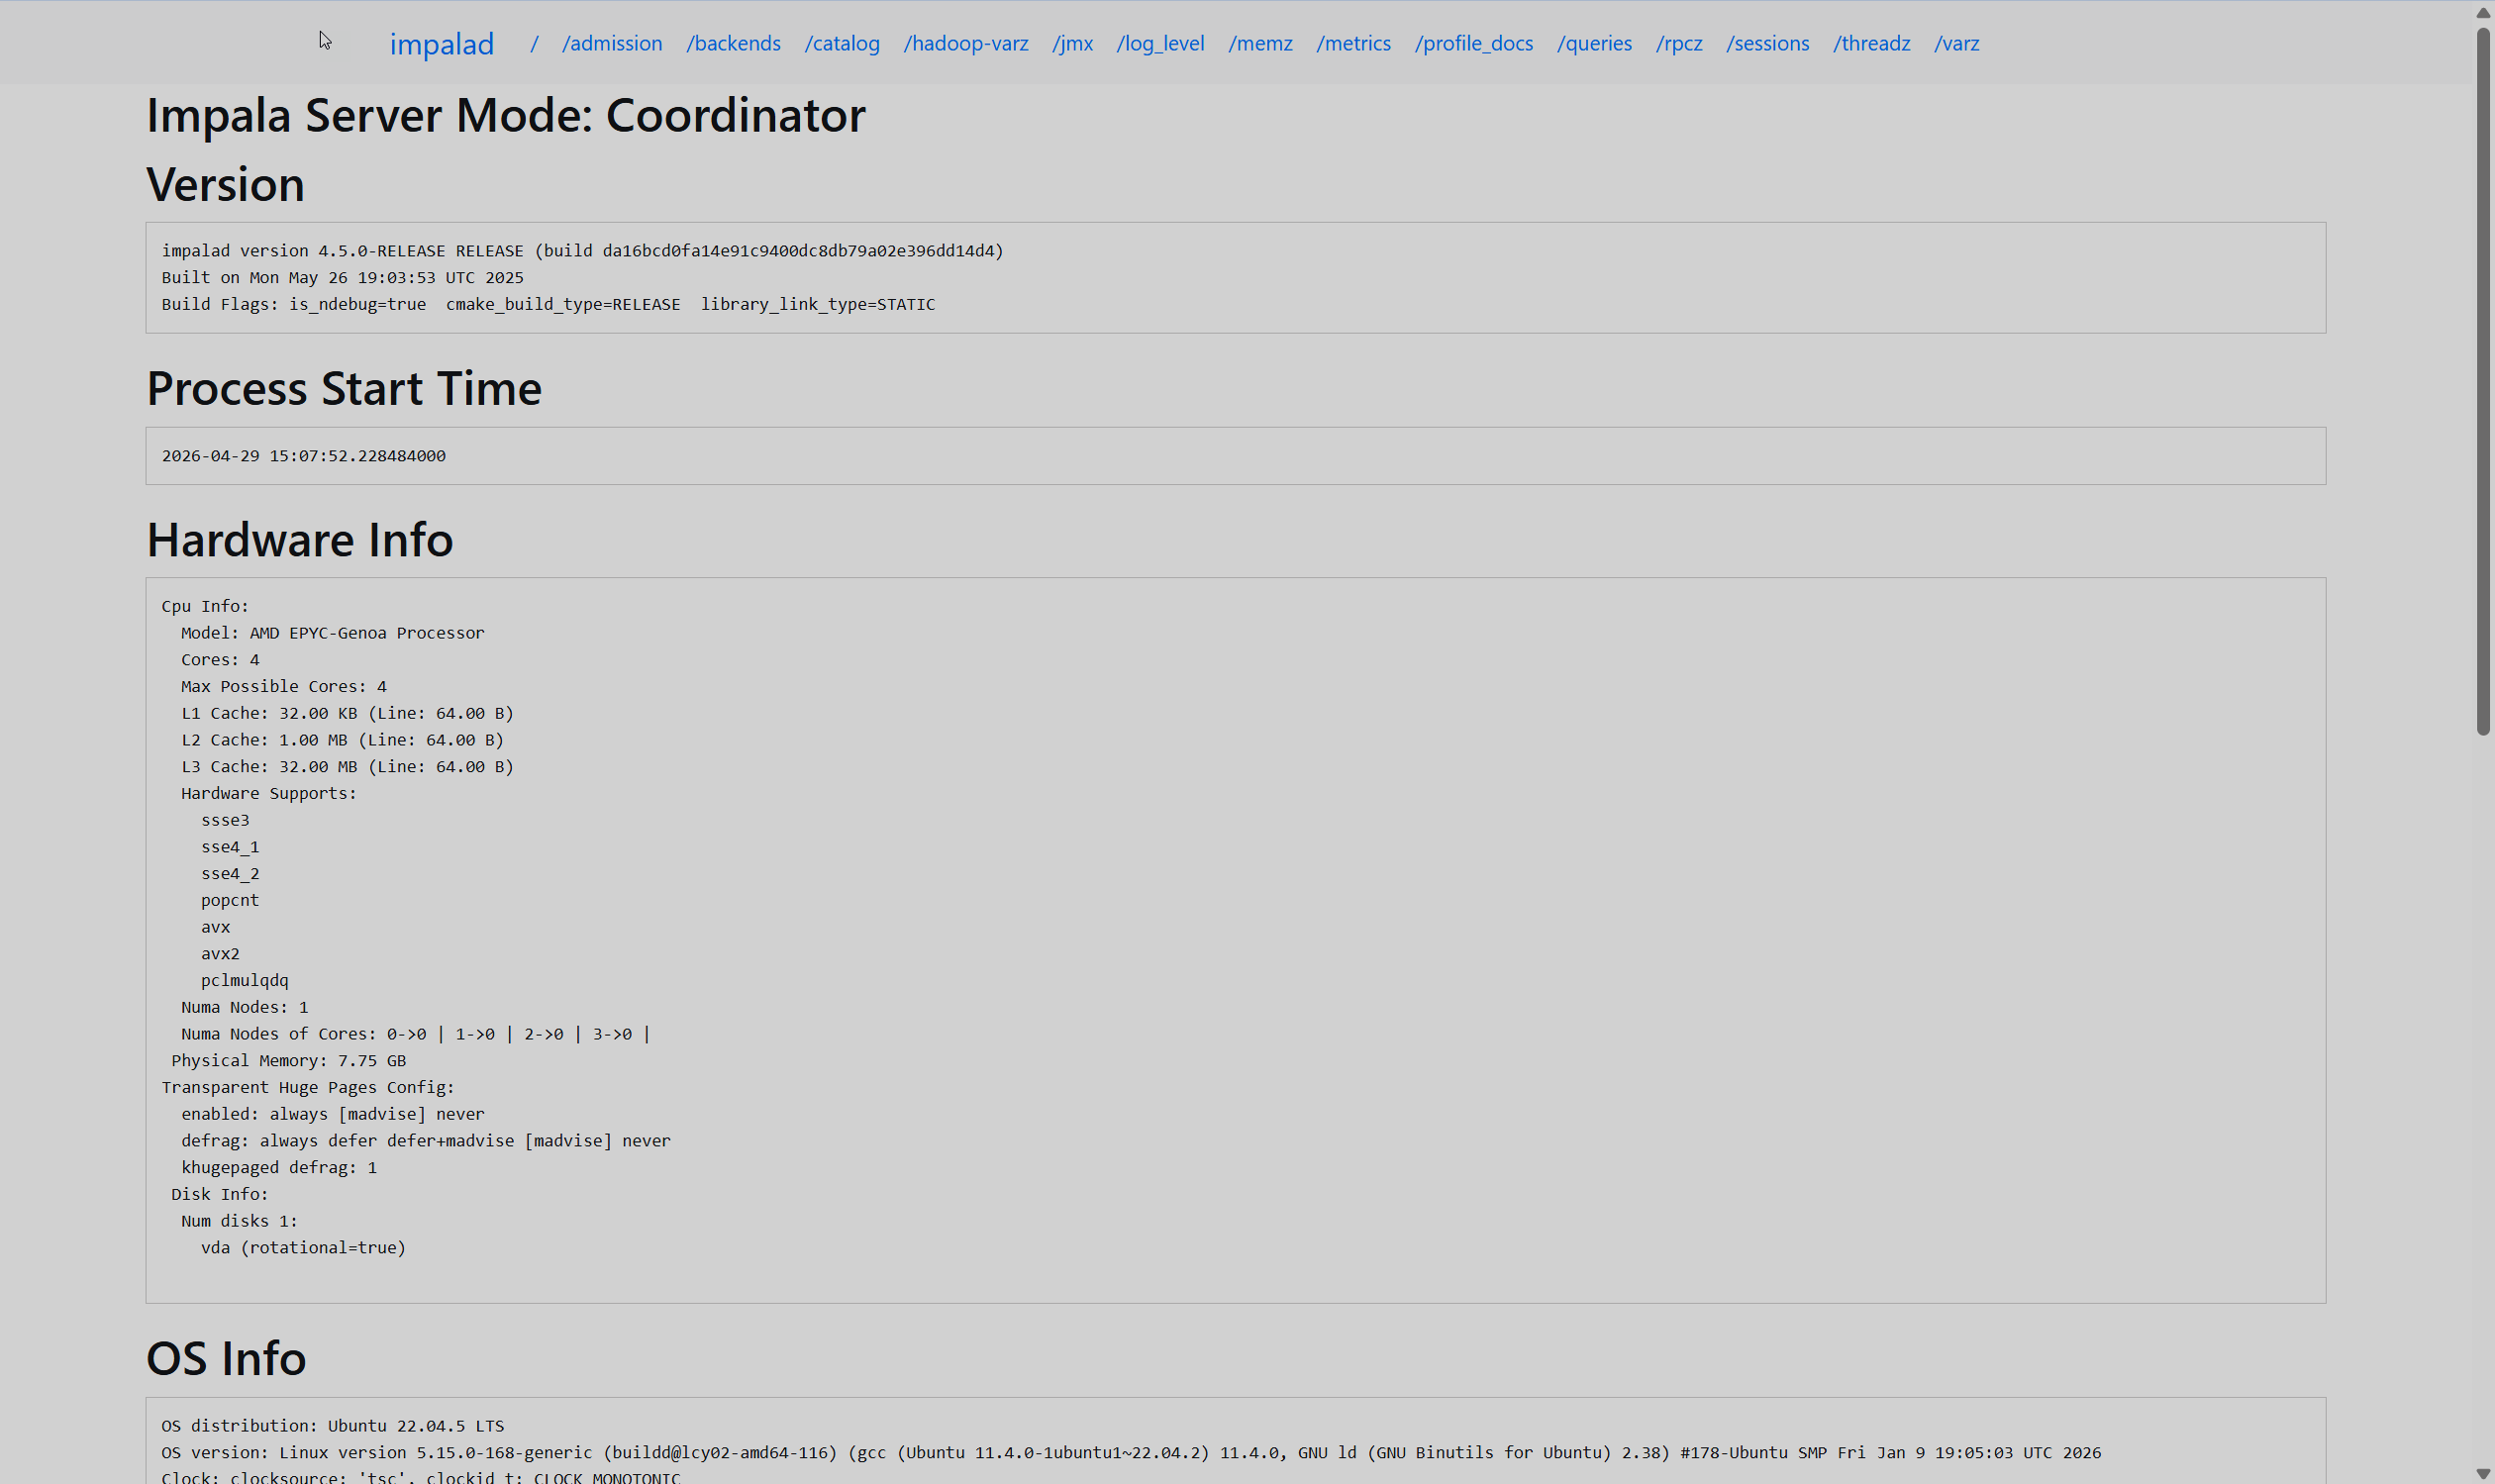 Impala web UI
Delete instances
|
IMPORTANT
Delete the operator only after all the resources it manages have been deleted. |
To delete the Impala cluster, run the command below:
$ helm uninstall impala-cluster --namespace impalaTo delete the Impala operator, run the command below:
$ helm uninstall impala-operator --namespace impala-operatorTo delete the Impala cluster CRD, run the command below:
$ kubectl delete crd clusters.impala.arenadata.io