

Use Ranger in NiFi
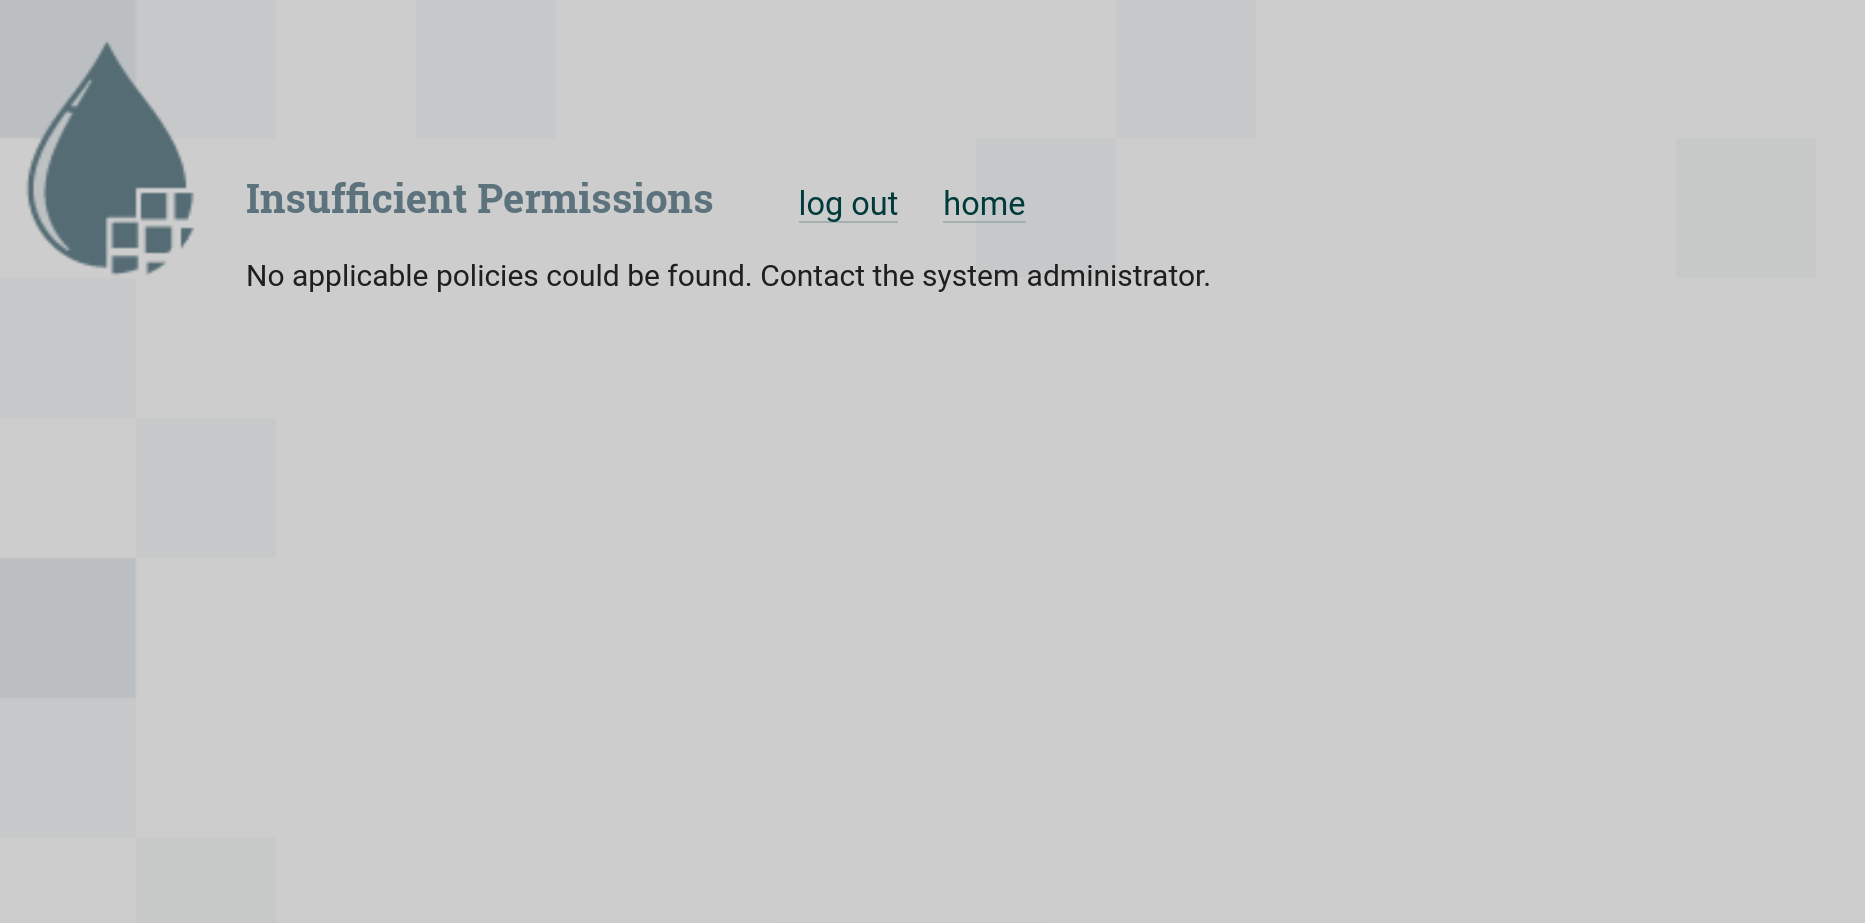
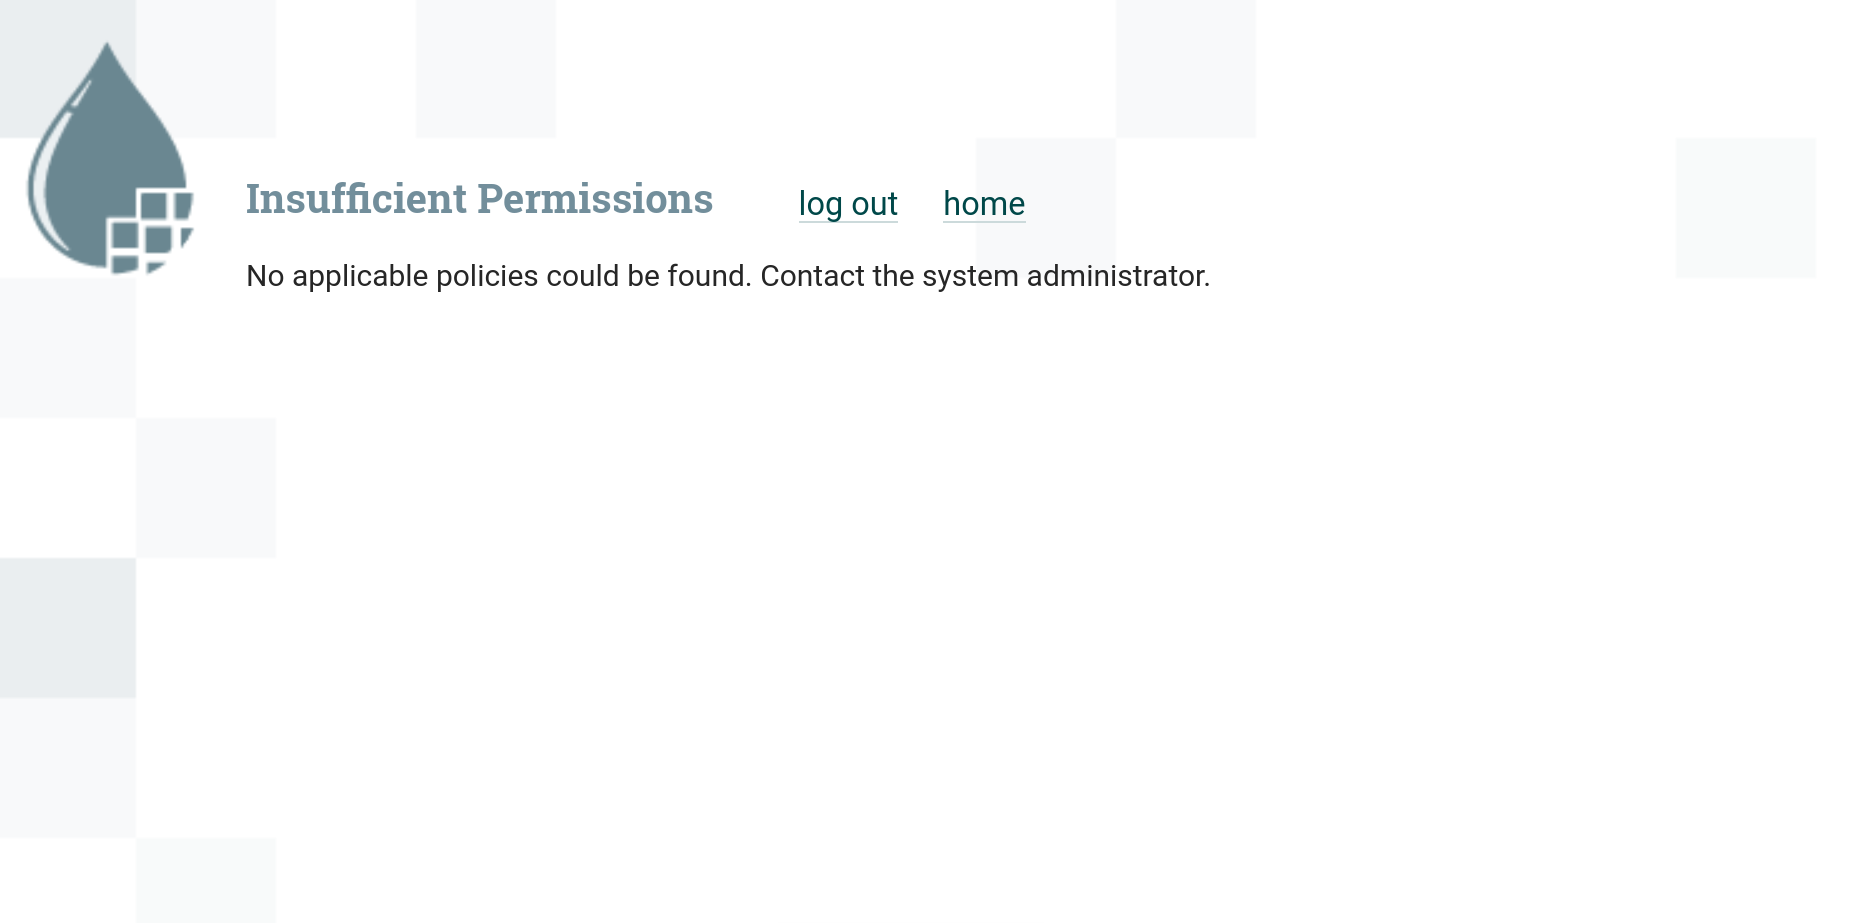
After activating Ranger NiFi plugin, creating a Ranger service, or connecting to an existing service (depending on the value of the Override service policies parameter), authorization in NiFi Server and NiFi Registry is closed for all users, including the NiFi administrator specified in NiFi Initial Admin when setting authentication in NiFi service.
After trying to log in with NiFi Initial Admin, a message appears that there is no configured policy for the user.
|
NOTE
|
Set an authorization policy in NiFi Server
Authorize NiFi Initial Admin in NiFi Server
To authorize NiFi Initial Admin, do the following:
-
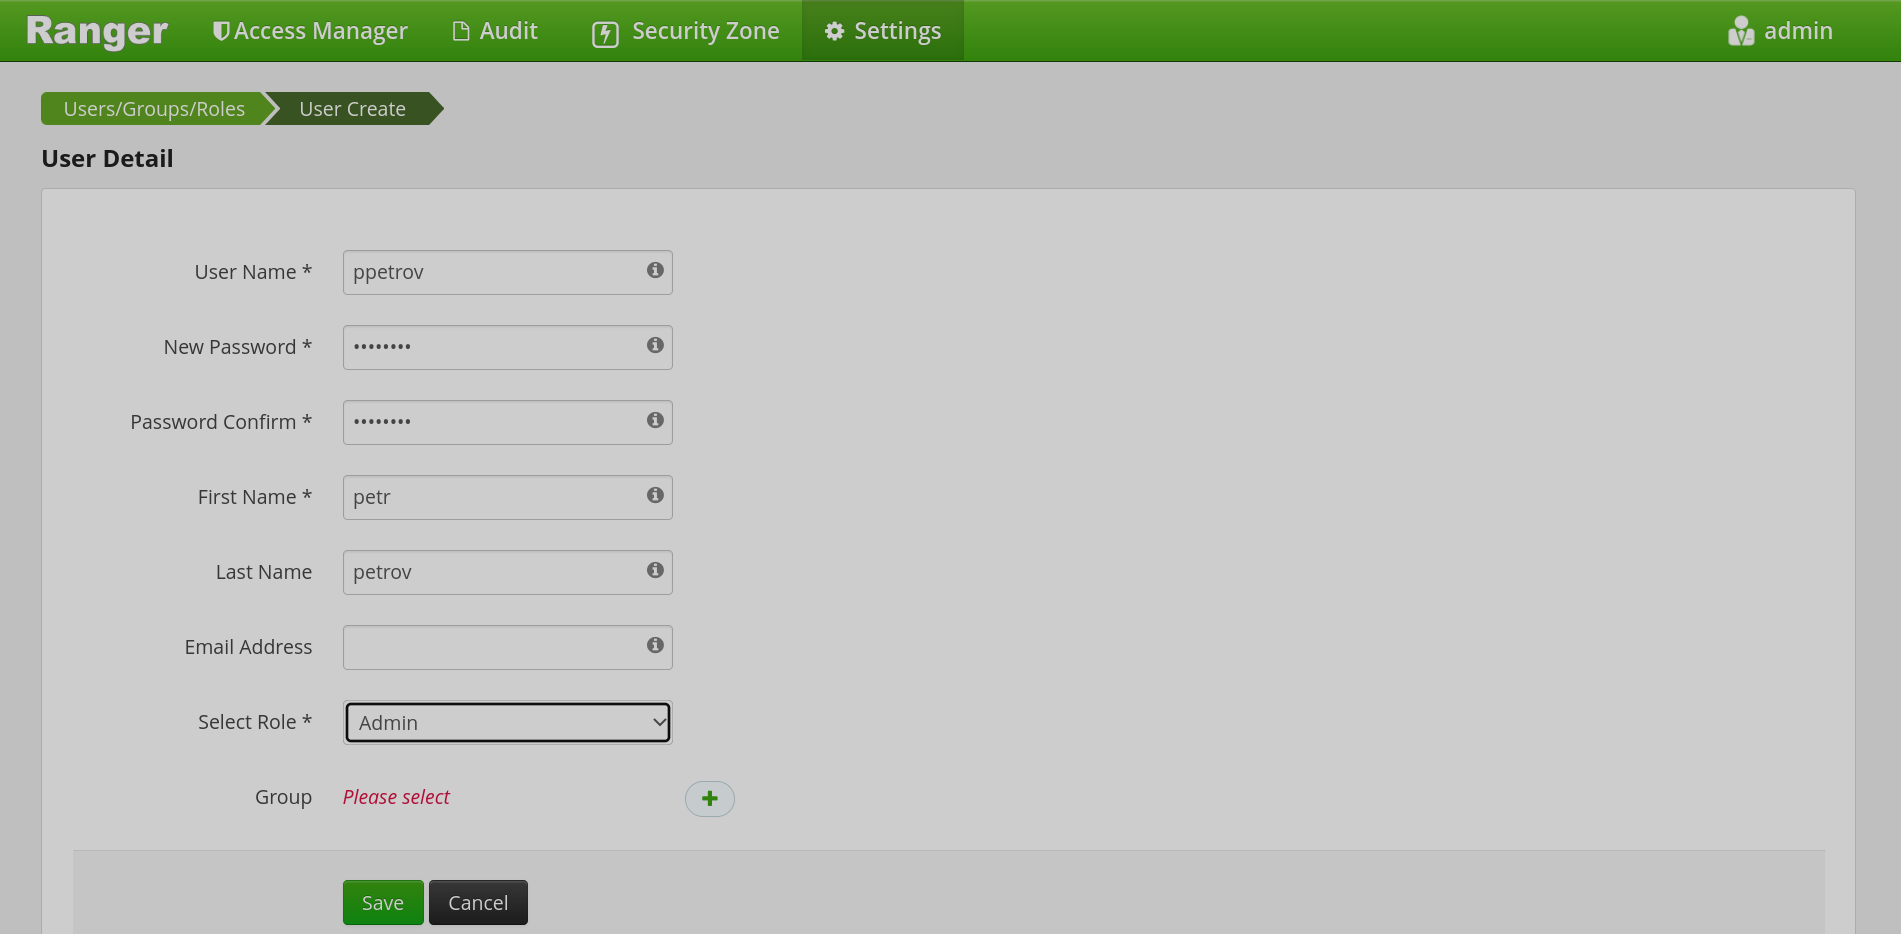
Create a user in Ranger. To do this, in the top menu of the Ranger interface, select Settings → Users/Groups/Roles and click Add new user.
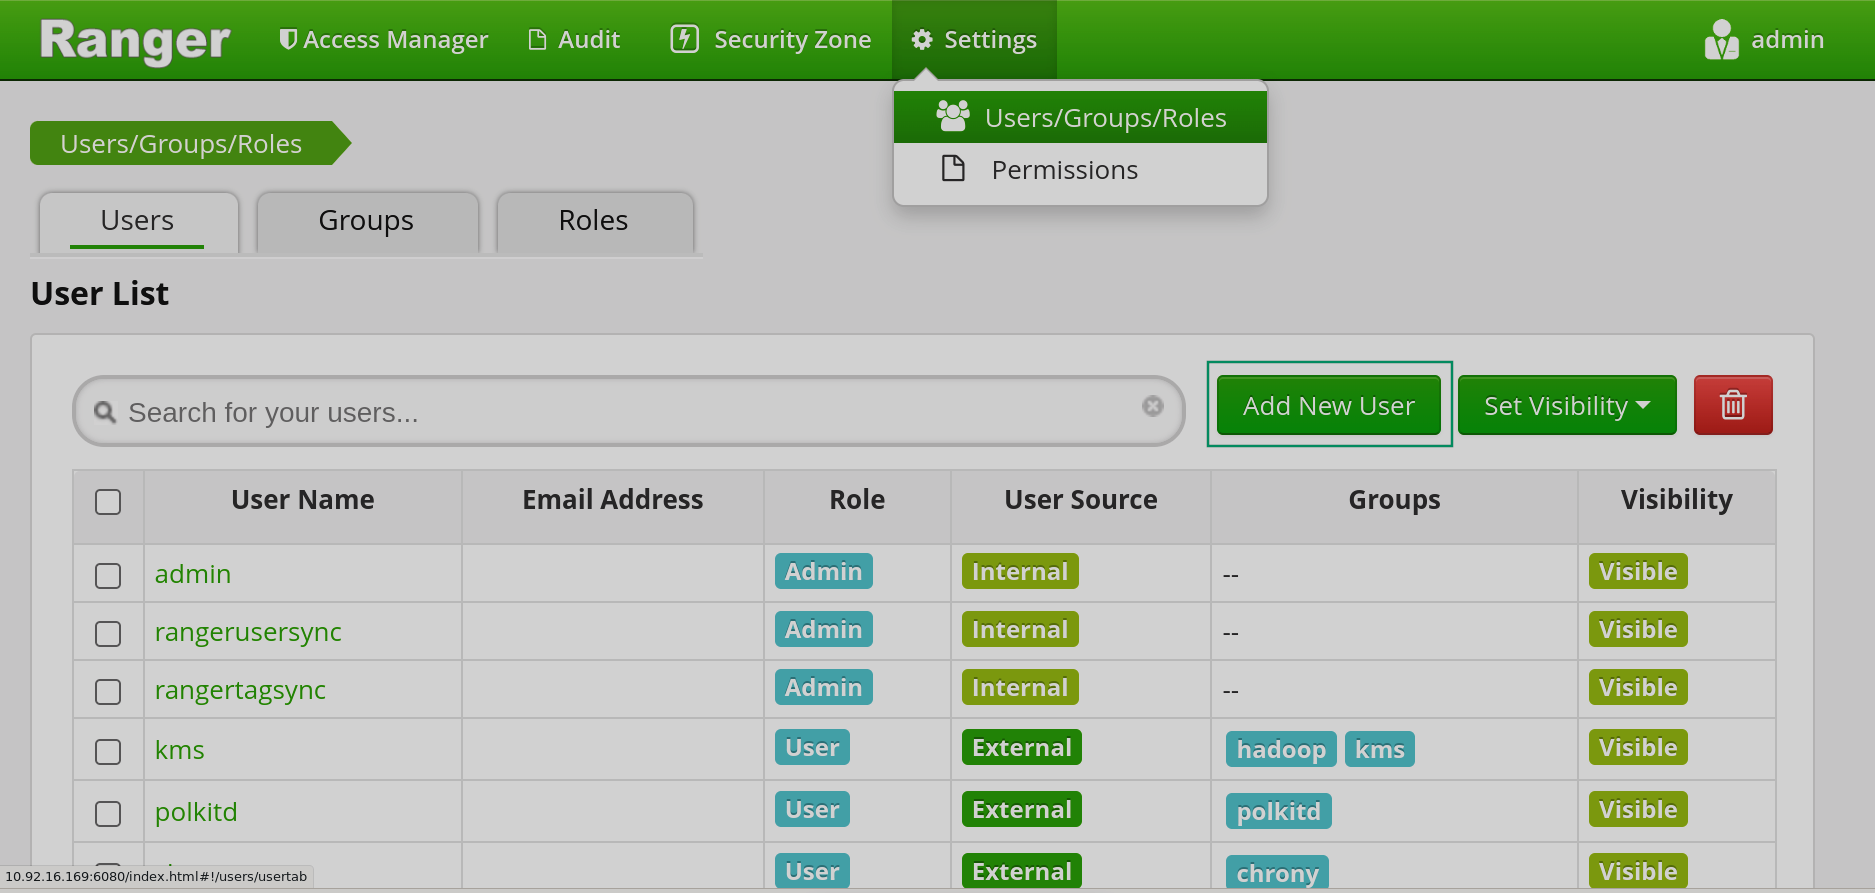 Creating a user in Ranger
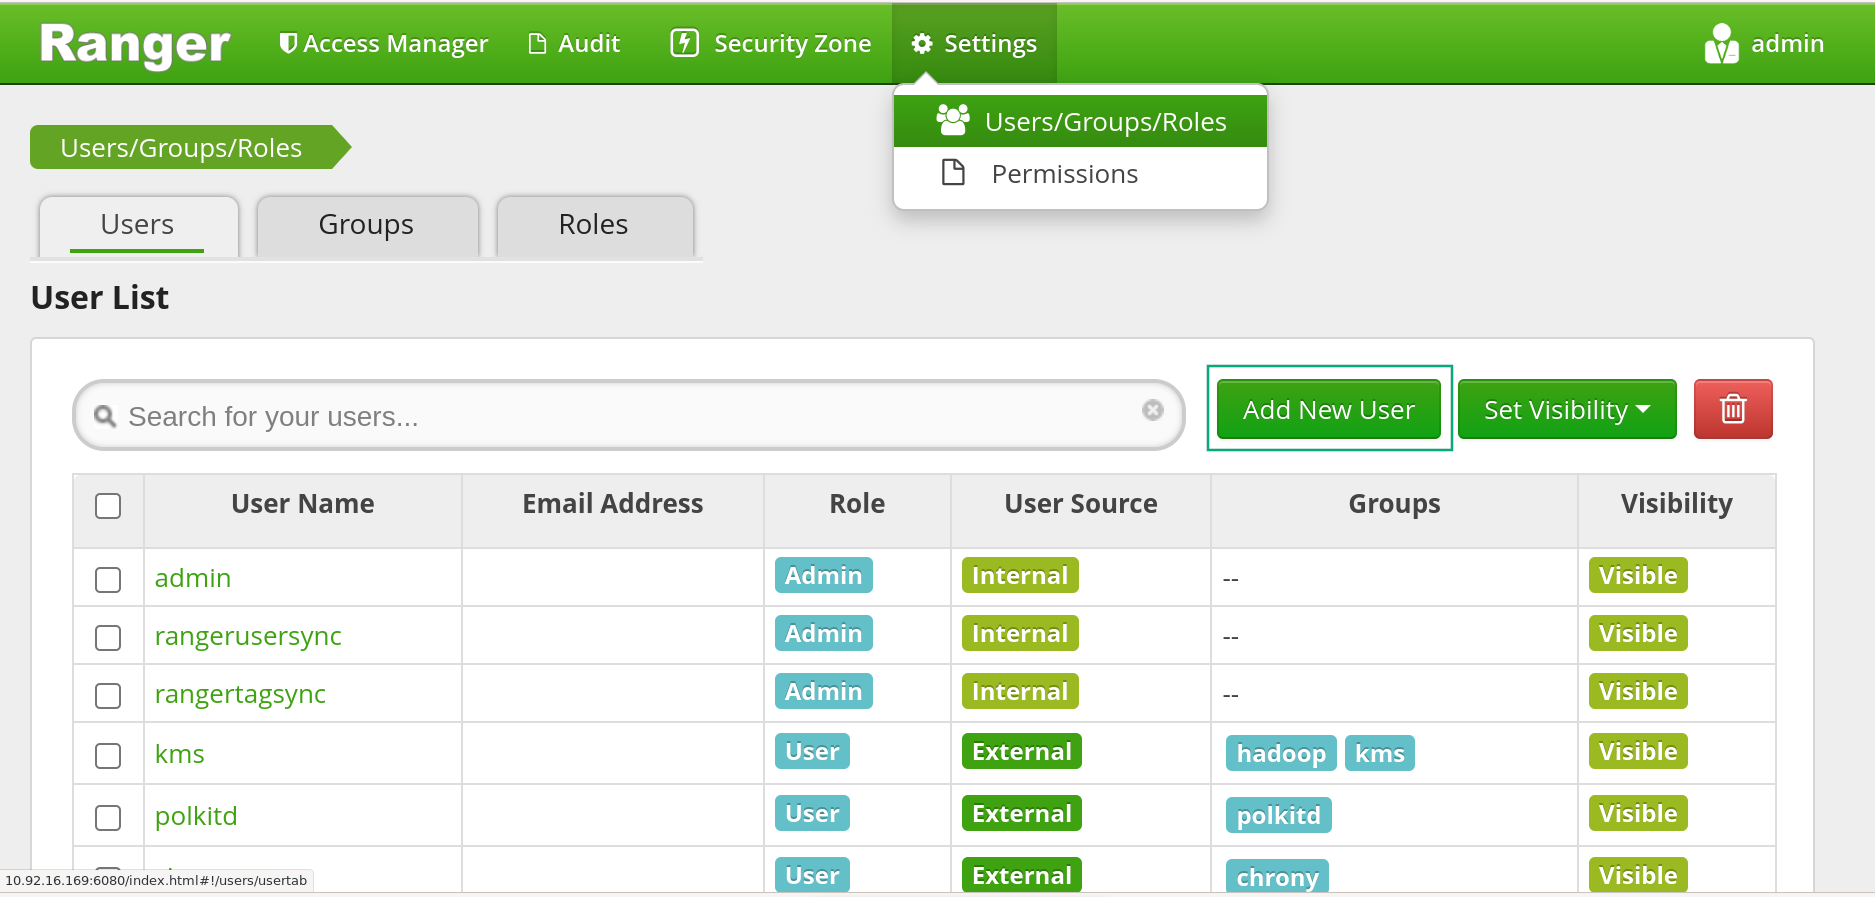 Creating a user in Ranger
 -
In the window that opens, fill in the required data for the user:
-
User Name — username.
The name must match the username in the Active Directory database. The value can be:
-
full DN of the user when setting the value of the Identity Strategy configuration parameter of the LDAP Login Identity Provider group to
USE_DN; -
only login (name) of the user when setting Identity Strategy to
USE_USERNAME.
-
-
New Password — user password.
-
Password Confirm — user password confirmation.
-
First Name — personal username.
-
Last Name — last name of the user.
-
Email Address — user’s email address.
-
Select Role — user role selection (
Admin,User,Auditor). -
Group — the group/groups the user belongs to.
 Creating a user in Ranger
 Creating a user in Ranger
-
-
Click Save.
-
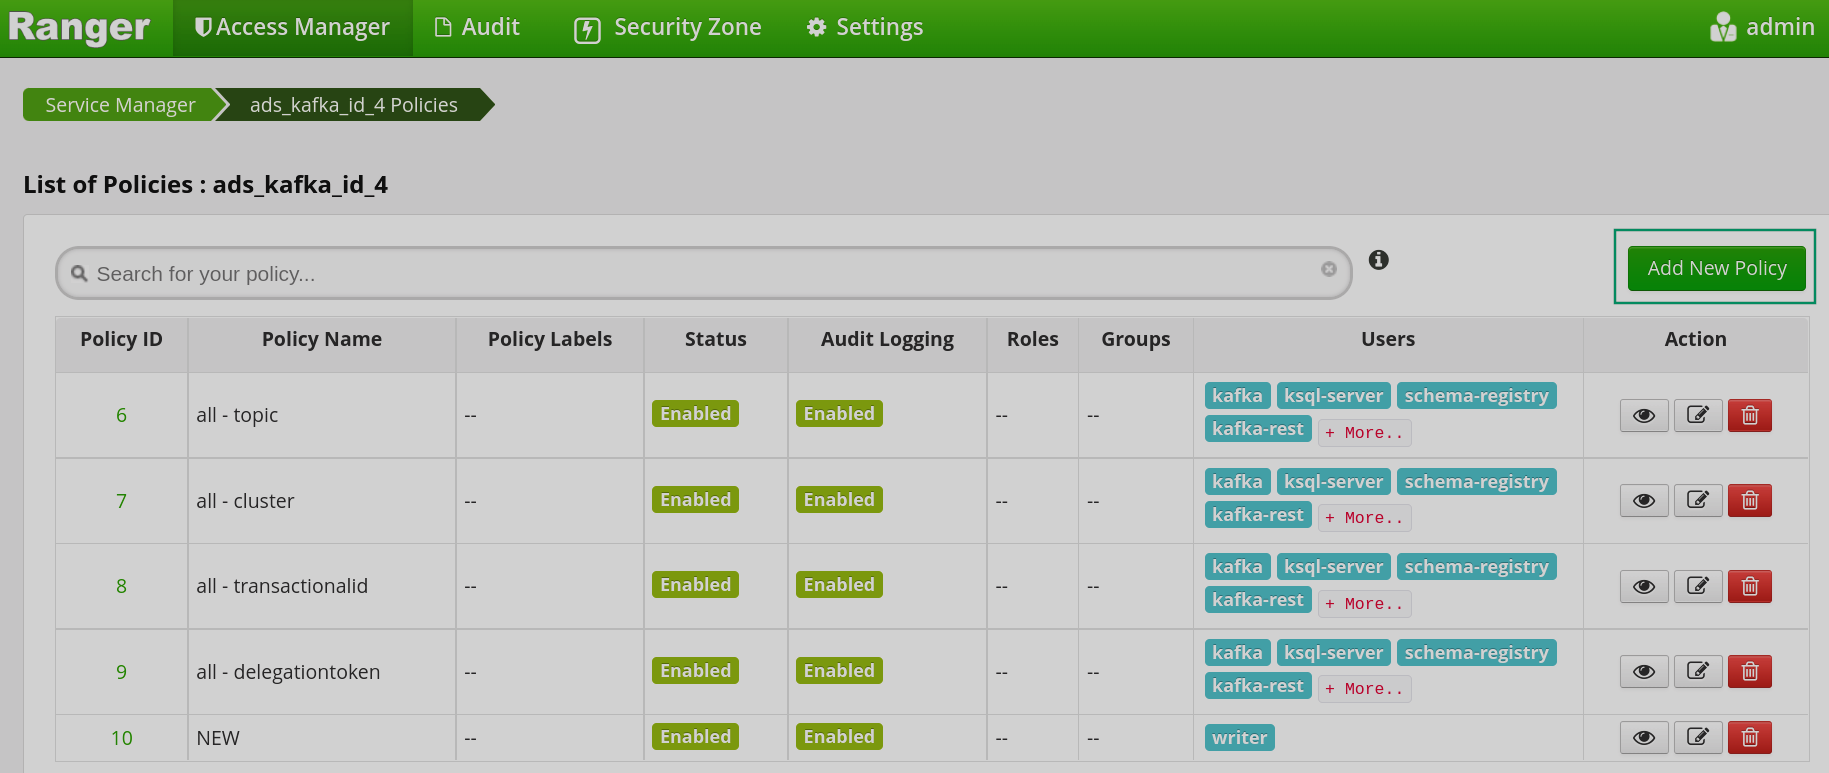
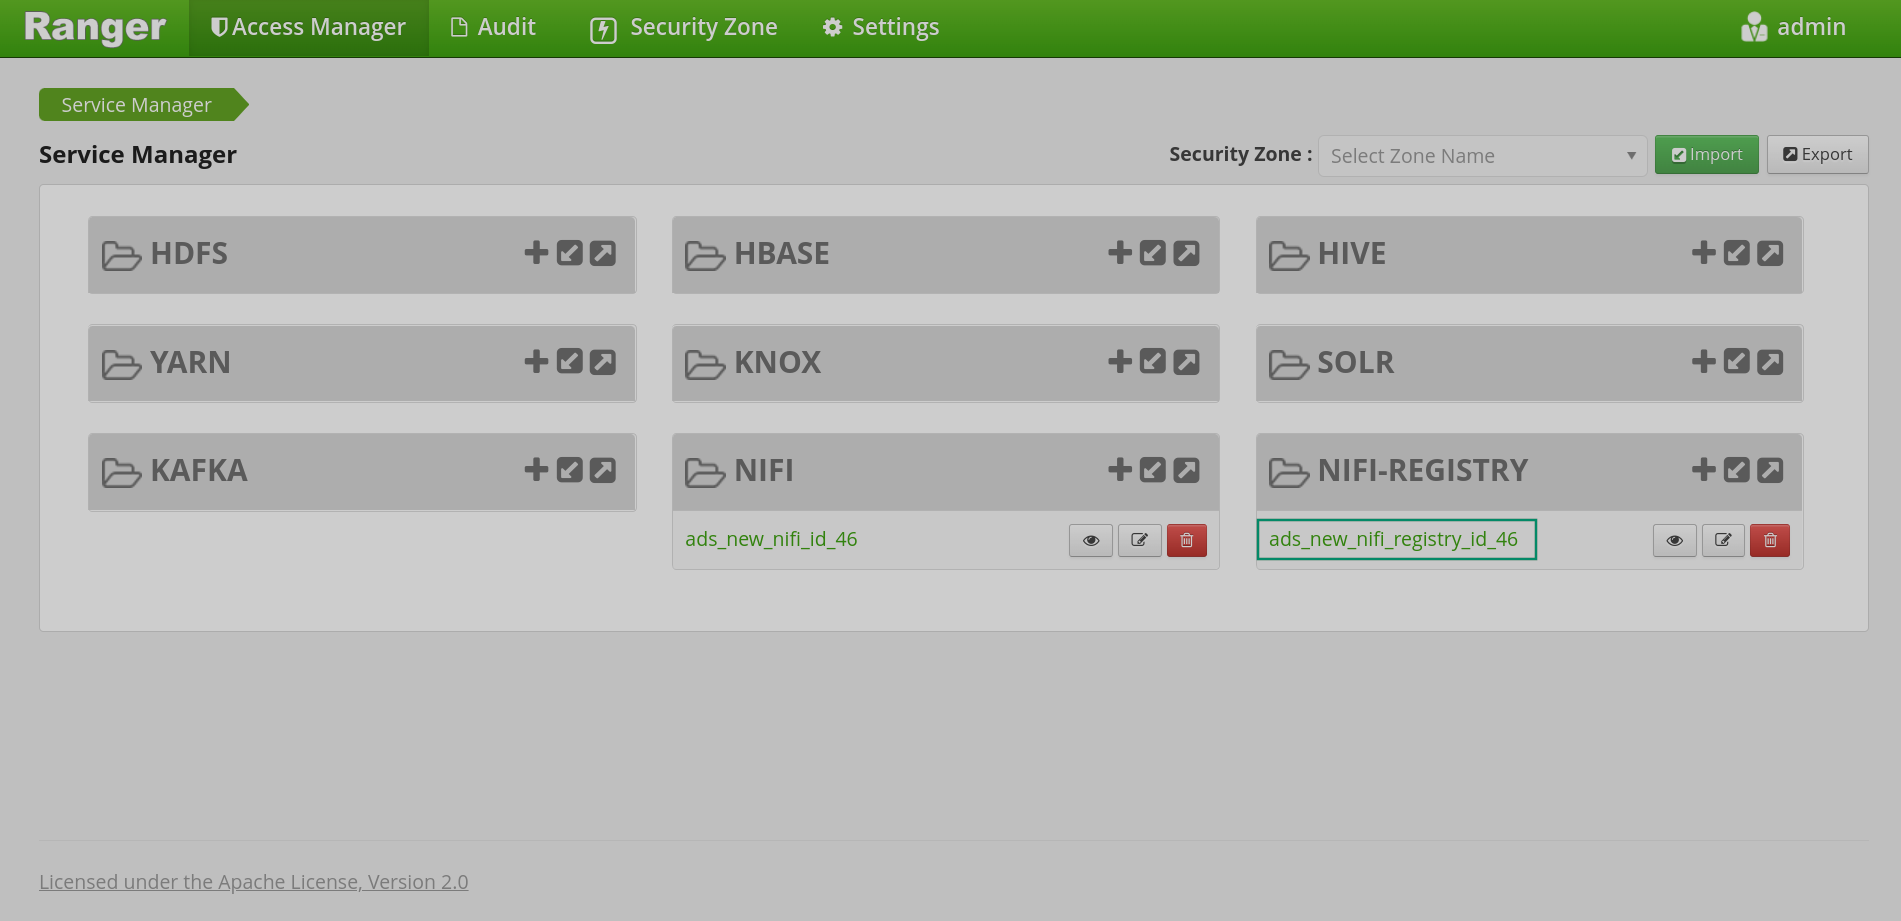
In the Service Manager window, click the name of the NiFi service.
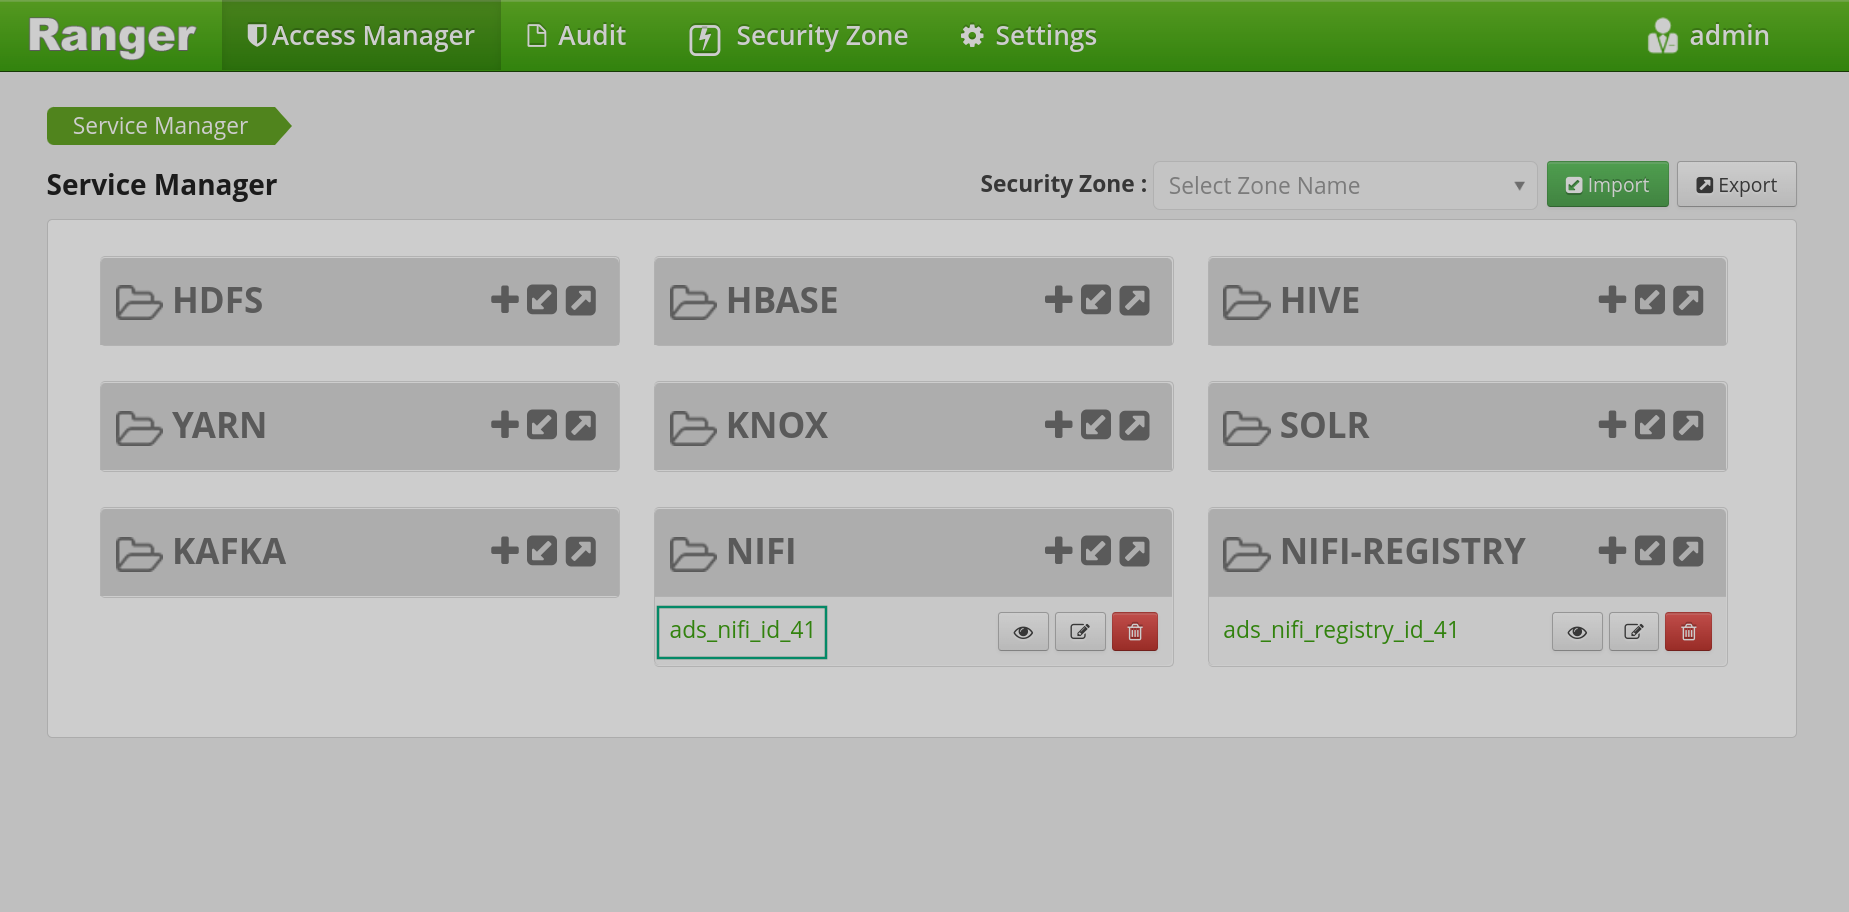 Go to the created policy service
 Go to the created policy service
 -
In the List of Policies window that opens, click the edit icon
 for the created
 allpolicy.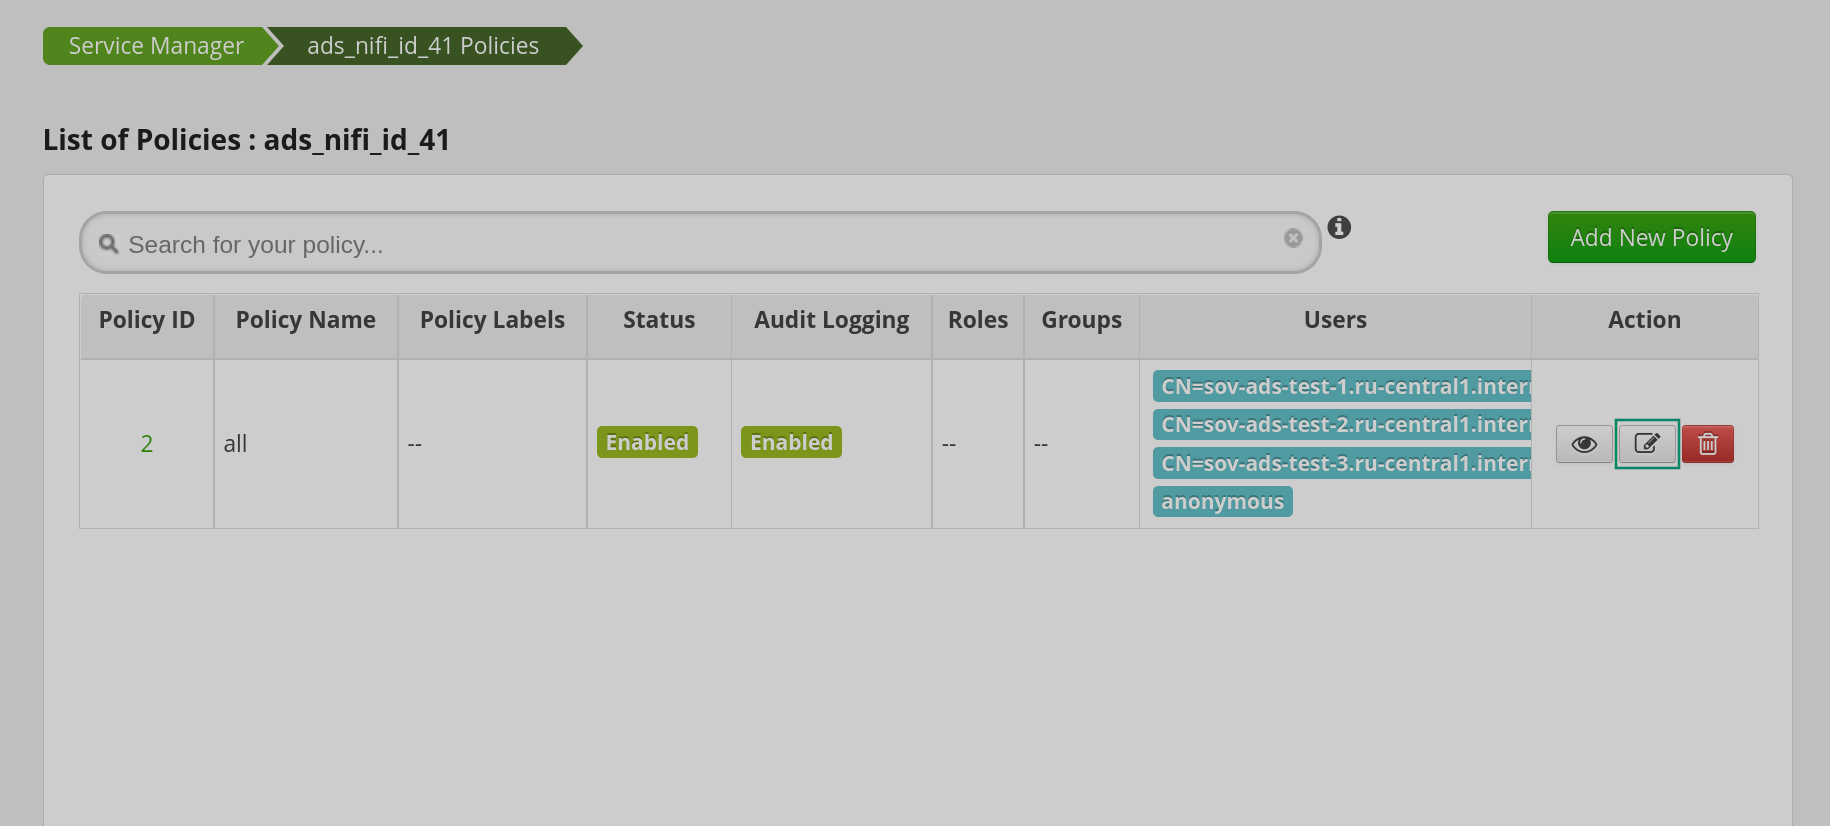 Go to editing the authorization policy
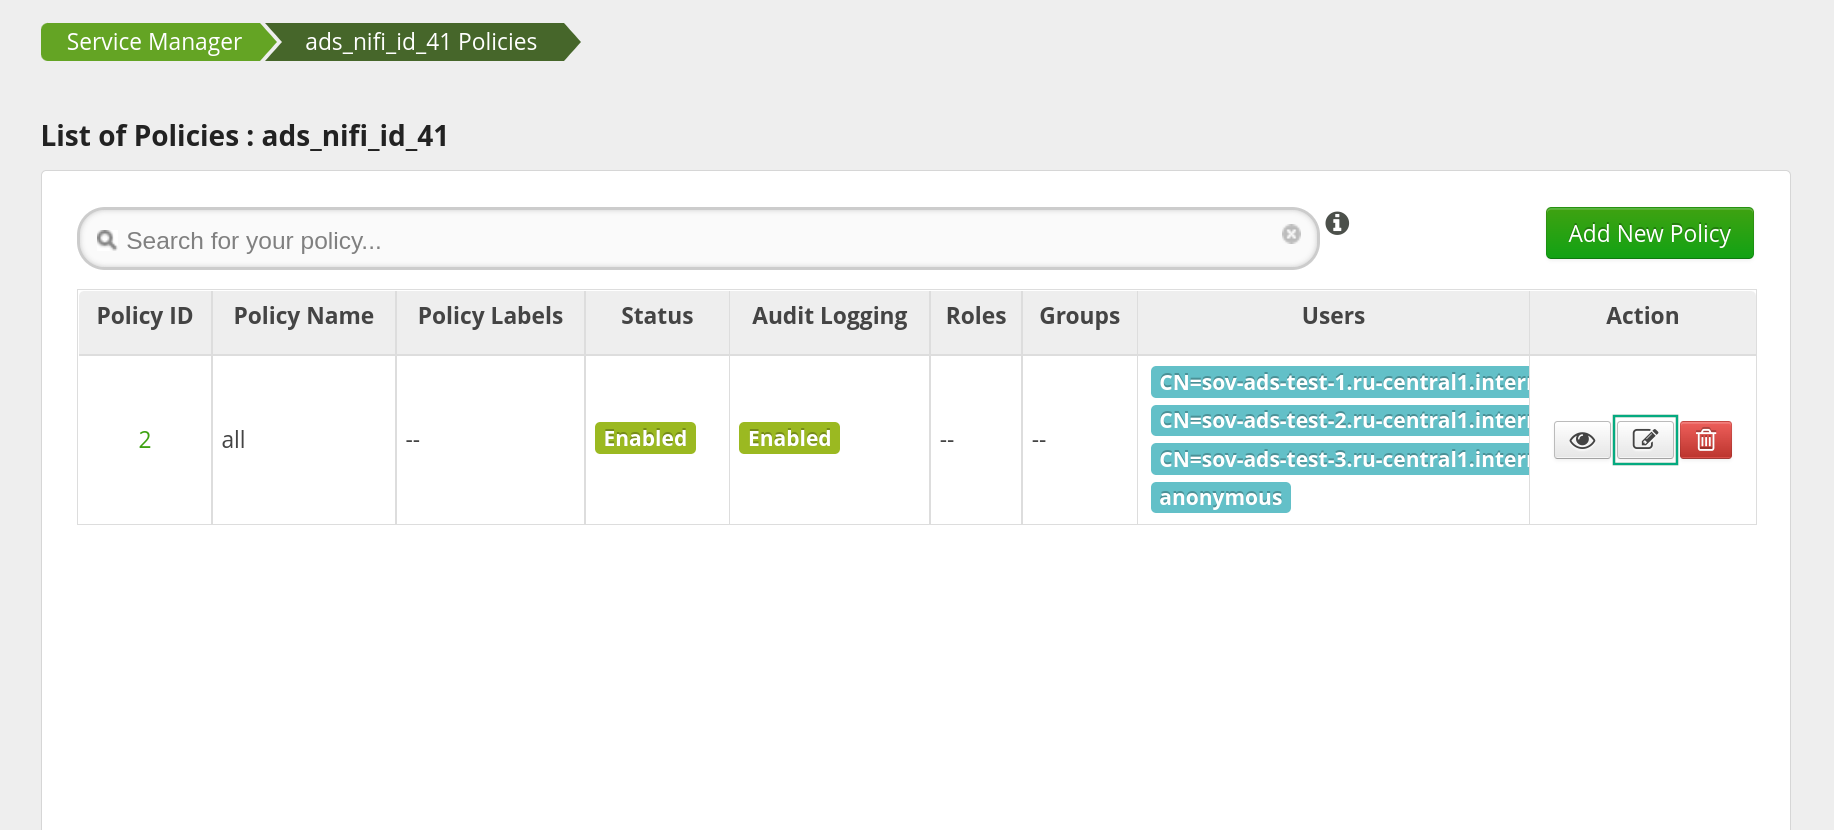 Go to editing the authorization policy
 -
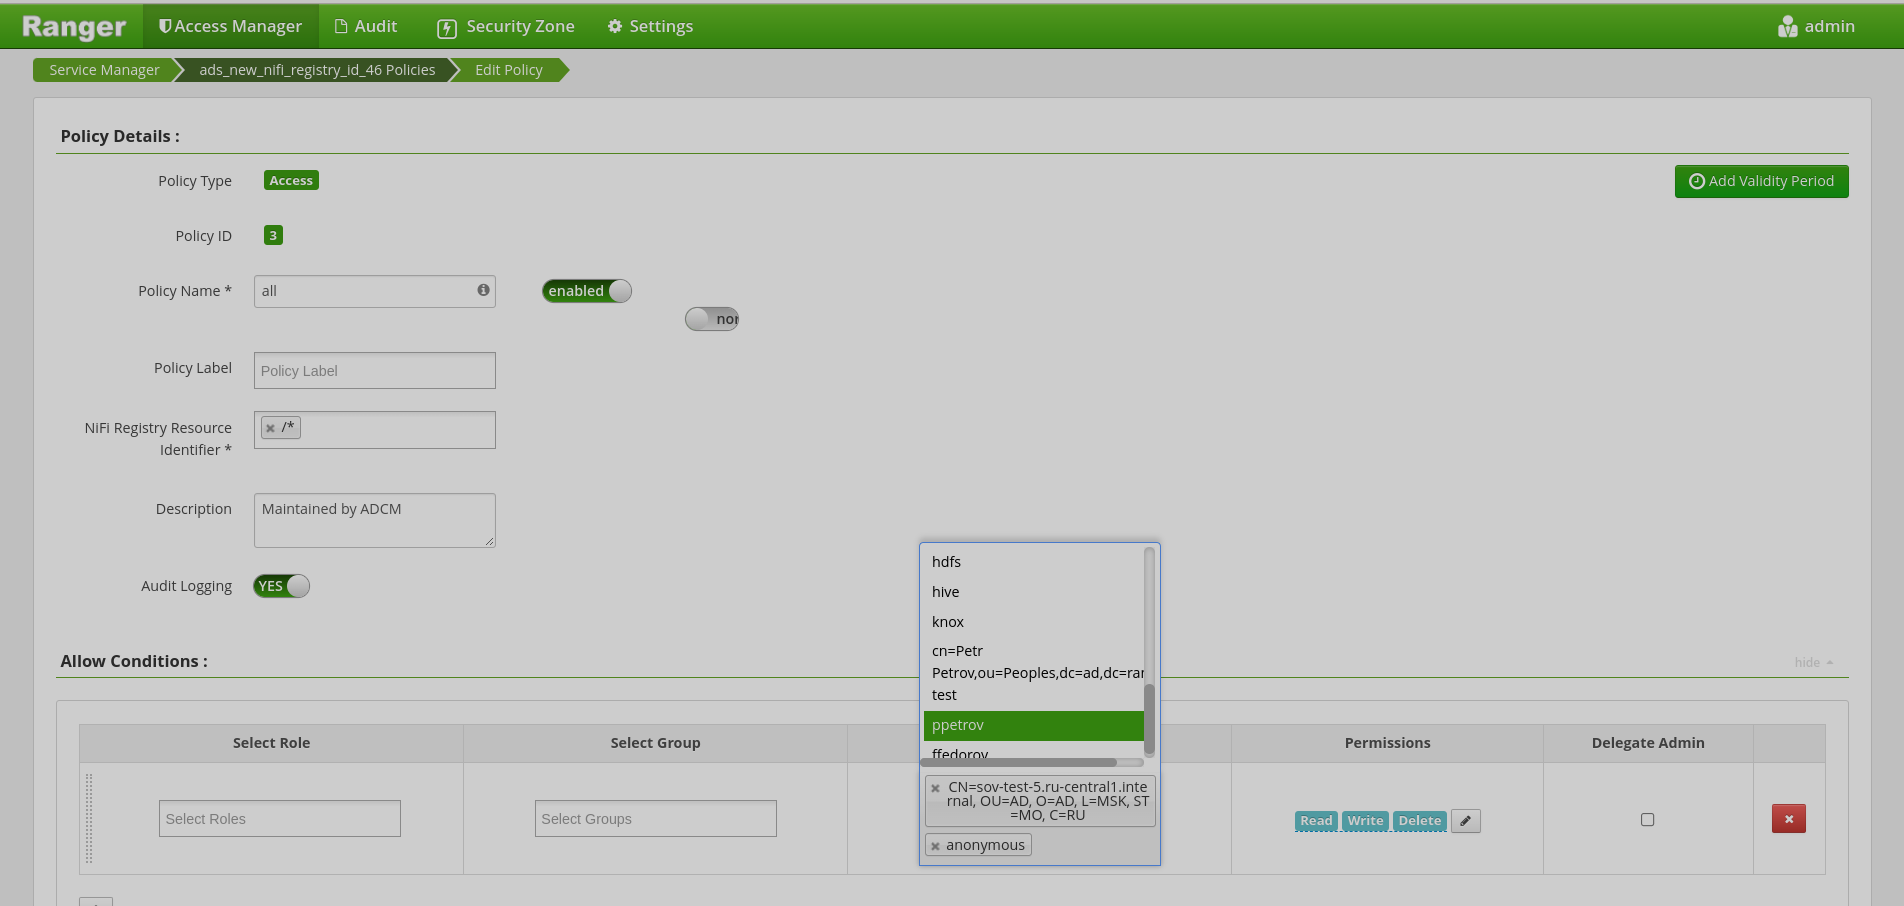
In the policy editing window that opens, in the Allow Conditions → Select User table, select the NiFi Initial Admin user created by above.
 Adding a user to an access policy
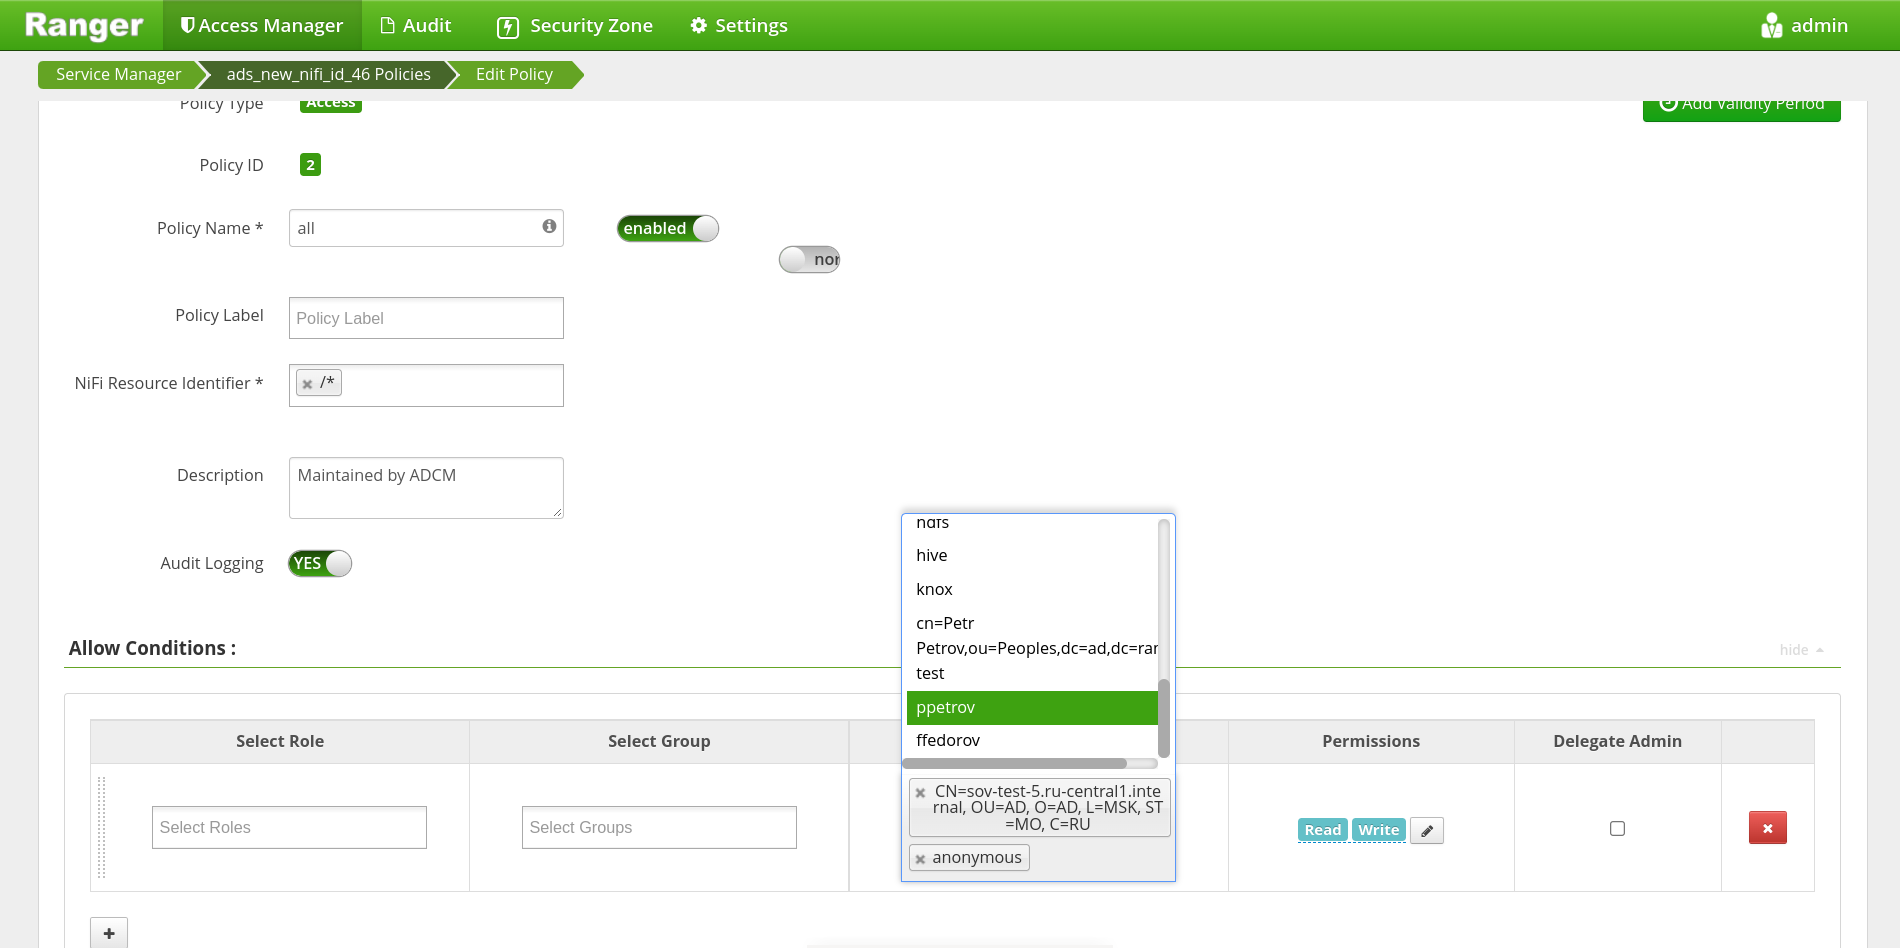 Adding a user to an access policy
 -
Click Save at the bottom of the page.
As a result, the NiFi Initial Admin user is assigned full rights.
After setting the access policy in the NiFi Server user interface, it becomes possible to log in as NiFi Initial Admin. At the same time, Users and Policies lines are missing in the global menu of the interface — user authorization is now configured only with the help of Ranger.
New user authorization
It is possible to assign access policies to Active Directory users located in the User Search Base specified in the parameter configuration step of the NiFi service.
For this you need:
-
Create a new user as described by above.
-
In the List of Policies window that opens, click Add new policy to add a new policy for the user.
 Creating an authorization policy
 Creating an authorization policy
 -
In the Create Policy window that opens:
-
fill in the required fields in the Policy Details section:
-
Policy Name — policy name. This name cannot be duplicated for the same service in the system. This field is required.
-
Policy Label — provides the following features:
-
Allows the user to group policy sets using one or more labels.
-
User can search policies by label names. You can search both on the list of policies page and on the report page.
-
Helps the user to export/import policies. If the user needs to export a specific set of policies, they can find the policy label and export the specific set of policies.
-
-
Description — the purpose of the policy. This field is optional.
-
Policy Conditions — by clicking + under Add conditions, you can add additional conditions.
-
Add Validity Period — start and end time of the policy.
-
-
in the Policy Details section, set the desired switch positions:
-
Audit Logging — determines whether a specific policy will be audited.
-
Enable/Disabled — by default, the policy is enabled. You can disable a policy to restrict user/group access for that policy.
-
Override/Normal — specifies the override policy. If
Overrideis selected, access permissions in the policy override access permissions in existing policies. This feature can be used in conjunction with Add Validity Period to create temporary access policies that override existing policies.
-
-
in the Resources section, if necessary, fill in the field that determines the value of the
NIFi Resource Identifierparameter.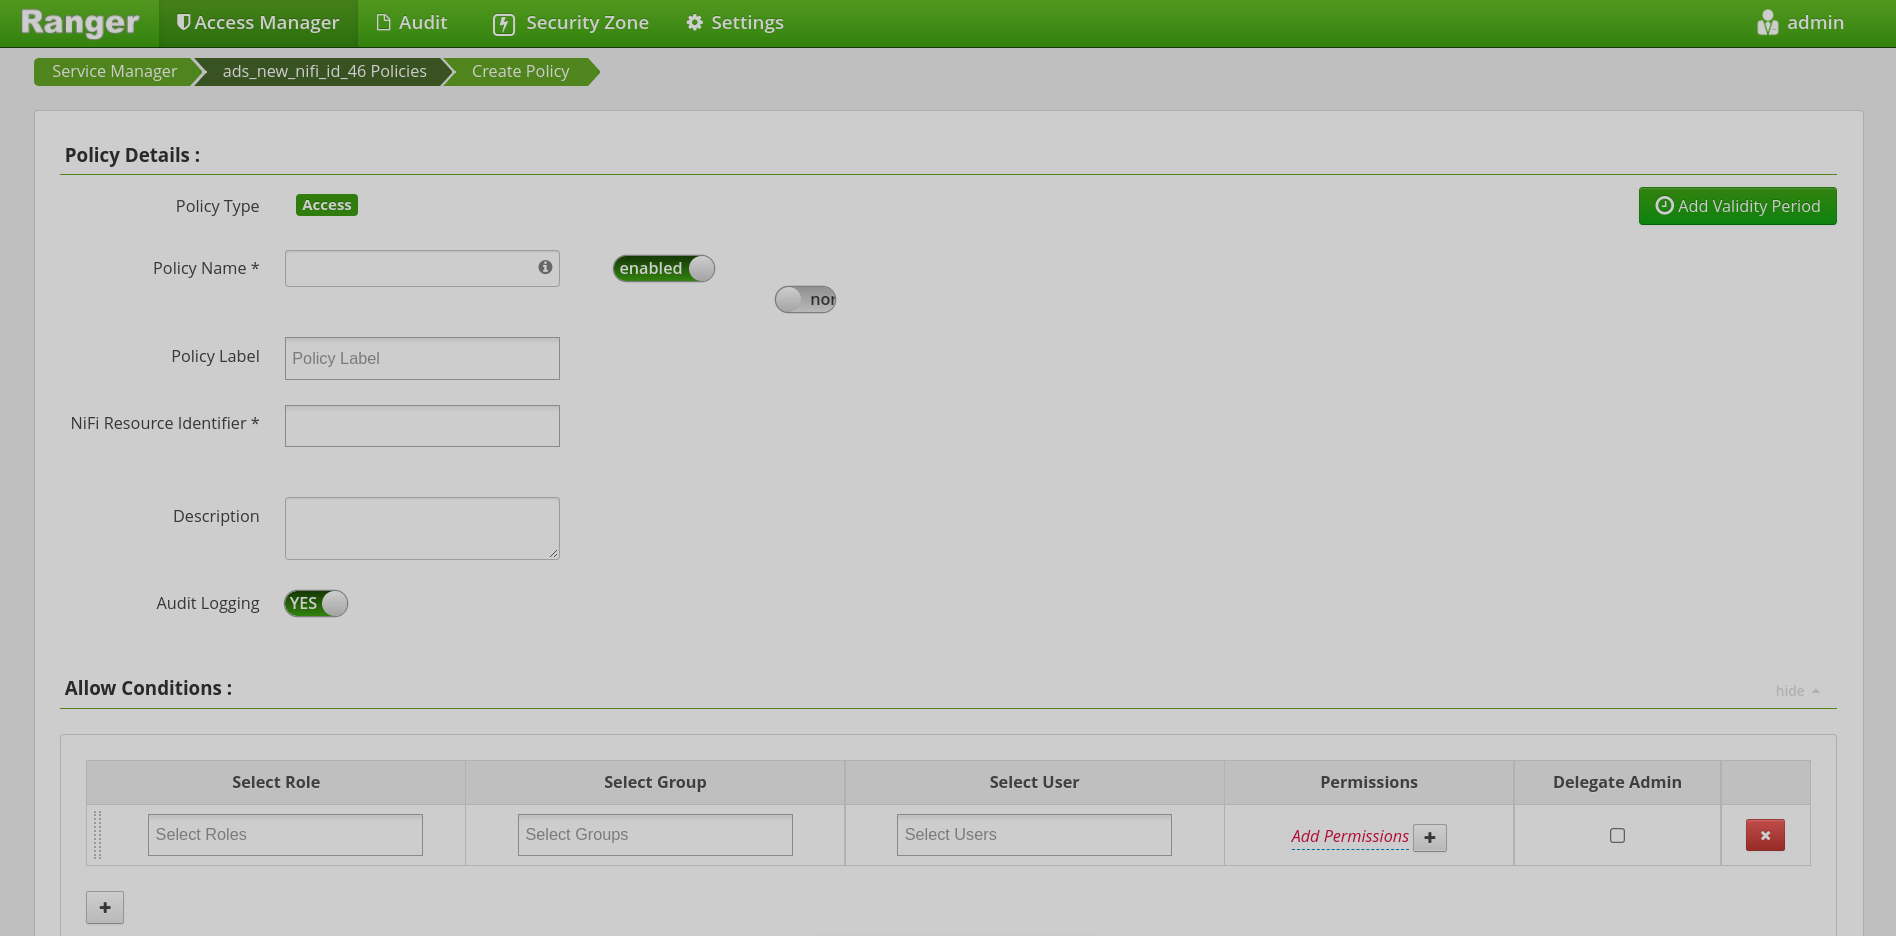 Create Policy window
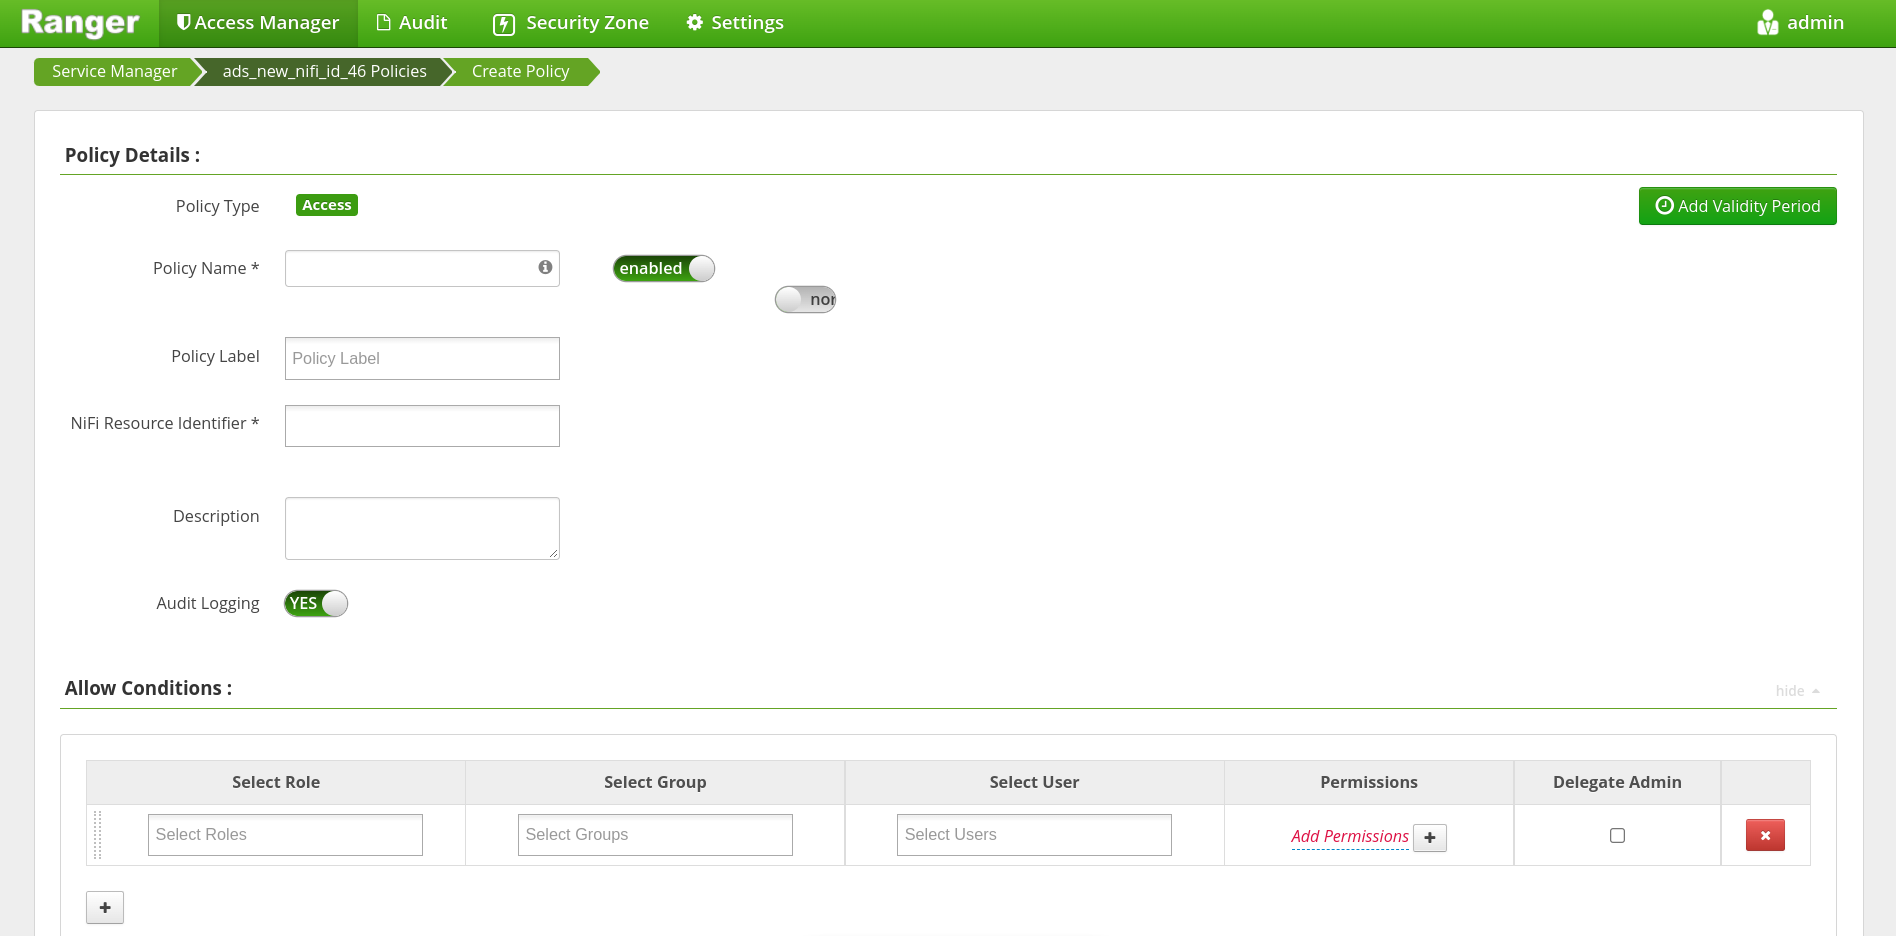 Create Policy window
 -
fill in the fields in the Allow Condition section:
-
Select Role — the role this policy applies to. A role is a set of permissions. Roles are an easier way to manage a set of permissions based on specific access criteria.
-
Select Group — the group this policy applies to. To promote a user to an administrator, select the Delegate Admin check box. Administrators can edit or delete a policy and create child policies. A public group contains all users, so granting access to a public group gives access to all users.
-
Select User — the user this policy applies to (outside the group already specified). You can make the user an administrator of this policy. Administrators can create child policies based on existing policies.
-
Permissions — adds or removes permissions:
-
Write— permission to make changes in the NiFi interface. -
Read— permission to read data in the NiFi interface.
-
-
Delegate Admin — allows you to assign administrator privileges to users or groups specified in the policy.
-
Deny All Other Accesses — denies all other accesses.
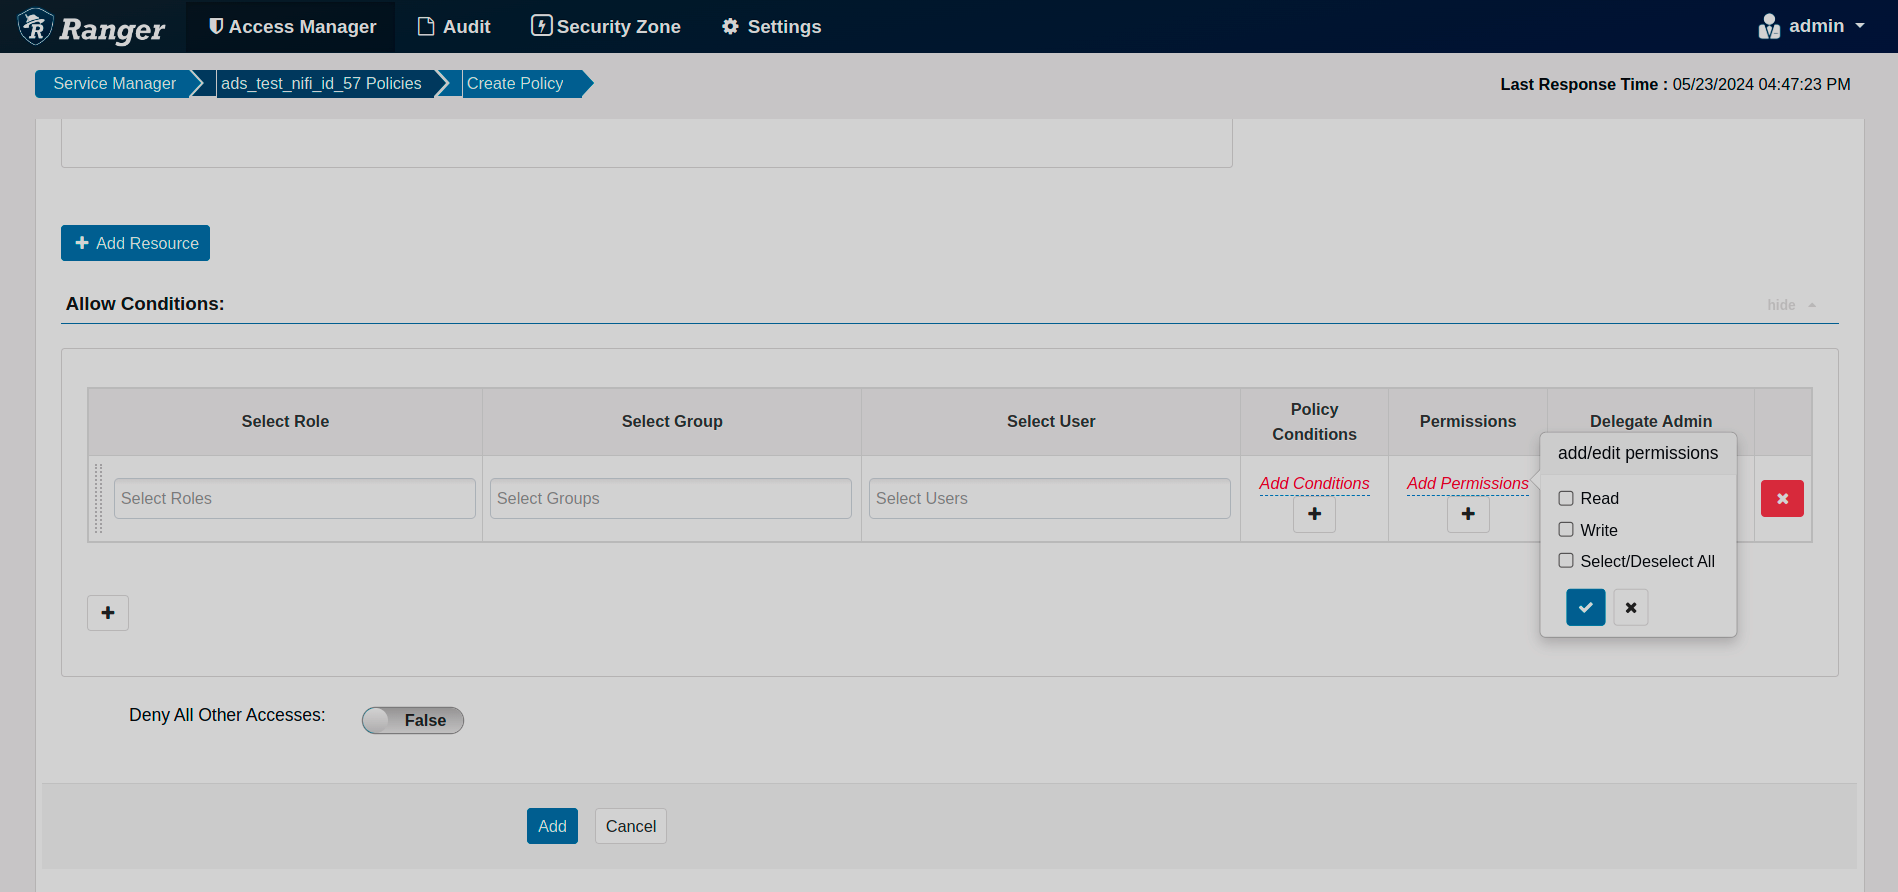 Allow Condition section of the Create Policy window
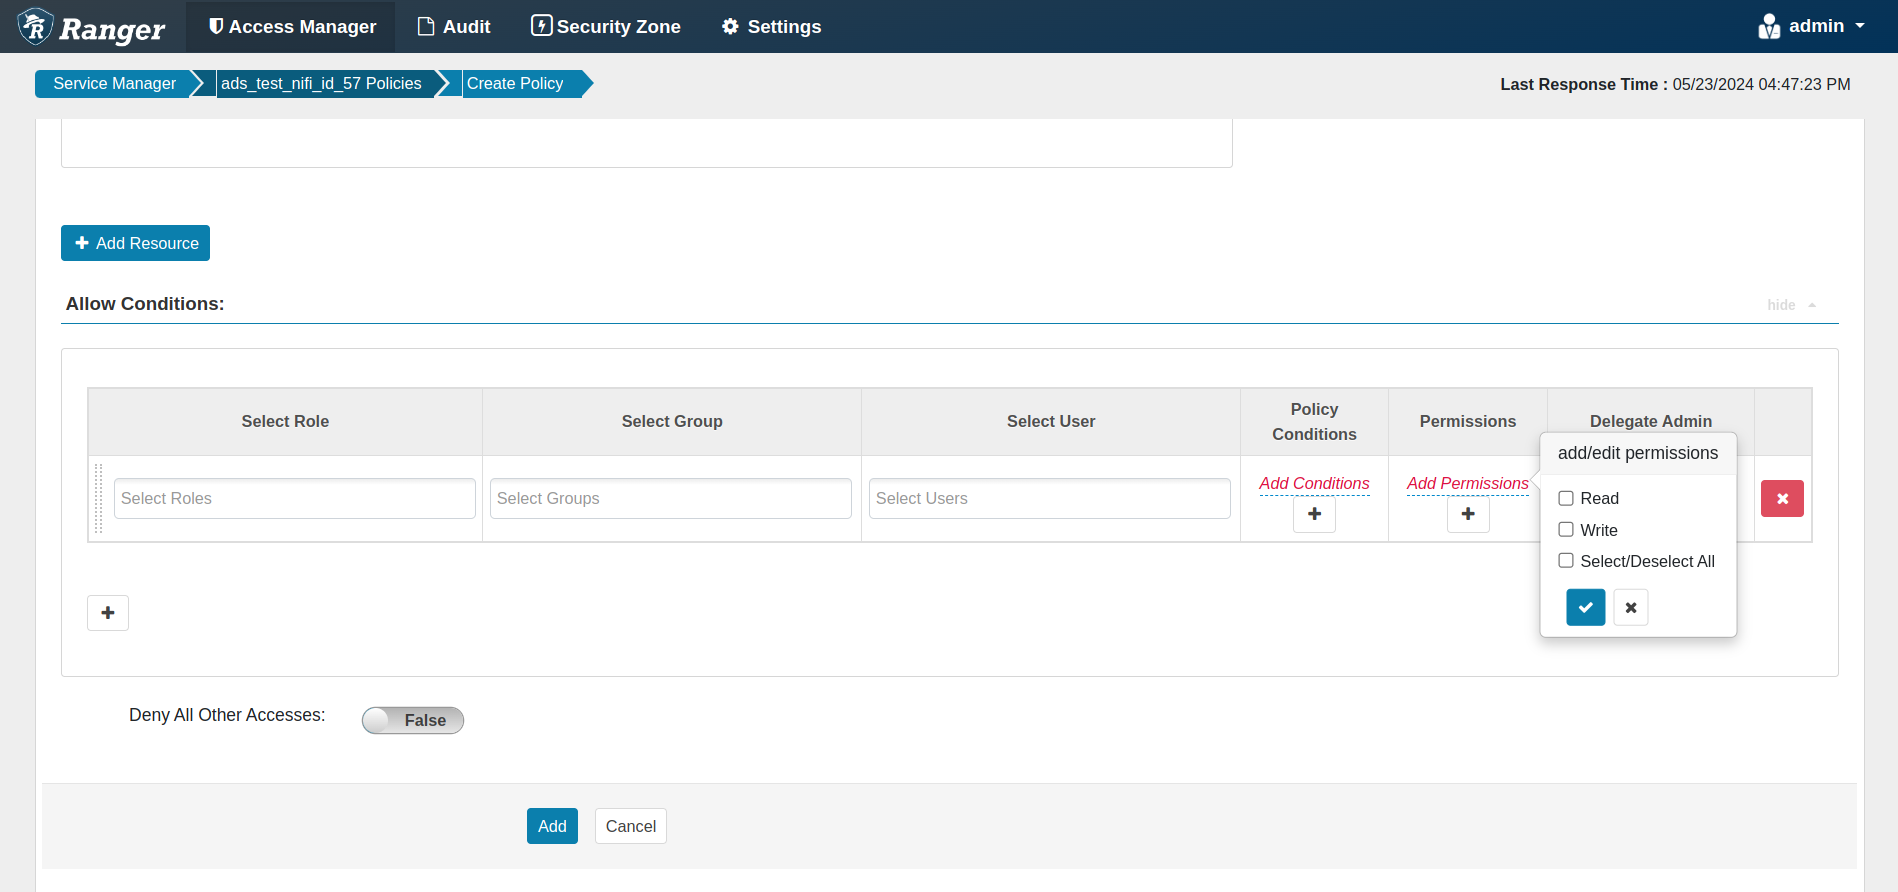 Allow Condition section of the Create Policy windowNOTEThe conditions are met in the order specified in the policy. The condition at the beginning of the list is applied first, then the second, third, and so on.
-
-
-
Click Add.
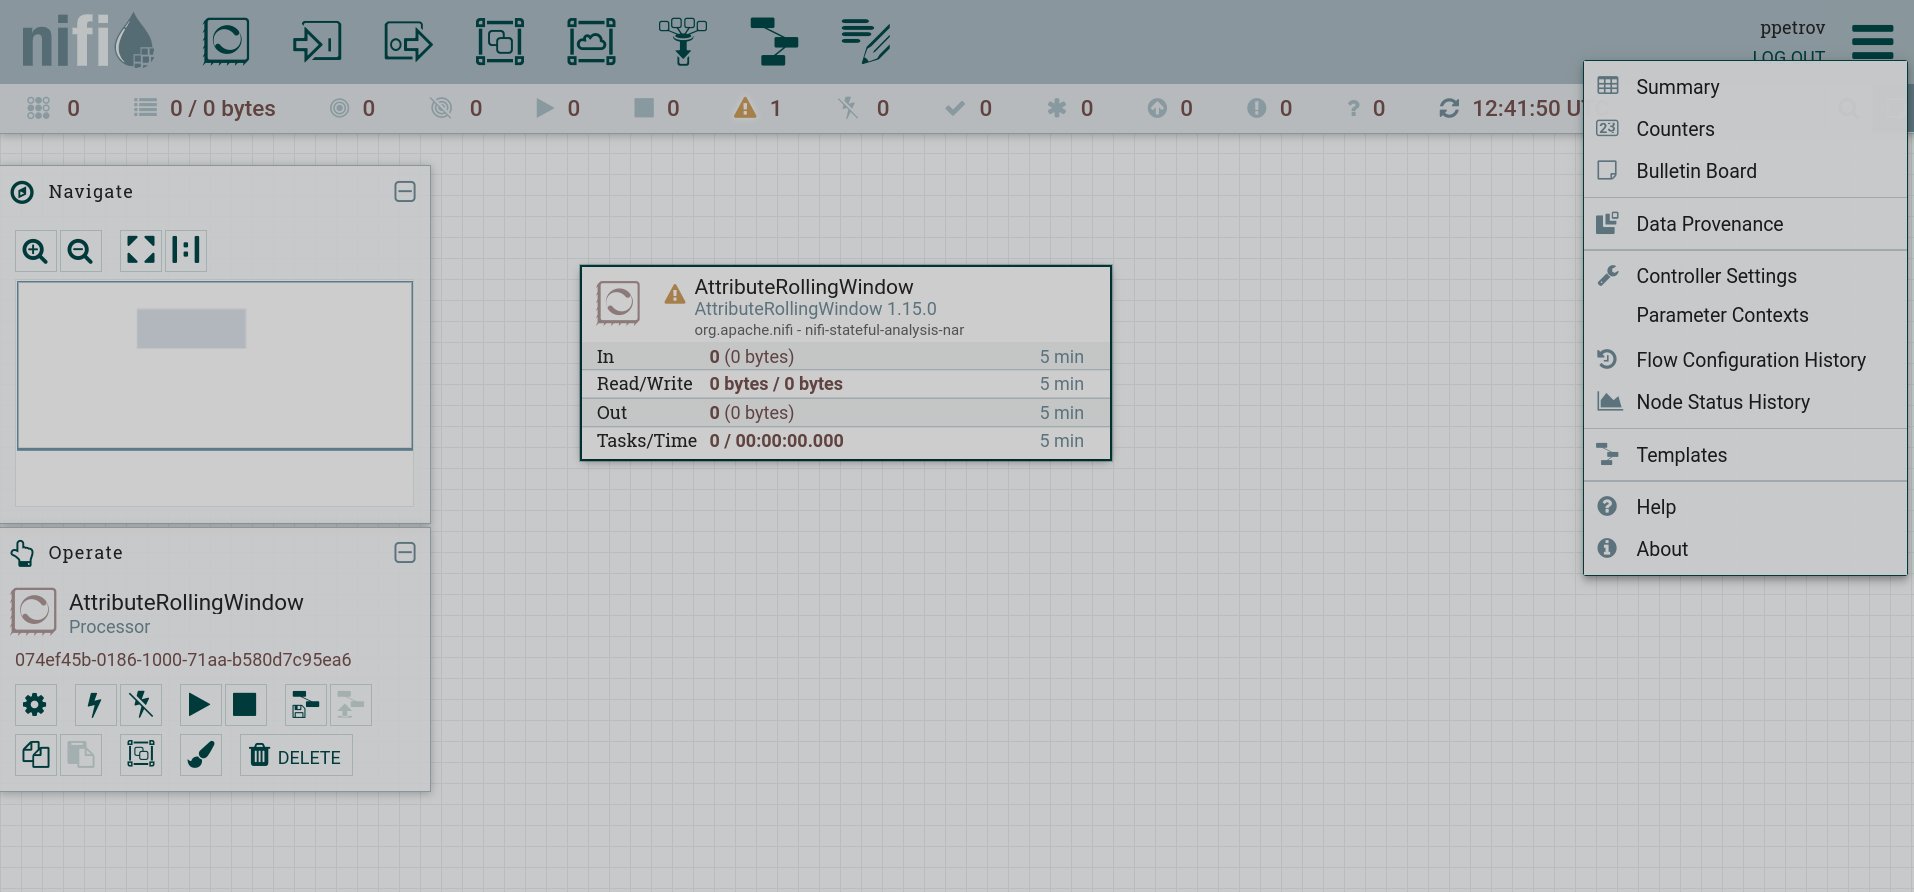
Work of an authorized user in NiFi
After activating Ranger and setting up an authorization policy for the user, work in the NiFi server interface occurs after authorization in accordance with the assigned access policy. For example, for a user assigned only the Read permission, the toolbar is inactive, and the user can only view canvas elements without changing settings.
Configure an authorization policy in NiFi Registry
Authorize NiFi Initial Admin in NiFi Registry
To authorize NiFi Initial Admin in NiFi Registry, do the following:
-
In the Service Manager window, click the name of the NiFi Registry service.
 Go to the created policy service
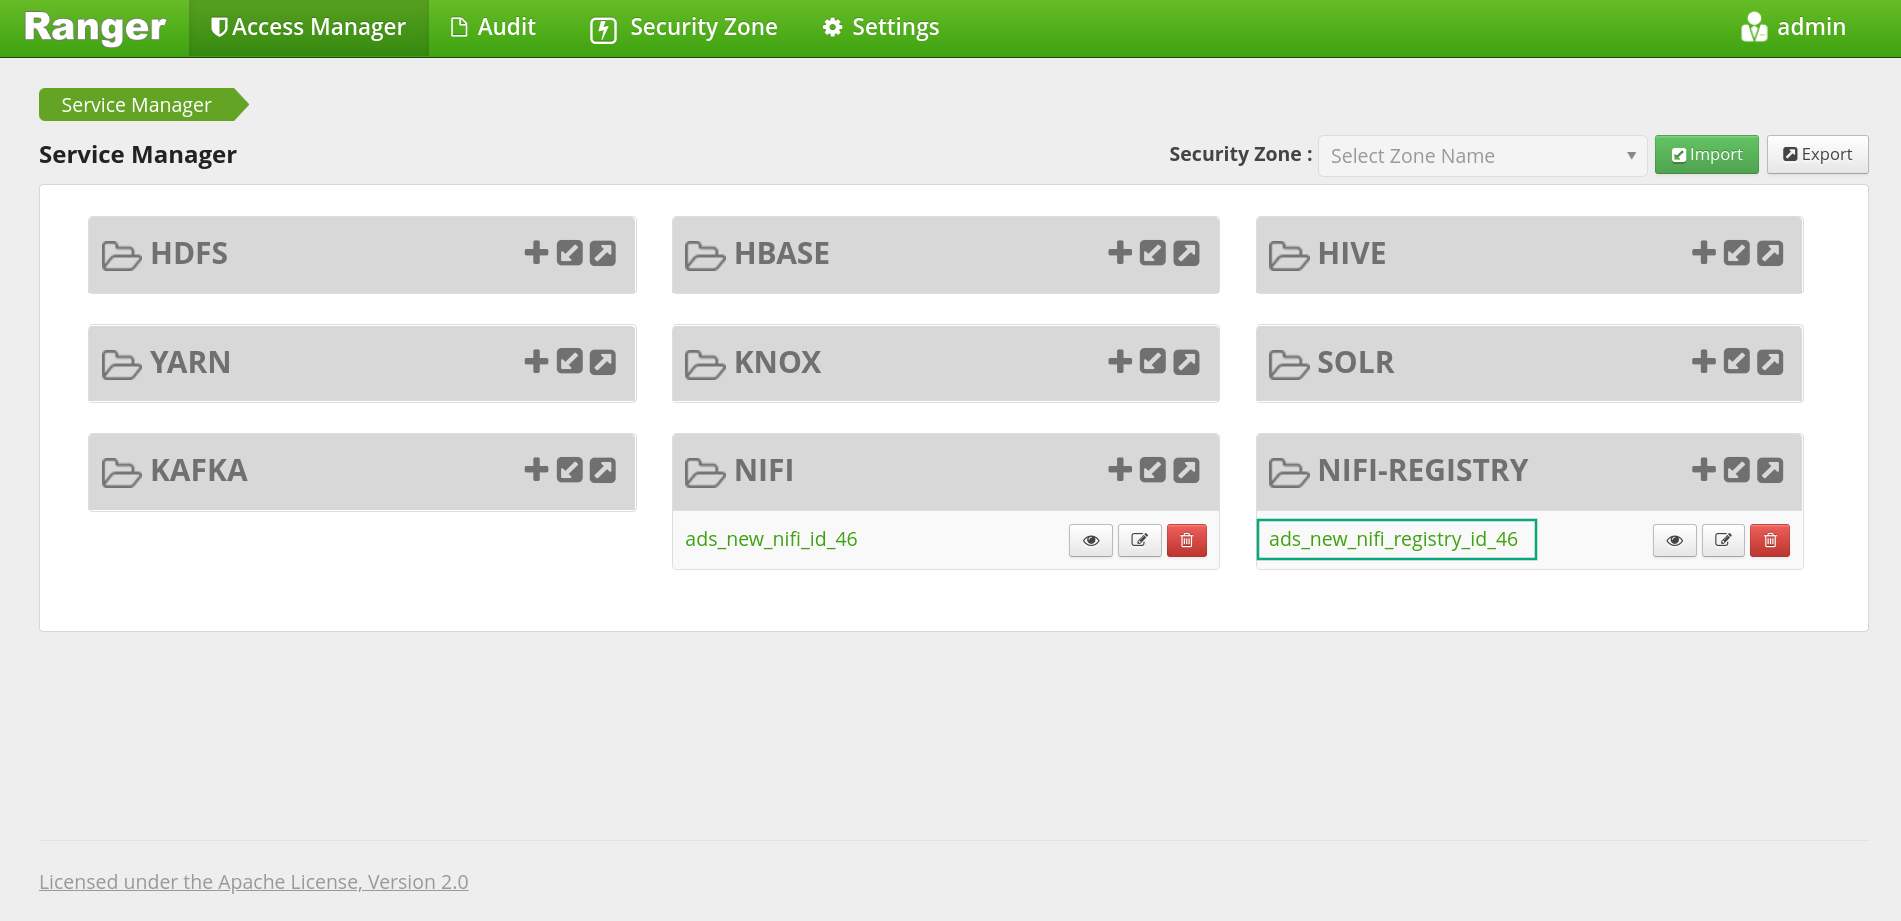 Go to the created policy service
 -
In the List of Policies window that opens, click the edit icon
for the created allpolicy.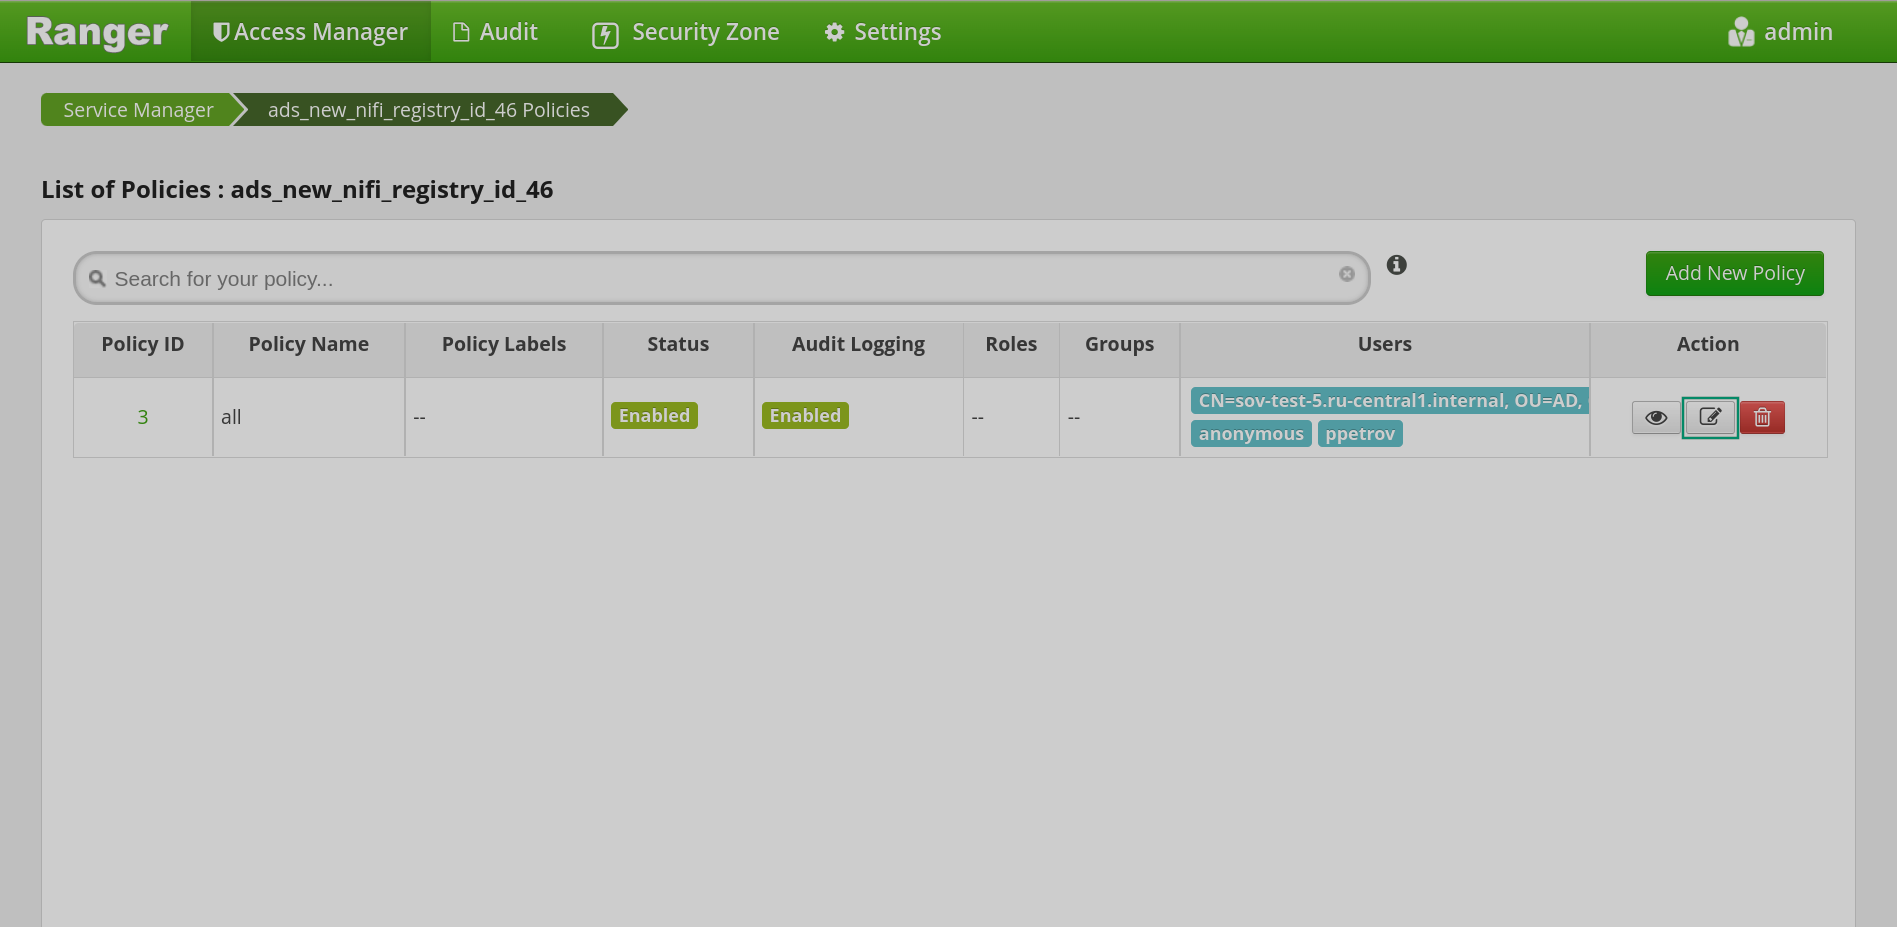 Go to editing the authorization policy
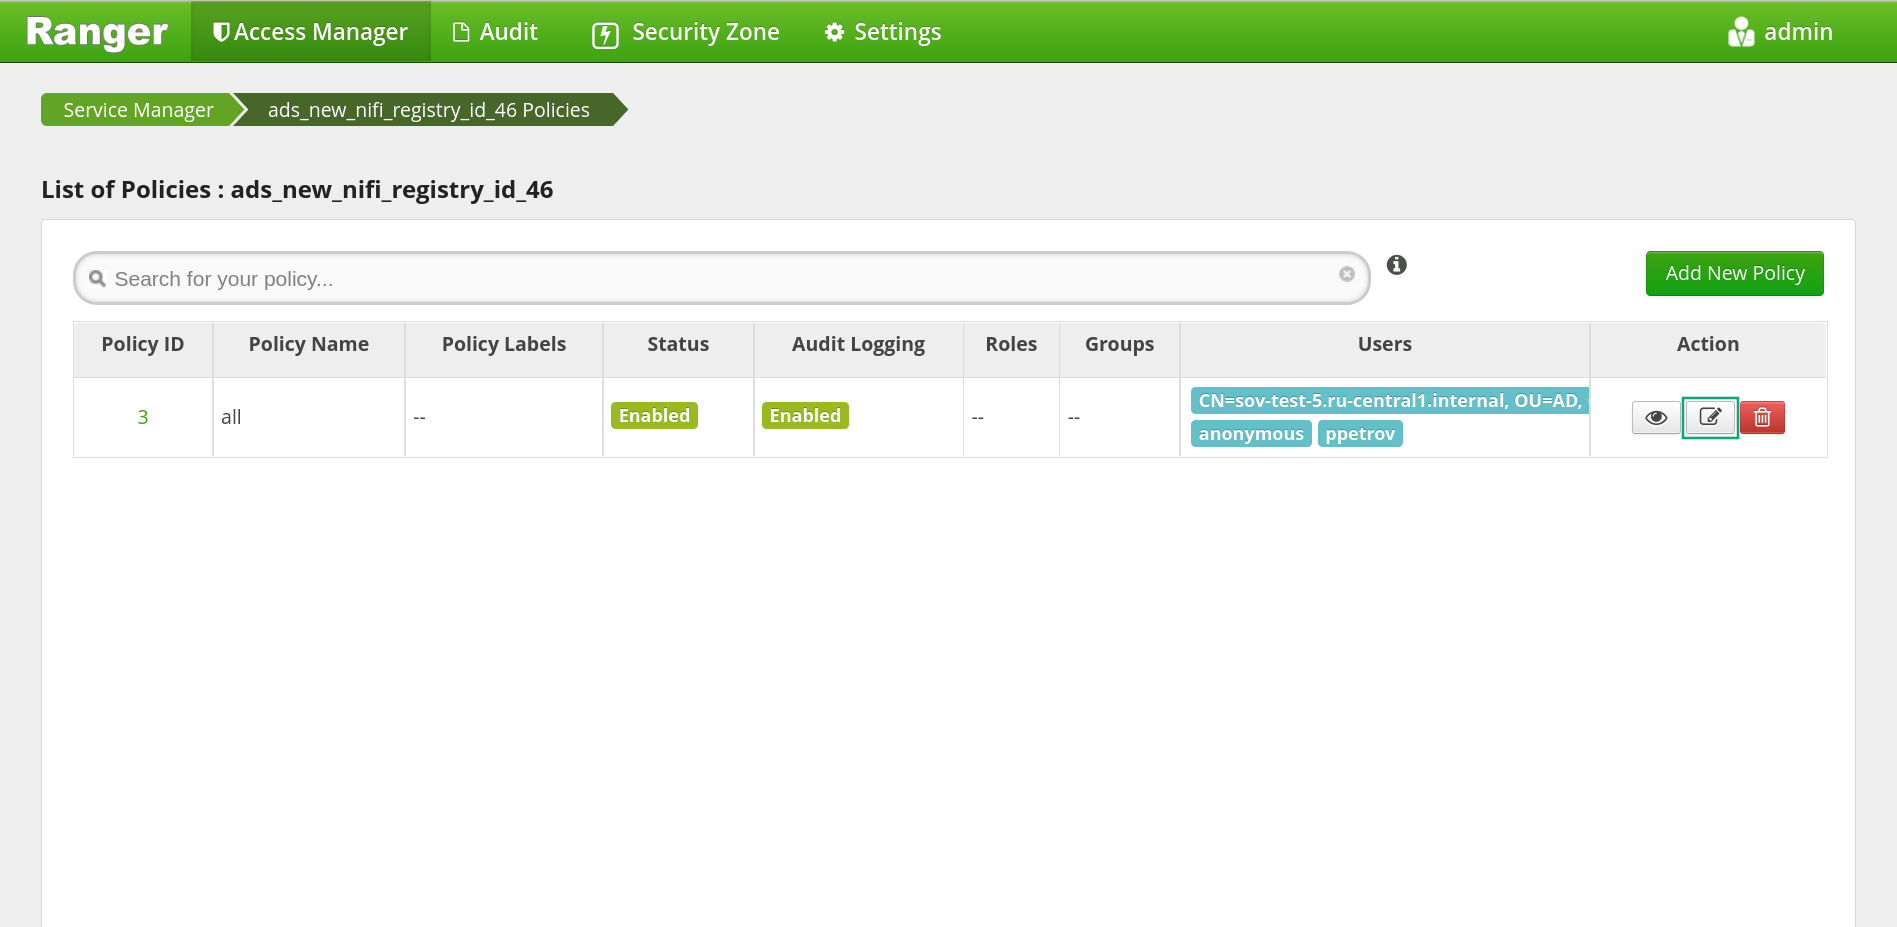 Go to editing the authorization policy
 -
In the policy editing window that opens, in the Allow Conditions → Select User table, select the NiFi Initial Admin user created by above.
 Adding a user to an access policy
 Adding a user to an access policy
 -
Click Save at the bottom of the page.
As a result, the NiFi Initial Admin user is assigned full rights.
After setting the access policy in the NiFi Registry user interface, it becomes possible to log in as NiFi Initial Admin. At the same time, there is no Users tab in the settings menu — user authorization is now configured only with the help of Ranger.
Authorizing a new user and creating a policy in the NiFi registry policy service is similar to NiFi Server, while users can give the following permissions in the Allow Conditions → Permissions table:
-
Write— permission to make changes to thread groups in the NiFi Registry interface. -
Read— permission to read stream data in the NiFi Registry interface. -
Delete— permission to delete threads.
After activating Ranger and setting up an authorization policy for the user, work in the NiFi Registry interface occurs after authorization in accordance with the assigned access policy.