

Work with processors
Work with processors is carried out in NiFi Server interface.
Separate processor
Create a processor
The processor is created in the following sequence:
-
Move icon

 from the toolbar to the canvas.
 -
Select the desired processor in the dialog box that opens. When choosing, you can use a tag from the tag cloud.
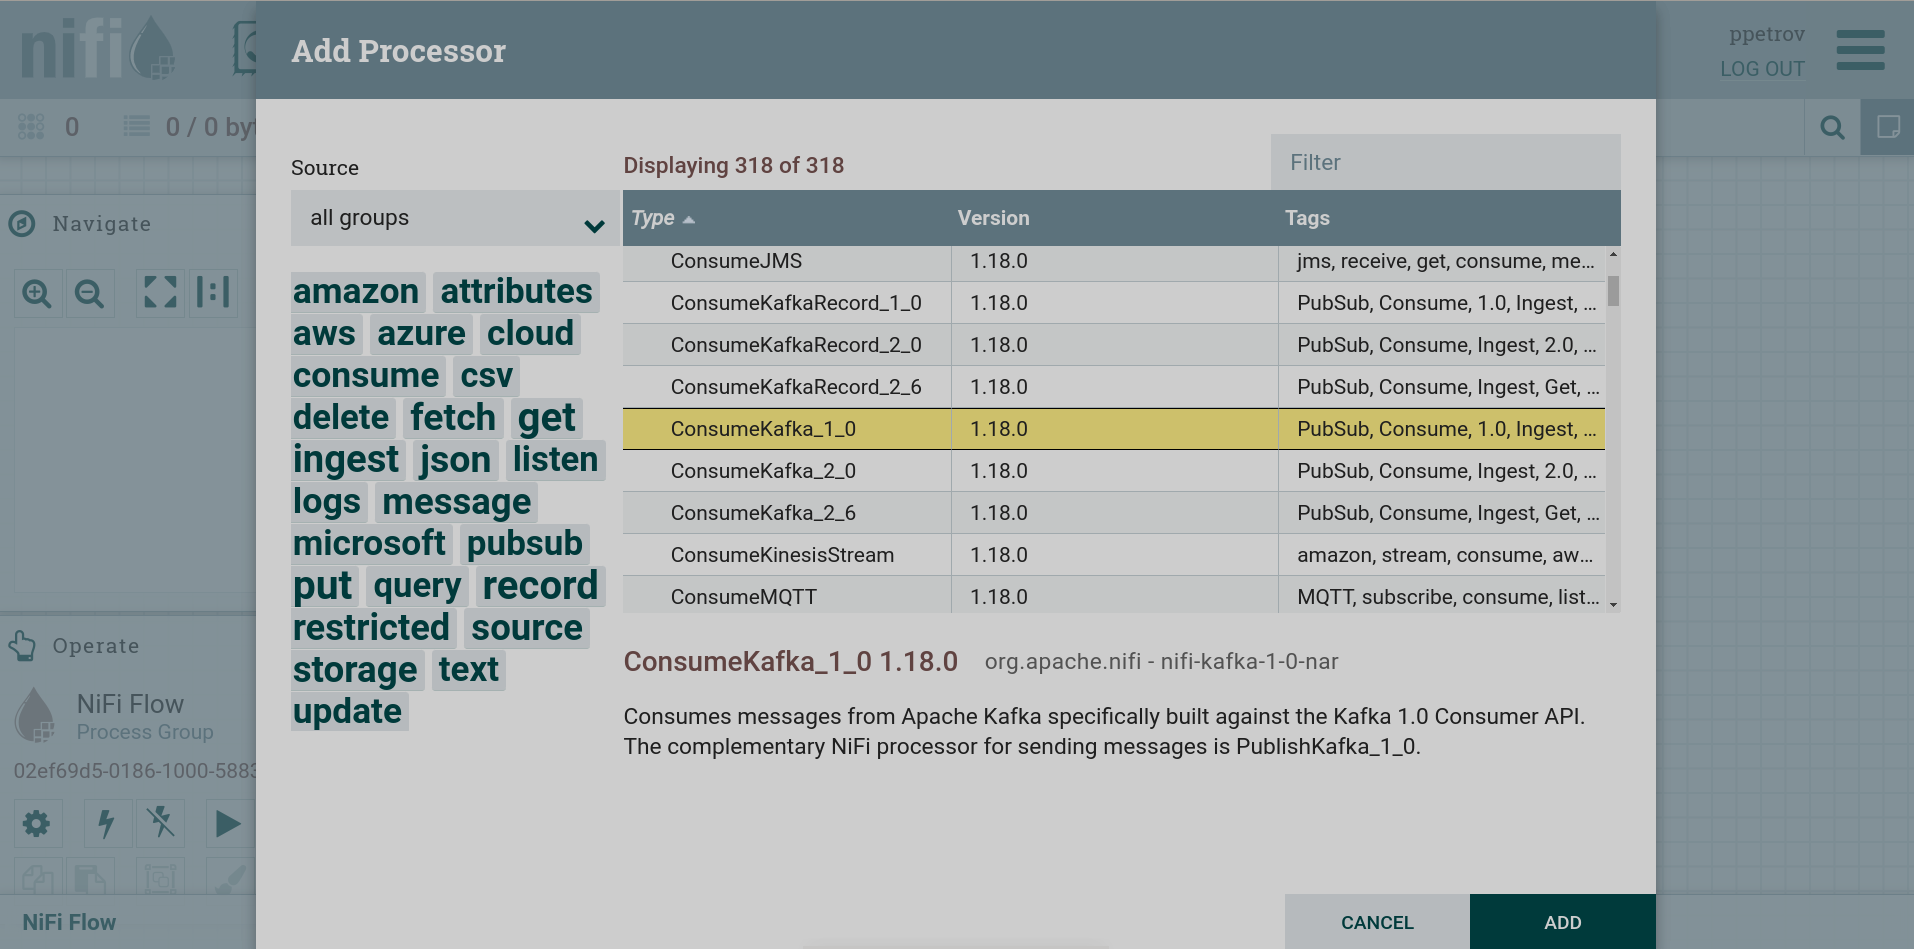 Processor selection
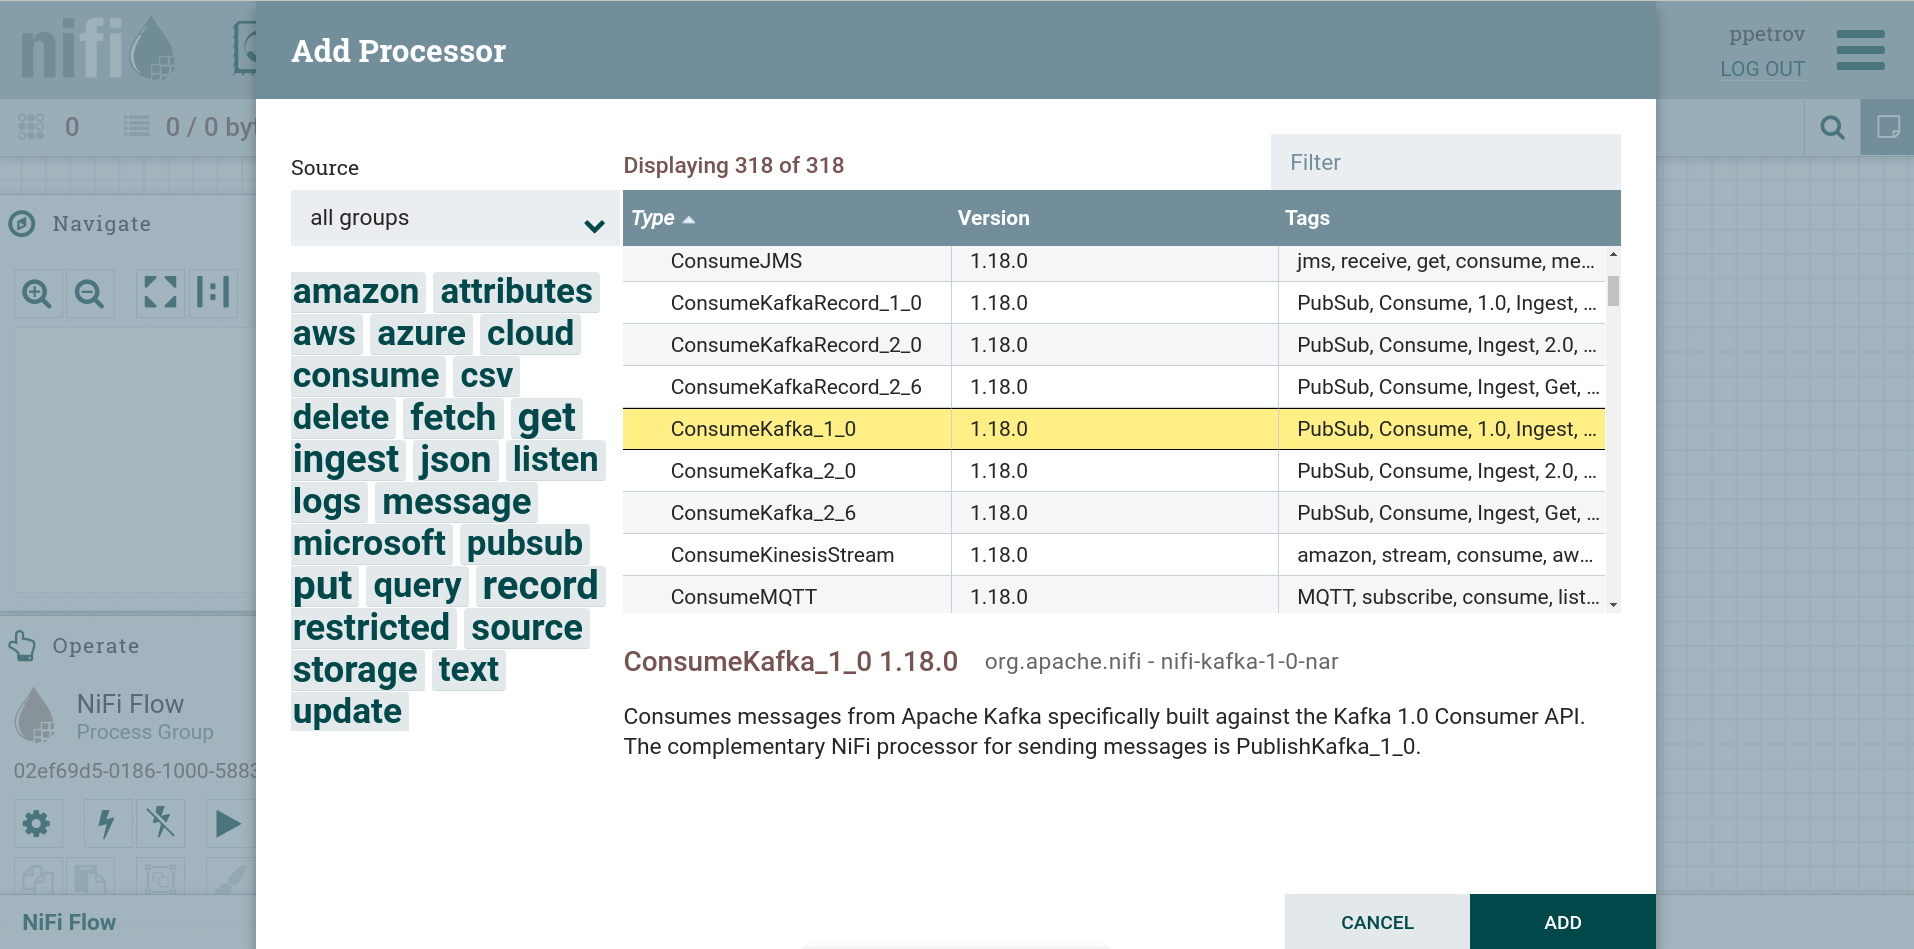 Processor selectionRestricted processors
Restricted processor types are marked with the icon
 .
.Before a user can create and modify restricted processors, they must be granted access. Hovering over
is displays the specific permissions that are required for a restricted processor. Permissions for processor usage
 Permissions for processor usageNOTE
For information about authorization in the NiFi service, refer to the following articles:
-
Click ADD.
As a result, the selected processor is displayed on the canvas.
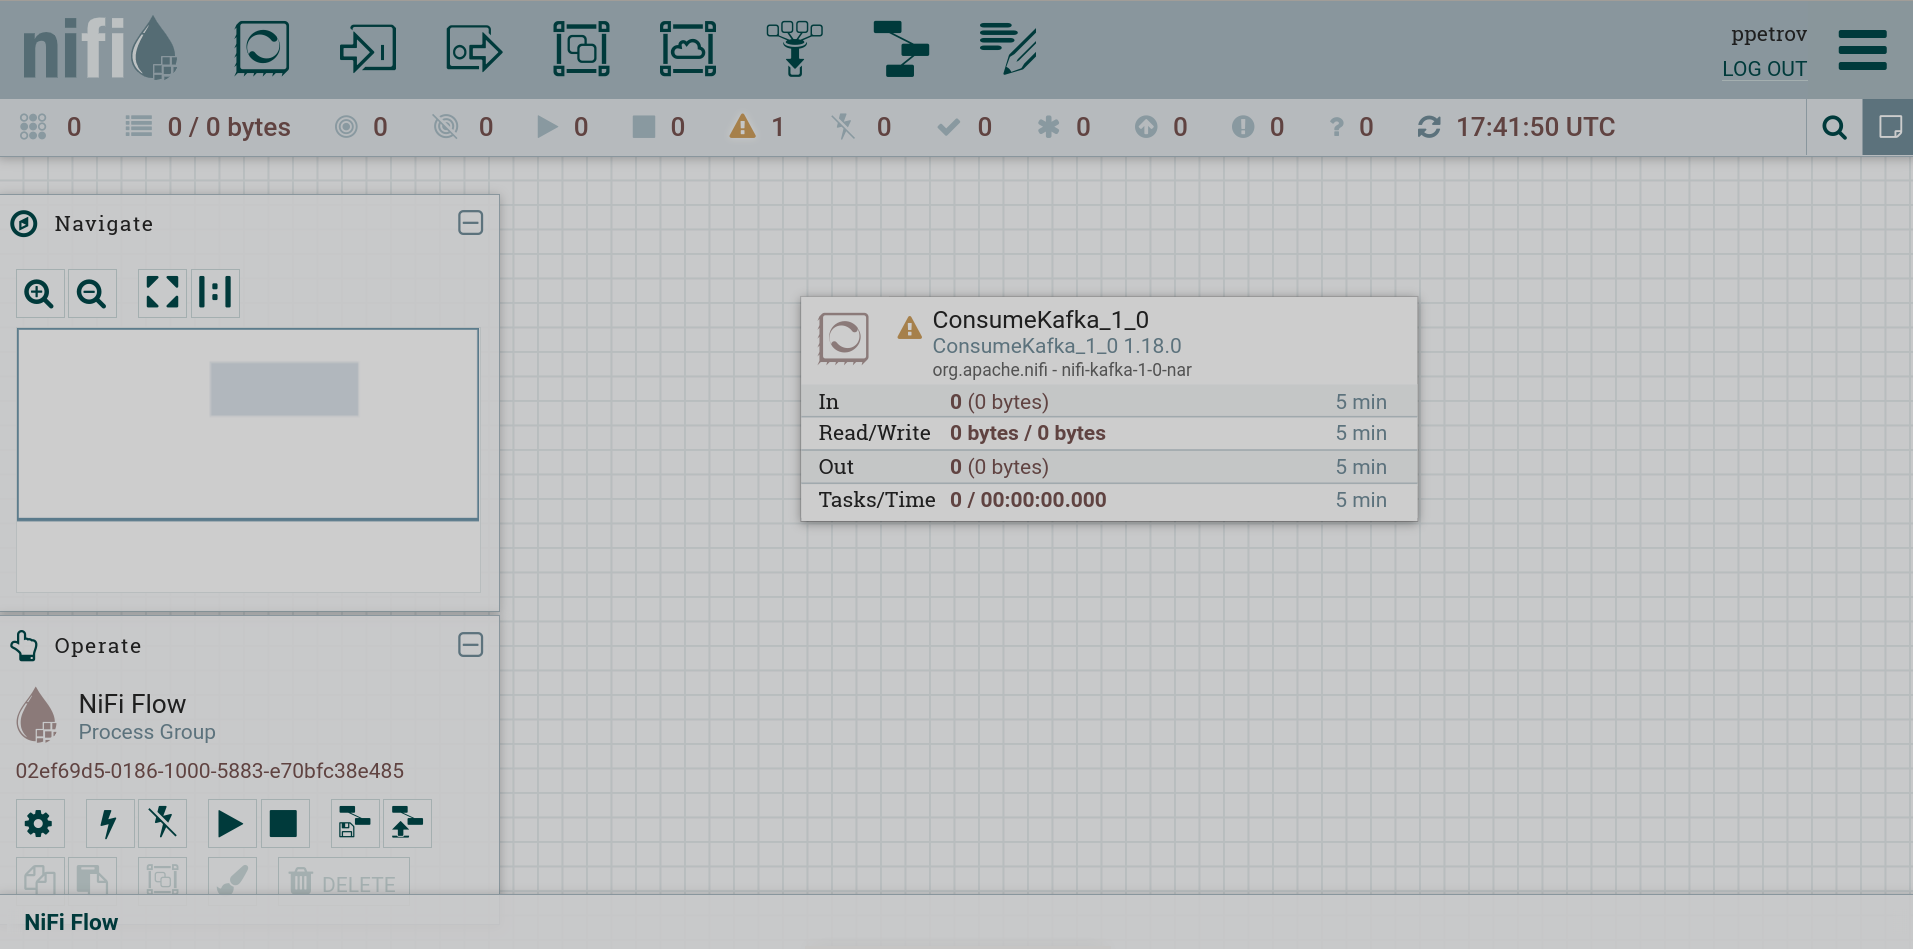 Processor on the canvas
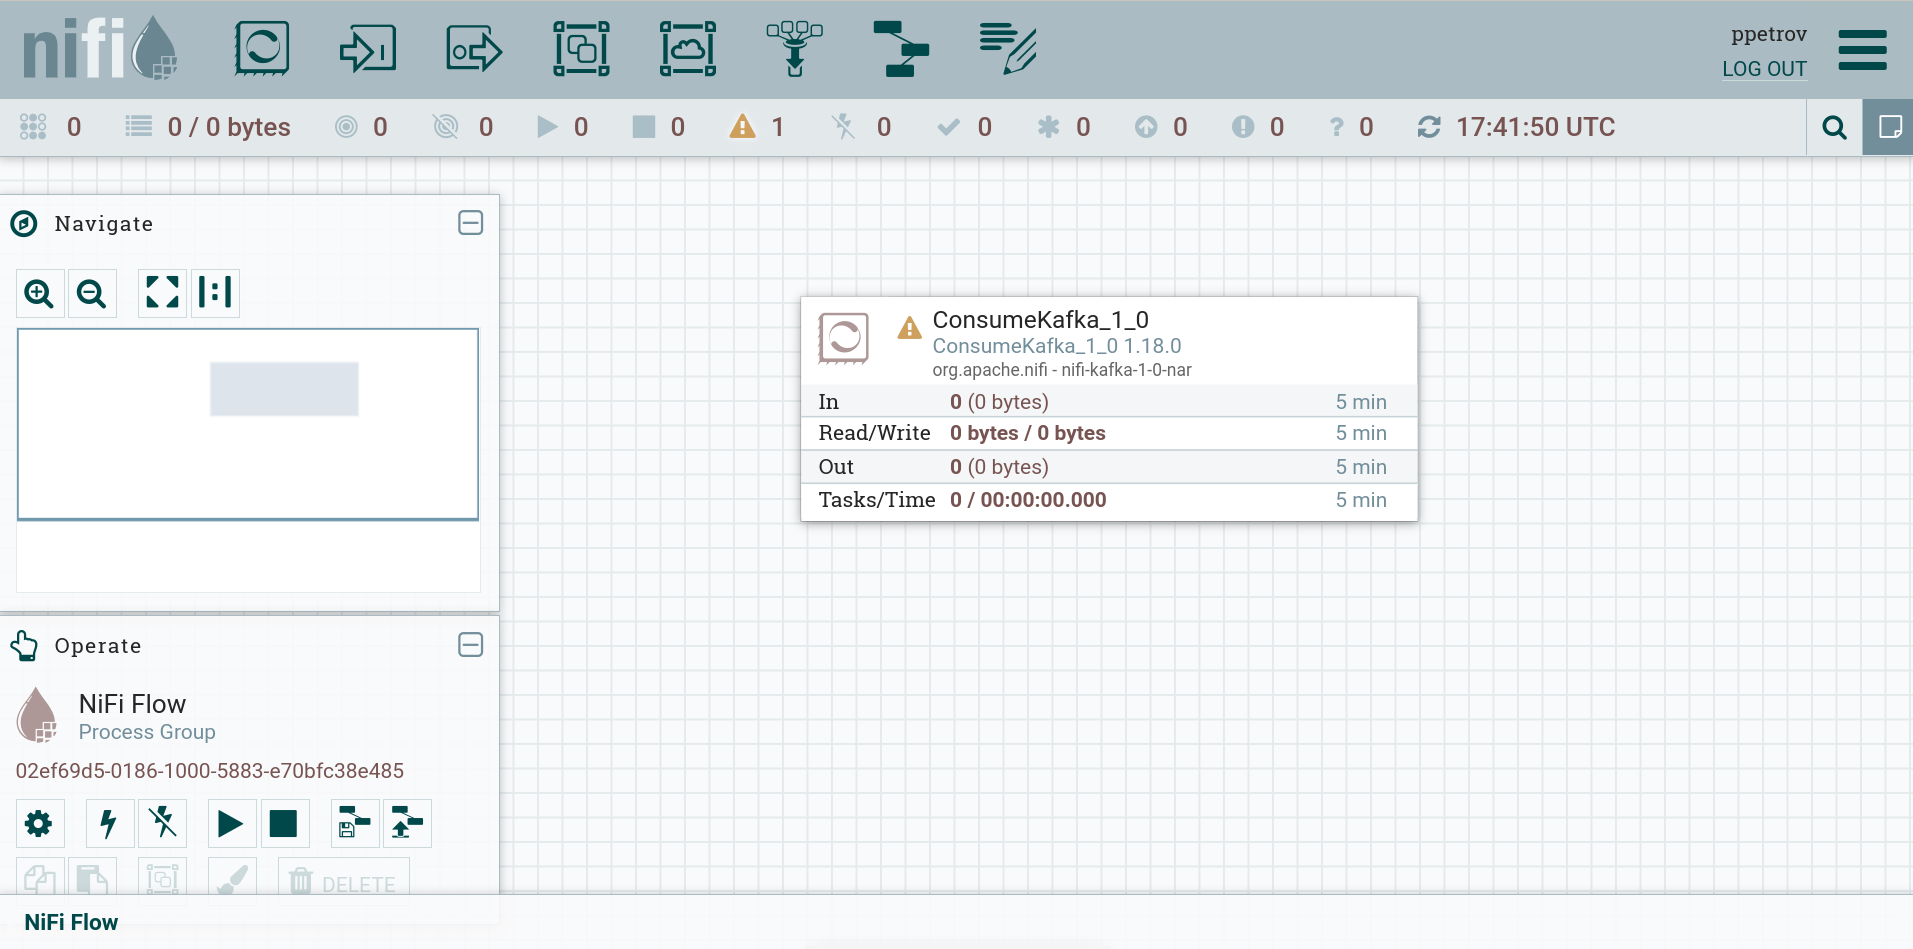 Processor on the canvas
Processor management
Interaction with processor on the canvas is carried out using the options of the context menu called by the right mouse button.
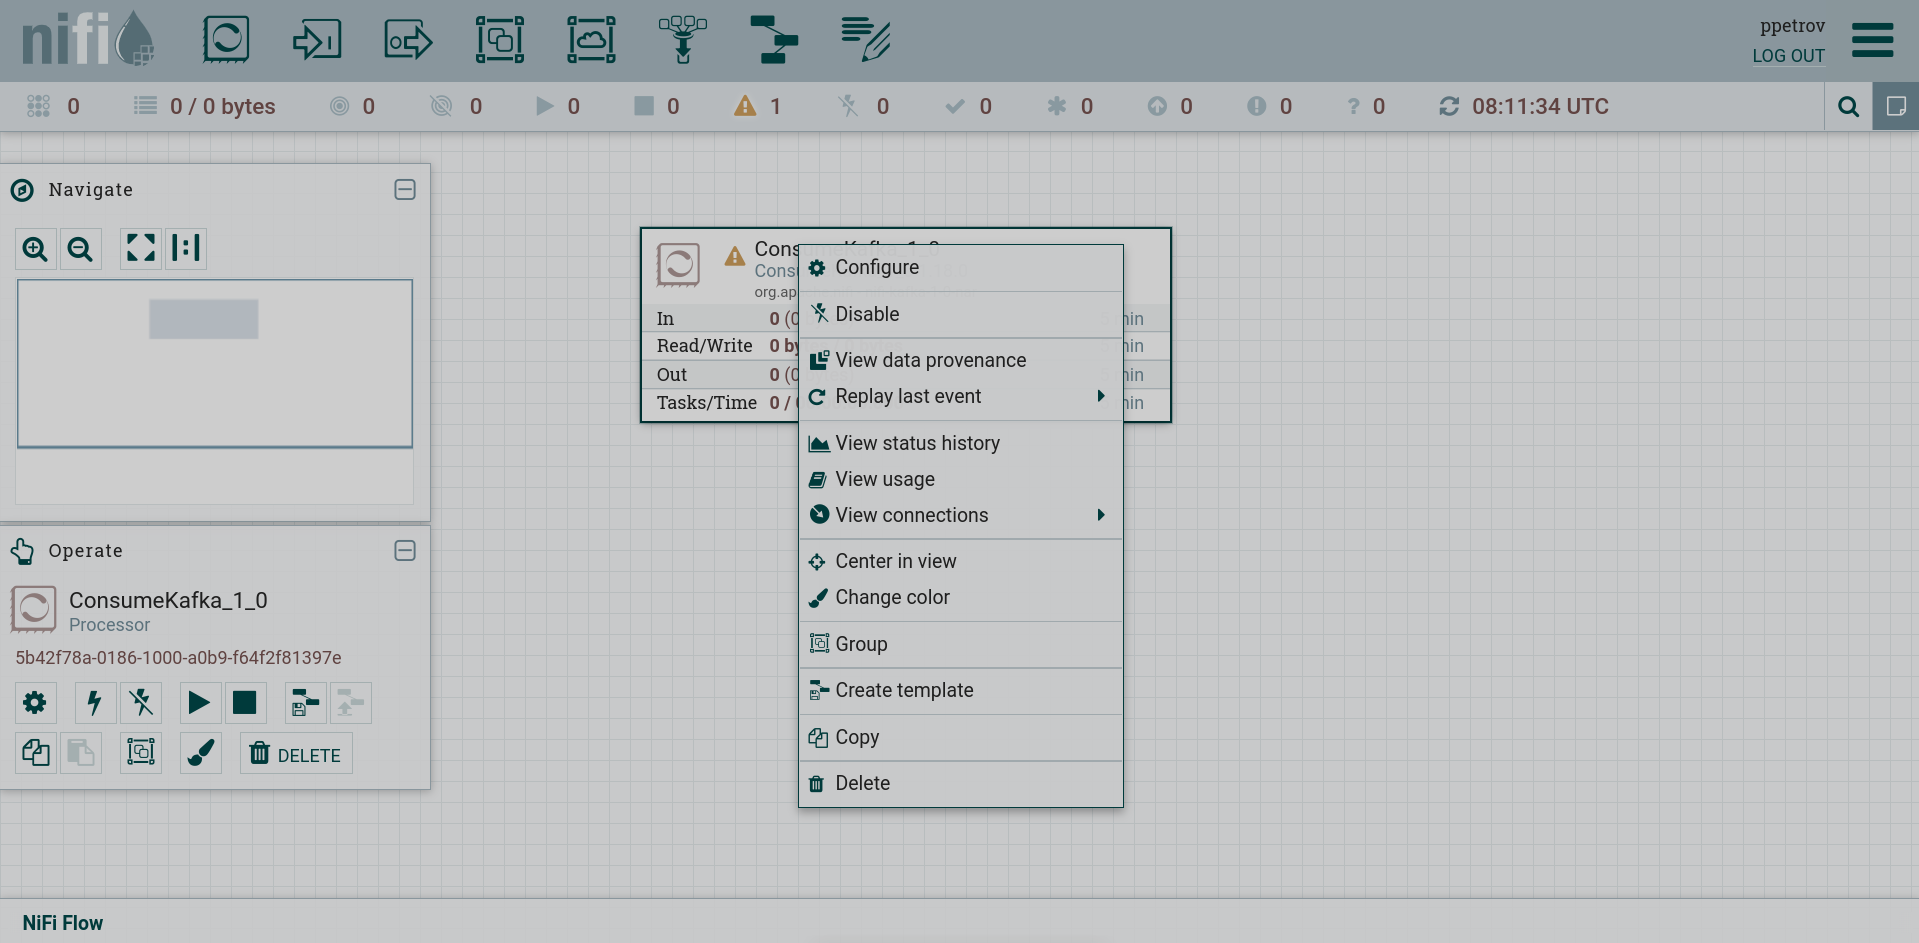
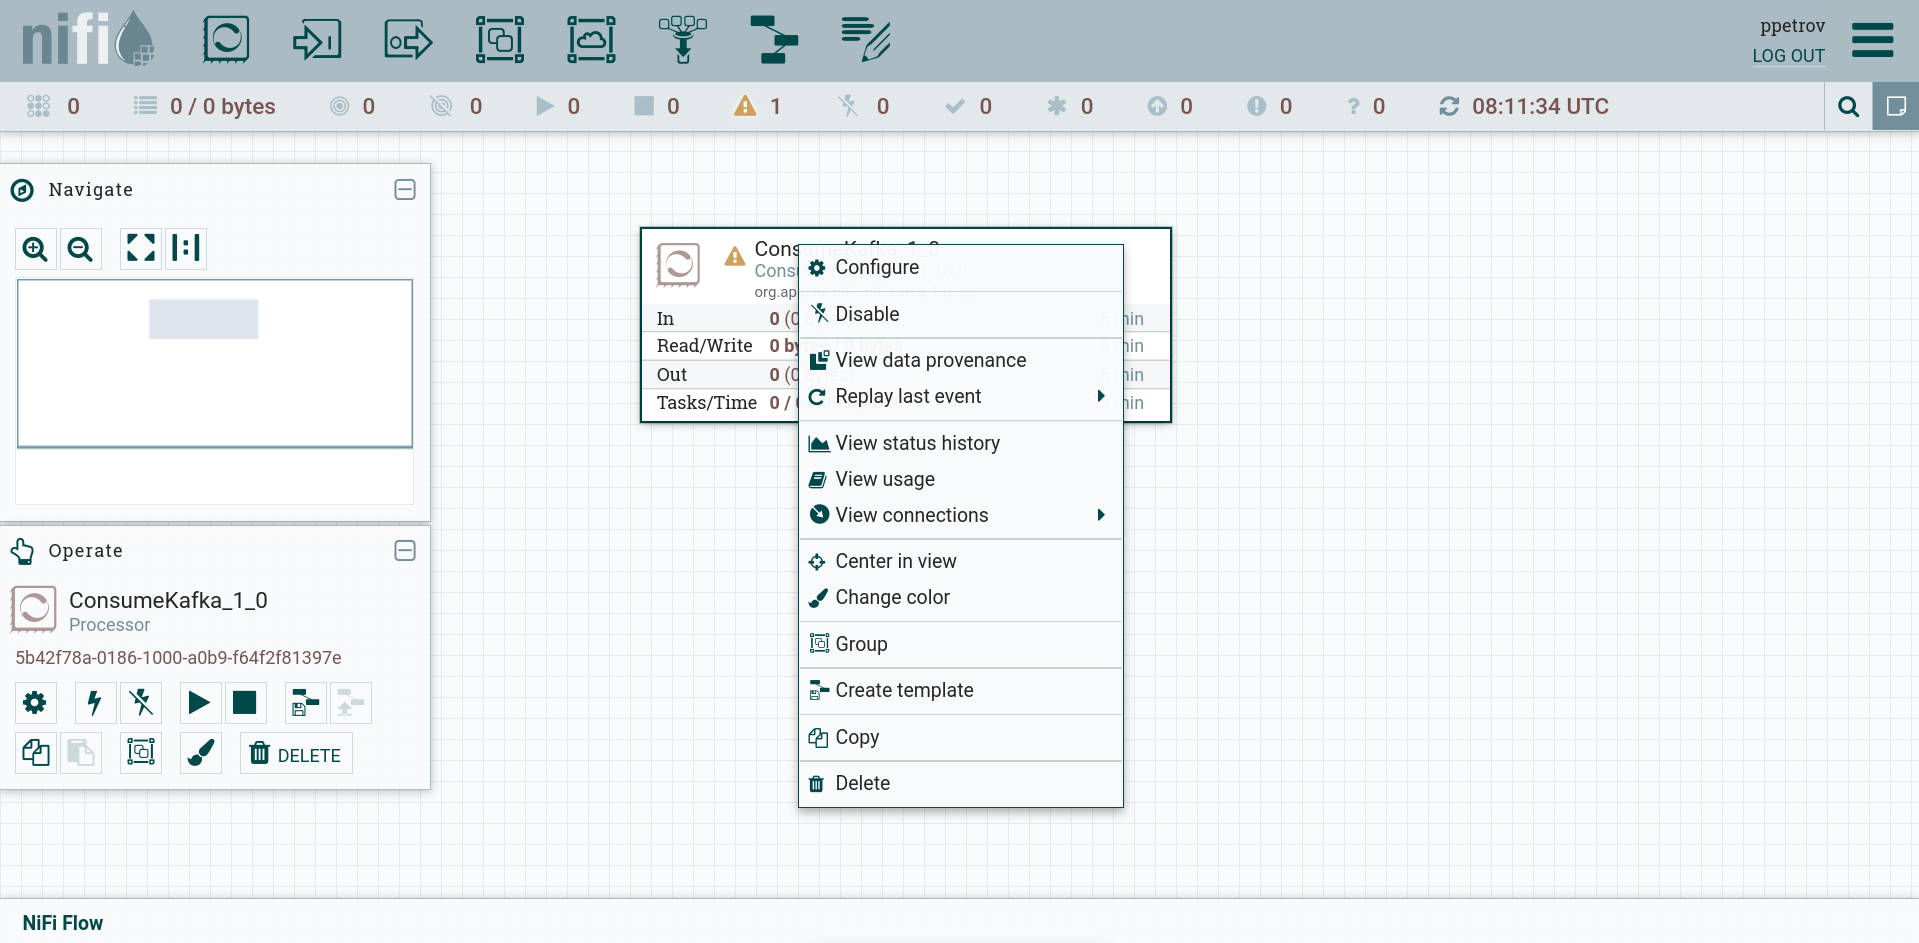
The options available on the context menu vary depending on the permissions assigned to the user. The following options are usually available when you have all the permissions to work with processor:
-
Configure — allows the user to сonfigurе the processor. Functionally the same as the icon
 on the Action palette.
After creation, the processor is marked with the
 icon, which, when hovered over, displays the parameters necessary for the processor to work.
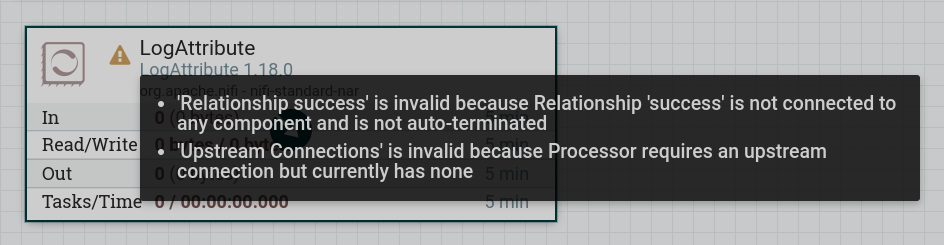 Required parameters
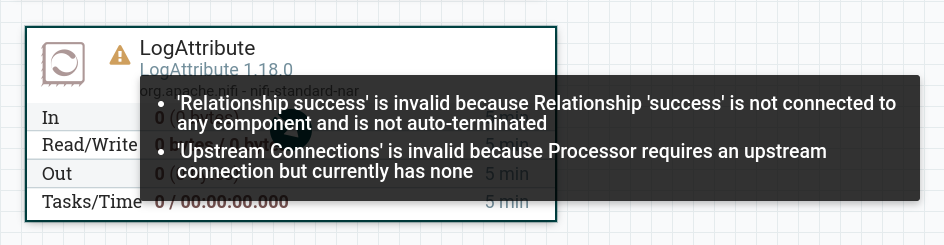 Required parameters
 -
Start or Stop — allows the user to start or stop the processor. Functionally the same as the icons
 and
and  on the Action palette
.
on the Action palette
.When a component is added to the NiFi workspace, it is in a stopped status. To bring a component into a working state, it must be launched. Once started, it can be stopped at any time. In the stopped status, the component can be configured, started, or disabled.
To run the component, the following conditions must be met:
-
Component configuration is valid.
-
All defined component links are connected to other components or set to auto-complete.
-
Component is stopped.
-
Component is available.
-
Component has no active tasks.
-
-
Run Once — allows the user to run the selected processor exactly once. If the processor cannot run (for example, there are no incoming FlowFiles, or backpressure is applied to the outgoing connection), the processor will not fire.
-
Enable or Disable — allows the user to enable or disable the processor. Functionally the same as the icons
 and
and  on the Action palette.
 -
View Data Provenance — displays a NiFi Data Provenance table with data provenance events for FlowFiles routed through this processor.
-
Replay last event — replays the last Provenance event, effectively queuing the last FlowFile that was processed by the processor (detailed in Replaying a FlowFile).
-
View status history — opens a graphical representation of statistics for processor over time.
-
View usage — takes the user to the processor usage documentation.
-
View connections → Upstream — allows the user to see and "navigate" to upstream connections coming into CPU. This is especially useful when processors join and leave other process groups.
-
View connections → Downstream — allows the user to see and "navigate" to downstream connections that come out of processor. This is especially useful when processors join and leave other process groups.
-
Center in view — centers the canvas view on given processor.
-
Change color — allows the user to change the color of the processor, which can make it easier to visually manage large threads. Functionally the same as the
 icon on the Action palette.
 -
Create template — allows the user to create a template from the selected processor. Functionally the same as the
 icon on the Action palette.
 -
Copy — places a copy of the selected item on the clipboard. The element can then be pasted elsewhere on the canvas by right-clicking on the canvas and selecting Paste. Functionally the same as the icon
 on the Action palette.
 -
Delete — allows you to delete an element from the canvas. Functionally the same as the icon
 on the Action palette.
Connect and disconnect processors
In order to connect the created processor to another processor or another сomponent, do the following:
-
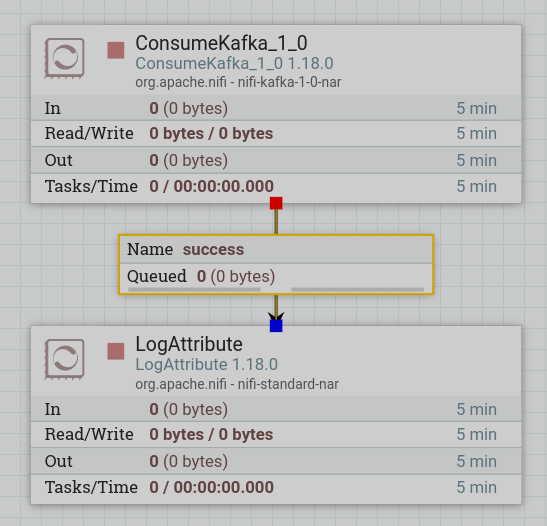
Select the desired processor.
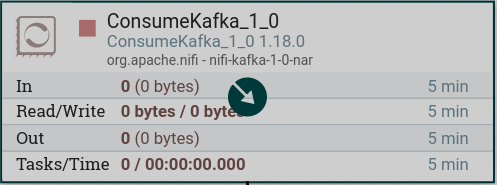 Processor selection
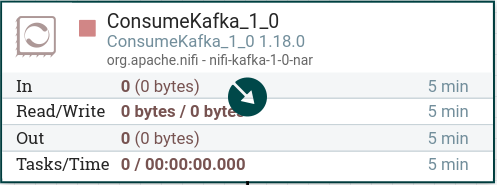 Processor selection
 -
Move the graphic arrow that appears when hovering over the processor and release it over the plug-in сomponent (another processor).
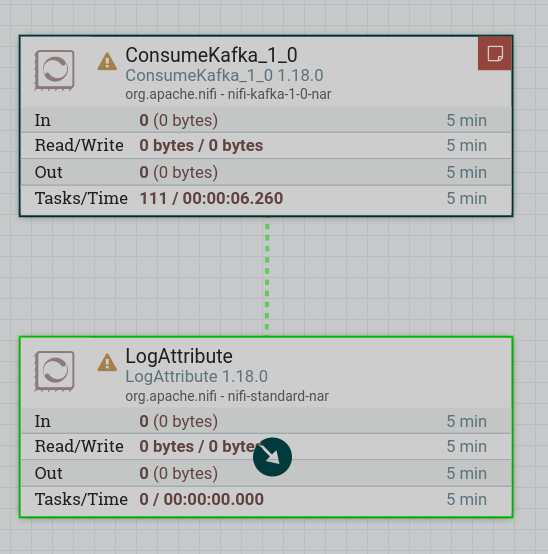 Connection
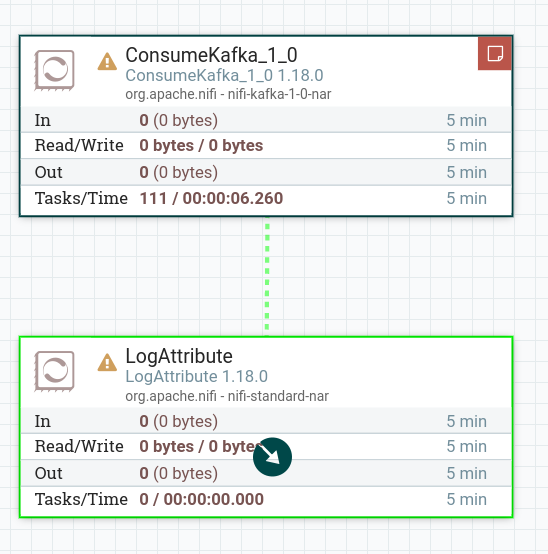 Connection
 -
In the connection configuration that opens, configure connection parameters and click ADD.
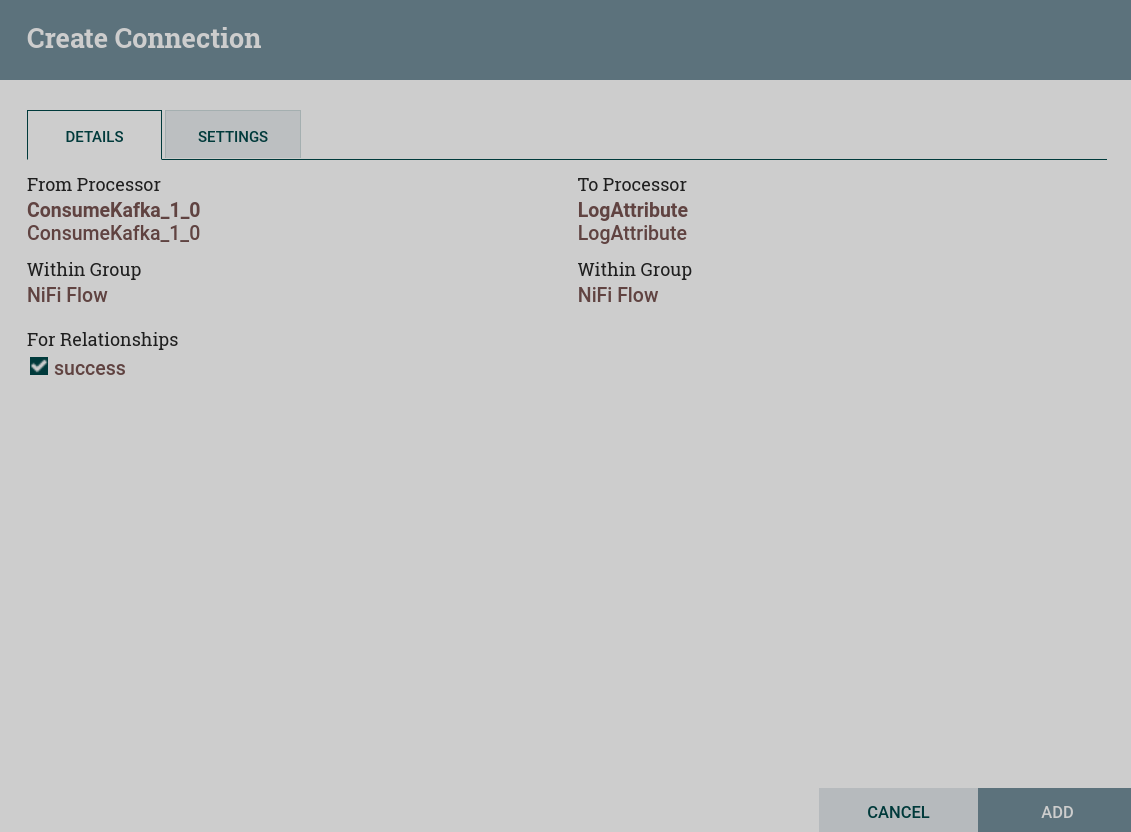 Adding a connection
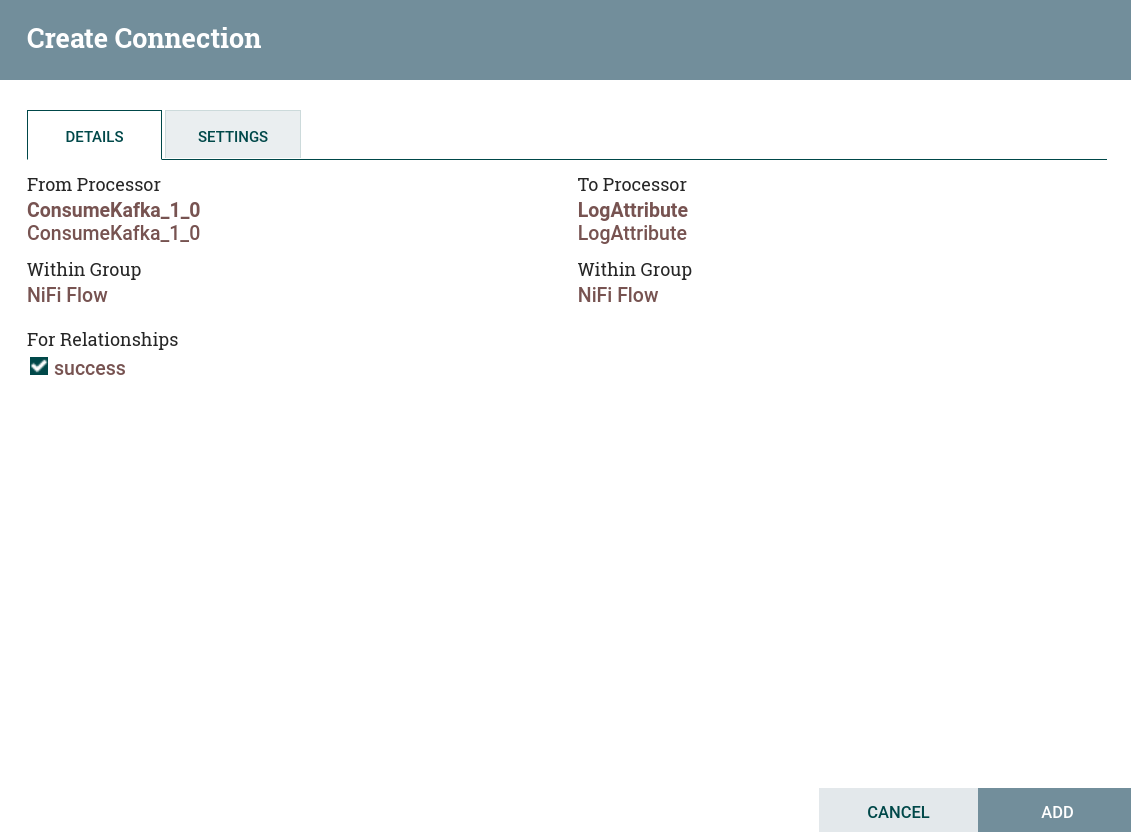 Adding a connection
As a result, a connection is established between the two сomponents.
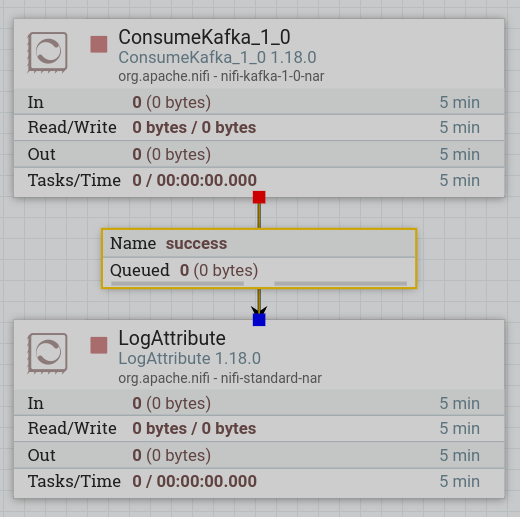 Connection established
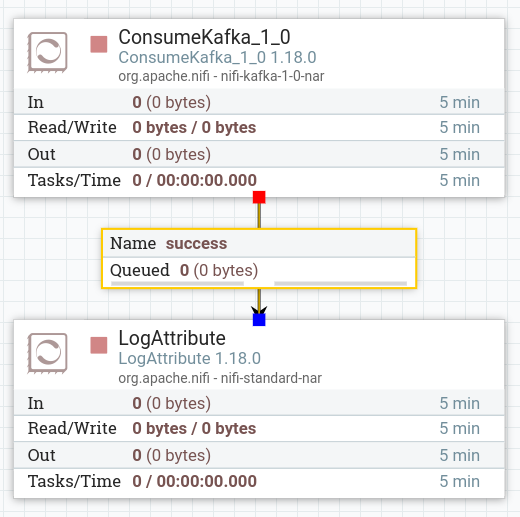 Connection established
To break the connection of the processor with another сomponent, do the following:
-
Stop the processor using the icon
on the Action palette. -
Select a connection line.
 Selecting a connection line
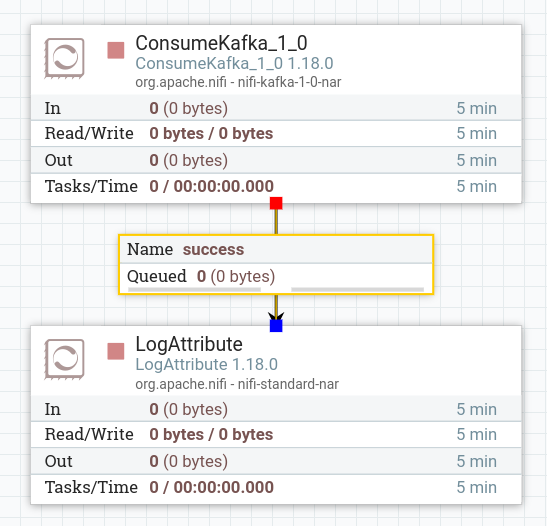 Selecting a connection line
 -
Delete the connection line using the DELETE item of the context menu or the
icon on the Action palette.
Process group
Process groups can be used to logically group a set of components to make data flow easier to understand and maintain.
Create a process group
The process group is created in the following sequence:
-
Move icon

 from the toolbar to the canvas.
 -
Enter the name of the process group in the dialog box that opens.
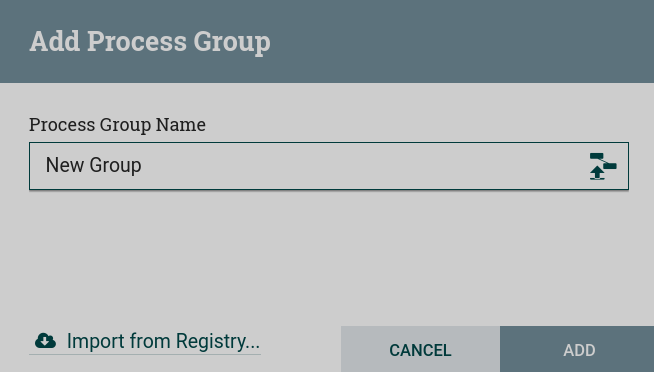 Enter the name of the process group
 Enter the name of the process group
 -
Click ADD.
As a result, the created process group is displayed on the canvas.
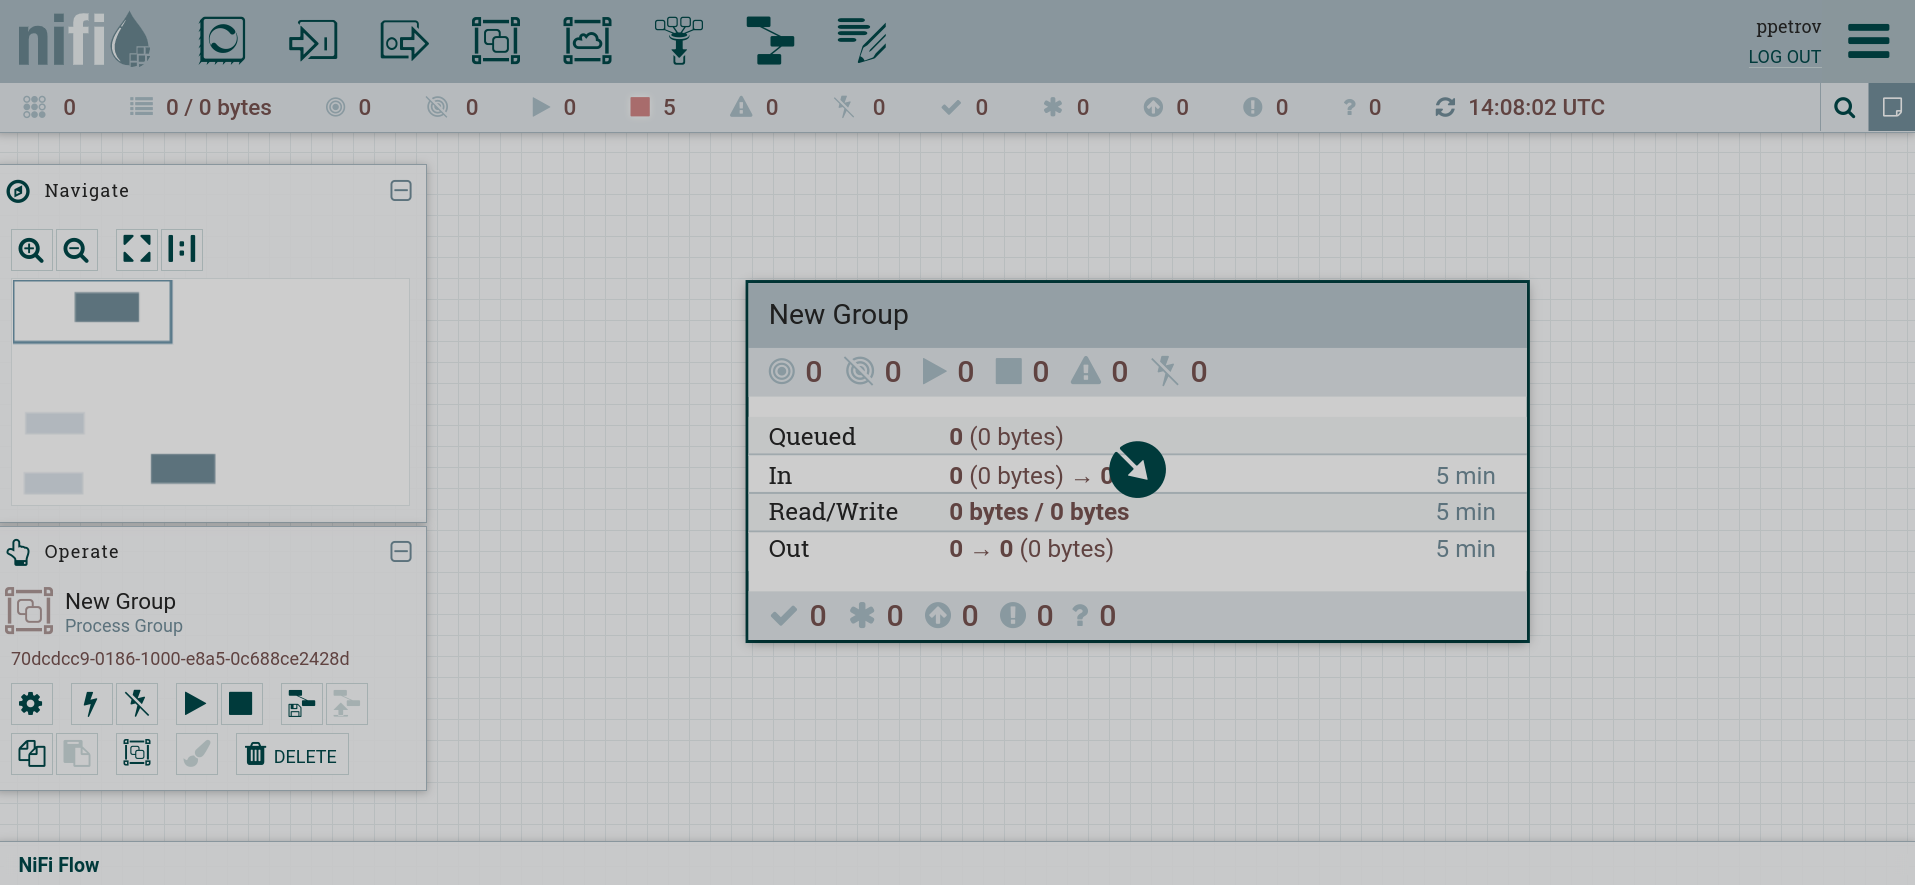 Process group on canvas
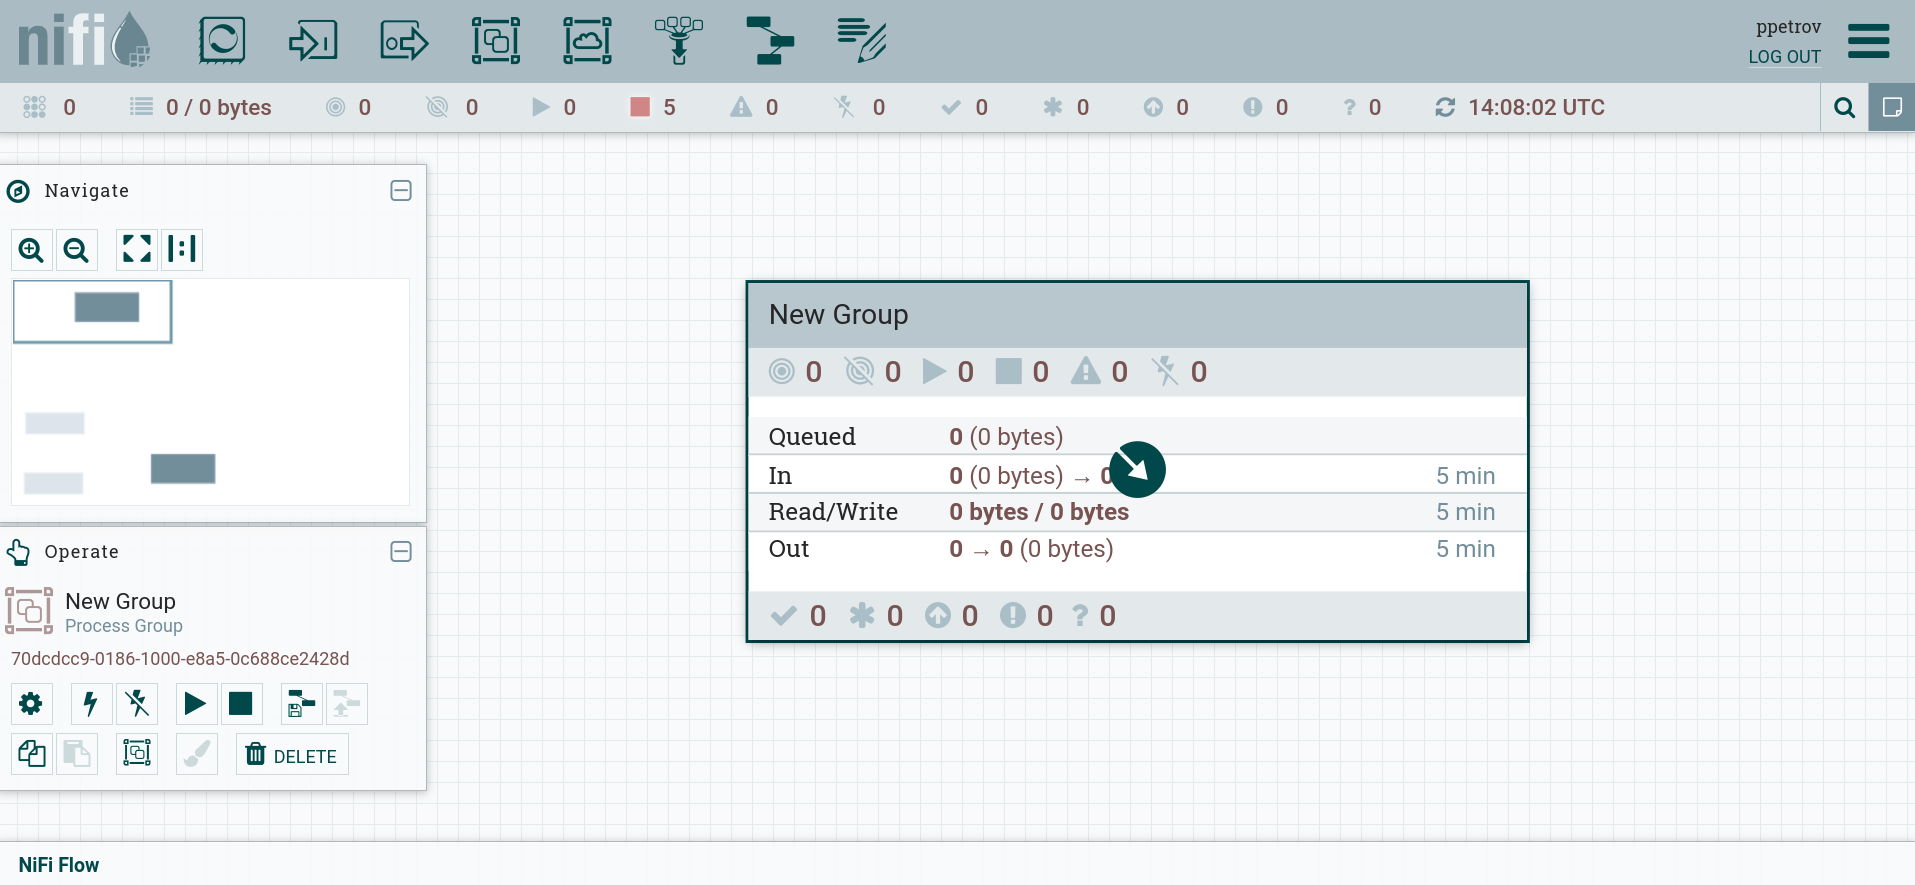 Process group on canvas
Process group management
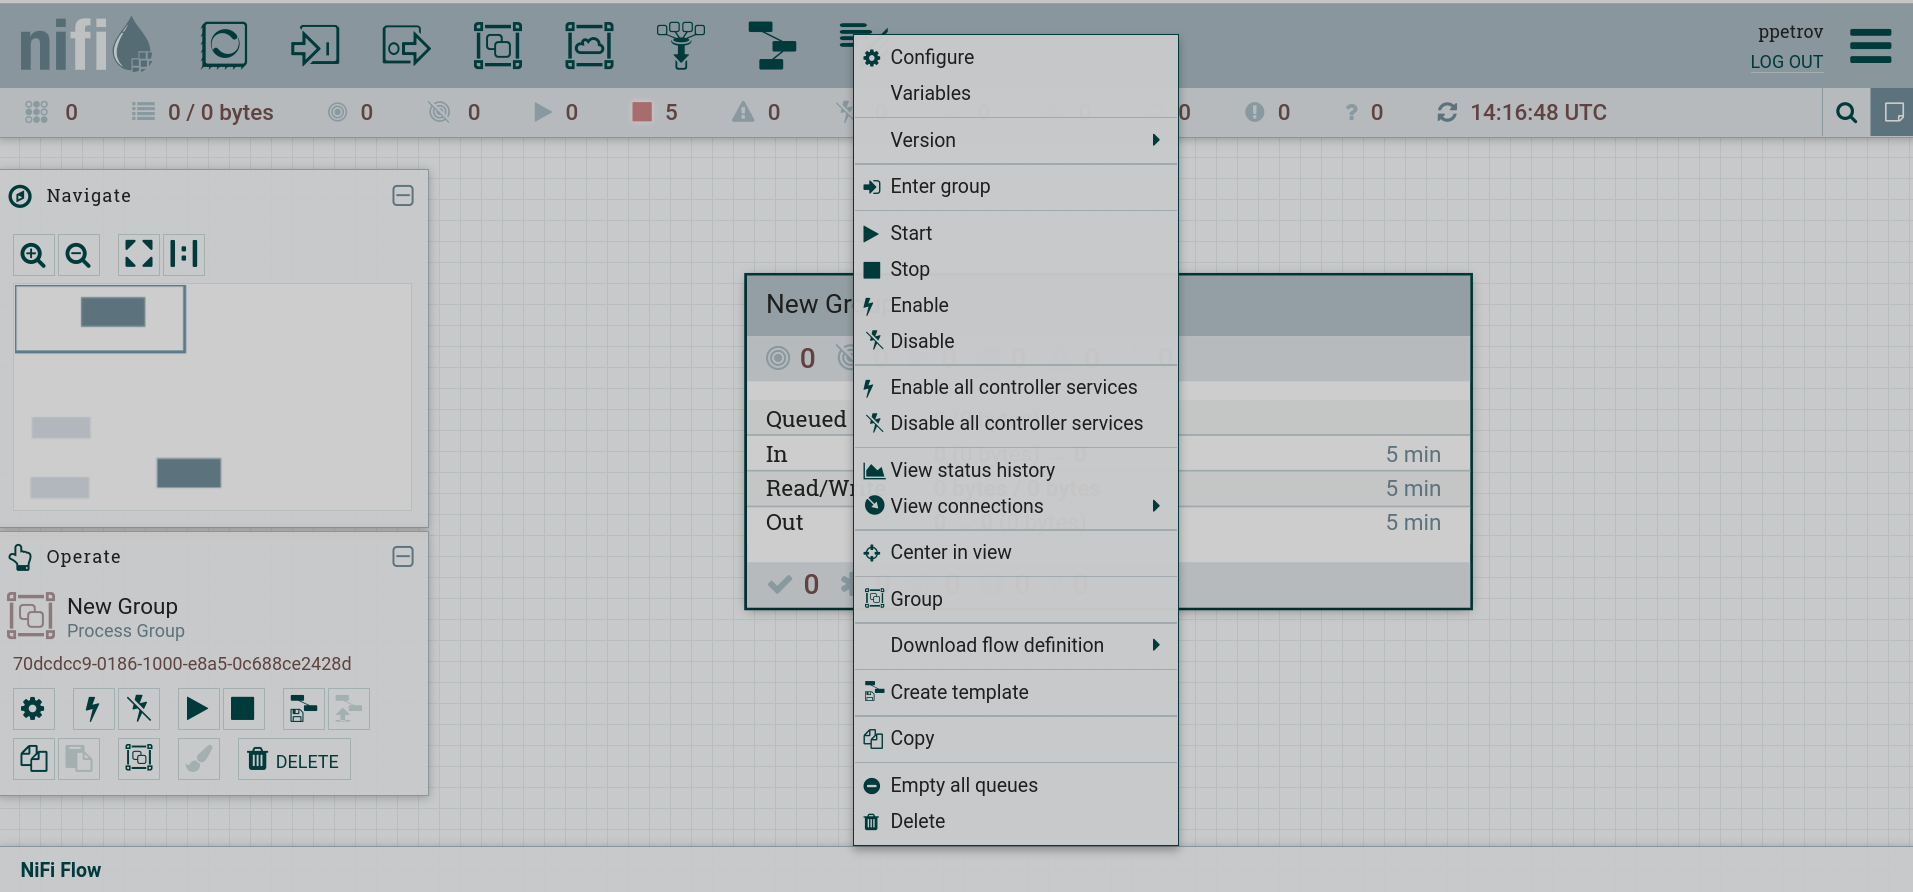
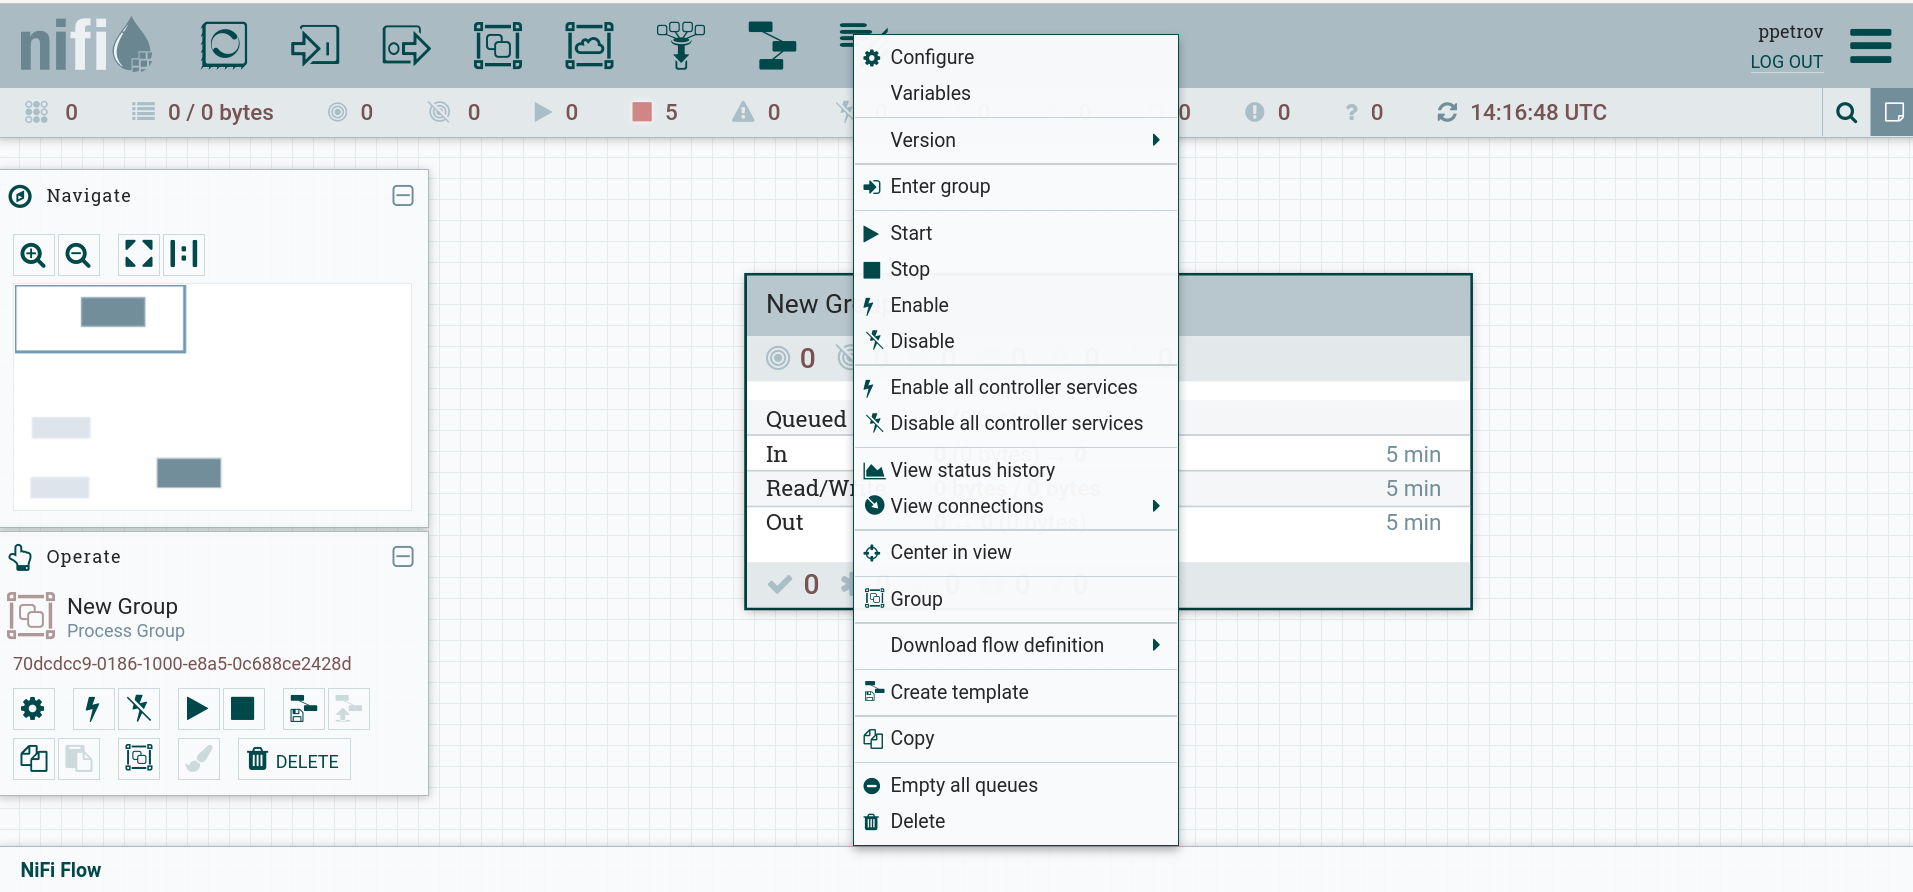
The options available on the context menu vary depending on the permissions assigned to the user. The following options are usually available when you have all the permissions to work with process group:
-
Configure — allows the user to сonfigurе the process groups. Functionally the same as the icon
on the Action palette. -
Variables — allows the user to create or set up variables in the NiFi user interface.
-
Version → Start version control — allows you to start version control.
-
Enter Group — allows the user to enter a process group. Within a process group, threads can be composed of both individual processors and process groups. You can leave a process group using the Leave group context menu command.
-
Start or Stop — allows the user to start or stop process group. Functionally the same as the icons
and on the Action palette
.When a process group is started, all components of the group (including children) are started, except for those that are invalid, or disabled.
-
Enable or Disable — allows the user to enable or disable process group. Functionally the same as the icons
and on the Action palette. -
View Data Provenance — displays a NiFi Data Provenance table with data provenance events for FlowFiles routed through process group.
-
View status history — opens a graphical representation of statistics for process groups over time.
-
View connections → Upstream — allows the user to see and "navigate" to upstream connections coming into a process group.
-
View connections → Downstream — allows the user to see and "navigate" to downstream connections that come out of the process group.
-
Center in view — centers the canvas view on the process group.
-
Group — allows the user to create a new process group containing the selected process group and any other components selected on the canvas.
-
Download flow definition — allows the user to download the process group flow definition as a JSON file. The file can be used as a backup or imported into the NiFi registry using the NiFi CLI. There are two options for loading a stream definition:
-
Without external services — controller services referenced by the selected process group but outside of its scope (for example, services in the parent group) will not be included in the thread definition as a service.
-
With external services — controller services that are referenced by the selected process group but not in scope (for example, services in the parent group) will be included in the flow definition.
-
-
Create template — allows the user to create a template from the selected process group. Functionally the same as the
icon on the Action palette. -
Copy — places a copy of the selected item on the clipboard. The element can then be pasted elsewhere on the canvas by right-clicking on the canvas and selecting Paste. Functionally the same as the icon
on the Action palette. -
Empty All Queues — allows the user to empty all queues in the selected process group. All FlowFiles from all connections pending at the time of the request will be removed.
-
Delete — allows you to delete an element from the canvas. Functionally the same as the icon
on the Action palette.
Connect and disconnect a process group
Connecting and disconnecting process groups is similar to individual processors.
In this case, before connecting process groups, it is necessary to place the input port ![]()
![]() and output port
and output port ![]()
![]() inside the group by moving the appropriate icons from the toolbars to the canvas.
inside the group by moving the appropriate icons from the toolbars to the canvas.