NiFi service authentication
|
NOTE
|
The required configuration parameters to enable authentication are given in below.
Basic LDAP concepts used in NiFi service configuration parameters:
-
Active Directory — a database and a set of services that connect users to the necessary network resources.
-
LDAP server — a hierarchical database, a directory service based on Active Directory, used for centralized storage of accounts.
-
Lightweight directory access protocol (LDAP) — an application layer protocol for accessing the Active Directory directory service.
-
Distinguished name (DN) — an account in Active Directory. The DN must be unique within the tree. The DN describes the content of the attributes in the tree (navigation path) for accessing a particular entry.
A DN consists of a series of relative distinguished names (RDN) determined by moving up the tree in the direction of its root entry. RDNs are written from left to right.
Prerequisites for enabling authentication
|
CAUTION
Enabling SSL and LDAP Auth for the NiFi service is available starting with ADS 1.7.0.b1. |
-
Verify that the prerequisites for running the Manage SSL action on an ADS cluster are met in the article SSL channel security.
-
Verify that you know the necessary data to set up authentication in the NiFi service using the LDAP protocol:
-
LDAP server address LDAP/AD URL — URL to the LDAP/AD synchronization source in the format
ldaps://{host}:{port}. -
DN of a user that has an entry in the Active Directory directory with the rights to search users and groups and his password.
-
Base DN to search for users in AD (and filter if necessary).
-
Base DN to search for groups in AD (and filter if necessary).
-
Set configuration options
The following describes the parameters that need to be set in the tree on the configuration page of the NiFi service.
|
NOTE
This article only lists the settings you need to set to successfully enable authentication. Detailed information on all configuration parameters can be found in the article ADS configuration parameters. |
Required parameters for configuring SSL
To configure SSL, fill in the authorizers.xml configuration parameters.
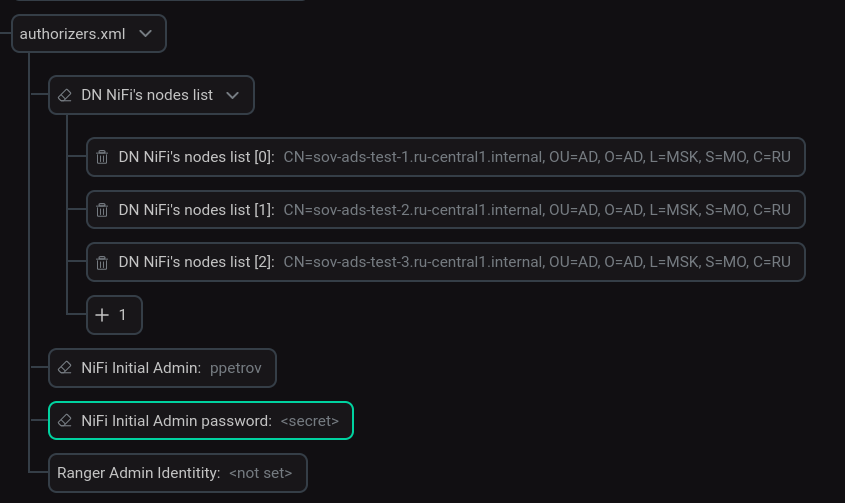
The required parameters are described below.
| Parameter | Description | Example |
|---|---|---|
DN NiFi’s nodes list |
List of user and system identifications to seed the User File. These are required fields to enable SSL for the first time. Must include not only the DName of the NiFi Server component, but also the DName of the NiFi Registry, as well as the DName for the MiNiFi service components. For example, for an SSL-enabled cluster consisting of only NiFi Server, when adding a MiNiFi service or Schema Registry extension, you need to supplement this list with new DNames |
CN=sov-ads-test-1.ru-central1.internal, OU=AD, O=AD, L=MSK, S=MO, C=RU CN=sov-ads-test-2.ru-central1.internal, OU=AD, O=AD, L=MSK, S=MO, C=RU CN=sov-ads-test-3.ru-central1.internal, OU=AD, O=AD, L=MSK, S=MO, C=RU |
NiFi Initial Admin Username |
The actual Initial Admin username which will be used to login to NiFi API during bundle checks |
ppetrov |
NiFi Initial Admin password |
Initial Admin password — password of the user designated by NiFi Initial Admin |
The password with which this user is registered in Active Directory is used |
Required parameters for setting up LDAP
To enter LDAP parameters, you must enable the LDAP Login Identity Provider and LDAP UserGroupProvider switches.
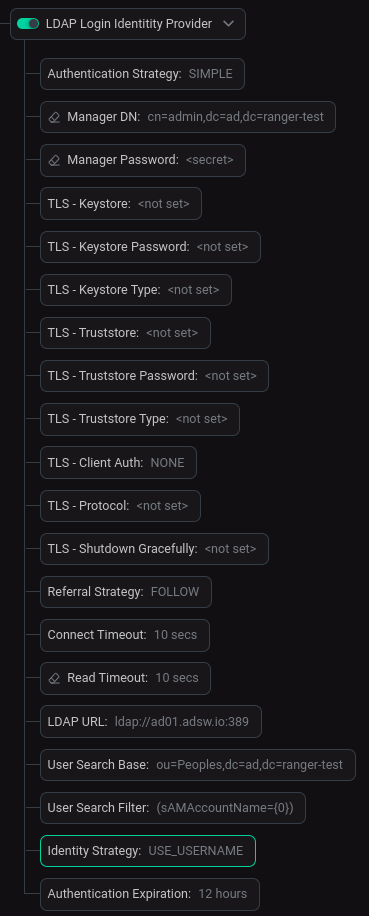
The required parameters are described below.
| Parameter | Description | Example |
|---|---|---|
Authentication Strategy |
How the connection to the LDAP server is authenticated |
SIMPLE |
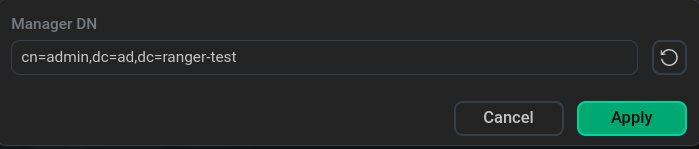
Manager DN |
DN of a user that has an entry in the Active Directory with right to search users and groups. Will be used to bind to an LDAP server to search for users |
cn=admin,dc=ad,dc=ranger-test |
Manager Password |
Password of the manager that is used to bind to the LDAP server to search for users |
The password with which this user is registered in Active Directory is used |
Referral Strategy |
Strategy for handling referrals |
FOLLOW |
Connect Timeout |
Duration of connect timeout |
10 sec |
Read Timeout |
Duration of read timeout |
10 sec |
LDAP URL |
Space-separated list of URLs of the LDAP servers (e.g. |
ldap://ad01.adsw.io:389 |
User Search Base |
Base DN for searching for users (e.g. |
ou=Peoples,dc=ad,dc=ranger-test |
User Search Filter |
Filter for searching for users against the User Search Base (e.g. |
(sAMAccountName={0}) |
Identity Strategy |
Strategy to identify users. Possible values are |
USE_USERNAME |
Authentication Expiration |
Duration of how long the user authentication is valid for. If the user never logs out, they will be required to log back in following this duration |
12 hours |
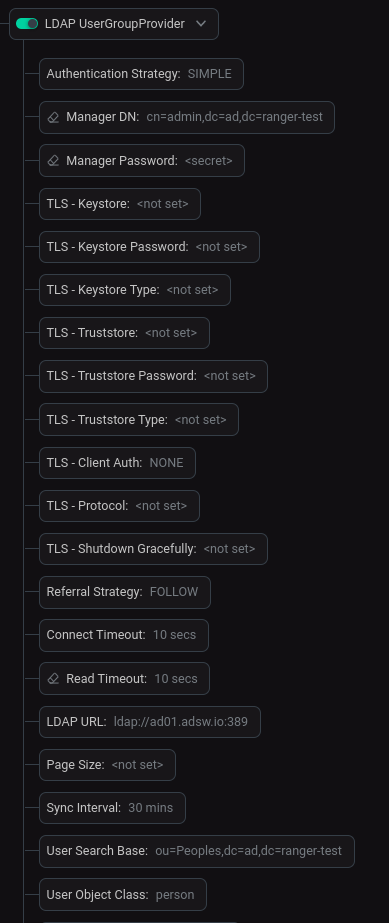
The required parameters are described below.
| Parameter | Description | Example |
|---|---|---|
Authentication Strategy |
How the connection to the LDAP server is authenticated |
SIMPLE |
Manager DN |
DN of a user that has an entry in the Active Directory with right to search users and groups. Will be used to bind to an LDAP server to search for users |
cn=admin,dc=ad,dc=ranger-test |
Manager Password |
Password of the manager that is used to bind to the LDAP server to search for users |
The password with which this user is registered in Active Directory is used |
Referral Strategy |
Strategy for handling referrals |
FOLLOW |
Connect Timeout |
Duration of connect timeout |
10 sec |
Read Timeout |
Duration of read timeout |
10 sec |
LDAP URL |
Space-separated list of URLs of the LDAP servers (e.g. |
ldap://ad01.adsw.io:389 |
Sync Interval |
Duration of time between syncing users and groups. Minimum allowable value is |
30 mins |
User Search Base |
Base DN for searching for users (e.g. |
ou=Peoples,dc=ad,dc=ranger-test |
User Object Class |
Object class for identifying users (e.g. |
person |
User Search Scope |
Search scope for searching users |
ONE_LEVEL |
User Identity Attribute |
Attribute to use to extract user identity (e.g. |
sAMAccountName |
Group Search Base |
Base DN for searching for groups (e.g. |
ou=Groups,dc=ad,dc=ranger-test |
Group Object Class |
Object class for identifying groups (e.g. |
group |
Group Search Scope |
Search scope for user group |
ONE_LEVEL |
Group Member Attribute |
Attribute to use to define group membership (e.g. |
member |
After changing the parameters, click Save.
Verify that NiFi Server authentication is enabled
After successfully enabling SSL, login to NiFi Server UI is done through the authorization window.
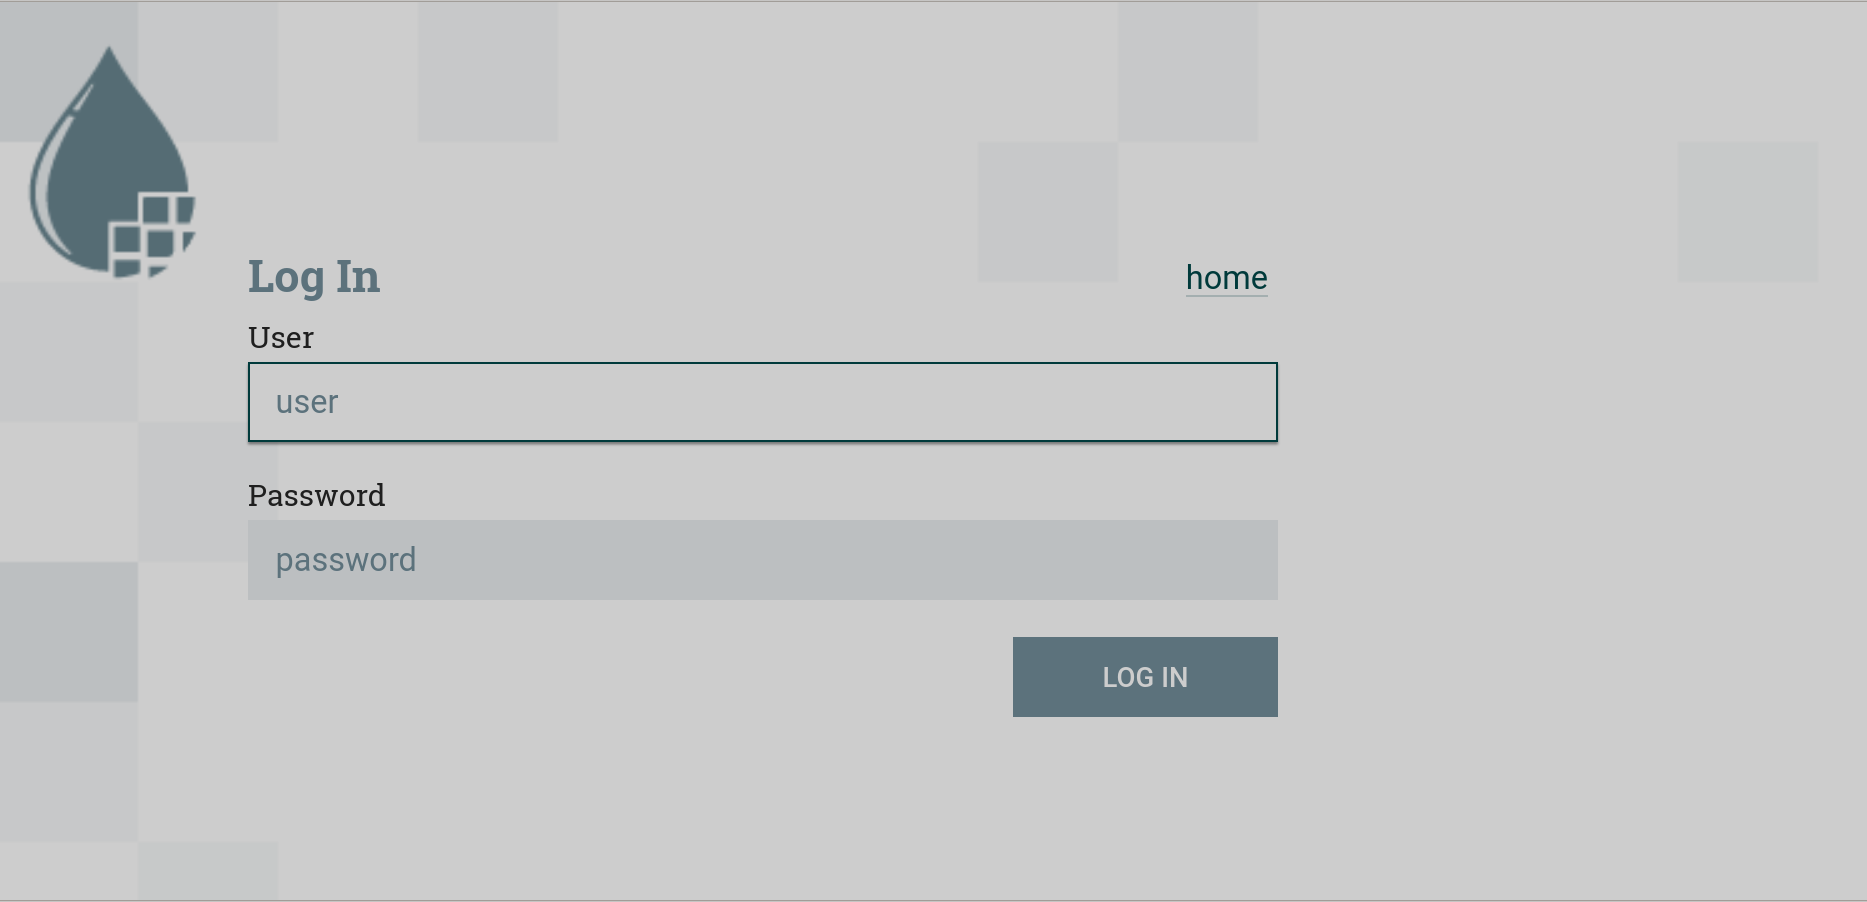
For initial authentication, you must log in as a NiFi administrator (enter the username and password specified for NiFi Initial Admin).
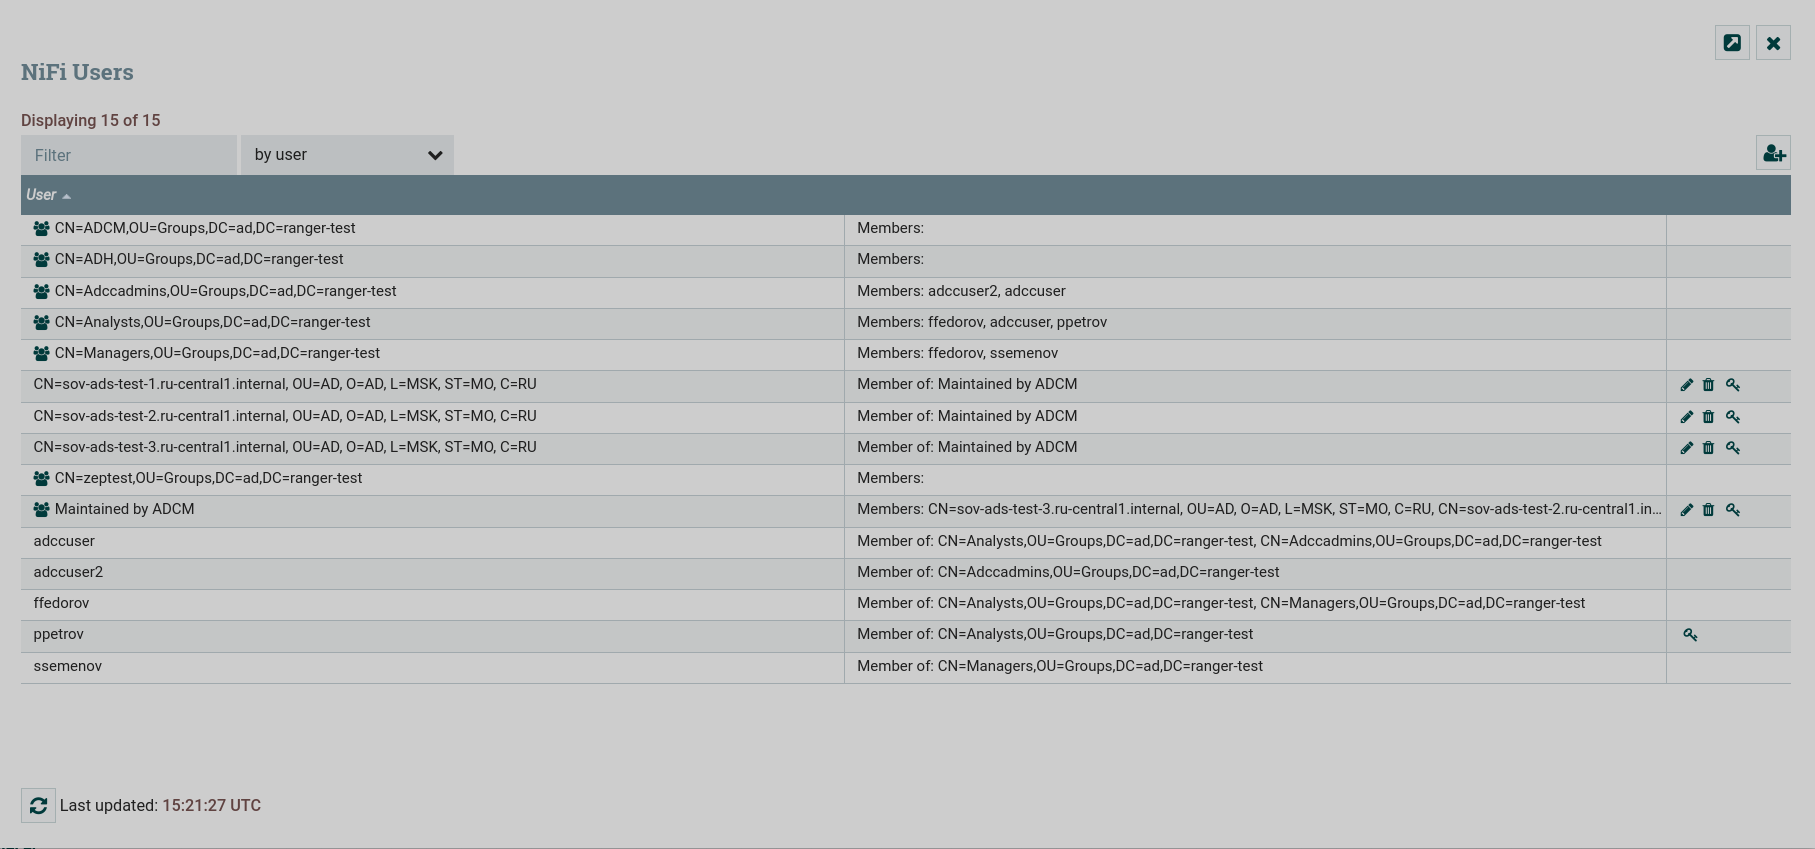
After successful authentication, the logged in user will be displayed in the upper right corner of the interface.

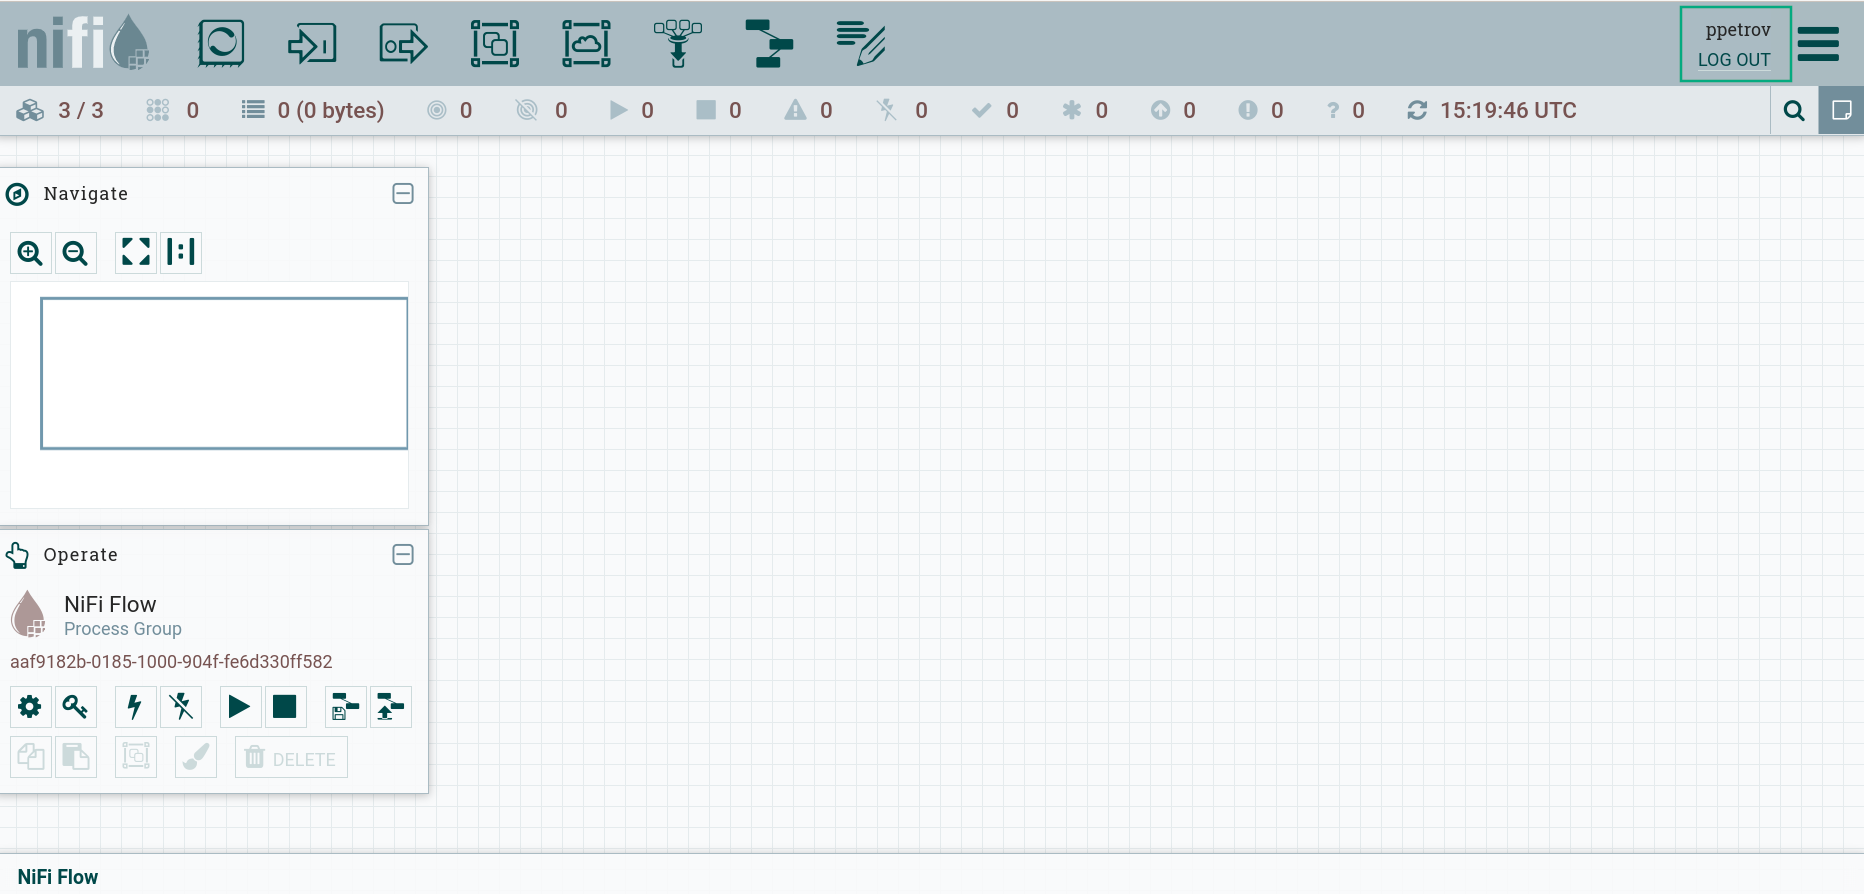
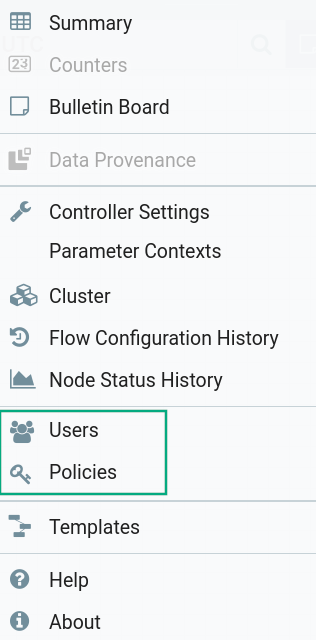
The global menu displays new sections Users and Policies.
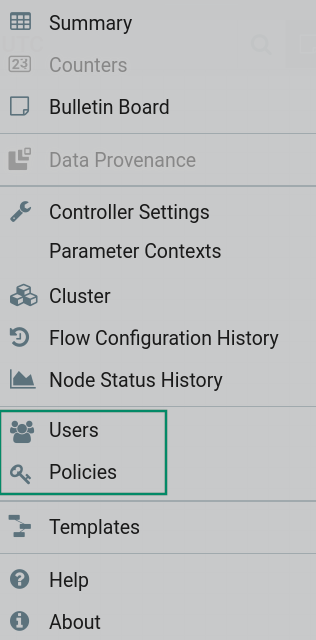
The Users page of the global NiFi menu displays a list of cluster hosts, users, and LDAP/Active Directory groups that are in the specified User Search Base and Group Search Base.

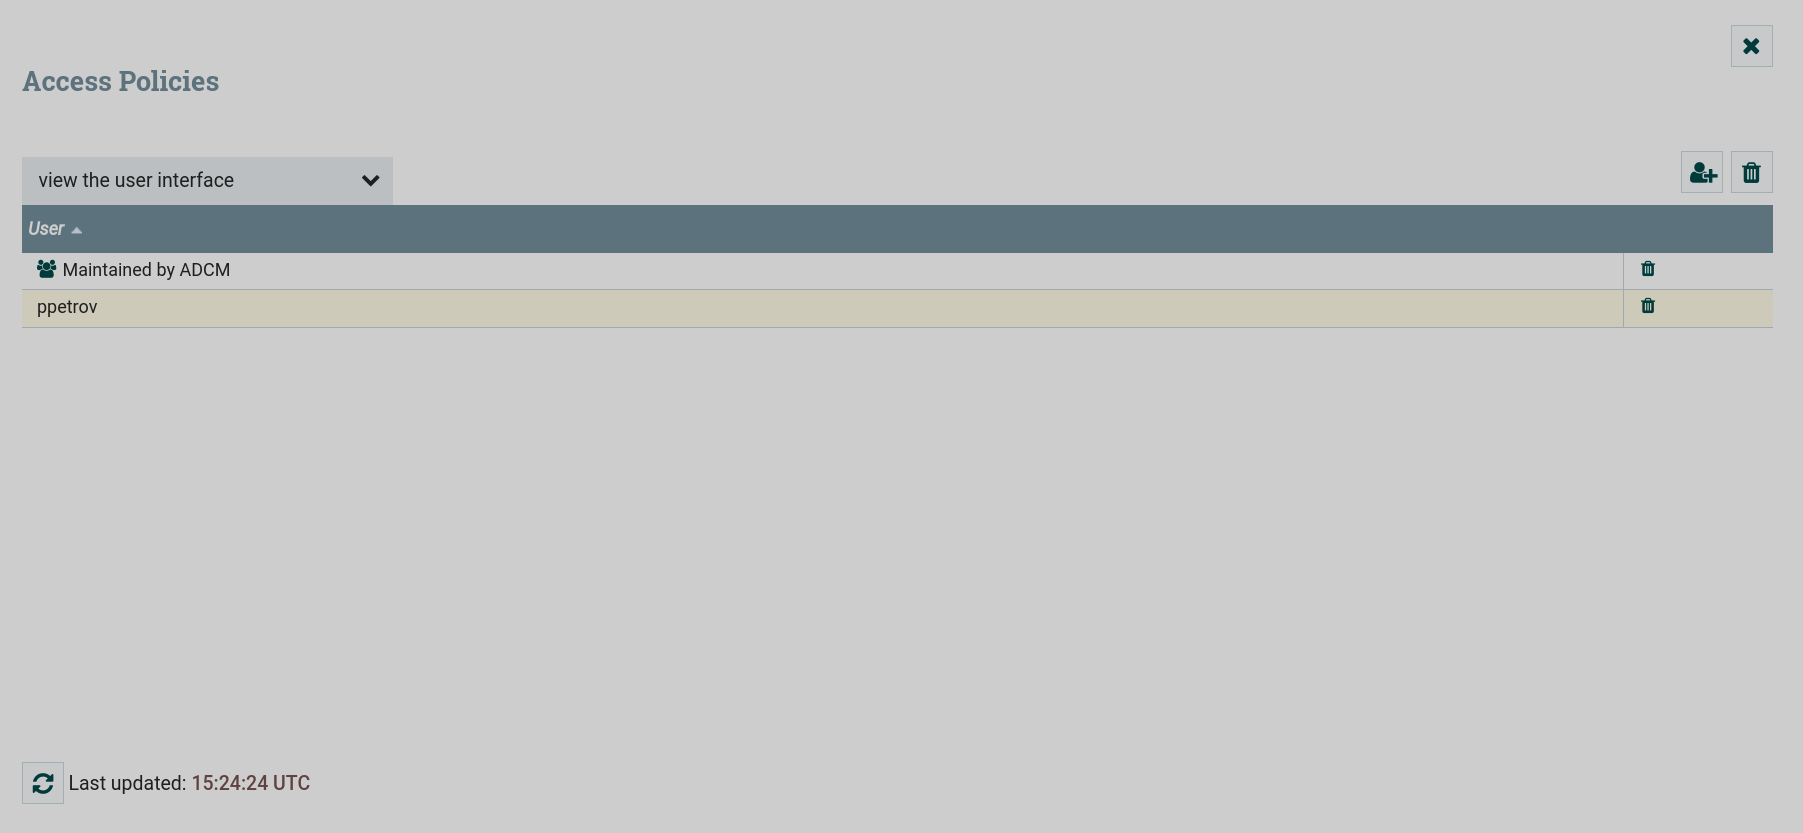
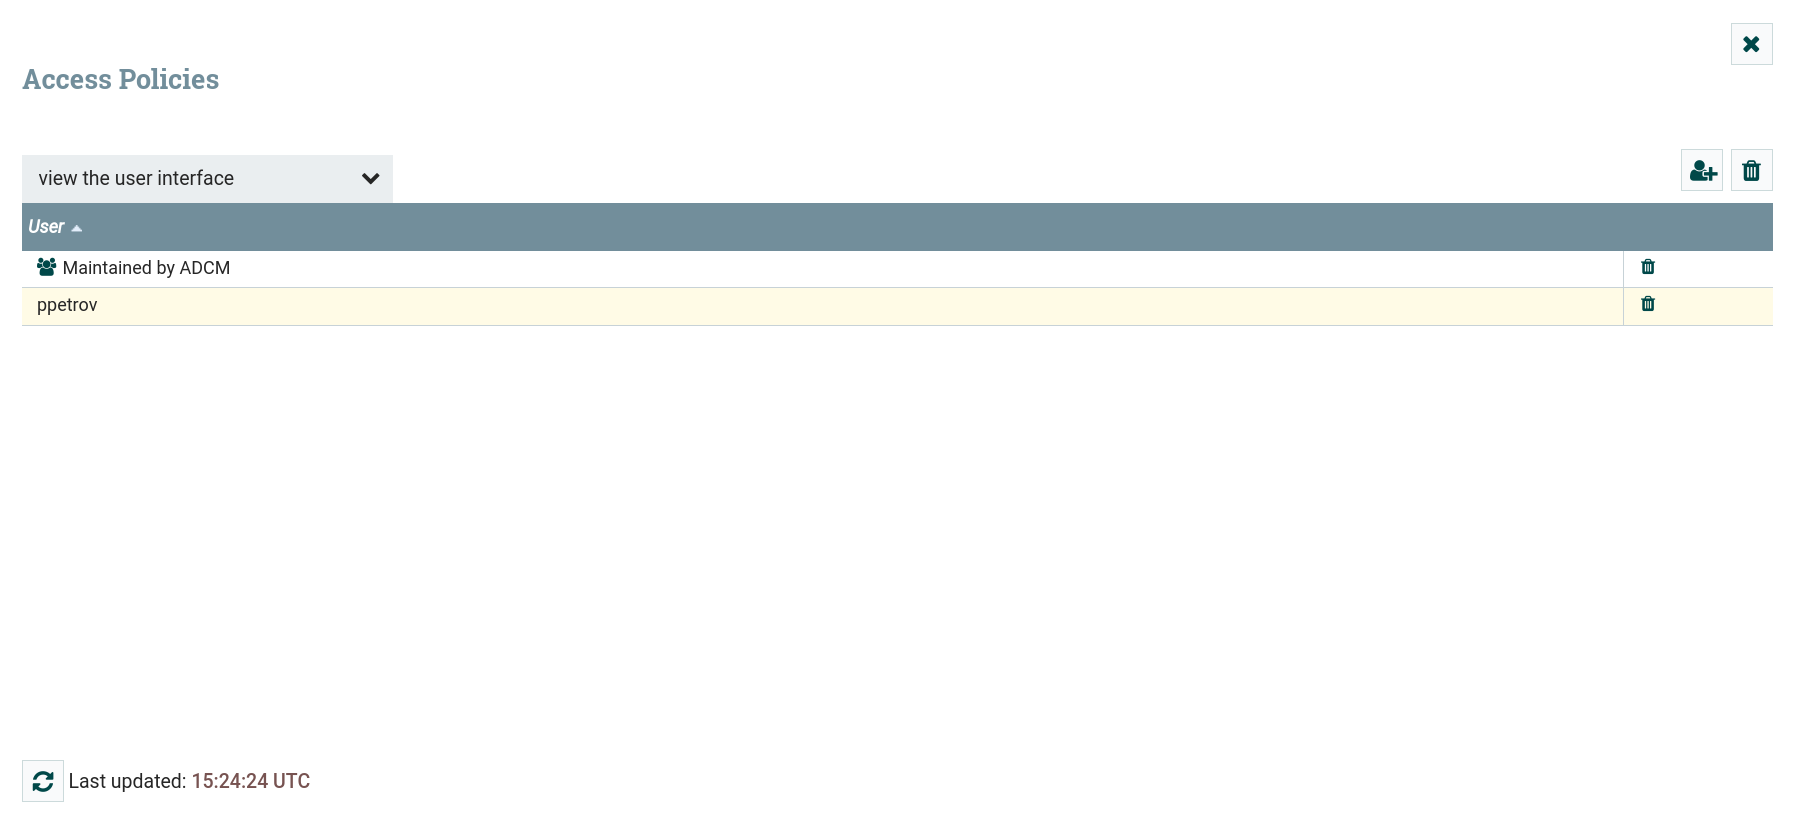
The Policies page of the global NiFi menu displays automatically generated policies for the user specified in NiFi Initial Admin. Also here it is possible to assign an access policy for a user or group from a given search base.
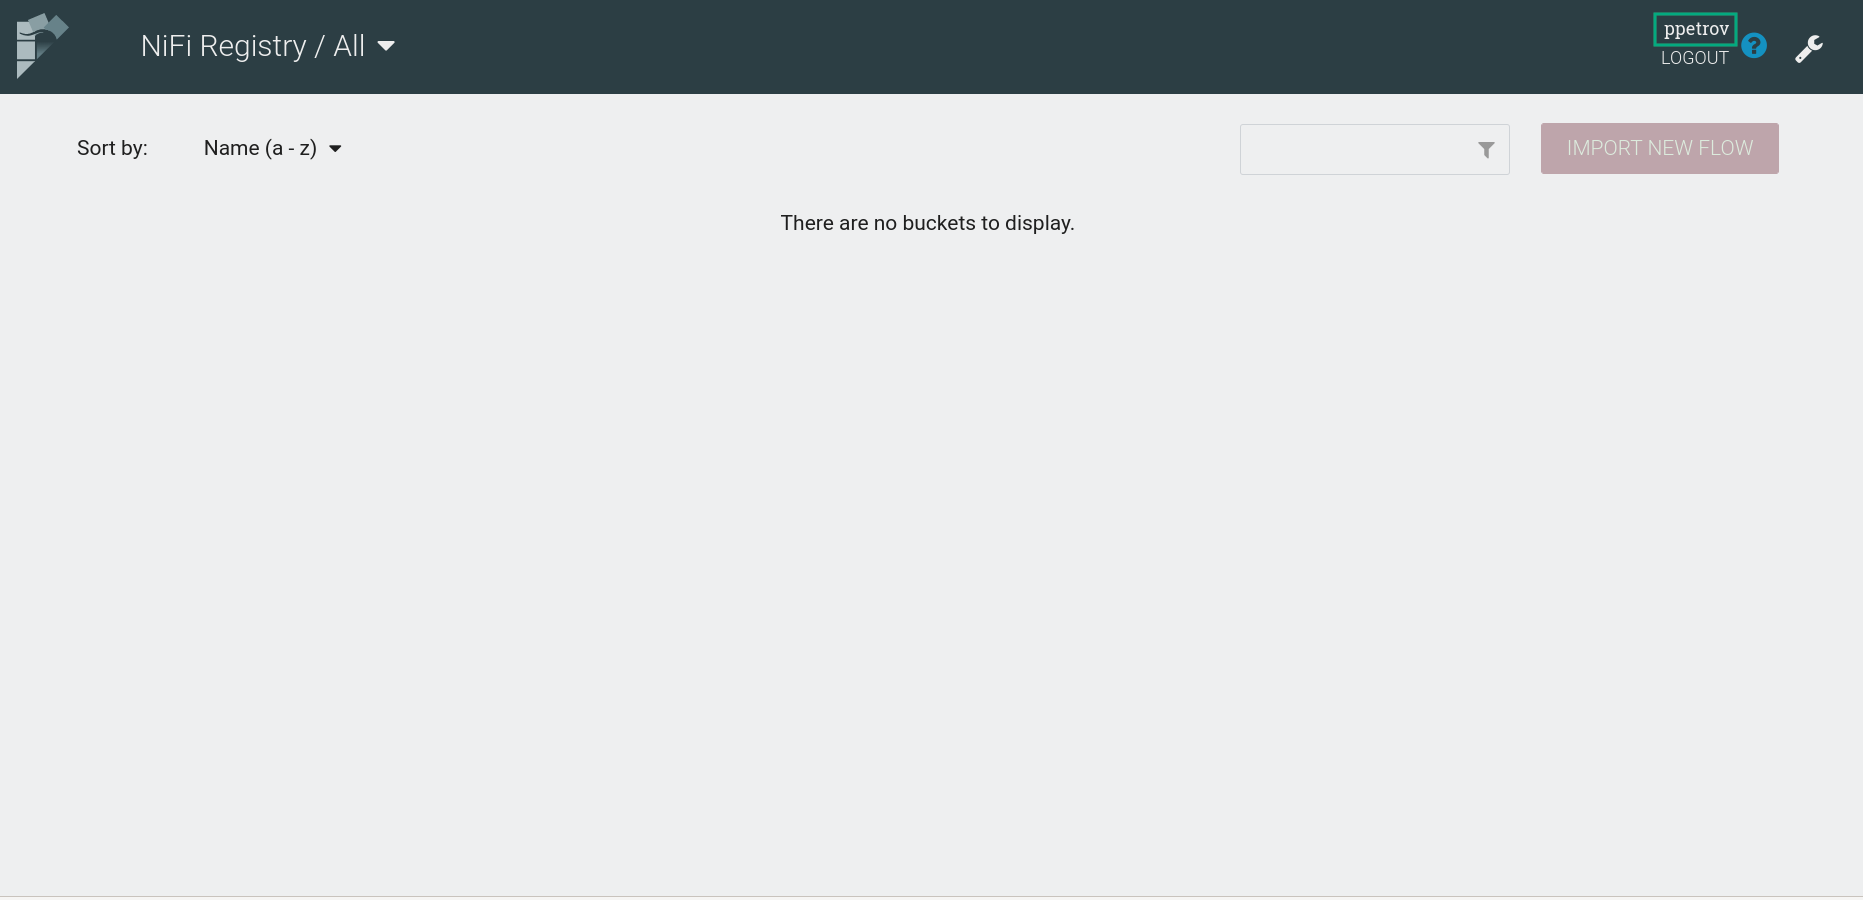
Verify that NiFi Registry authentication is enabled
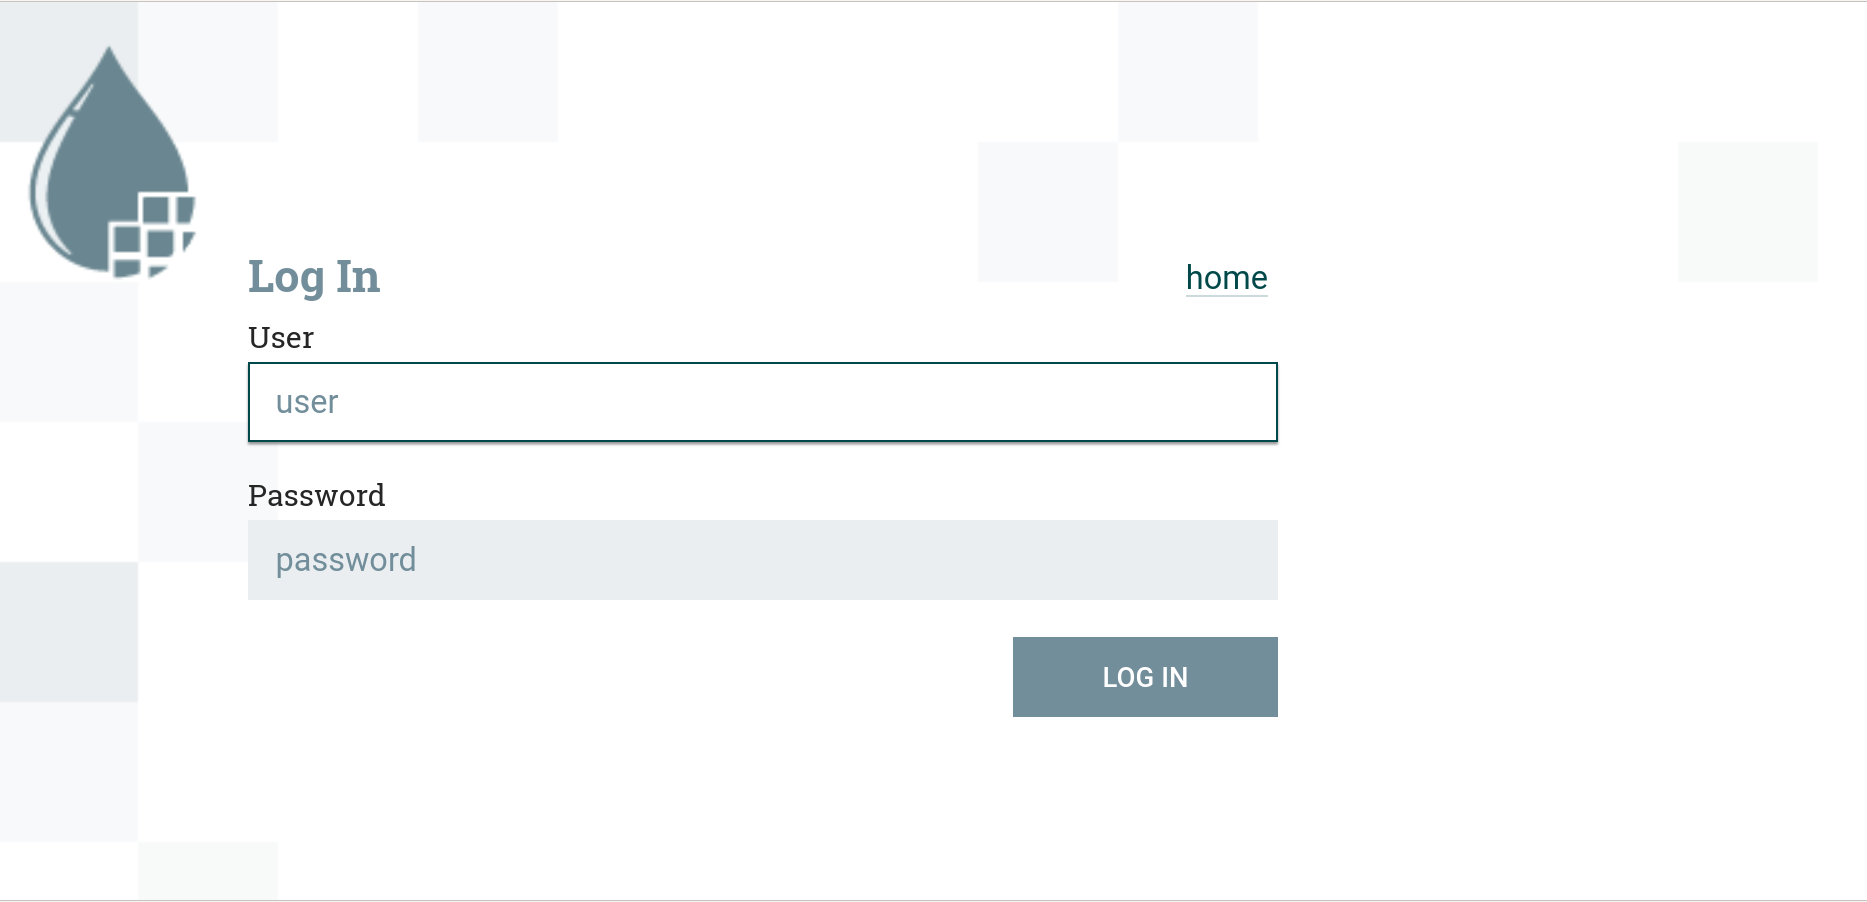
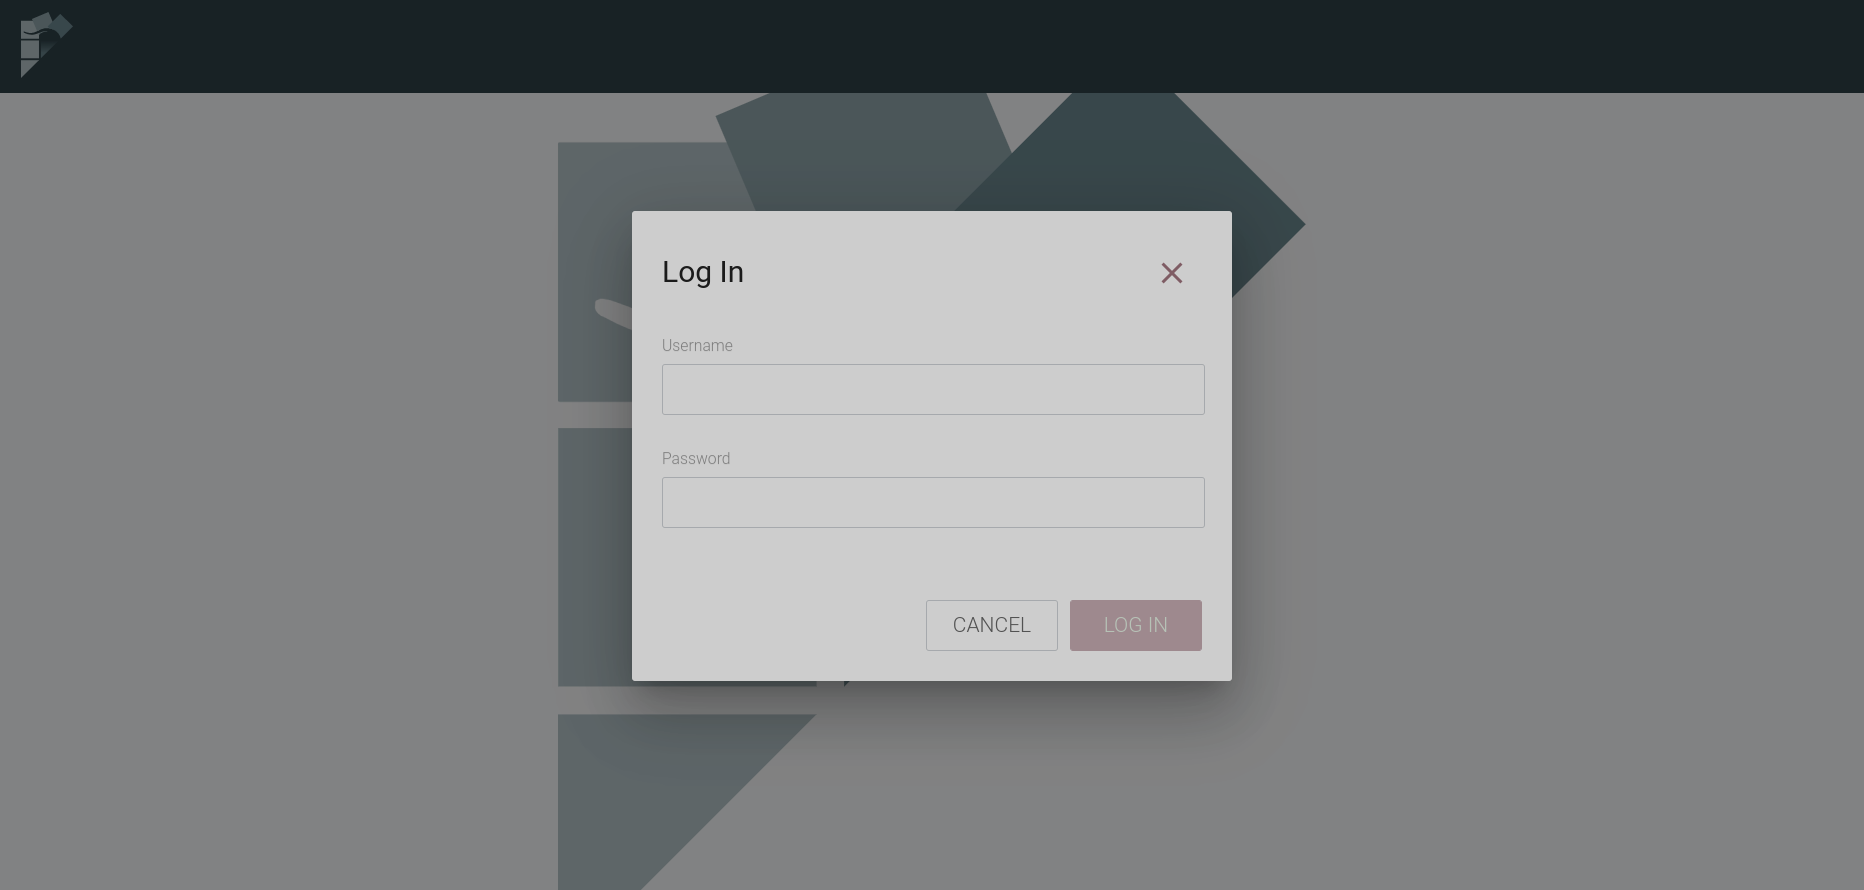
After you successfully enable SSL, it becomes possible to authenticate in NiFi Registry UI. To do this, click the Login button, which appears under the username.
In the authorization window for primary authentication, you must log in as a NiFi administrator (enter the username and password specified for NiFi Initial Admin).

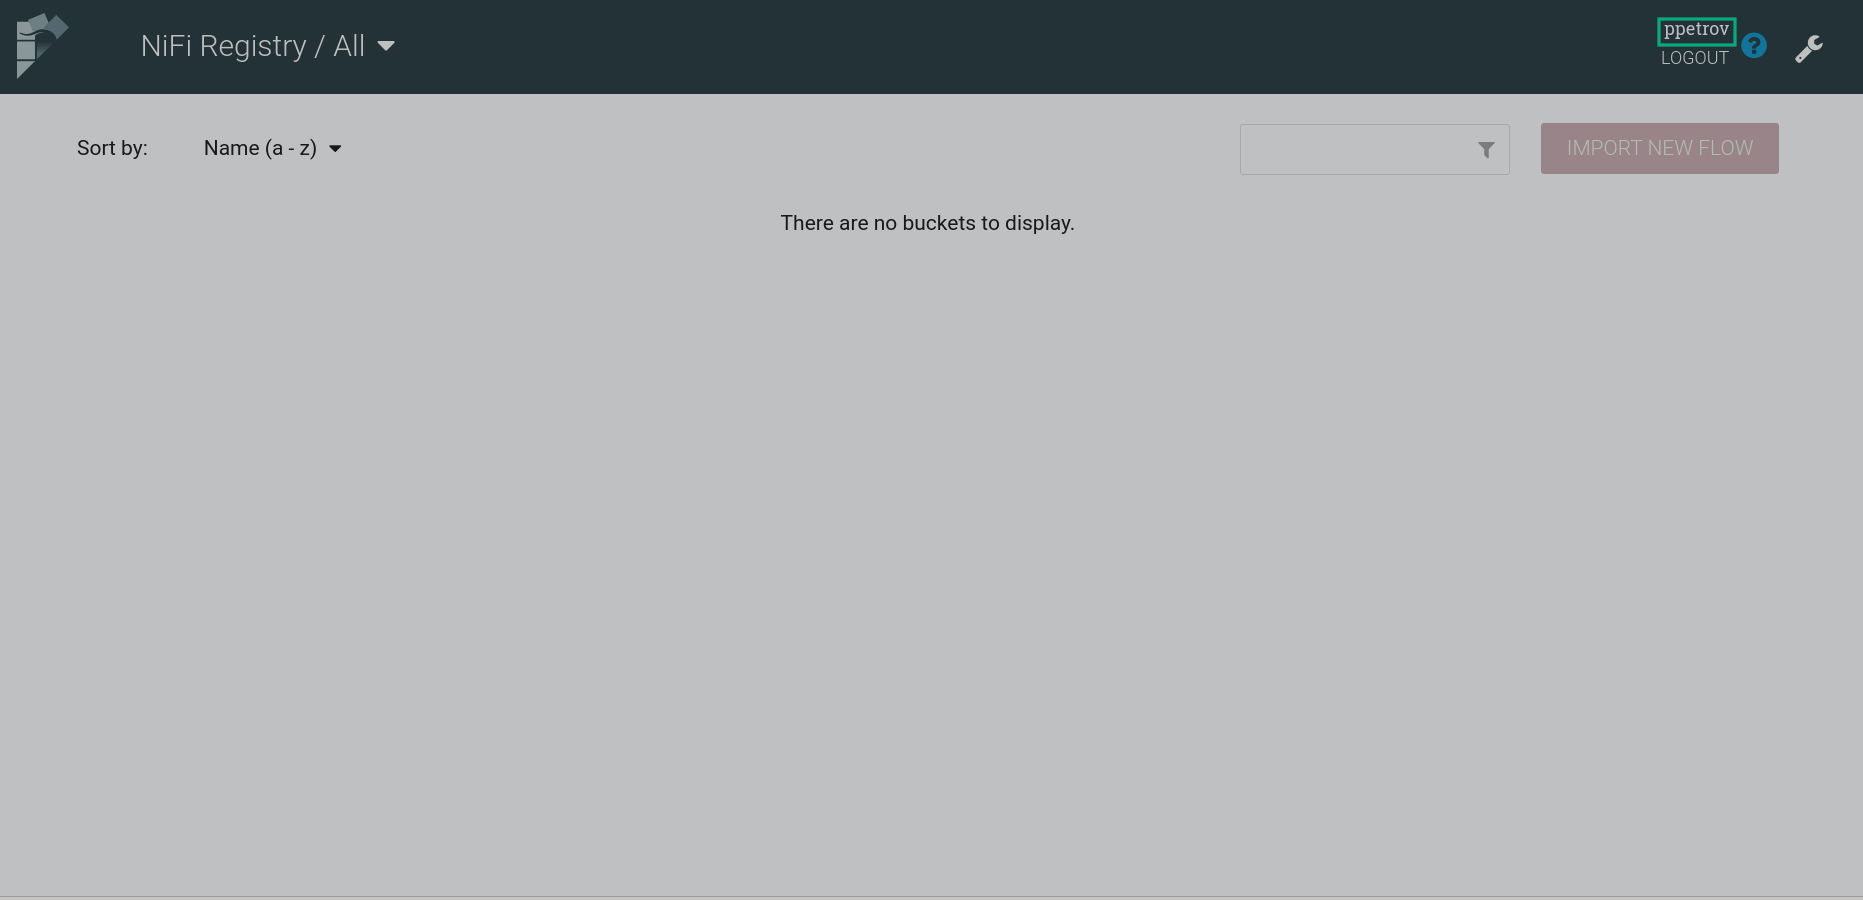
After successful authentication, the logged in user is displayed in the upper right corner of the interface.
After clicking on ![]()
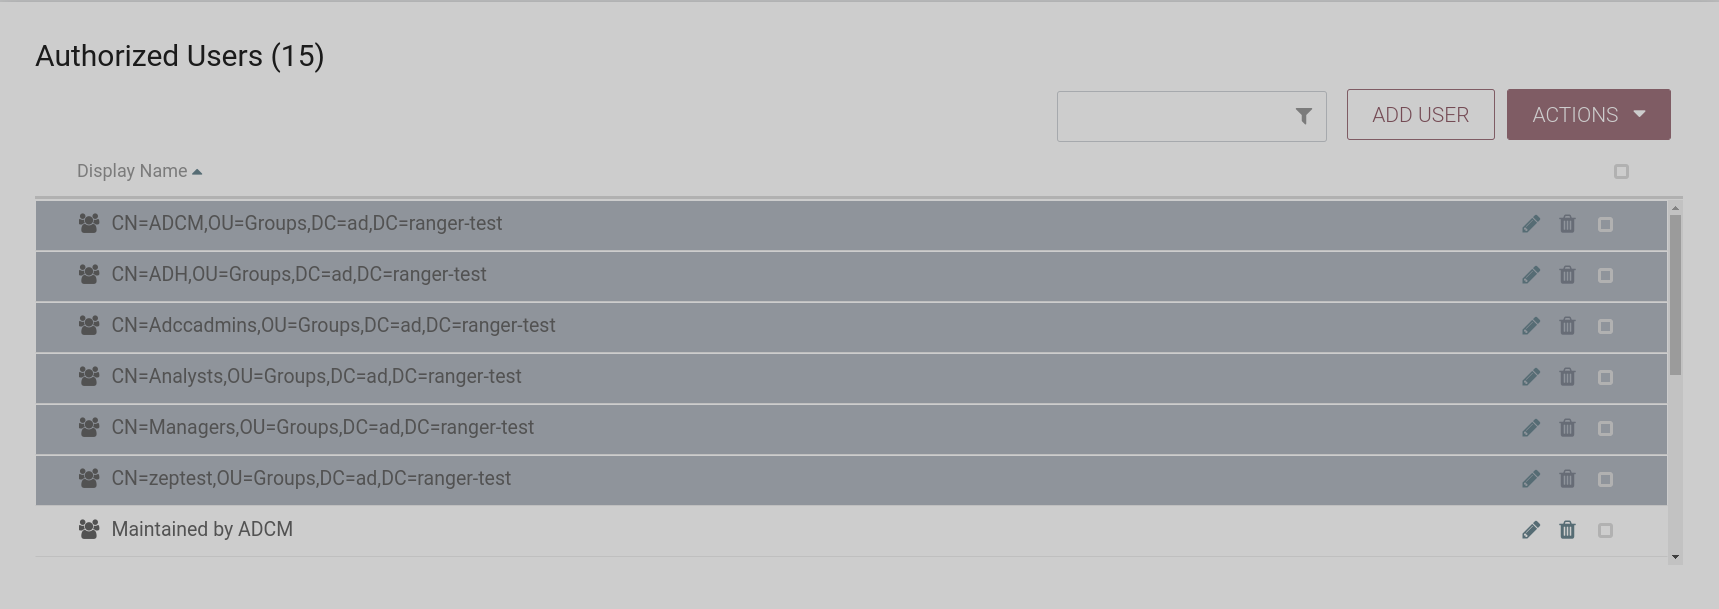
![]() and clicking the Users tab in the settings menu, you can see a list of cluster hosts, users and LDAP/Active Directory groups located in the specified User Search Base and Group Search Base. It is also possible to assign an access policy for a user or group from a given search base.
and clicking the Users tab in the settings menu, you can see a list of cluster hosts, users and LDAP/Active Directory groups located in the specified User Search Base and Group Search Base. It is also possible to assign an access policy for a user or group from a given search base.
Disable authentication
To disable authentication in the NiFi service, do the following:
-
Set the configuration parameters of the LDAP Login Identity Provider and LDAP UserGroupProvider sections to their default values.
 Setting default valuesCAUTION
The option to reset the NiFi service configuration parameters LDAP Login Identity Provider and LDAP UserGroupProvider is available starting from version 1.7.2.b2 of the ADS cluster. For earlier versions of ADS to update the settings, you need to delete the /etc/nifi/conf/users.xml and /etc/nifi/conf/authorizations.xml files from each host where NiFi service is installed.
-
Disable SSL. To do this, apply the action Disable SSL in the cluster by clicking on the

 in the Actions column.
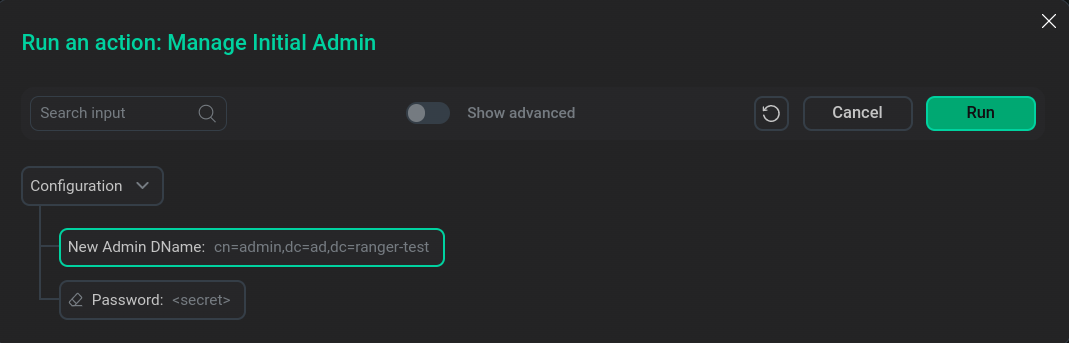
Change NiFi Initial Admin data
To change data about NiFi Initial Admin, use the Manage Initial Admin action in the NiFi service by clicking on the ![]()
![]() icon in the Actions column for the NiFi service.
icon in the Actions column for the NiFi service.
After selecting the action in the Run an action window that opens, enter the new user DN and password and click Run.