

Kafka installation in the KRaft mode
Overview
The Kafka service in the KRaft mode is installed as a regular service during ADS cluster installation in the ADCM interface using additional actions:
-
adding an additional component Kafka Controller to create a controller quorum;
-
setting the Kafka quorum solution parameter to
KRaftduring configuration of the Kafka service to create an environment for the KRaft mode (parameters, metadata storage, etc.).
Below are the detailed steps to install the Kafka service with a description of additional actions.
|
CAUTION
|
Step 1. Add the service
-
In the ADCM interface, open the Clusters page and click your ADS cluster name. On the cluster page that opens, switch to the Services tab and click Add services.
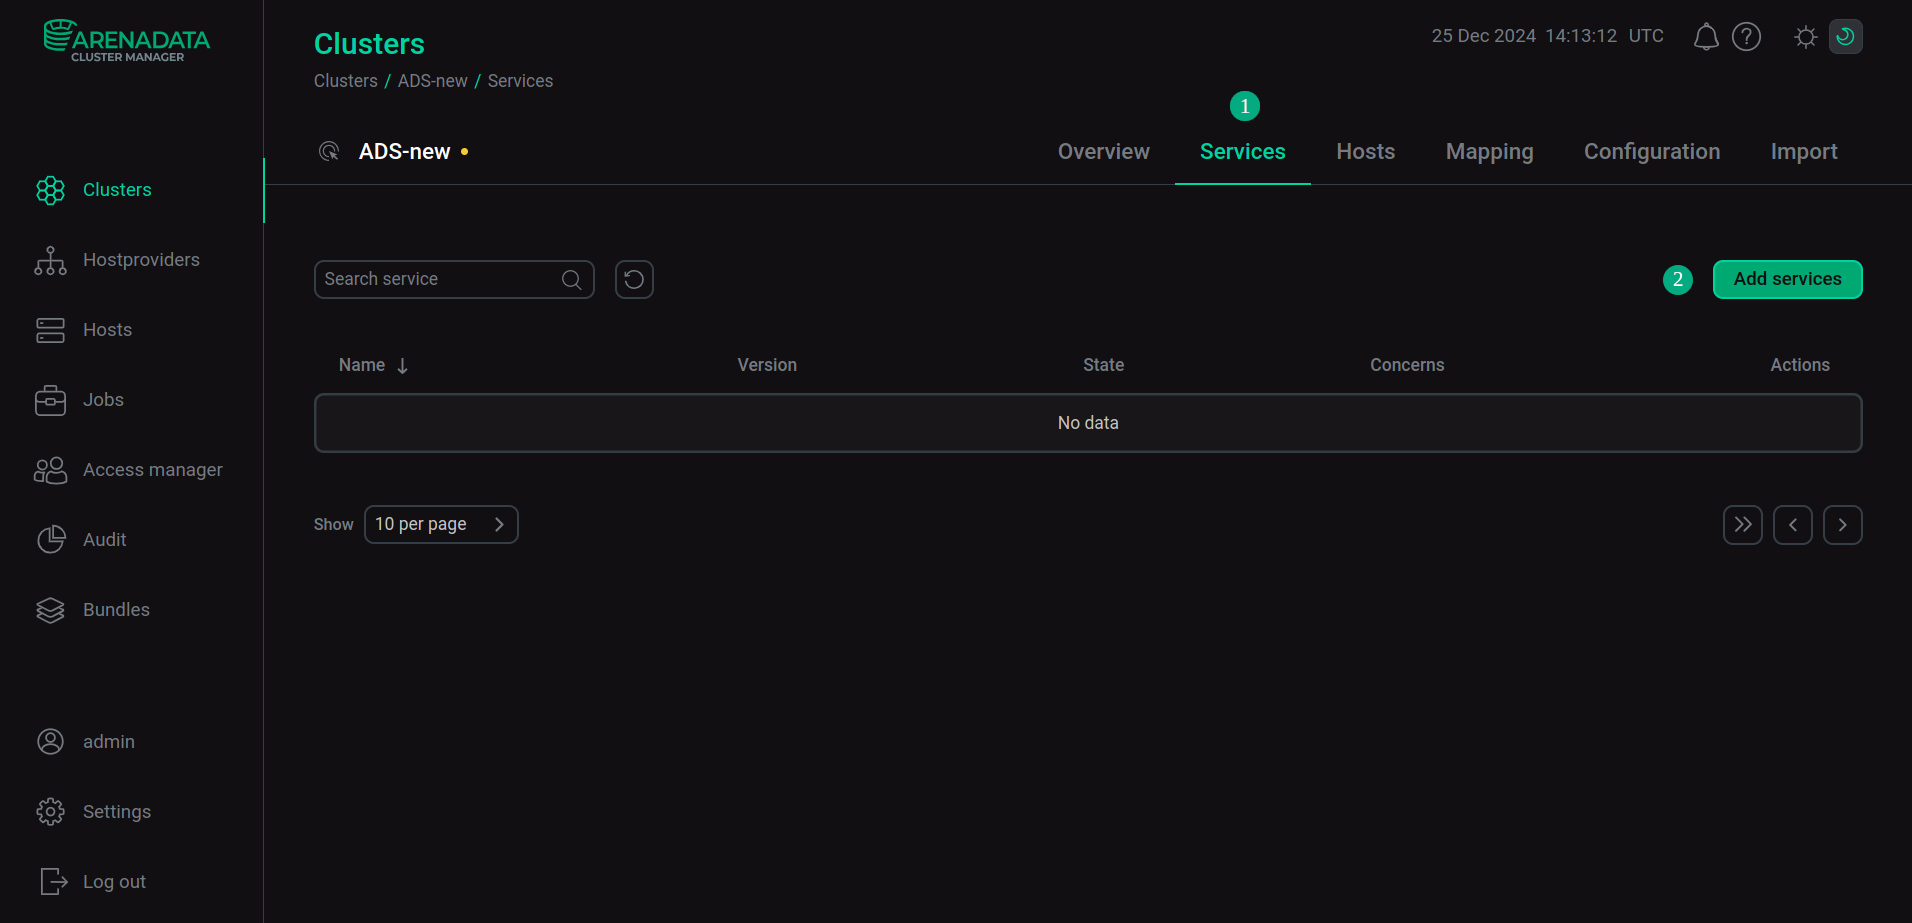 Switch to adding services
 -
In the opened dialog, select the Kafka service and click Add.
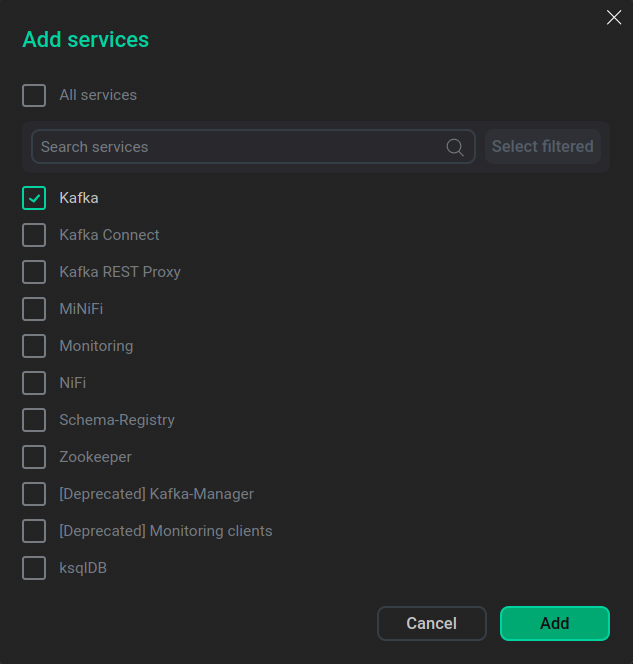 Select the service
As a result, the added service is displayed on the Services tab.
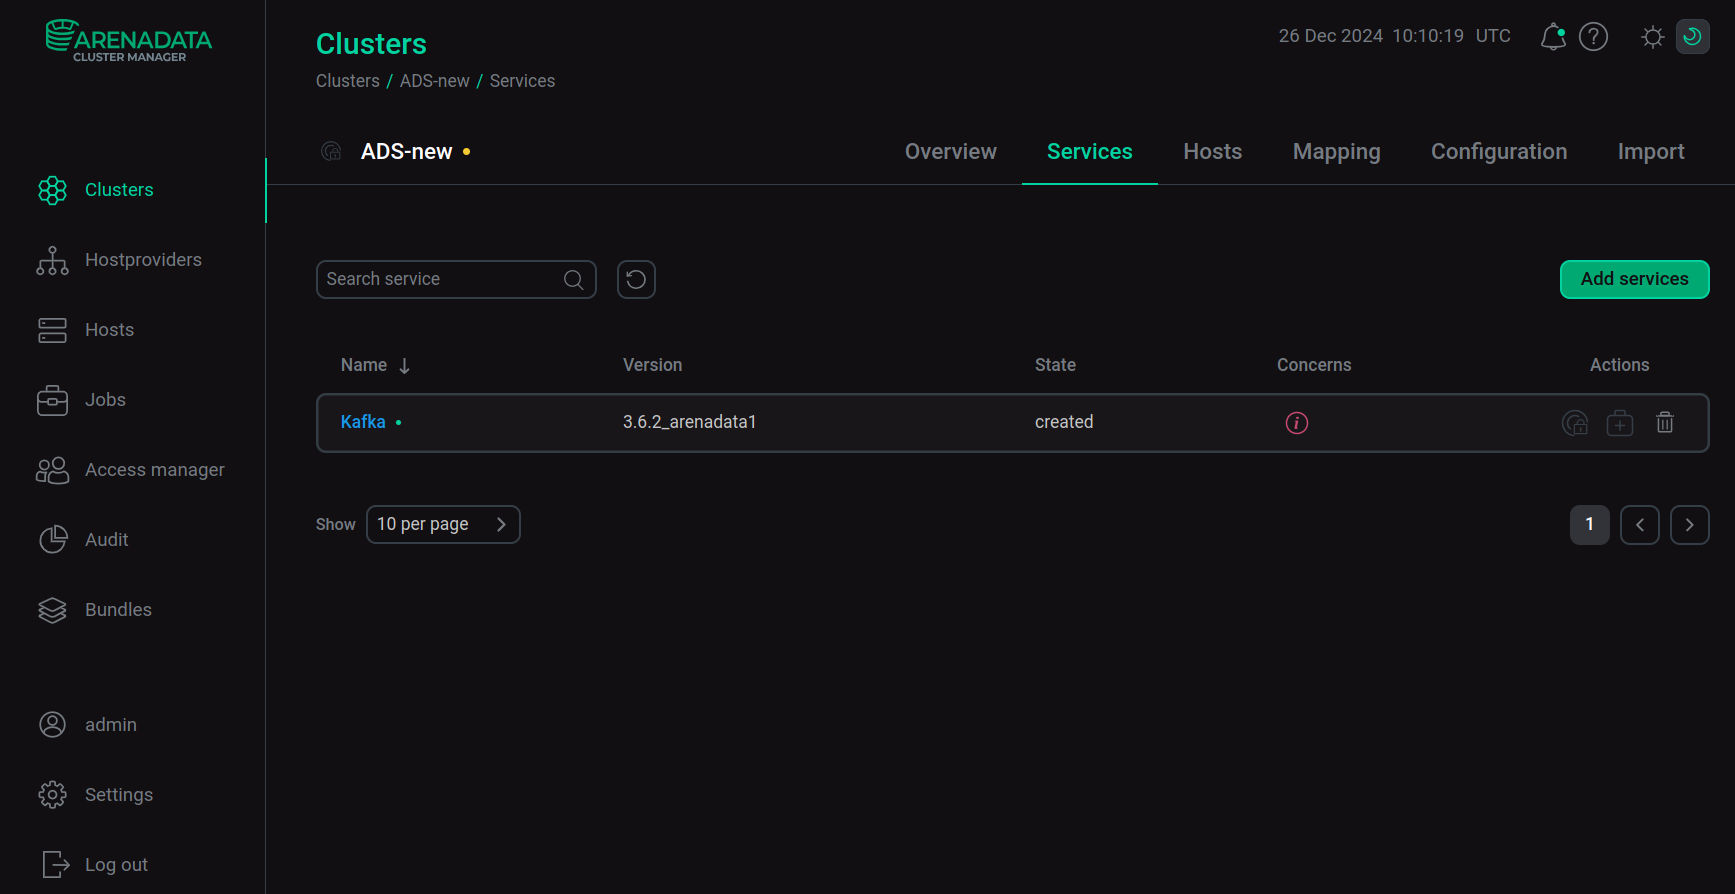 The result of successful adding the service to the cluster
Step 2. Add components
-
On the cluster page, open the Mapping tab to proceed to mapping service components to cluster hosts.
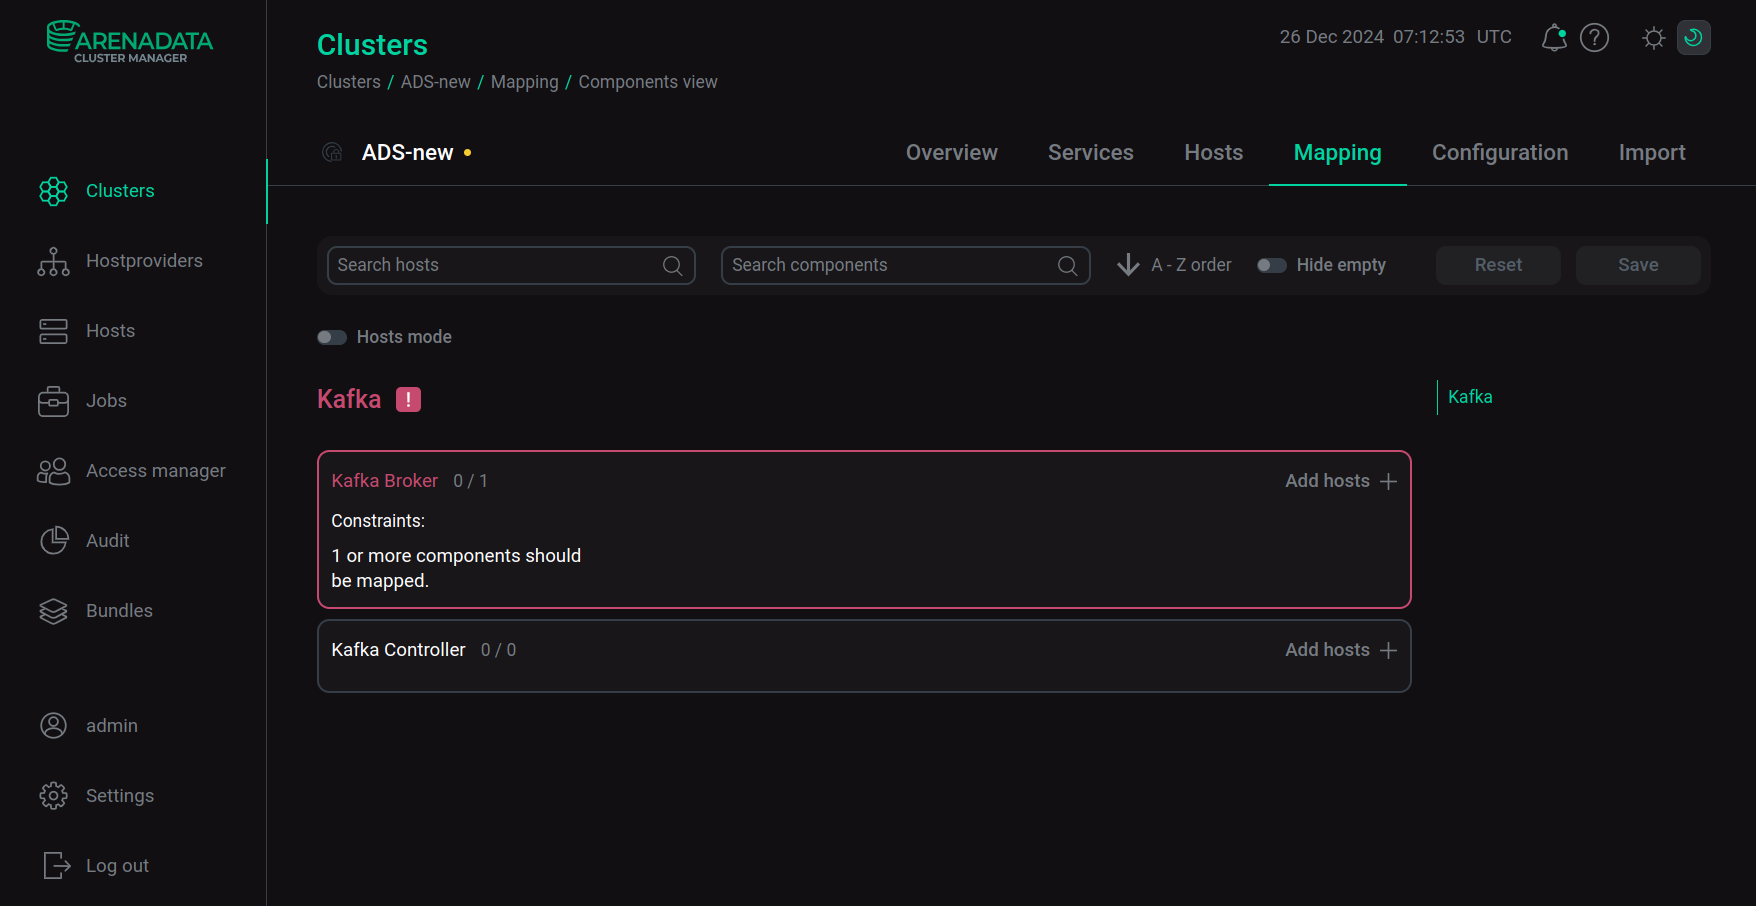 Switch to mapping service components
Kafka service components Component Description Kafka Broker
The broker, which is responsible for storing partitions of topics to which clients connect to write or read messages
Kafka Controller
The broker, which is responsible for storing the cluster metadata topic. It is a participant in the controller quorum
-
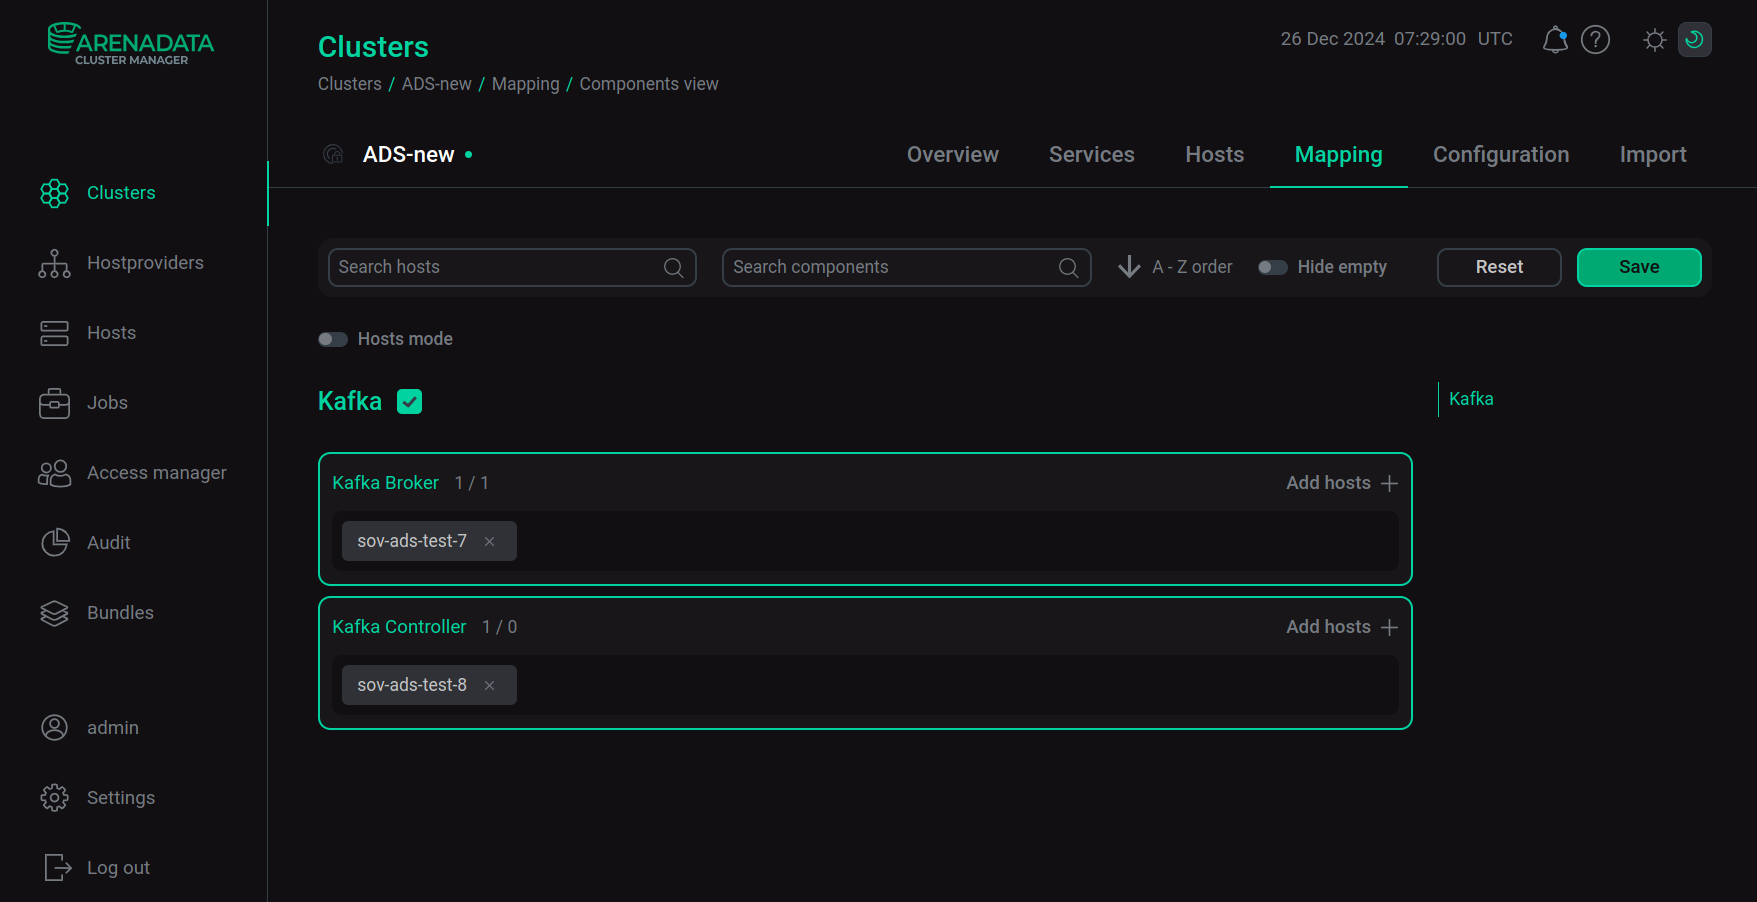
Assign a host to each component of the Kafka service — click Add hosts and select the desired host in the pop-up window.
 Select a host for a componentCAUTIONTo install Kafka in KRaft mode, Kafka Controller is a required component, even if it is not highlighted in red. The recommended number of Kafka Controller instances per cluster is 3.
 -
After the distribution of components is completed, click Save.
 Save mapping of components
Step 3. Configure the service
-
Open the Services tab on the cluster page and click the Kafka service name in the Name column.
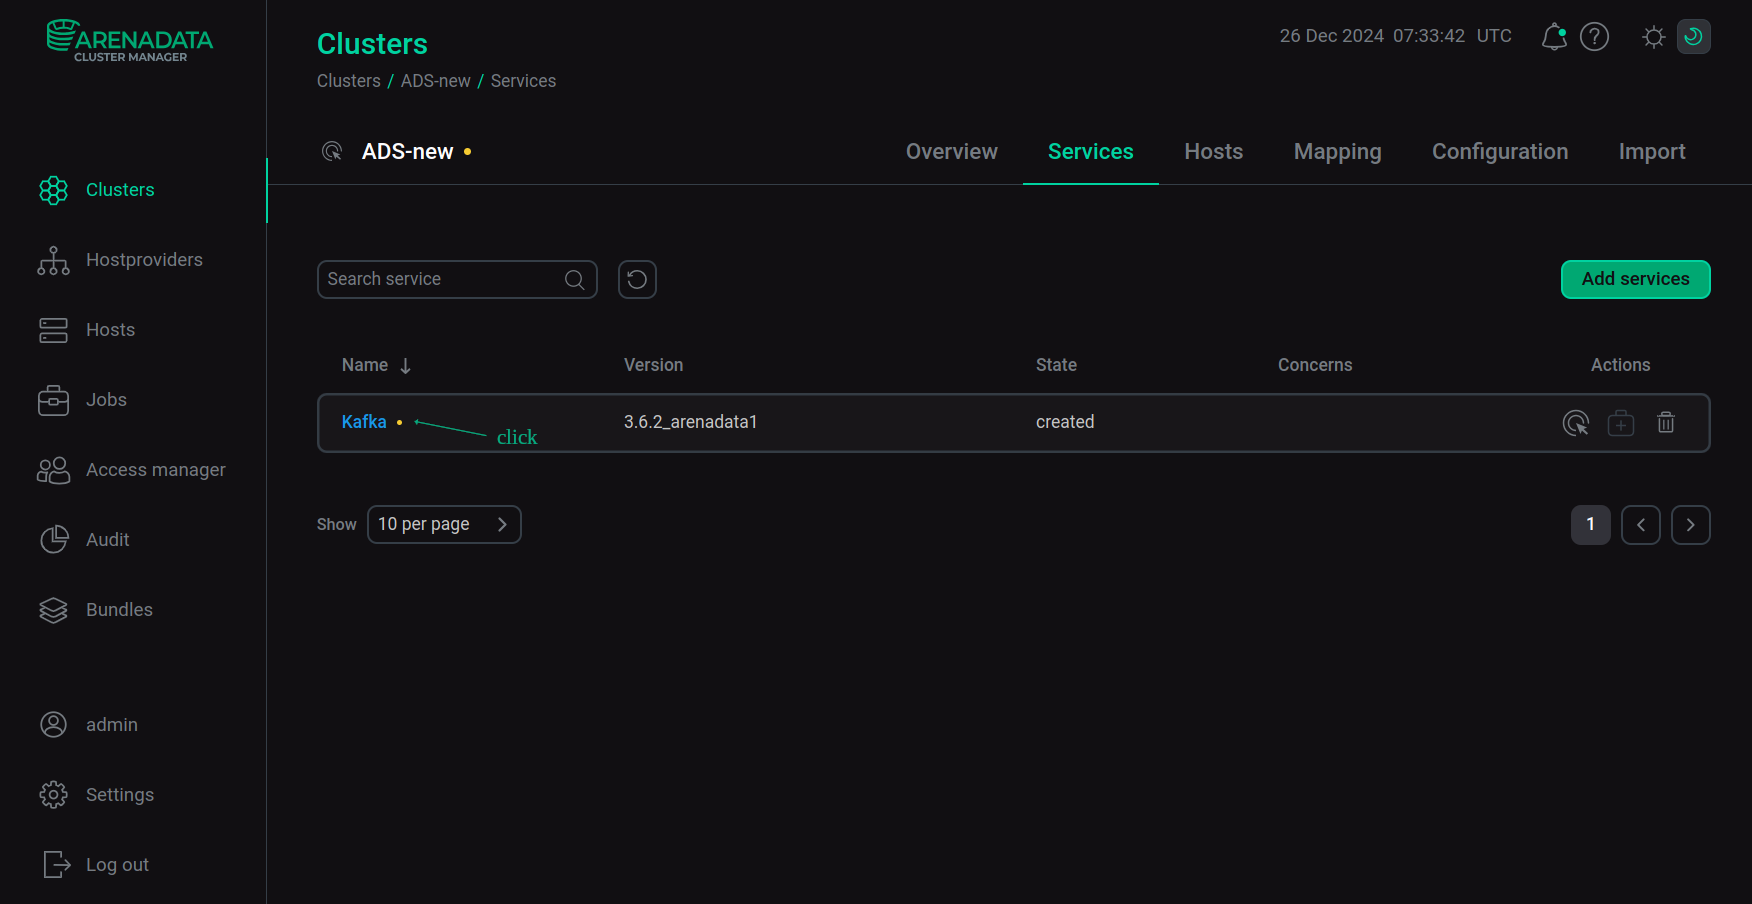 Switch to the service configuration
 -
On the Primary configuration page that opens:
-
change the value of the Kafka quorum solution parameter to
KRaft; -
if necessary, fill in the remaining service configuration parameters — descriptions of the parameters are given in the Kafka section of the ADS configuration parameters article.
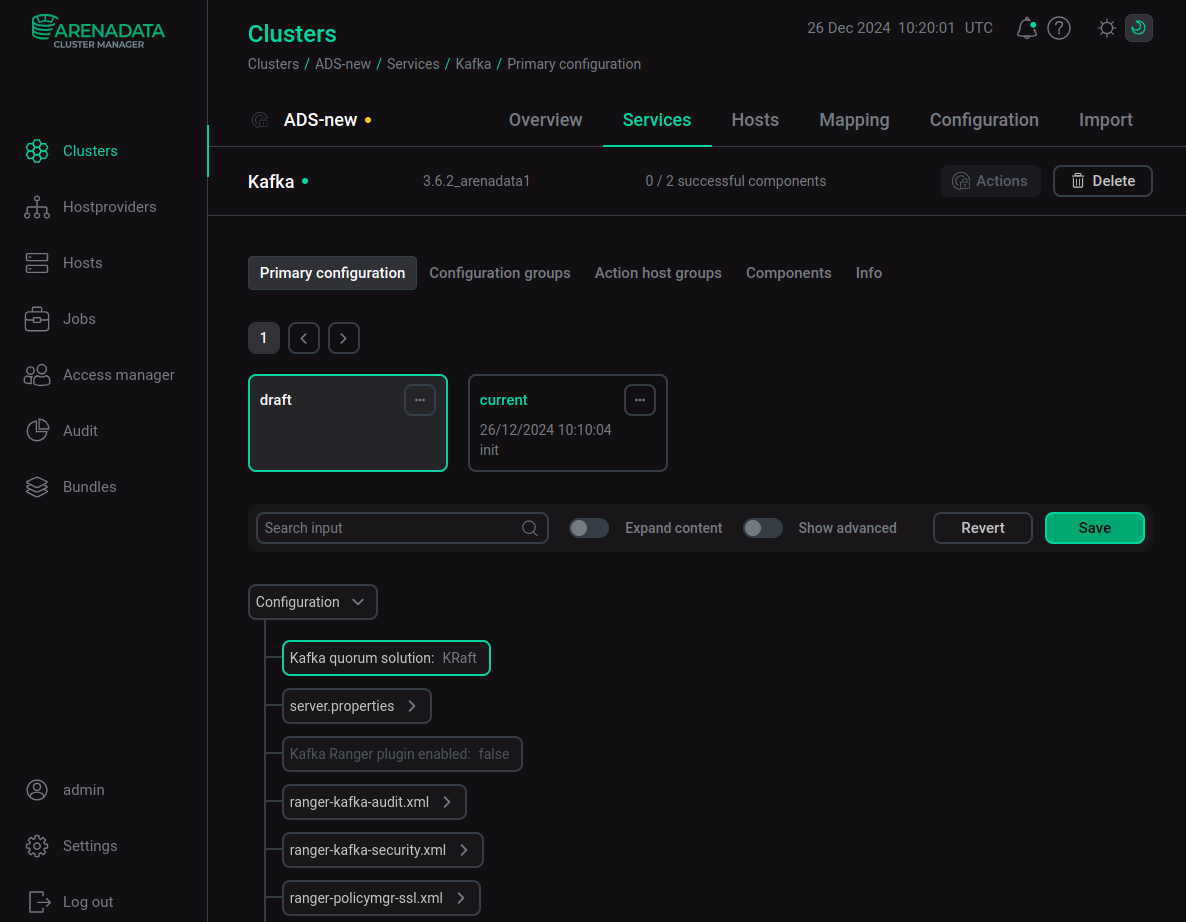 Configure the Kafka service
After specifying all necessary parameters, click Save.
-
-
Switch to configure the Kafka Controller component. To do this, go to the Components tab from the Primary configuration tab and select the Kafka Controller component.
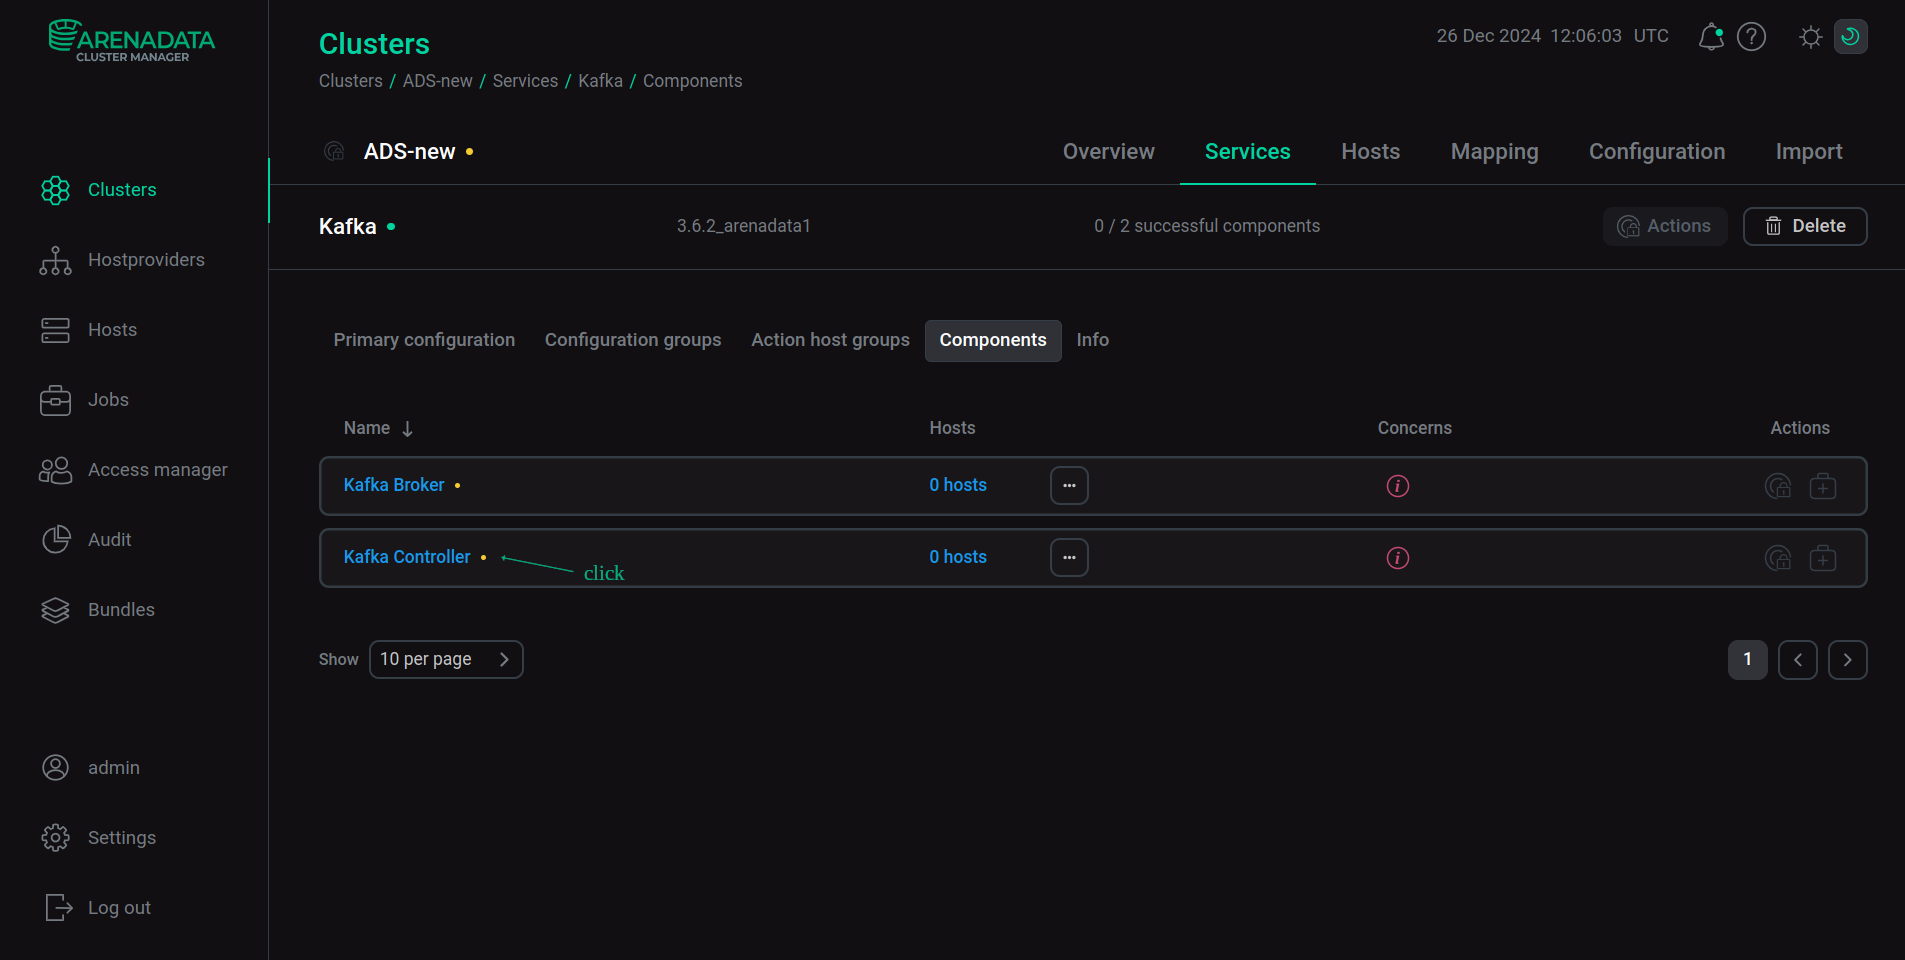 Switch to the Kafka Controller component configuration
 -
In the window that opens, set the Show advanced switch to the active state and, if necessary, change the default values set for the configuration parameters of the Kafka Controller component — descriptions of the parameters are given under the heading "Kafka Controller component configuration parameters" in the Kafka section of the ADS configuration parameters article.
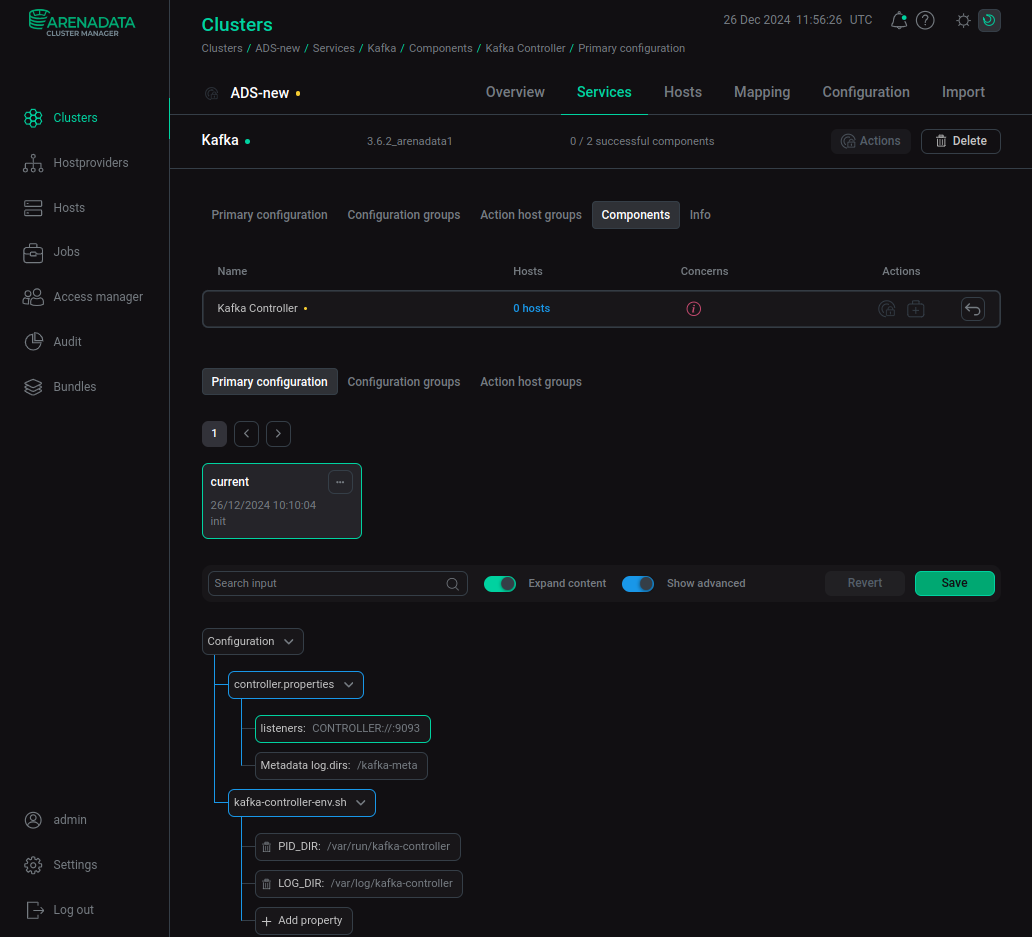 Configure the Kafka Controller component
After specifying all necessary parameters, click Save.
Step 4. Install the service
-
On the Services tab, click

 for the Kafka service in the Actions column and run the Install action.
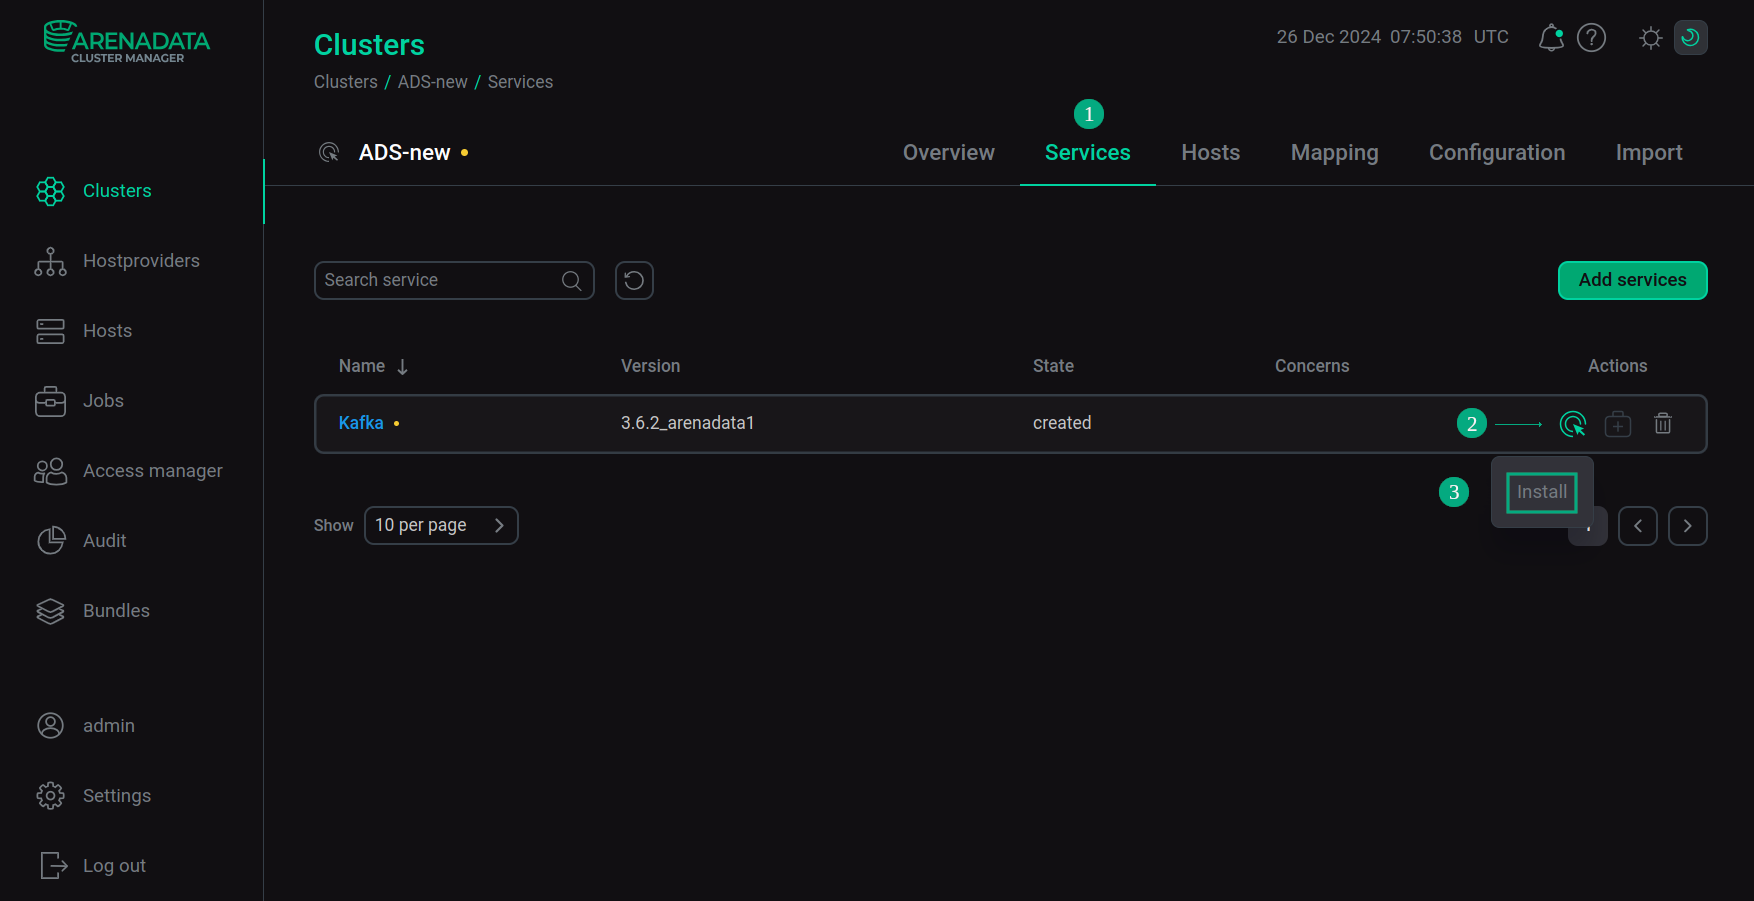 Switch to the service installation
 -
Confirm the action in the opened window.
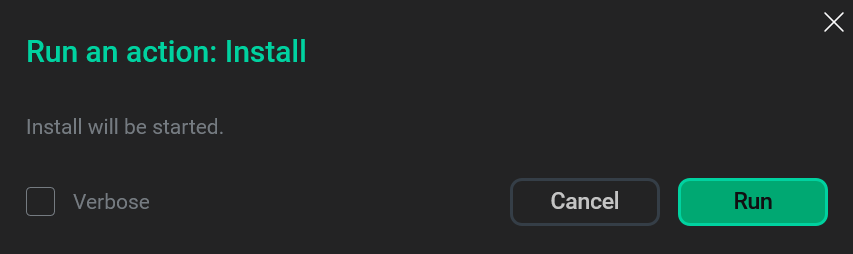 Confirm the action
 -
Wait until the installation is complete. Then check that the service state has changed from
createdtoinstalled.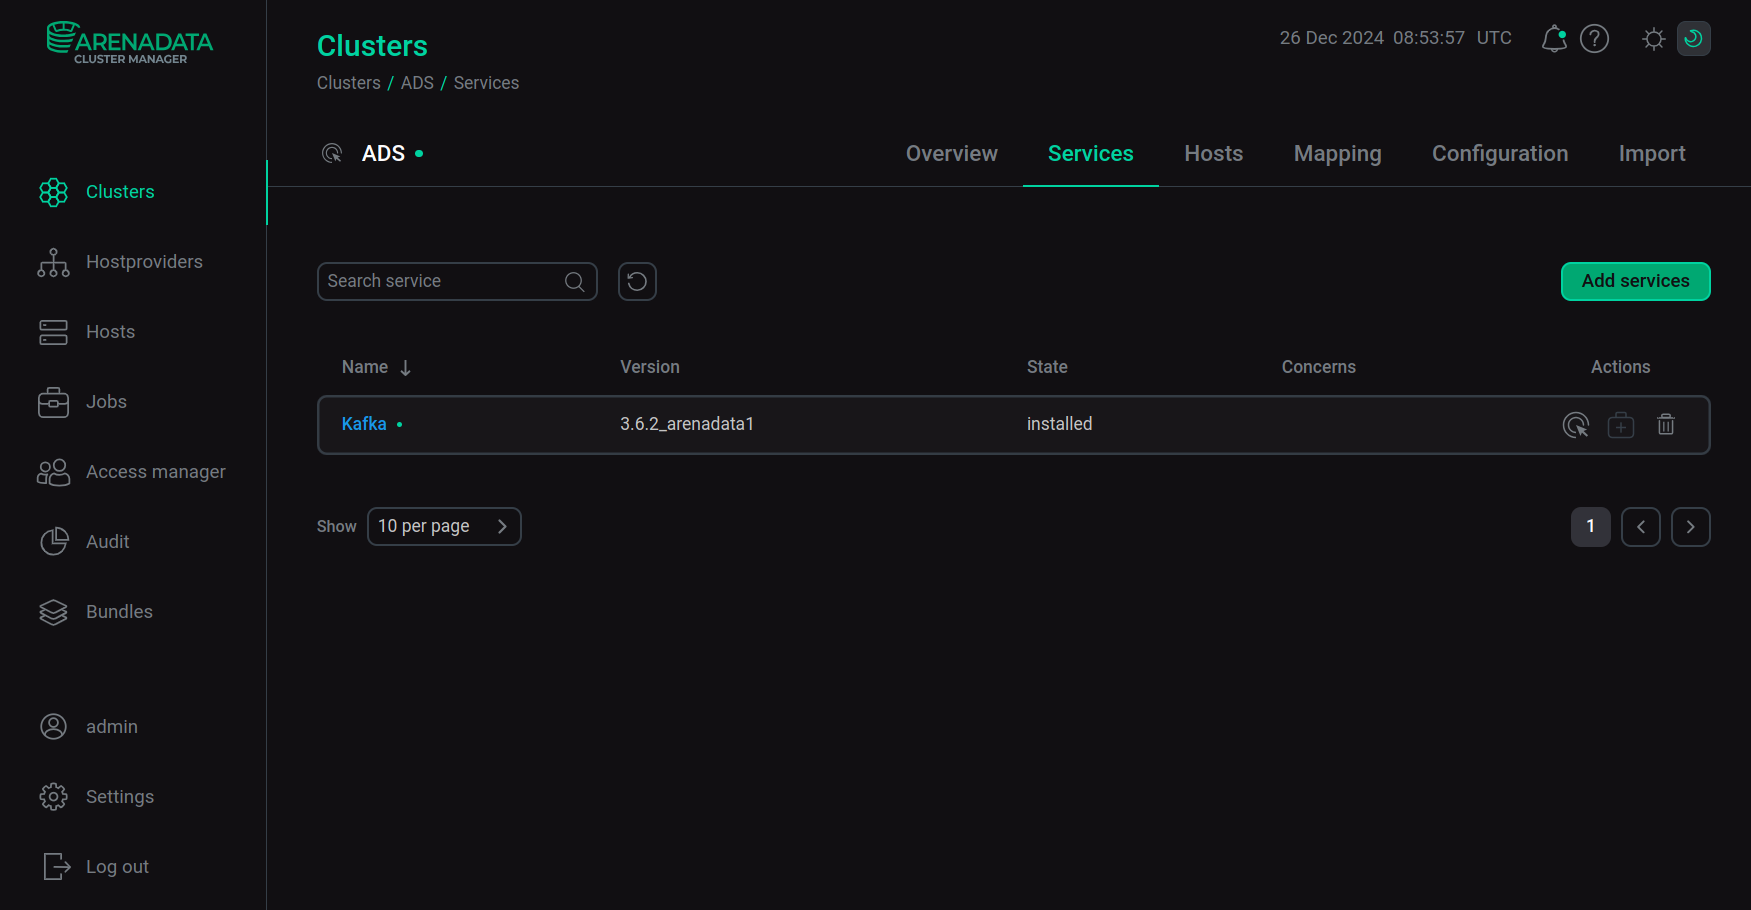 Installation is complete
To view the service installation process and analyze errors if they occur, select Jobs in the left navigation menu and click the Install job name in the Jobs list.
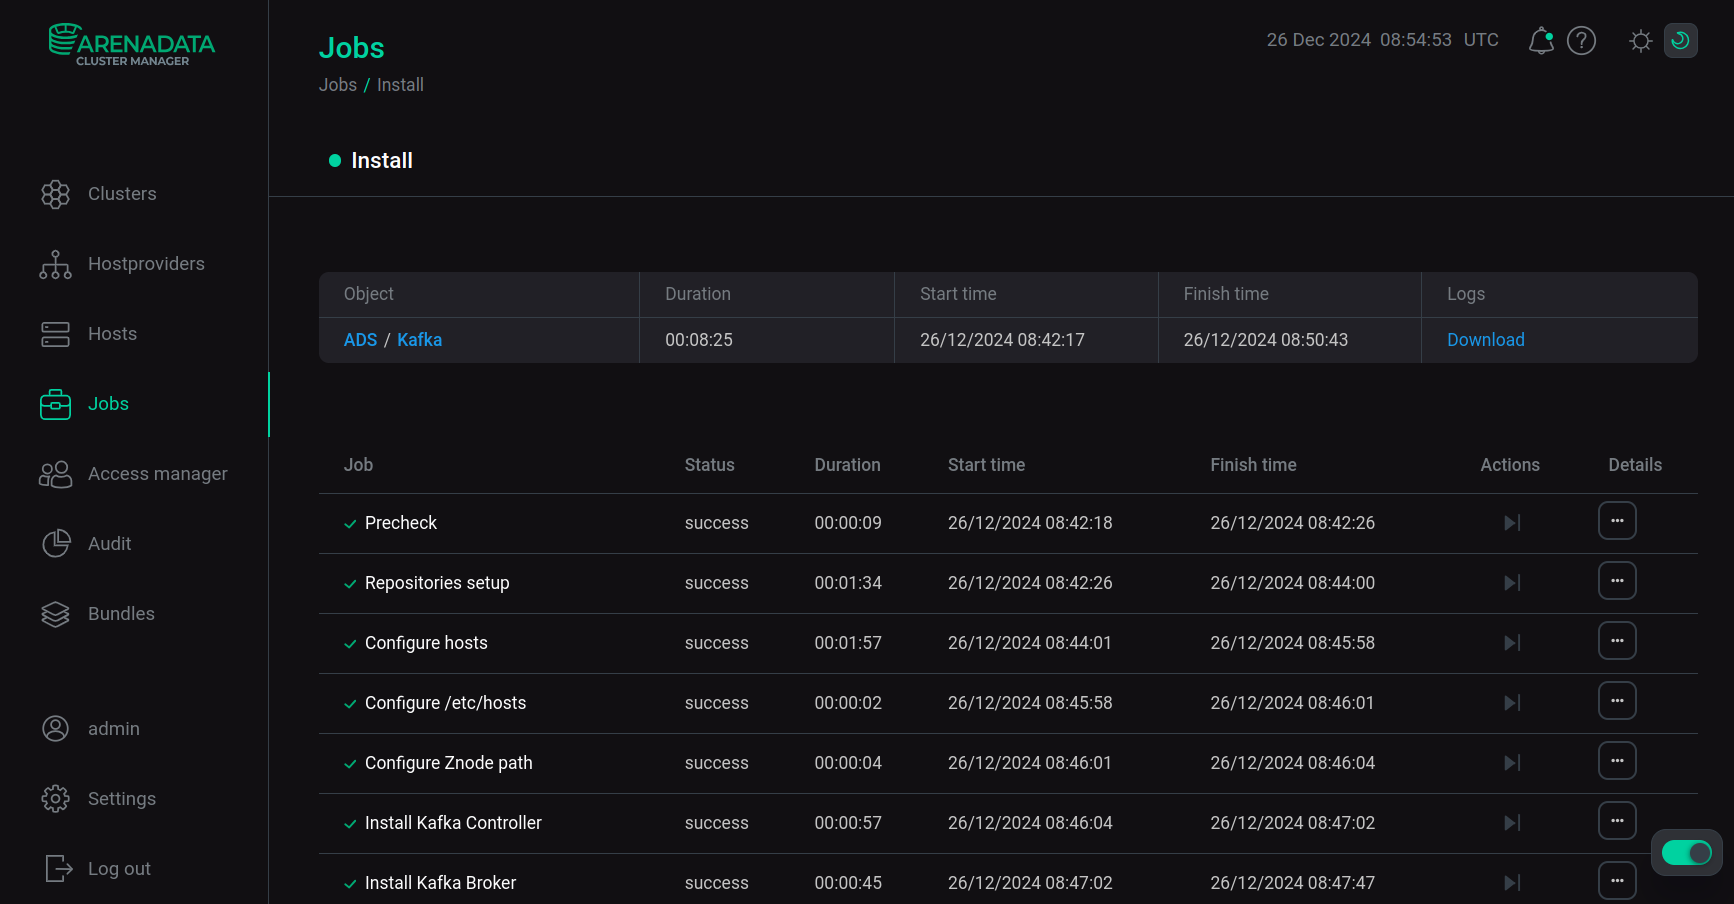 Install service job page
Step 5. View results
Configuration files
During Kafka installation in the KRaft mode, all the necessary parameters for working with controller quorum are automatically installed via the ADCM interface in the configuration files for broker and controller servers. Below are examples of configuration files created using ADCM (in the directory /etc/kafka/conf/), which display the parameters that were defined on the Kafka service page in the corresponding section of the configuration parameters.
node.id=1
auto.create.topics.enable=False
listeners=PLAINTEXT://:9092
log.dirs=/kafka-logs
default.replication.factor=1
num.partitions=1
delete.topic.enable=true
log.retention.hours=168
log.roll.hours=168
queued.max.requests=500
num.network.threads=3
num.io.threads=8
auto.leader.rebalance.enable=True
unclean.leader.election.enable=False
offsets.topic.replication.factor=1
transaction.state.log.replication.factor=1
transaction.state.log.min.isr=1

listener.security.protocol.map=PLAINTEXT:PLAINTEXT,CONTROLLER:PLAINTEXT

process.roles=broker
controller.listener.names=CONTROLLER
controller.quorum.voters=100001@sov-ads-test-4.ru-central1.internal:9093
log.cleaner.enable=True
log.cleanup.policy=delete
log.cleanup.interval.mins=10
log.cleaner.min.compaction.lag.ms=0
log.cleaner.delete.retention.ms=86400000

security.inter.broker.protocol=PLAINTEXTprocess.roles=controller
node.id=100001
controller.listener.names=CONTROLLER
listeners=CONTROLLER://:9093
log.dirs=/kafka-meta
controller.quorum.voters=100001@sov-ads-test-4.ru-central1.internal:9093
listener.security.protocol.map=CONTROLLER:PLAINTEXT
security.inter.broker.protocol=PLAINTEXTexport LOG_DIR=/var/log/kafka-controller
export PID_DIR=/var/run/kafka-controllerMetadata storage
When installing Kafka in KRaft mode, a storage space for each broker and controller (/kafka-meta folder) is automatically created in the ADCM interface using the script /usr/lib/kafka/bin/kafka-storage.sh, containing the following files:
-
bootstrap.checkpoint — a file containing a set of UserScramCredentialsRecords (checkpoint markers) that are used to bootstrap the cluster;
-
__cluster_metadata-0 — a directory containing files in which all changes to cluster metadata are saved;
-
meta.properties — a file containing information about the current server, version and cluster ID.