

Notebooks
In the context of ADQM Notebook, a notebook is a set of SQL cells with executable queries and text cells with comments, which can be saved for later recovery or sharing with other users. This article describes the functionality of the ADQM Notebook interface for working with notebooks.
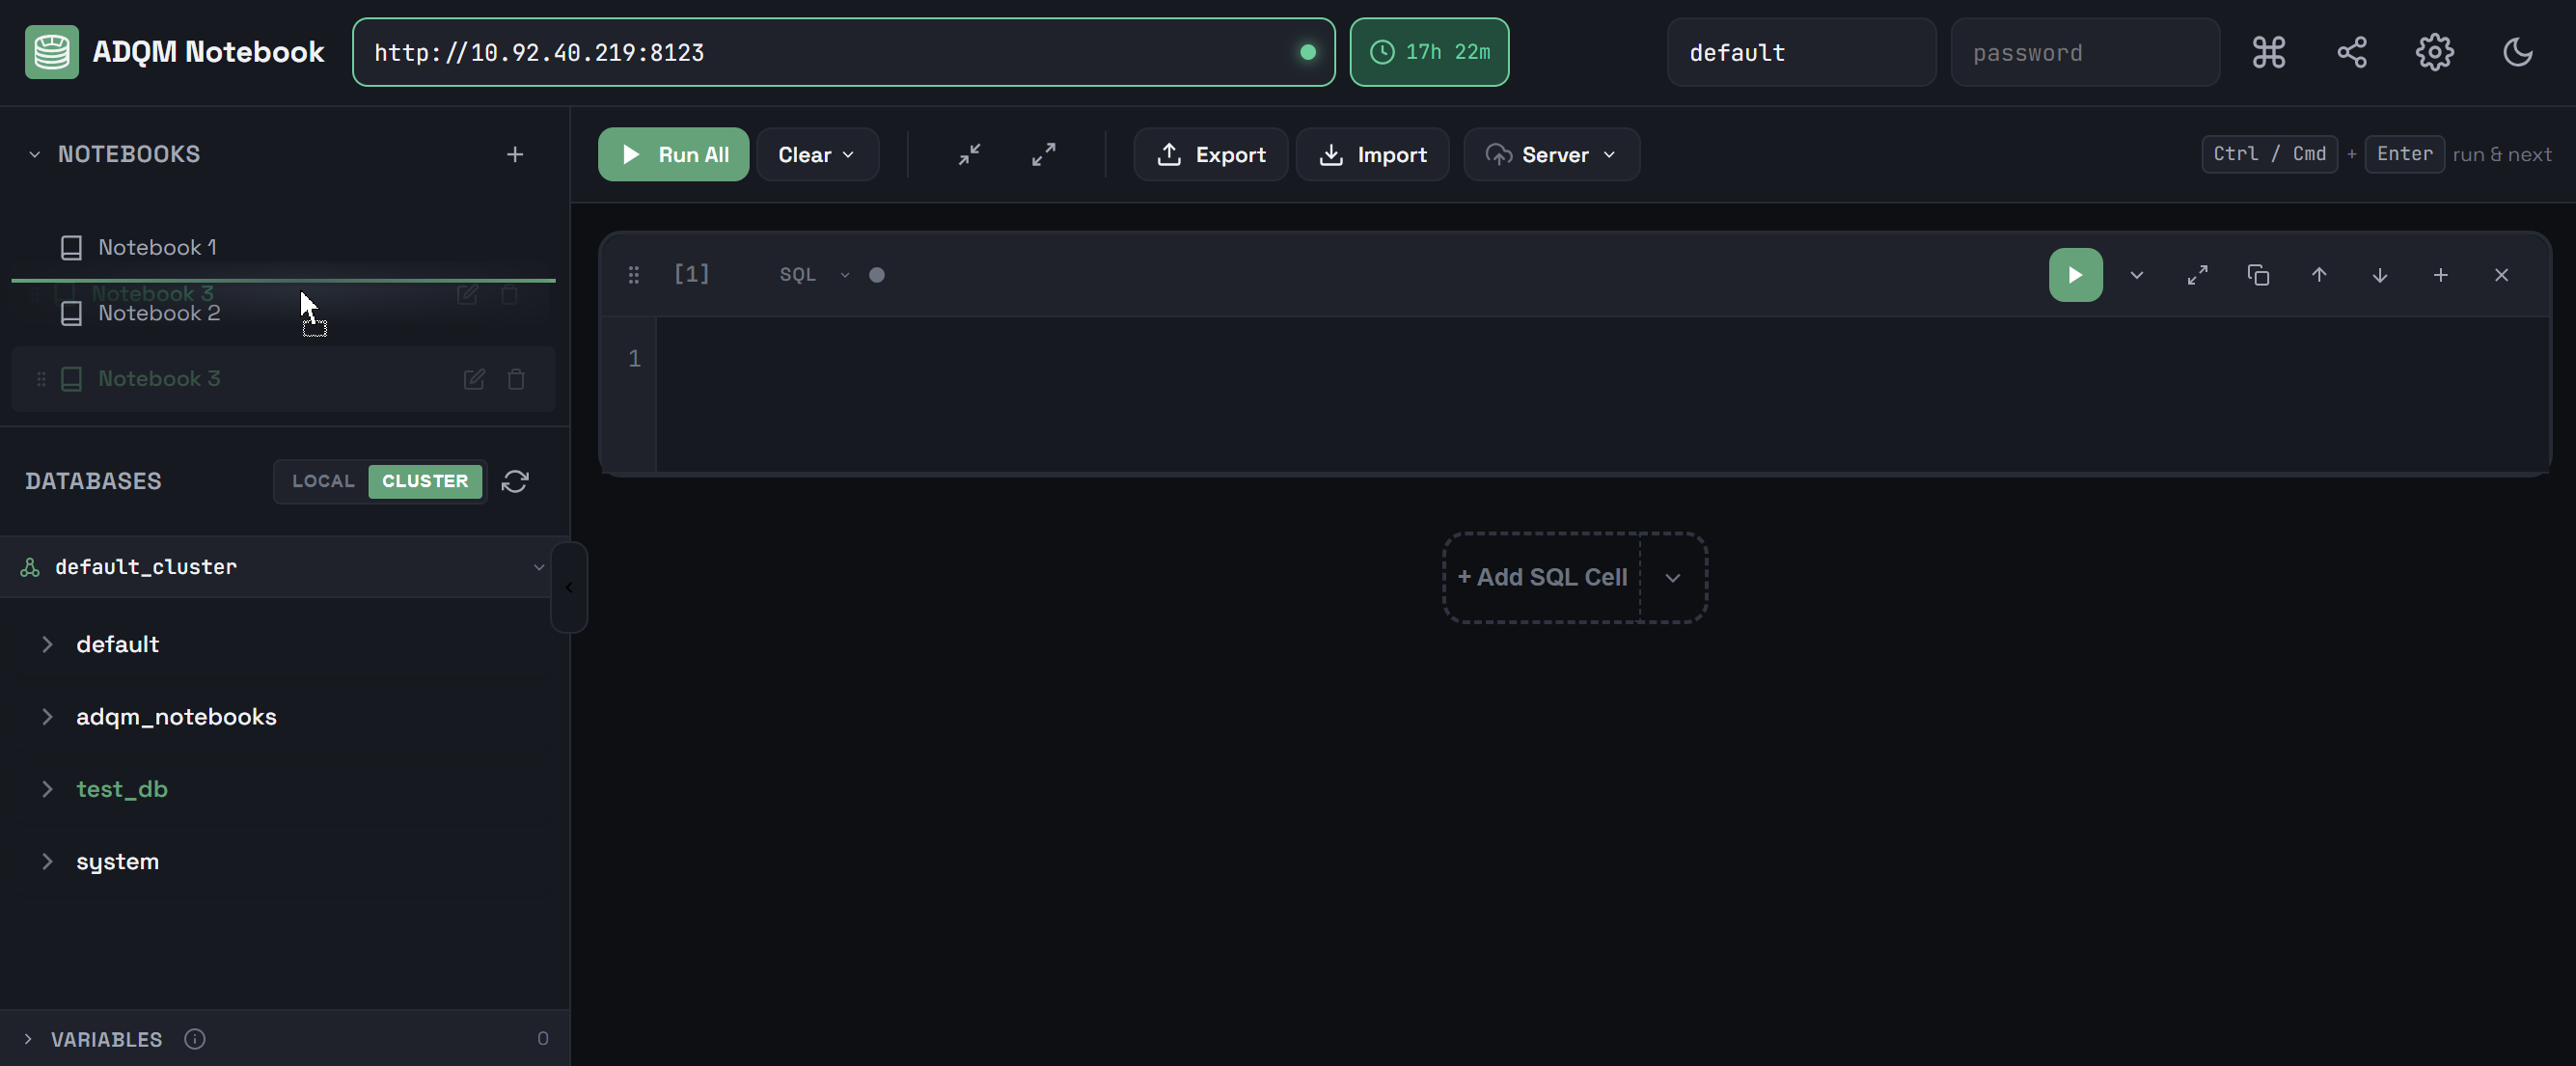
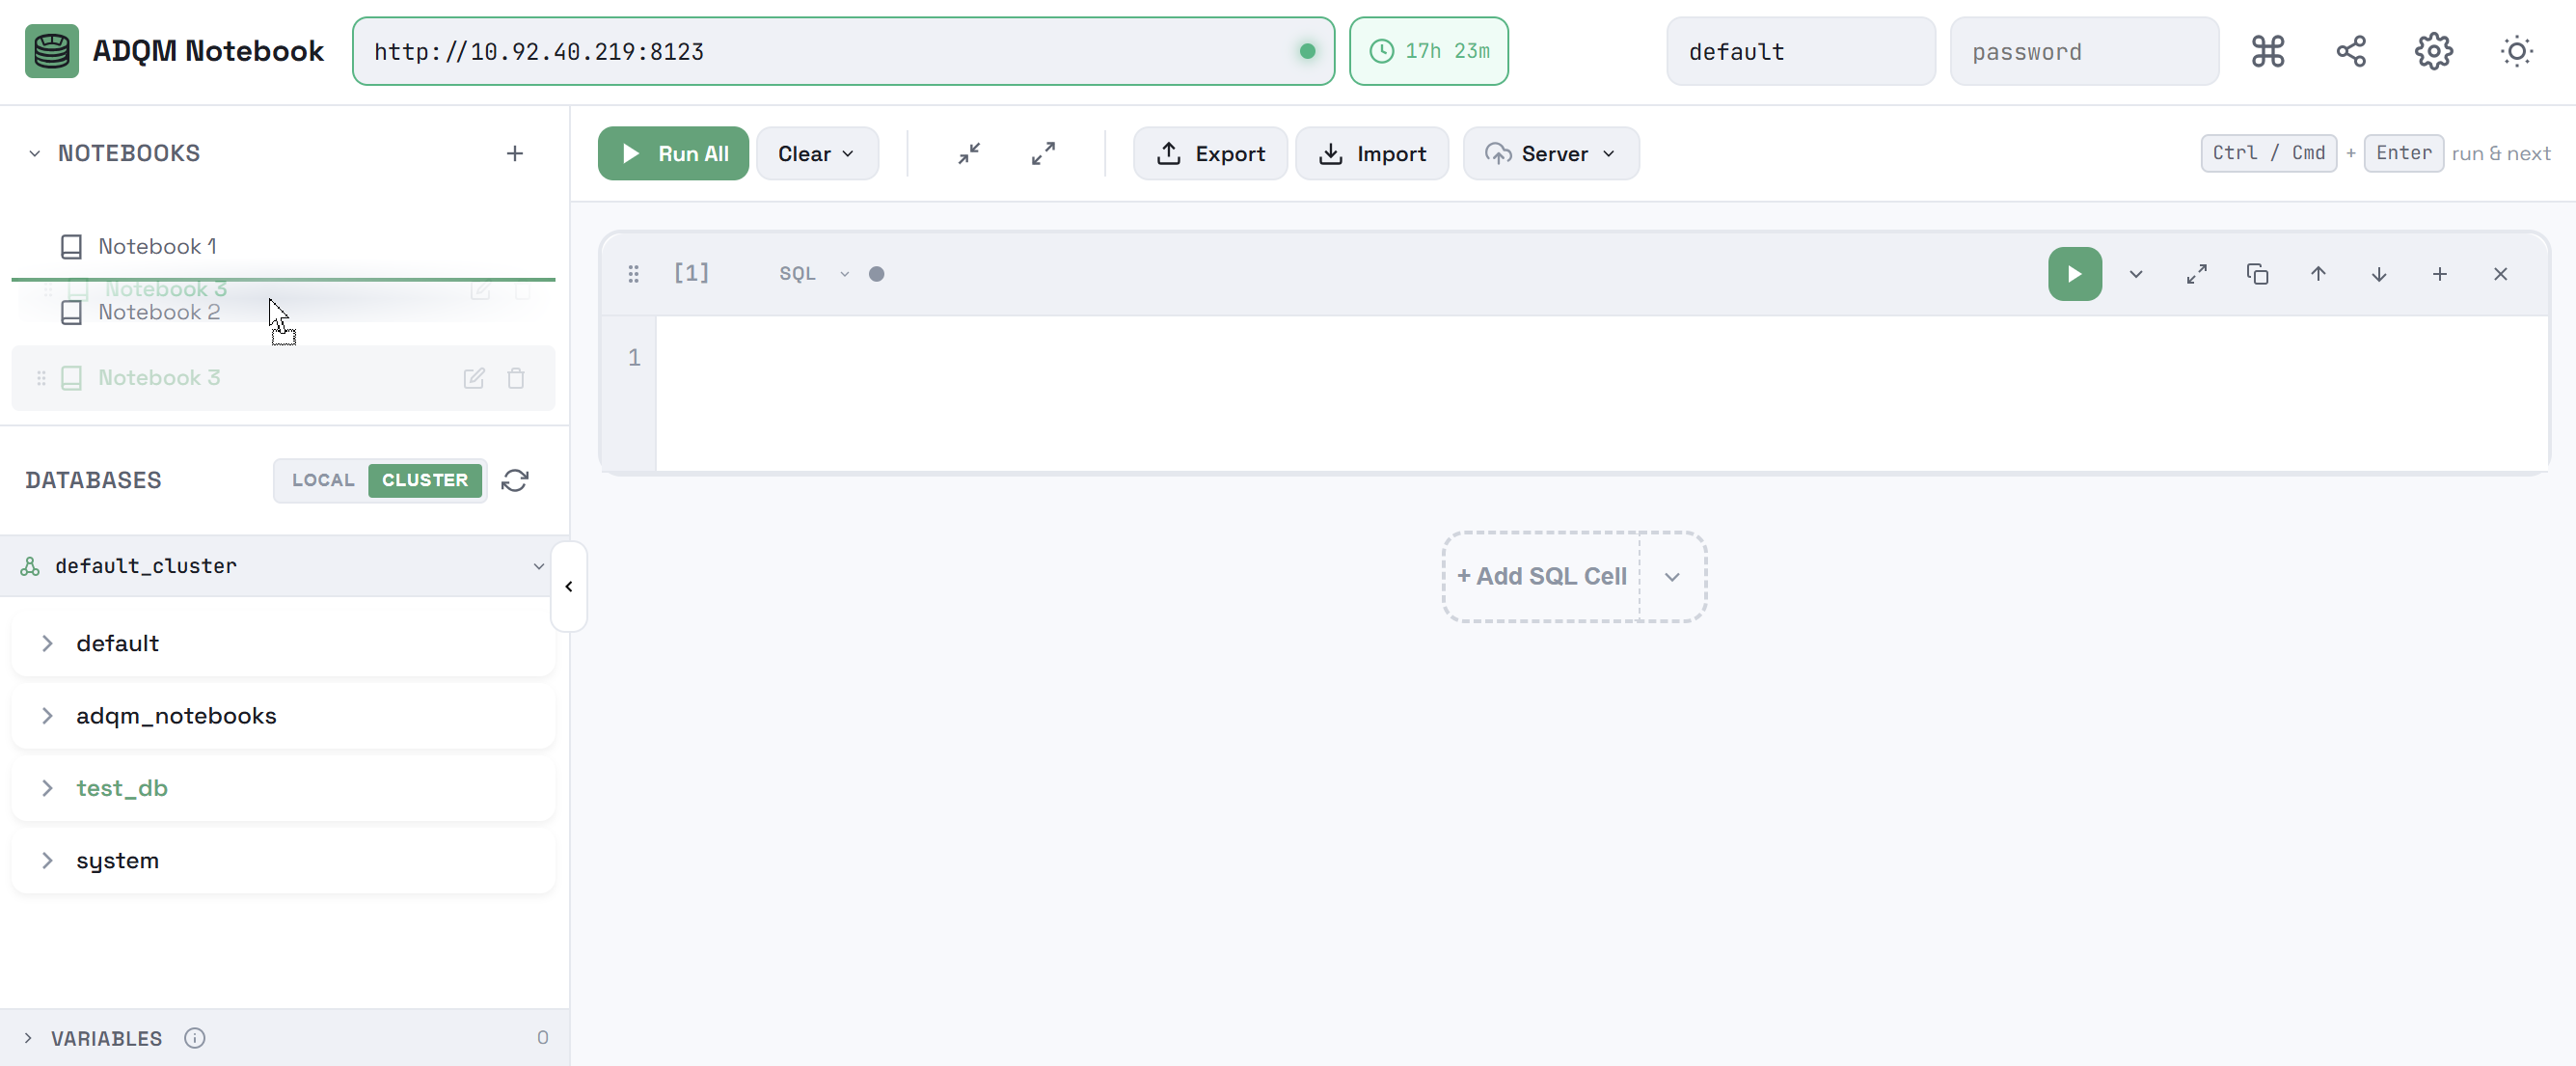
Notebooks panel
The NOTEBOOKS panel is designed to manage notebooks in the ADQM Notebook interface.
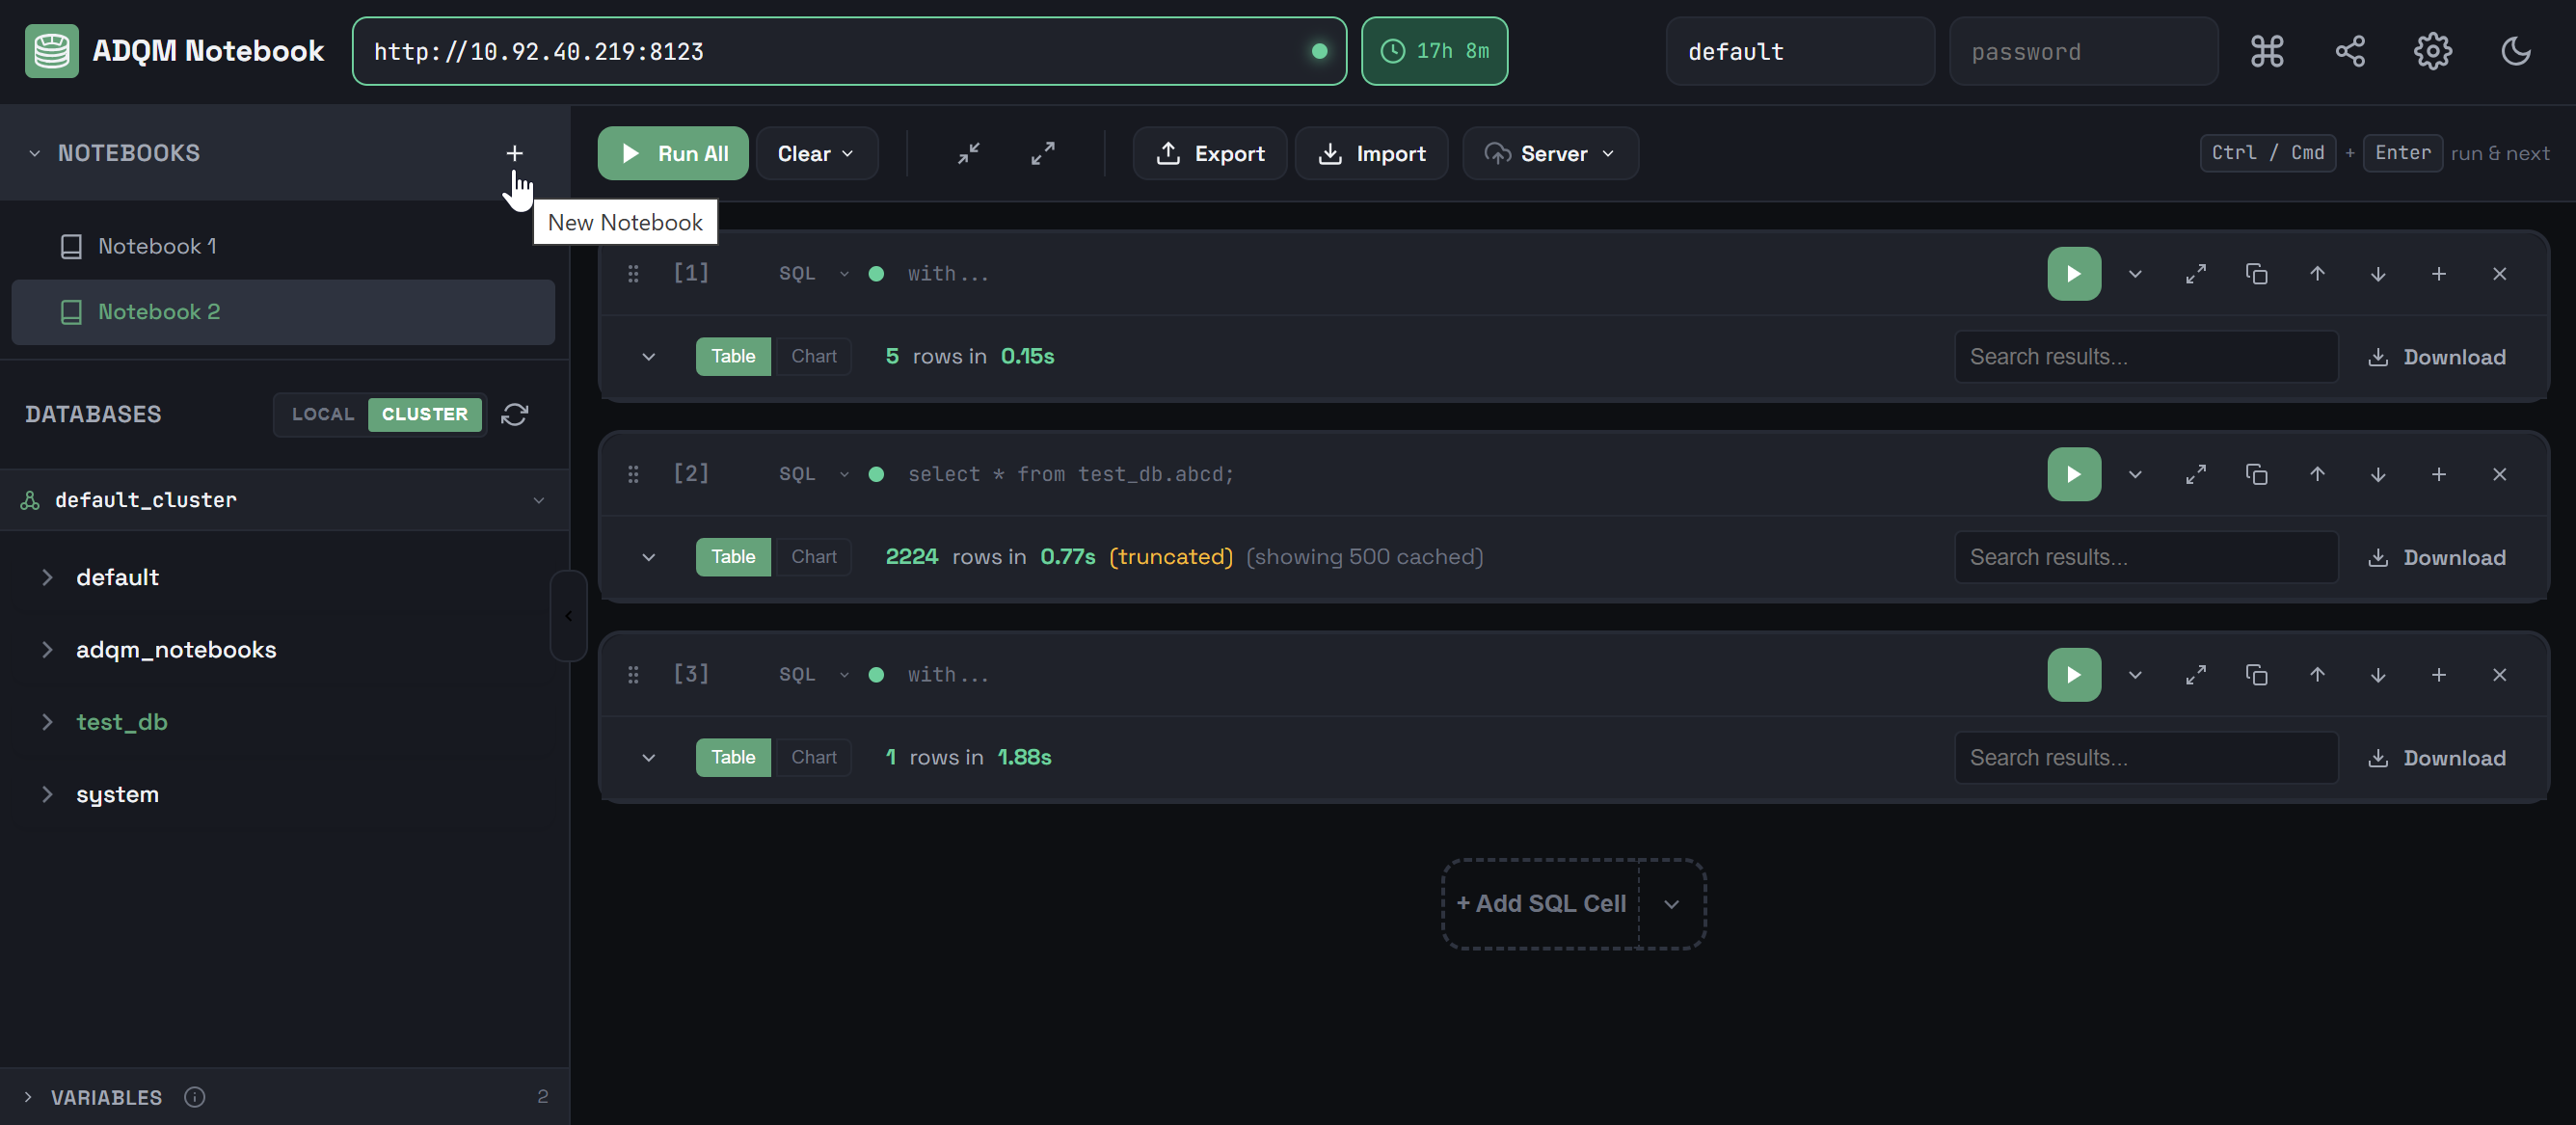
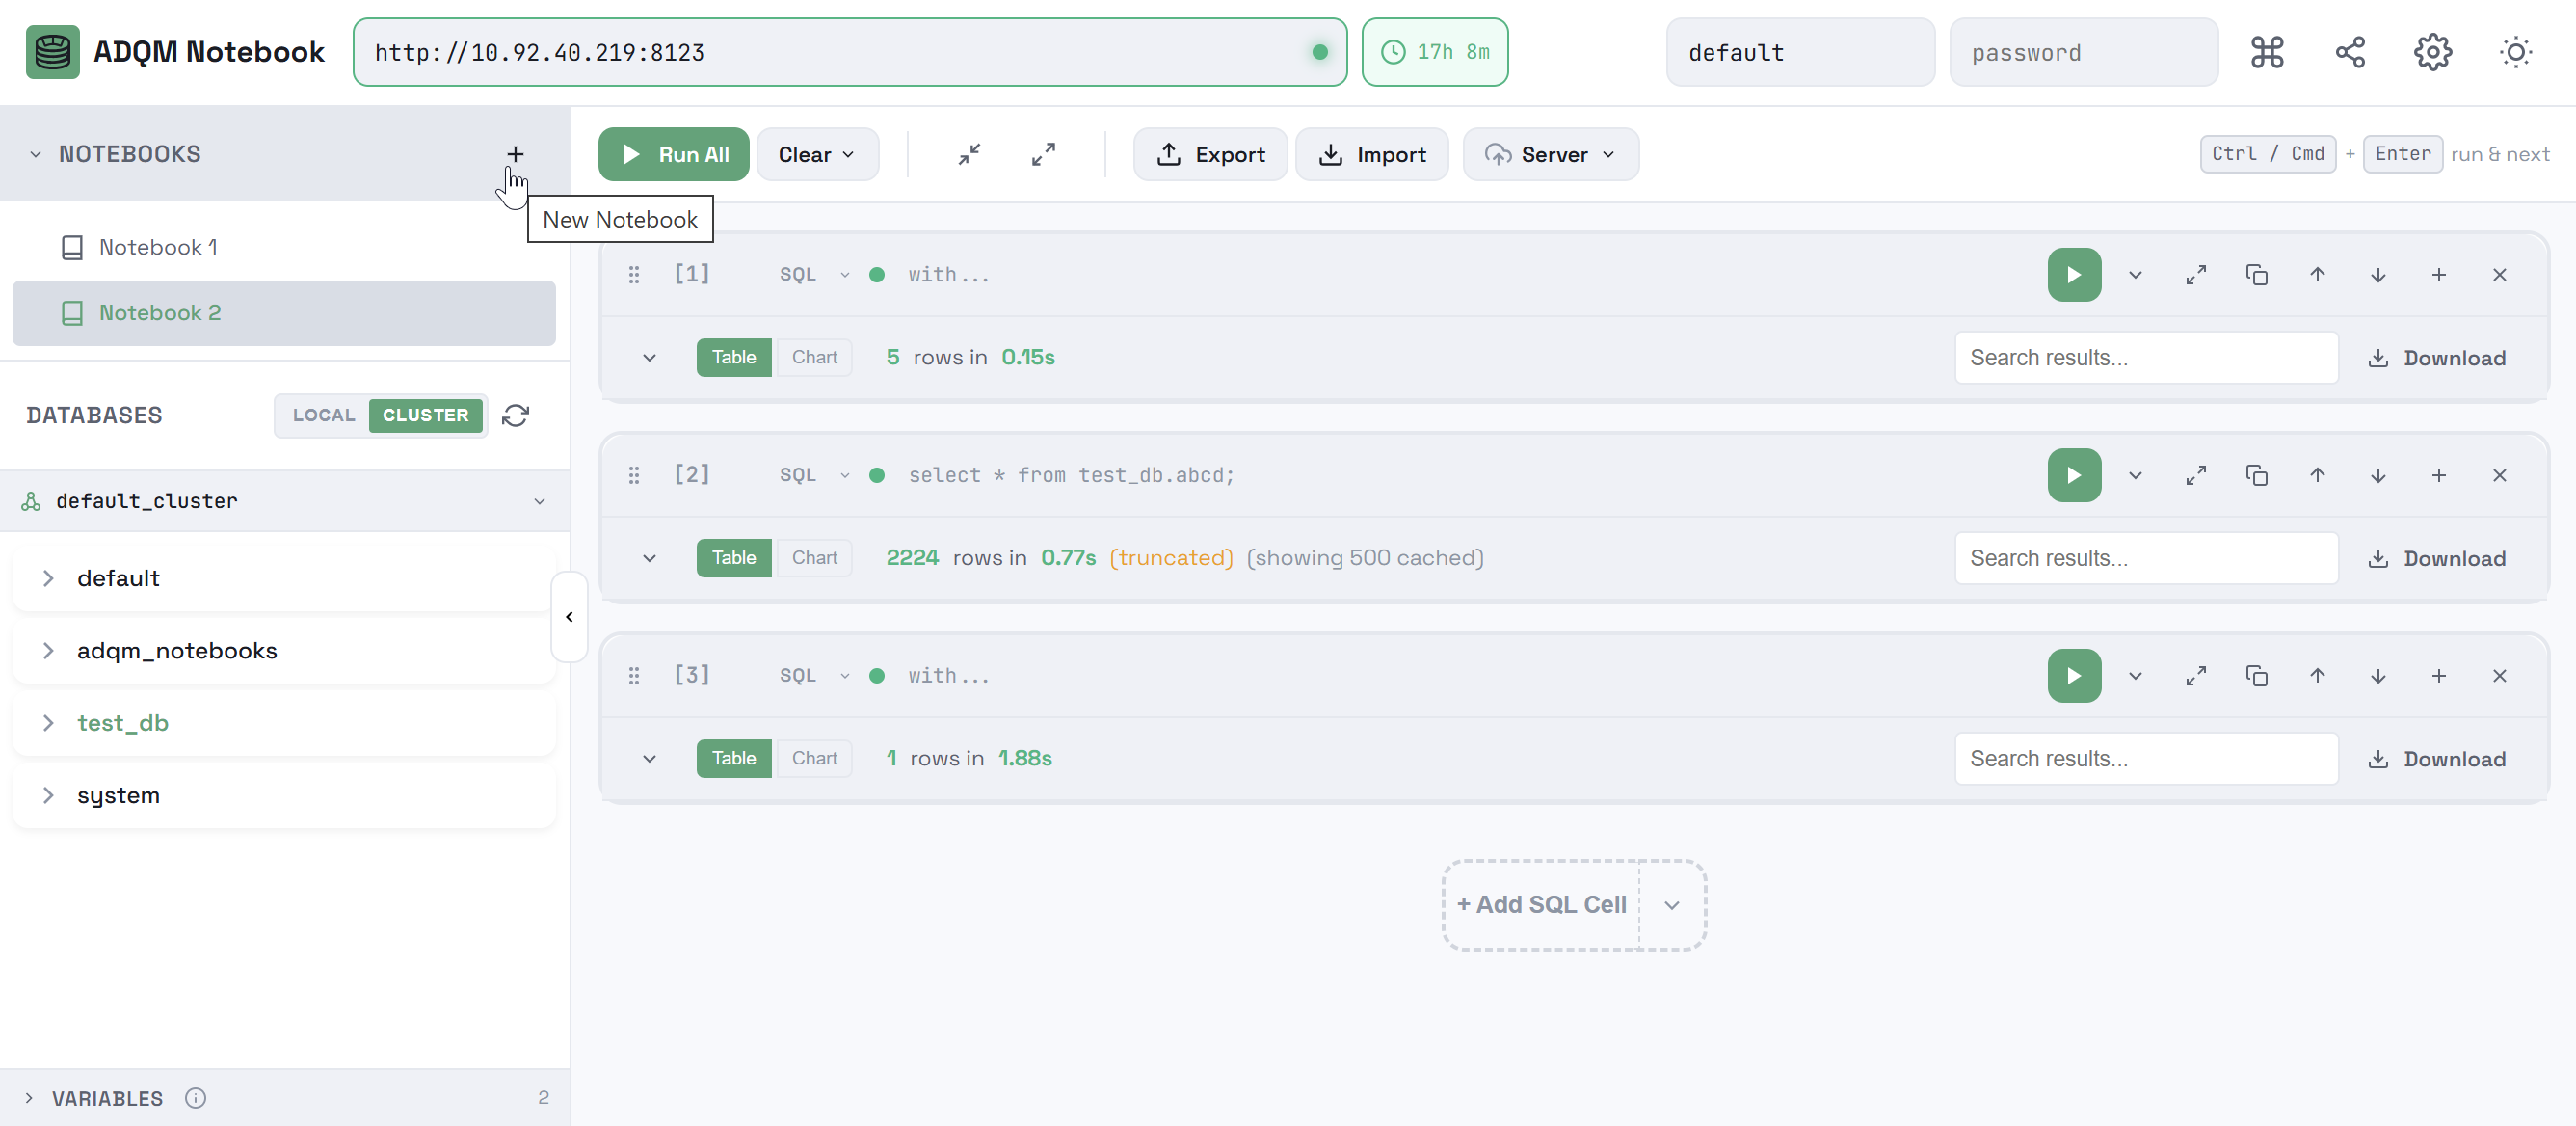
To create a notebook, click the ![]()
![]() New Notebook icon in the NOTEBOOKS panel header — a new notebook with one SQL cell will be created.
New Notebook icon in the NOTEBOOKS panel header — a new notebook with one SQL cell will be created.
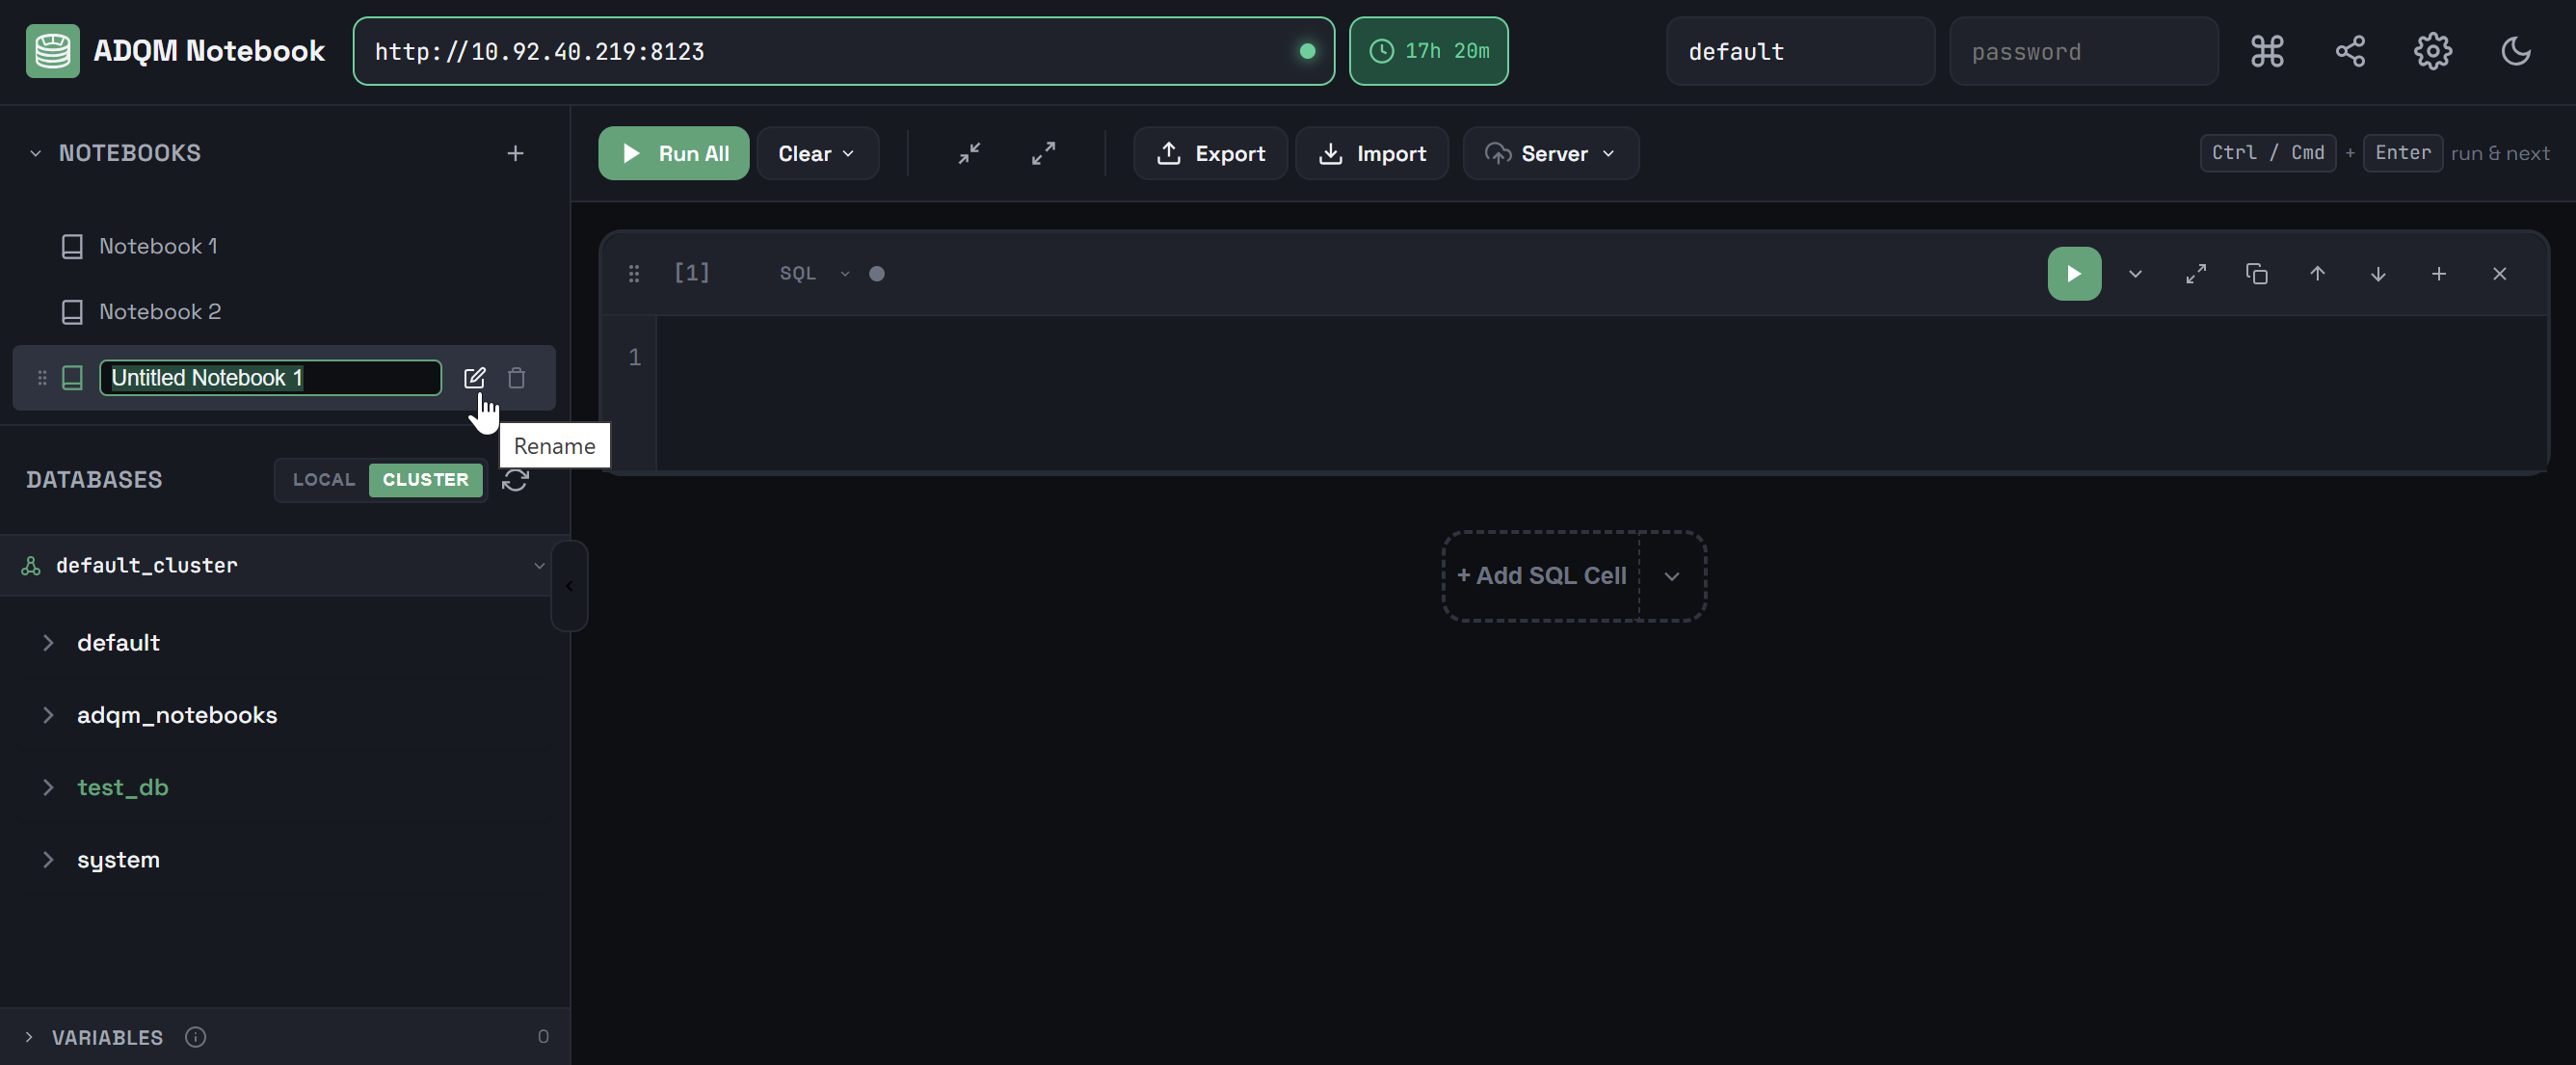
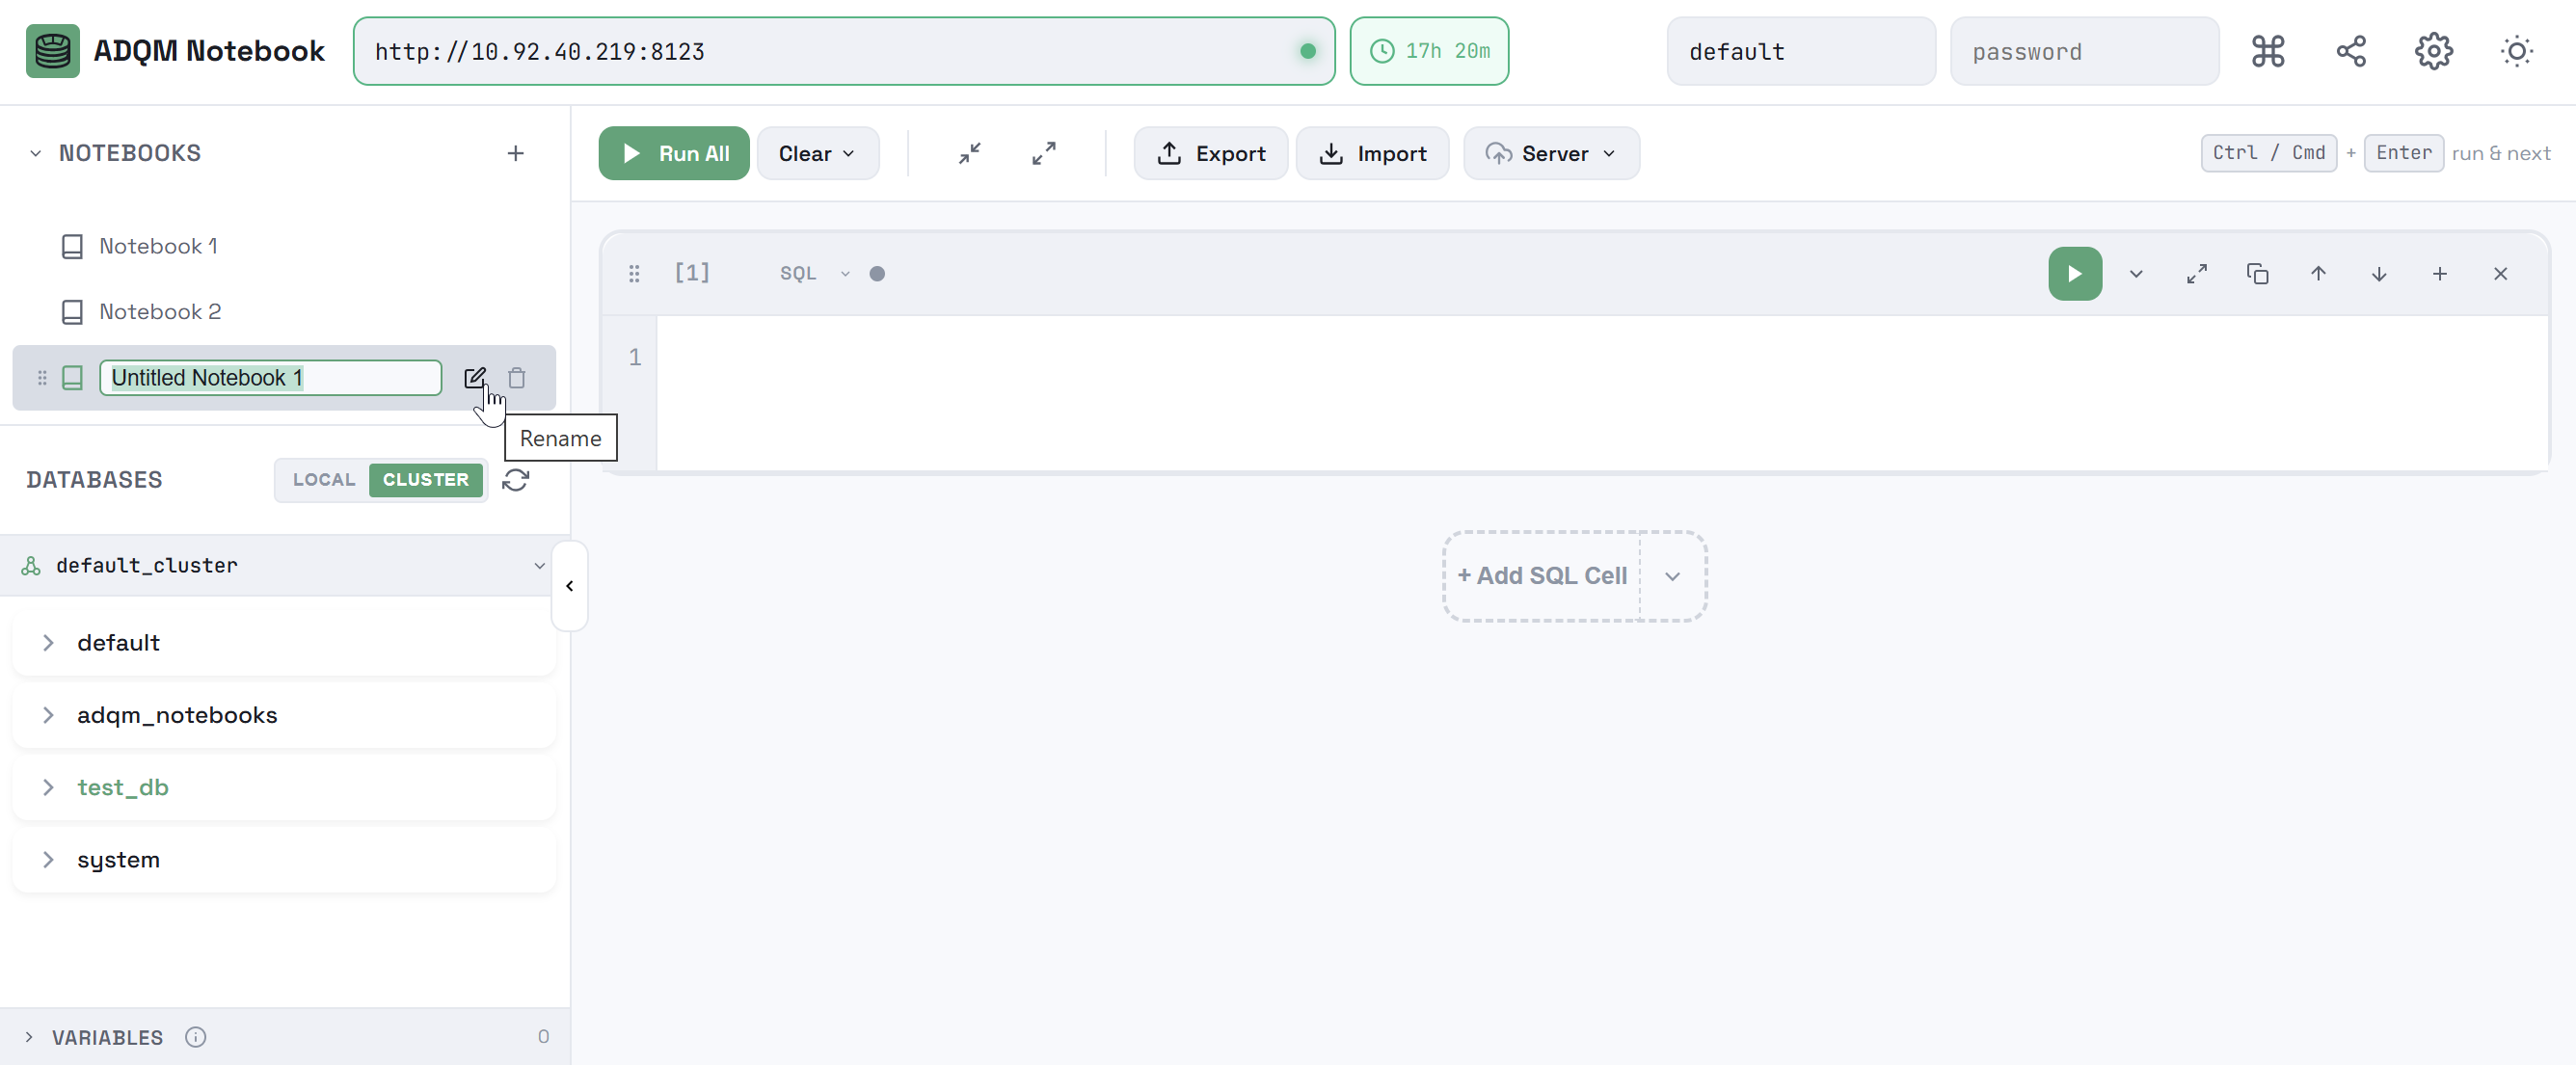
To change a notebook name, hover the mouse cursor over a notebook row, click the ![]()
![]() Rename icon, and enter a new name in the edit field.
Rename icon, and enter a new name in the edit field.
To move notebooks within the list, you can drag and drop them.
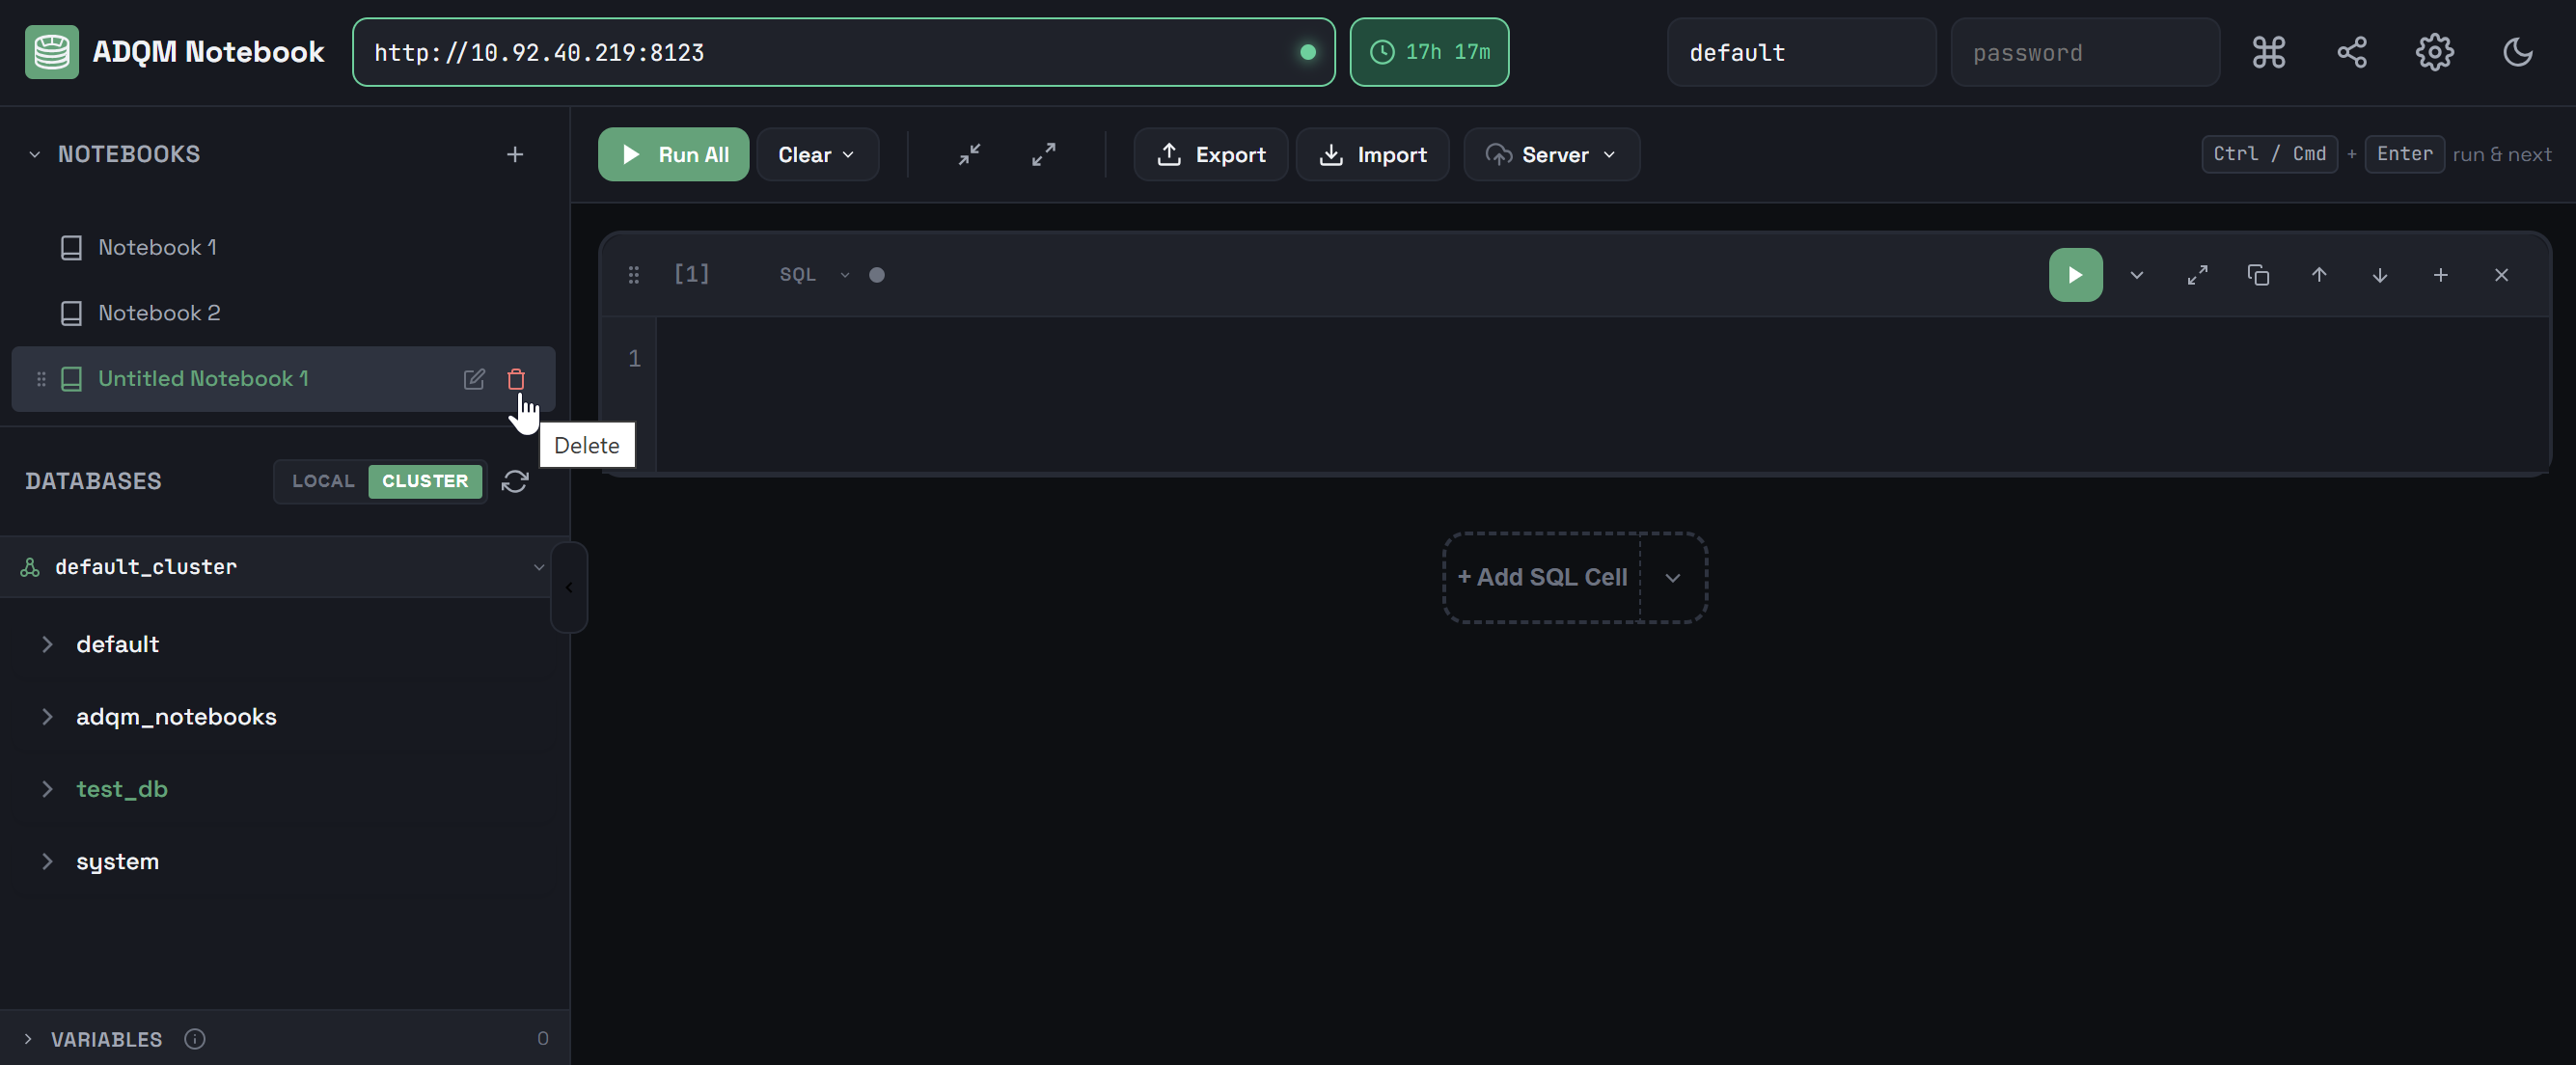
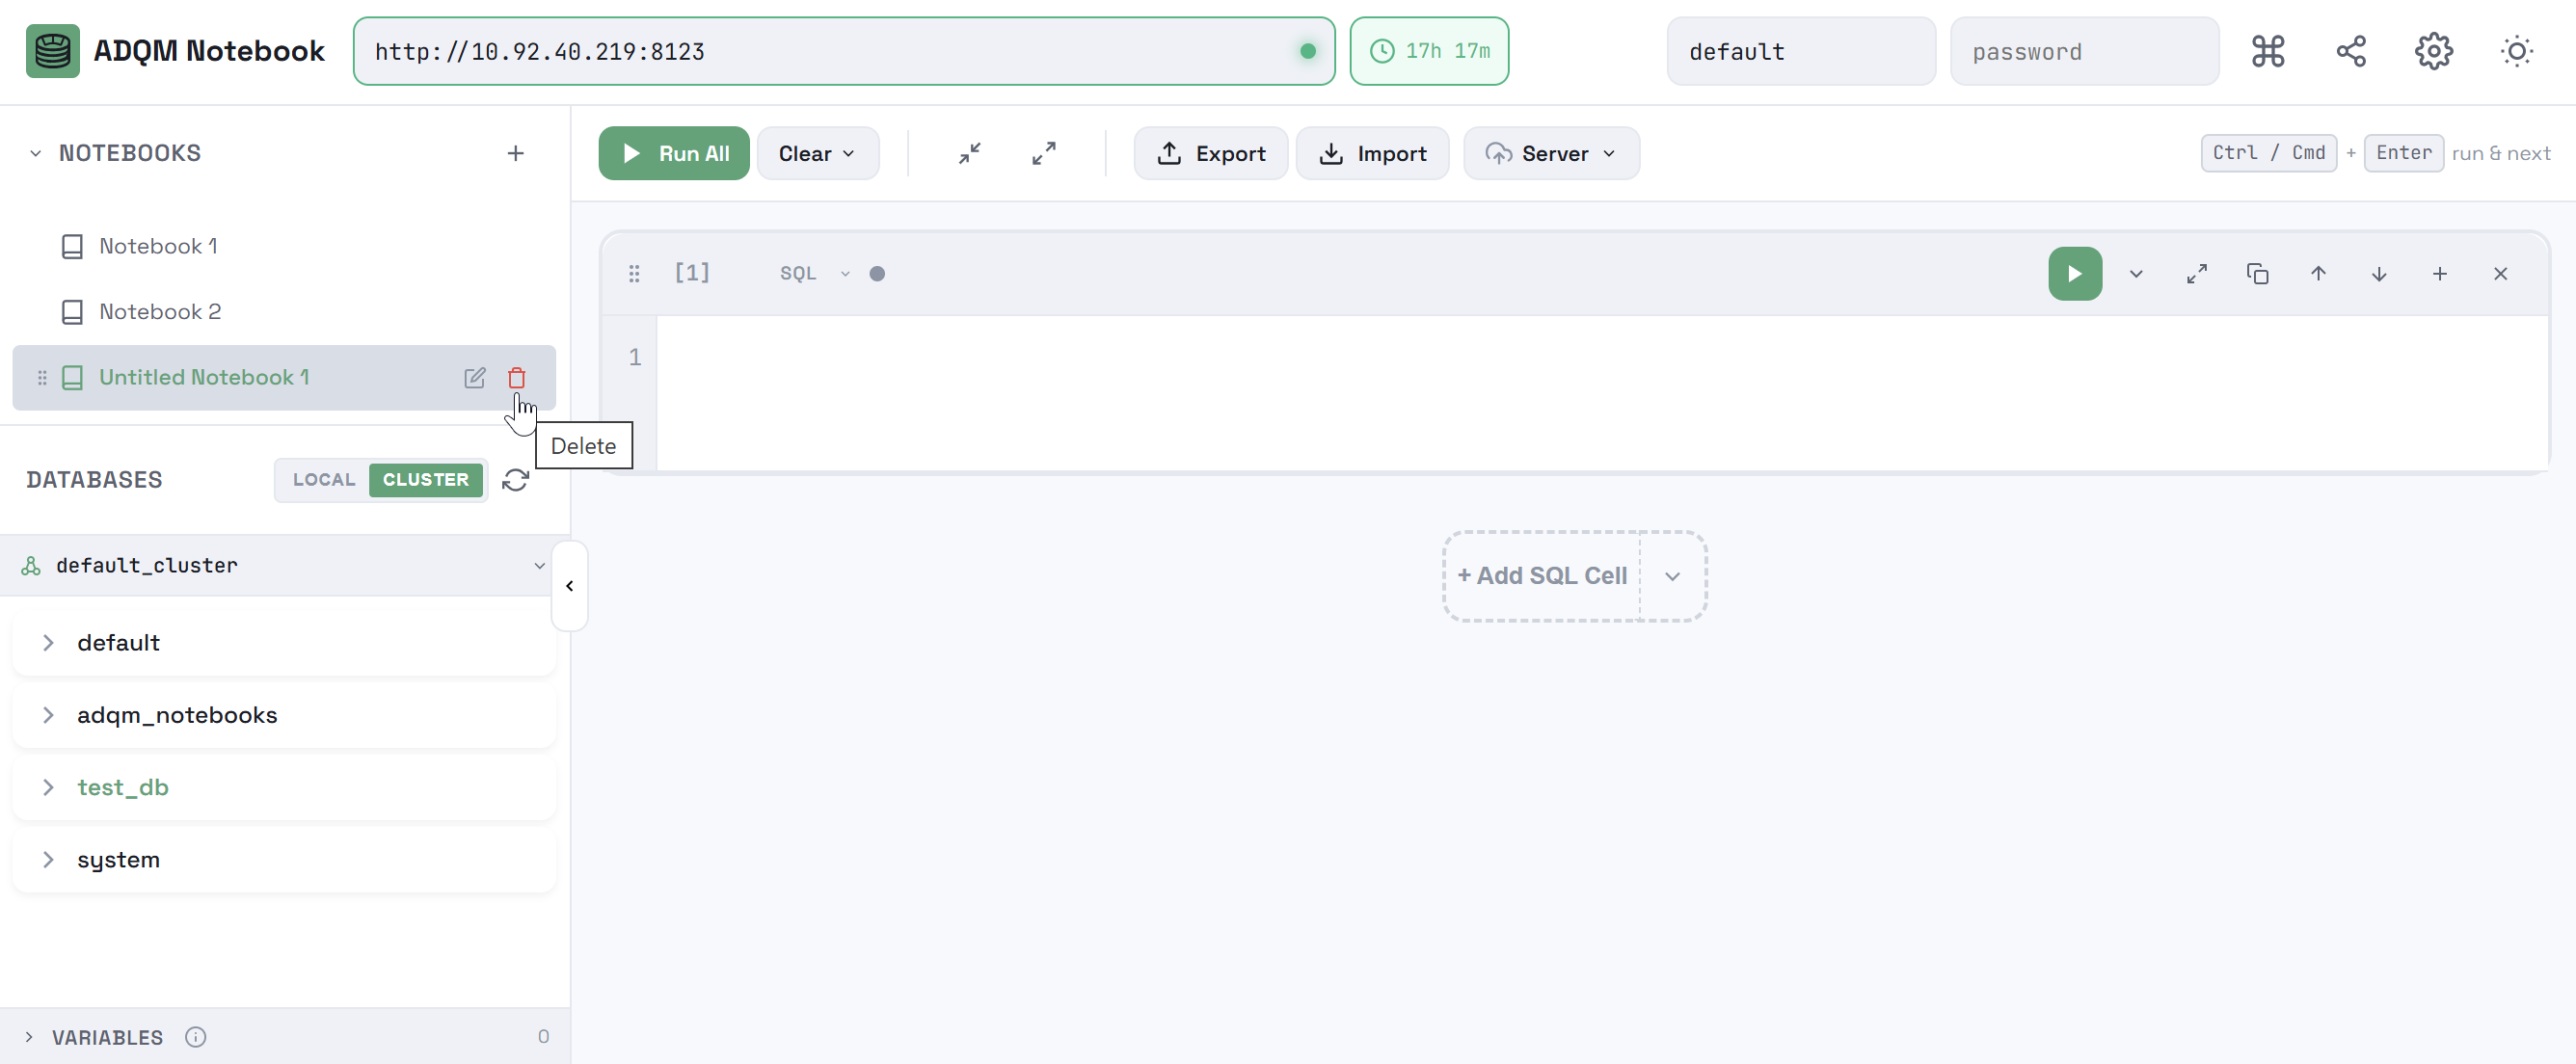
To delete a notebook, hover the mouse cursor over a notebook row in the NOTEBOOKS panel and click the ![]()
![]() Delete icon.
Delete icon.
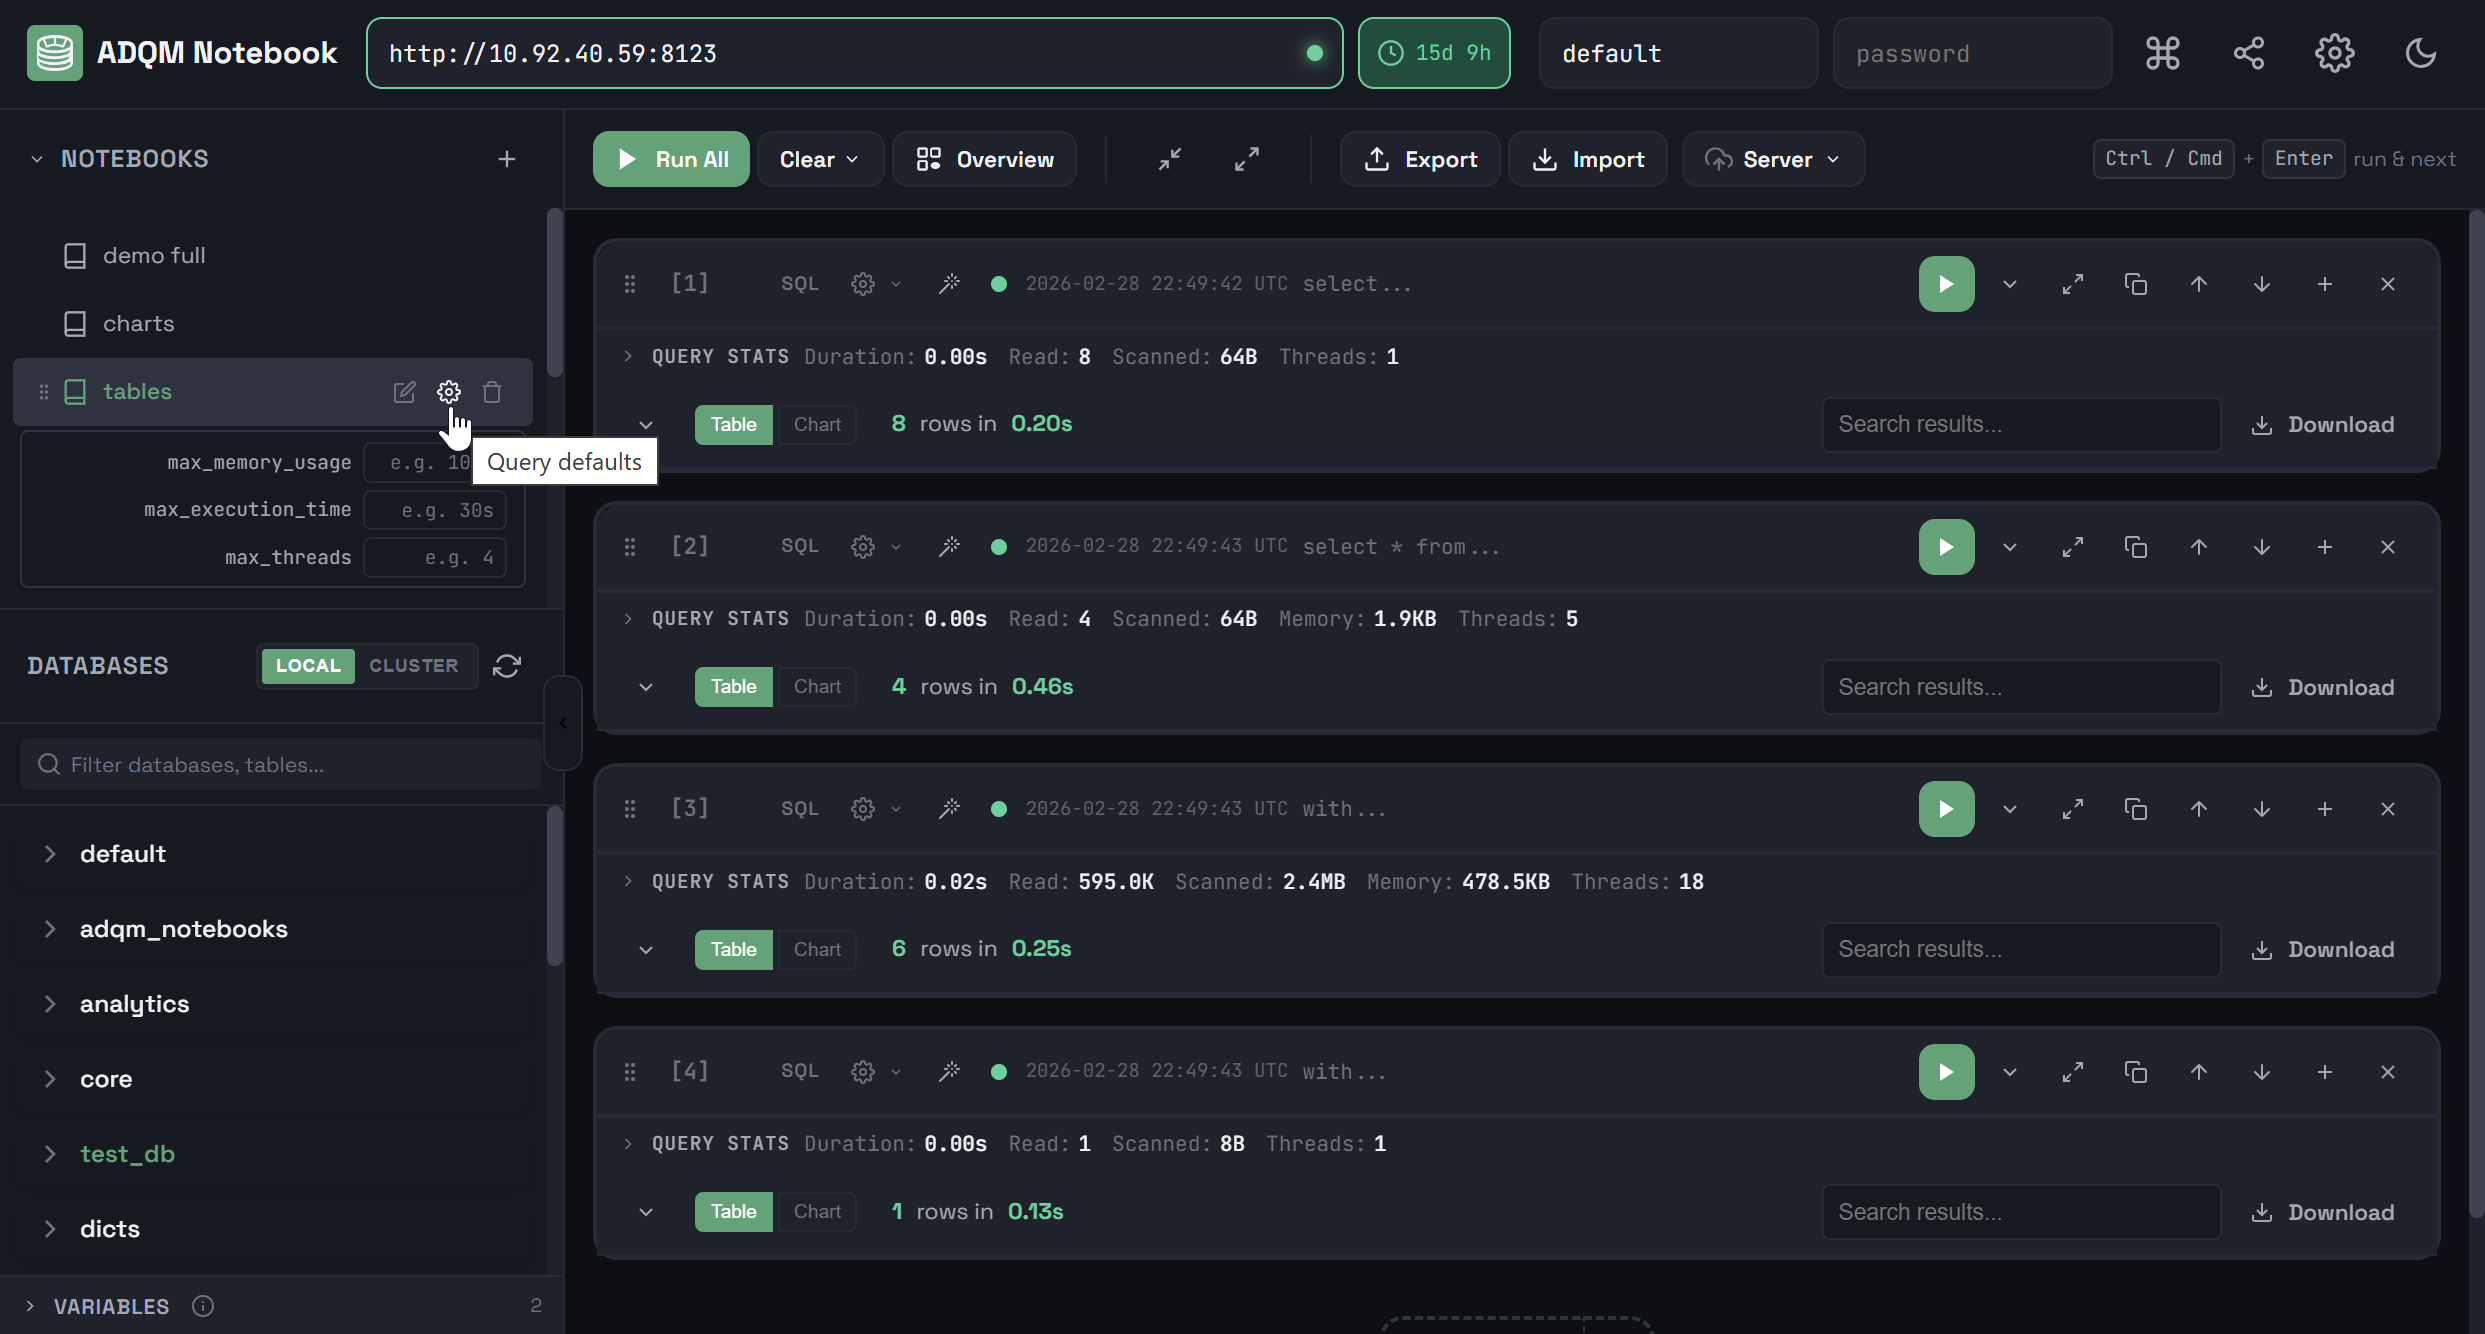
In a notebook row (when you hover the mouse cursor over it), there is also the ![]()
![]() Query defaults icon that opens a list of parameters to configure resource usage limits for executing queries in the notebook: max_memory_usage, max_execution_time, max_threads. The specified values will be used by default when running queries in SQL cells within the notebook. You can also set other values to these parameters for each SQL cell, which will have a higher priority than those specified at the notebook level — see Query settings in the SQL cell control panel.
Query defaults icon that opens a list of parameters to configure resource usage limits for executing queries in the notebook: max_memory_usage, max_execution_time, max_threads. The specified values will be used by default when running queries in SQL cells within the notebook. You can also set other values to these parameters for each SQL cell, which will have a higher priority than those specified at the notebook level — see Query settings in the SQL cell control panel.
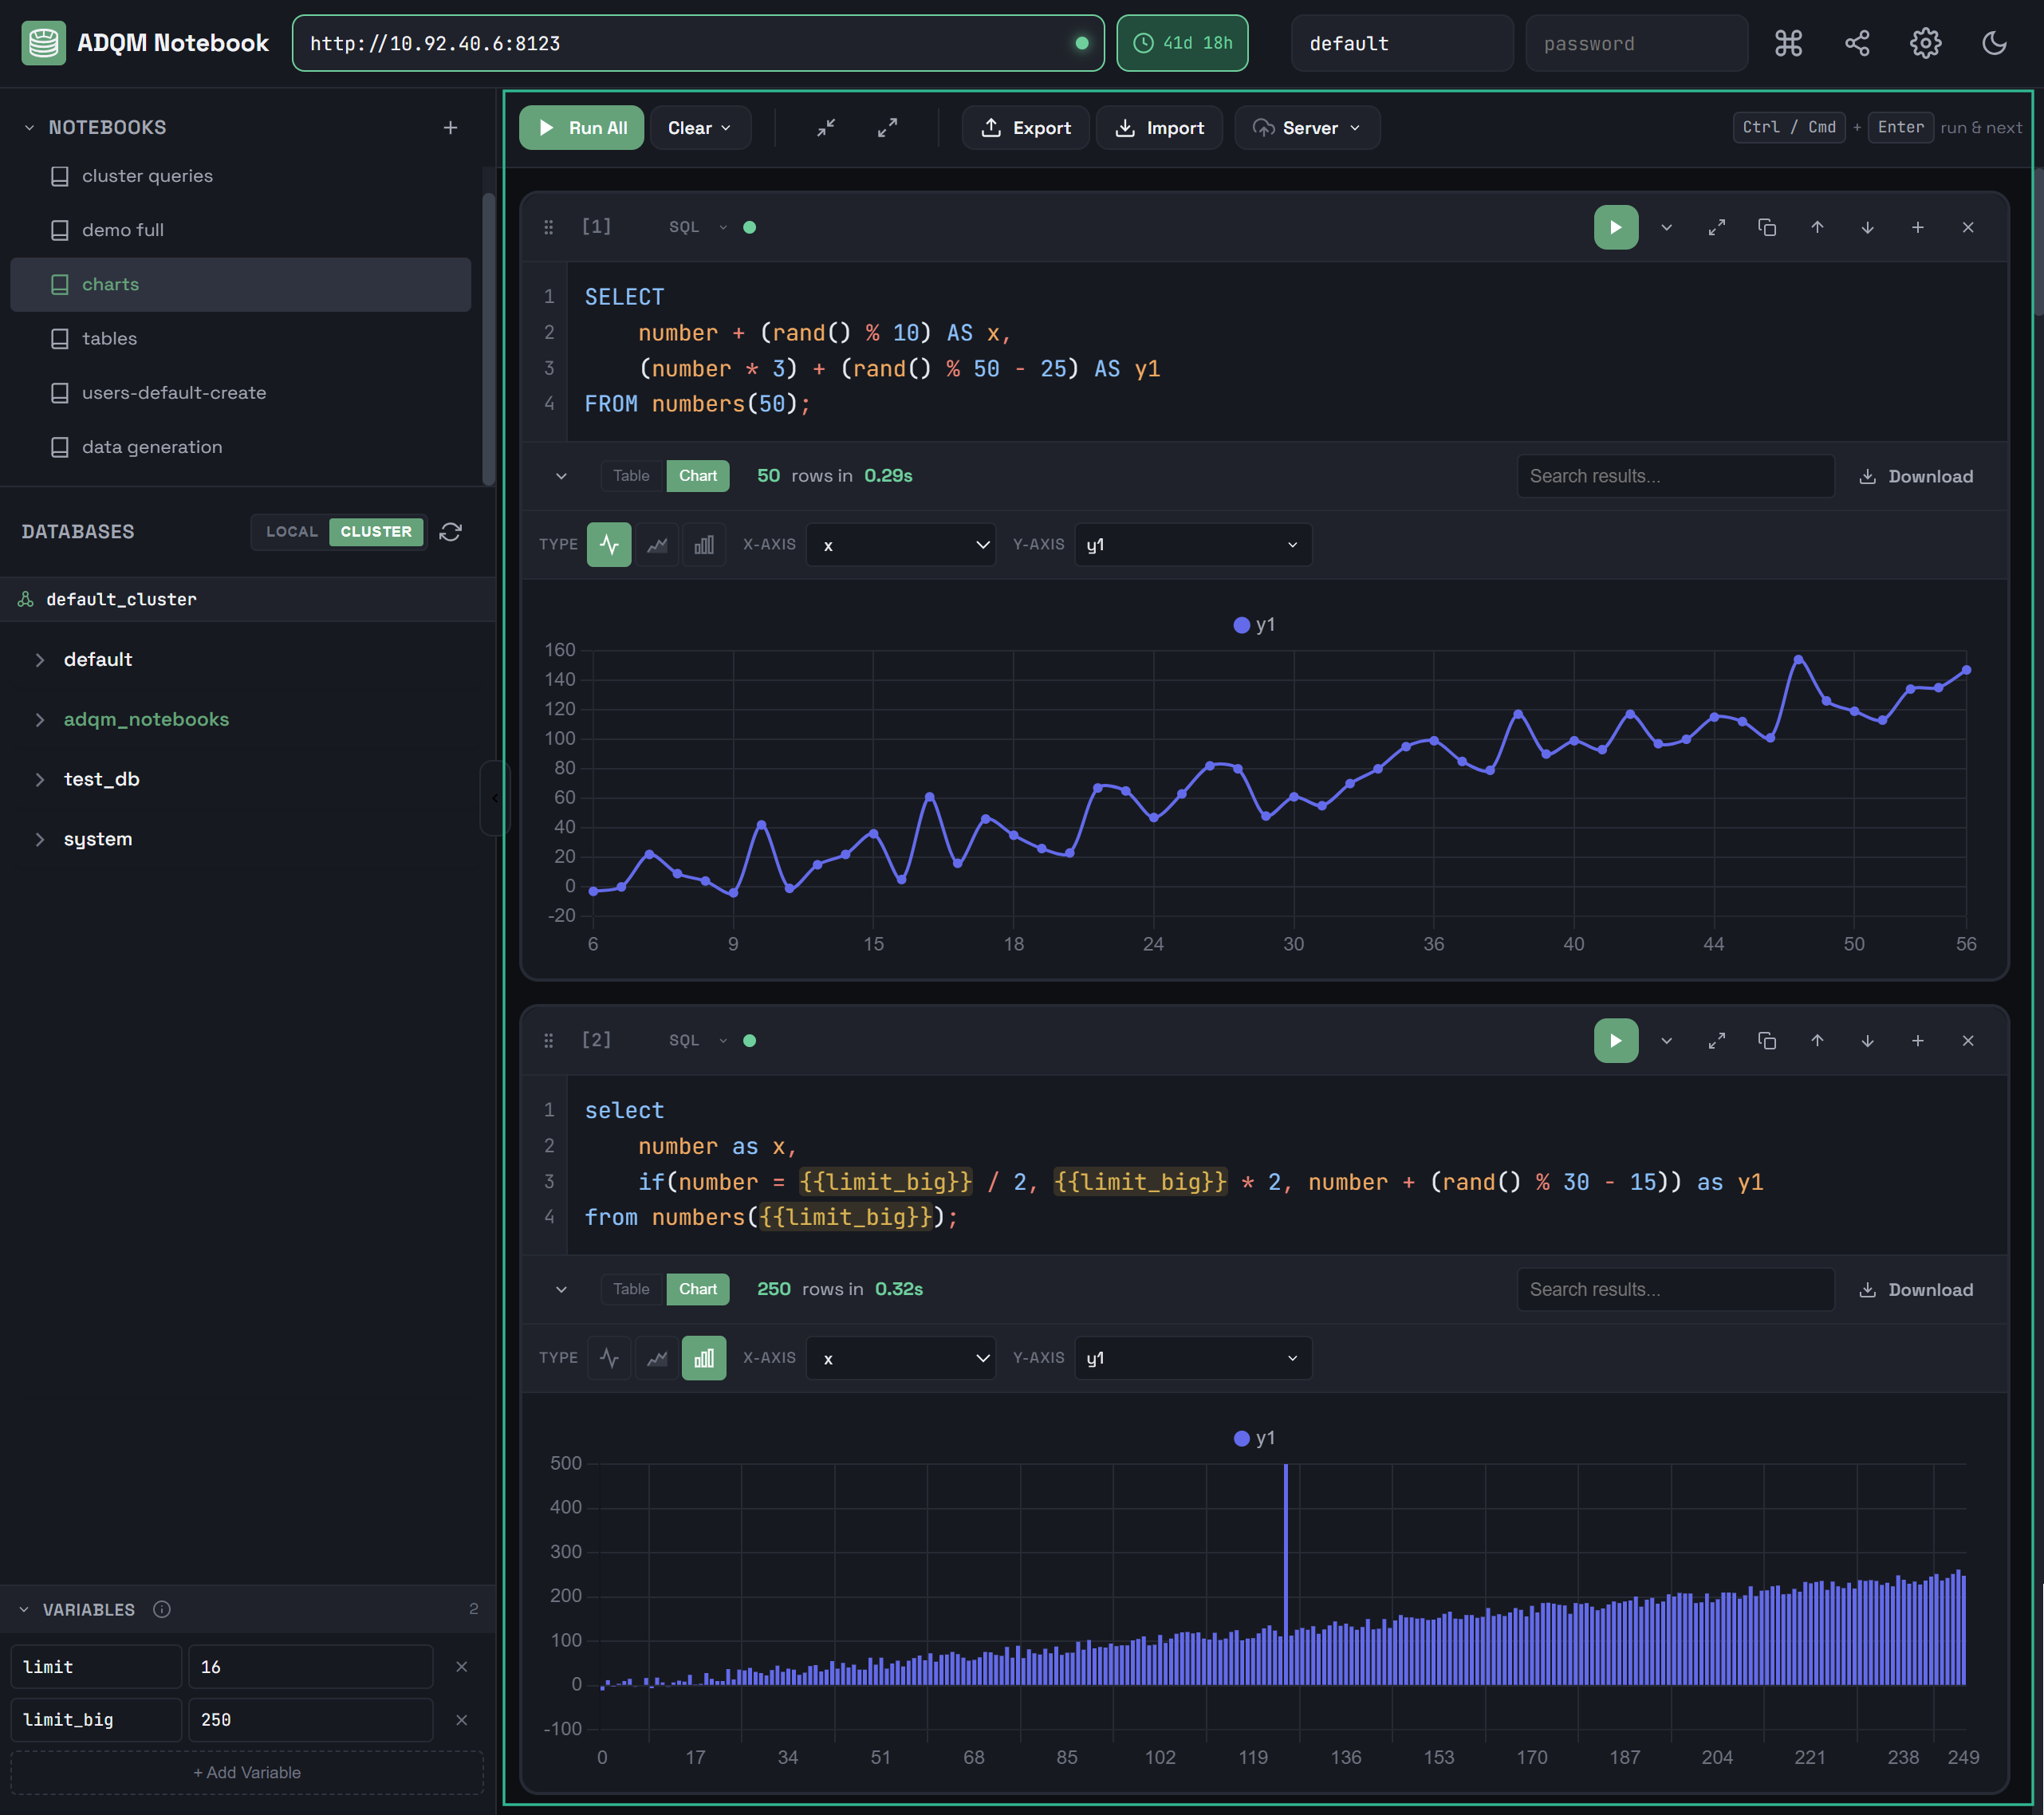
Notebook workspace
The main workspace of a notebook includes:
-
Area for working with cells where you can create/edit/delete cells of the SQL and Text types.
-
Control panel with the following elements:
-
 — to run queries in all SQL cells within a notebook.
 -
Clear

 — to expand the list of commands for clearing cells (Clear Results — deletes query results from all SQL cells; Clear All Cells — deletes all cells from a notebook, leaving one empty SQL cell).
 -

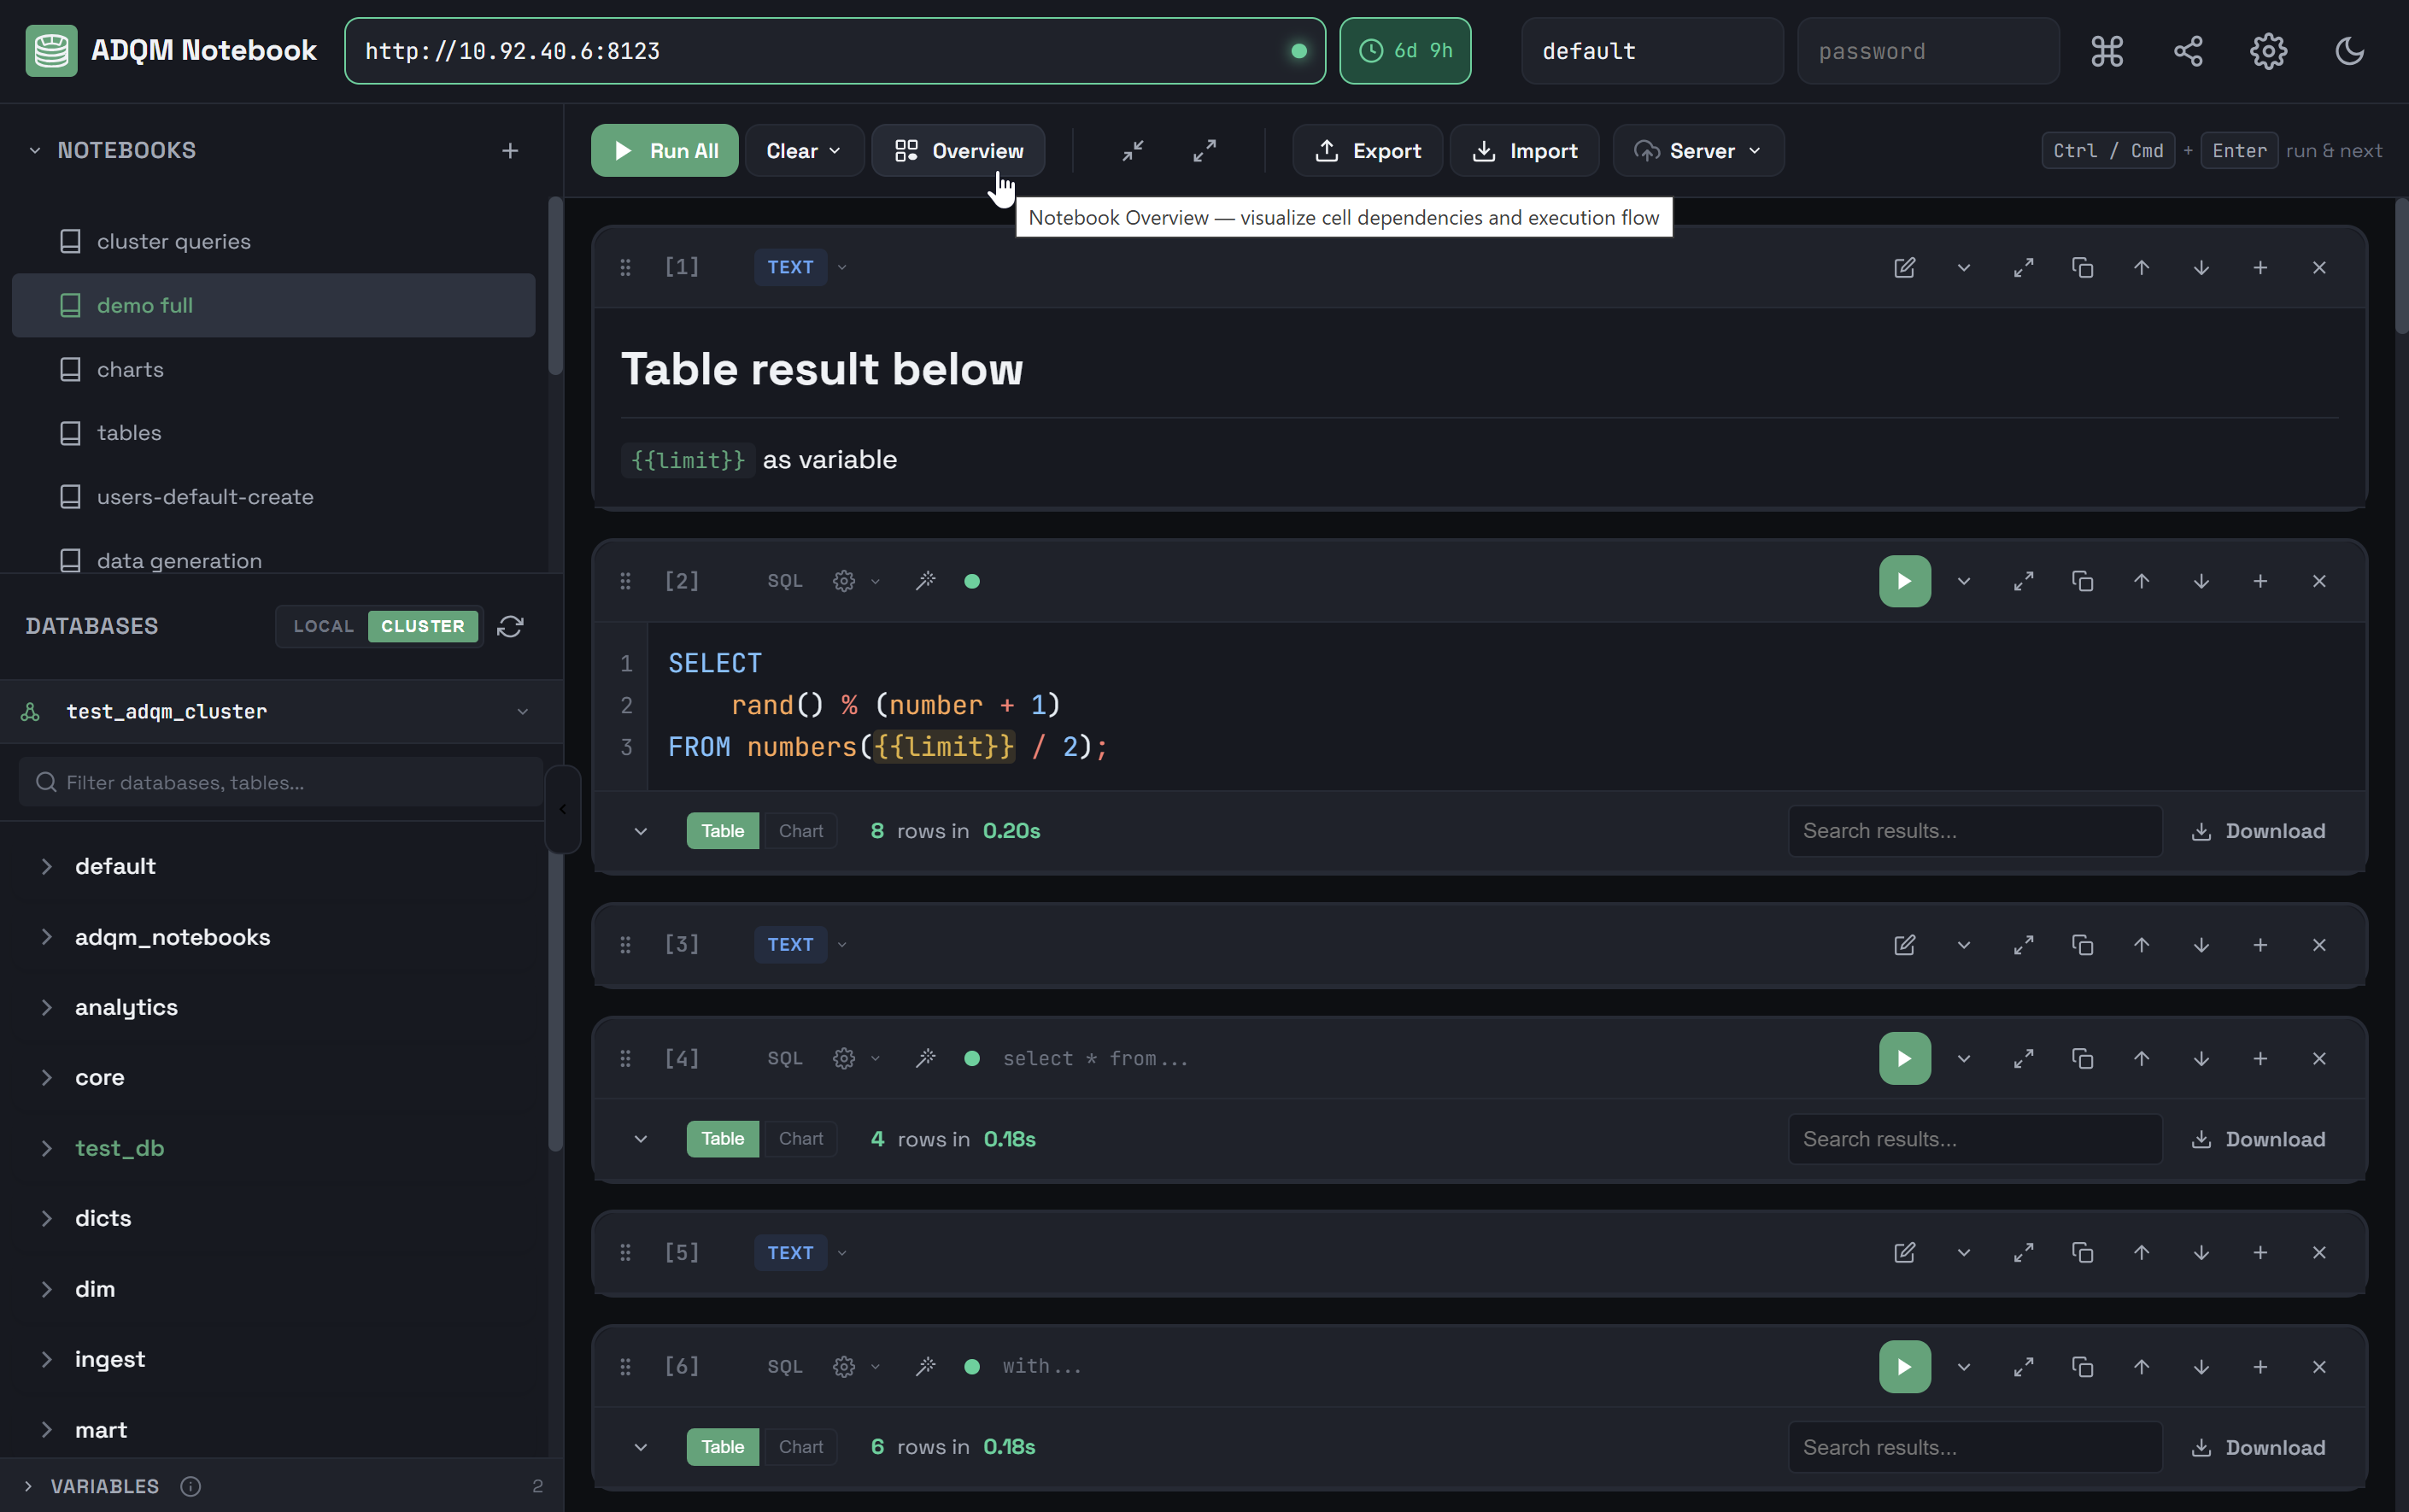
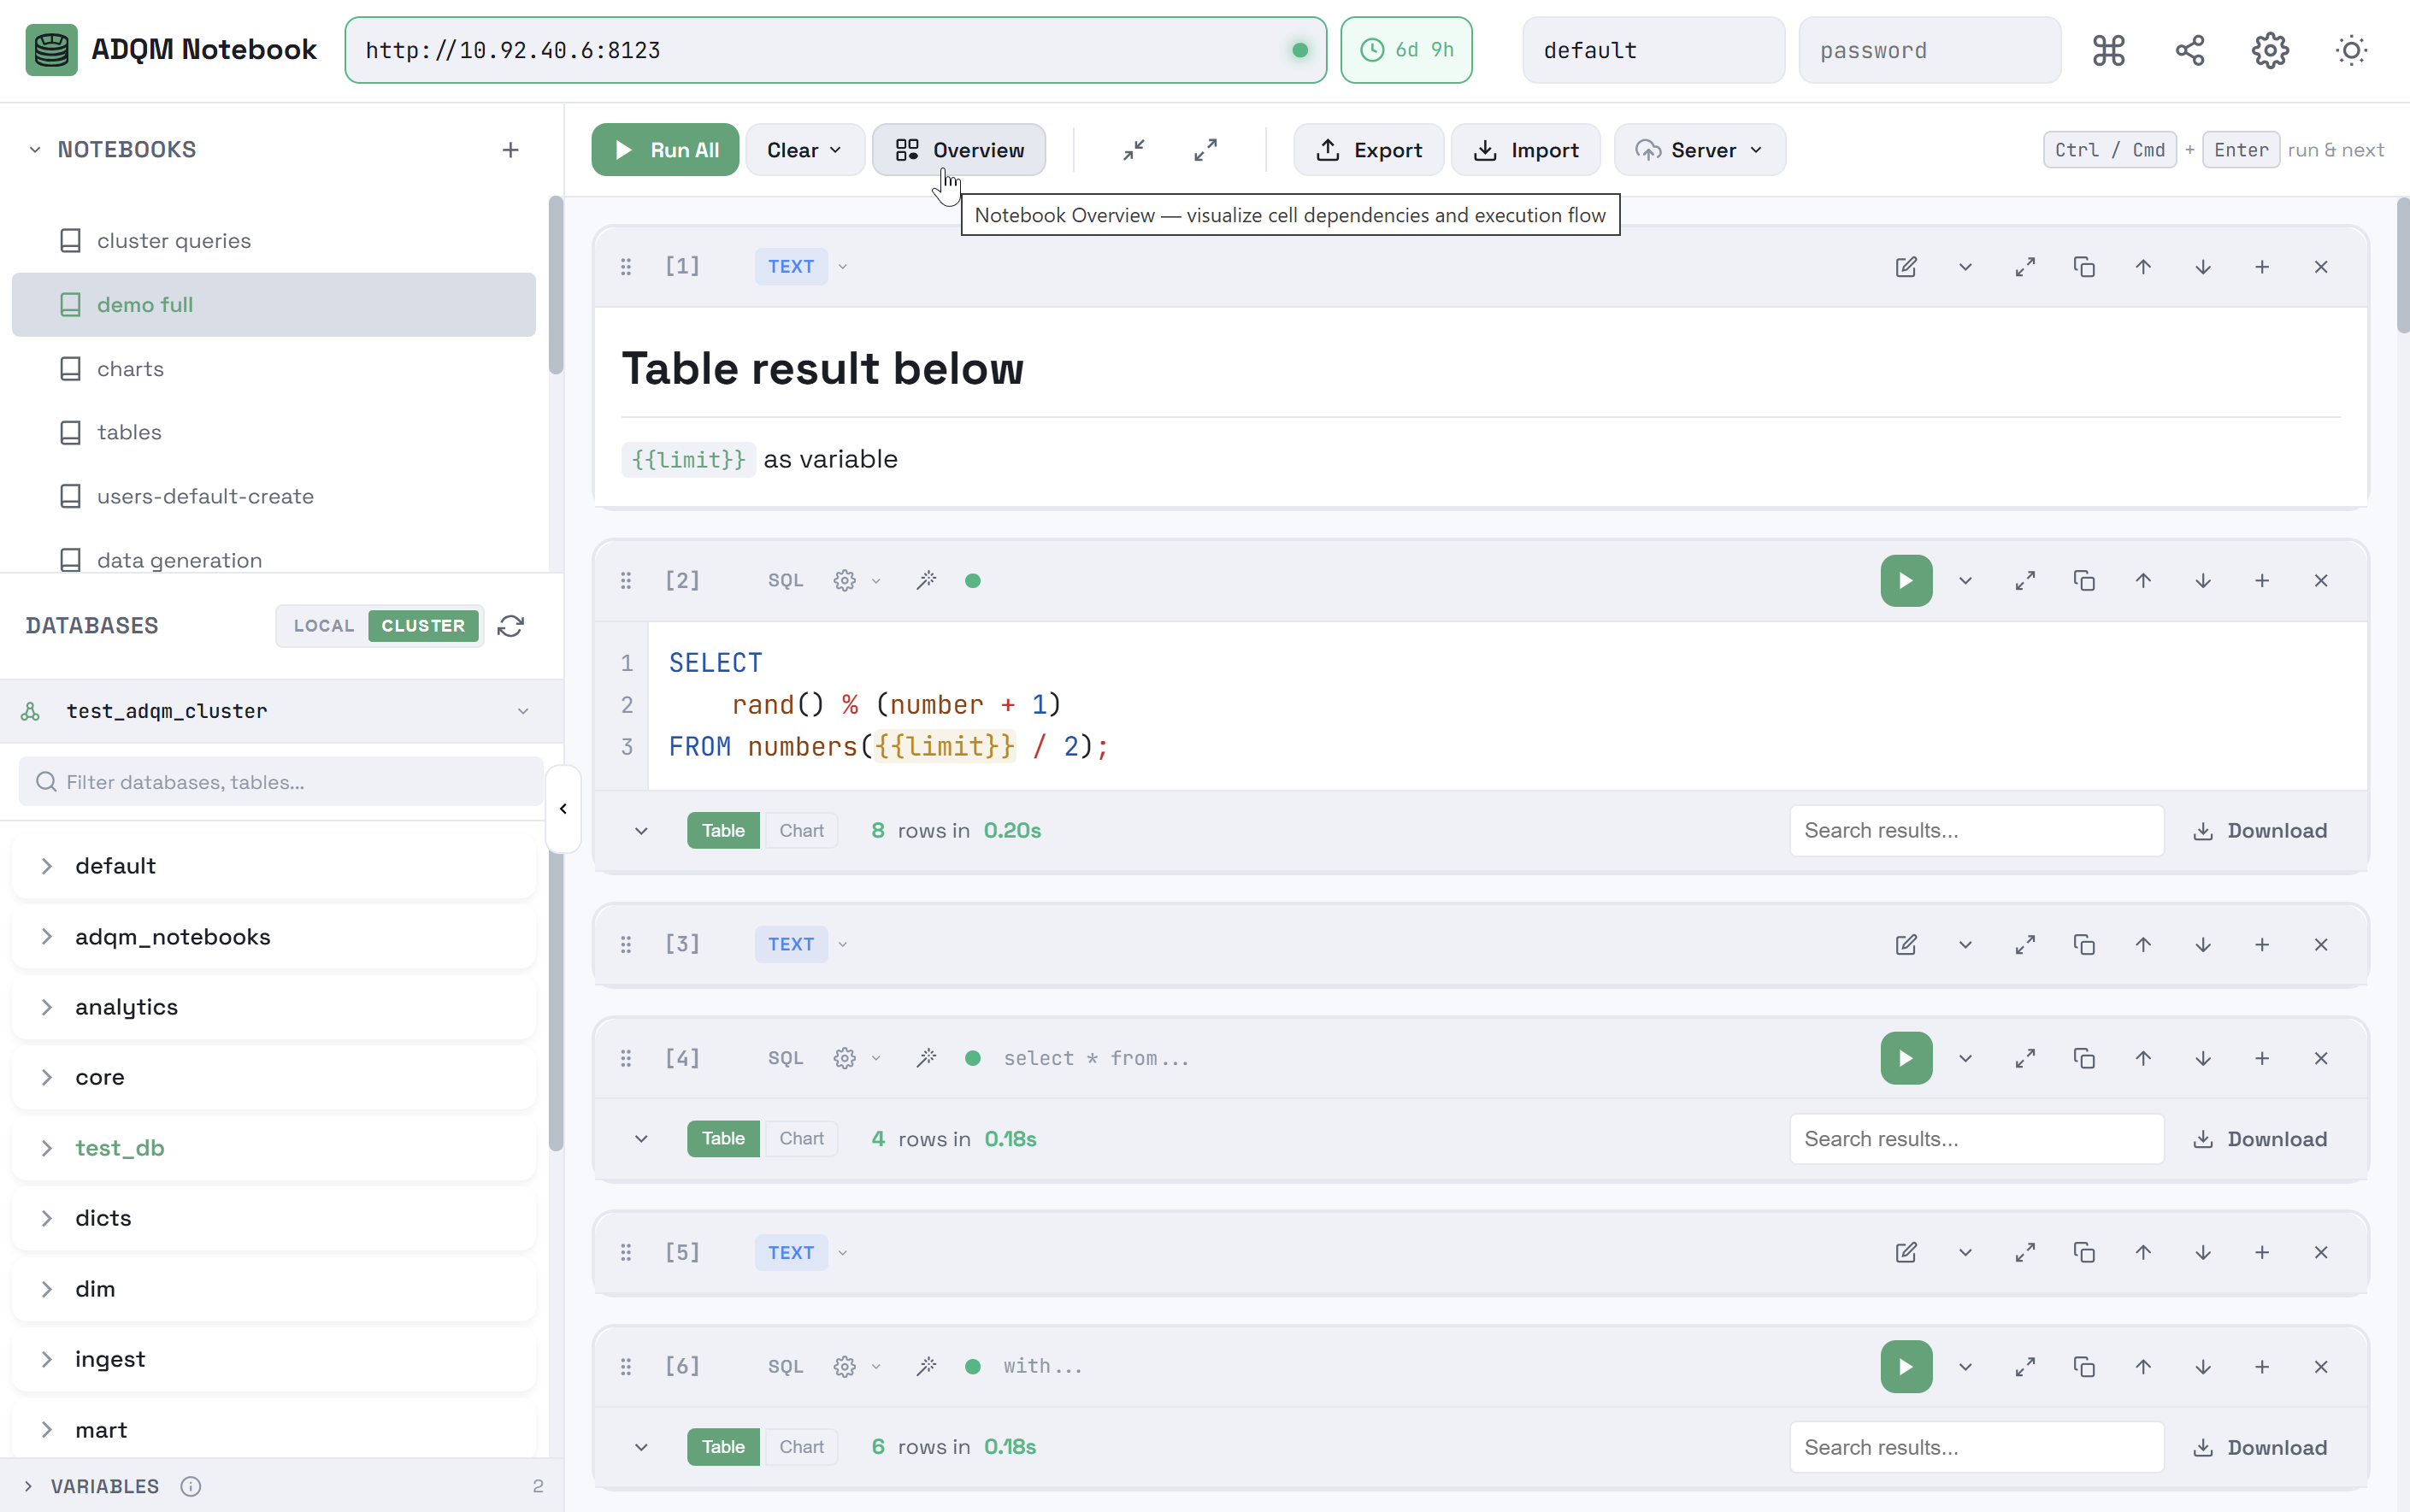
 Overview — view aggregated information about a notebook.
 -

 Collapse all queries — to collapse all queries in a notebook.
 -

 Expand all queries — to expand all queries in a notebook.
 -

 Export — to export a notebook to a JSON file.
 -

 Import — to import a notebook from a JSON file.
 -

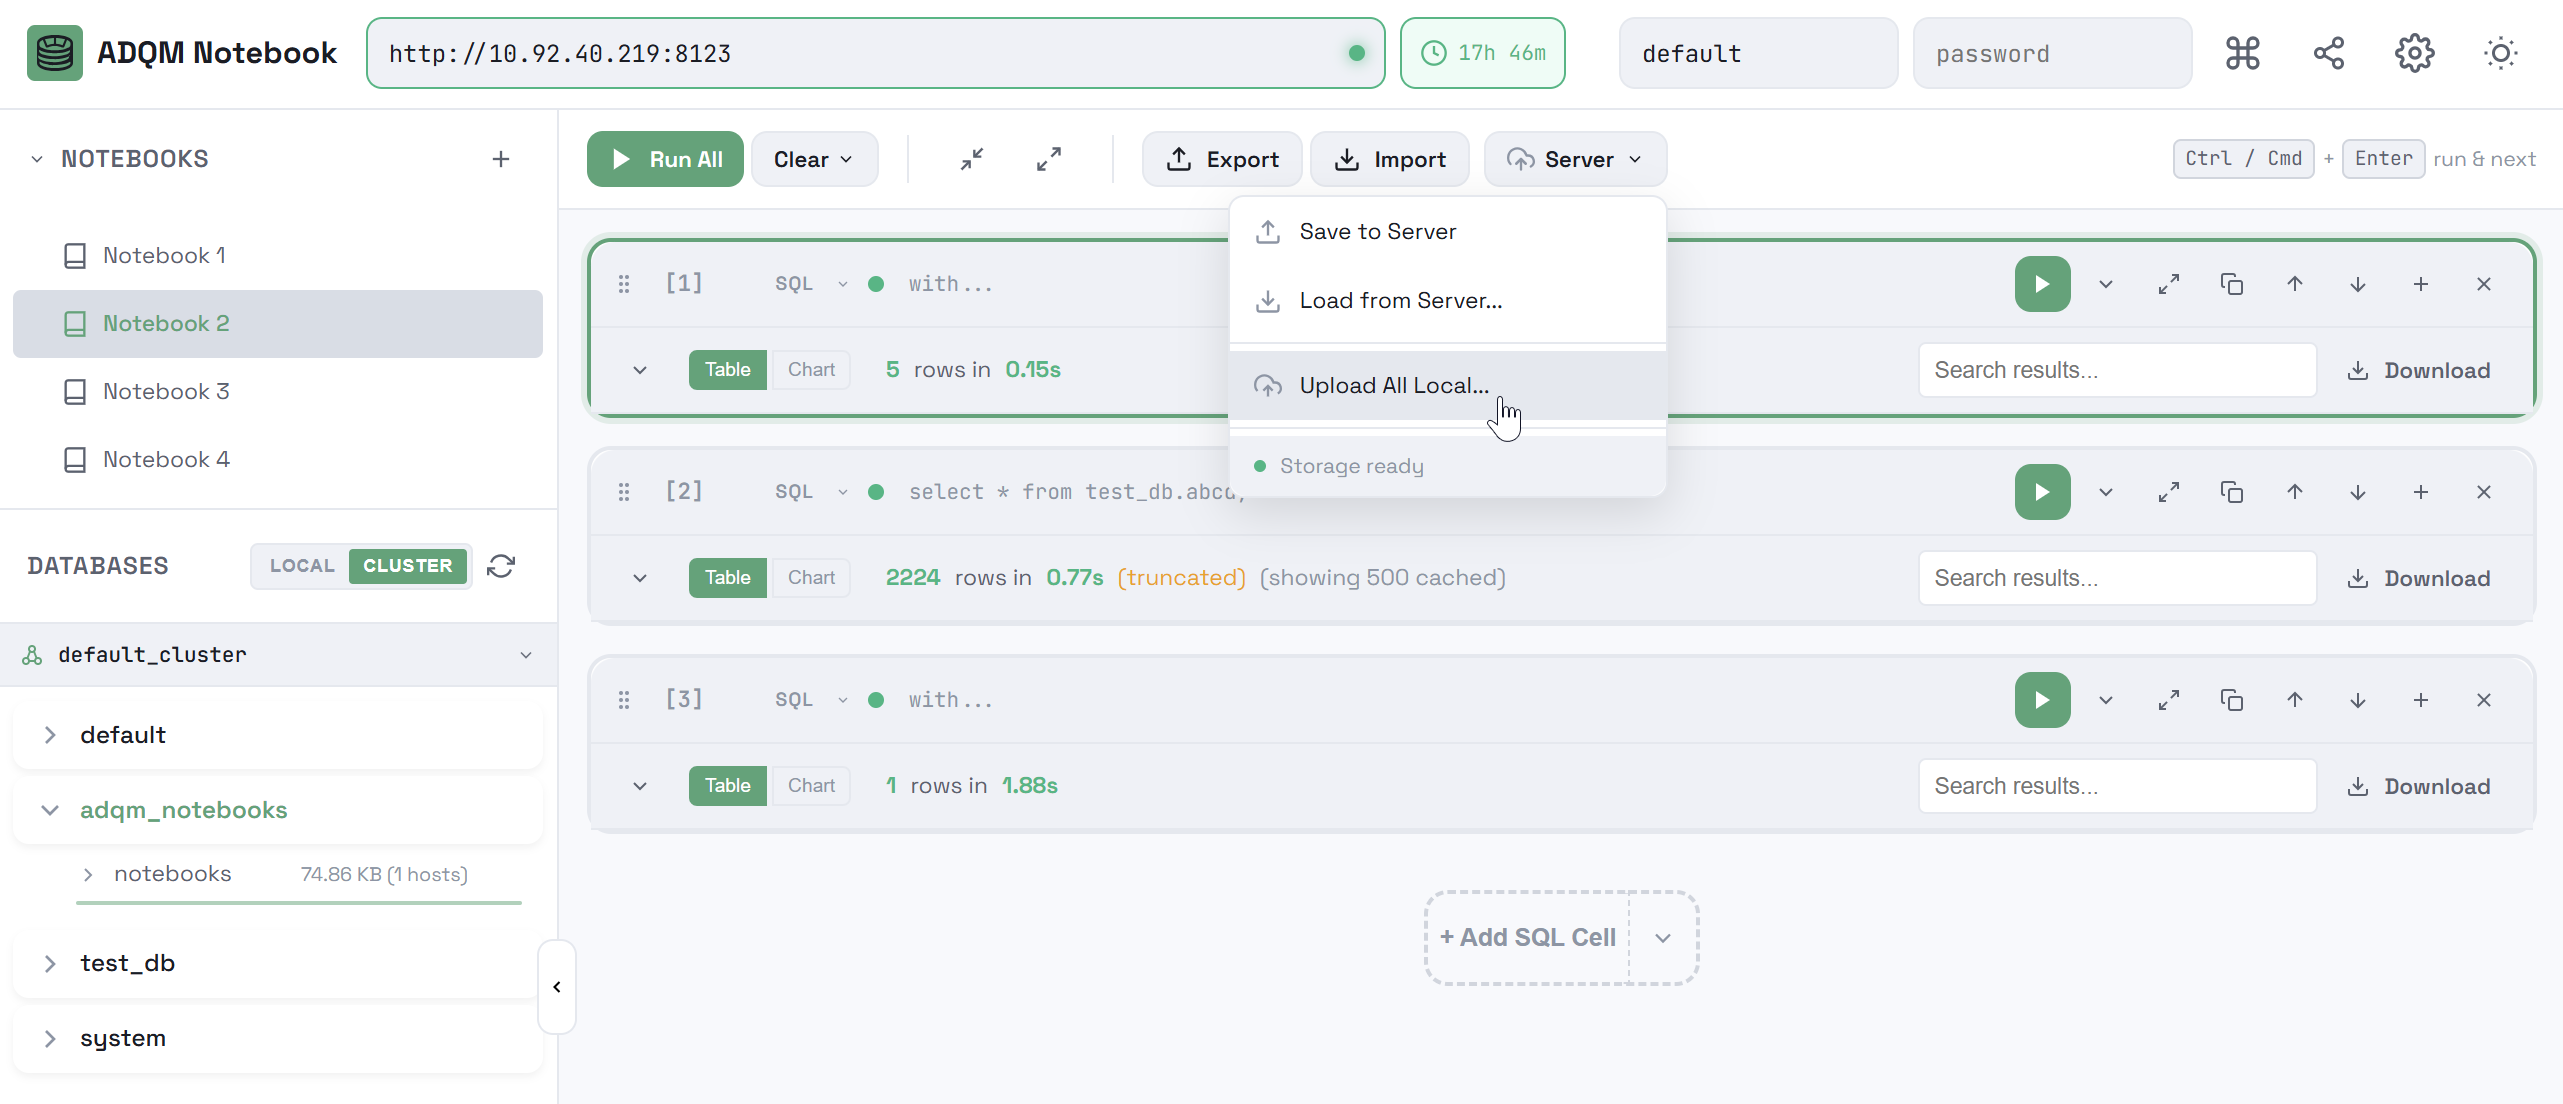
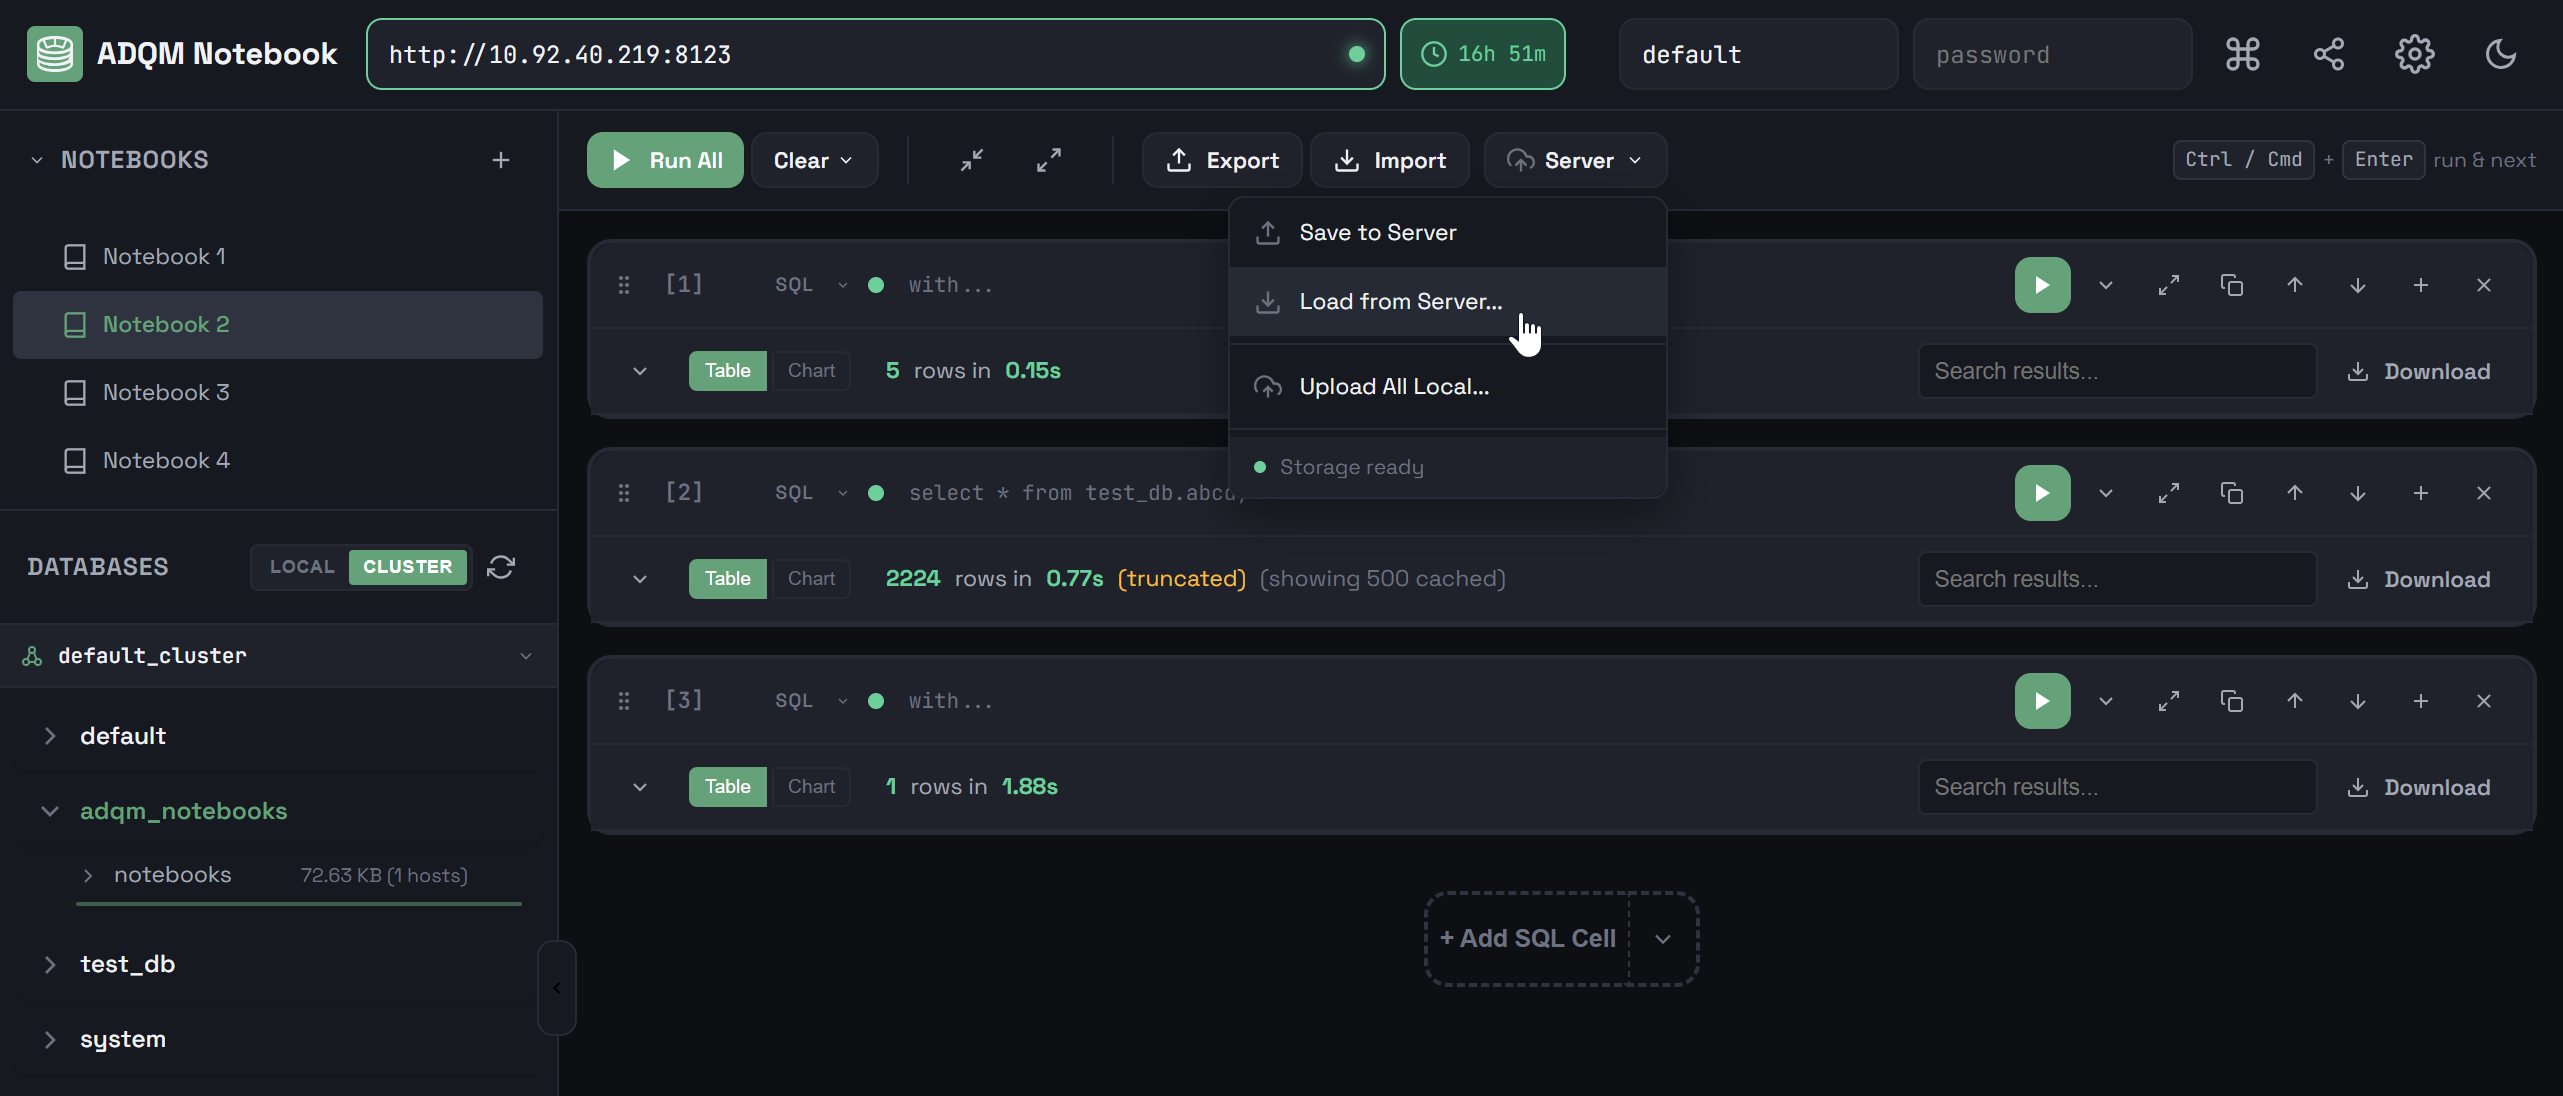
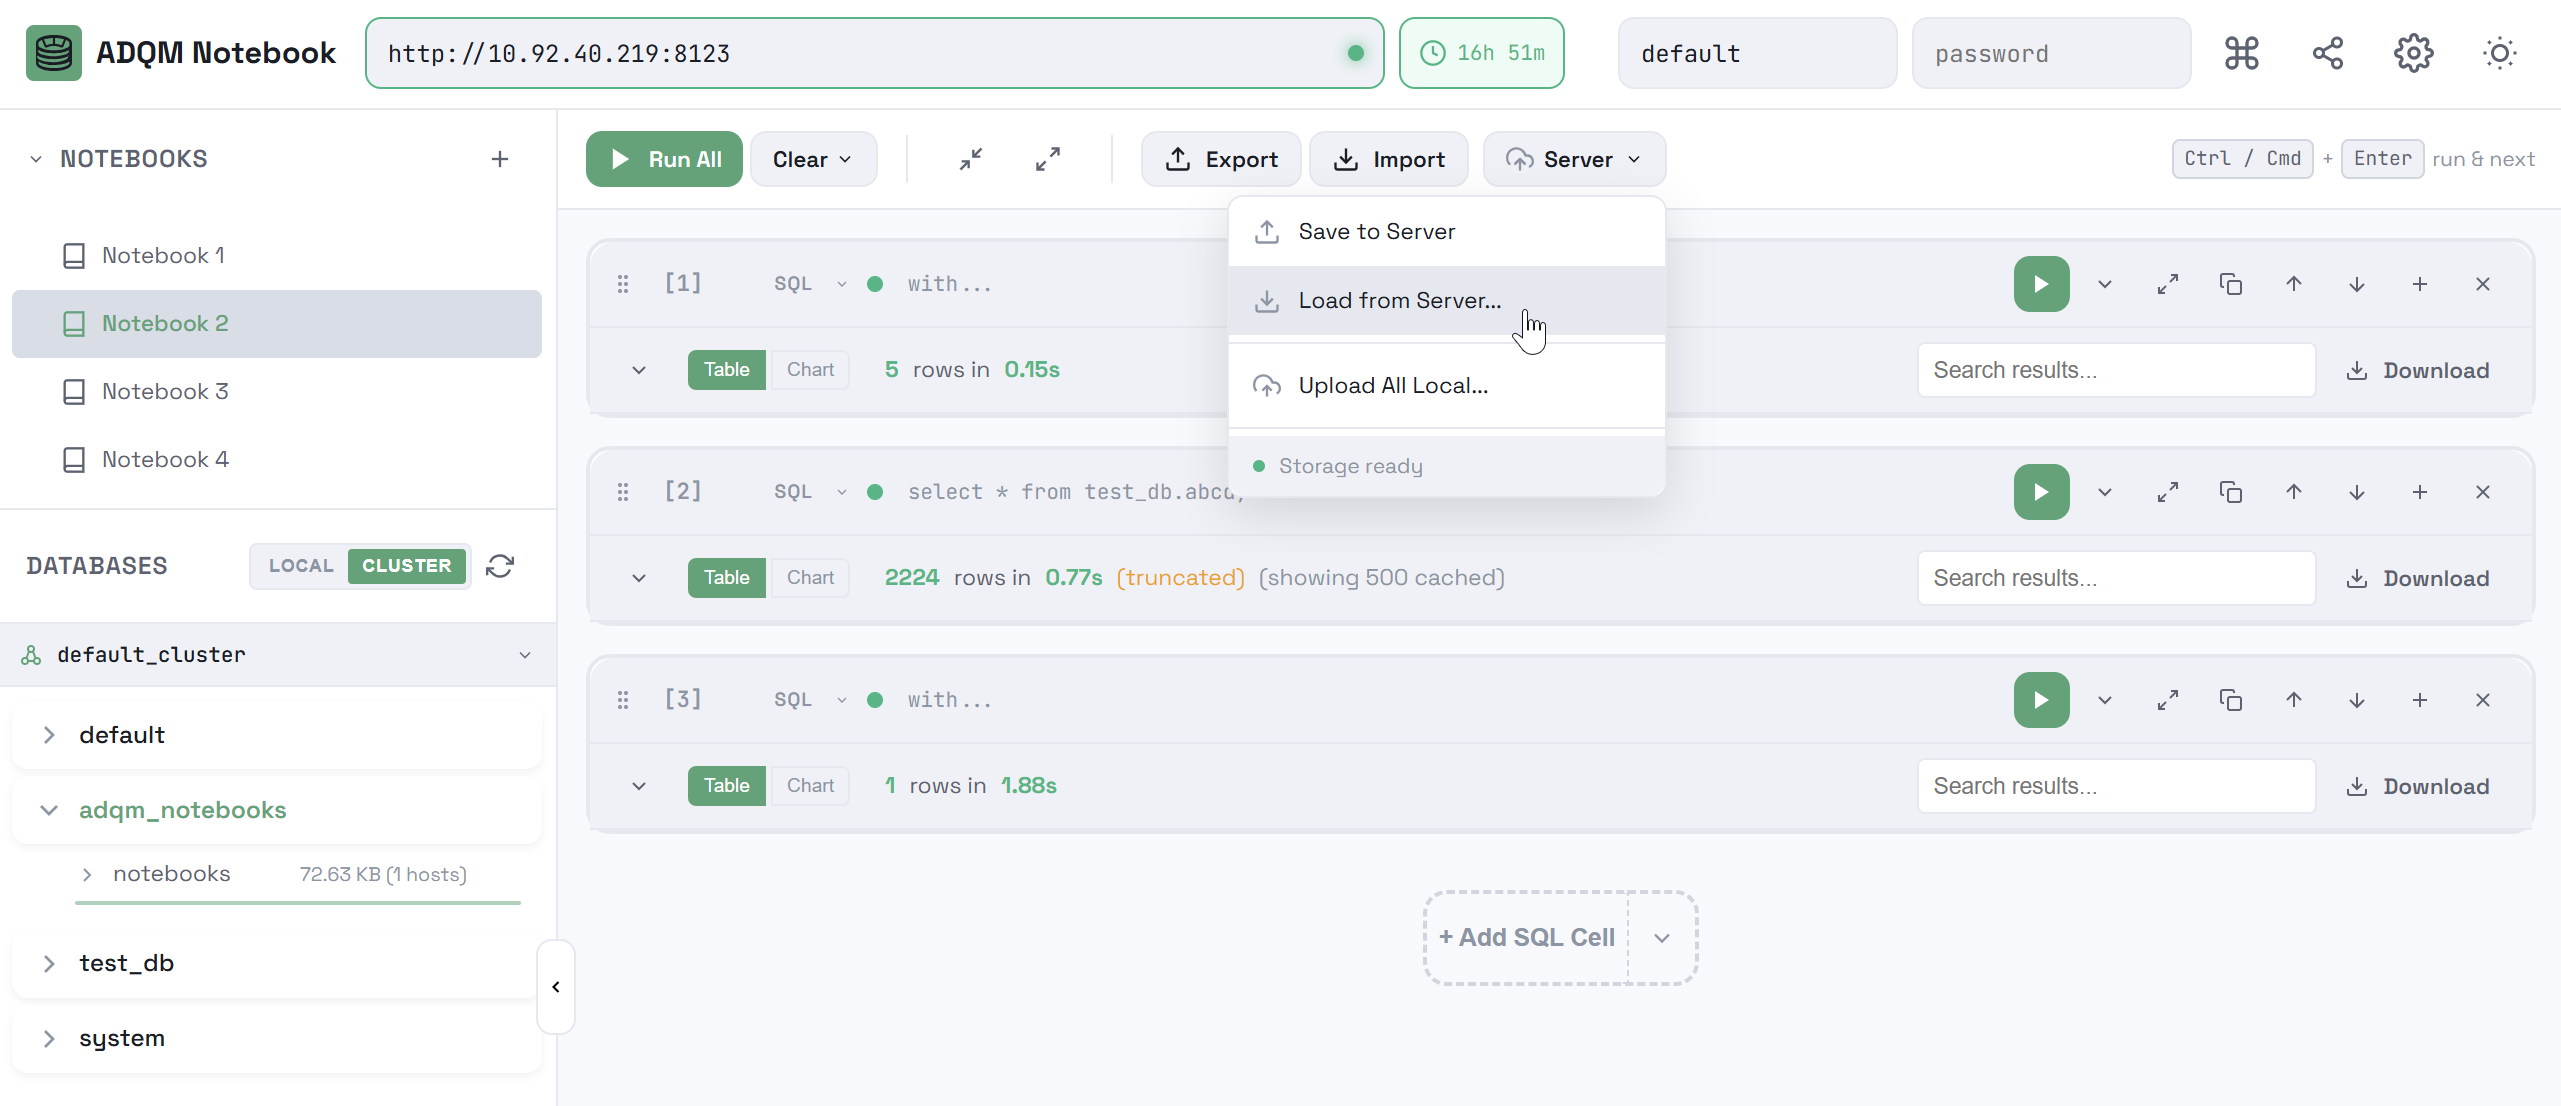
 Server — to expand the list of commands for storing notebooks on the ClickHouse server.
-
Notebook overview
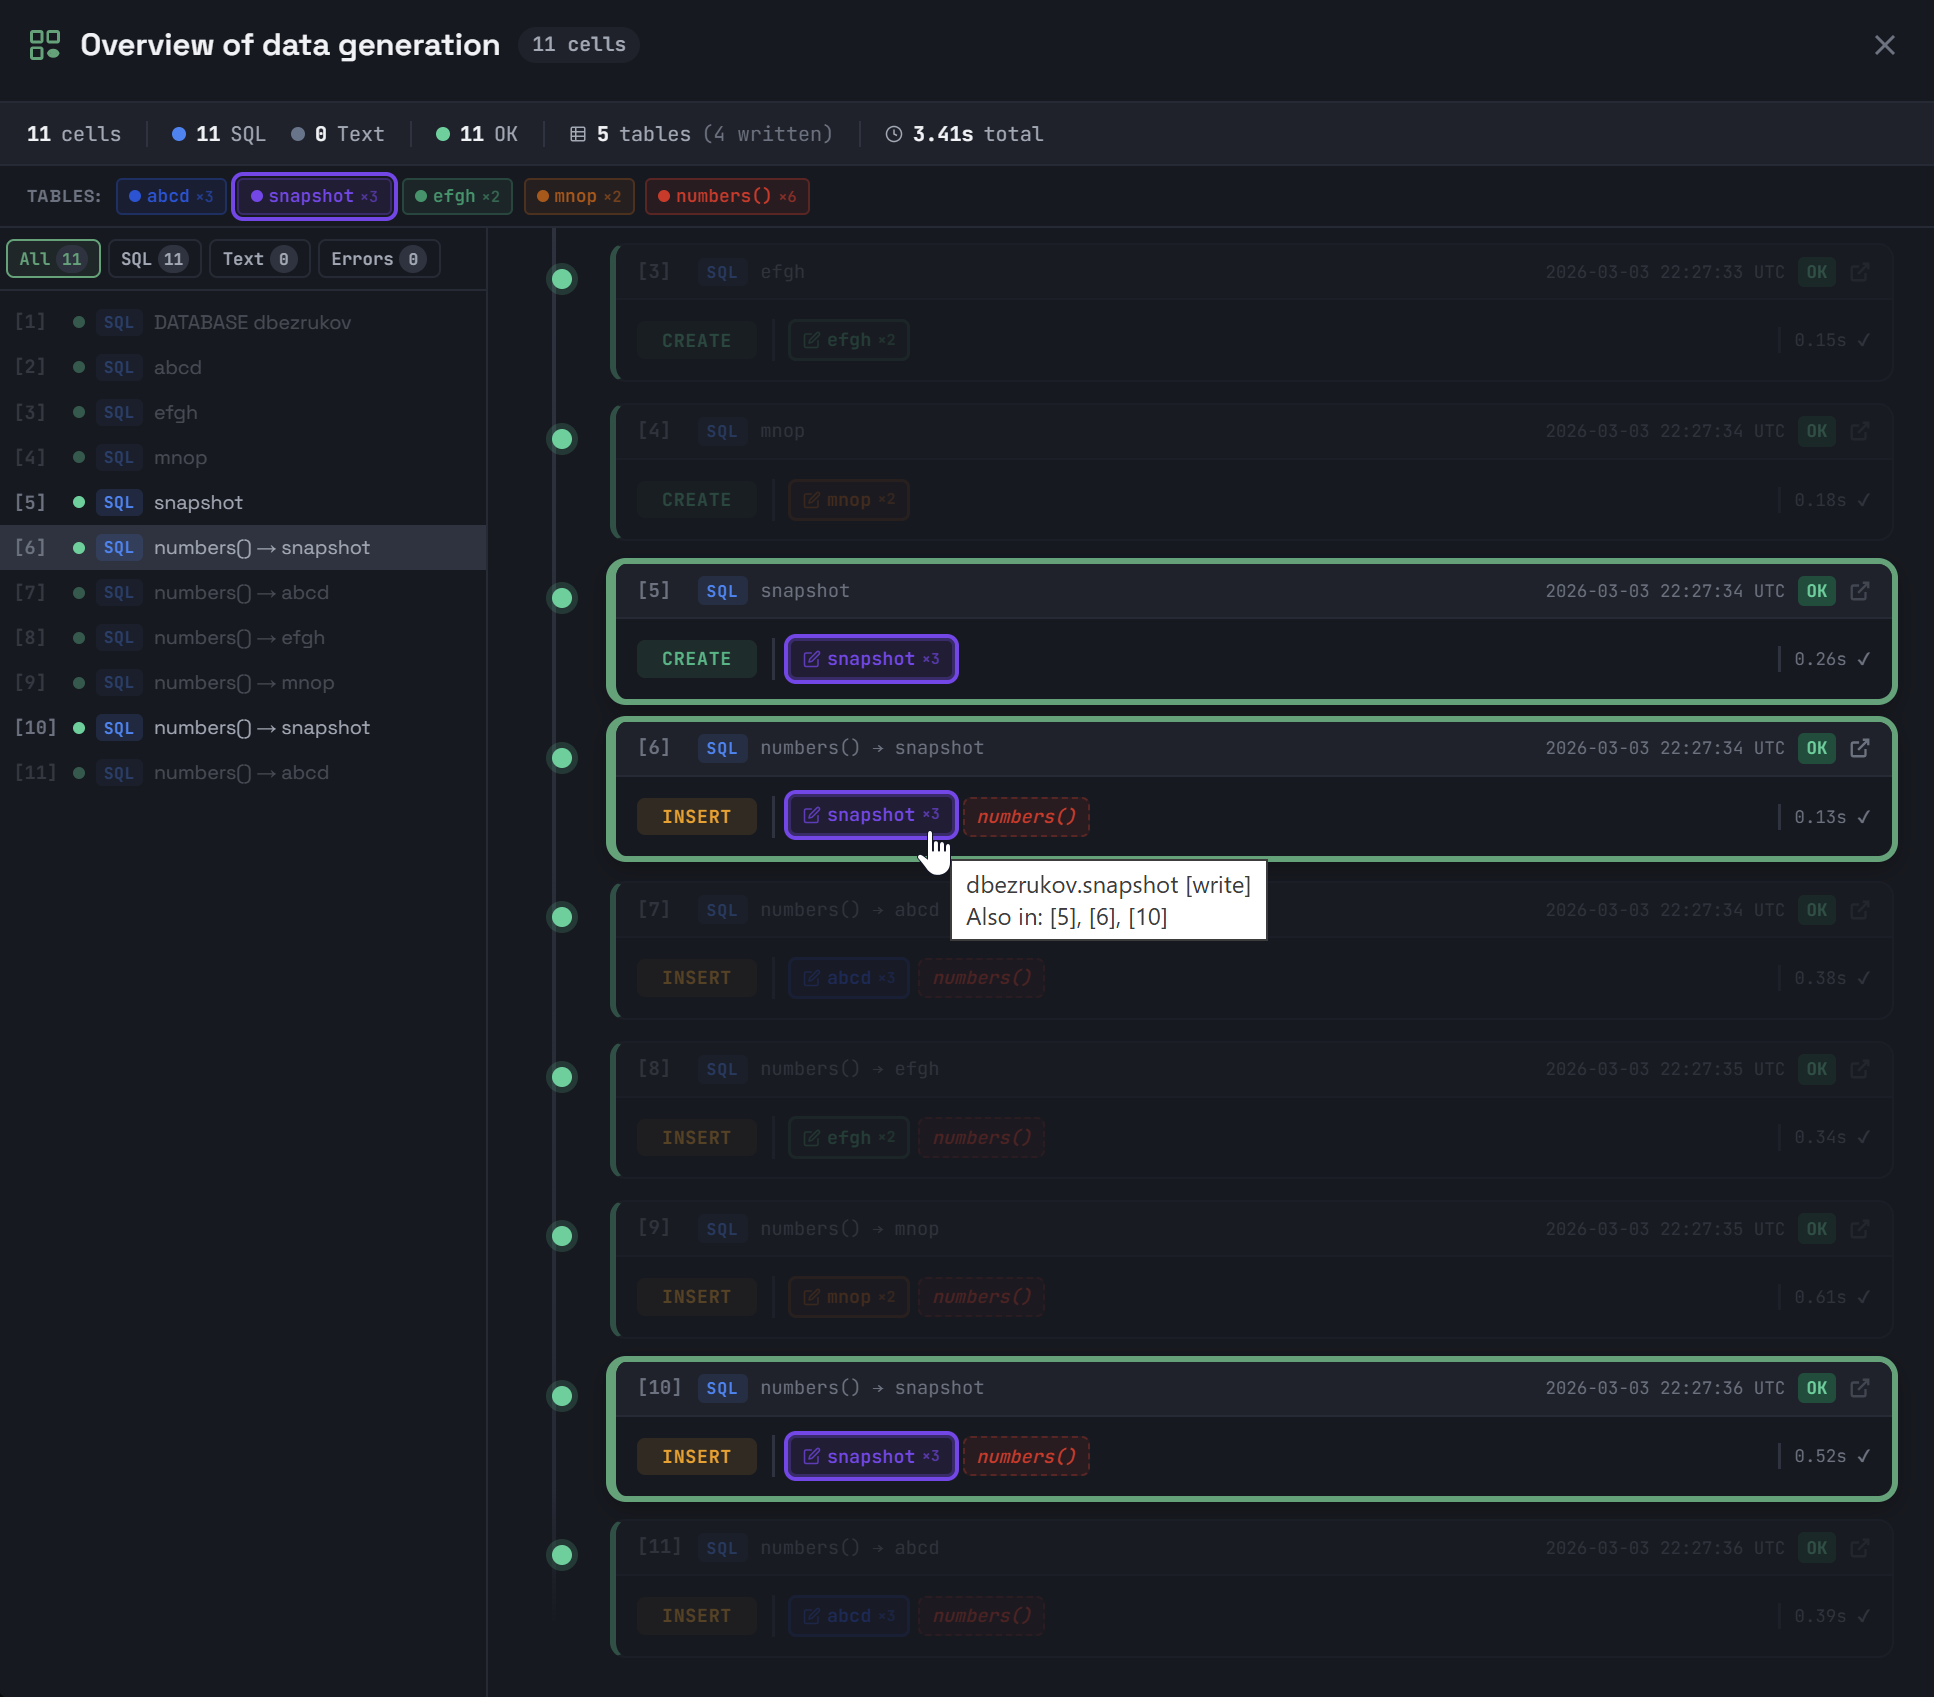
To understand and analyze the overall state of a notebook containing multiple cells of different types with queries that access different data tables, it may be helpful to view the information about the notebook in aggregated form. To do this, click ![]()
![]() Overview in the notebook’s control panel.
Overview in the notebook’s control panel.
The Overview of <notebook_name> modal window that opens shows the contents of the <notebook_name> notebook in a shorter format.
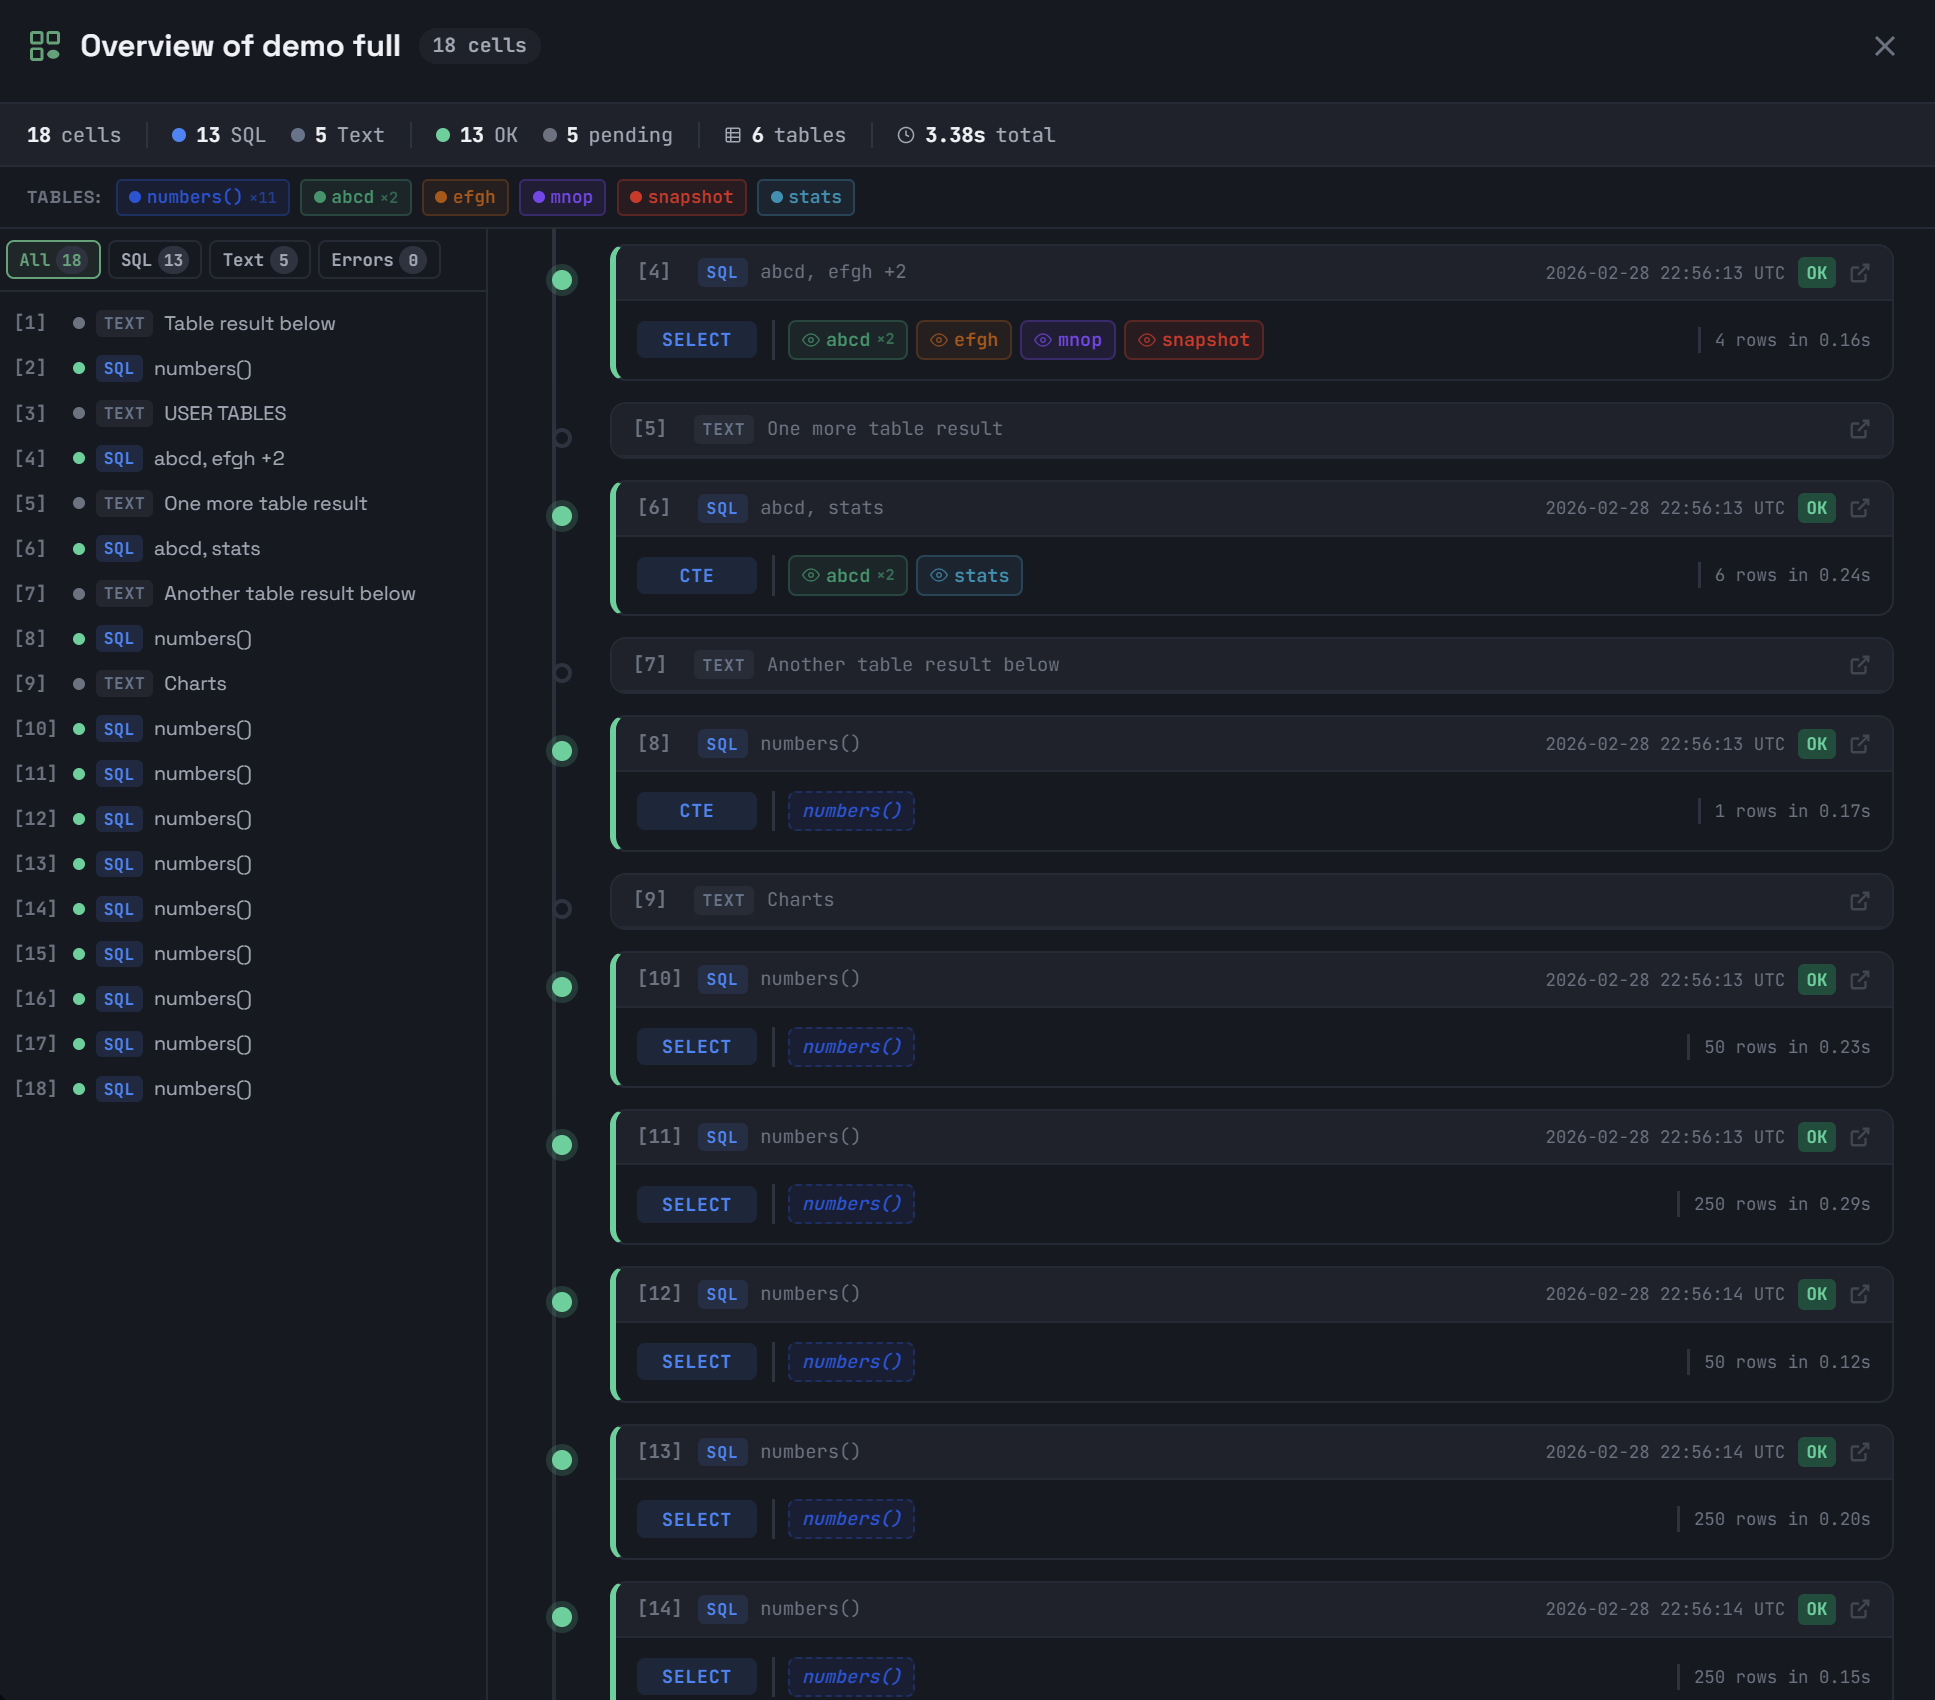
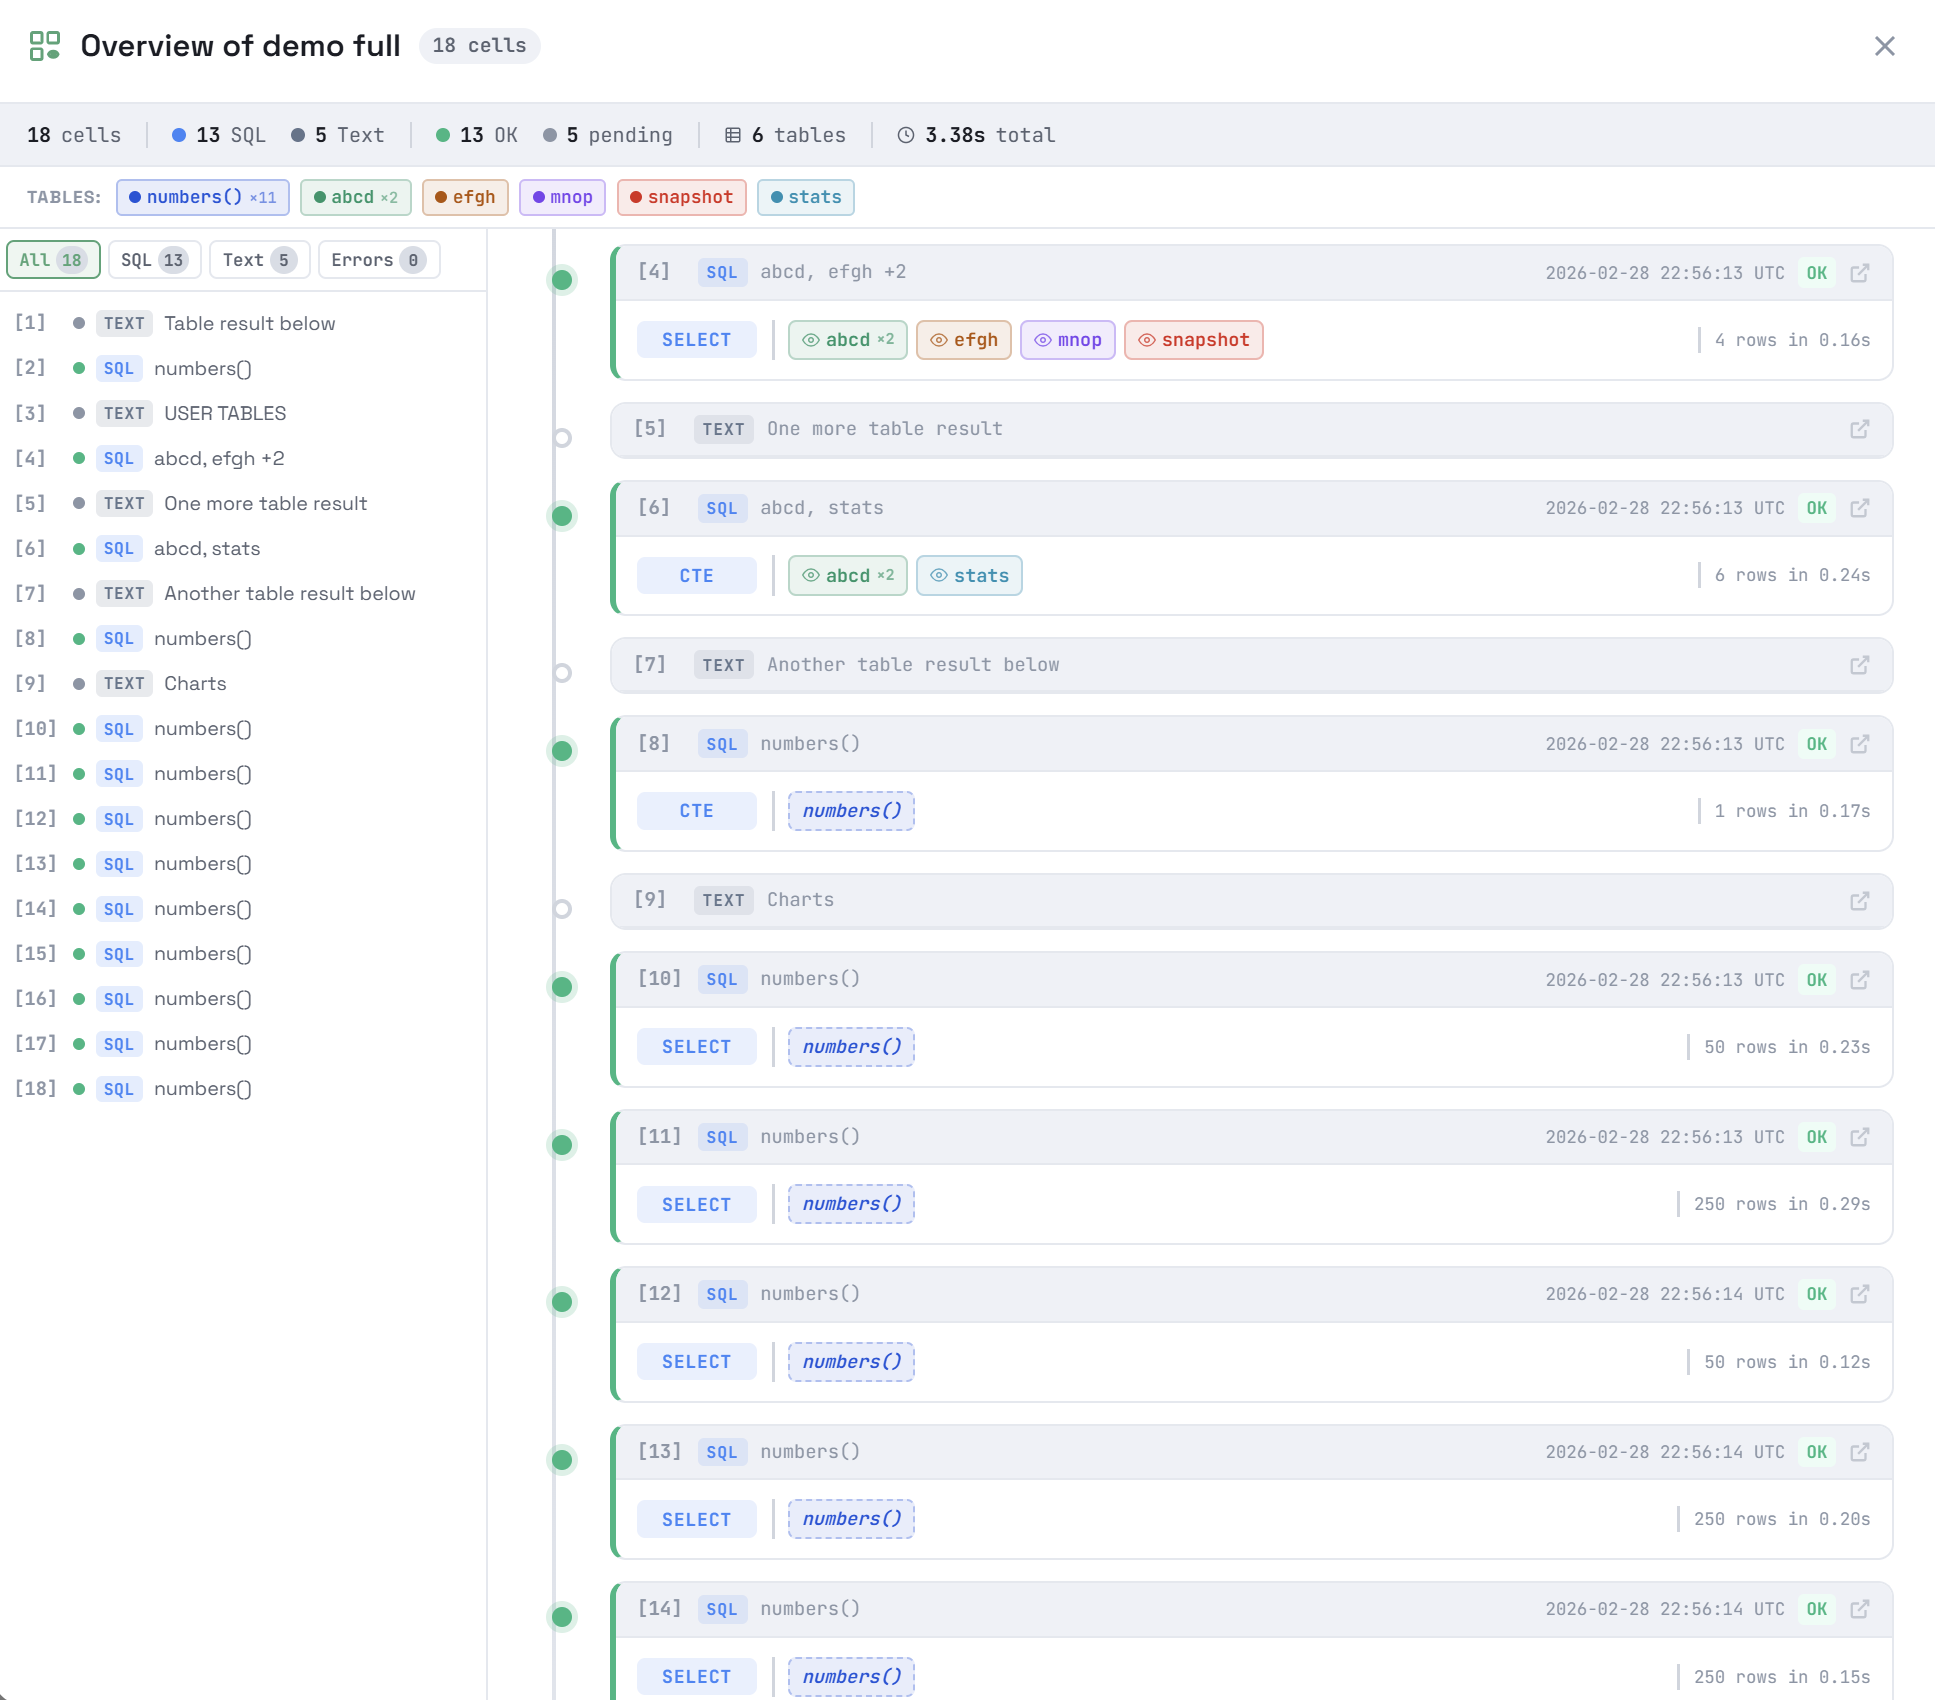
The top part of the window displays general information about cells of a notebook:
-
total number of cells in a notebook;
-
number of cells of each type (SQL, Text);
-
number of cells with different query execution statuses (OK, pending, errors);
-
number of tables accessed by queries in notebook cells, and separately, number of tables into which data is written;
-
total execution time of queries in cells.
Below is the TABLES panel, which lists all tables accessed by queries in the notebook’s SQL cells, along with the total number of queries accessing each table. Clicking a table highlights all cells containing queries that use this table.
On the left side of the window, there is a list of notebook cells with shortened information. For each cell, it displays the sequence number, query status indicator (for text cells — the indicator ![]()
![]() ), cell type (SQL or TEXT), and a cell "header" depending on the type:
), cell type (SQL or TEXT), and a cell "header" depending on the type:
-
TEXT — the first line of text in a cell;
-
SQL — the name of an object being queried (for example: database or table name when creating an object; table name when inserting data or a record like
source_table → target_tablewhen inserting data from one table to another; names of tables or table functions when reading data).
Use the predefined filters located above the list (All, SQL, TEXT, Errors) to select which type of cells should be shown in the window.
The main area of the Overview window displays notebook’s cells with more detailed (but still aggregated) information. For each SQL cell, it additionally outputs:
-
time the query was last executed;
-
query execution time and number of data rows returned (for queries that read data);
-
query kind (CREATE, SELECT, INSERT, etc.);
-
tables involved in the query (no more than 20 tables for one query). Tables that accept data are marked with the icon

 , tables from which data is selected are marked with the icon
 . For each table, the number of queries that use this table is also shown. Hovering the mouse over a table in a cell highlights other cells with queries that reference this table. Clicking a table also highlights all cells accessing this table, as well as turns on the corresponding filter in the TABLES panel.
Click a cell in this area to navigate to this cell in the notebook workspace.

Export/import notebooks in JSON format
To export the current notebook to a JSON file, click ![]()
![]() Export in the notebook control panel.
Export in the notebook control panel.
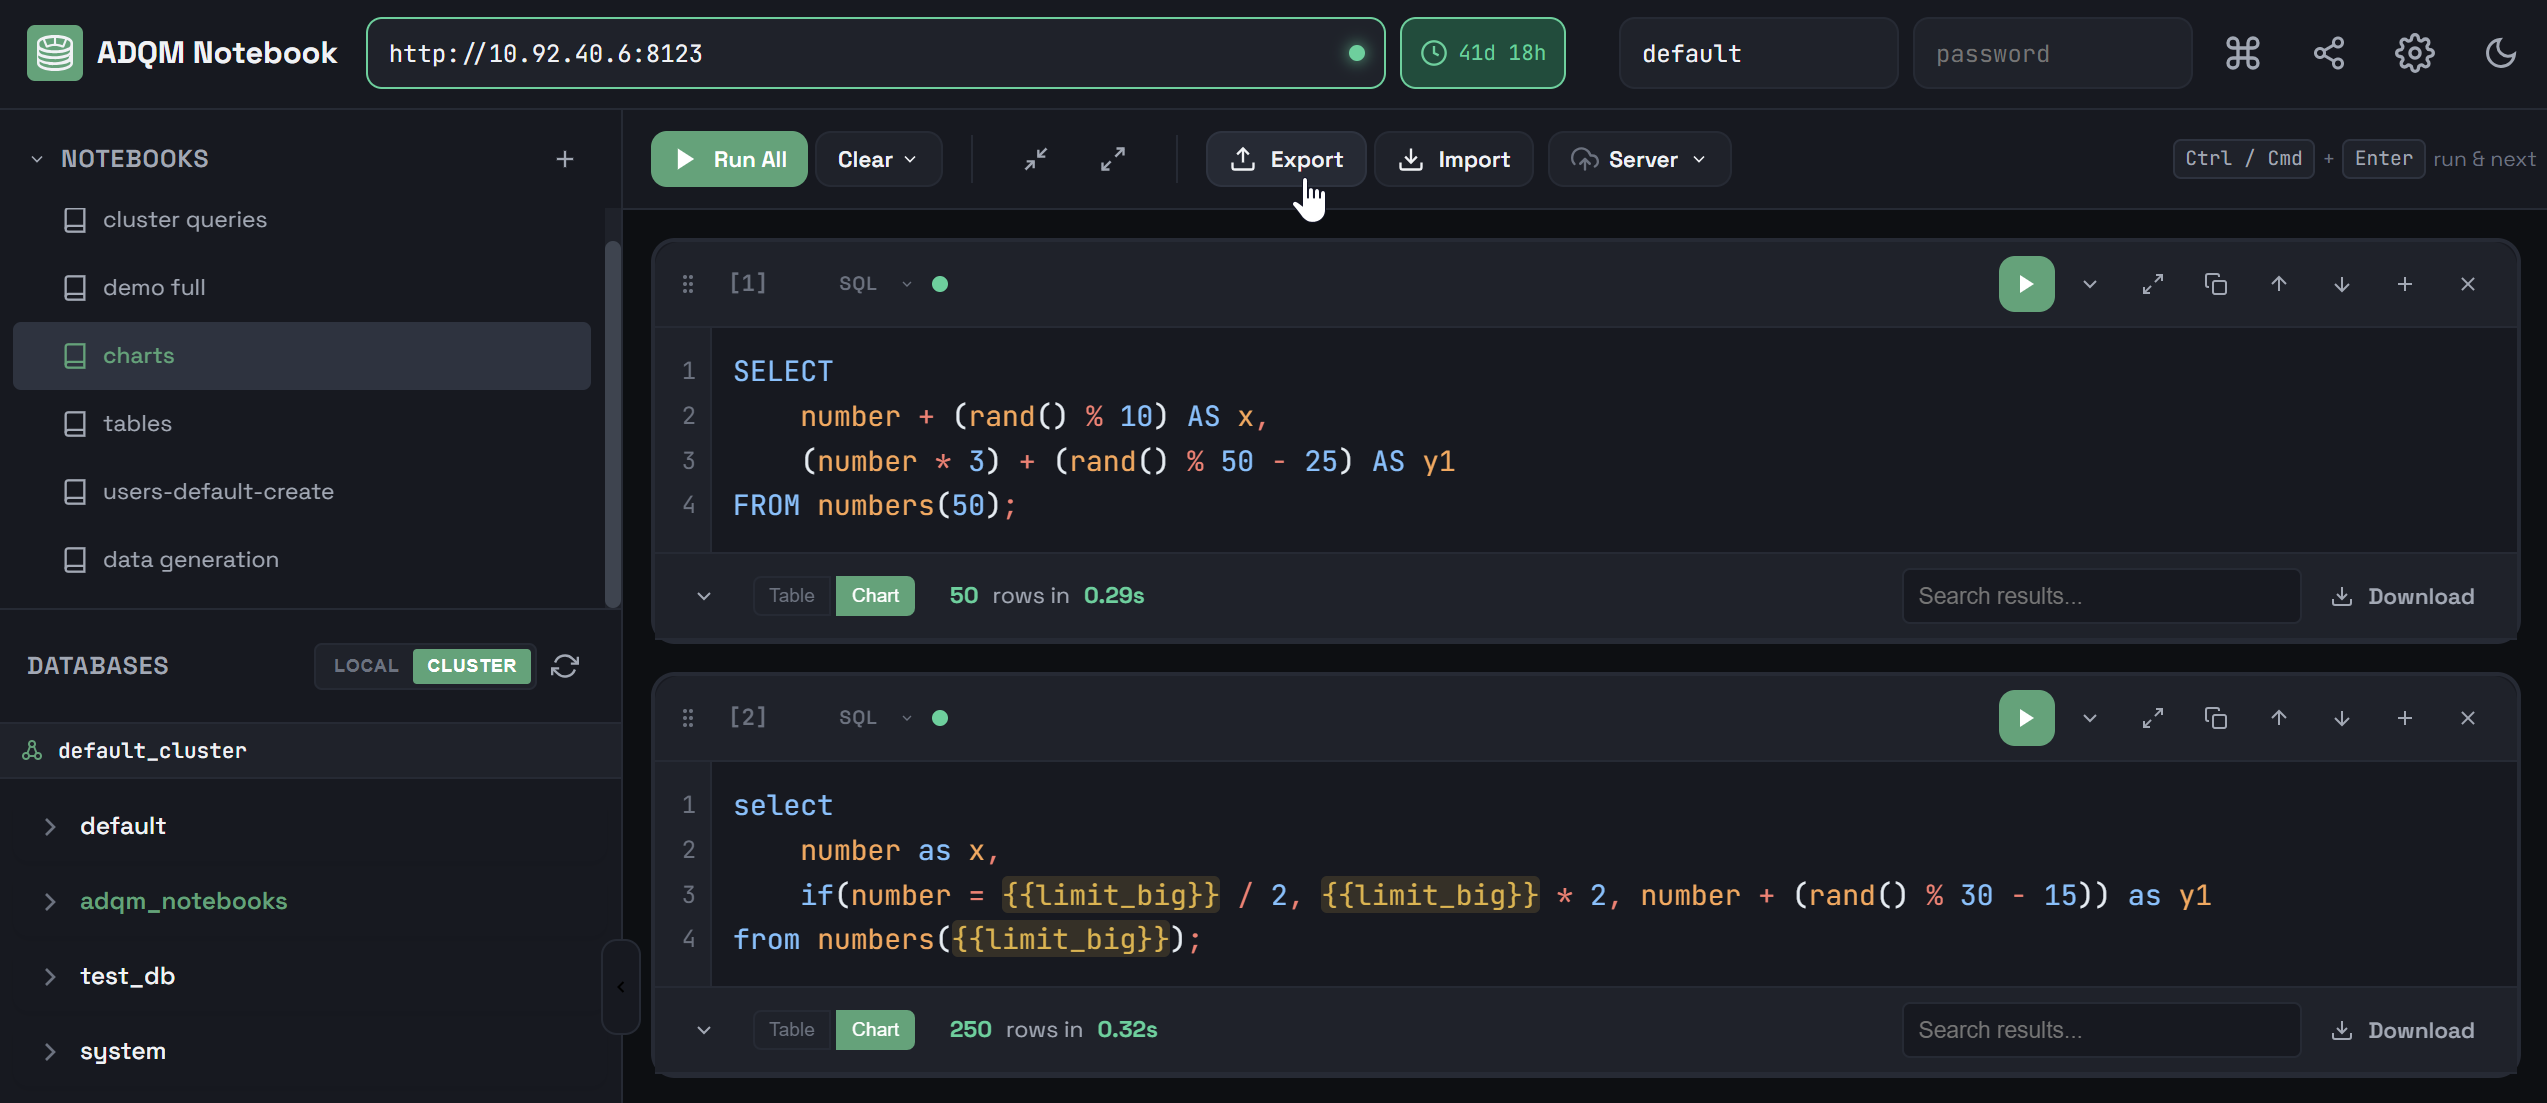

A JSON file with the same name as a notebook will be created in the Downloads directory. This file will contain complete information on the state of the notebook:
-
cells, including queries with their execution statuses, results, and query statistics (if available at the time of export);
-
variables;
-
settings, including sorting state (column, direction), chart configurations (type, axes);
-
connection URL (but it will not be applied on import to share it to another host for convenience);
-
username.
A password is not included.
To import a previously exported notebook, click ![]()
![]() Import in the notebook control panel and select a JSON file.
Import in the notebook control panel and select a JSON file.
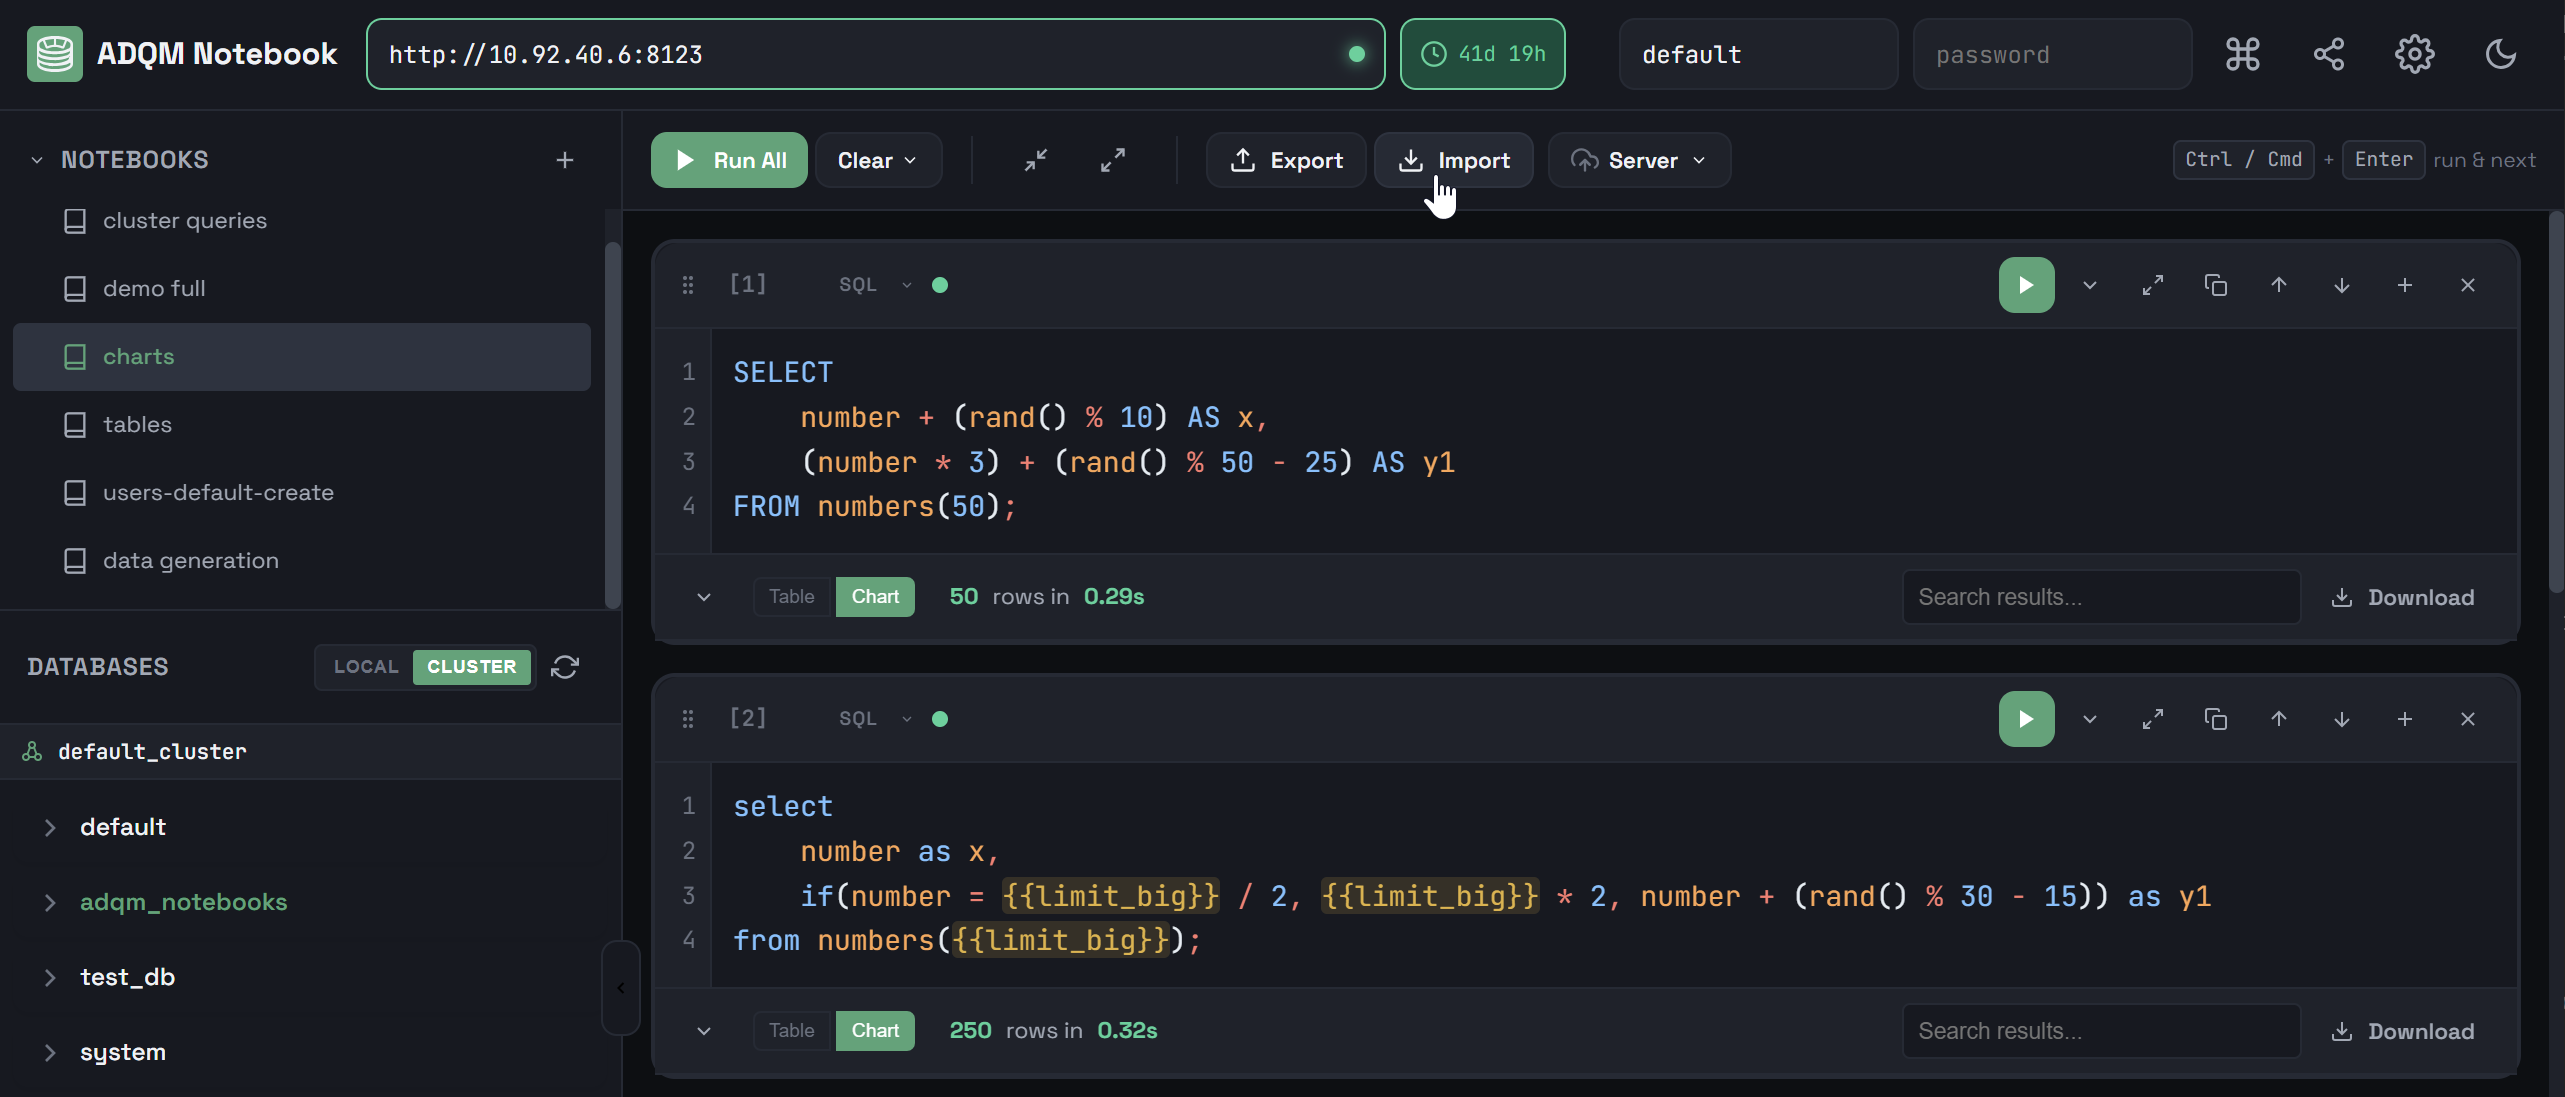
An imported notebook will be added to the list within the NOTEBOOKS panel with a name in the <notebook_name> (dd-mm-yyyy hh:mm:ss) format, where <notebook_name> is a name of the JSON file corresponding to the notebook name, and dd-mm-yyyy hh:mm:ss is the date and time of import.
Store notebooks on the ClickHouse server
Notebooks created in the ADQM Notebook interface can be saved to a separate database on the ClickHouse server and loaded from there later. Additionally, auto synchronization with the server will be performed on connection — on successful connection, notebooks will be automatically loaded from the server storage, if available.
Set up notebook storage
To prepare storage for notebooks on the ClickHouse server, follow the steps:
-
Open the
Server list in the notebook control panel and select the 
 Manage Storage command.
 Manage notebook storage
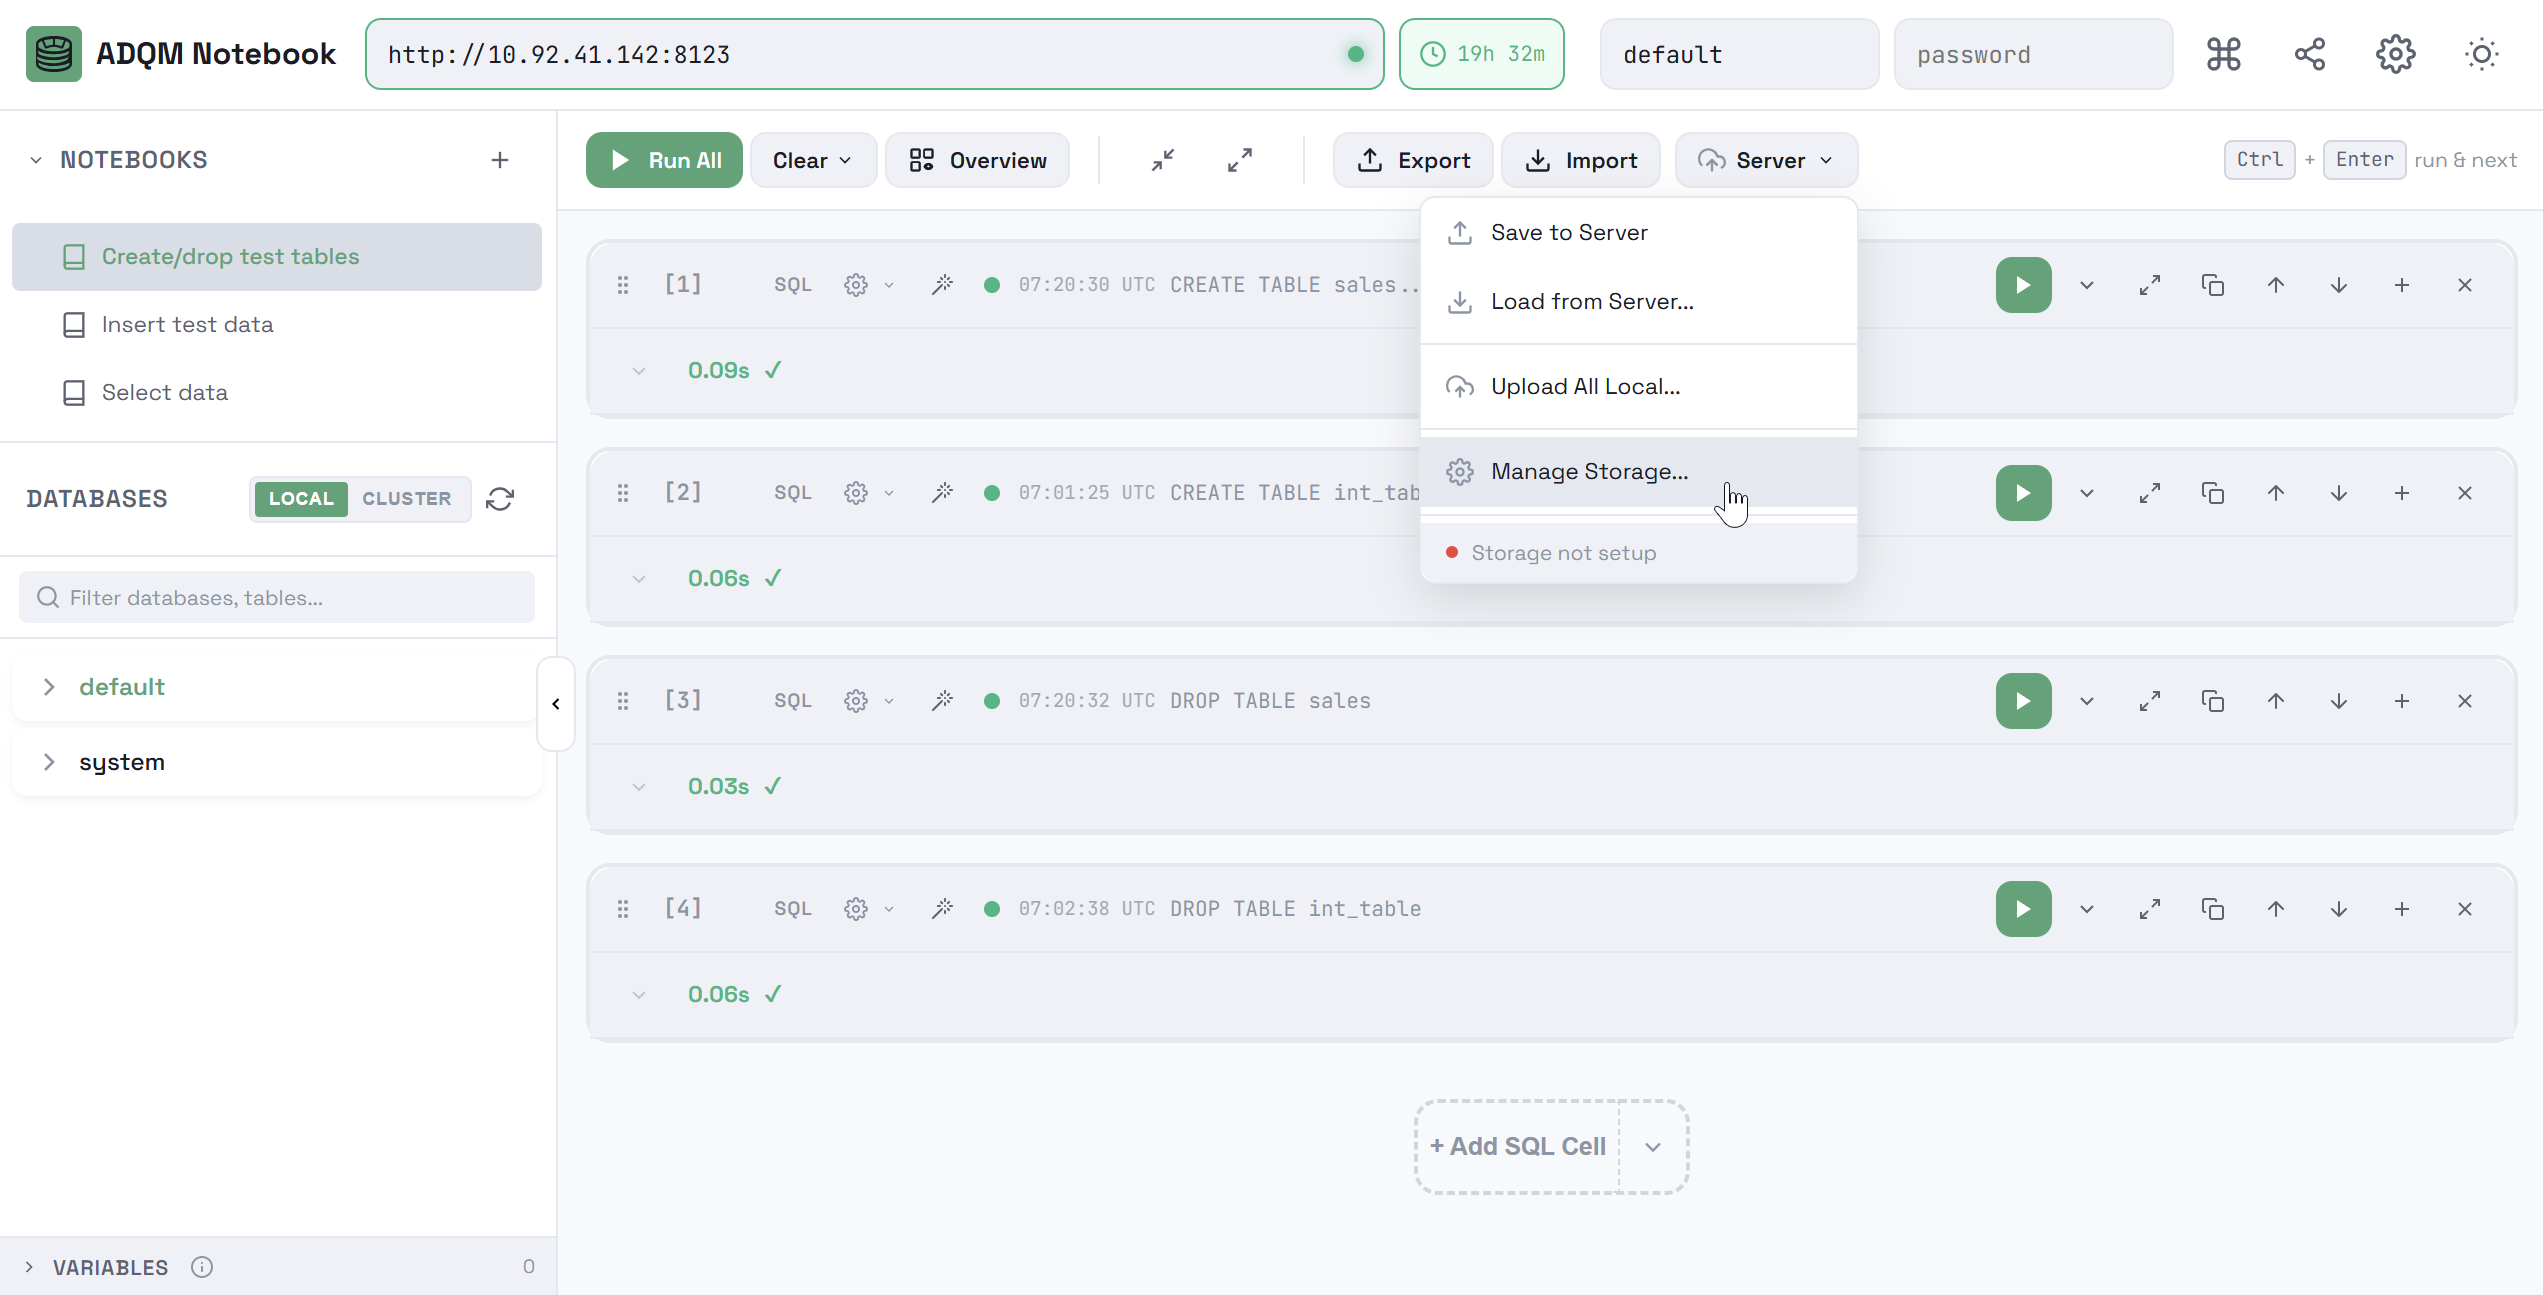 Manage notebook storage
Proceed to storage setup.
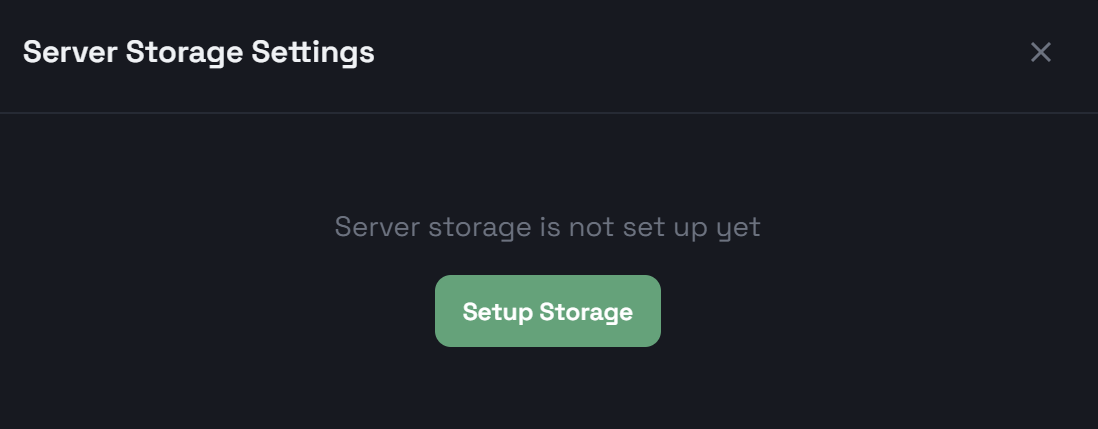 Proceed to notebook storage setup
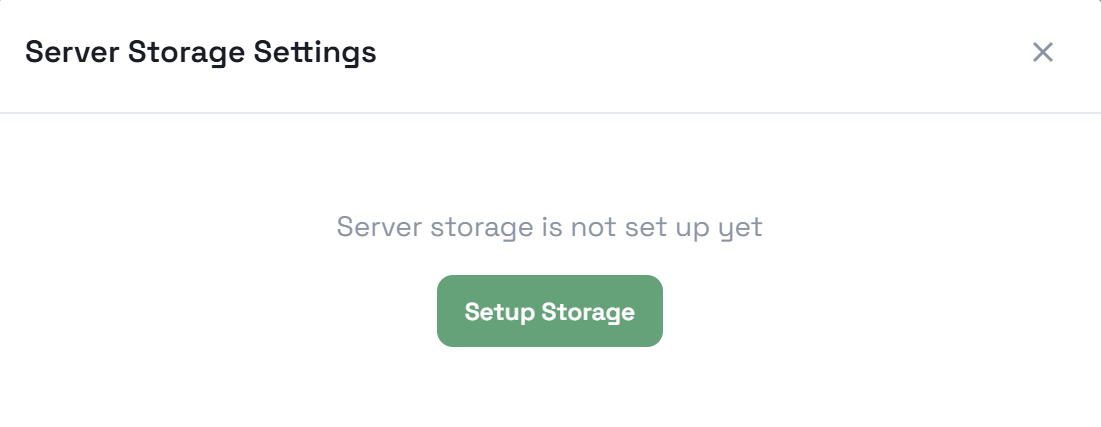 Proceed to notebook storage setup
You will also be prompted to configure notebook storage the first time you try to save a notebook to the server, if it has not been previously prepared.
-
In the Setup Server Storage window that opens, confirm the creation of the
notebookstable in theadqm_notebooksdatabase (notebooks will be saved to this table upon request in the future) and select the storage mode:-
Local — a local table based on the ReplacingMergeTree engine that will be stored on the current ADQM host. Each host will only "see" its own notebooks.
-
Replicated — a replicated table based on the ReplicatedReplacingMergeTree engine that will be stored on all ADQM cluster hosts. Notebooks created on a host and saved to the server will be available for loading into the ADQM Notebook interface from any host. When selecting this option, specify a target cluster.
If you initially select the Local storage mode, you can later change it to Replicated and automatically move notebooks stored in local tables on individual hosts to a replicated table (see Change the notebook storage mode below).
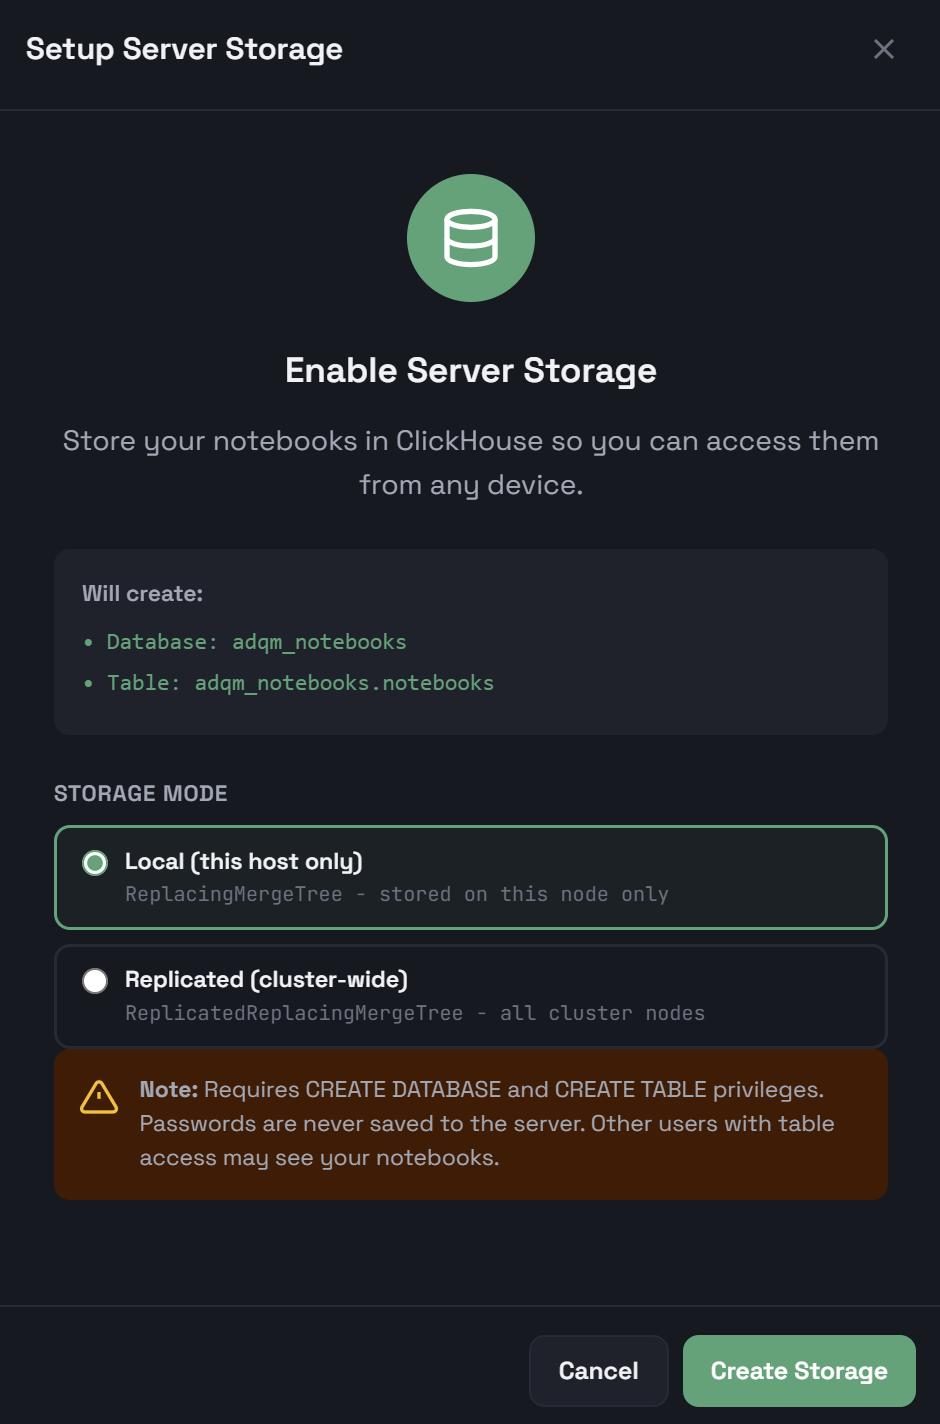 Create a local ADQM table to store notebooks
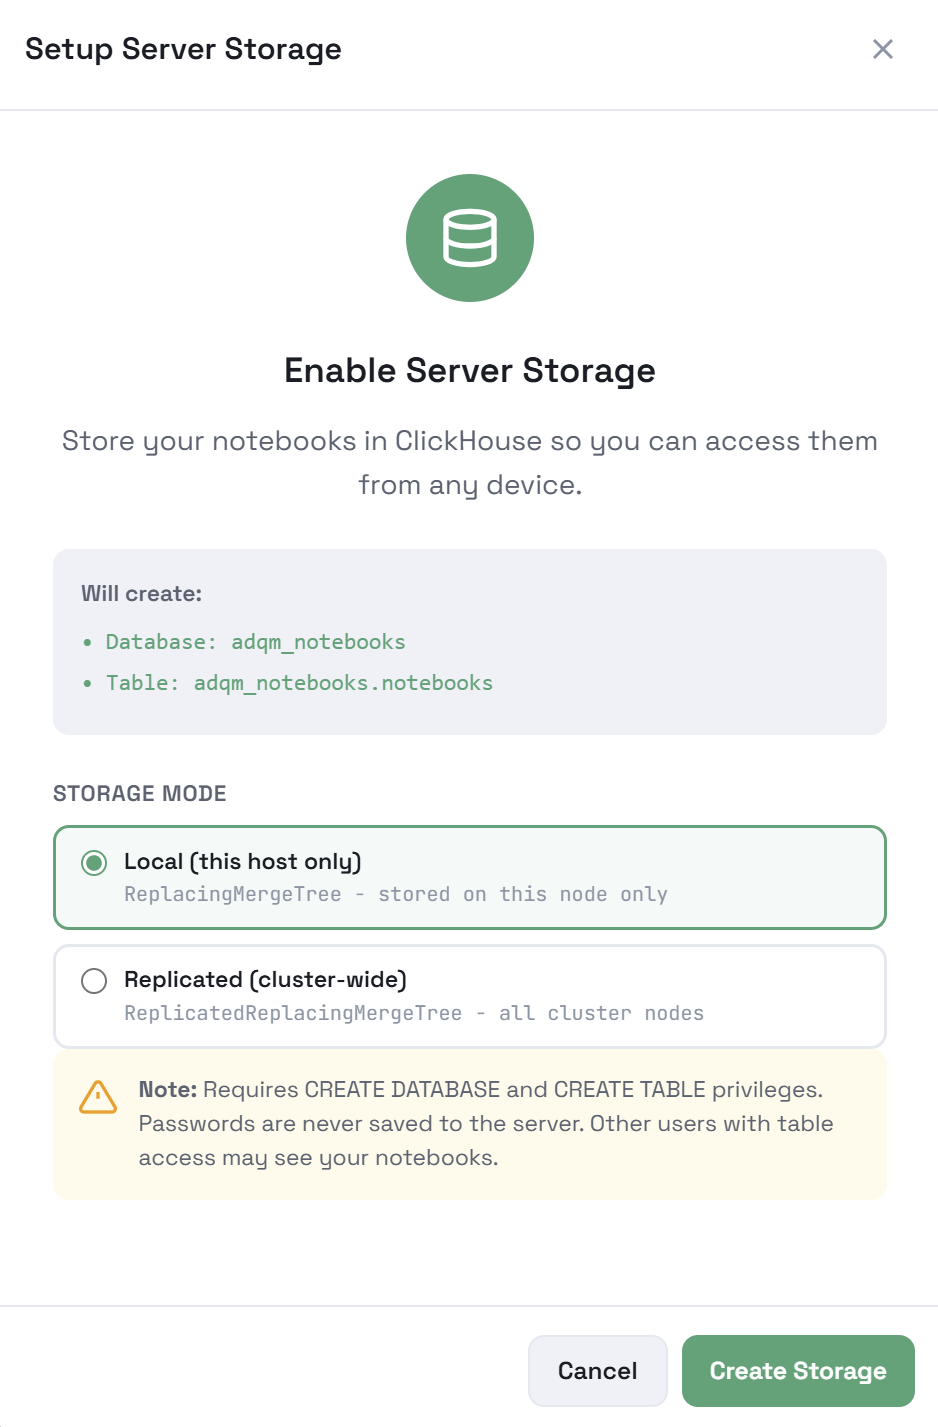 Create a local ADQM table to store notebooks
 -
-
Click Create Storage.
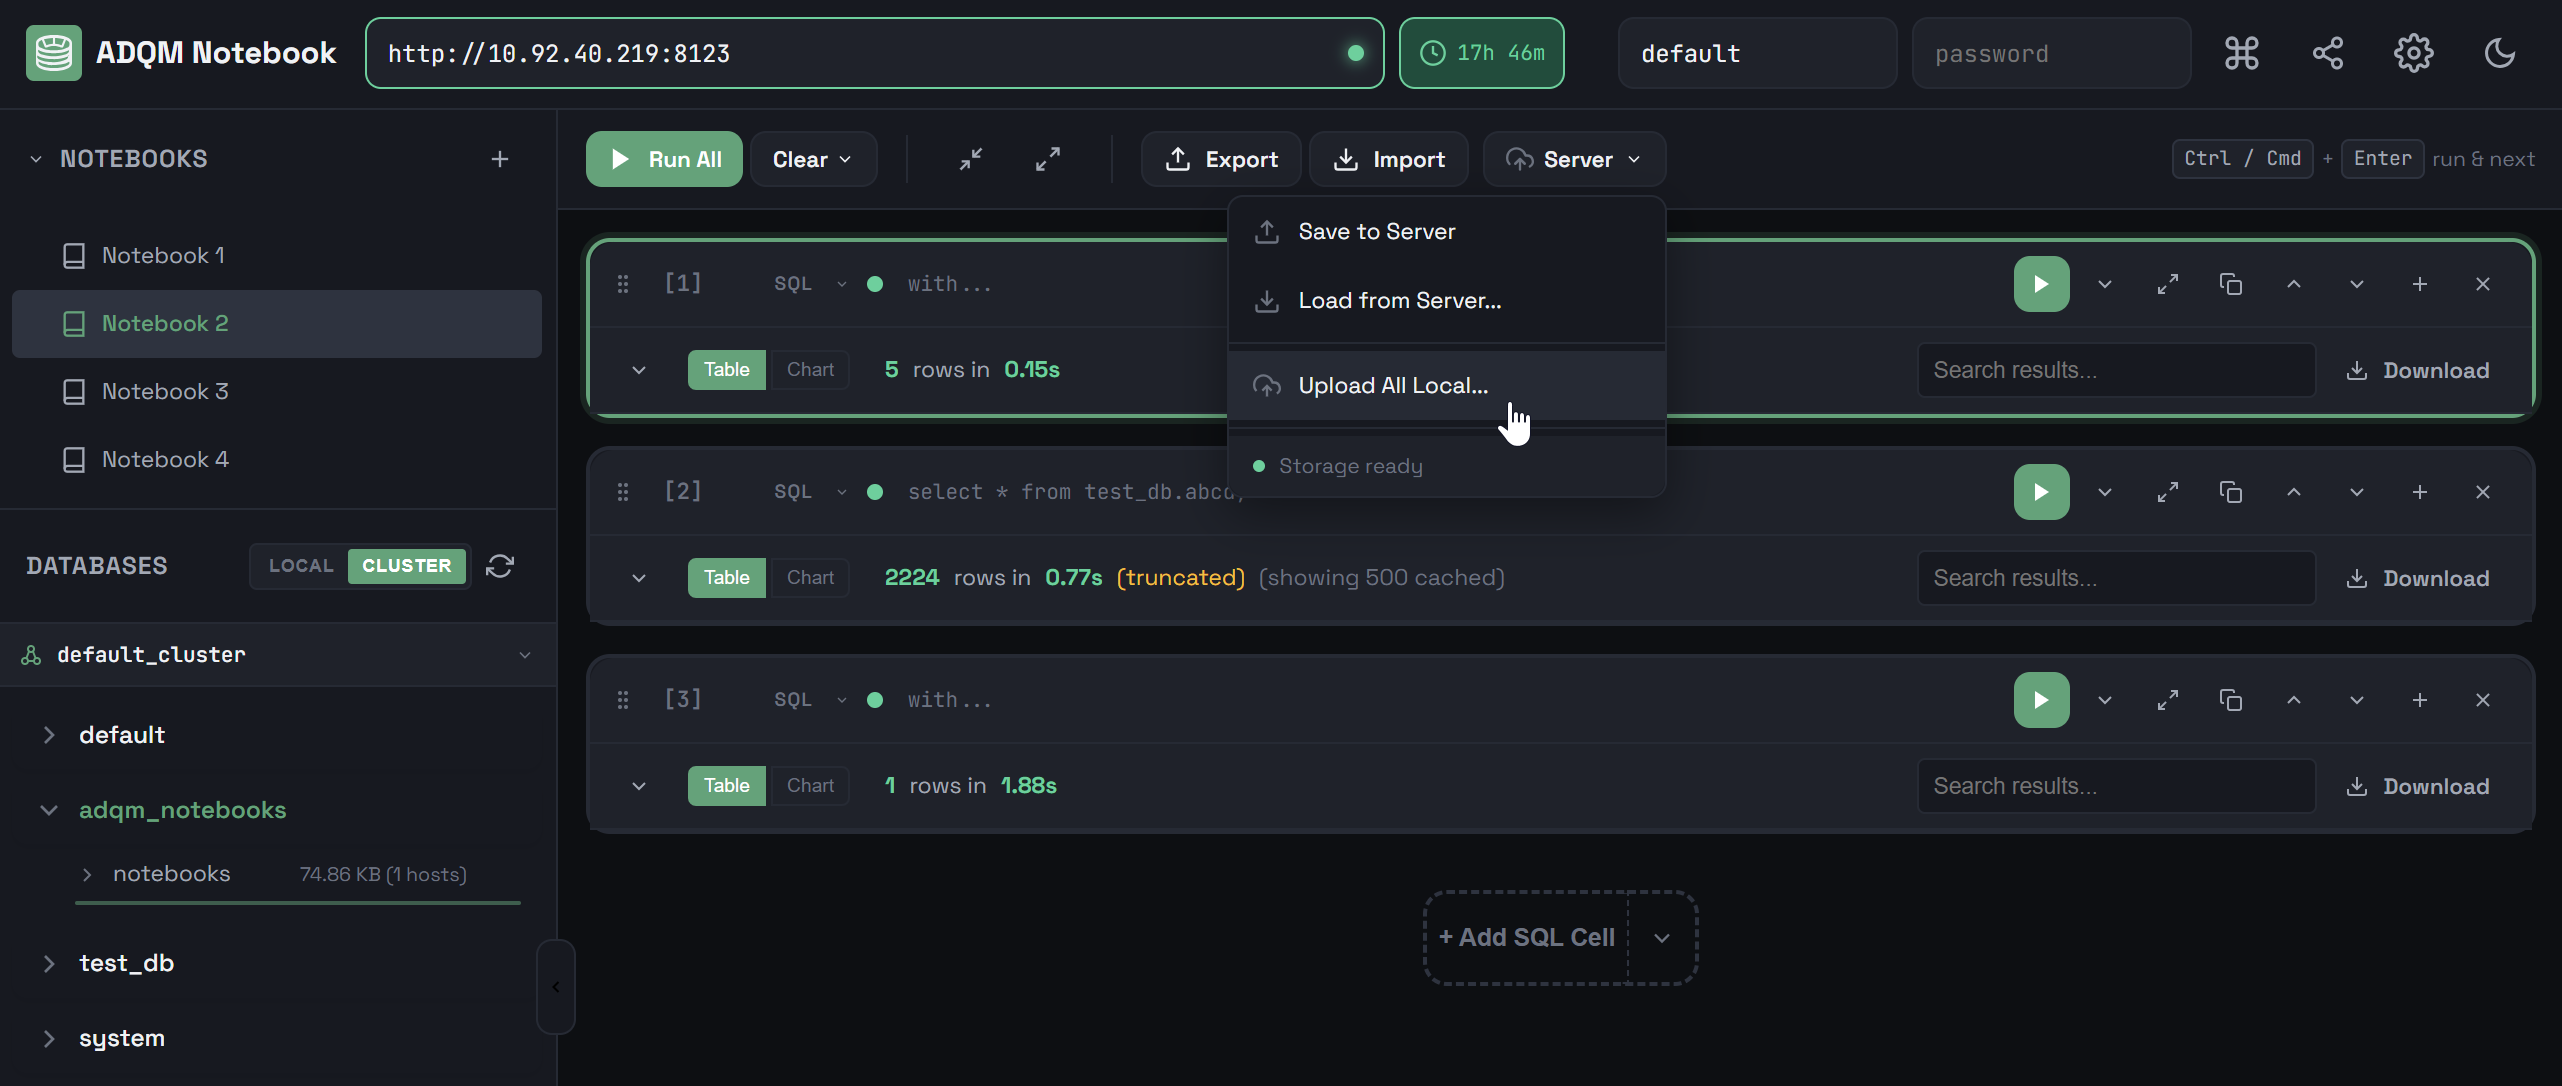
Save a notebook to the server
To save a notebook to the server, open the ![]()
![]() Server list in the notebook control panel and select the
Server list in the notebook control panel and select the ![]()
![]() Save to Server command.
Save to Server command.
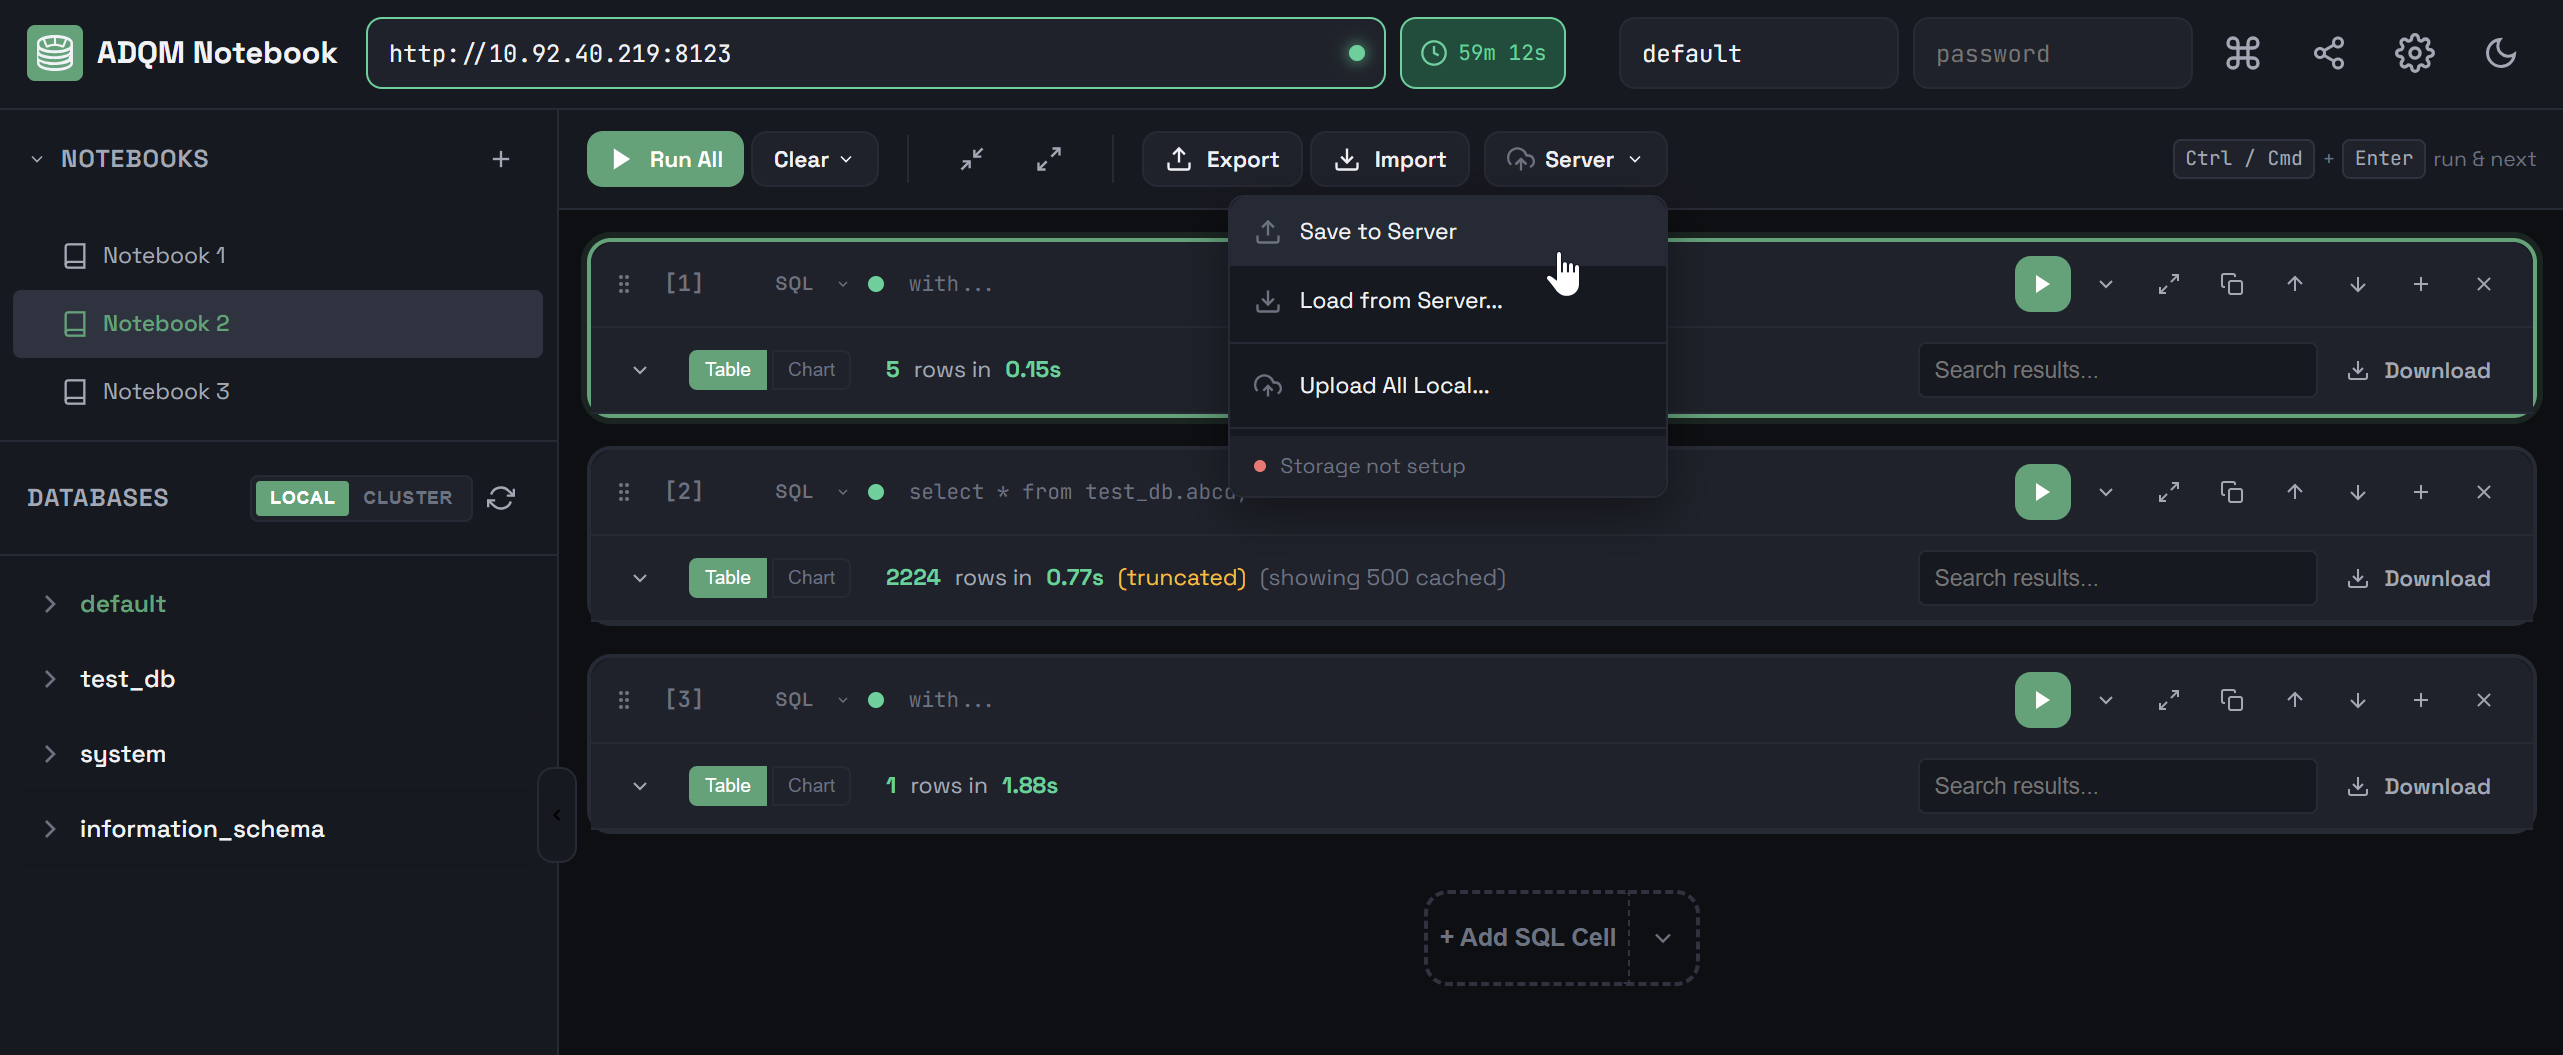
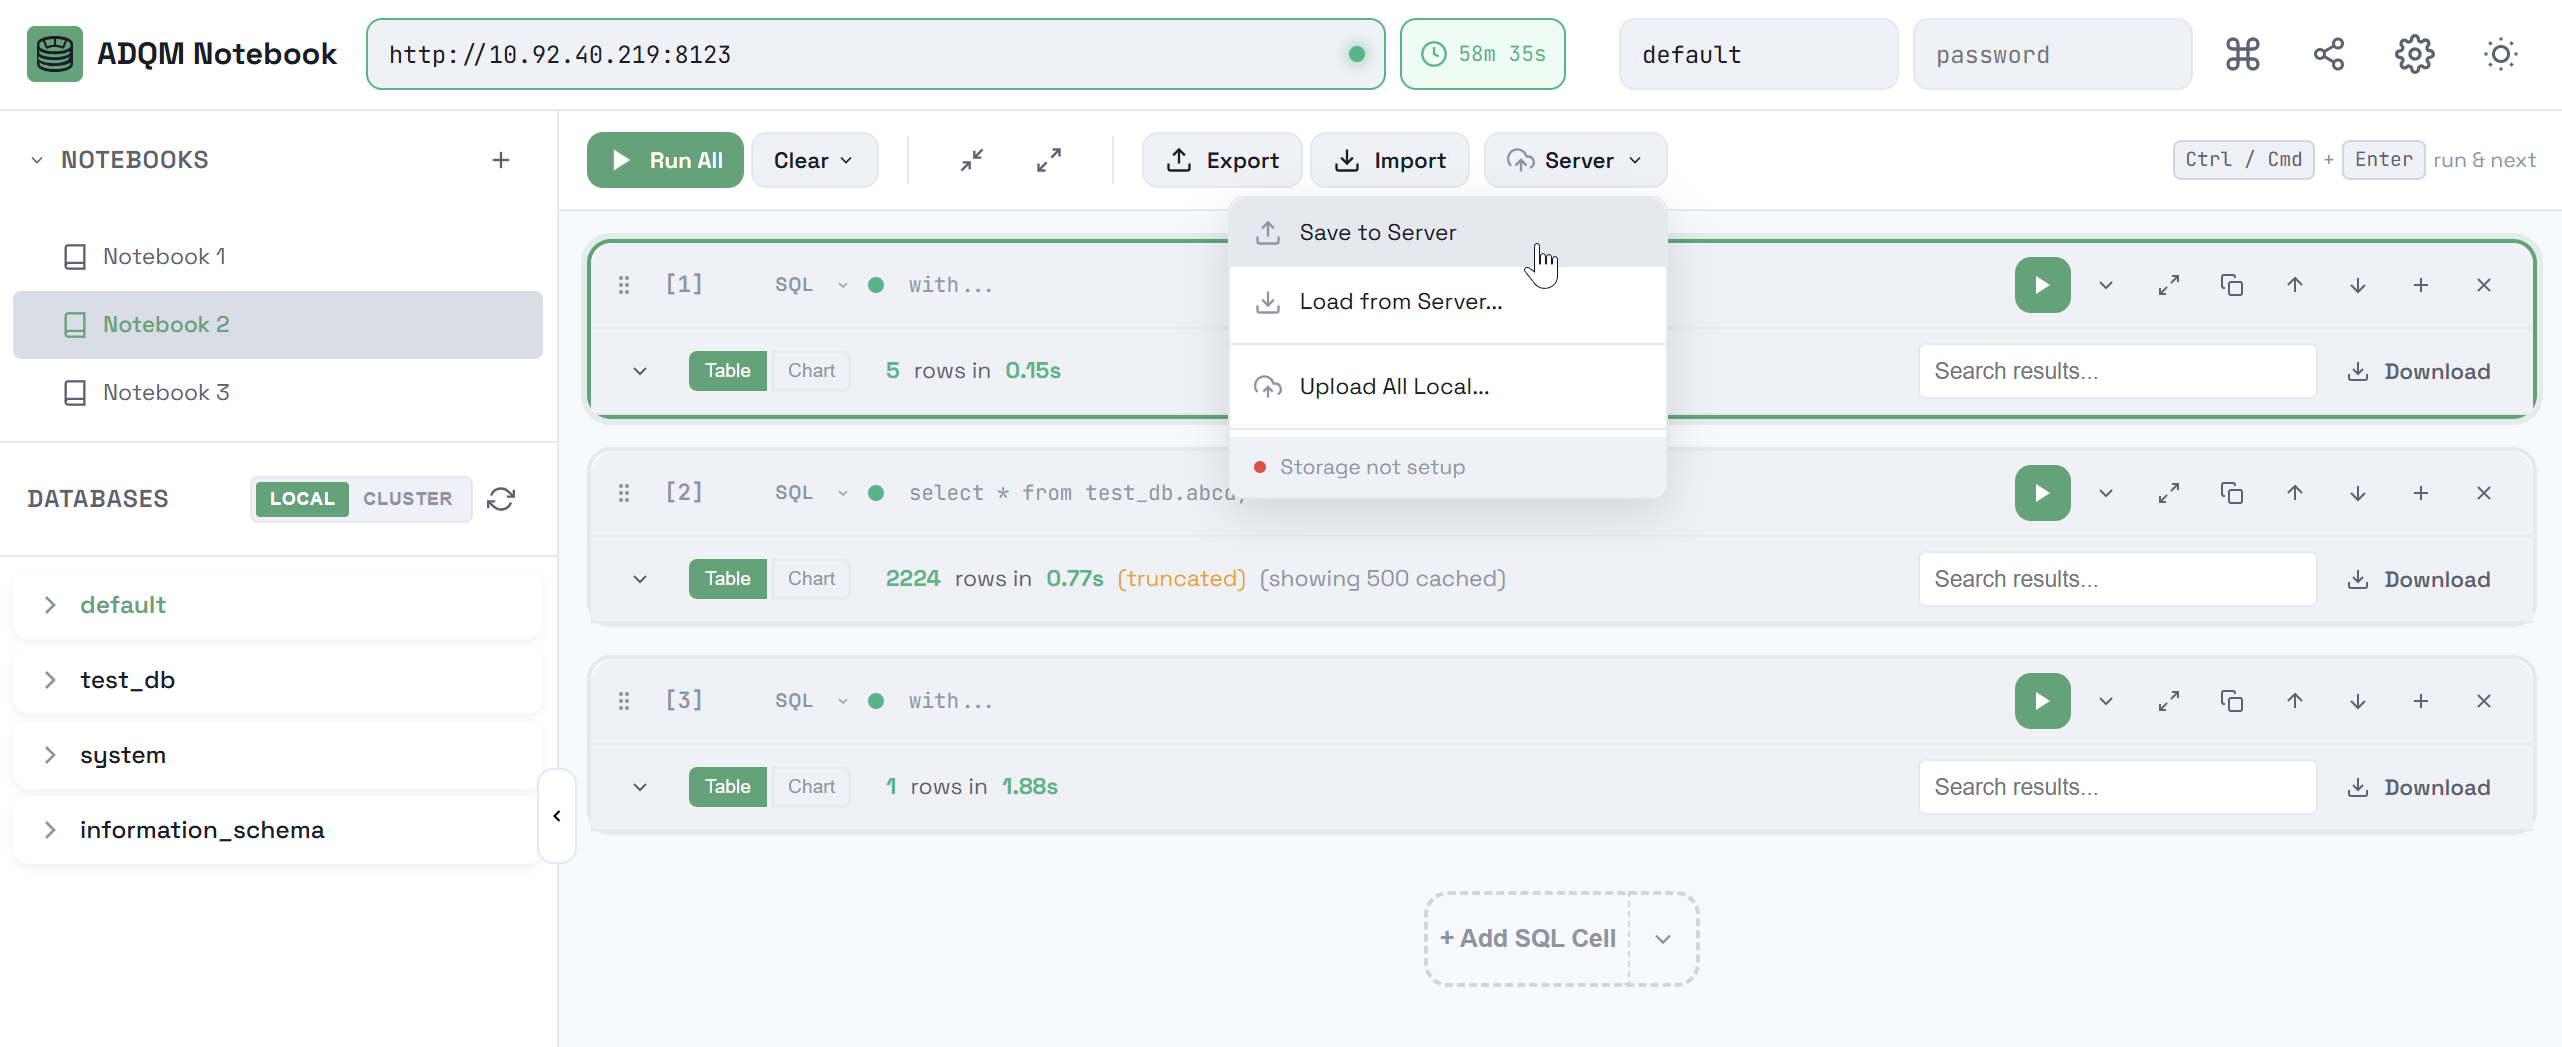
To save all local notebooks to the server, run ![]()
![]() Upload All Local….
Upload All Local….
Load a notebook from the server
To load a notebook from the ClickHouse server into the ADQM Notebook interface, click ![]()
![]() Load from Server… and select the desired notebook in the window that opens.
Load from Server… and select the desired notebook in the window that opens.
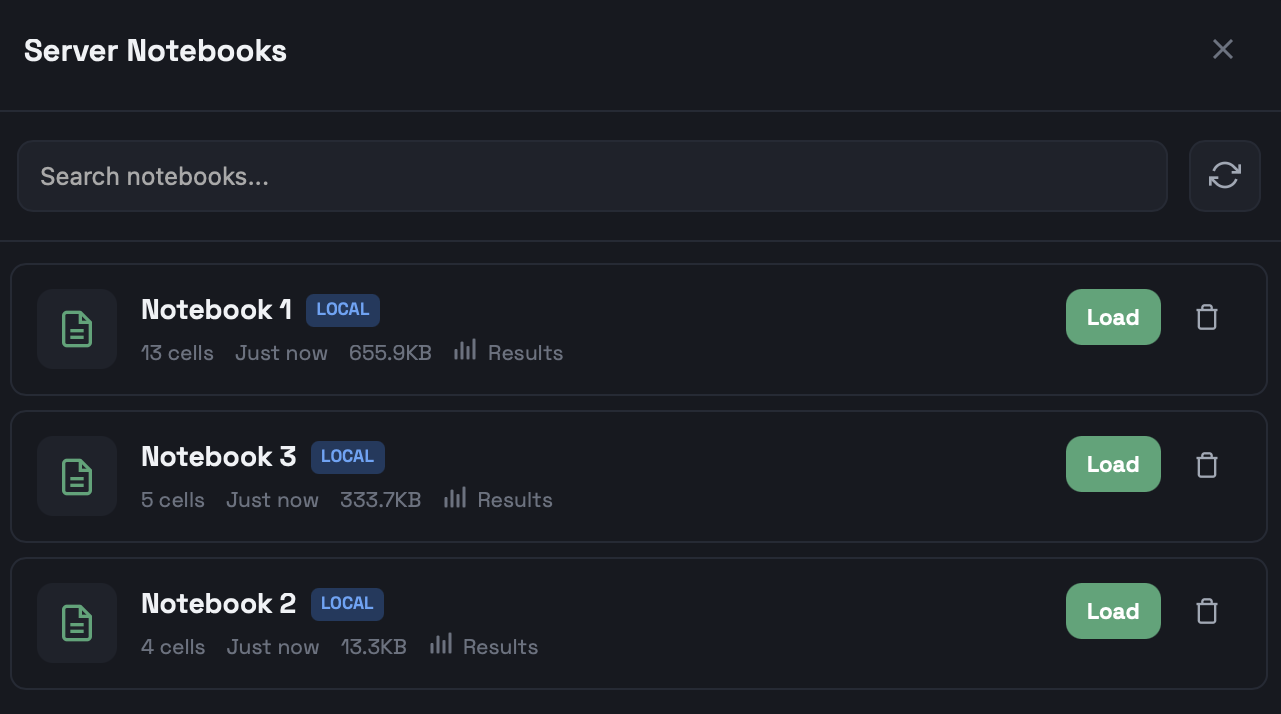
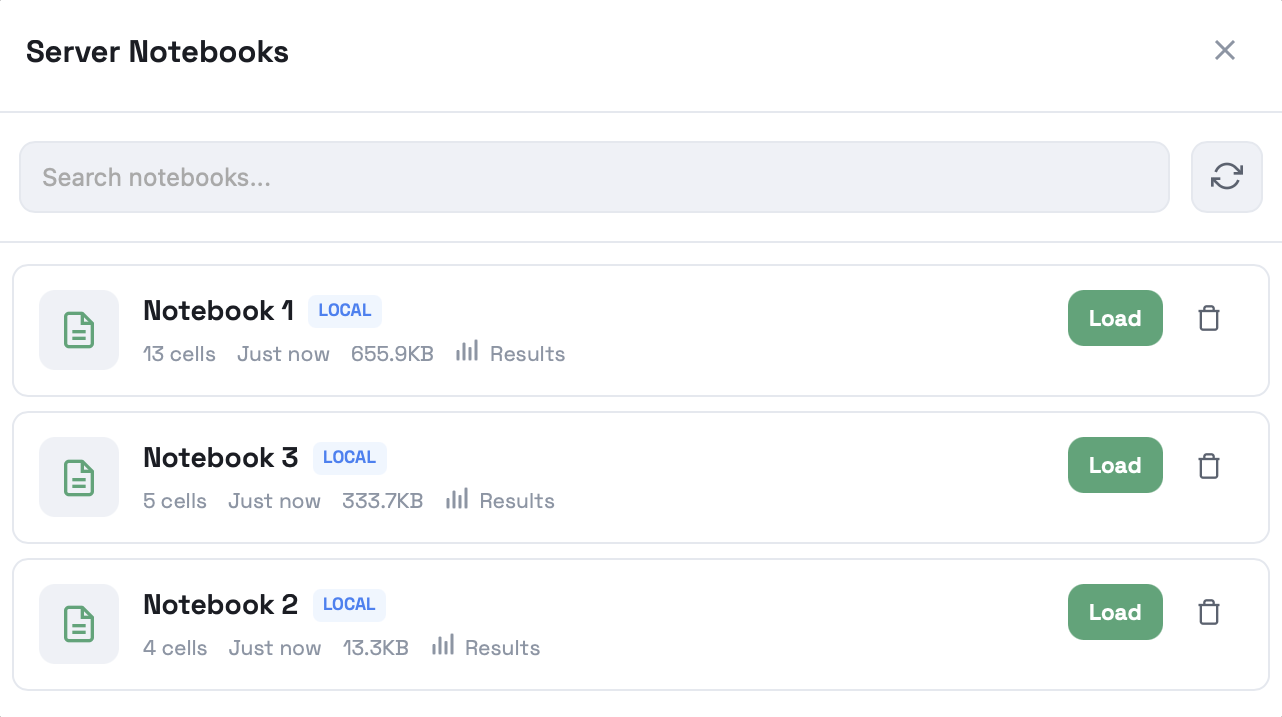
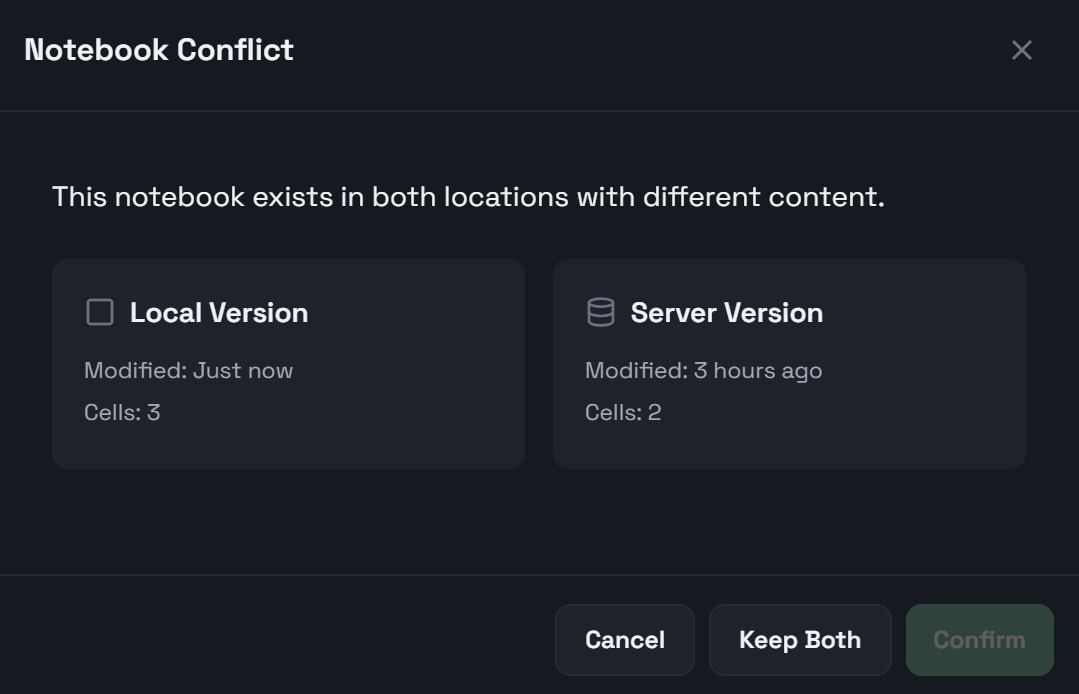
If you select a notebook with the name of an existing notebook in the interface and the existing notebook differs from the one you are loading, a window opens where you can specify which version should be in the interface: local, server, or both (in this case, the notebook loaded from the server will be with the from server label).

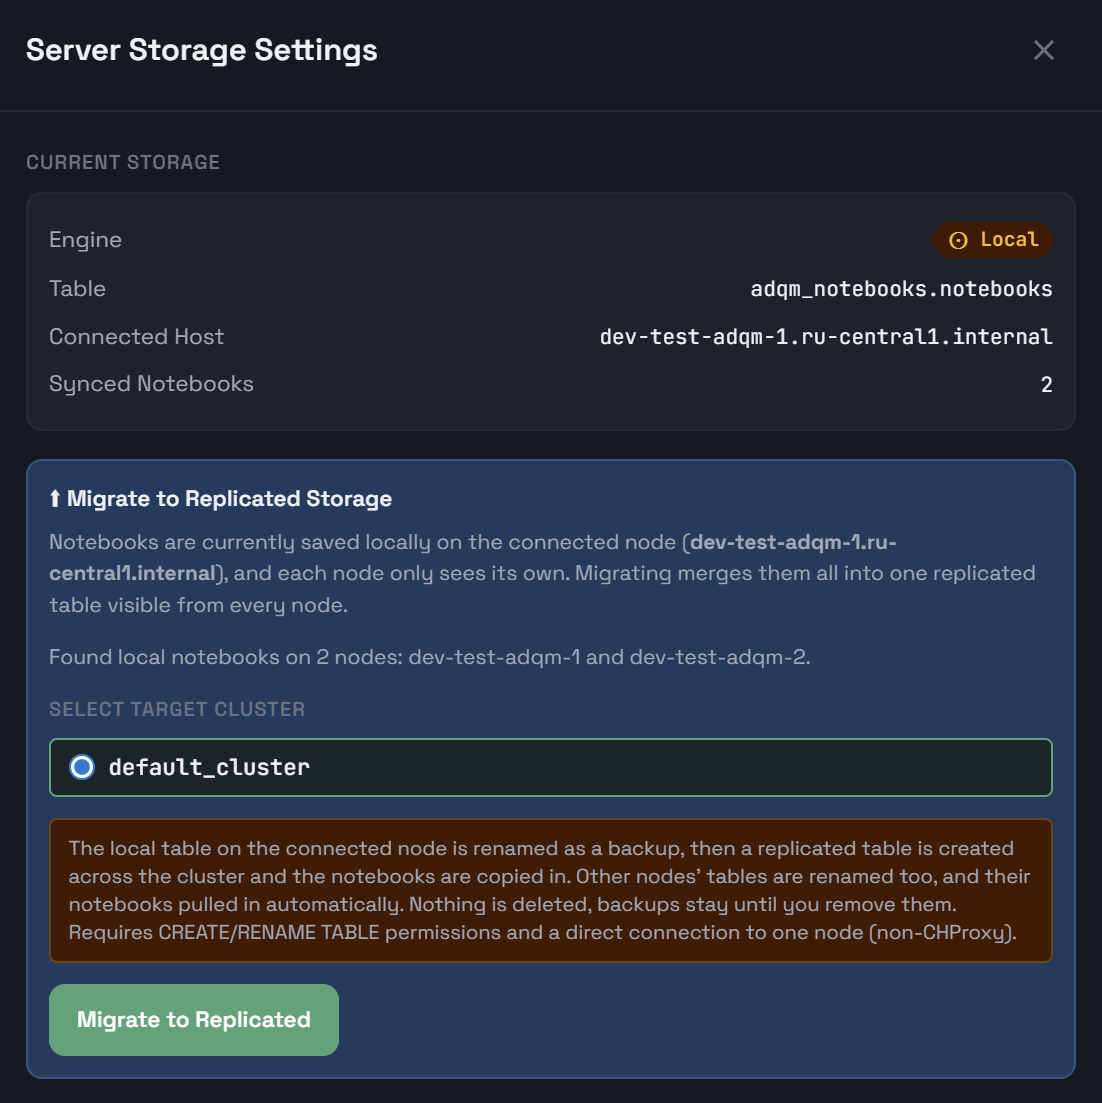
Change the notebook storage mode
To change the notebook storage mode from Local to Replicated and merge all notebooks previously stored in local tables into one replicated table, perform data migration as follows:
-
Select
Manage Storage from the Server menu in the notebook control panel.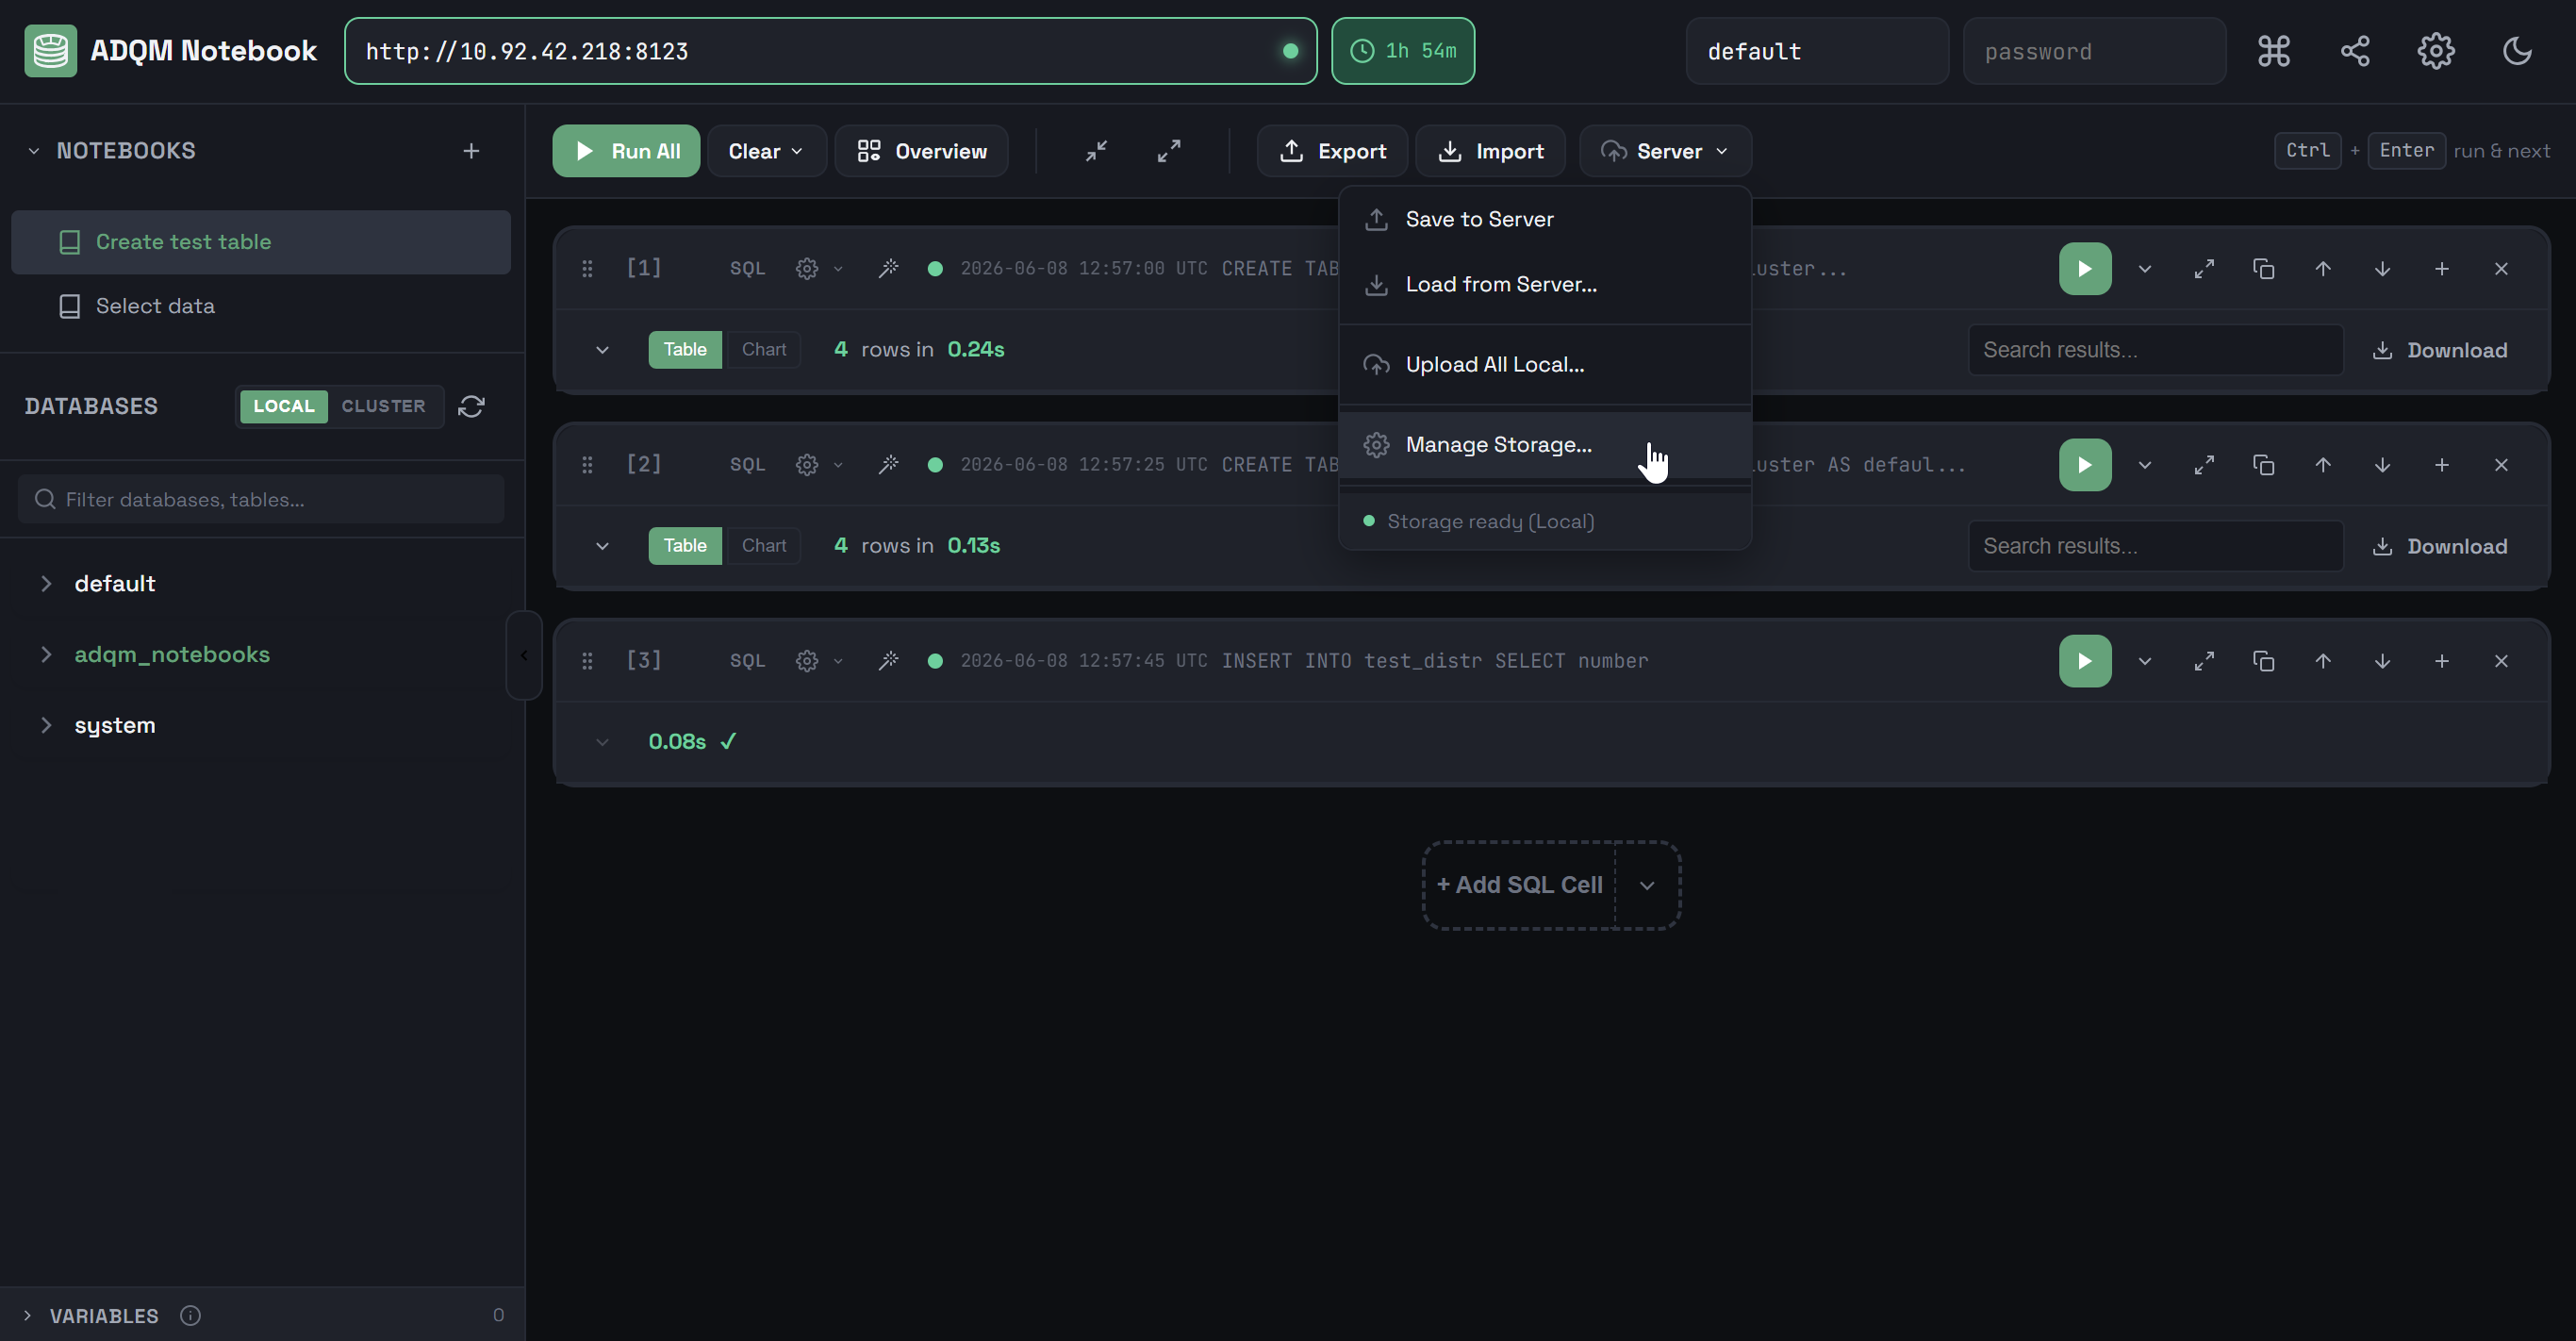 Manage notebook storage
 Manage notebook storage
 -
In the Setup Server Storage window that opens, select an ADQM cluster and click Migrate to Replicated.
 Migrate notebooks from local tables to a replicated one
 Migrate notebooks from local tables to a replicated one
After successful migration, the adqm_notebooks.notebooks replicated table is created on each host of the selected ADQM cluster. This table contains a list of notebooks copied from all hosts where they were previously stored locally. The local tables with notebooks on the corresponding hosts will be renamed to notebooks_local_backup — you can later delete them from the adqm_notebooks database via the Server Storage Settings dialog or manually.
After migration, all notebooks are automatically loaded into the ADQM Notebook interface. When connecting with a different username, notebooks that were synced with the server by the previous user are cleared, but all local ones (not saved on the server) remain.
If the current node still uses a local storage, while other cluster nodes already use a replicated one (for example, if the shard was unavailable during migration to replicated storage), saving notebooks is blocked with the message Split storage detected — Saves are blocked until you migrate.
Share a notebook
To share a link to a notebook with other users, click ![]()
![]() Share notebook in the ADQM Notebook control panel — the link to the current notebook will be copied to the clipboard.
Share notebook in the ADQM Notebook control panel — the link to the current notebook will be copied to the clipboard.

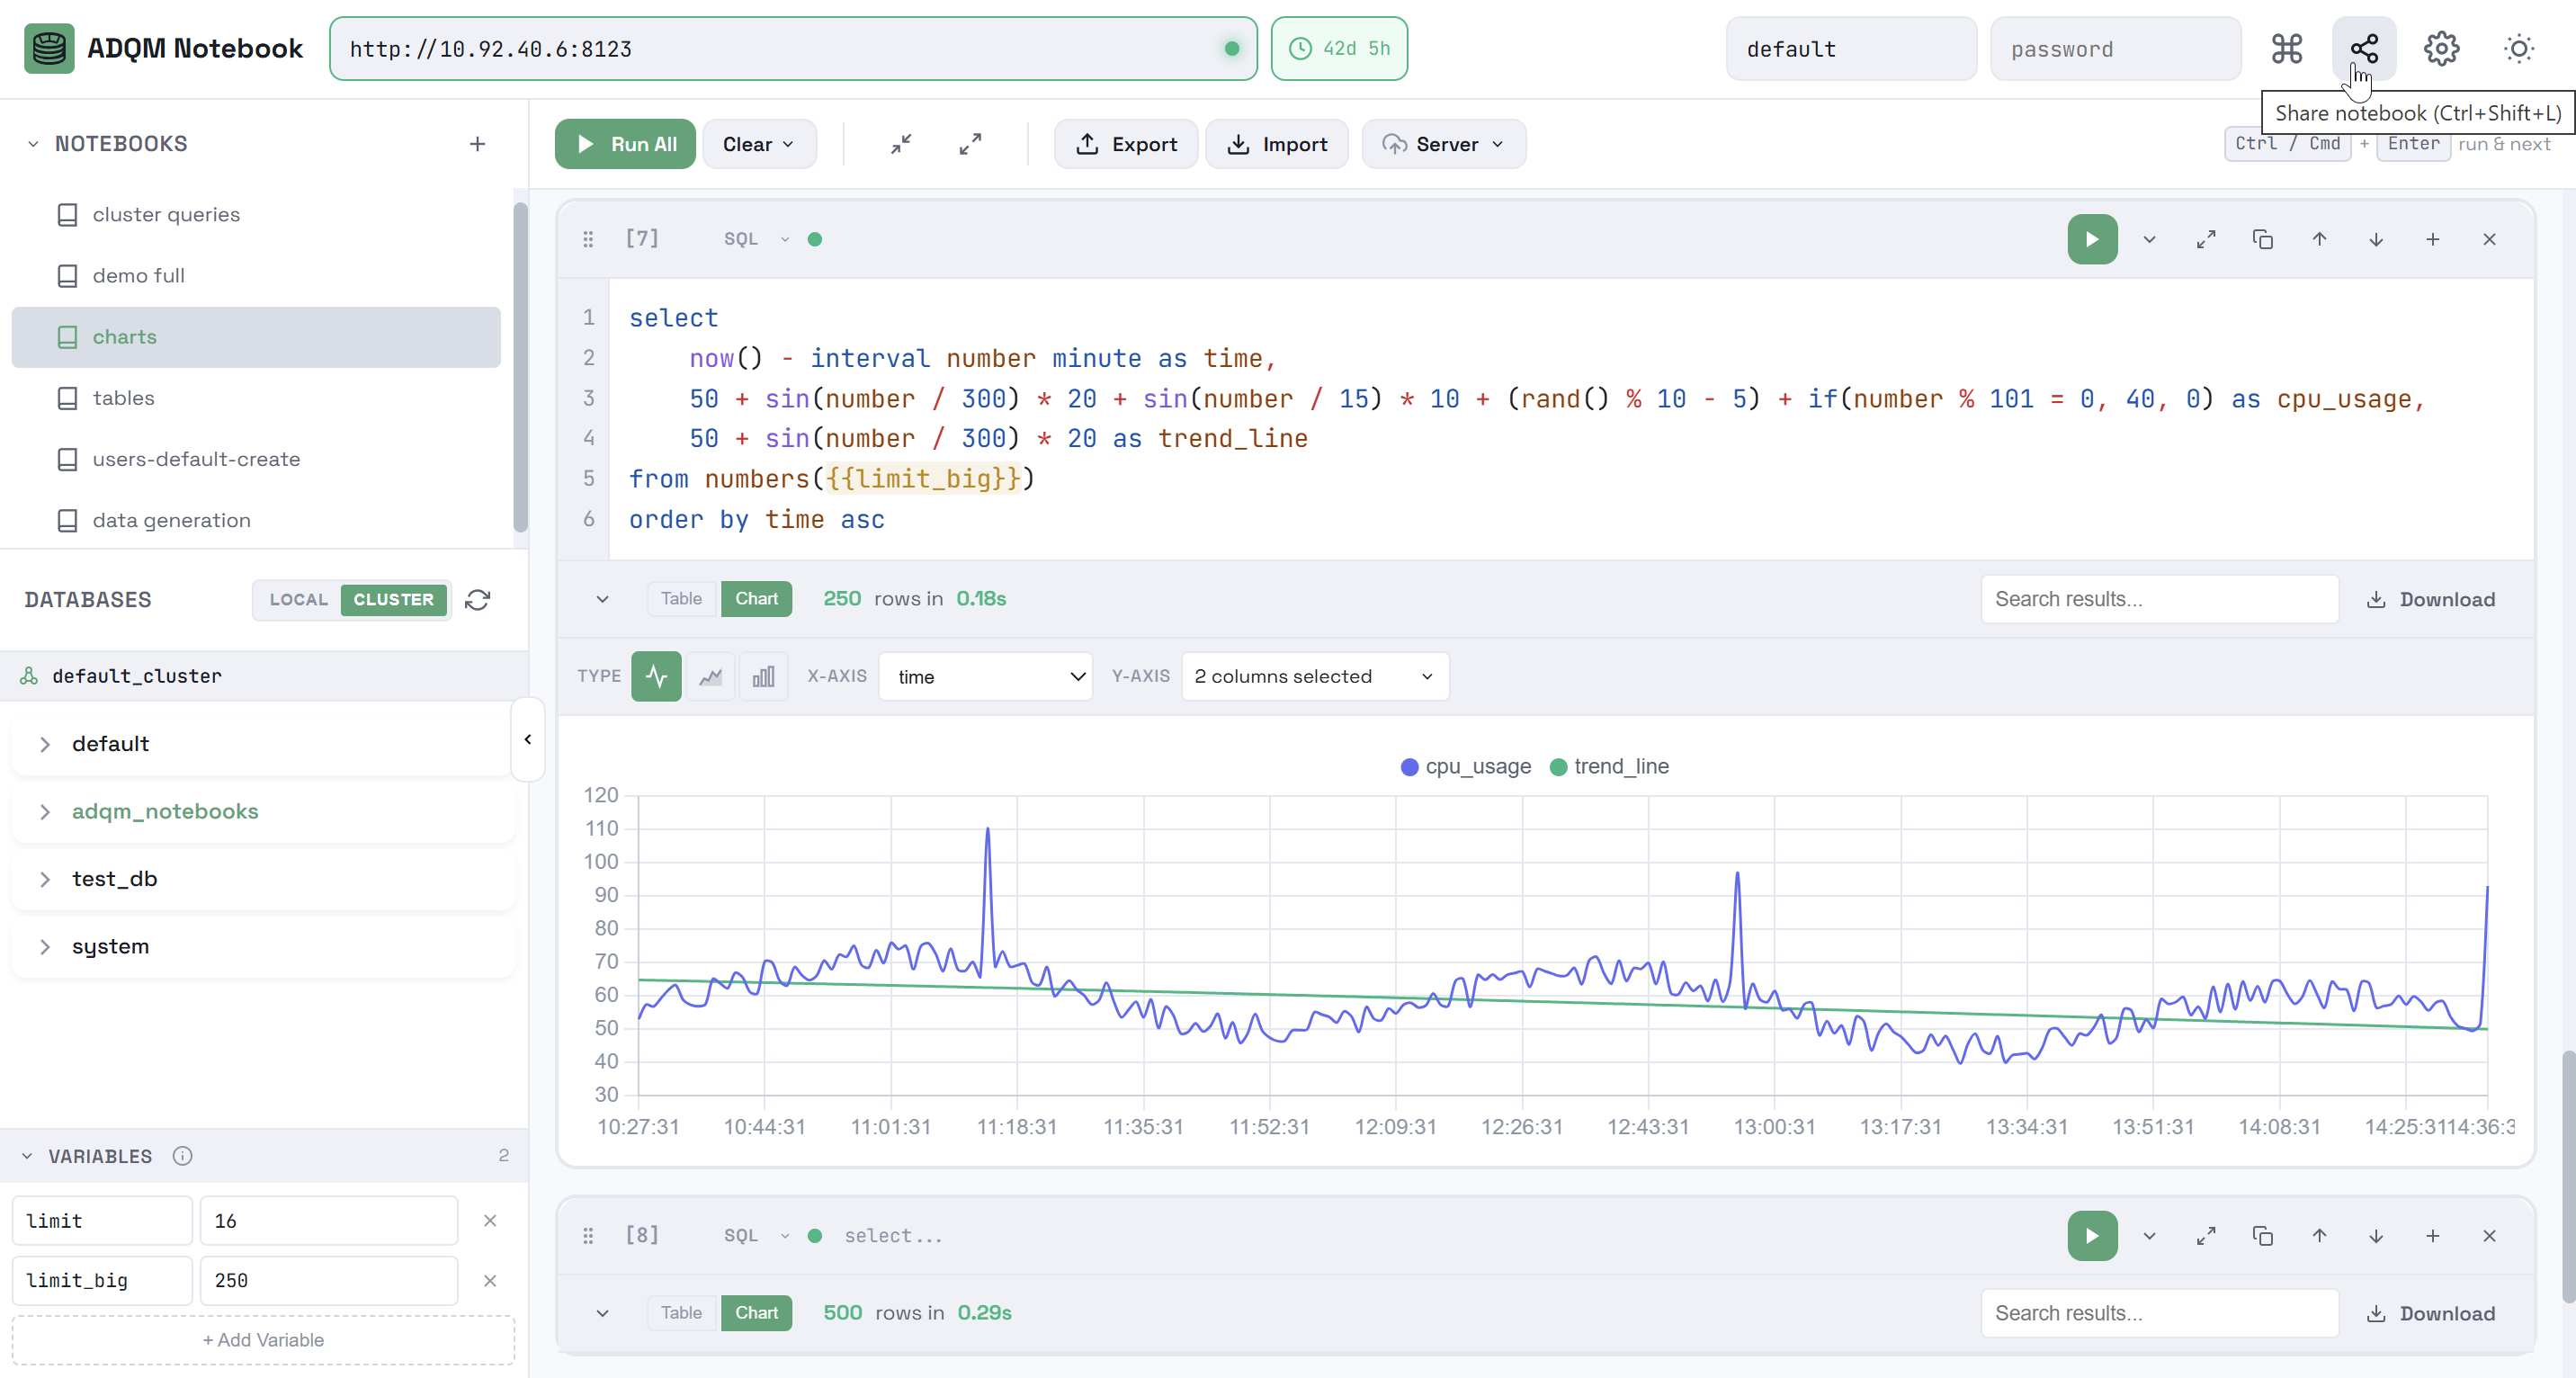
A link embeds entire notebook state (cells, variables, chart configs) compressed in URL hash. Query results are not included in a shared link. ADQMDB server connection URL is included, but credentials are not. Recipients need access to the same ADQMDB server to execute queries.