

Install a cluster
Step 1. Precheck
Before installing a new cluster it is recommended to run the Precheck action. By doing this, you make sure that all necessary repositories are available, the cluster does not contain hosts with the same IP addresses, and all other prerequisites are met. Do the following:
-
Apply the Precheck action to the cluster selected on the Clusters page by clicking the

 icon in the Actions column.
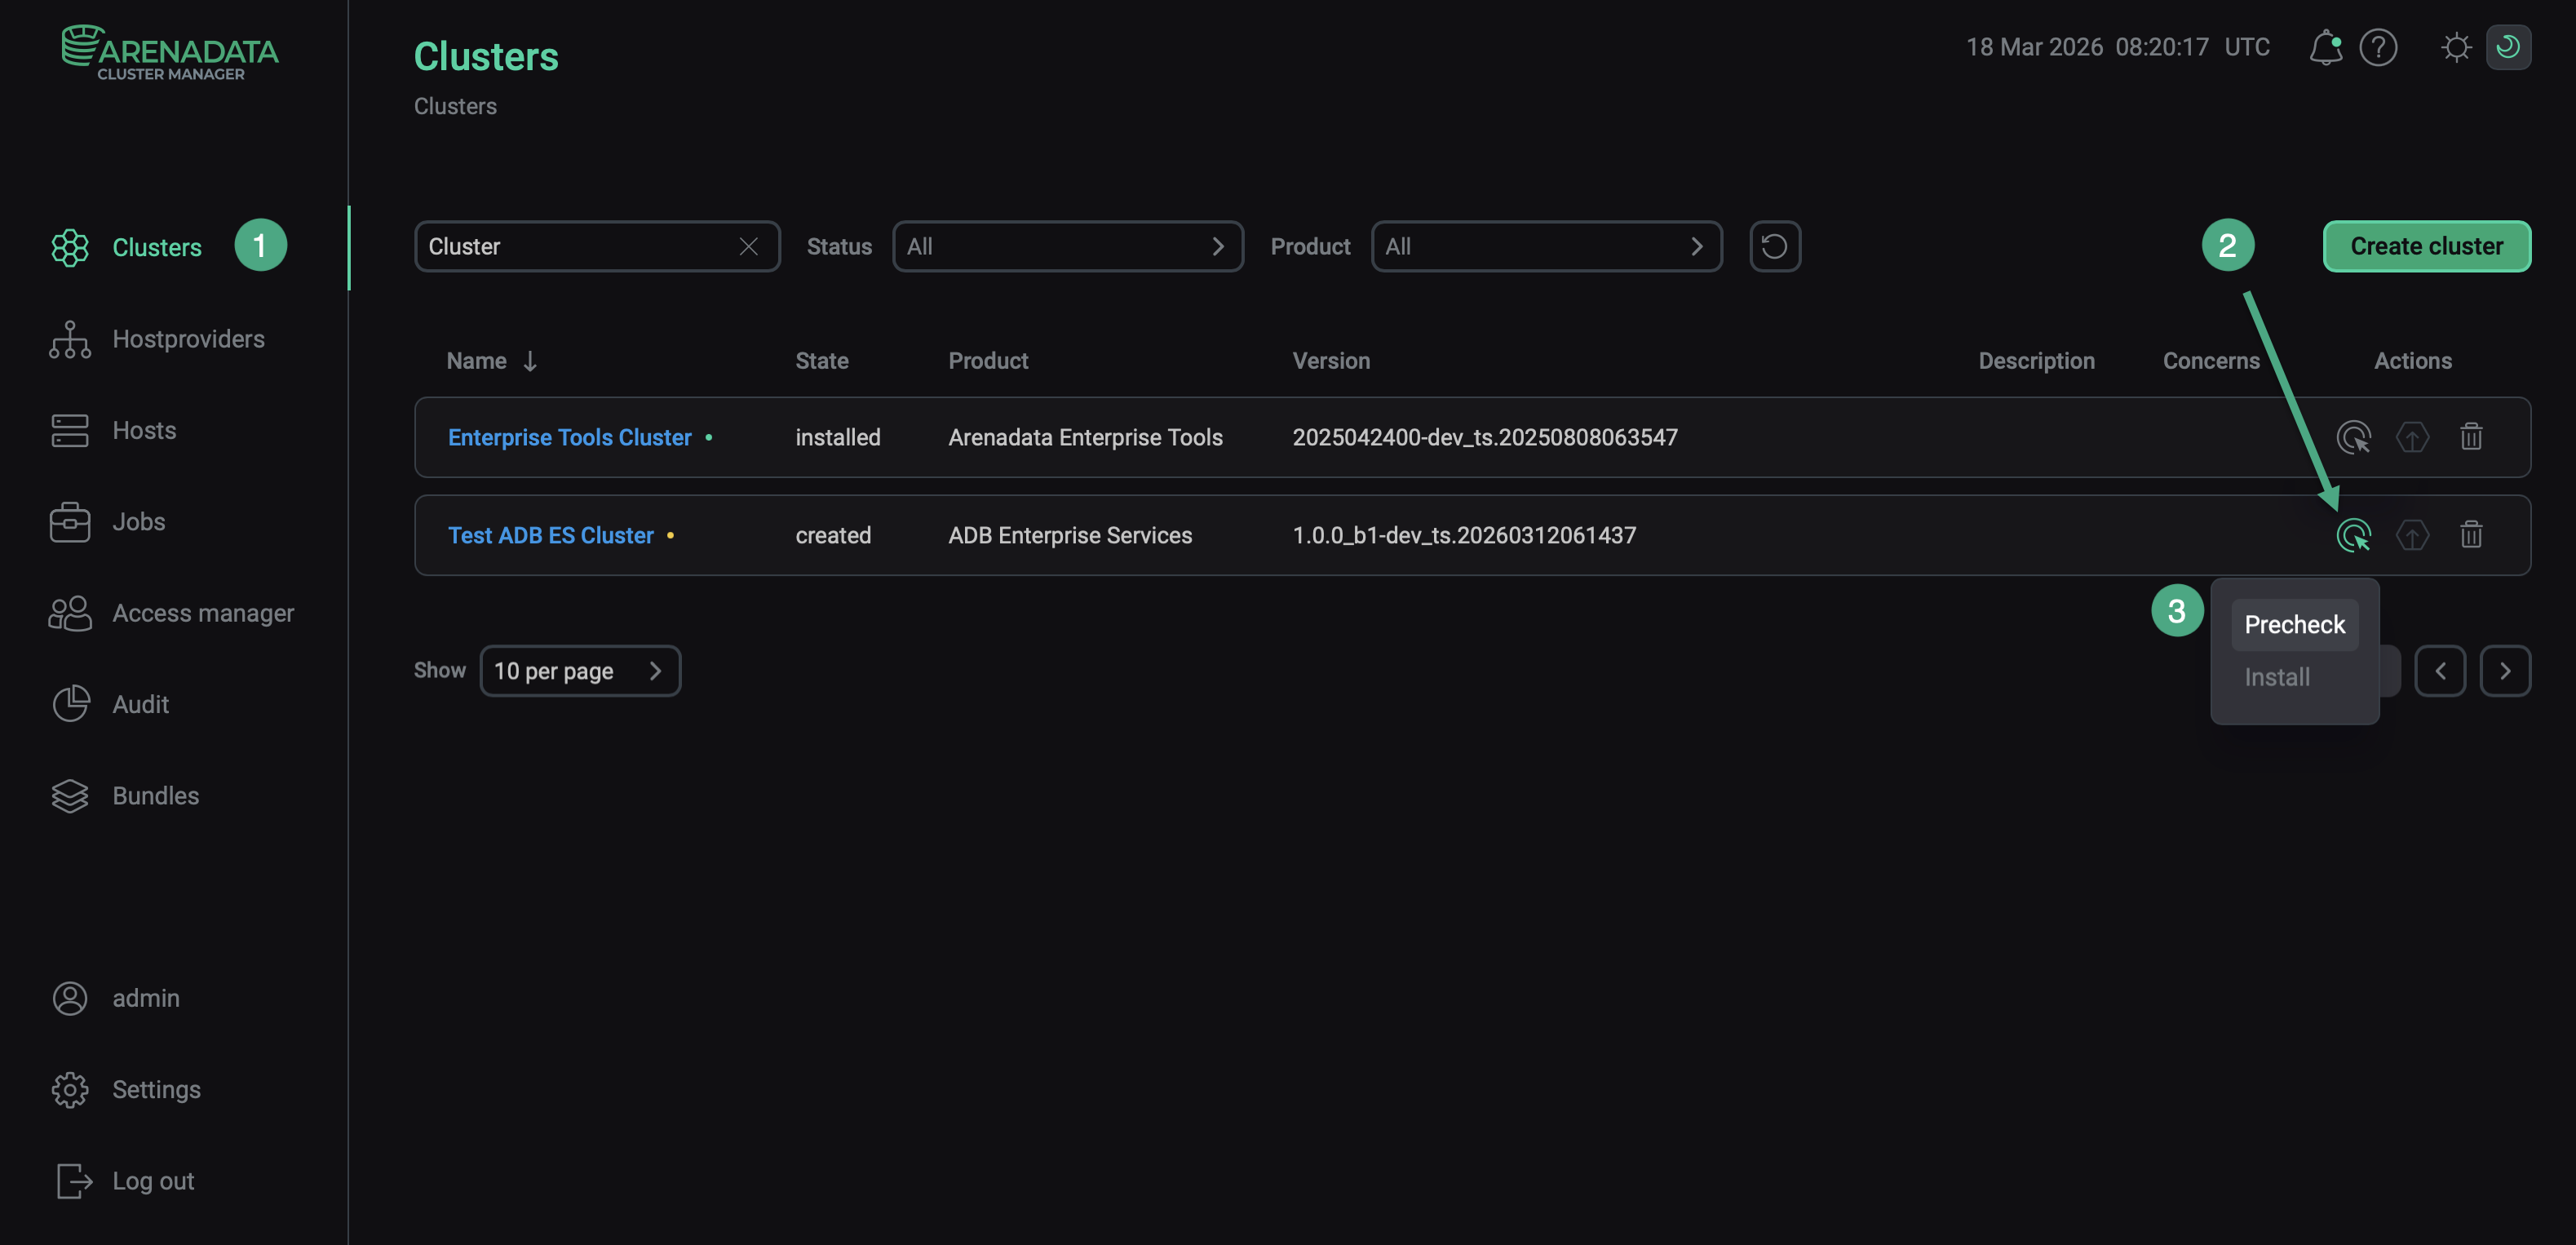 Run the cluster precheck
 -
Verify the requested action in the opened window.
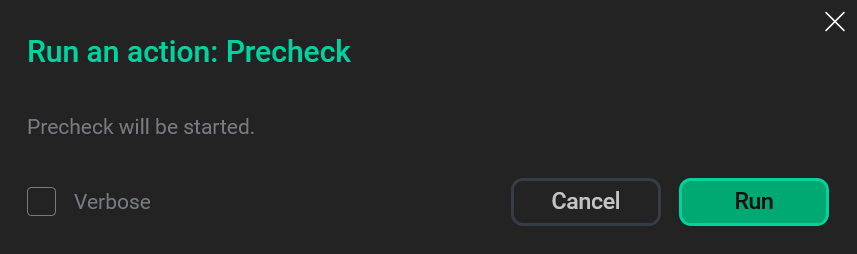 Verify the action
 -
Open the Jobs page and wait until the running job is completed. After this, click the first item in the job list.
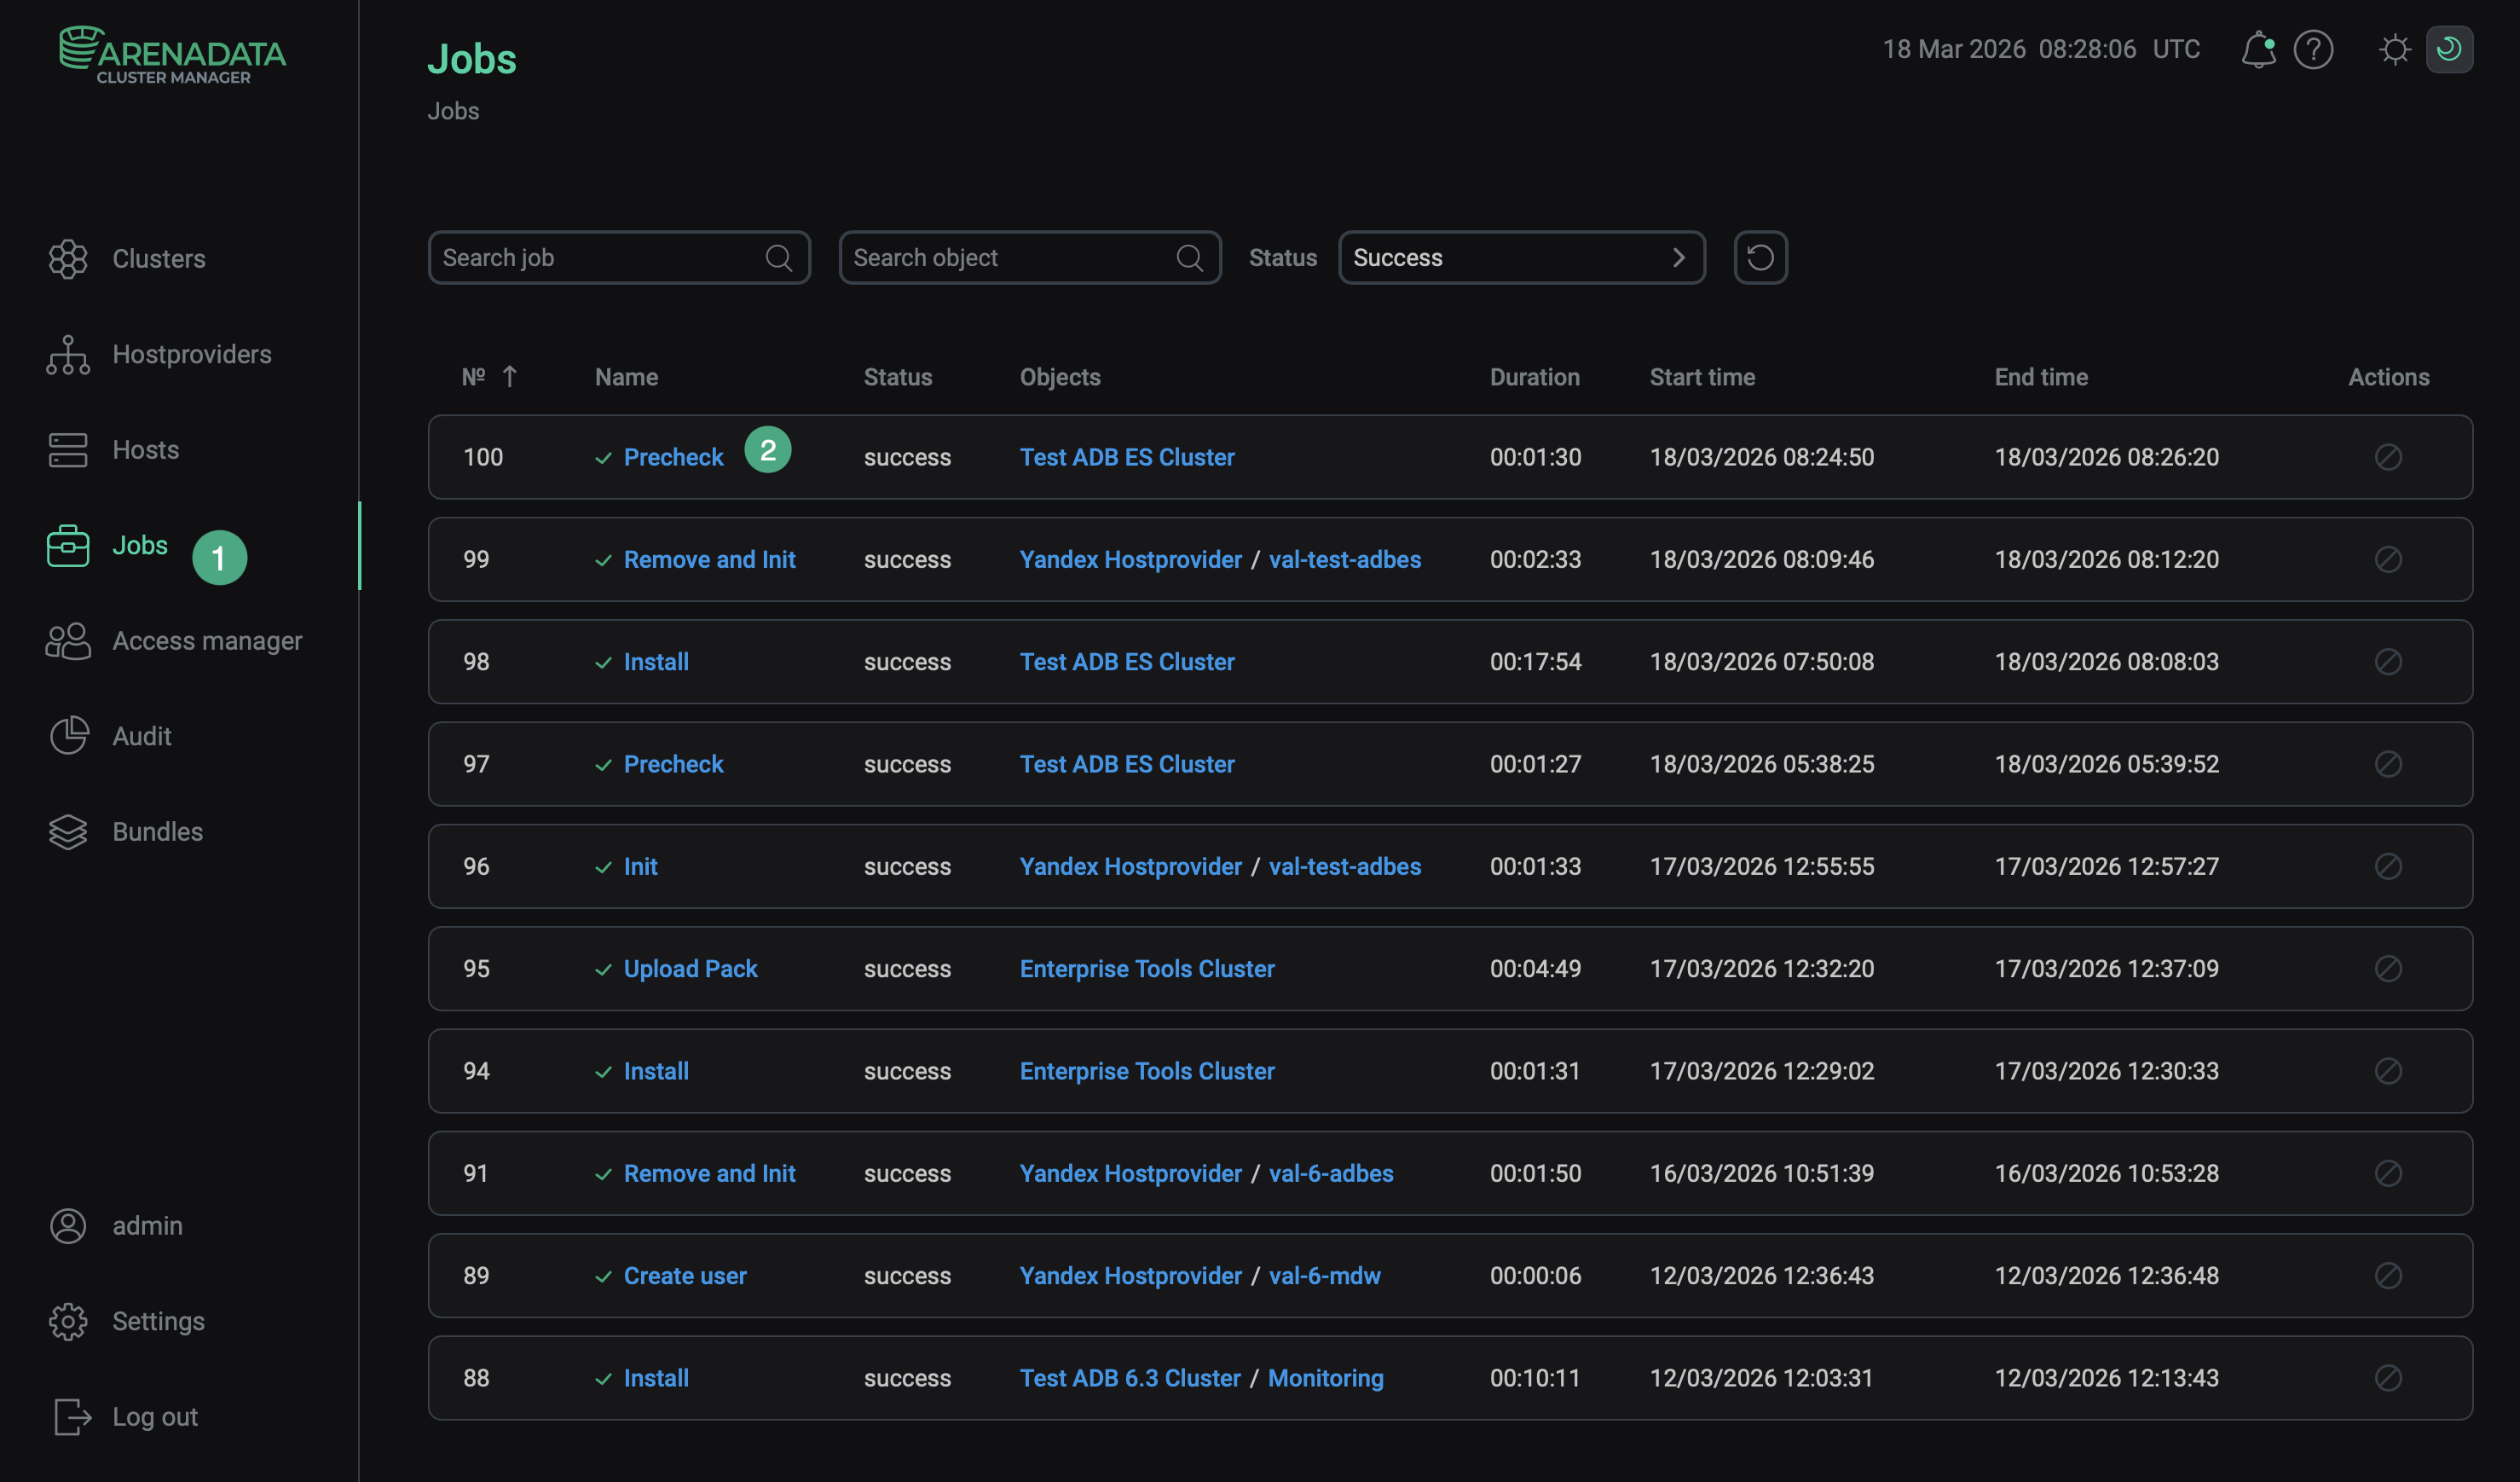 View jobs
 -
View logs in the window that opens. To download logs, click Download.
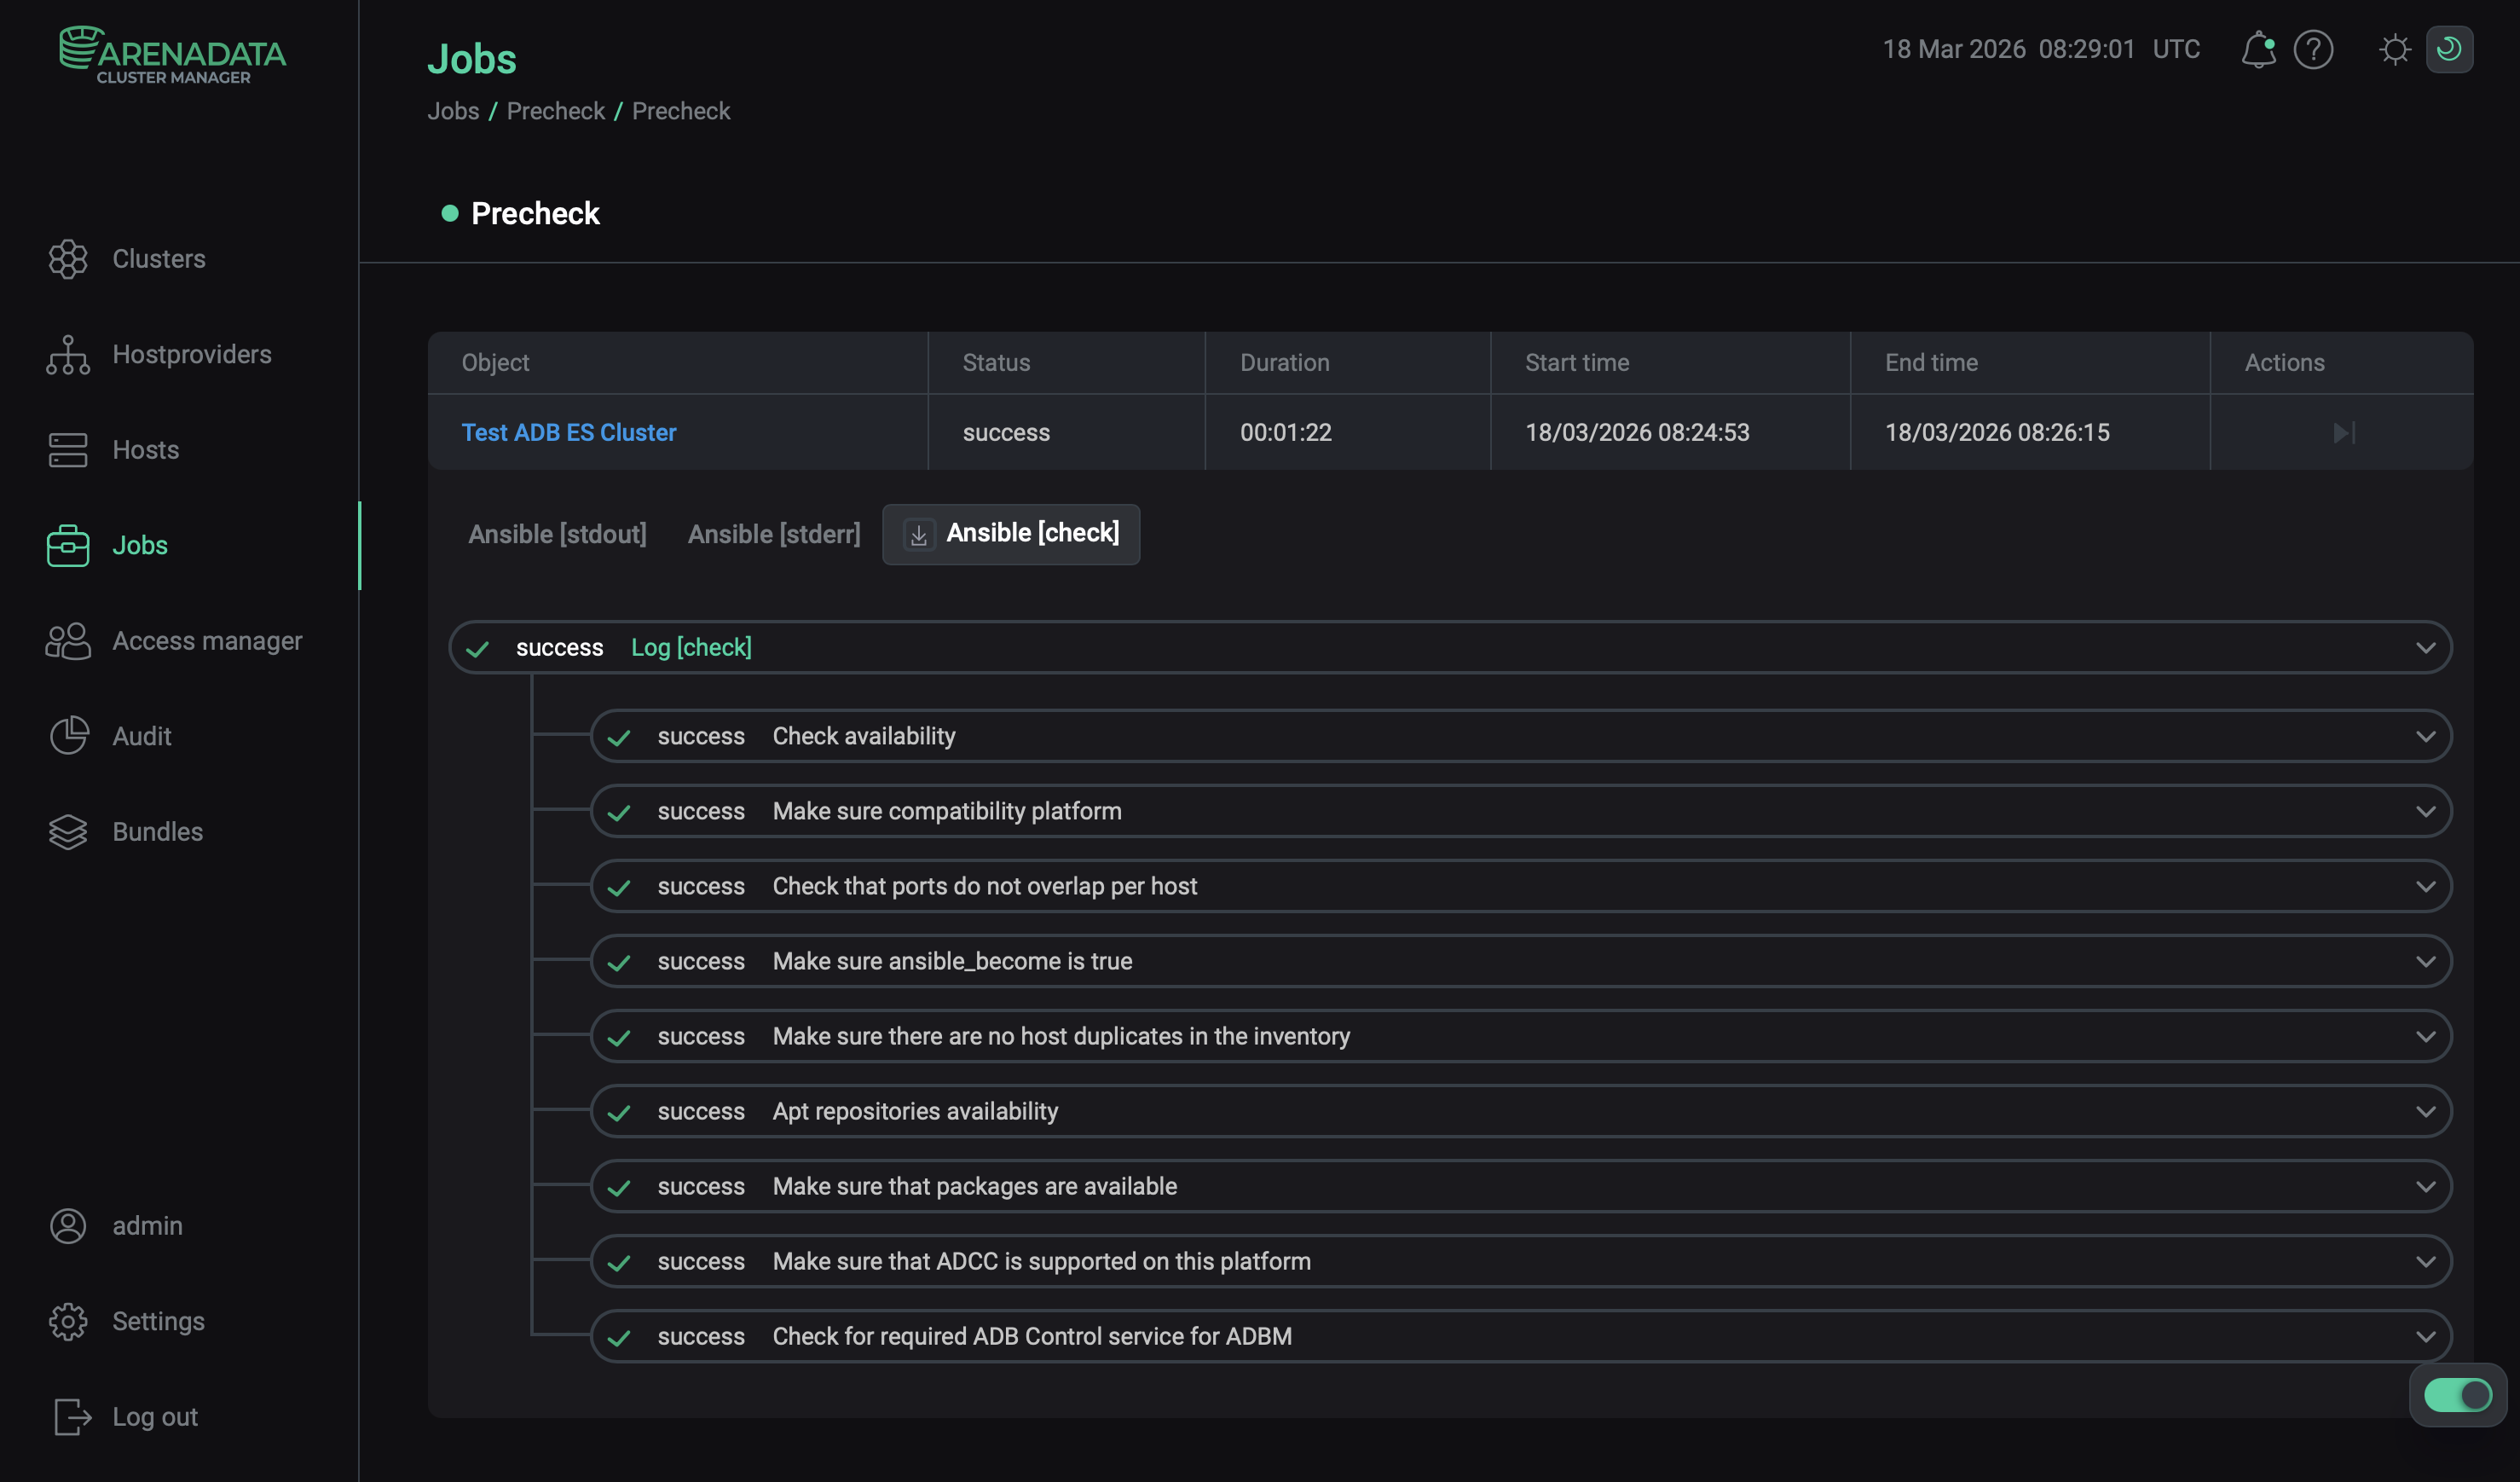 View logs
Step 2. Run installation
There are two ways to install cluster services:
-
Whole cluster. In this method all services are installed automatically one by one after applying the Install action to a cluster.
-
Single services. In this method each service is installed manually after applying one or more actions to it. This way is also suitable for installing new services in the already deployed cluster.
In both cases each service starts automatically after installation.
|
NOTE
In case of errors, you can find logs on the Jobs page.
|
Whole cluster
To install all cluster services within a single action, follow the steps:
-
Apply the Install action to the cluster selected on the Clusters page by clicking the
icon in the Actions column.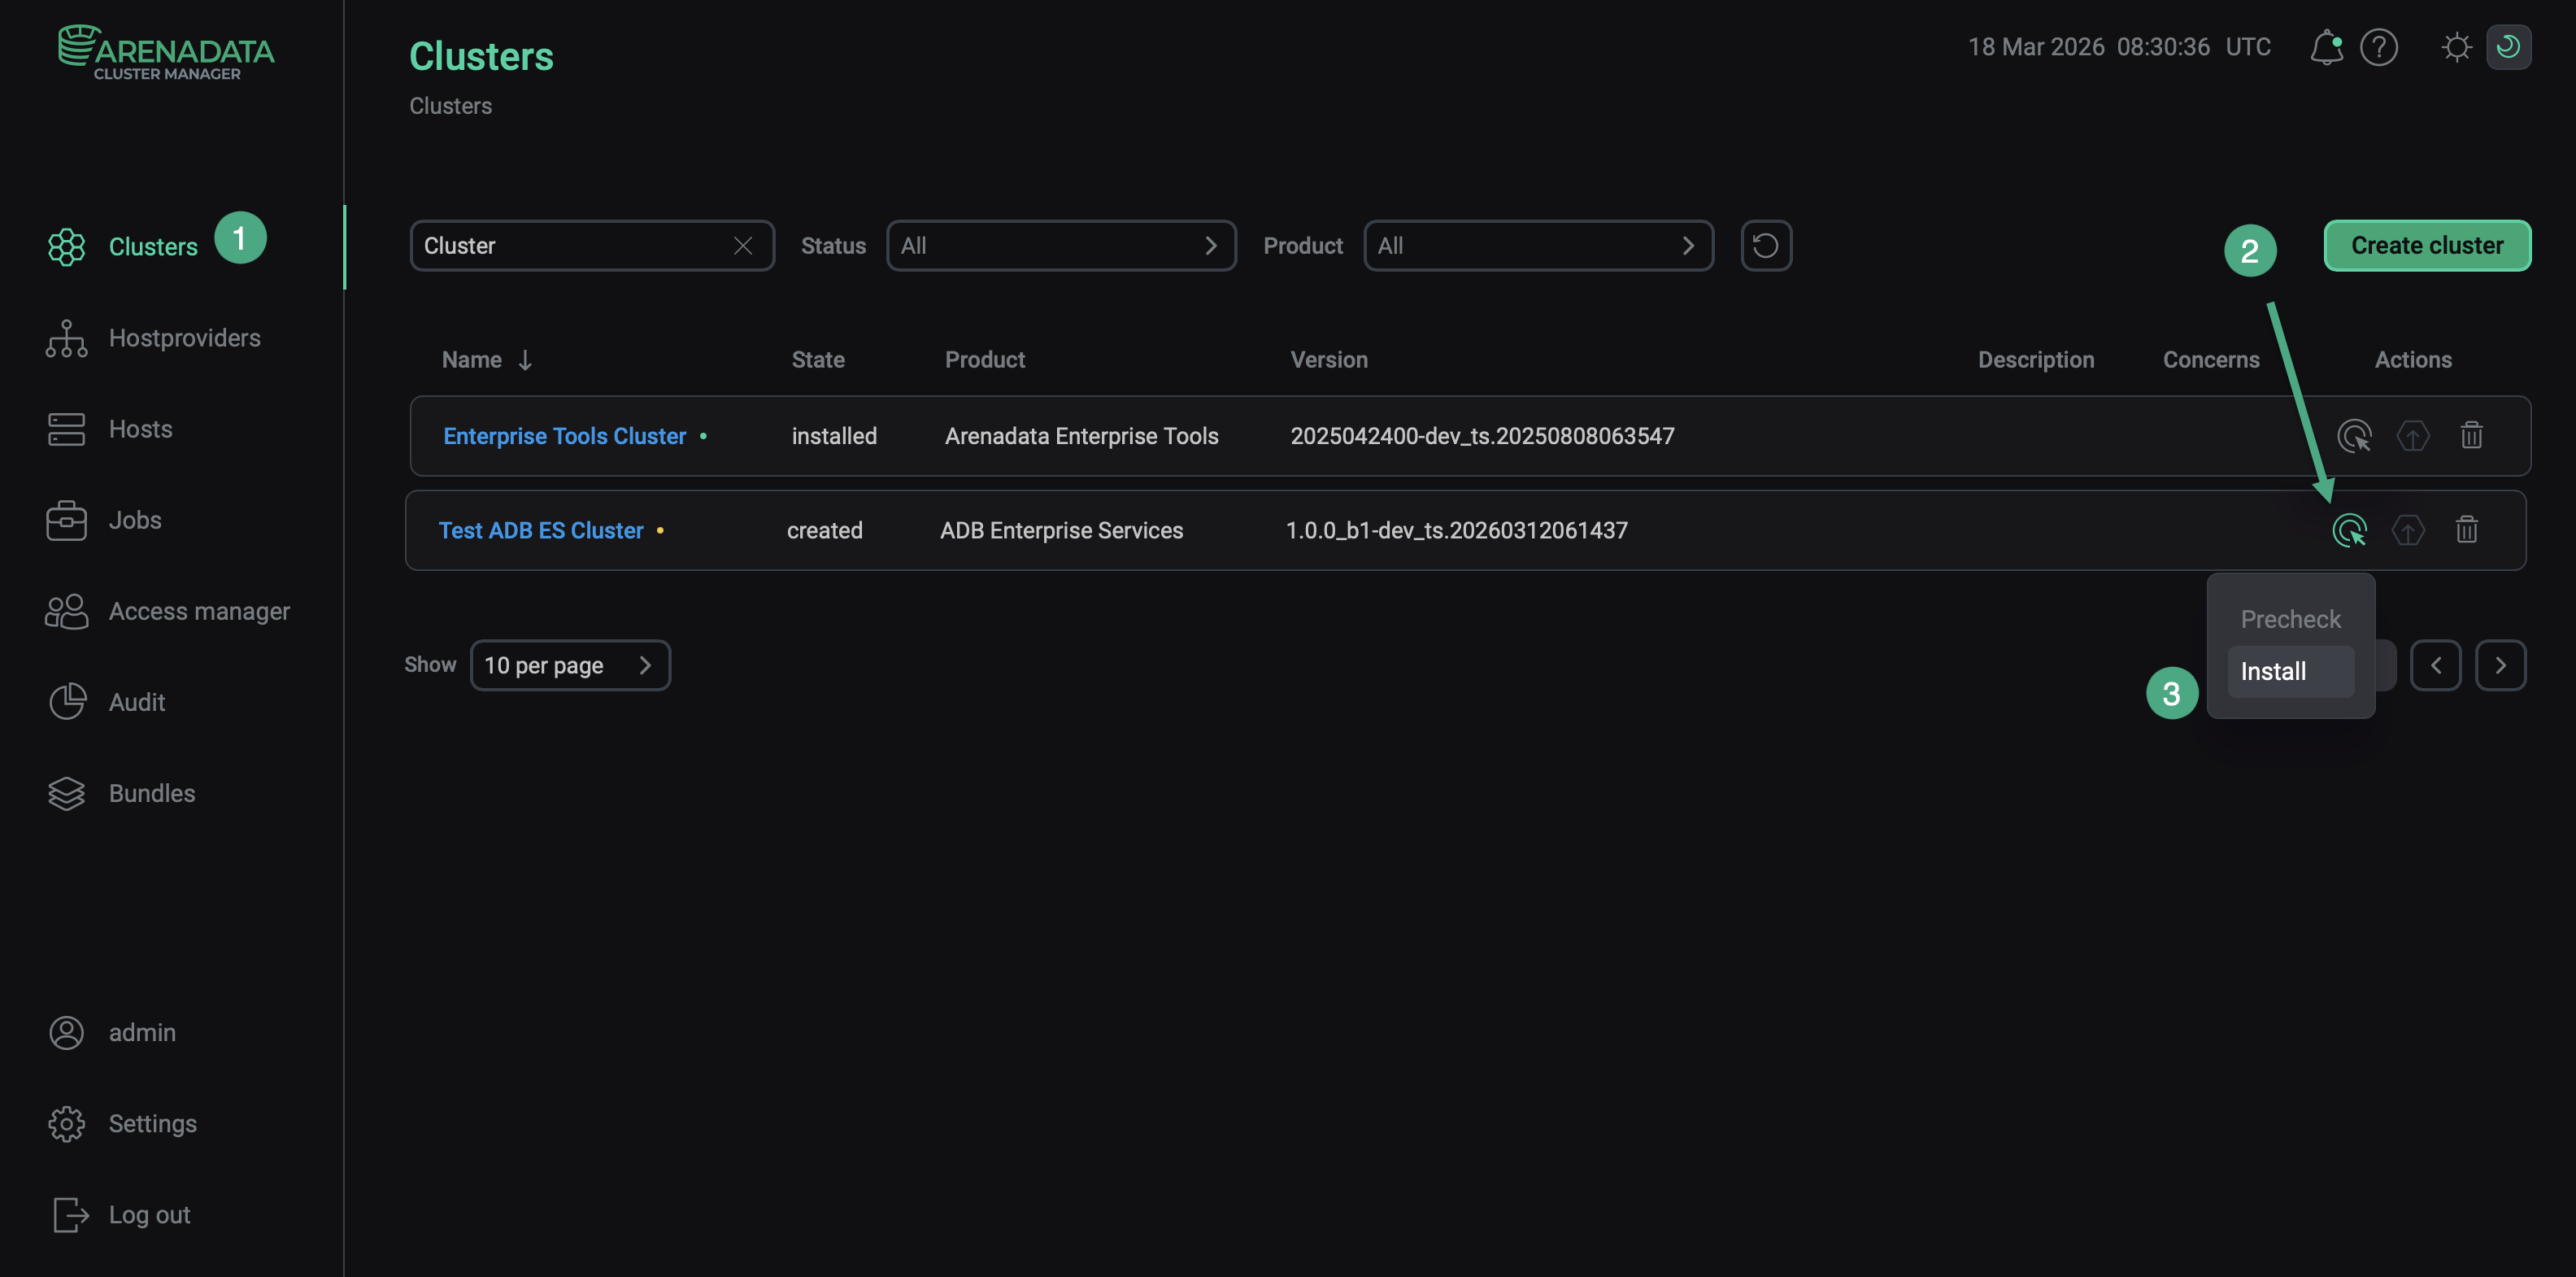 Switch to the whole cluster installation
 -
Verify the requested action in the opened window.
-
Wait until the job is completed.
-
If some service fails during installation, but the preceding services are installed successfully, you can try to fix errors and restart installation of all failed services. To do this, select the Reinstall action in the Actions column on the Clusters page.
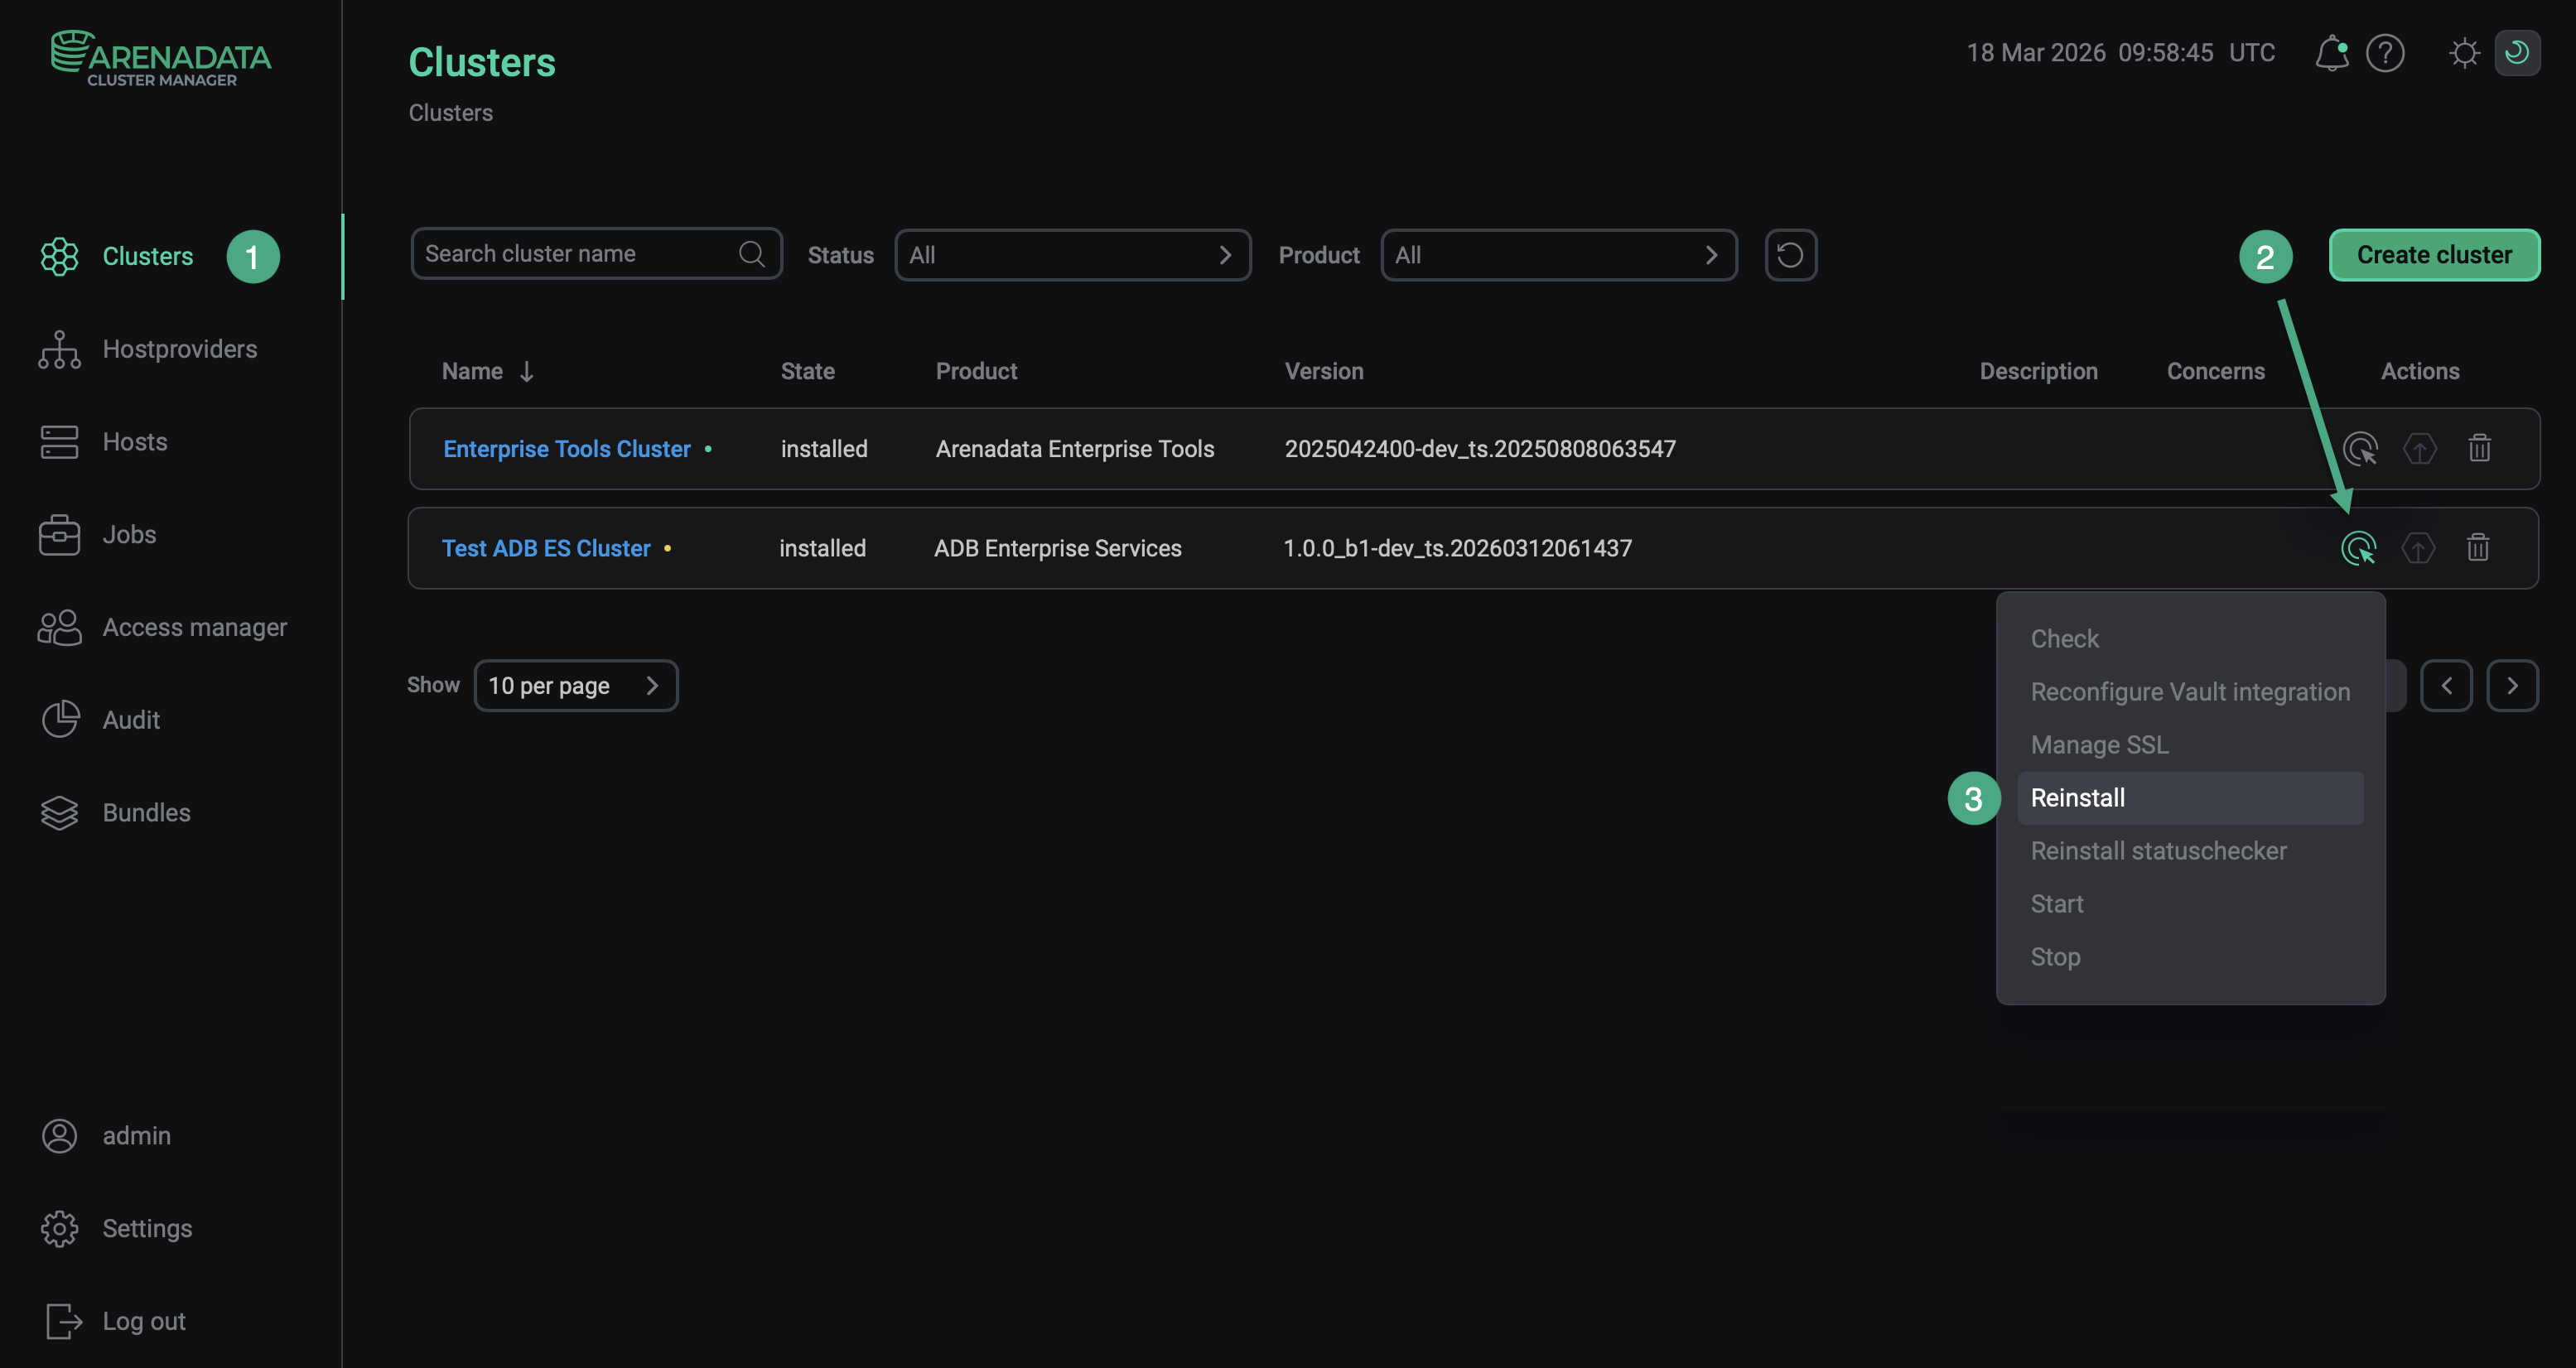 Installation restart
Single services
The recommended way to install ADB ES is to use the Install cluster action (as described above). Alternatively, you can install all services manually, one by one. If you choose this method, follow the installation order below:
-
Database, Clickhouse, and AD Eureka (in any order)
-
ADB Control
-
ADBM
To install services one by one, follow the steps:
-
Open the Services tab on the cluster page. For each service that should be installed, click the
icon in the Actions column and select the Install action.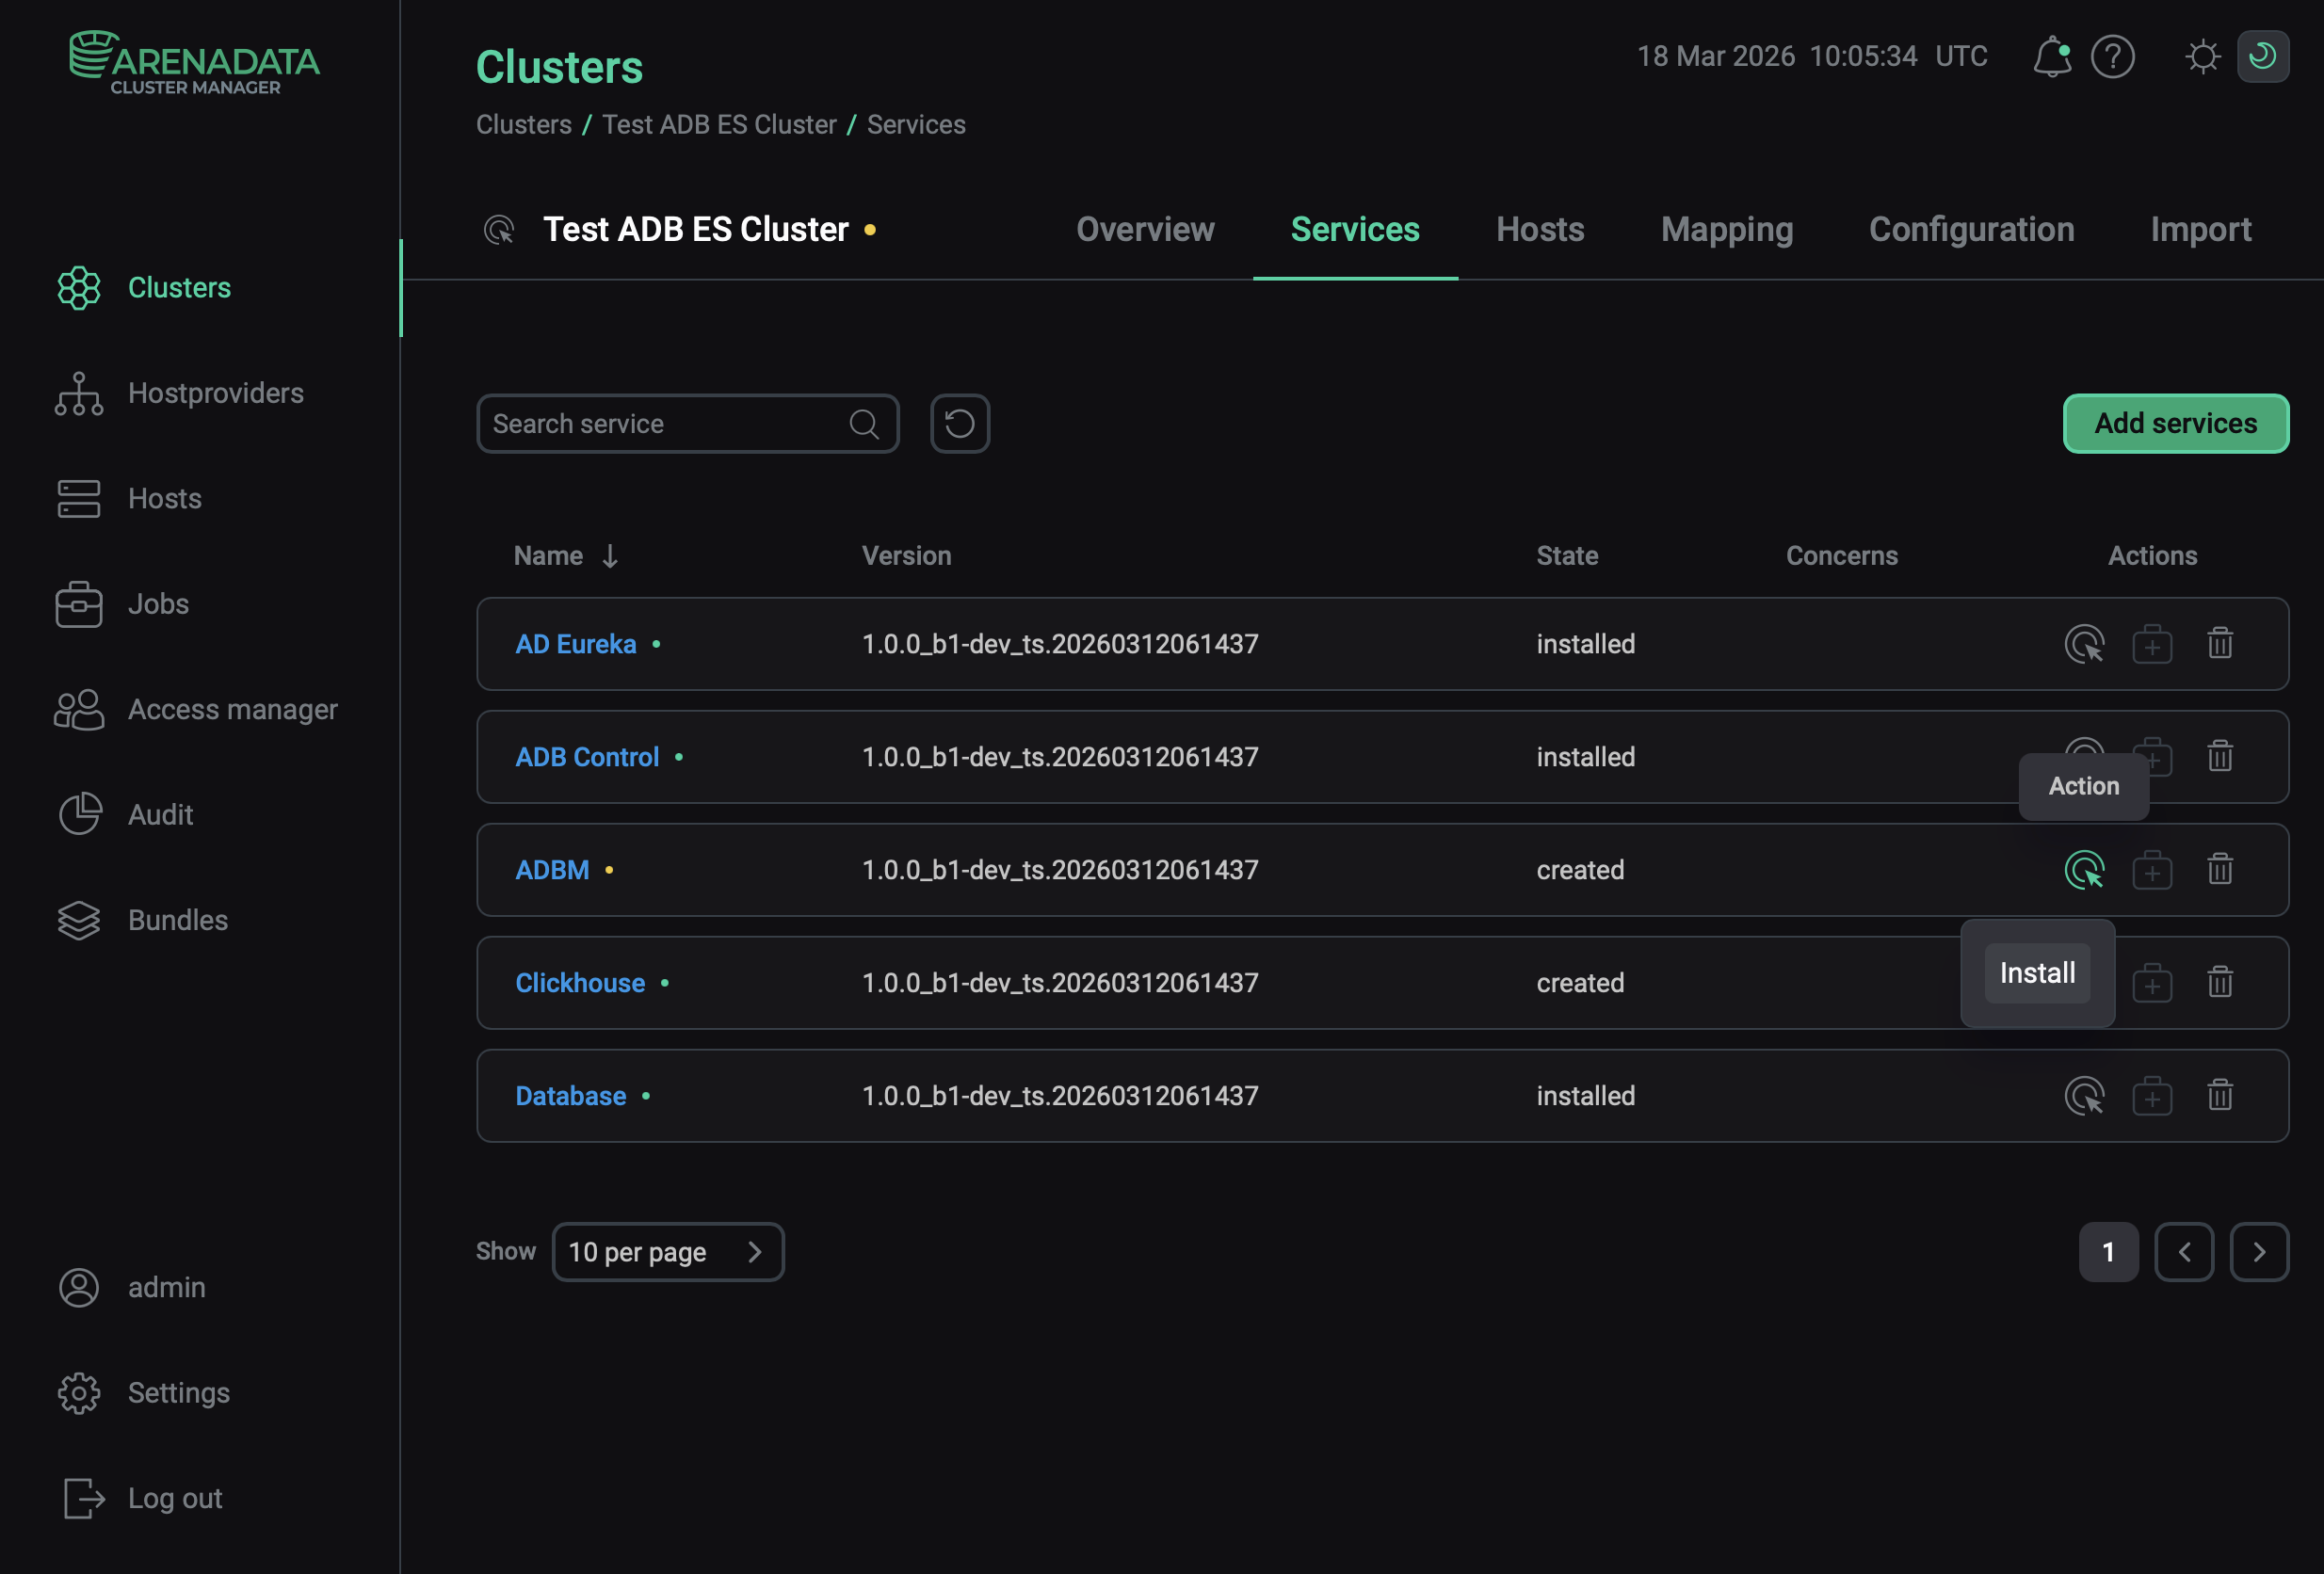 Switch to installation of single services
 -
Verify the action in the opened window.
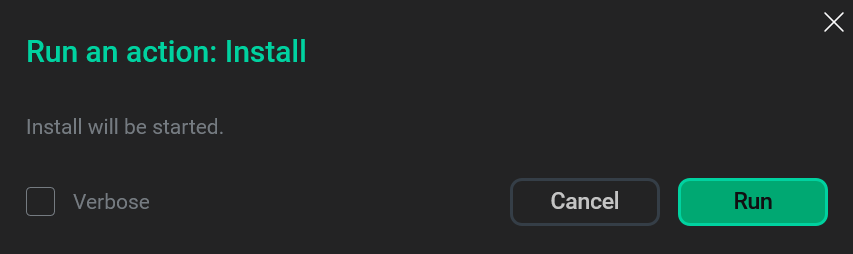 Verify the action
 -
Wait until the job is completed. Then check that the service state has changed from
createdtoinstalled.
Step 3. Check the cluster state after installation
As a result of successful installation, the cluster and its services change their state according to the following rules:
-
The cluster state, displayed in the State field on the Clusters page, is being changed from
createdtoinstalled.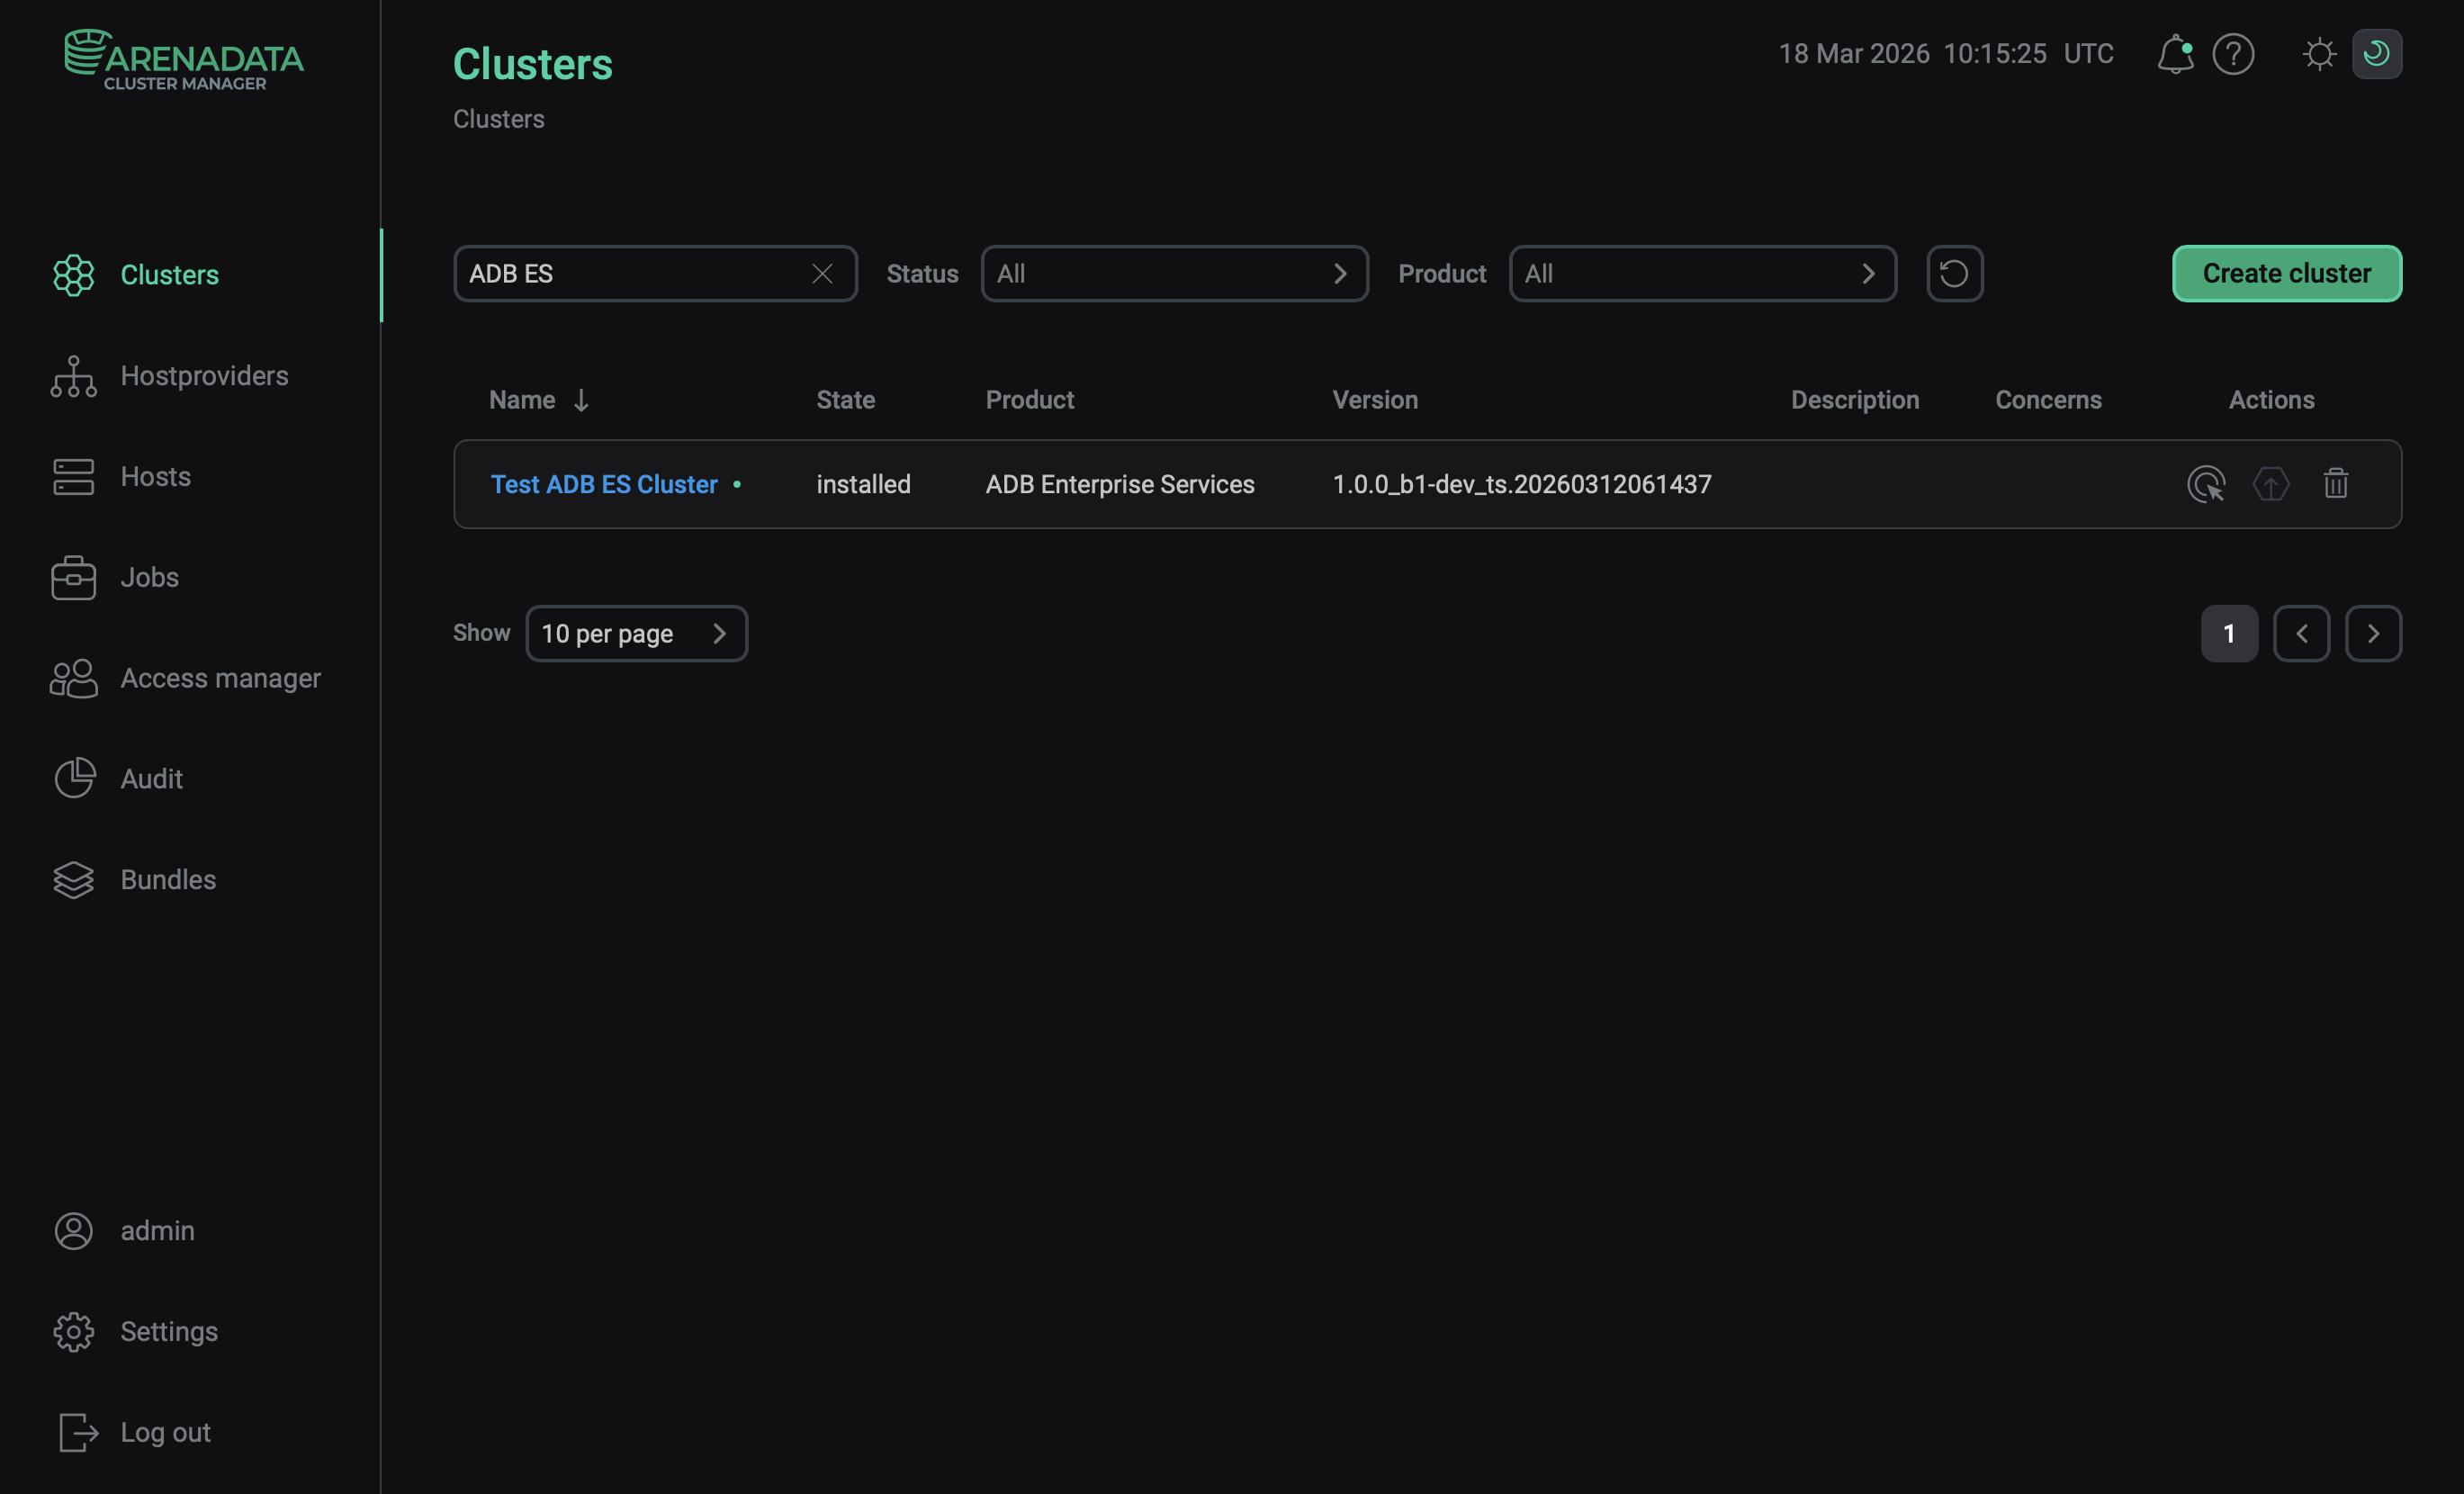 The cluster state after successful installation
 -
The state of cluster services, displayed on the Services tab of the cluster page, is being changed from
createdtoinstalled.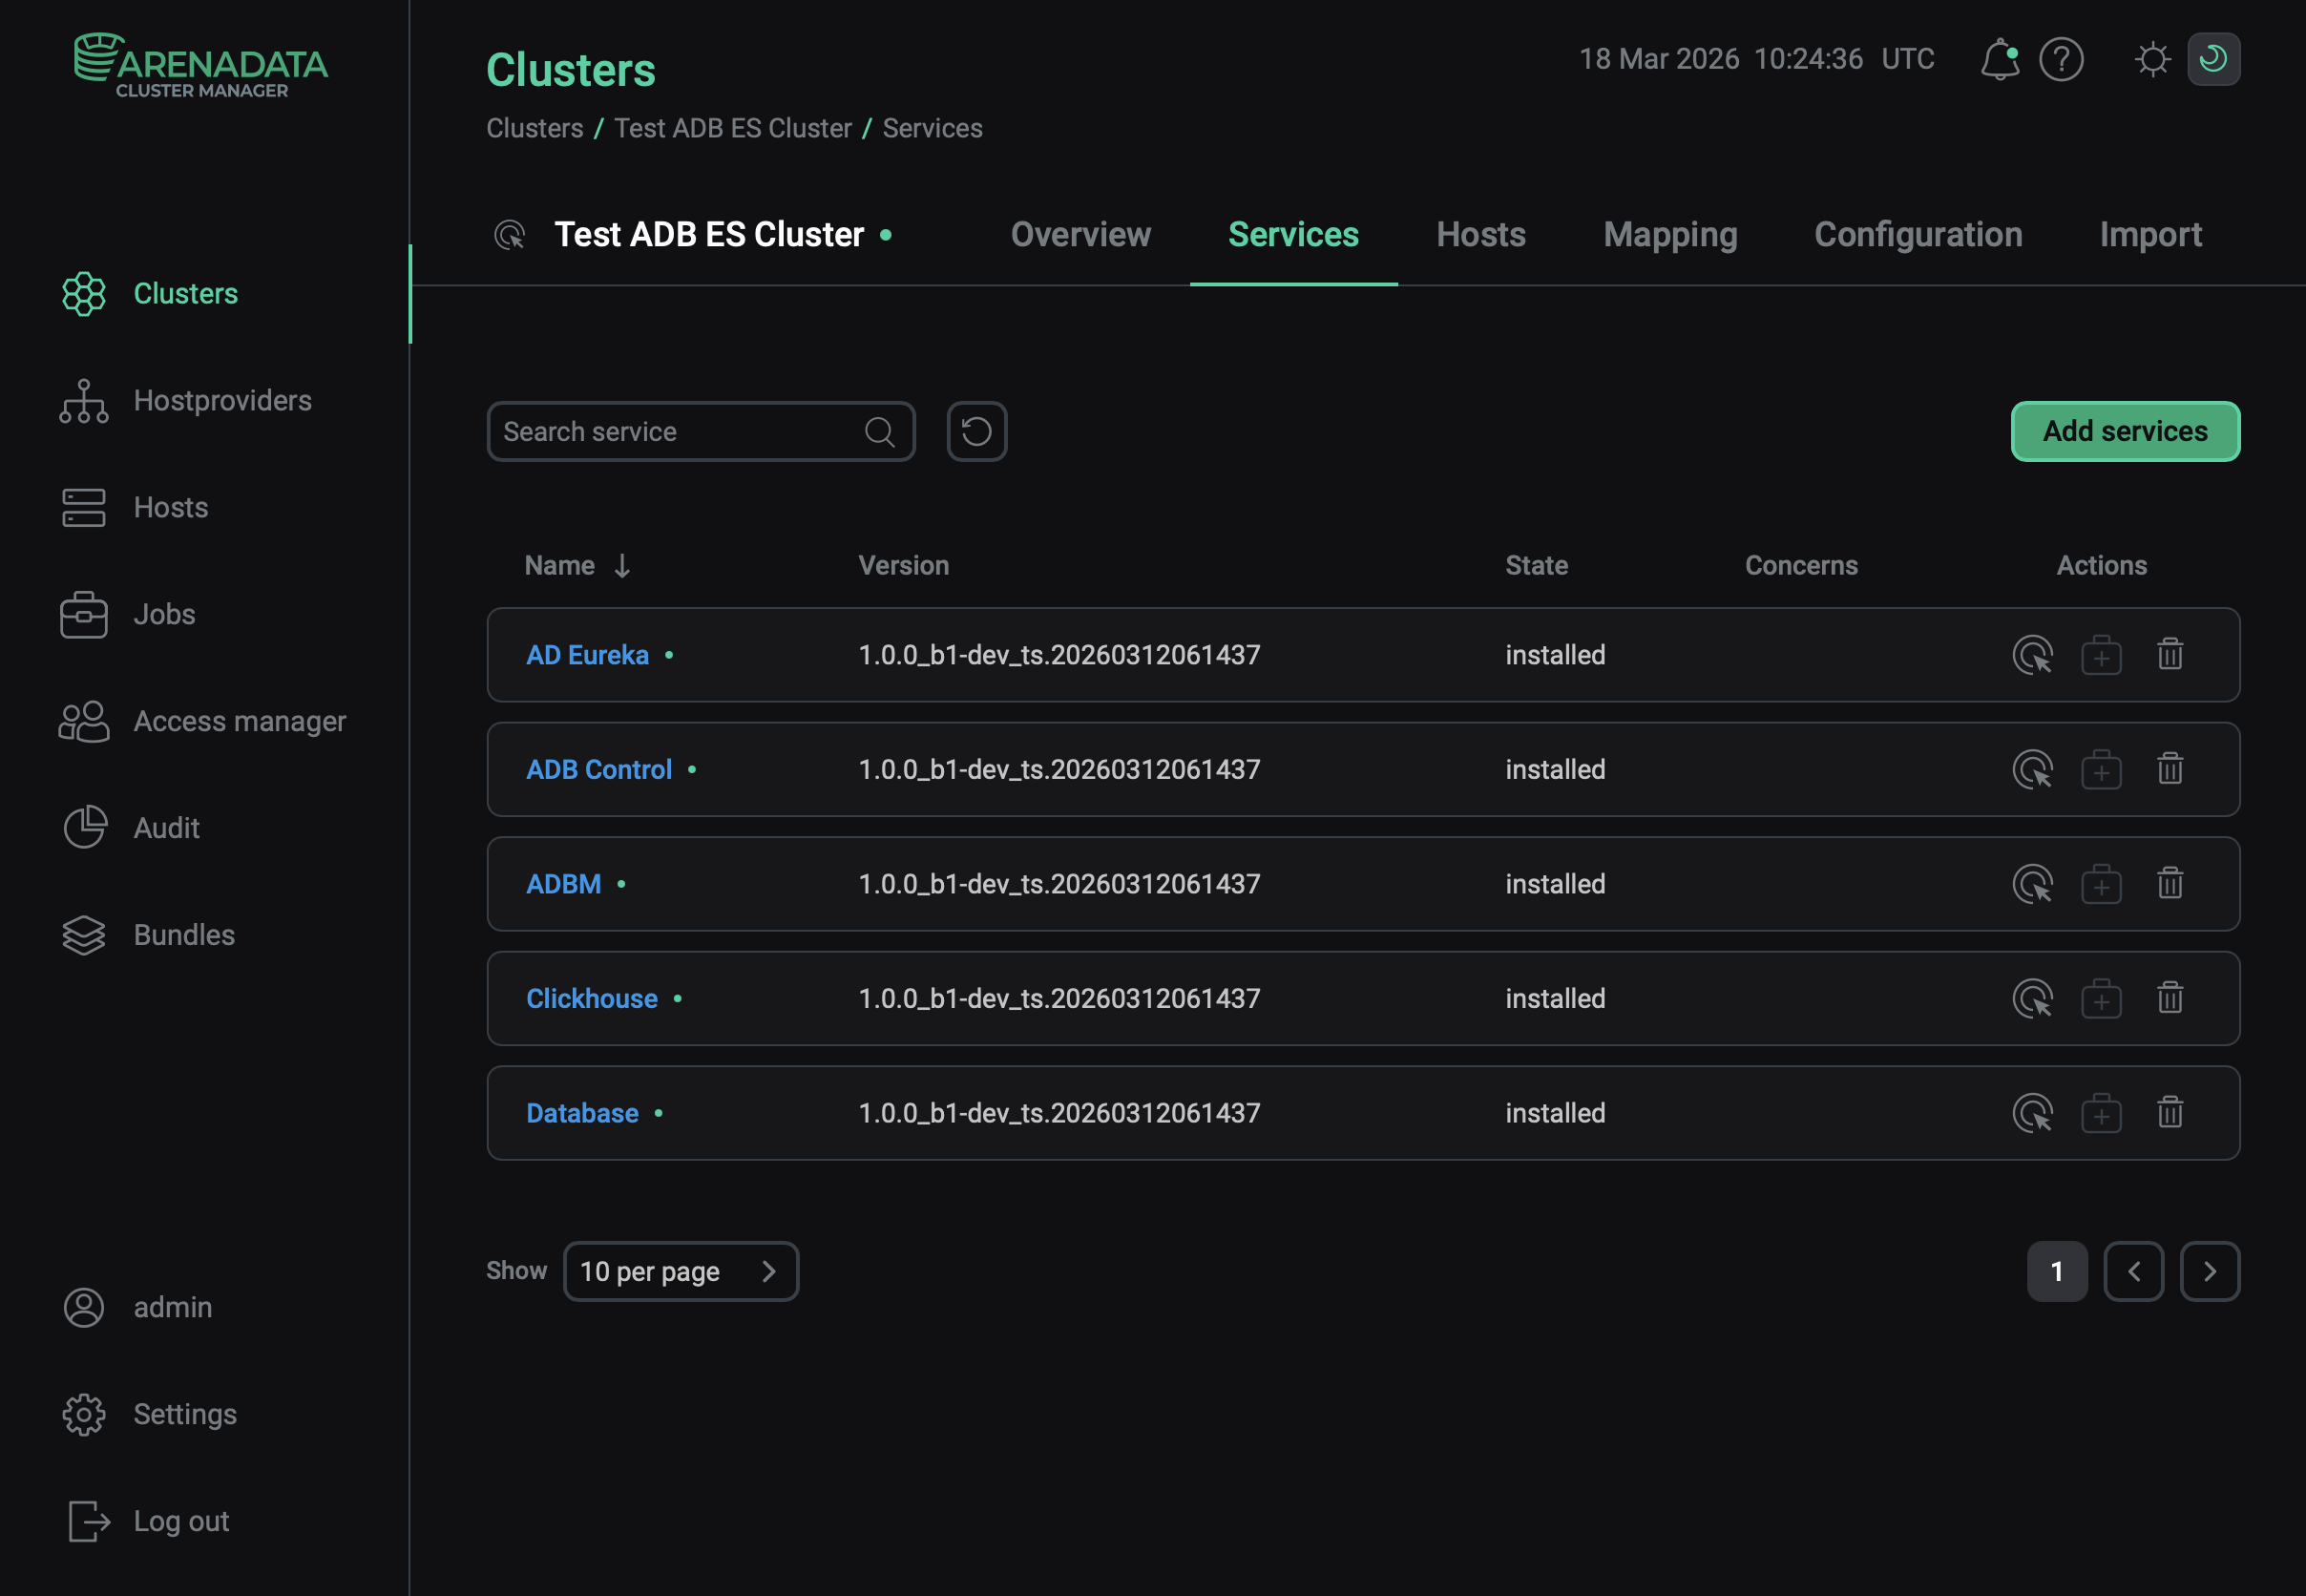 The state of cluster services after successful installation
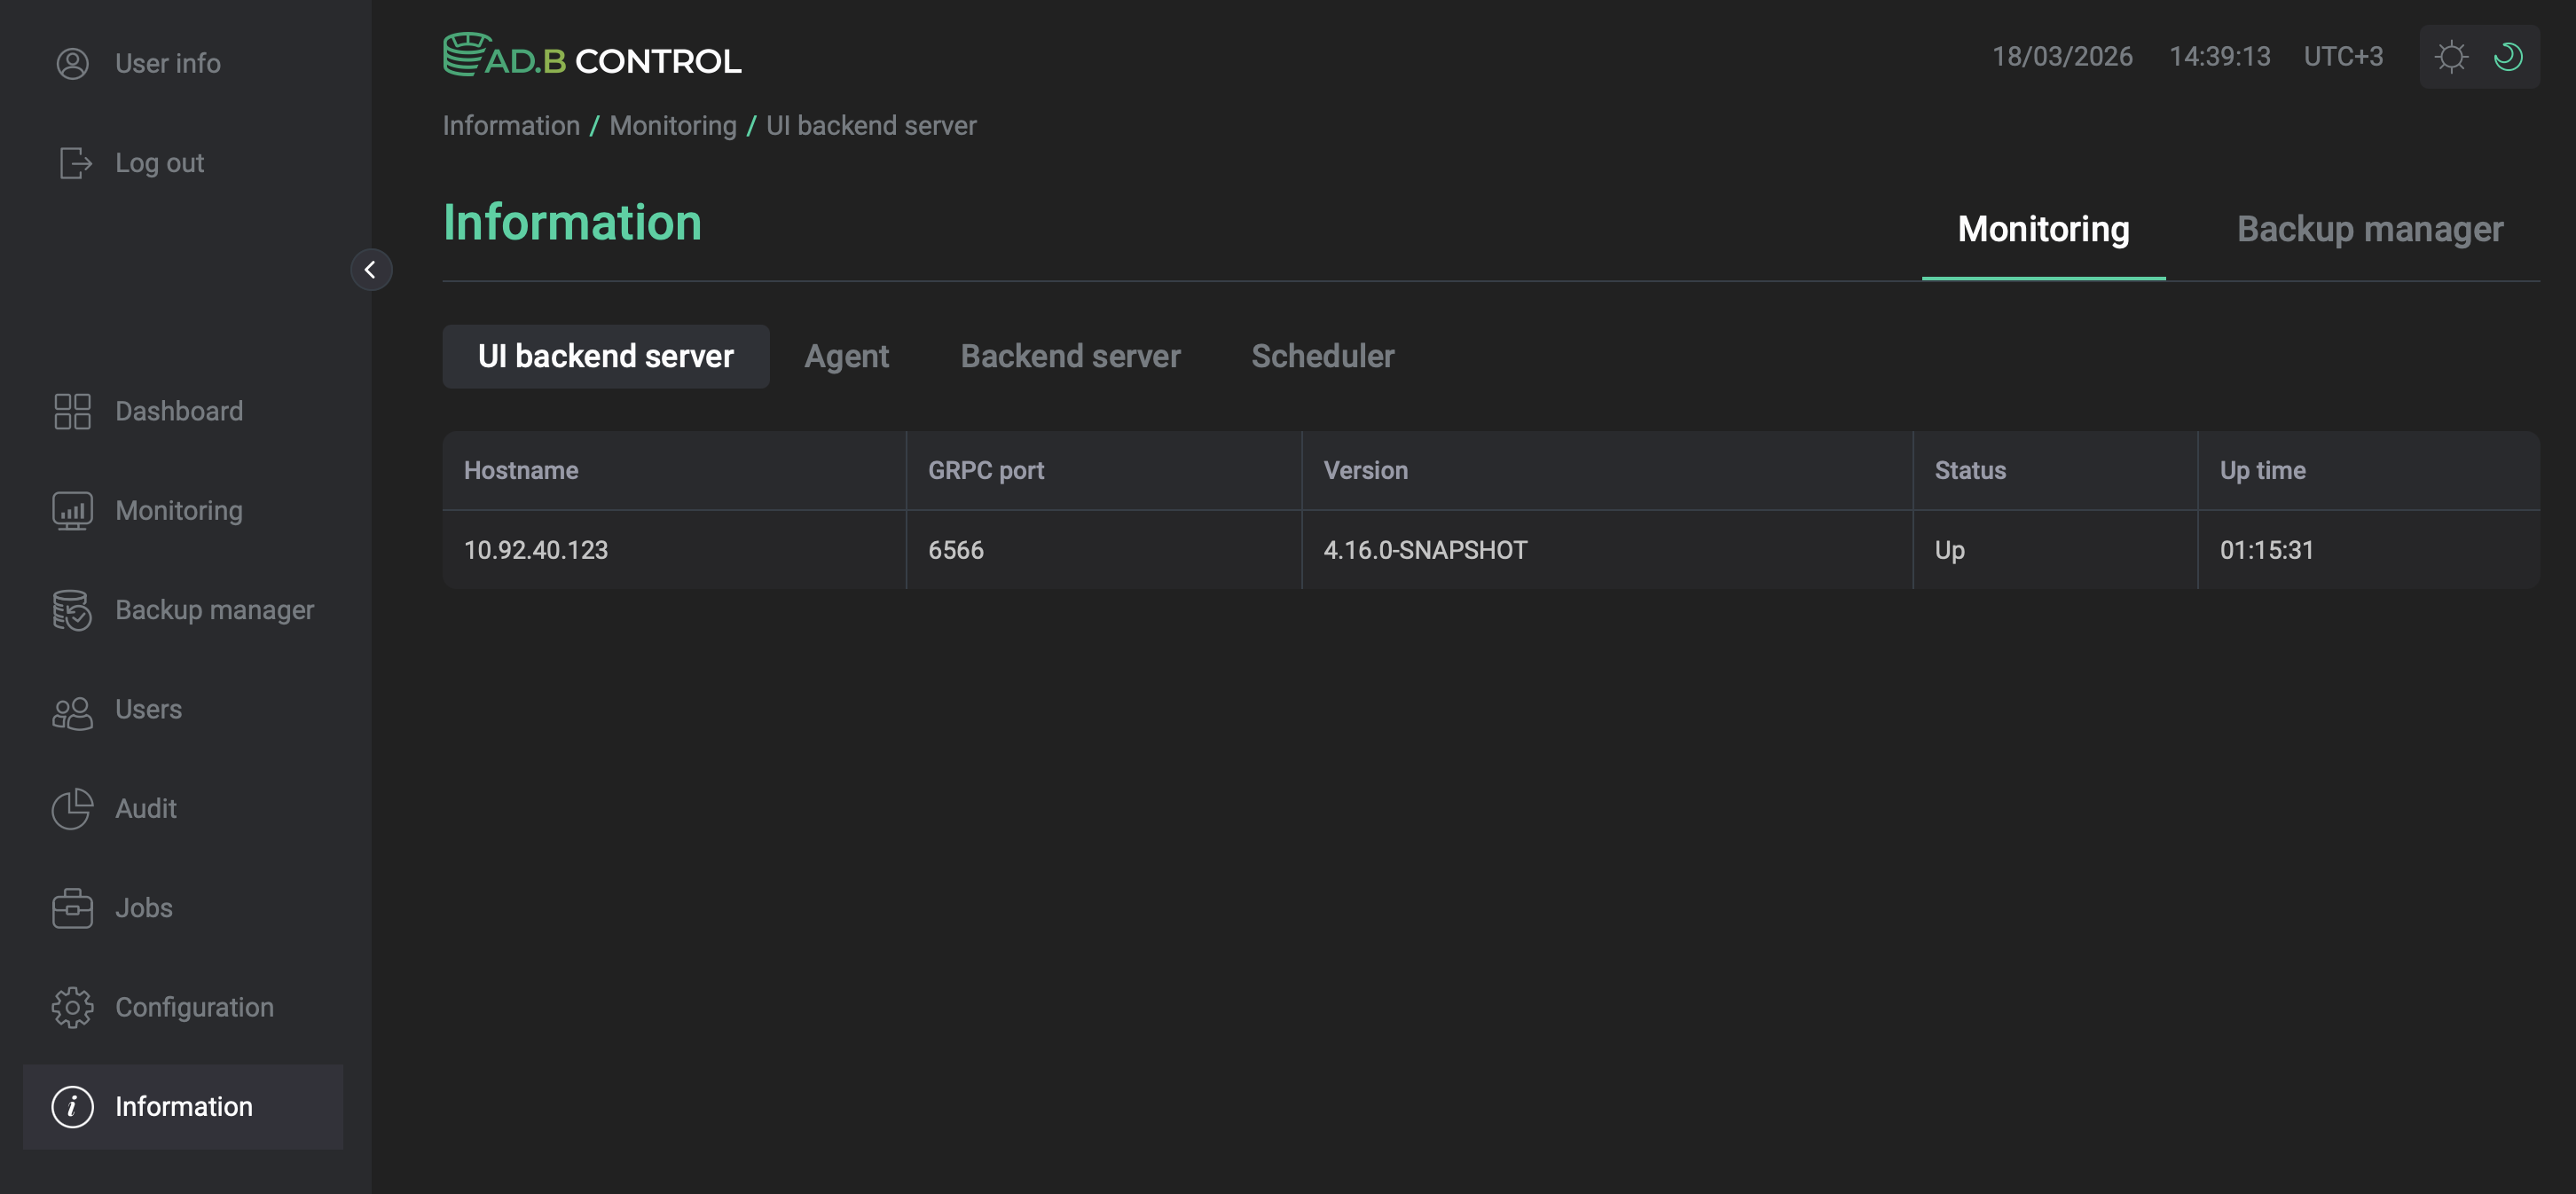
Step 4. Check the ADB Control web interface
After ADB ES installation is complete, check the ADB Control web interface:
-
In a browser, enter
<adb_control_host>:8890whereadb_control_hostis the hostname or IP address of a host that you have mapped to ADB Control and8890is the default port for the ADB Control UI. This port can be changed in the ADB Control service configuration, in UI component parameters → Listening port.NOTEThe IP address and port of ADB Control are also listed on the Info tab of the ADB Control service. -
To sign in, use the default credentials:
-
Username: admin
-
Password: 1234
When you sign in for the first time, you will be prompted to change the default password.
-
-
Open the Information tab and check the version, status, and uptime of the installed components.
You can now import the ADB ES cluster configuration to ADB.