

Manage configurations in ADBM
Backup/Restore configuration
Overview
In ADBM, a backup/restore configuration means a set of options that are used to manage database binary backups and restores. These options include paths for saving backups, log levels, timeouts, compression settings, etc. ADBM supports several configuration versions. But there can be only one active version, which is marked as current in the user interface.
Possible operations with configurations are described below. All operations are performed on the Configuration → Backup/Restore configuration tab. To open this tab, follow the steps:
-
Open the Backup manager page via the ADB Control web interface.
-
In the table that is located in the Clusters section of the opened page, click the ADB cluster name.
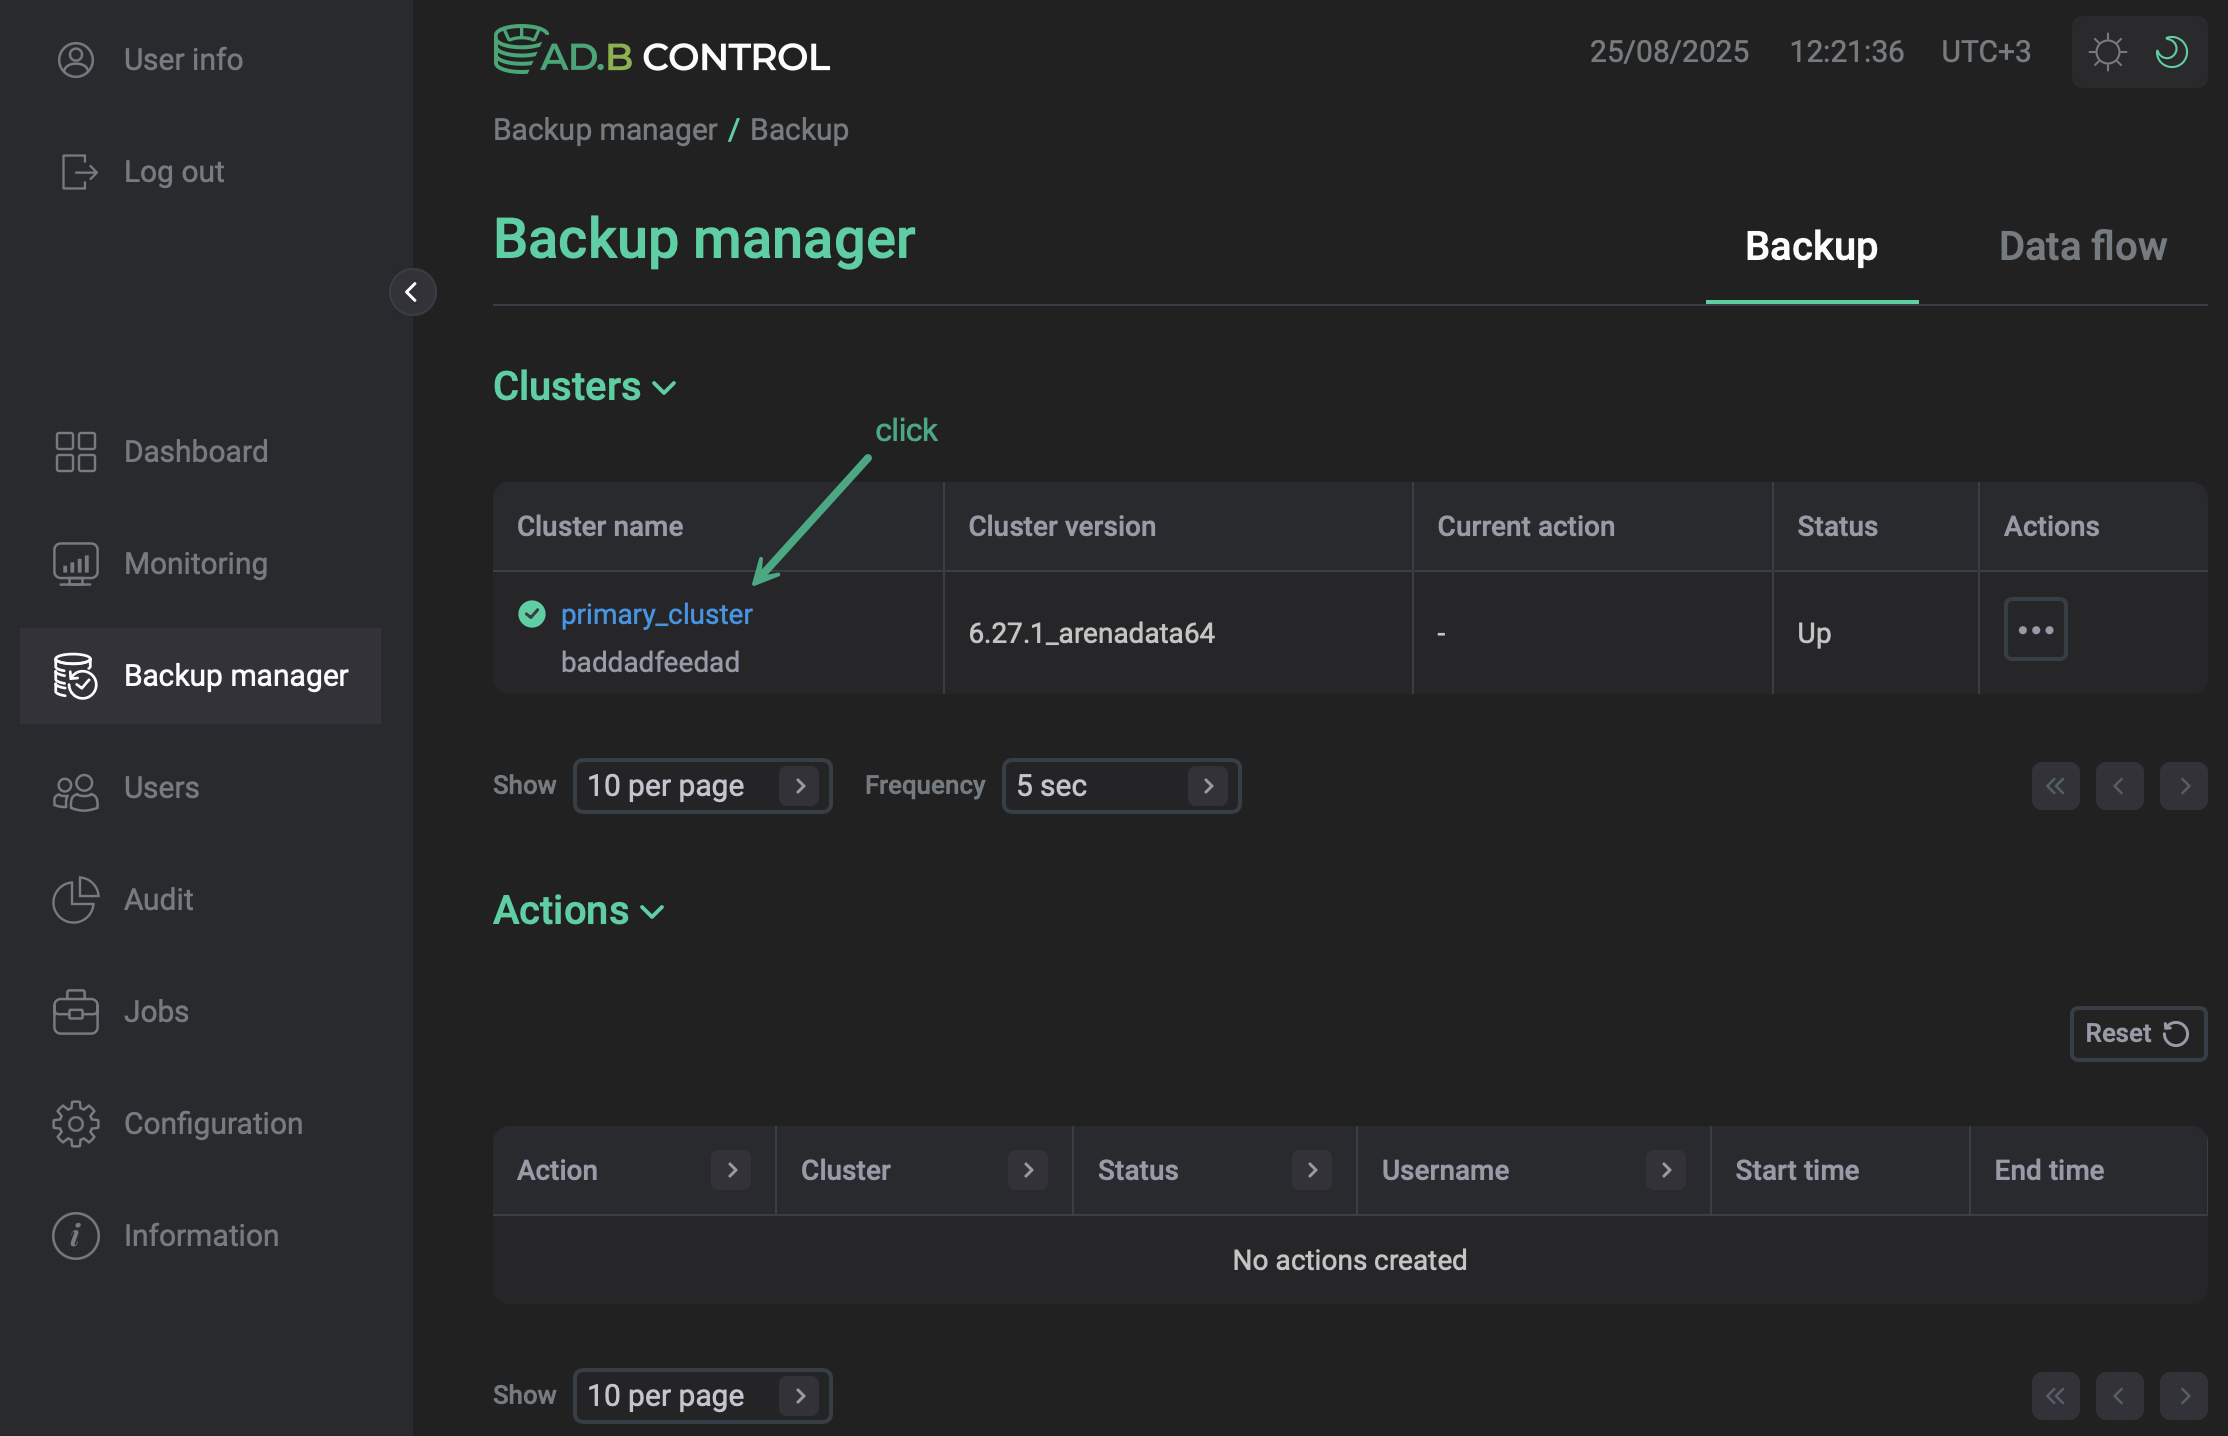 Select the ADB cluster
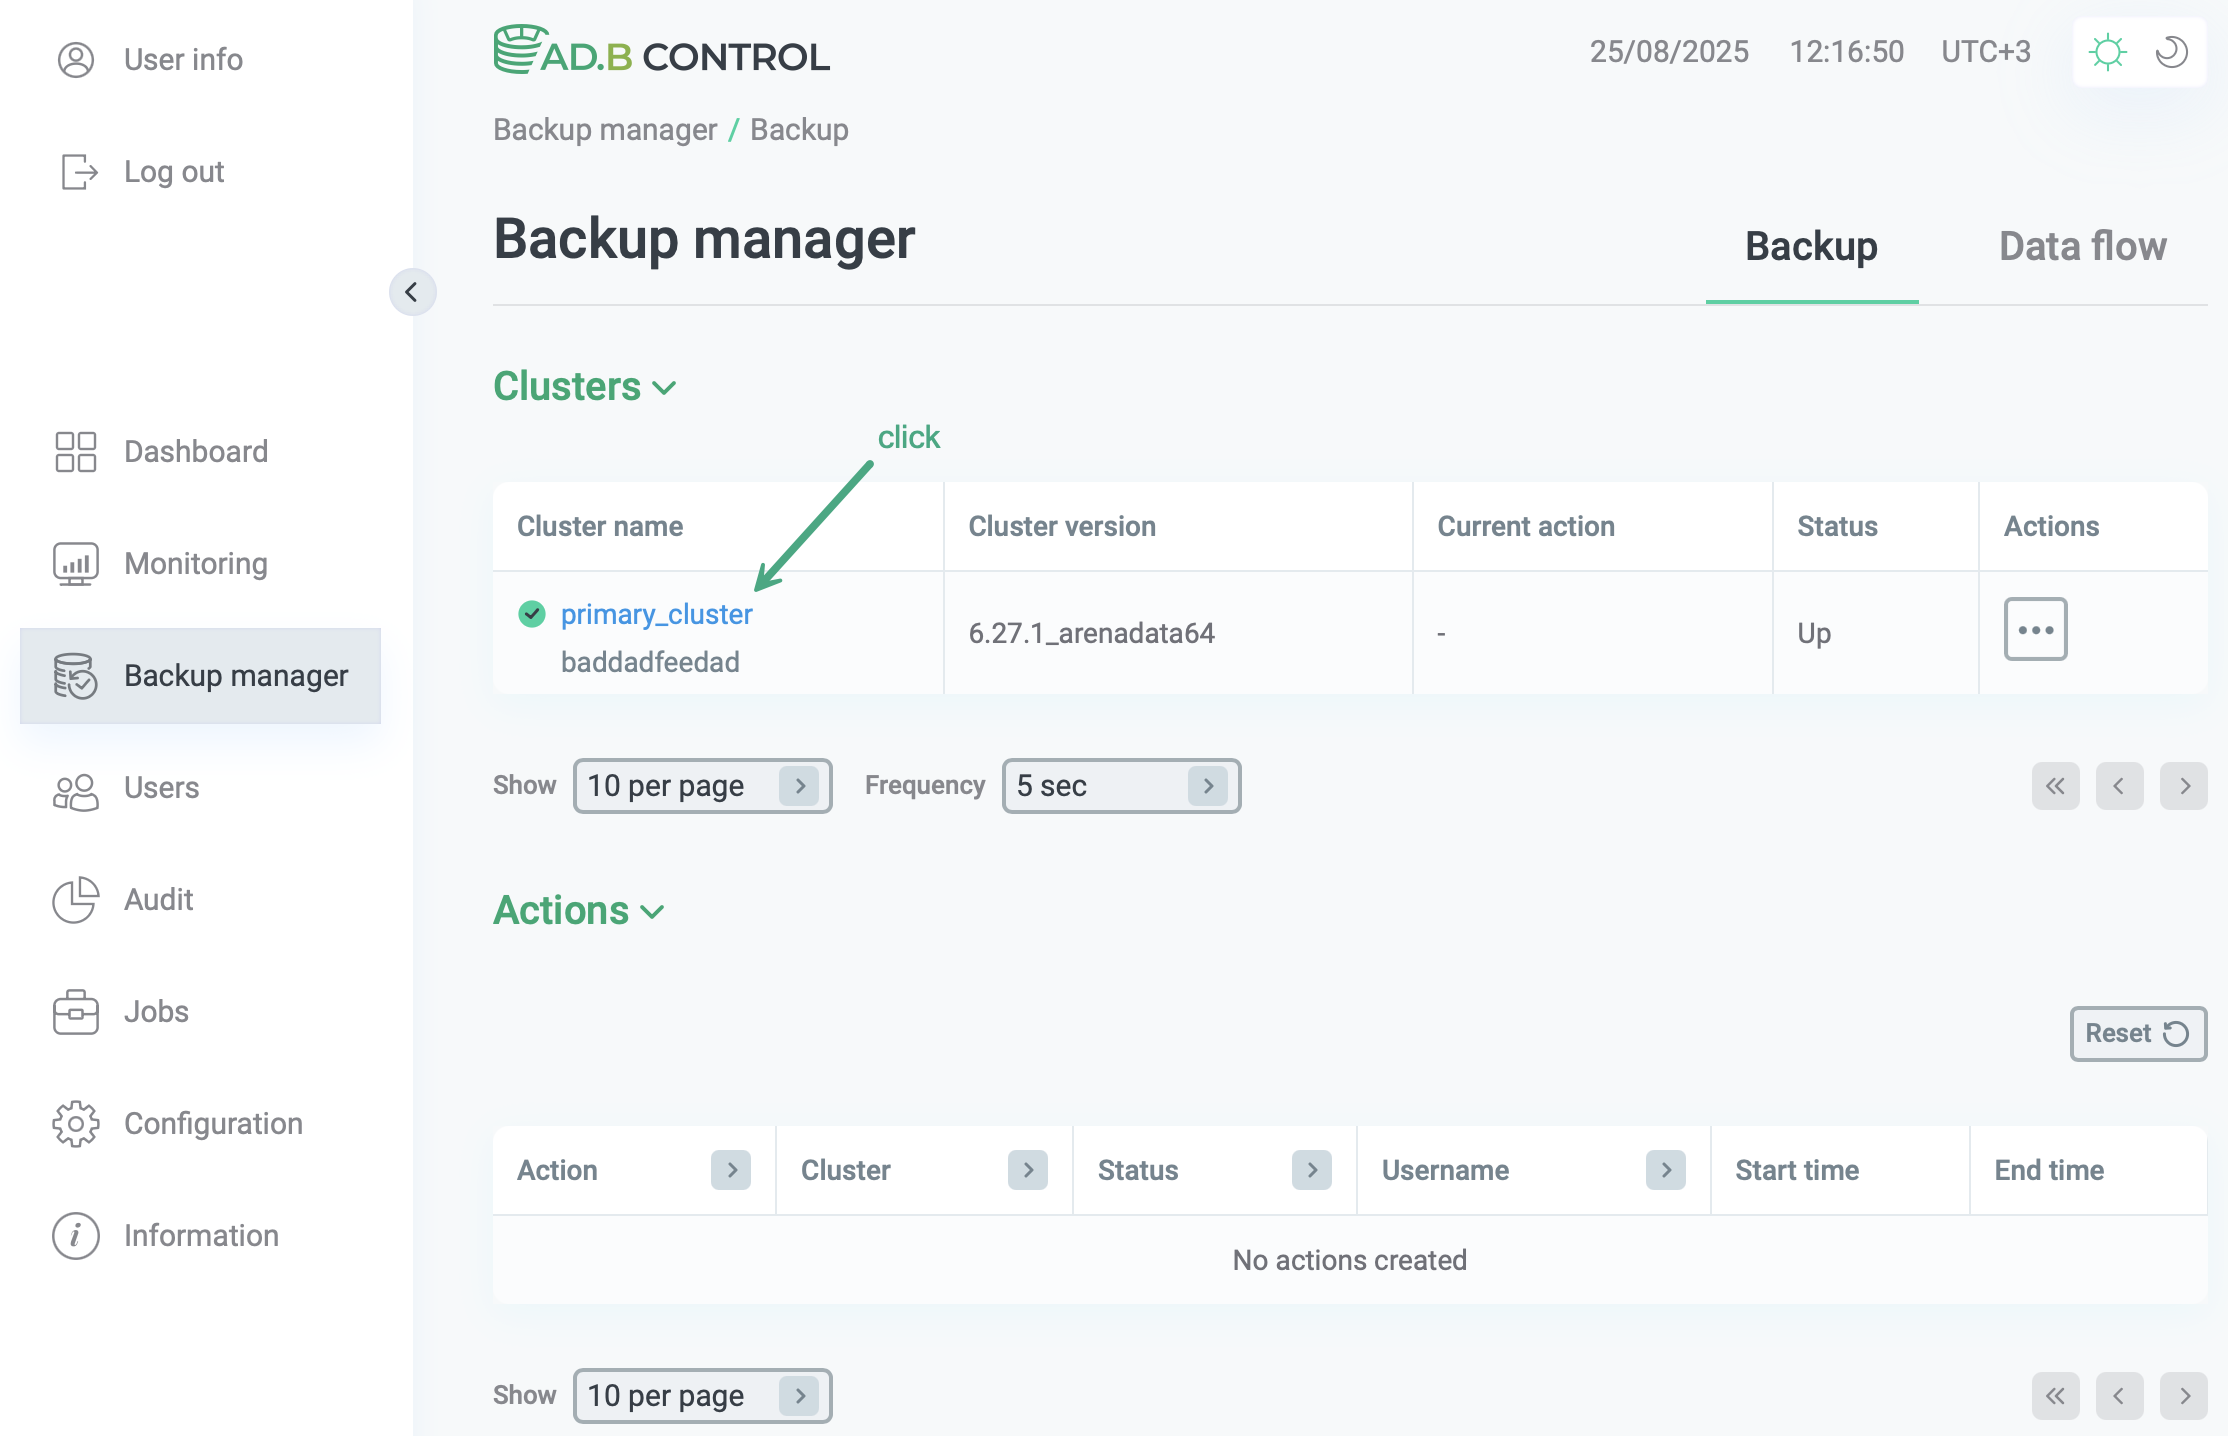 Select the ADB clusterNOTE
Starting with ADBM 2.5.0, a unique cluster identifier is displayed next to each cluster name.
-
Select the Configuration → Backup/Restore configuration tab.
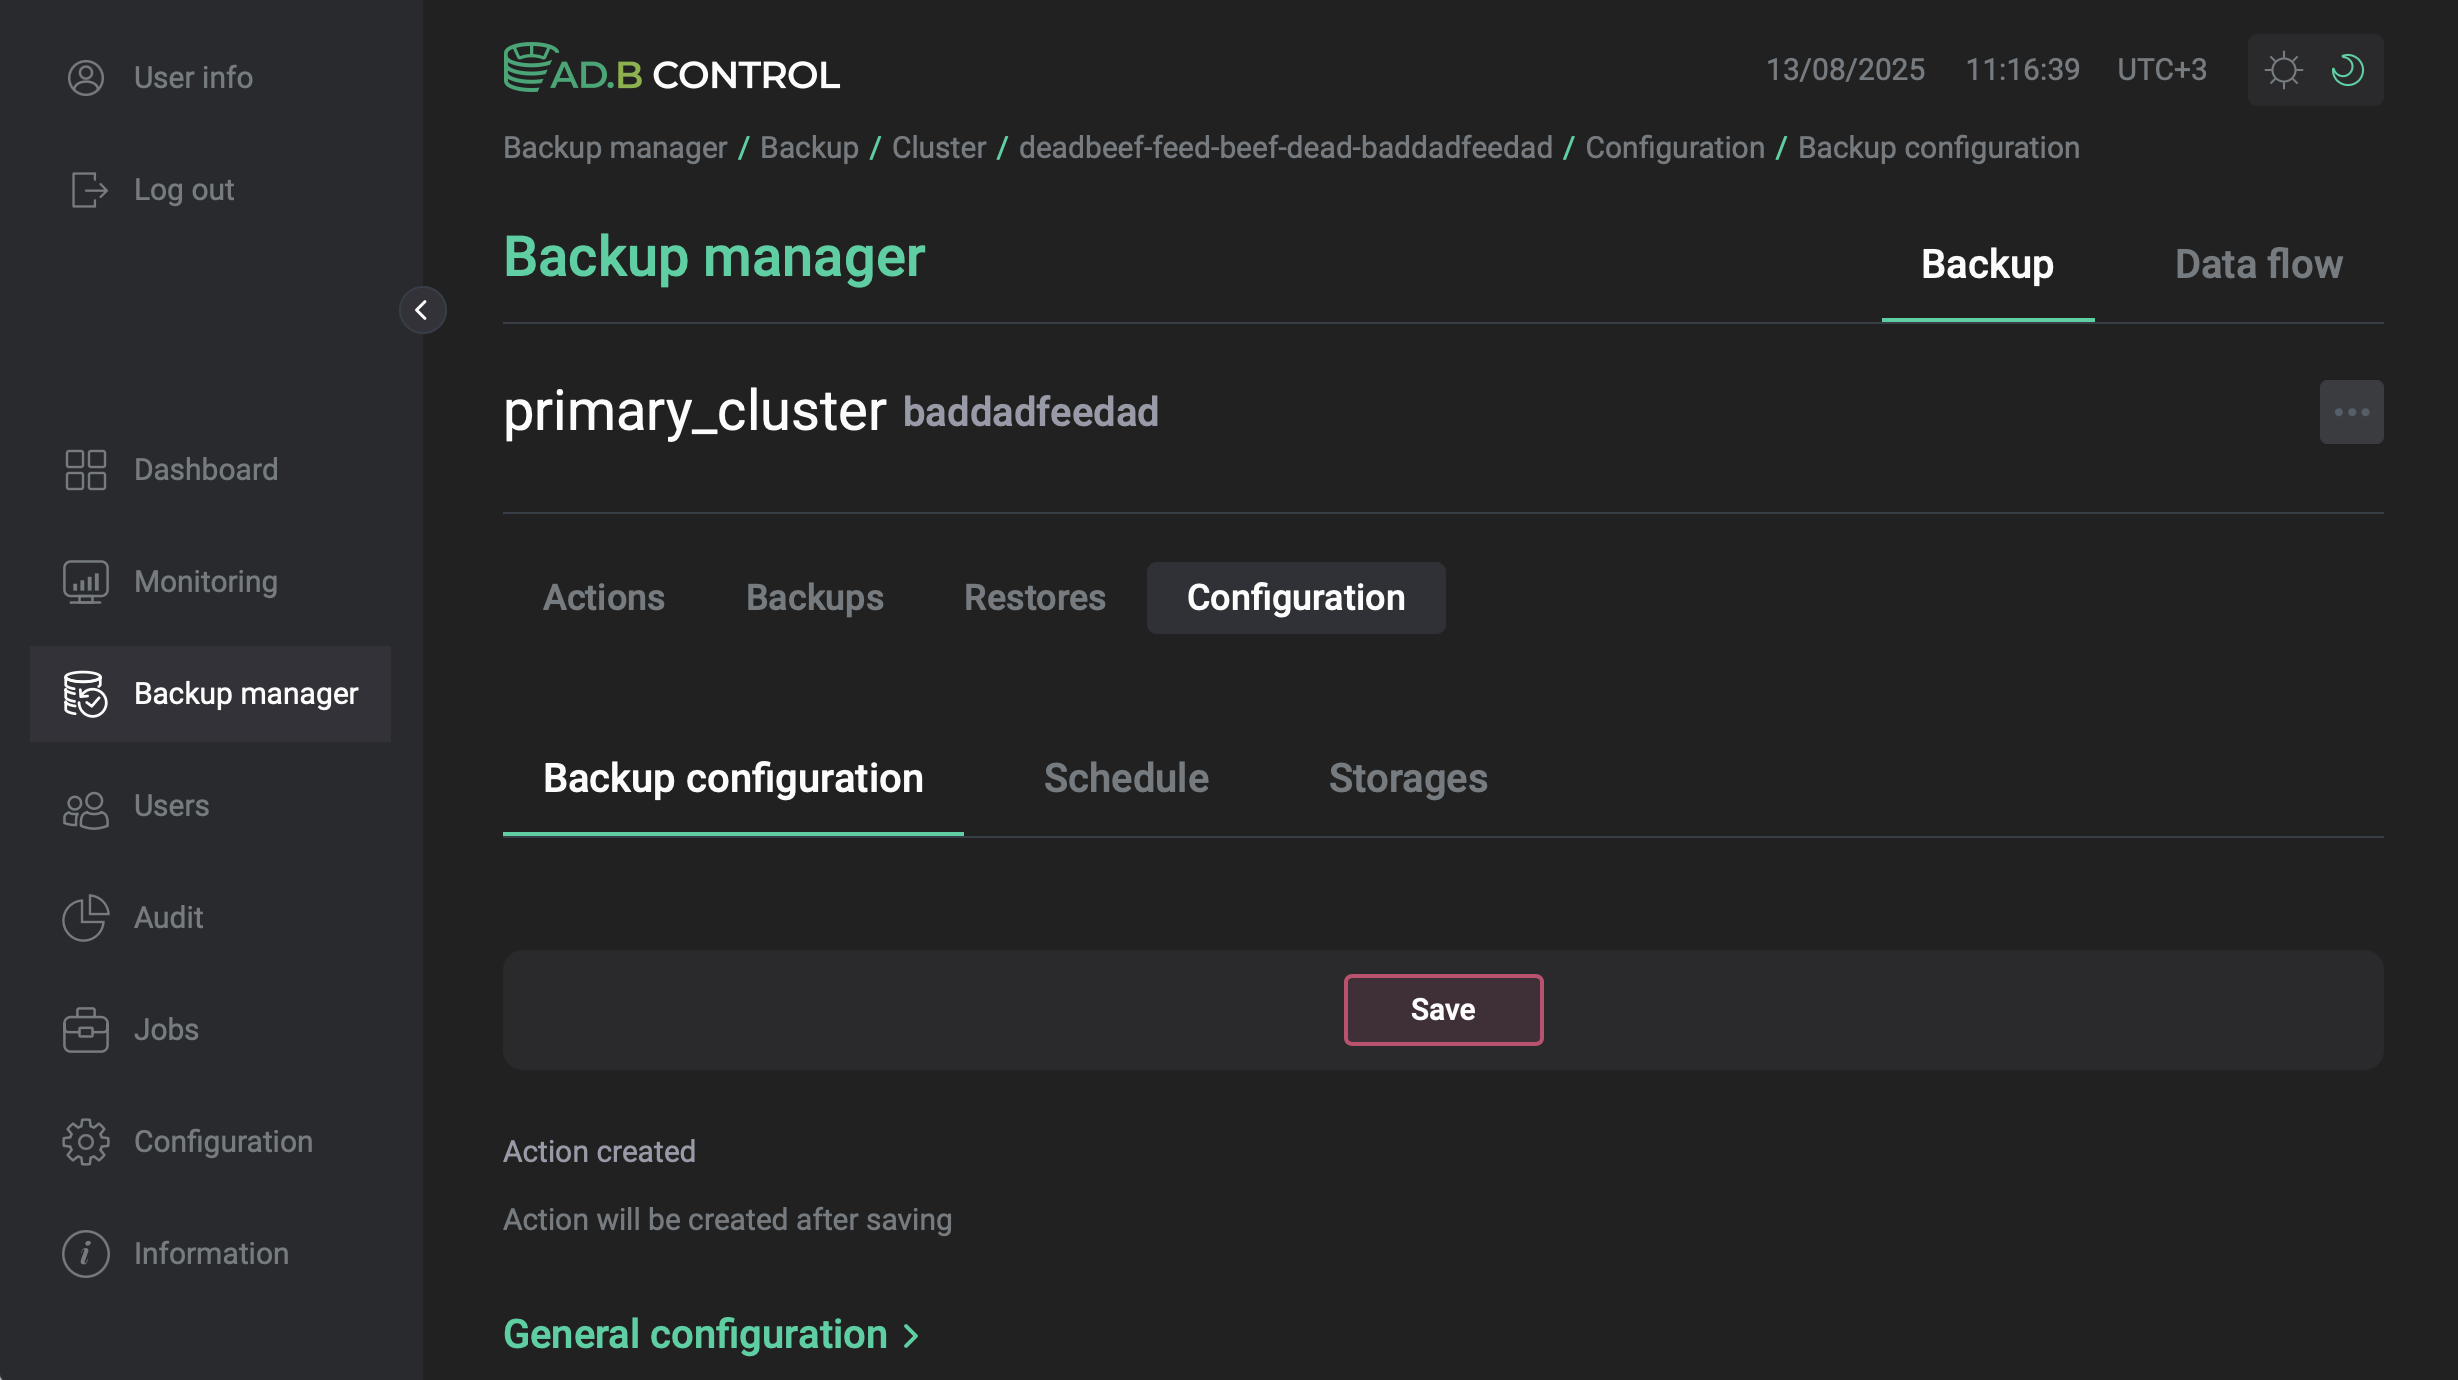 The Configuration → Backup/Restore configuration tab
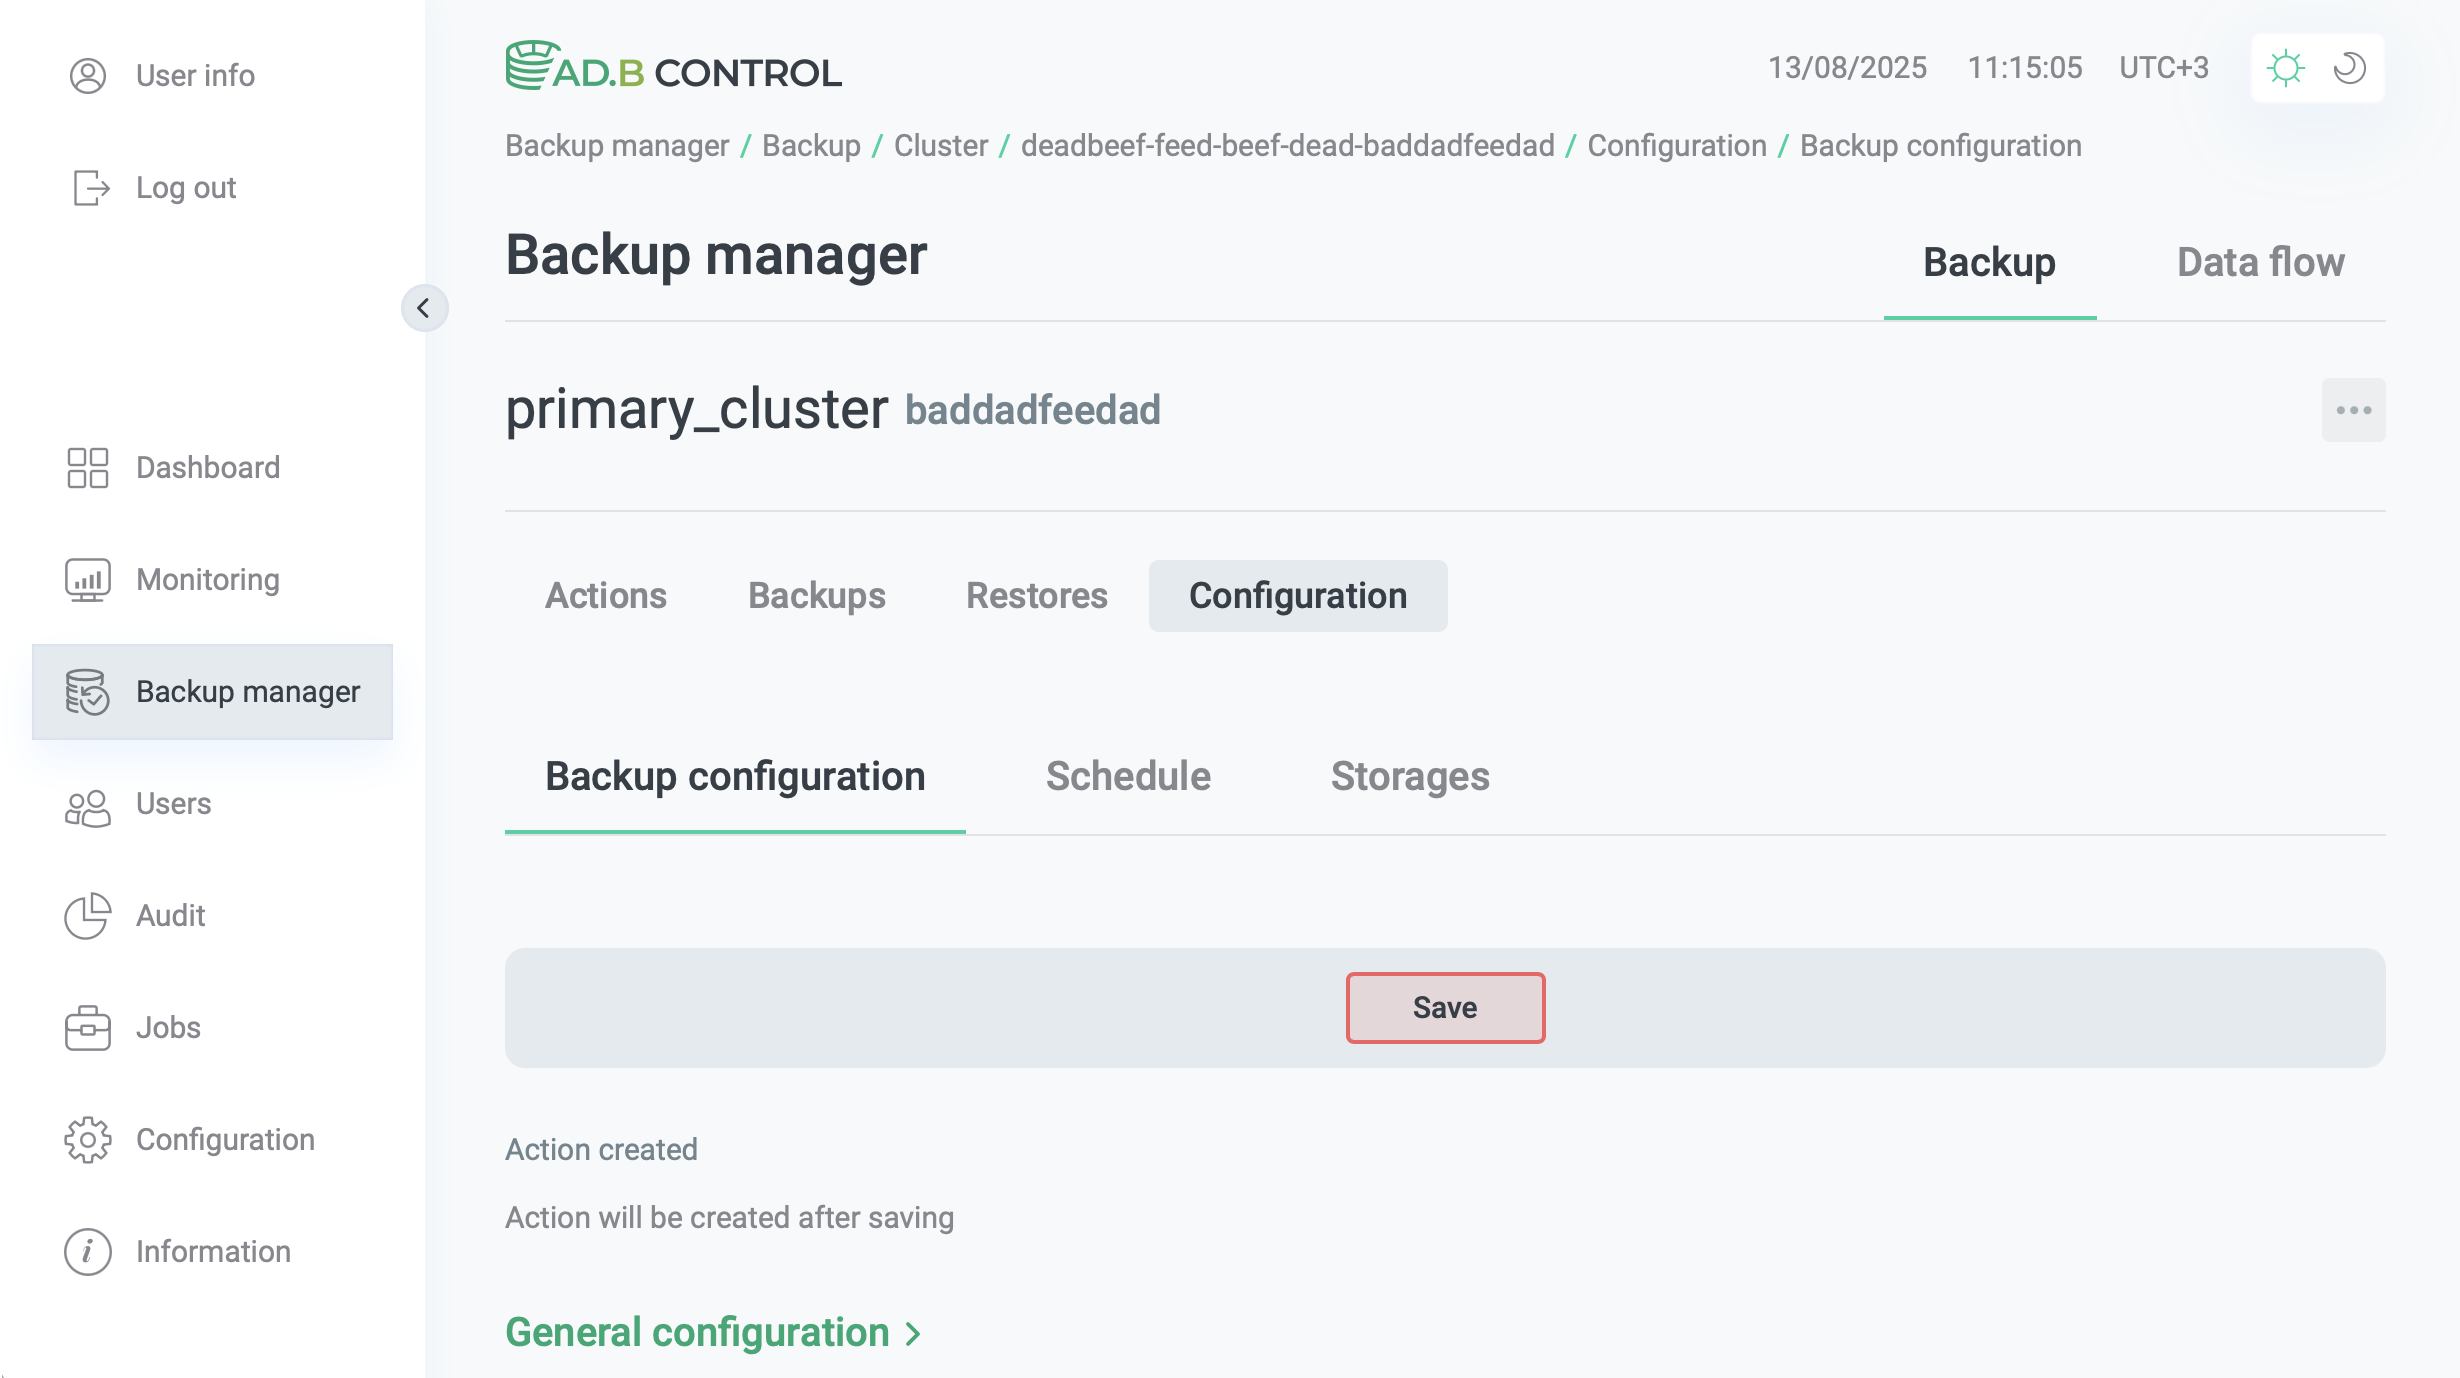 The Configuration → Backup/Restore configuration tab
Initially, there are no configurations. To start work with backups in ADBM, add the first configuration.
Add a new configuration
|
IMPORTANT
|
-
Open the Configuration → Backup/Restore configuration tab as described above.
-
Fill in the parameters that are located in the General configuration, Timeout, Storage, and Compression sections. When filling the fields, pay attention to the following:
-
Mandatory parameters are highlighted in red.
-
For those parameters that specify time values, you can use the following units:
-
ms— milliseconds; -
sec— seconds; -
min— minutes; -
hr— hours; -
d— days; -
w— weeks.
-
-
For those parameters that specify data amount, you can use the following units:
-
b— bytes; -
kb— kilobytes; -
mb— megabytes; -
gb— gigabytes.
-
-
For those parameters that specify time or data amount, use the
<value><unit>format (without spaces). For example,1min,2hr. If you need a complex value, use a space (e.g.30min 30sec). -
By clicking the

 icon (which appears to the right of some fields during their filling), you can view hints: available measurement units, minimum and maximum values, and so on.General configuration
Parameter Description Default value Number of full backups
A maximum number of full backups. After this limit is reached, the oldest extra full backups will be removed during the next automatic or manual Cleanup action. For more details, see Cleanup
3
Number of differential backups
A maximum number of differential backups. After this limit is reached, the oldest extra differential backups will be removed during the next automatic or manual Cleanup action. For more details, see Cleanup
6
Total number of backups
A total number of backups allowed for the current cluster, including backups in the
StoppedandFailedstatuses that are not deleted by the Cleanup action policies. The total amount of backups will be checked before making a new backup (whether it hits the specified limit)40
File Log level
A level for file logging.
Possible values:
-
off— no logs; -
error; -
warn; -
info; -
detail; -
debug; -
trace.
info
Archive command
The command that is to be executed when write-ahead log (WAL) files are transferred to the archive directory. If you change the Archive command field value, then the ADB cluster is automatically restarted when the configuration is applied (to change the value of the
archive_commandGUC).The stanza configuration name prefix for segments that is used in the Archive command should be equal to the Stanza template value (see below):
--stanza=<Stanza template>%cPGOPTIONS=\"-c gp_session_role=utility\" /usr/lib/gpdb/bin/pgbackrest --stanza=seg%c archive-push %pArchive timeout
Sets maximum time to wait for each WAL segment (required for backup consistency) to reach the archive repository
1min
Stanza template
A stanza configuration name prefix for segments. Should be equal to the prefix that is used in the Archive command value (see above):
--stanza=<Stanza template>%cseg
Exclude path
Defines the paths and files that should be excluded from backups
-
pg_log/gp_era
-
backups
-
gpperfmon/data/
-
gpbackup_history.yaml
Use checksums
Whether to use checksums for scheduled differential and incremental backups. If disabled, file modification timestamps are used to determine which database files have changed
false
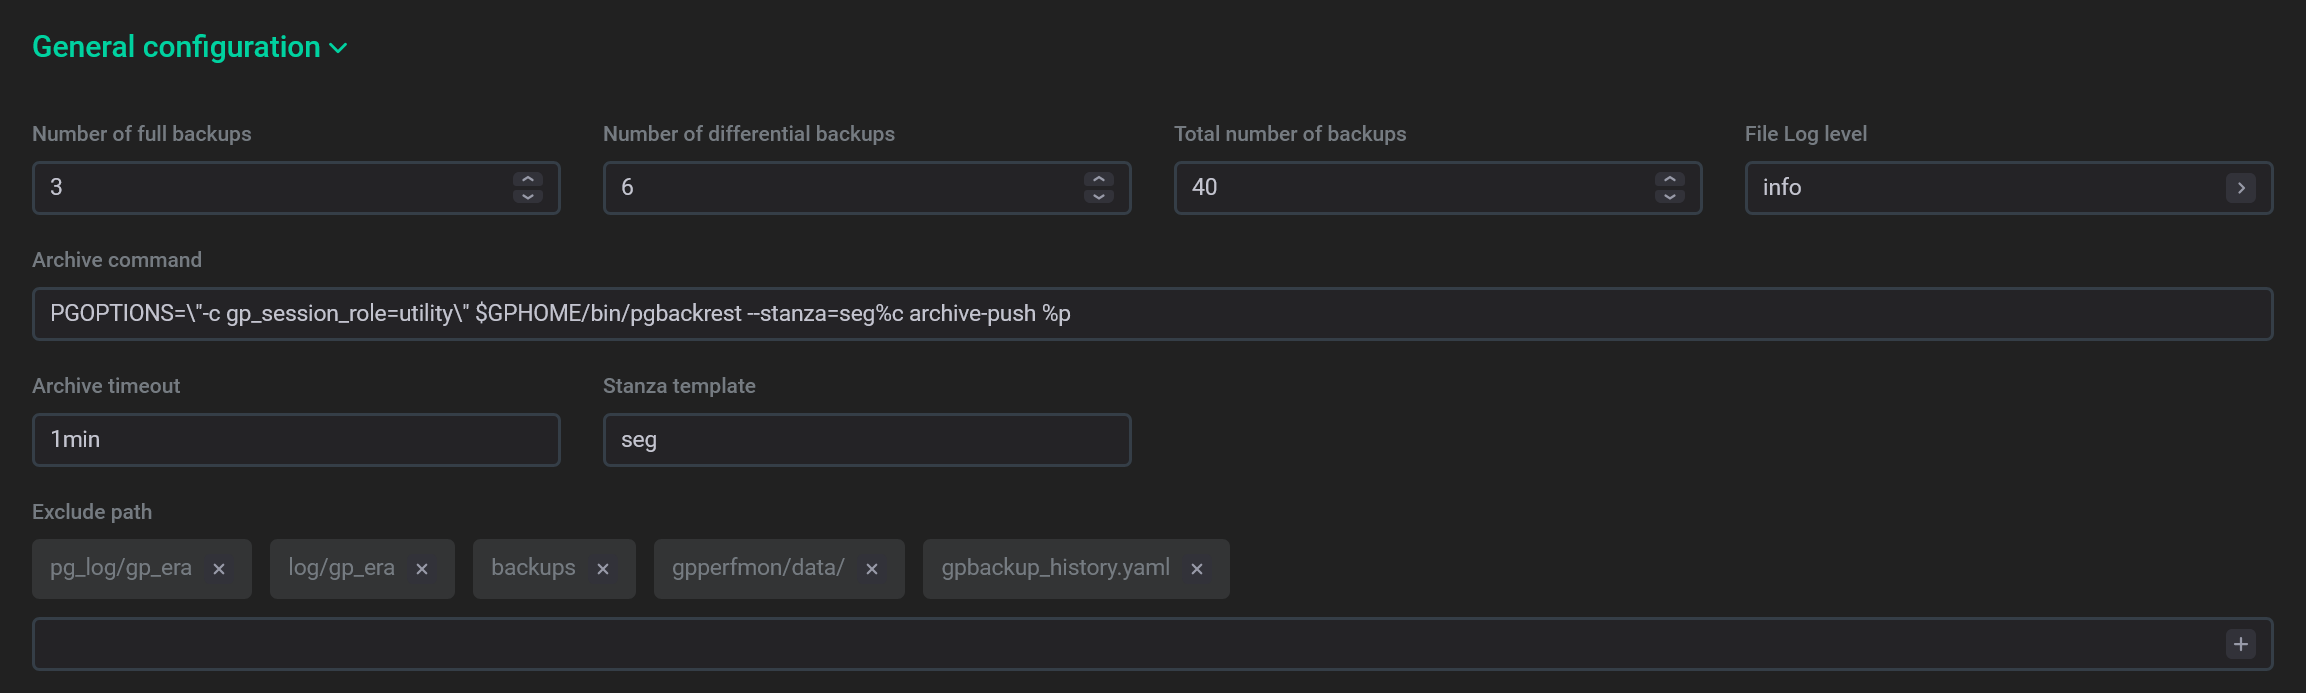 The General configuration section
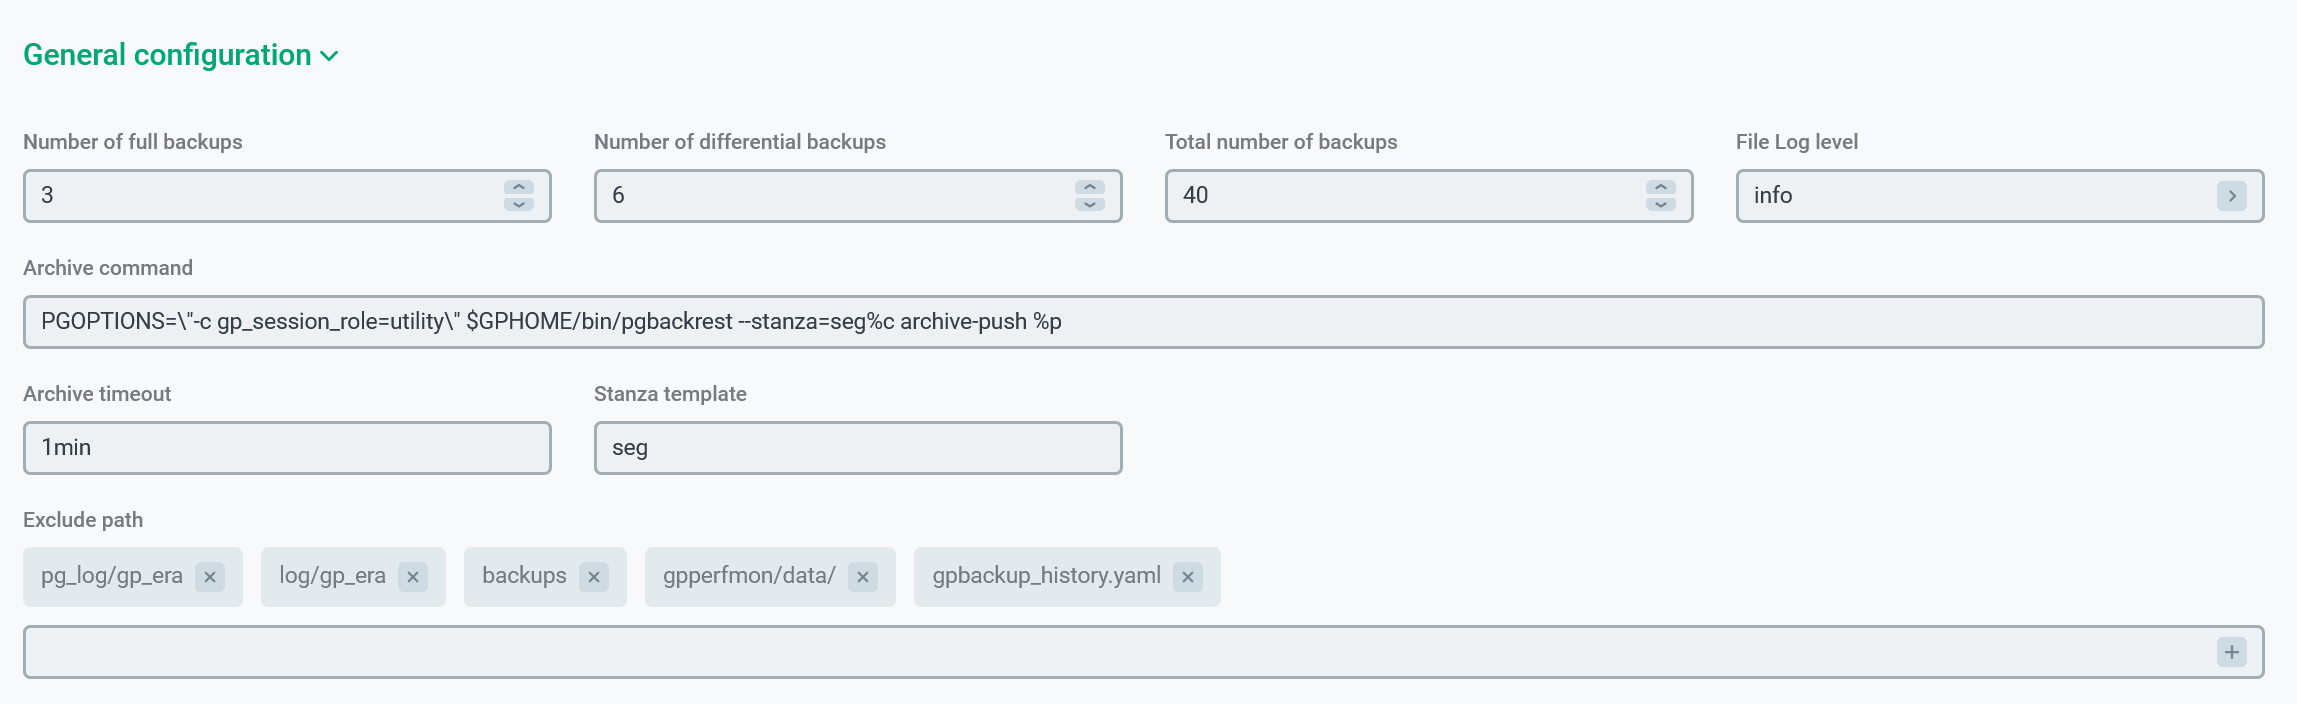 The General configuration sectionTimeout
Parameter Description Default value Database query timeout
Sets the timeout for queries against the database including the backup start/stop functions which can take a significant amount of time. The timeout should be kept high unless you know that these functions will return quickly. The Database query timeout value should be less than the Protocol timeout value
30min
Protocol timeout
Sets the timeout that the local or the remote process can wait for a new message to be received on the protocol layer. The timeout prevents processes from the indefinite waiting. The Protocol timeout value should be greater than the Database query timeout value
30min 30sec
I/O timeout
A timeout that is used for connections and read/write operations. The entire read/write operation does not need to complete within this timeout but some progress should be made, even if it is only a single byte
1min
Job wait timeout
A timeout for a lock capture at the cluster level before the job starts
15min
 The Timeout section
 The Timeout sectionStorage
Parameter Description Default value Storage
One of the storages that you added on the Storages tab
—
Relative path
A path to a repository for backups relative to the Repository path of the selected storage. You can use the same storage for multiple configurations and assign each of them its own separate repository within that storage
—
Bundle size
A target size for file bundles. A bundle means grouping single files into one file before the backup launch. It is not recommended to set the option too high because backup retries will need to redo the entire bundle
100mb
Bundle limit
A limit for the files that are included in bundles (see Bundle size above). The files larger than this size are stored separately. Bundled files cannot be reused when a backup is resumed, so this option, in fact, controls the files that can be resumed
2mb
Use block incremental backup
A switch that indicates whether to make more granular backups by splitting files into blocks that can be backed up independently
false
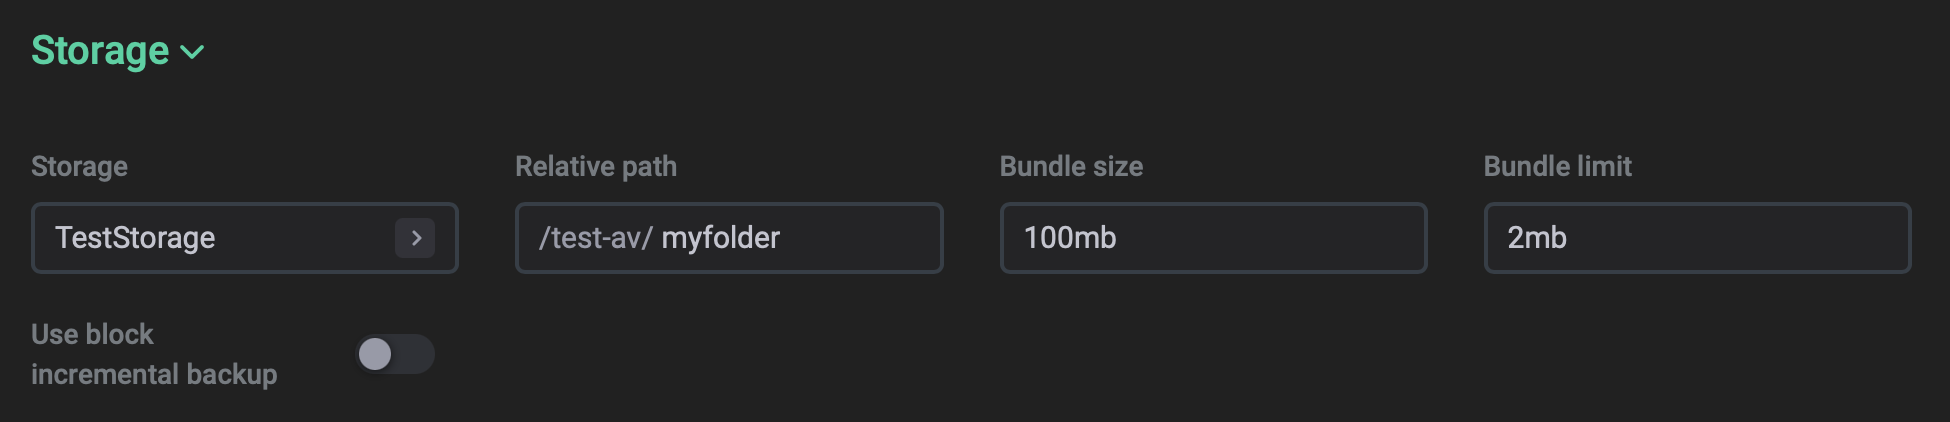 The Storage section
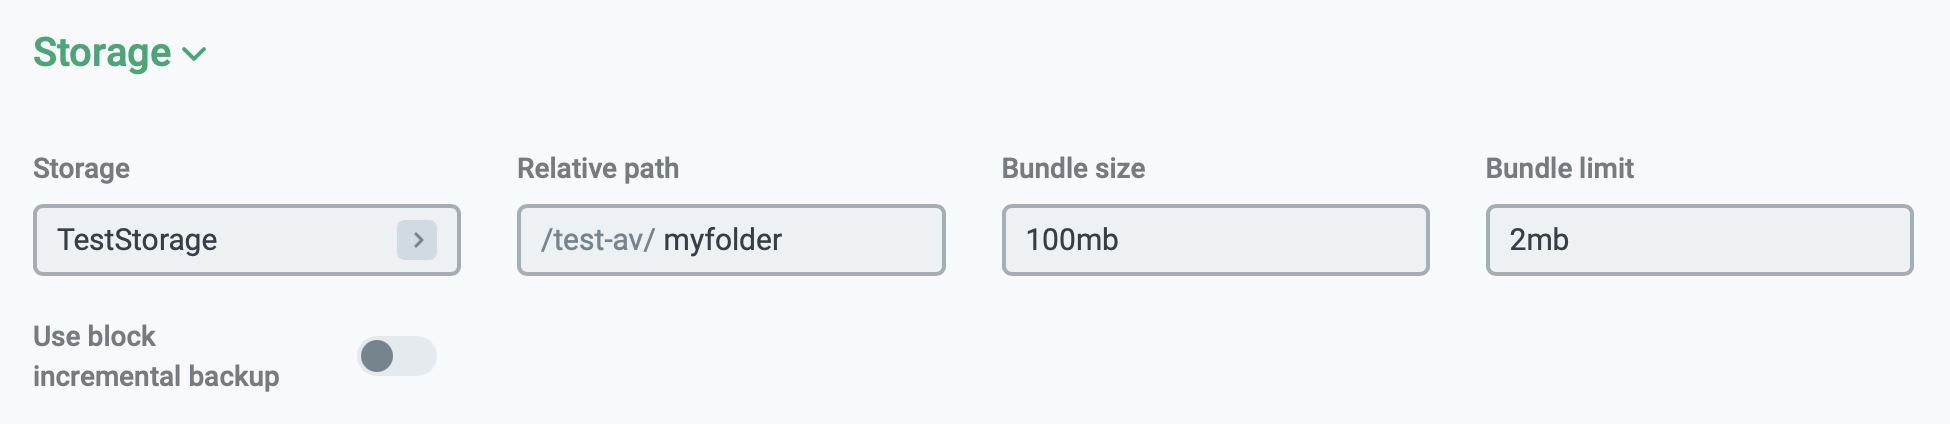 The Storage sectionWorkspace
Parameter Description Default value Temporary directory
The working directory that is used during the Partial restore action for temporary data allocation.
To reduce the impact on cluster performance during the table restore process, it is recommended to configure this directory on a disk different from the cluster disks. Since all operations during the table restore do not require random disk access, the HDD disk is sufficient
/tmp/adbm/table_restore
Port base
The base port number that is used during the Partial restore action. The actual port number of each segment is equal to
<Port base> + <dbId>where<dbId>is thegp_segment_configuration.dbidvalue corresponding to the segment.Allowed values:
[1025,65035]12000
Max processes per host
The maximum number of processes that can work in parallel on one segment host during the Partial restore action.
Allowed values:
[1,100]1
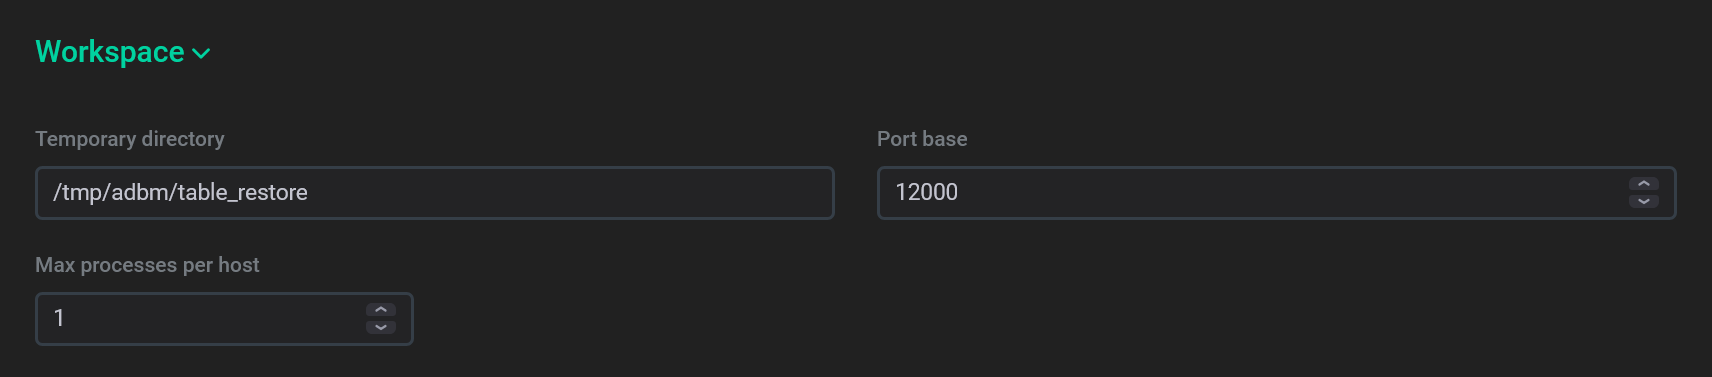 The Workspace section
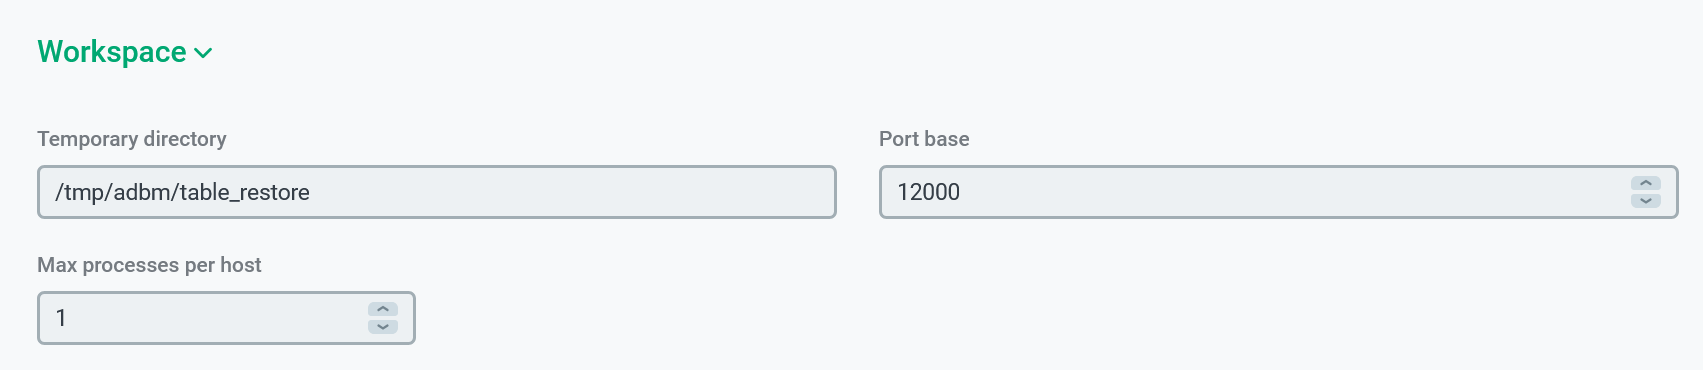 The Workspace sectionCompression
Parameter Description Default value Compression type
A compression type.
Possible values:
-
none— no compression; -
bz2; -
gz; -
lz4; -
zst.
gz
Compression level
A compression level. Possible values:
1—96
Max processes to use for compress/transfer
The maximum number of processes to be used on every segment for compression/transferring
1
Buffer size
A buffer size for I/O operations
1mb
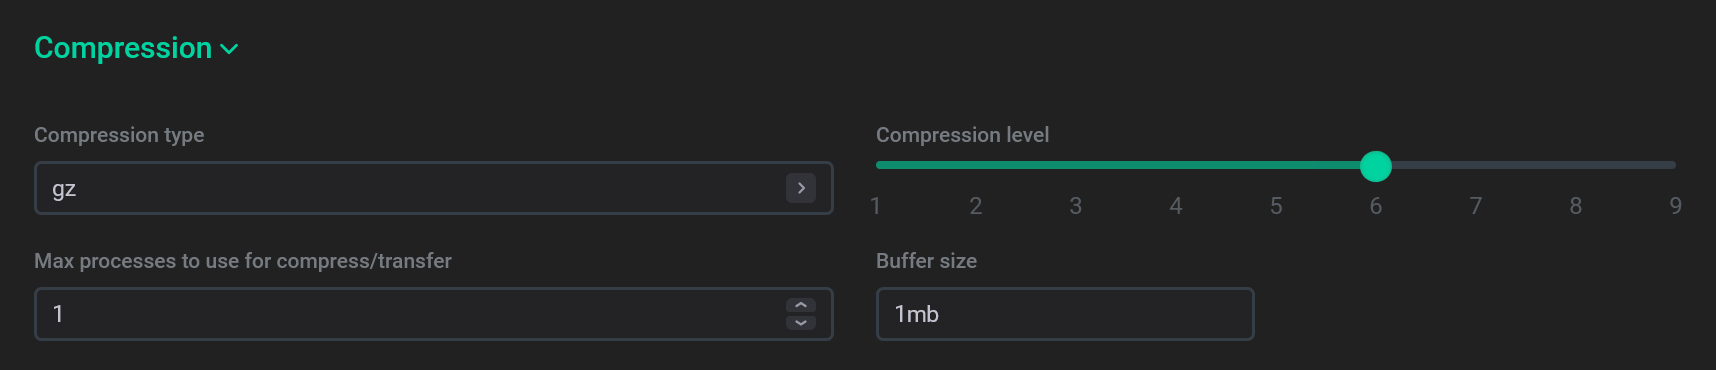 The Compression section
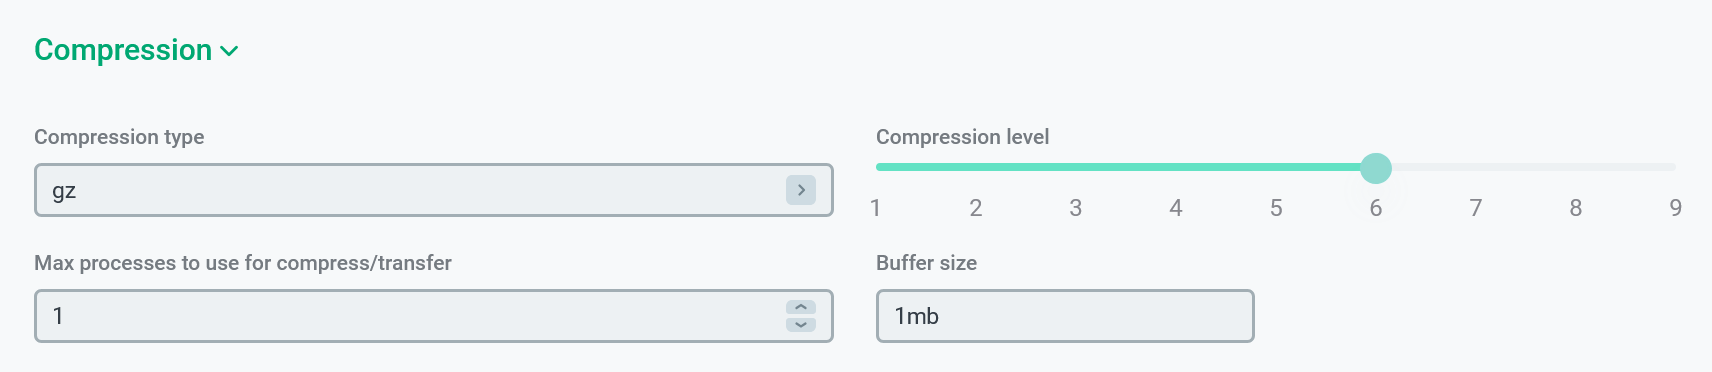 The Compression section
 -
-
-
Click Save. You can find this button both before and after the sections listed above.
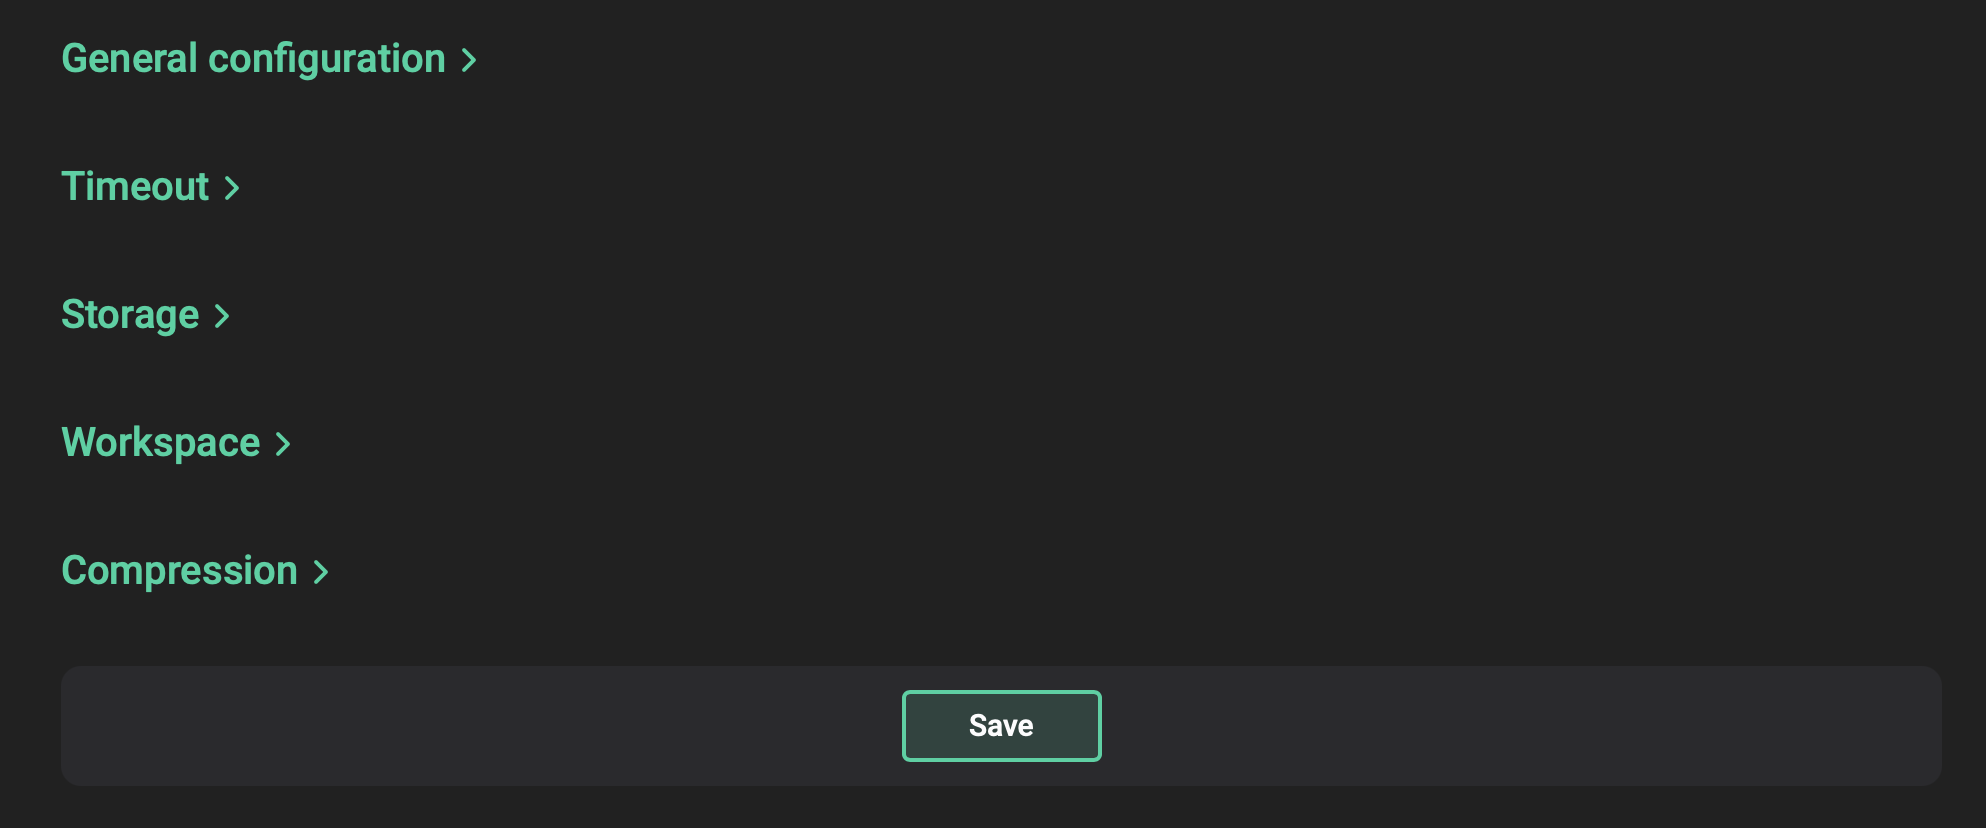 Save the configuration
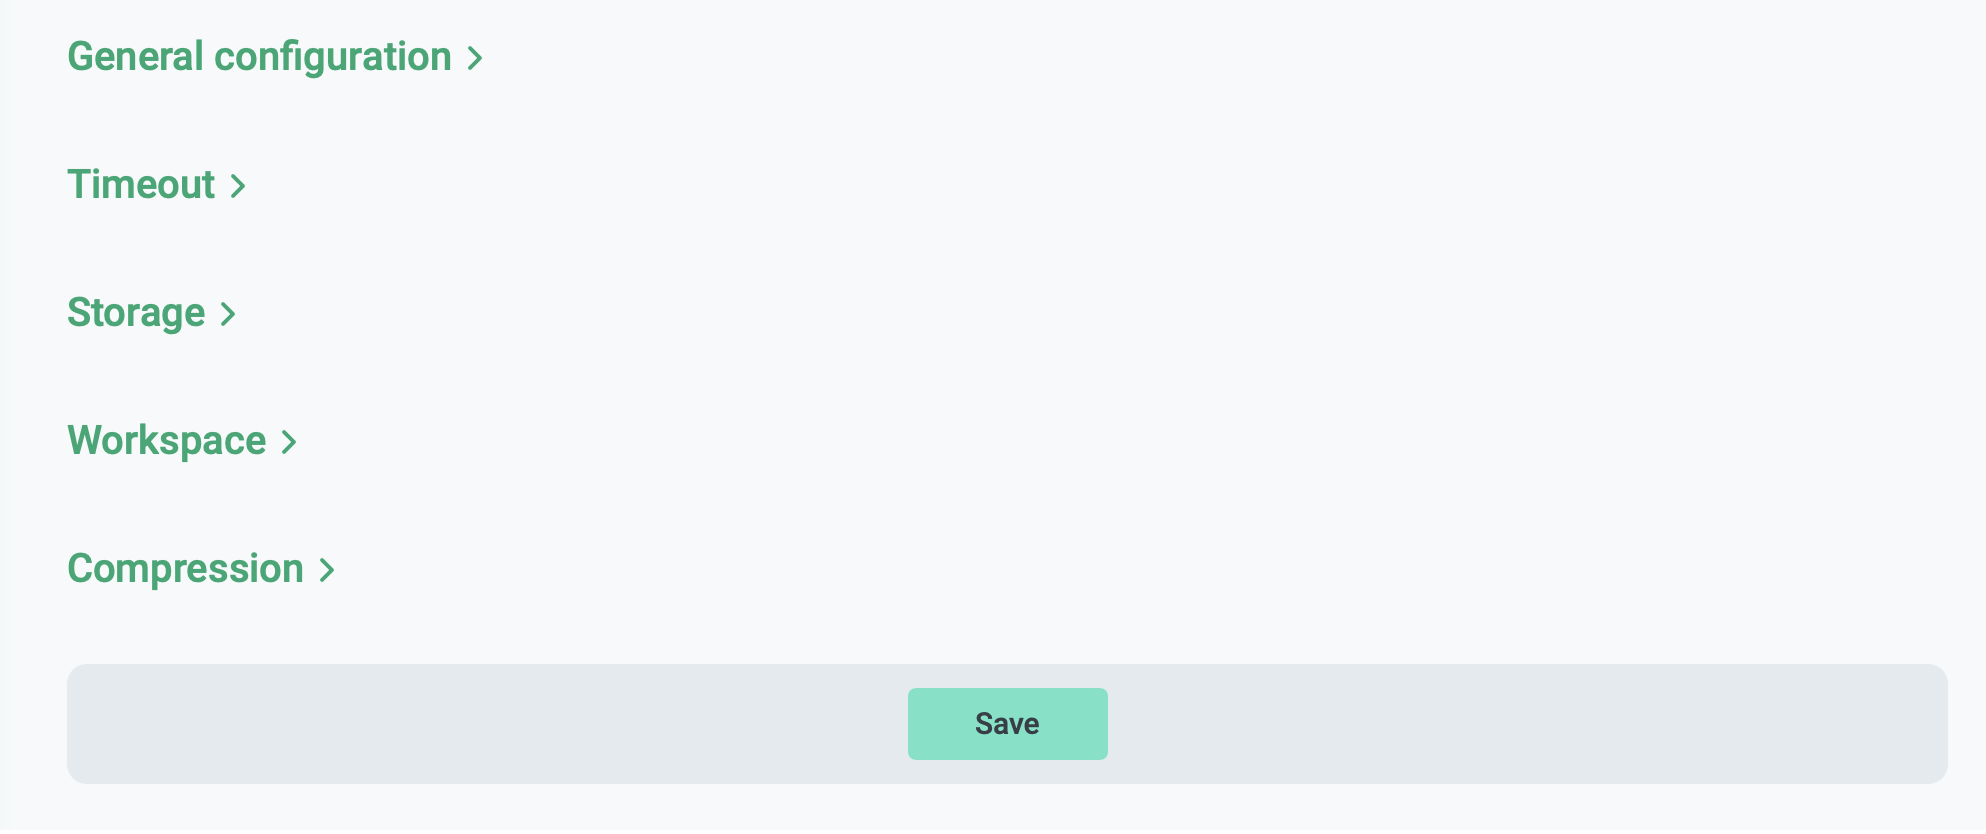 Save the configuration
 -
As a result, the Apply backup configuration action runs. This action, in turn, generates several subactions. You can see all of them on the Actions tab (for more details, see View actions in ADBM).
Starting with ADBM 2.6.5, you can open the Actions tab and view the action details by clicking the Apply backup configuration link, which is available in the Action created field after you save the configuration.
Until all necessary actions are completed successfully, the configuration will have the draft status.
As a successful result of all actions, the configuration acquires the current status. Along with the status, the following information about the configuration is available:
-
The version number (starting with
1). -
The user who created a configuration version.
-
The creation date in the
DD/MM/YYYYformat.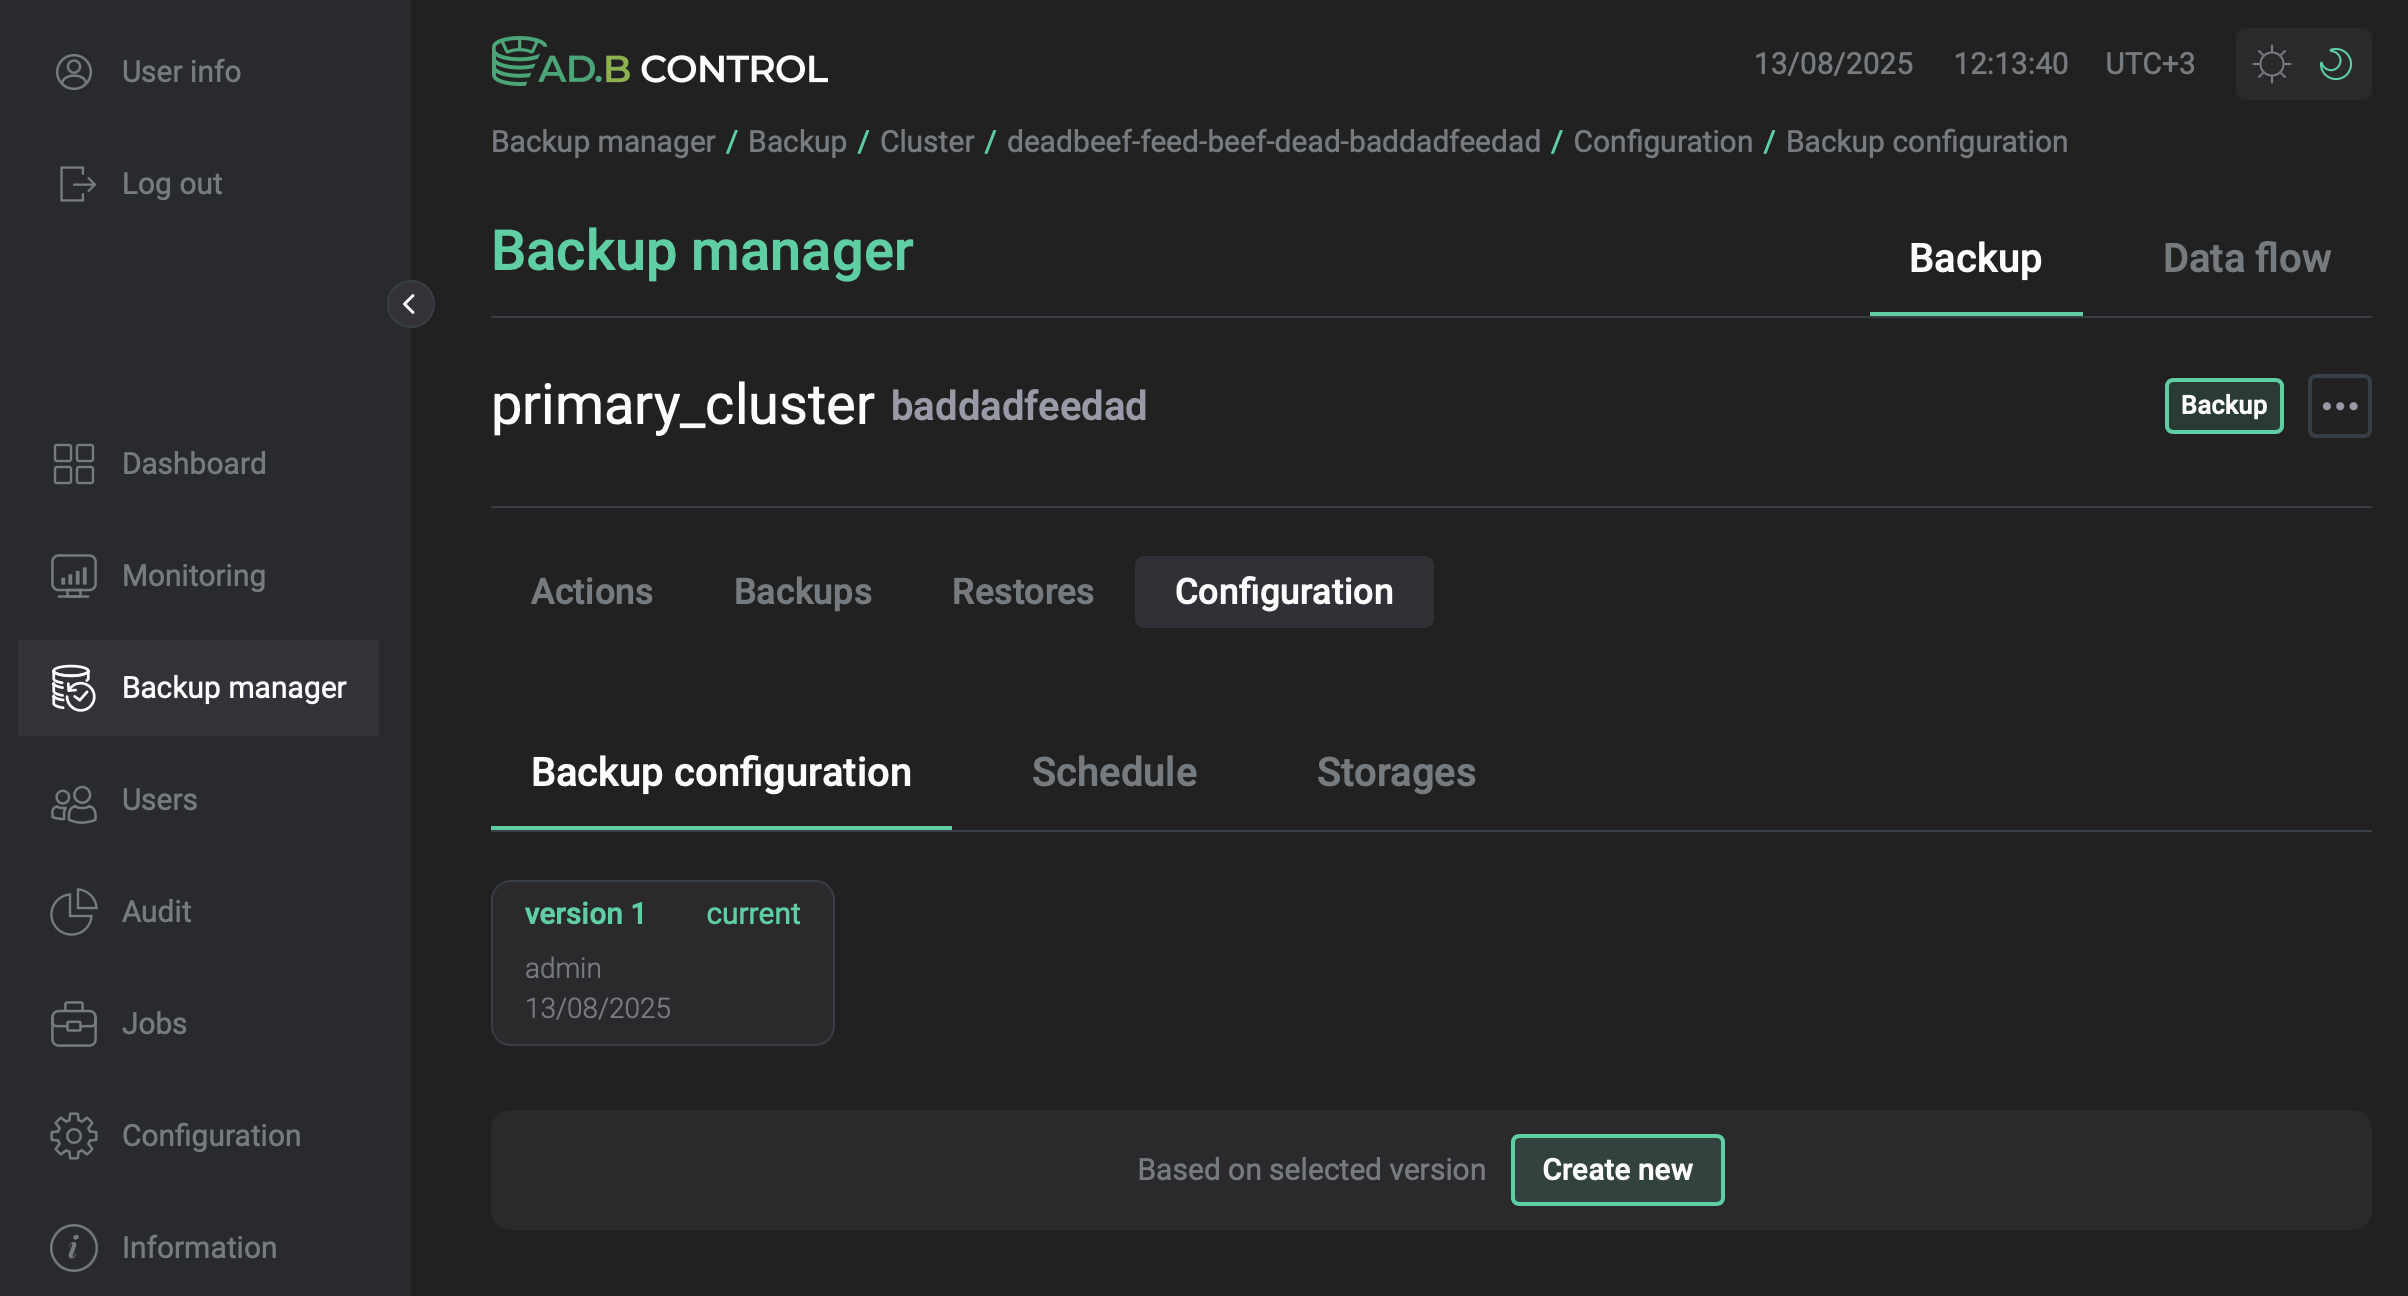 The successful result
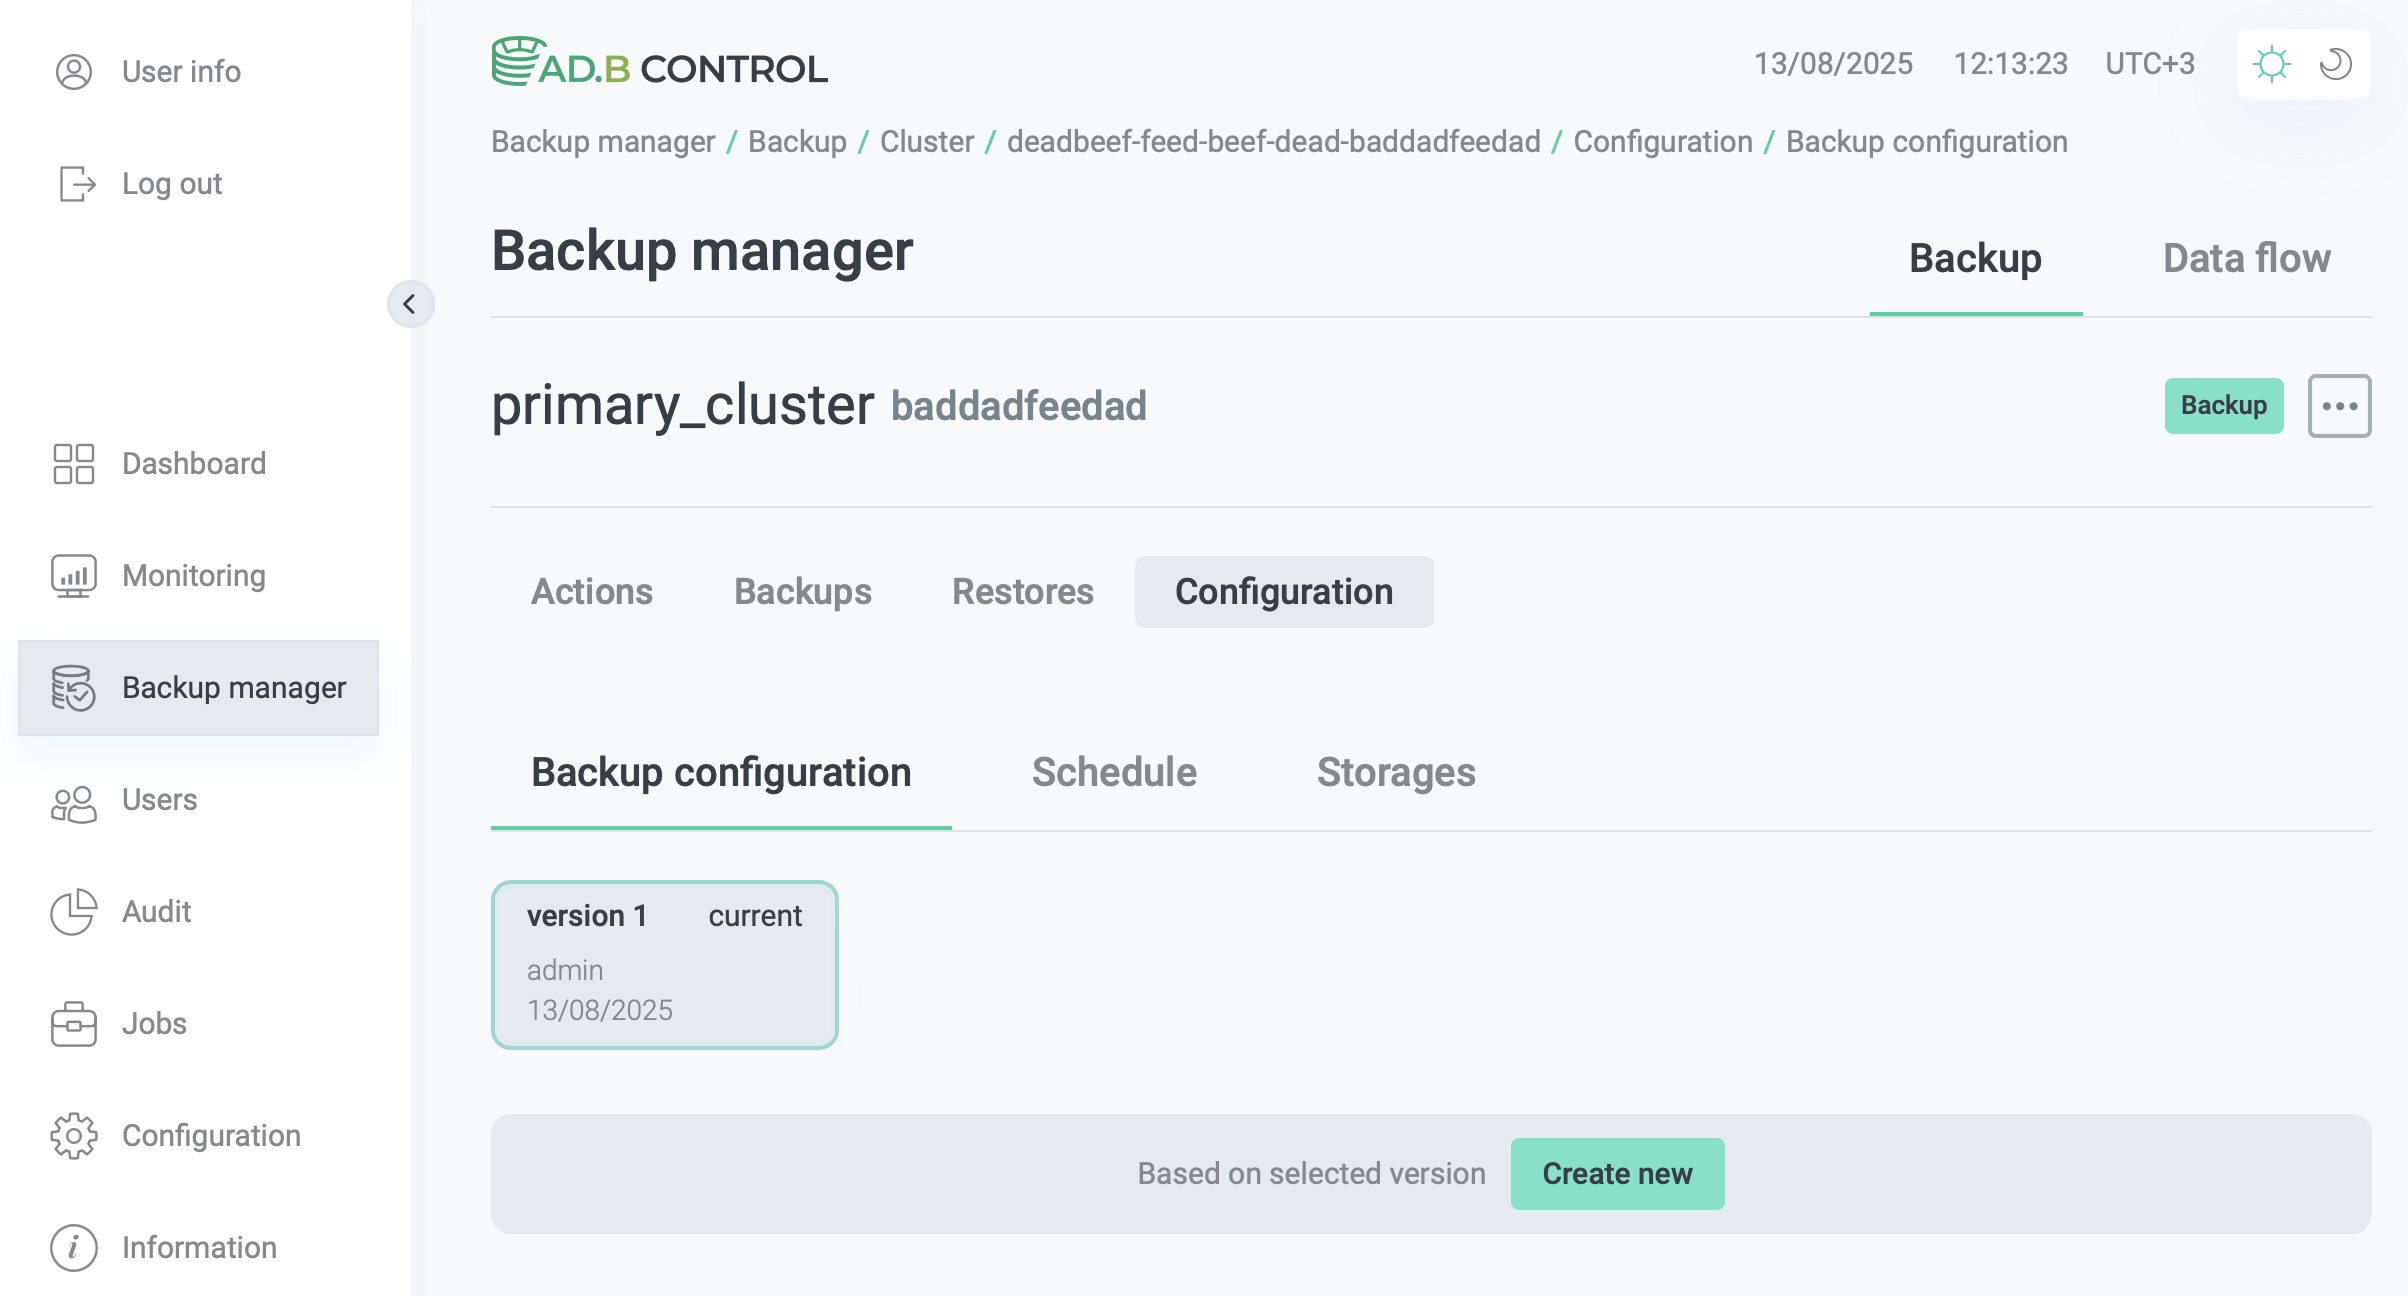 The successful result
Edit a configuration
Created configurations are not editable. You can add a new configuration version based on a previously created one.
|
NOTE
Creating a new configuration version is available only to clusters that do not belong to a cluster group. Clusters in a group use backup settings from the current leader configuration. |
To do this, perform the following steps:
-
Open the Configuration → Backup/Restore configuration tab as described above.
-
In the list of available configuration versions, click the version on base of which you want to create a new one. All parameters of the selected version are displayed under the list with available versions (in the read-only mode).
NOTEYou can create a configuration based on any previous version, not just the latest.
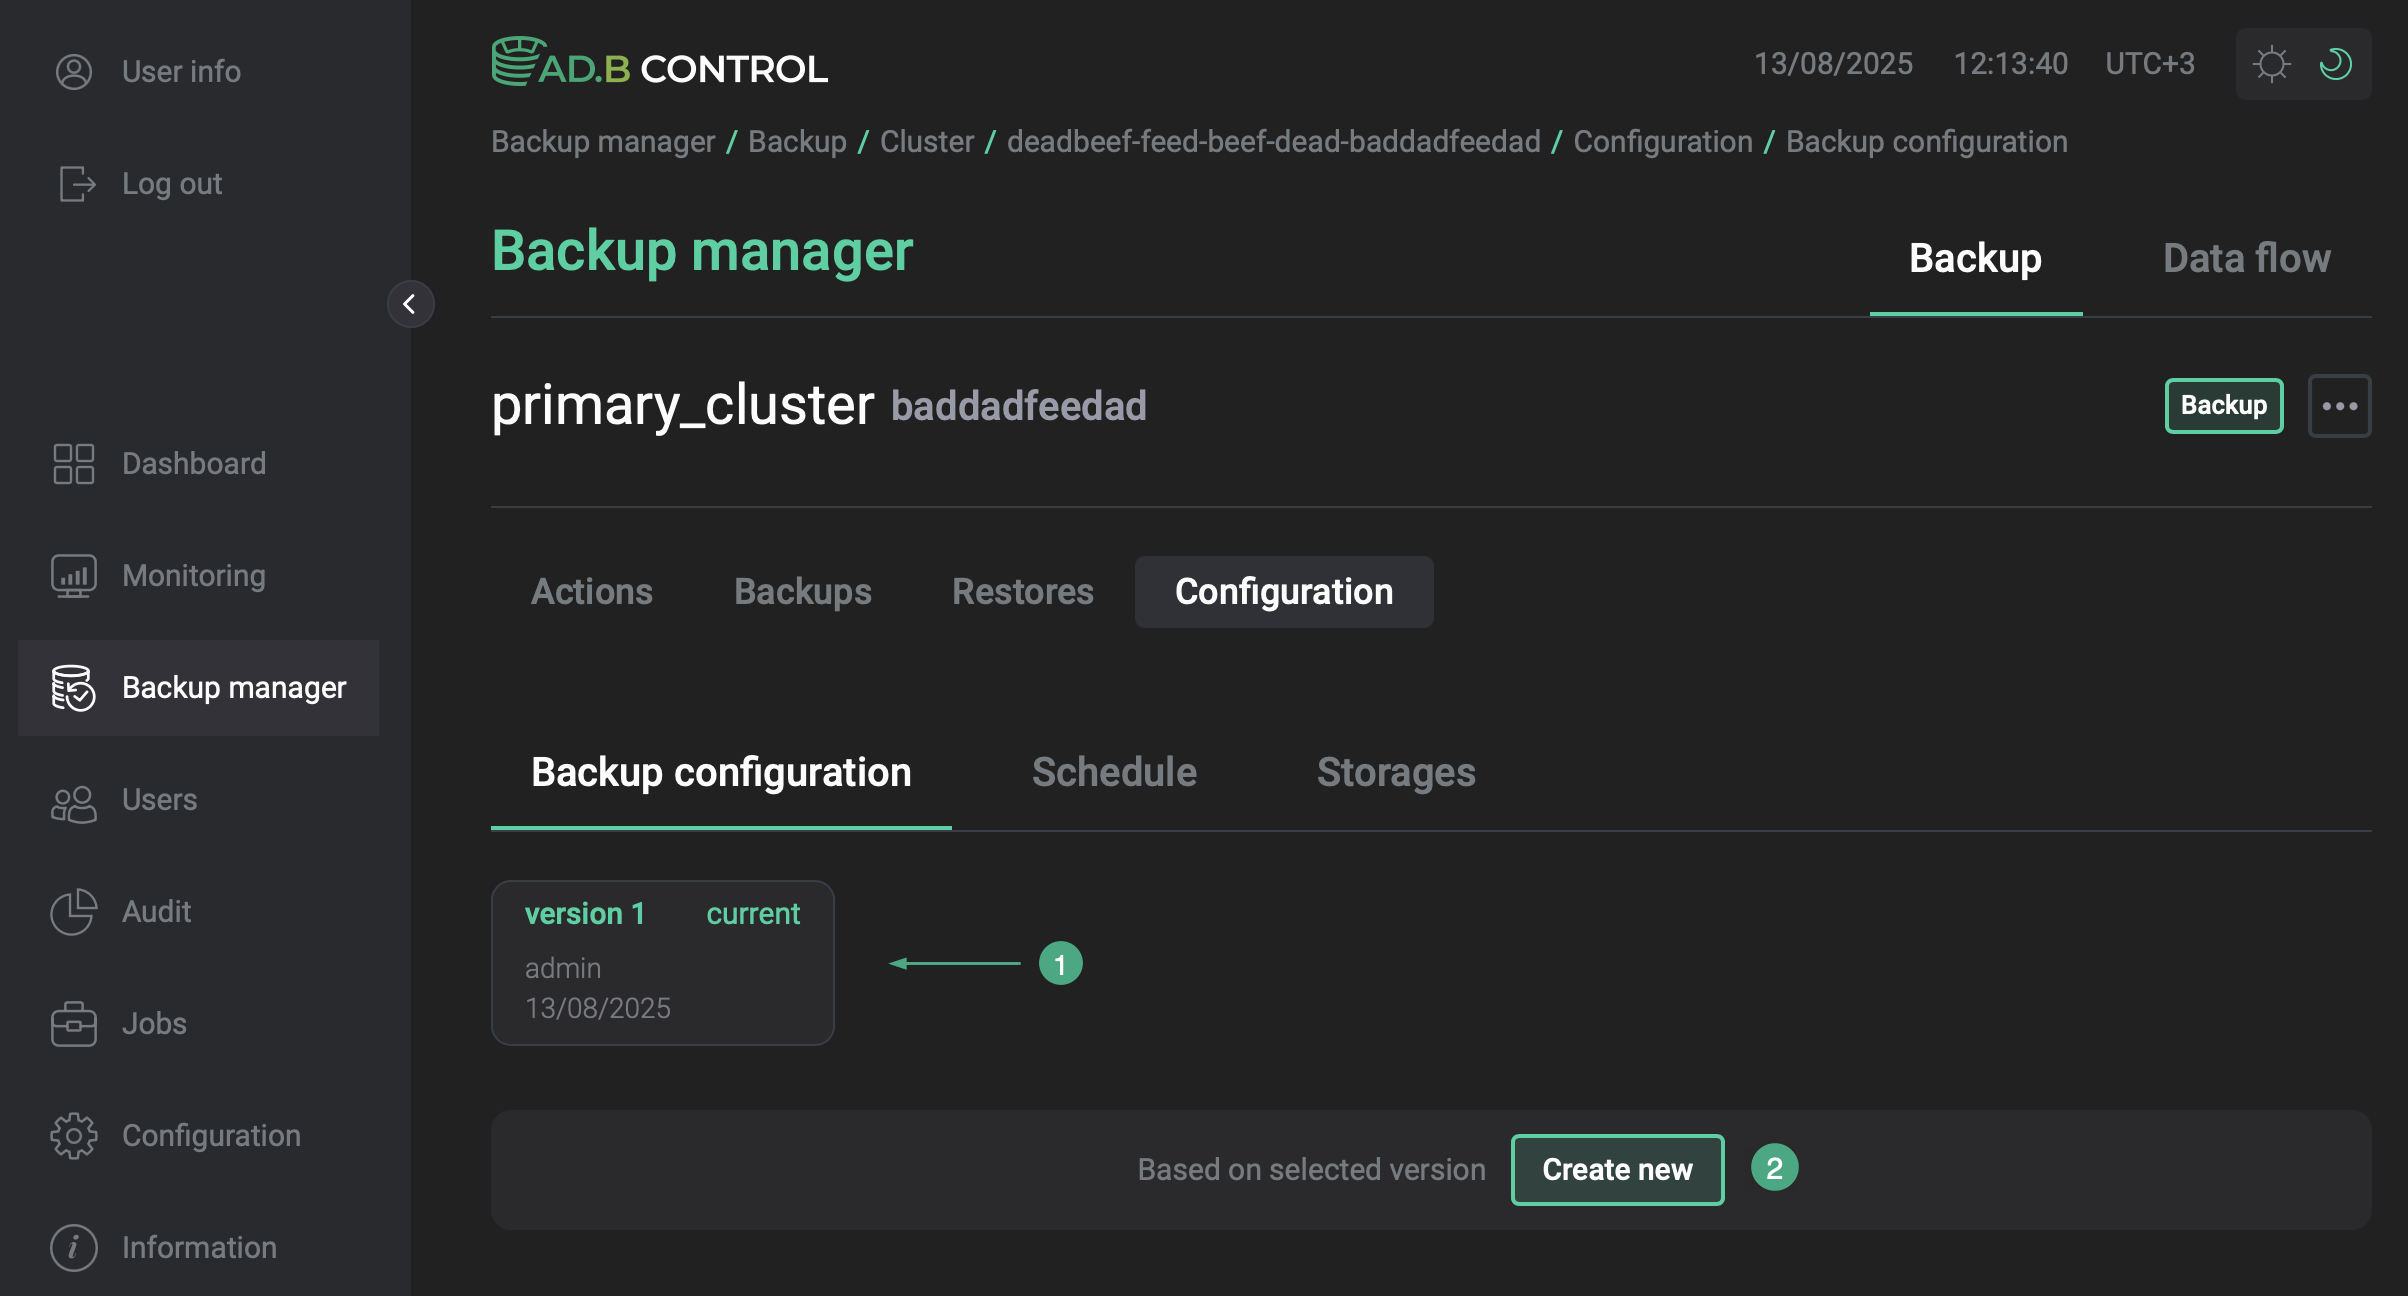 Select a version
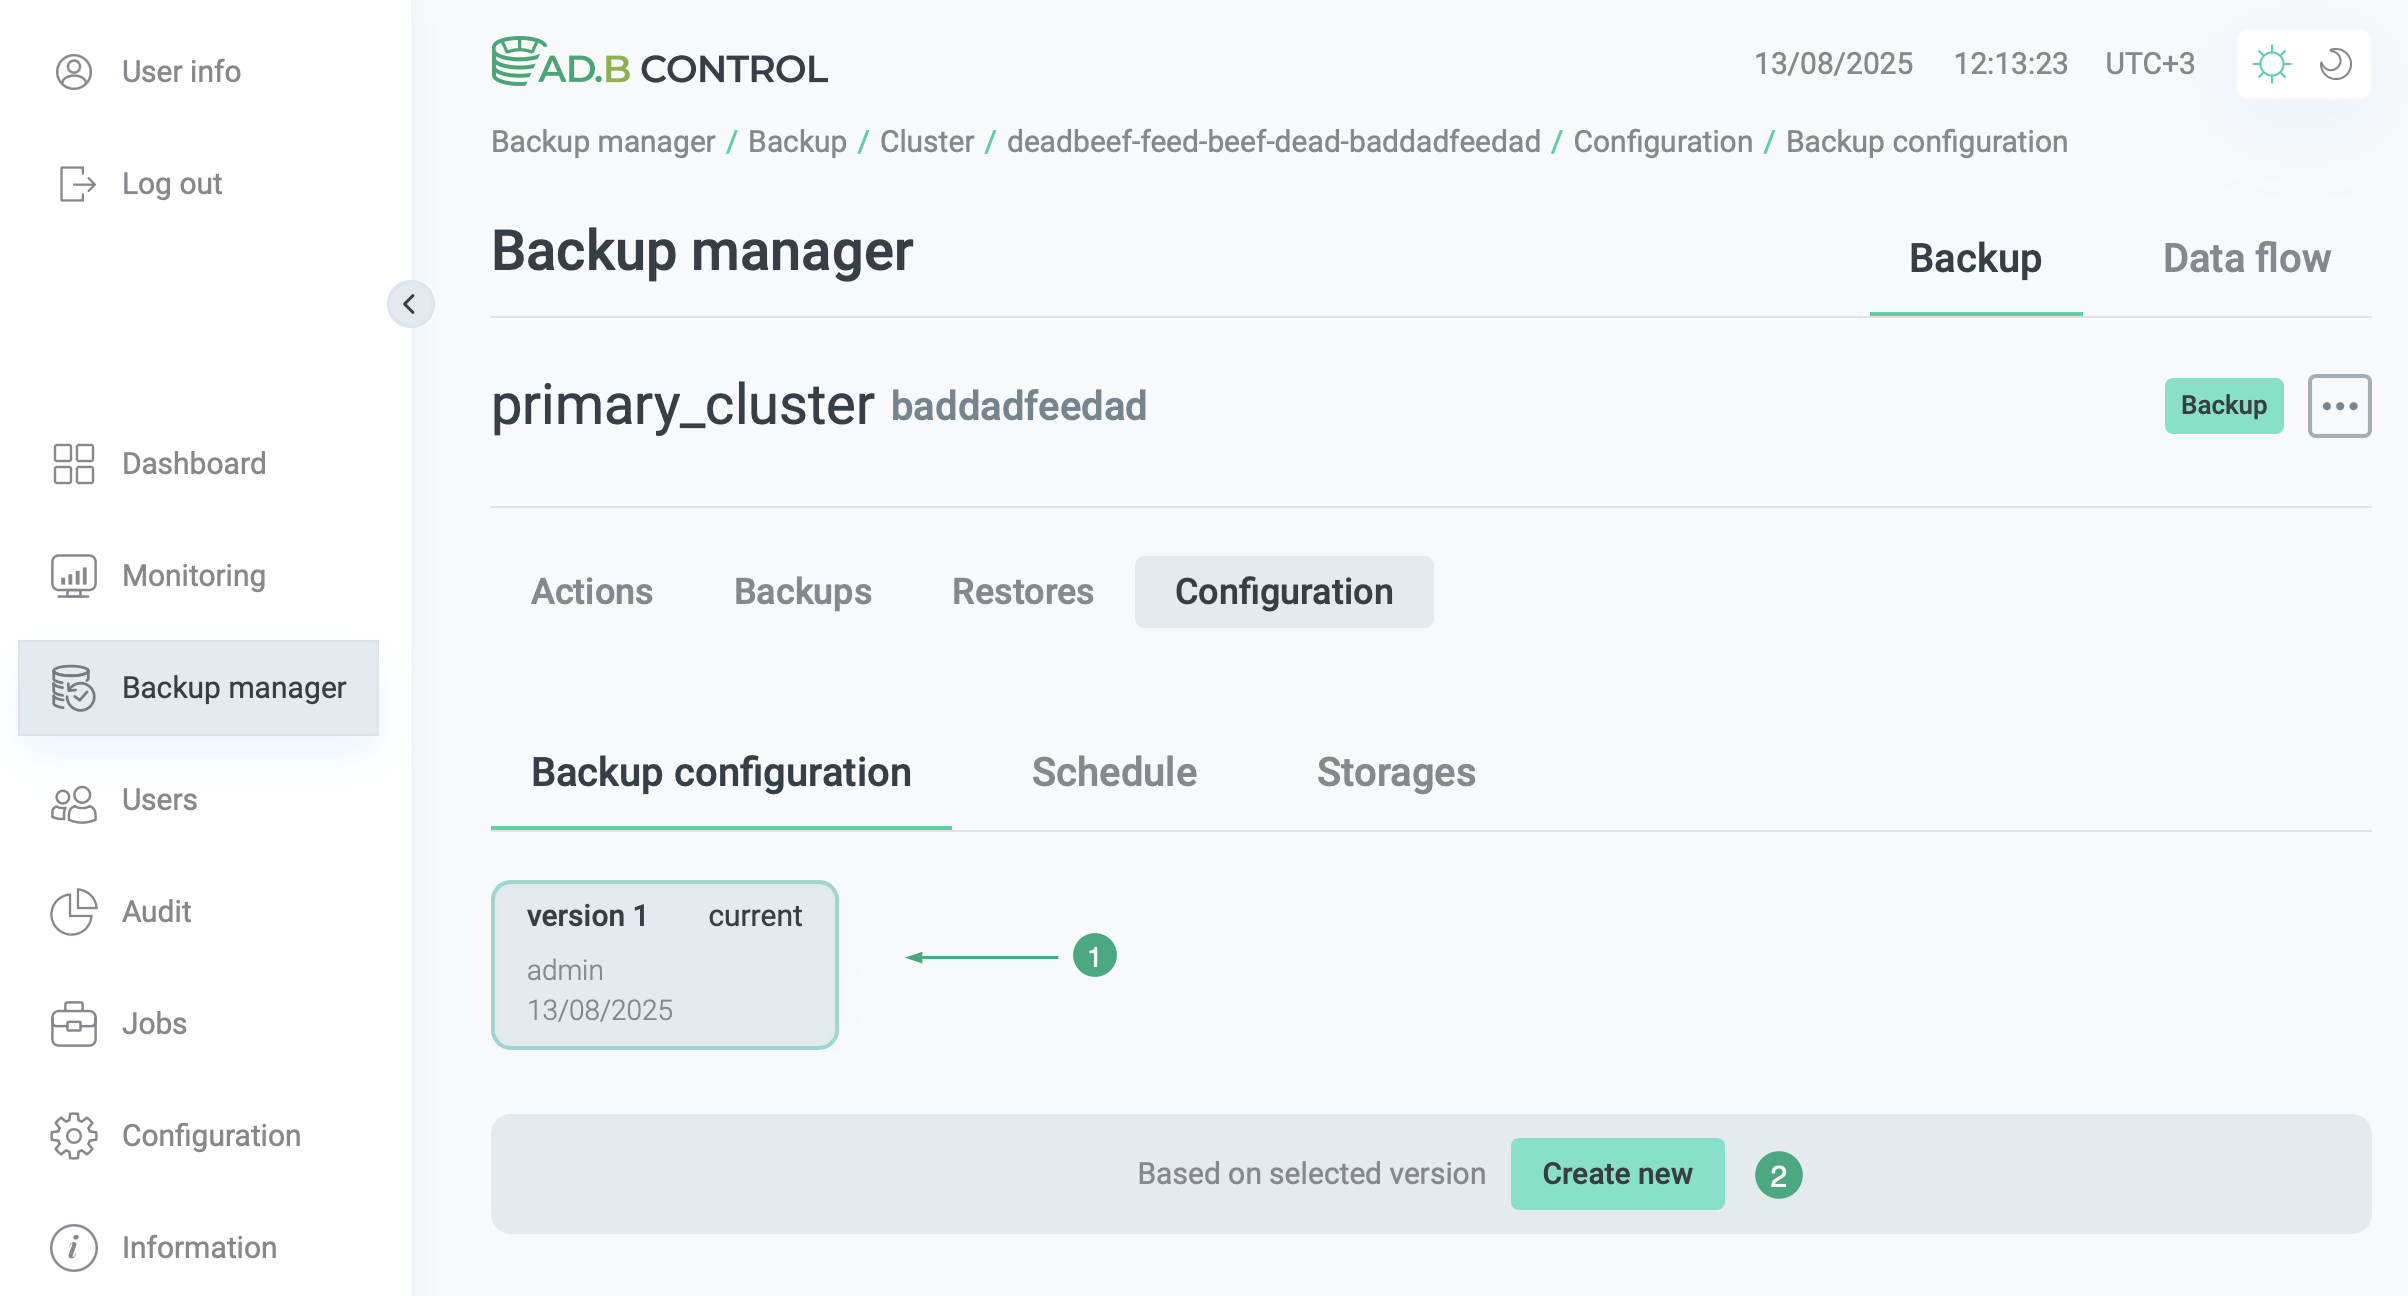 Select a version
 -
Click Create new.
-
Apply necessary changes to the parameters that are located in the General configuration, Timeout, Storage, and Compression sections. The parameters are the same as described above.
-
Click Save to add a new configuration version. You can find this button both before and after the sections with parameters.
Save a new configuration version
Save a new configuration version -
As a result, the Apply backup configuration action runs. This action, in turn, generates several subactions. You can see all of them on the Actions tab (for more details, see View actions in ADBM).
-
After all necessary actions are completed successfully, the new configuration version becomes available on the Configuration tab and has the
currentstatus. The previous configuration acquires thepreviousstatus.NOTE-
ADBM uses the latest configuration version you added.
-
Inactive configuration versions that have no related backups will be removed during the next automatic or manual Cleanup action.
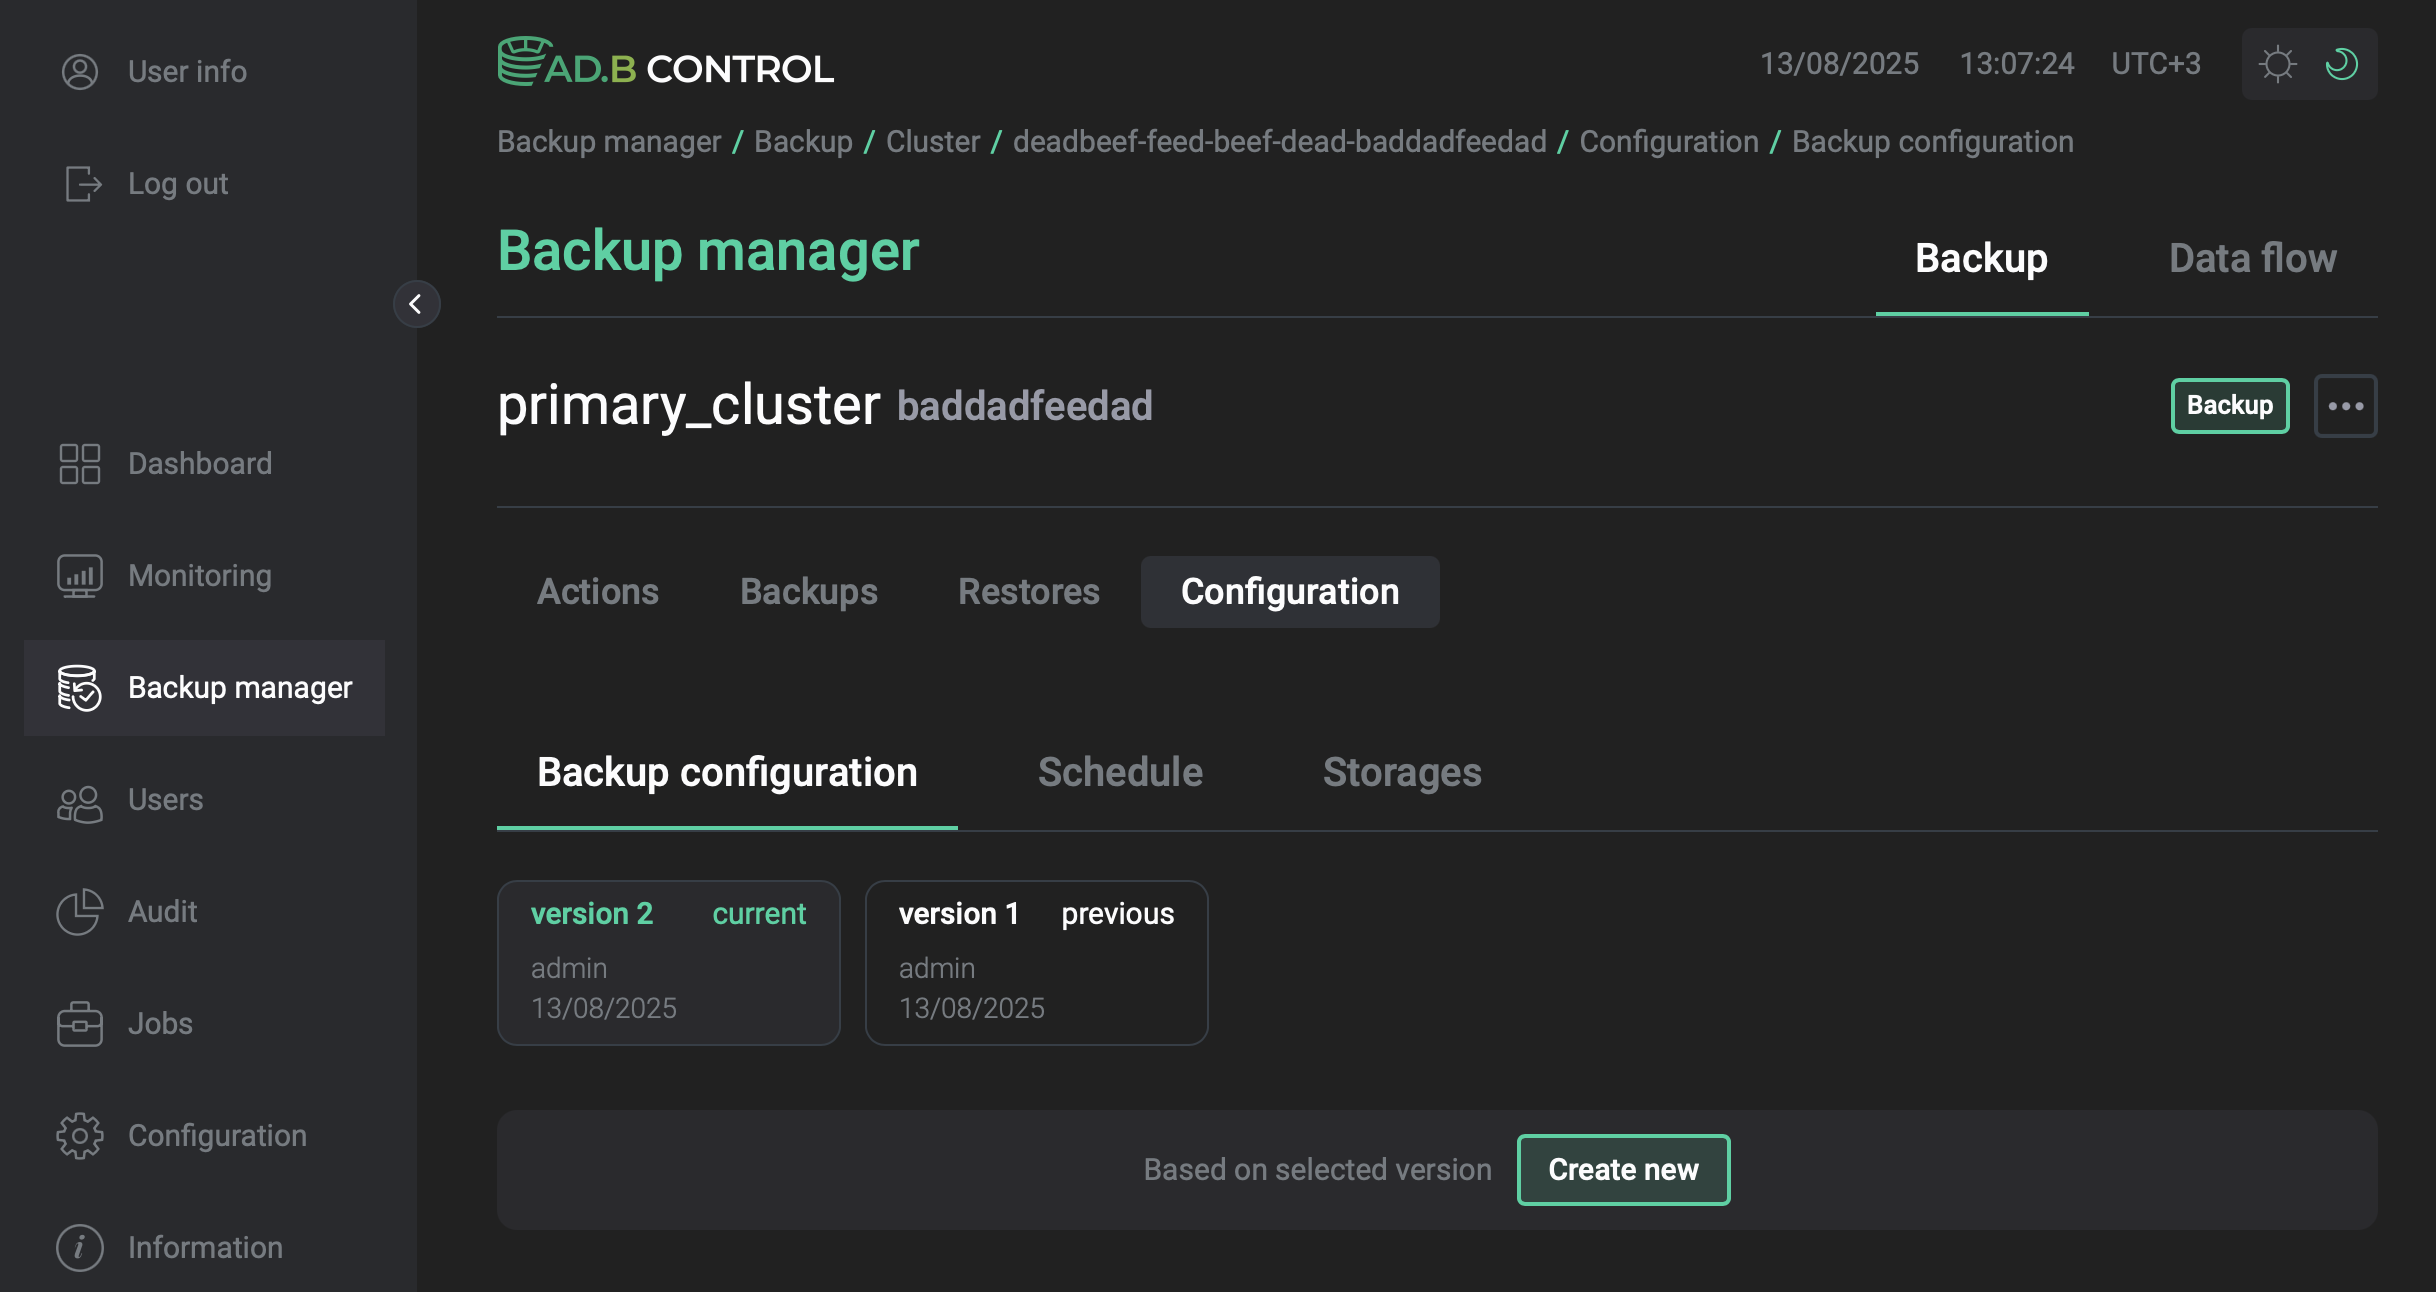 The new configuration version
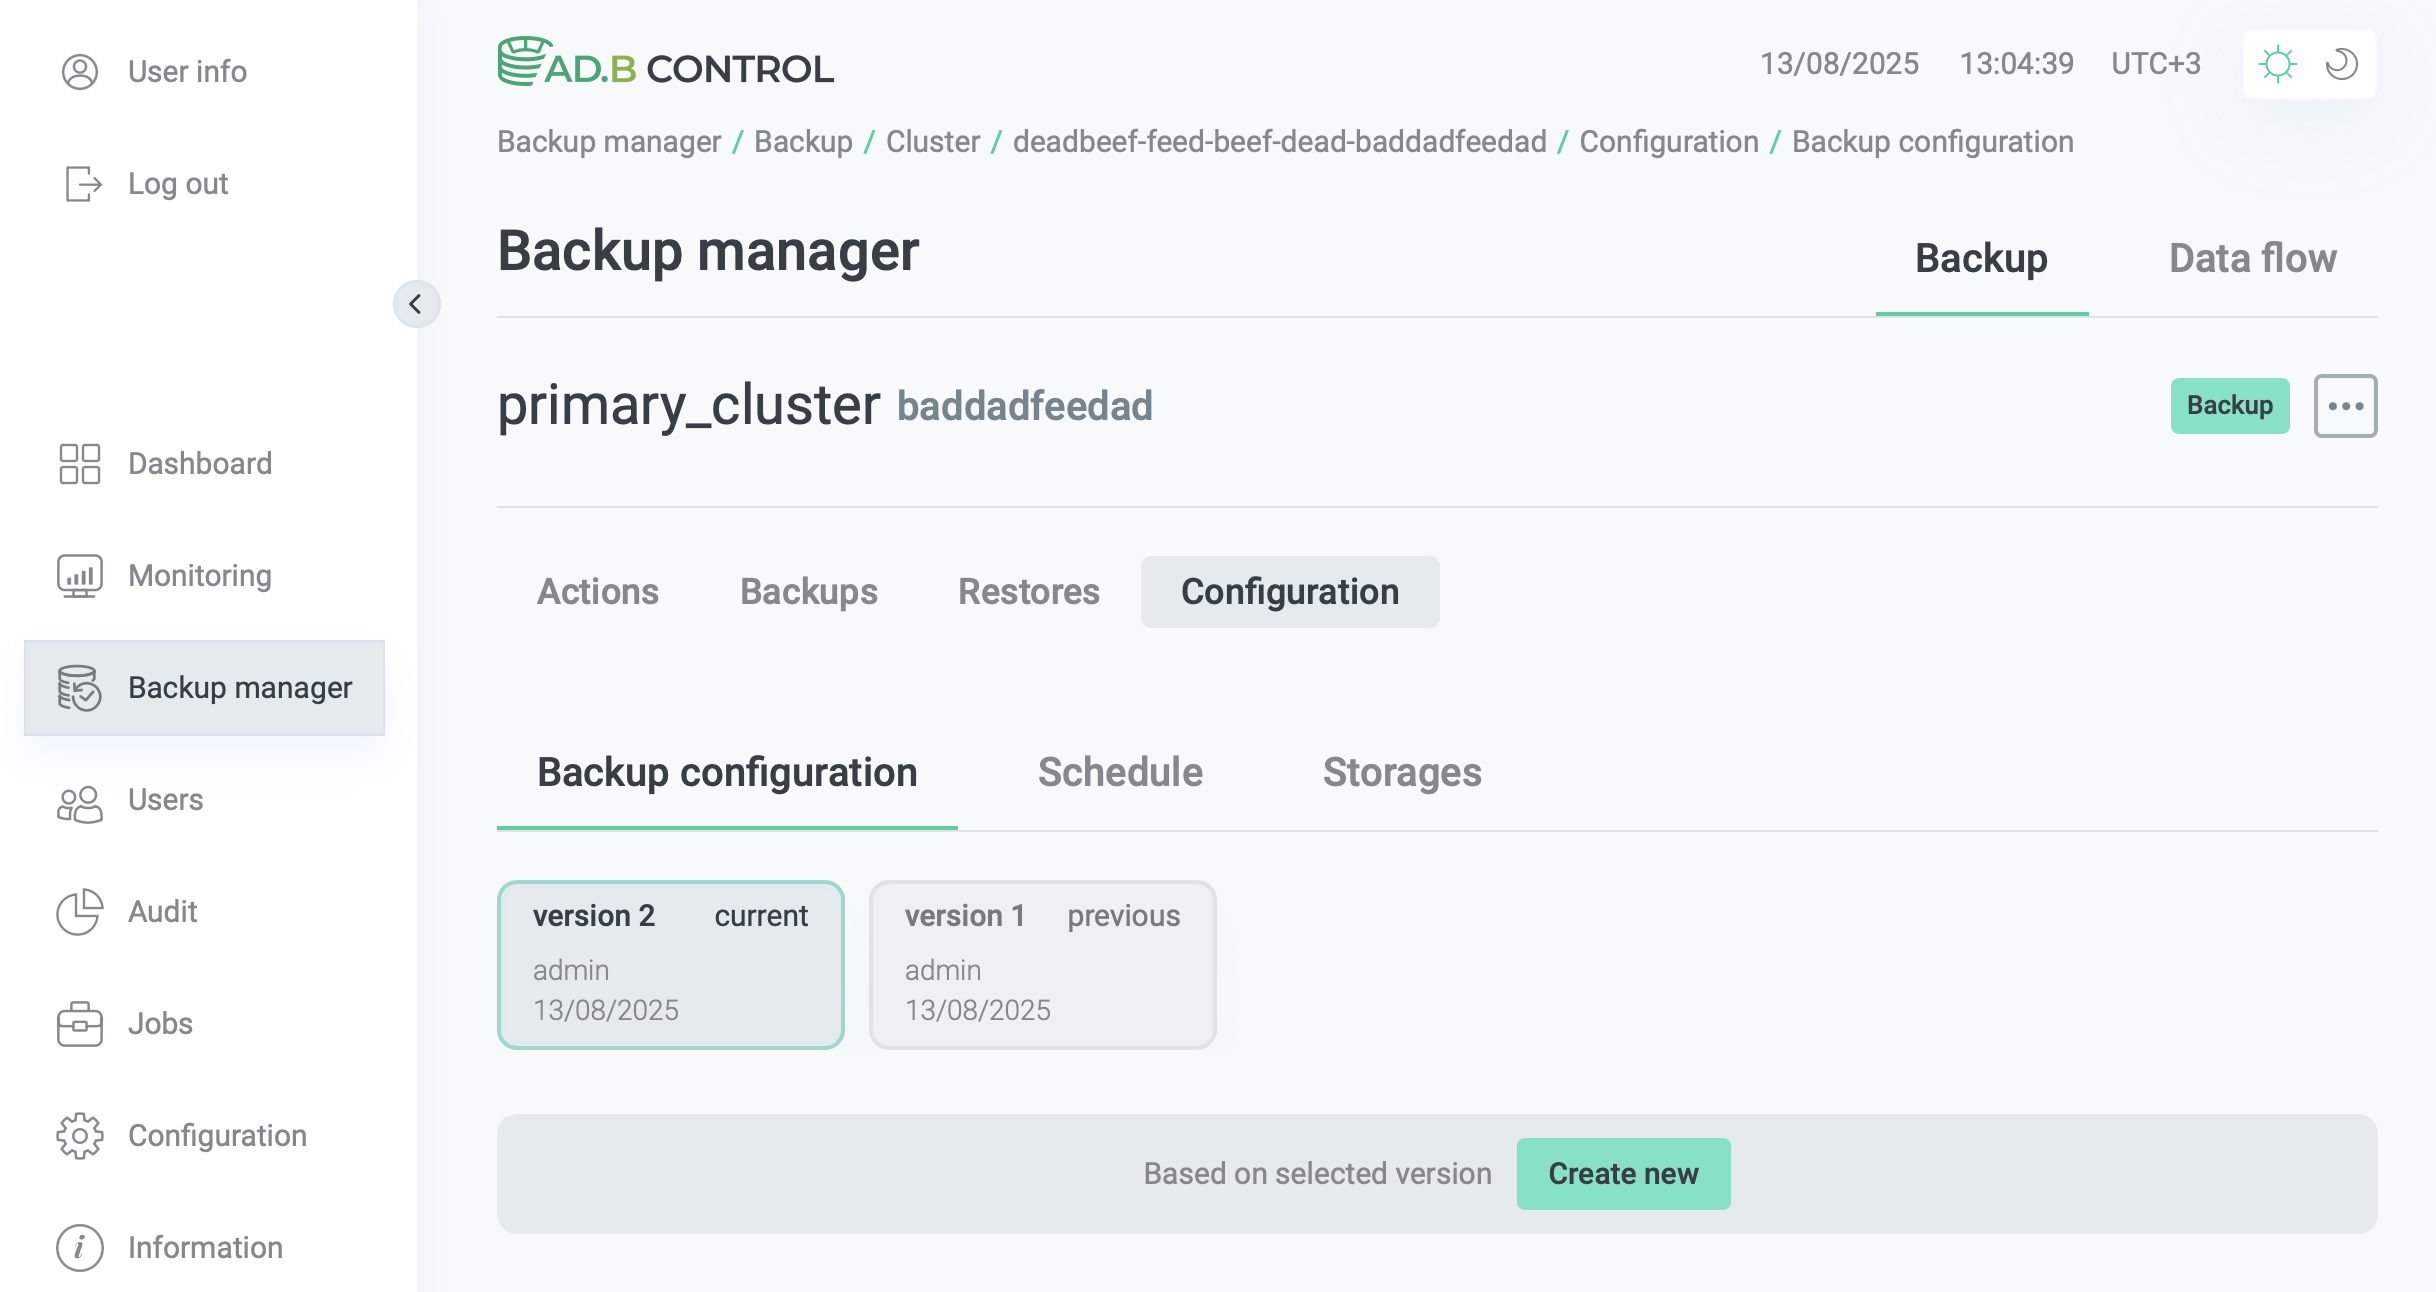 The new configuration version
 -
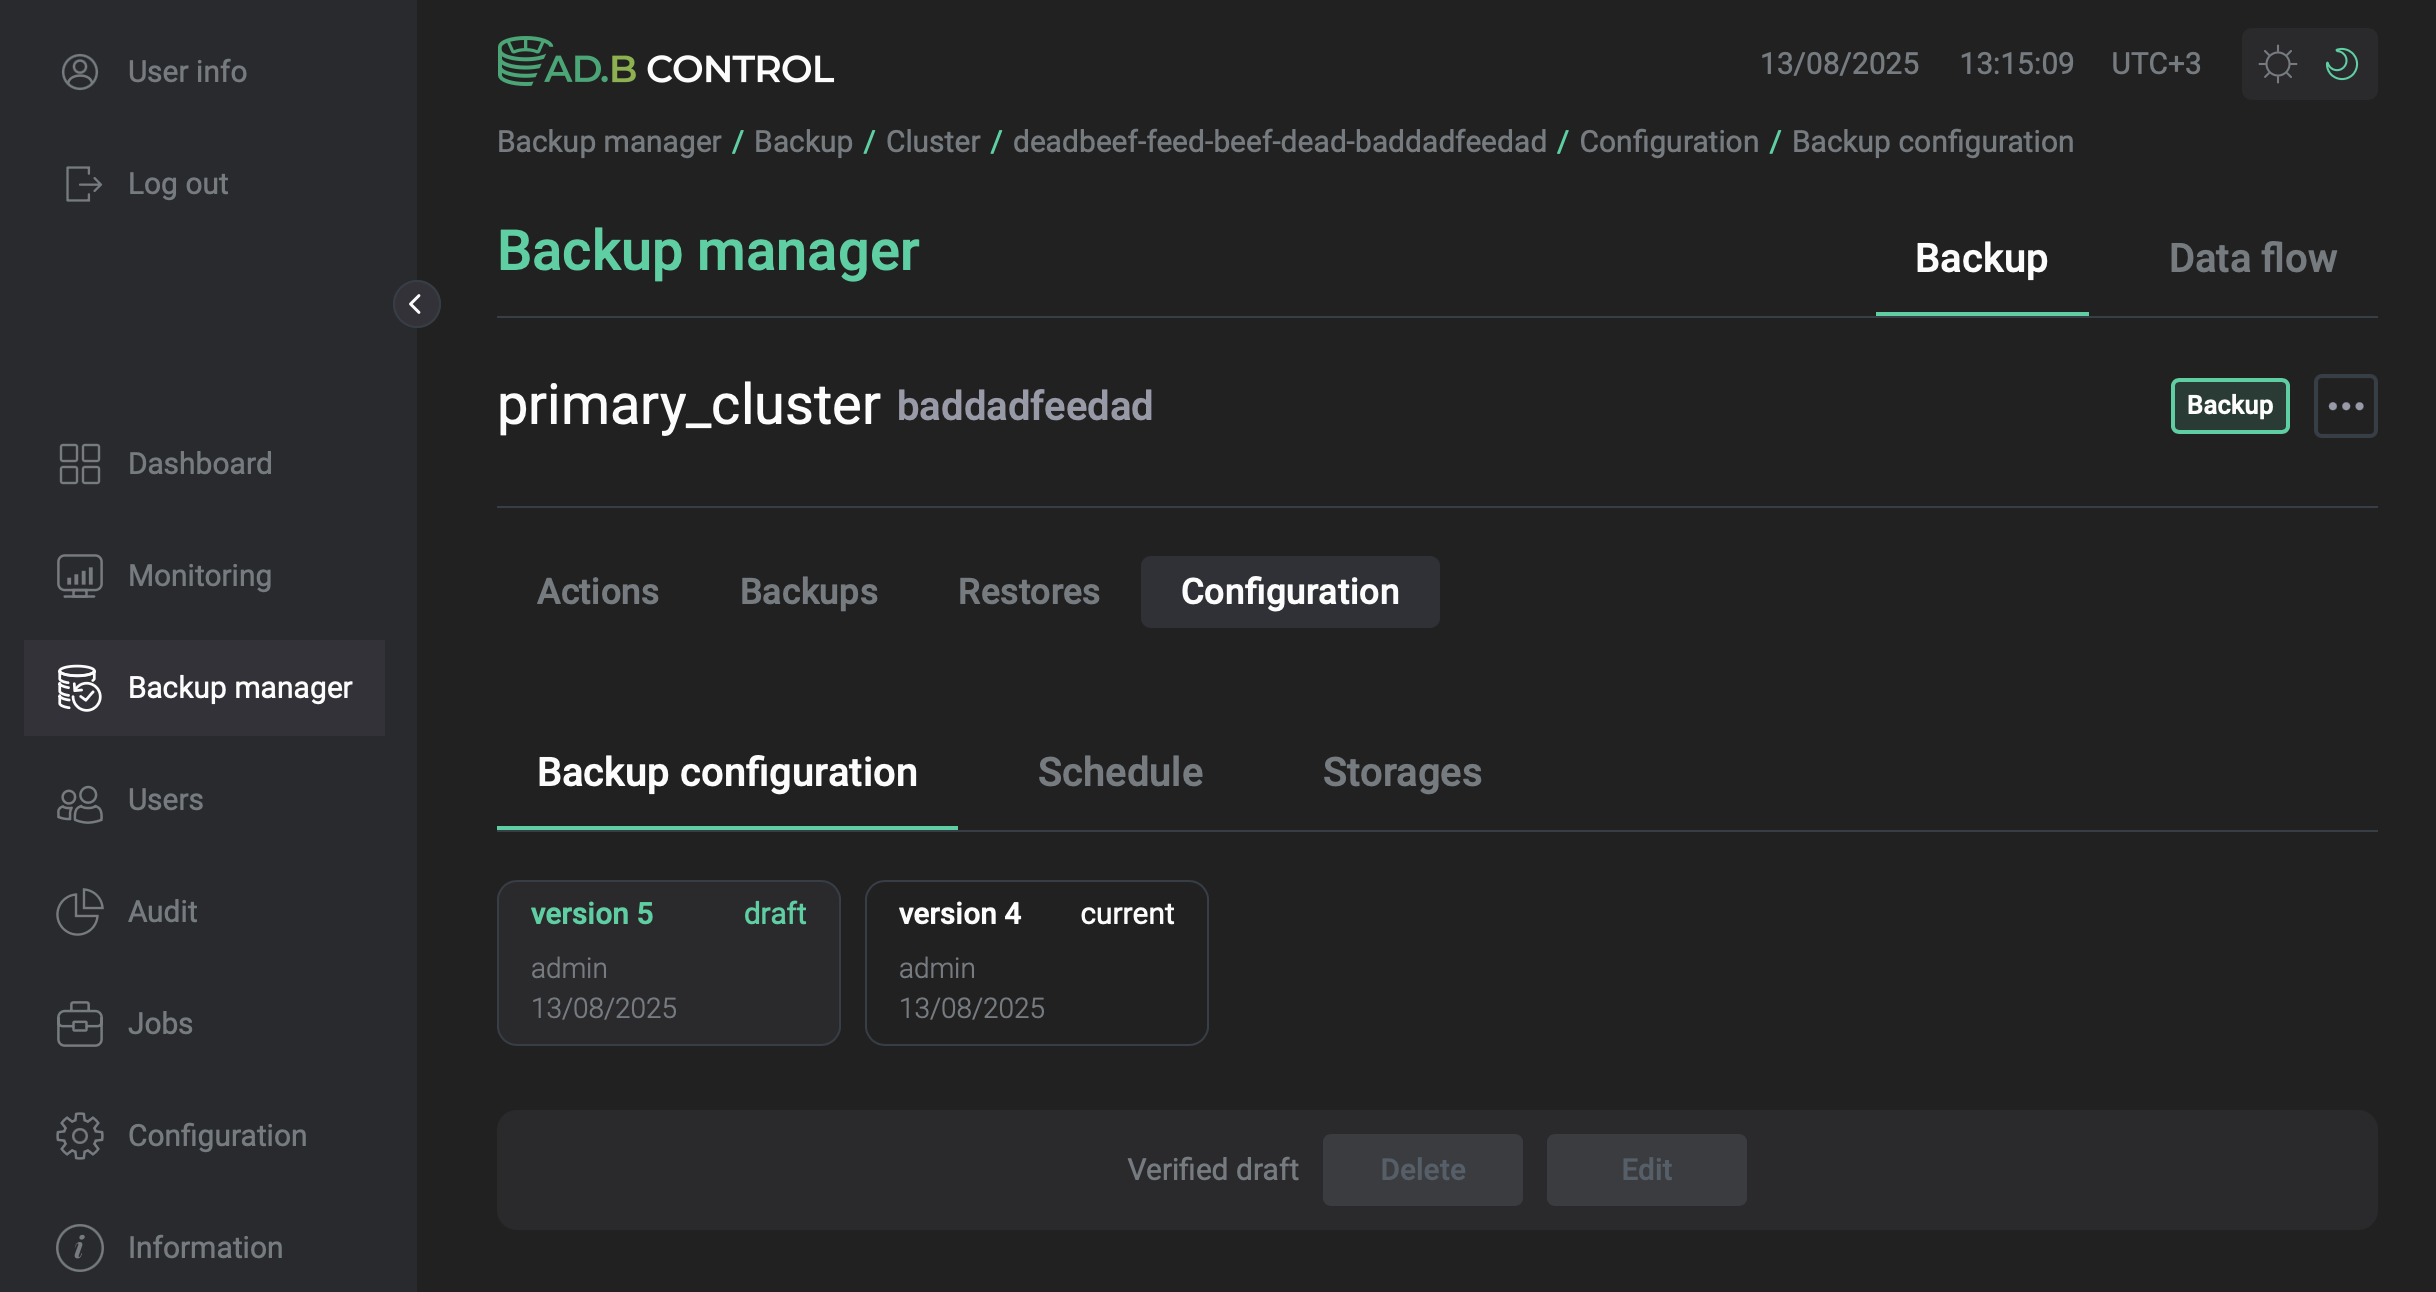
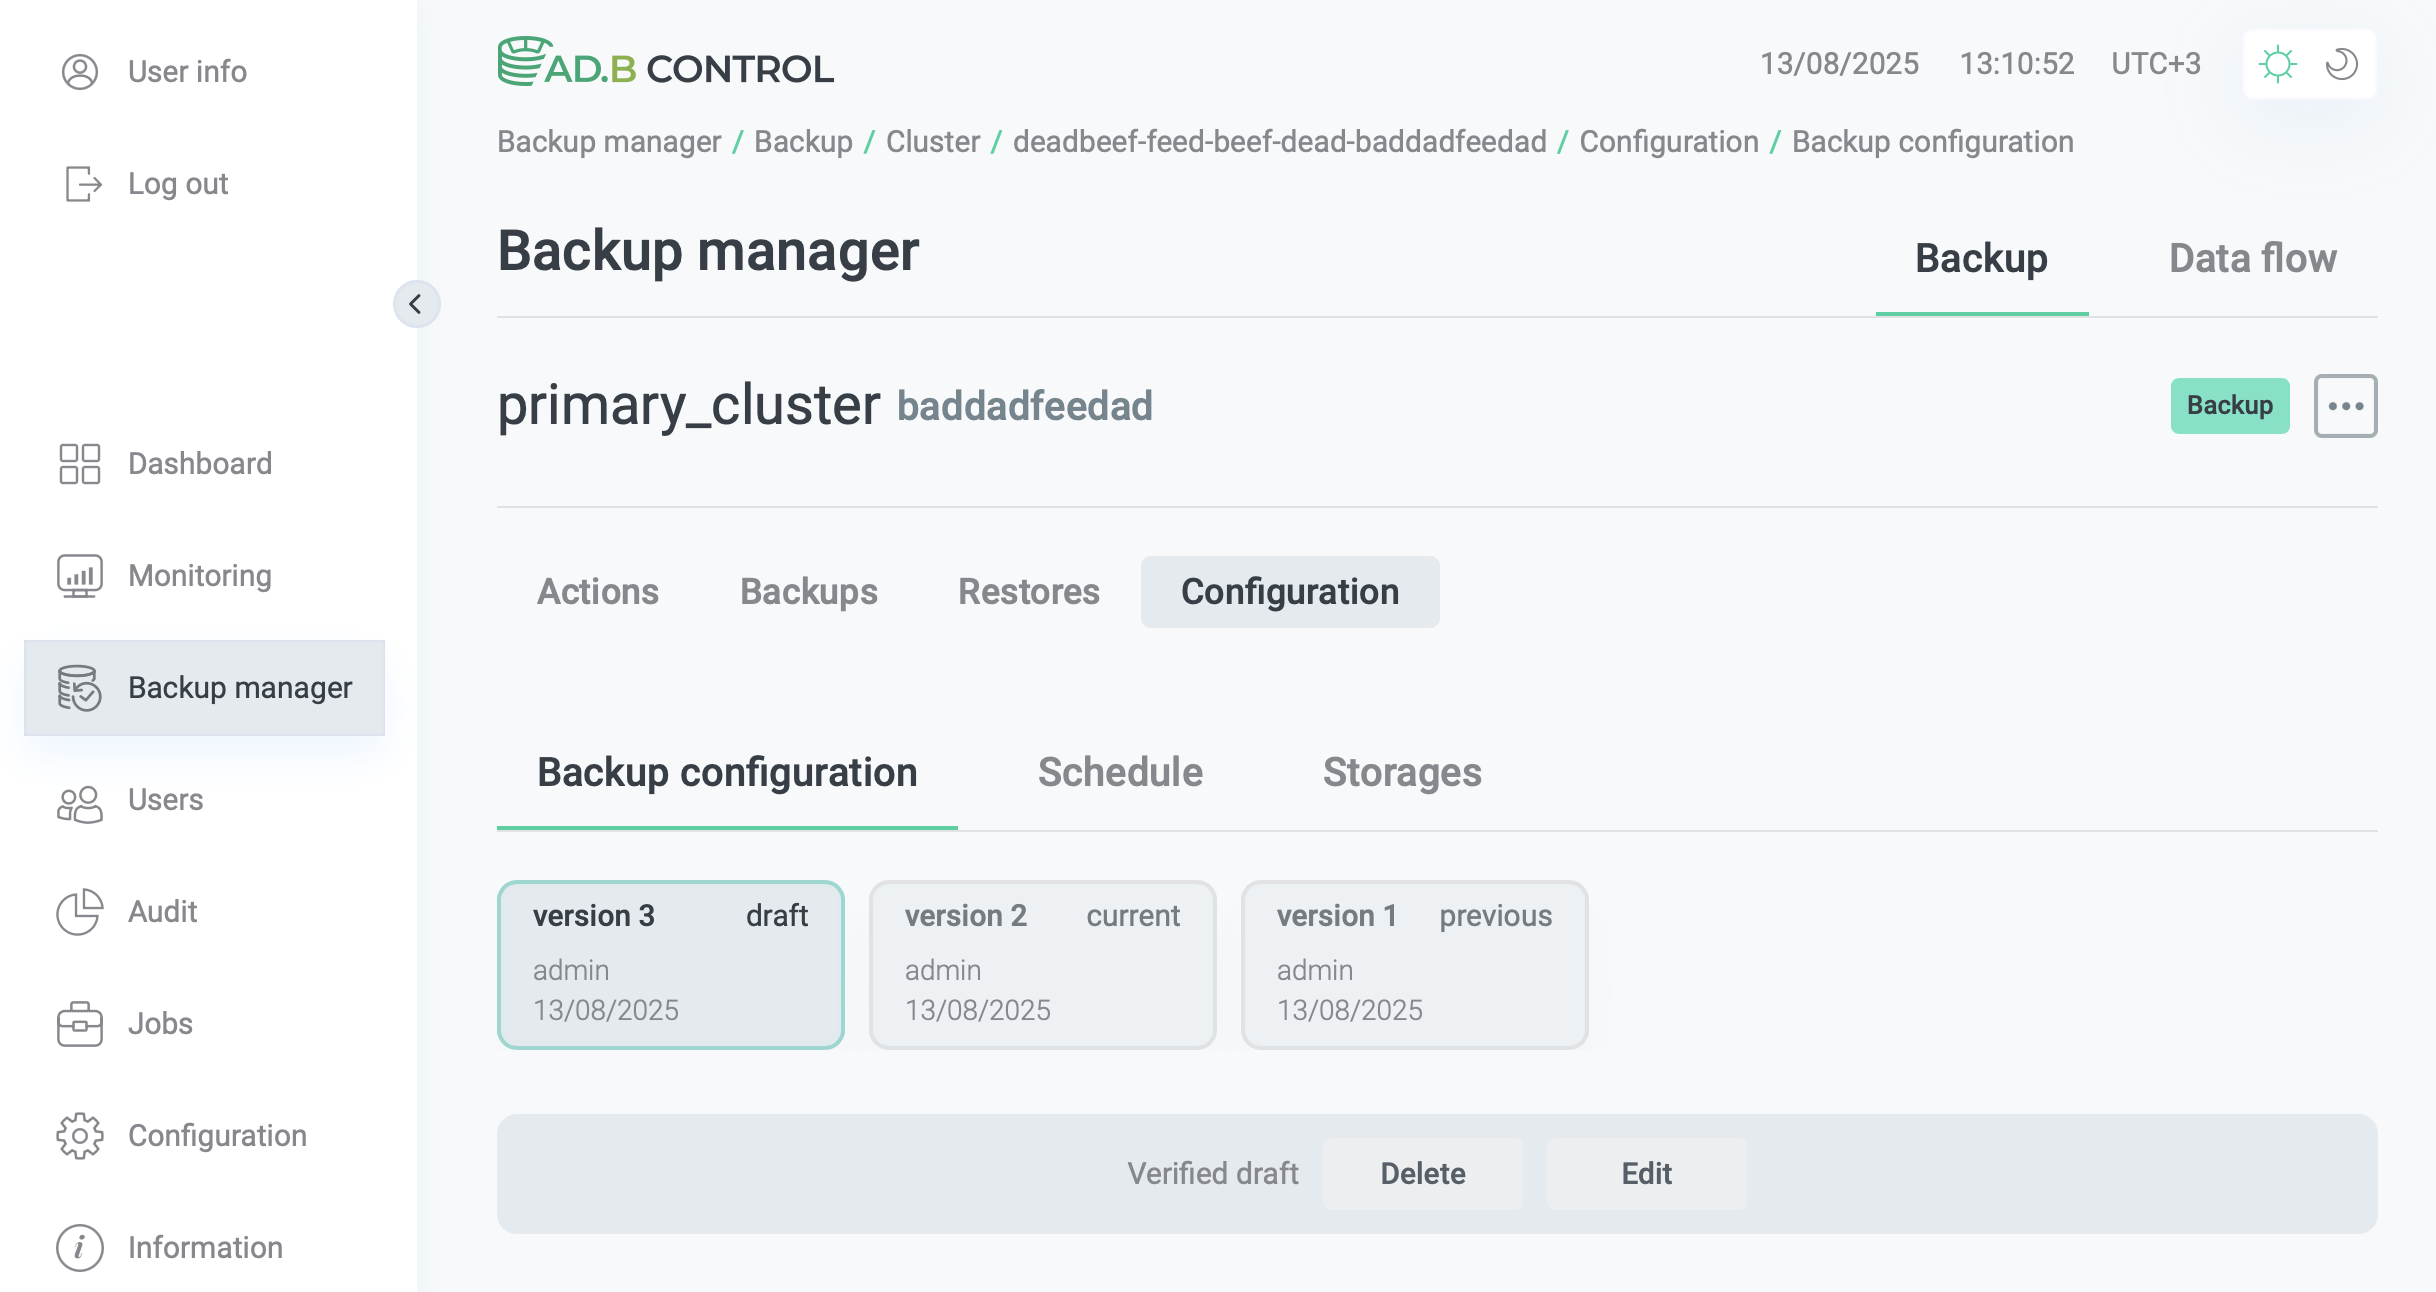
Draft configurations
Starting with the version 1.6.3, ADBM supports an initial status draft for backup configurations. This status is assigned to all configurations when attempting to save them until all actions are successfully applied and the status is changed to current. However, if a new configuration cannot be validated at the moment of its creation, it is saved as a draft. Thus, you can avoid re-entering all information during the next applying attempt. Configuration drafts can be modified (and re-applied) or removed by clicking Edit and Delete, respectively.
Starting with ADBM 1.7.3, two additional statuses are available for configurations:
-
The
Unverified draftstatus means that the storage verification is ongoing or has failed. -
The
Verified draftstatus means that the storage is available for writing, the configuration has been validated but some errors have prevented the configuration from being applied.
Use the Actions tab to get more details about attempts to apply the configuration and possible errors.
Schedule
The Configuration → Schedule tab allows you to select a schedule for various operations related to backups, such as creating various types of backups and restore points, data cleanups, etc. The tab is available starting with ADBM 2.5.0, before that schedules were part of a backup configuration and can be filled in along with other settings in the Configuration → General configuration section.
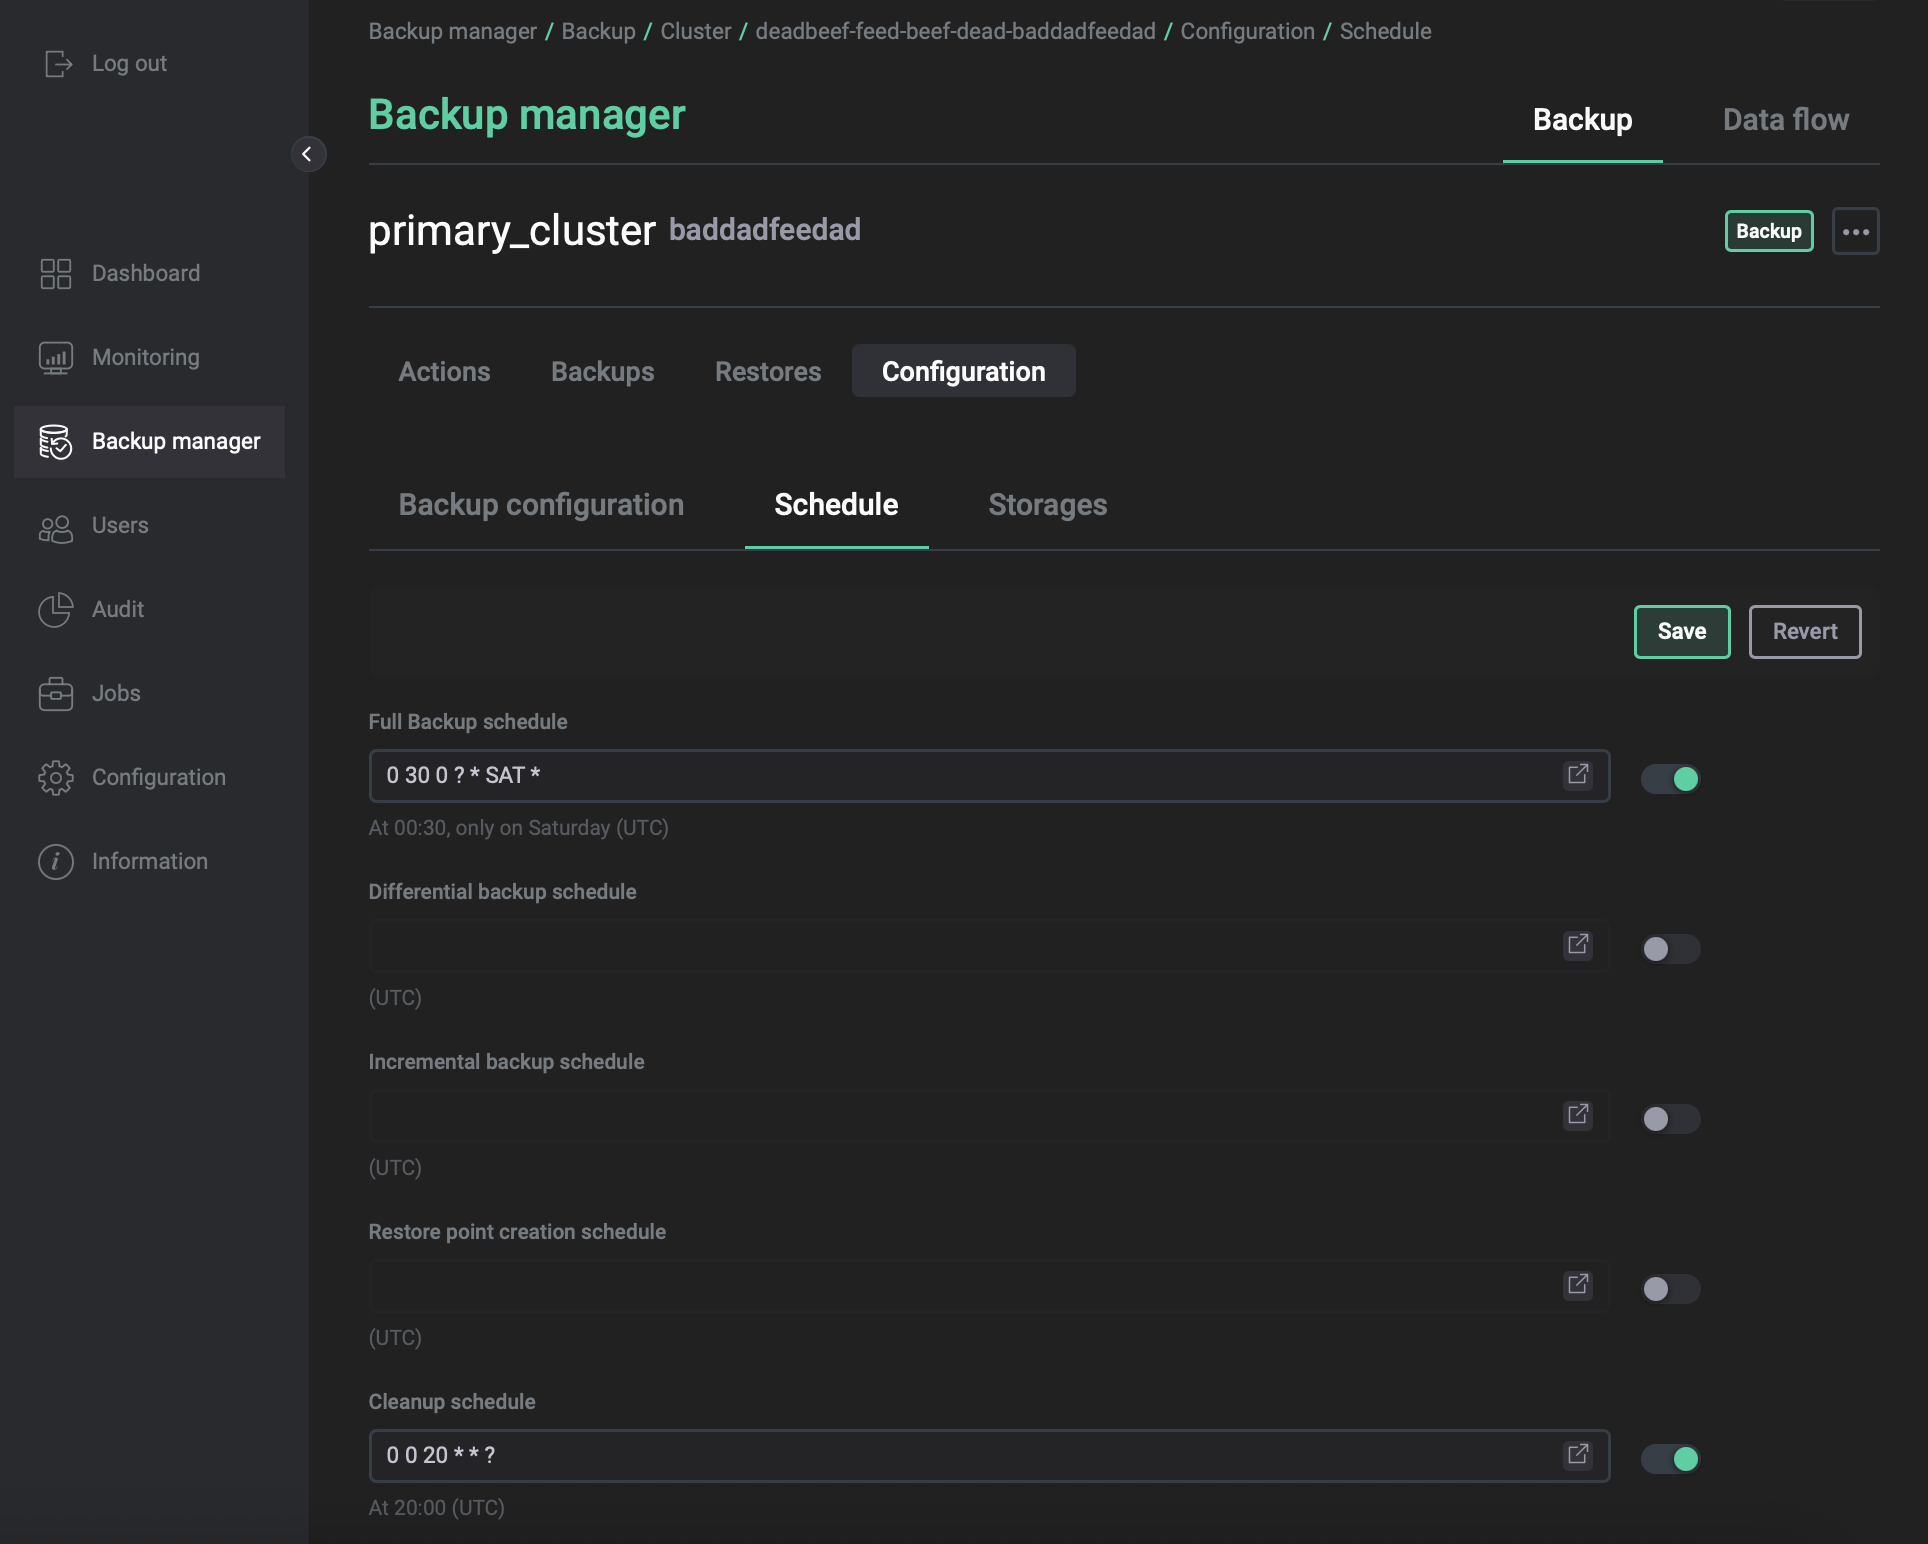
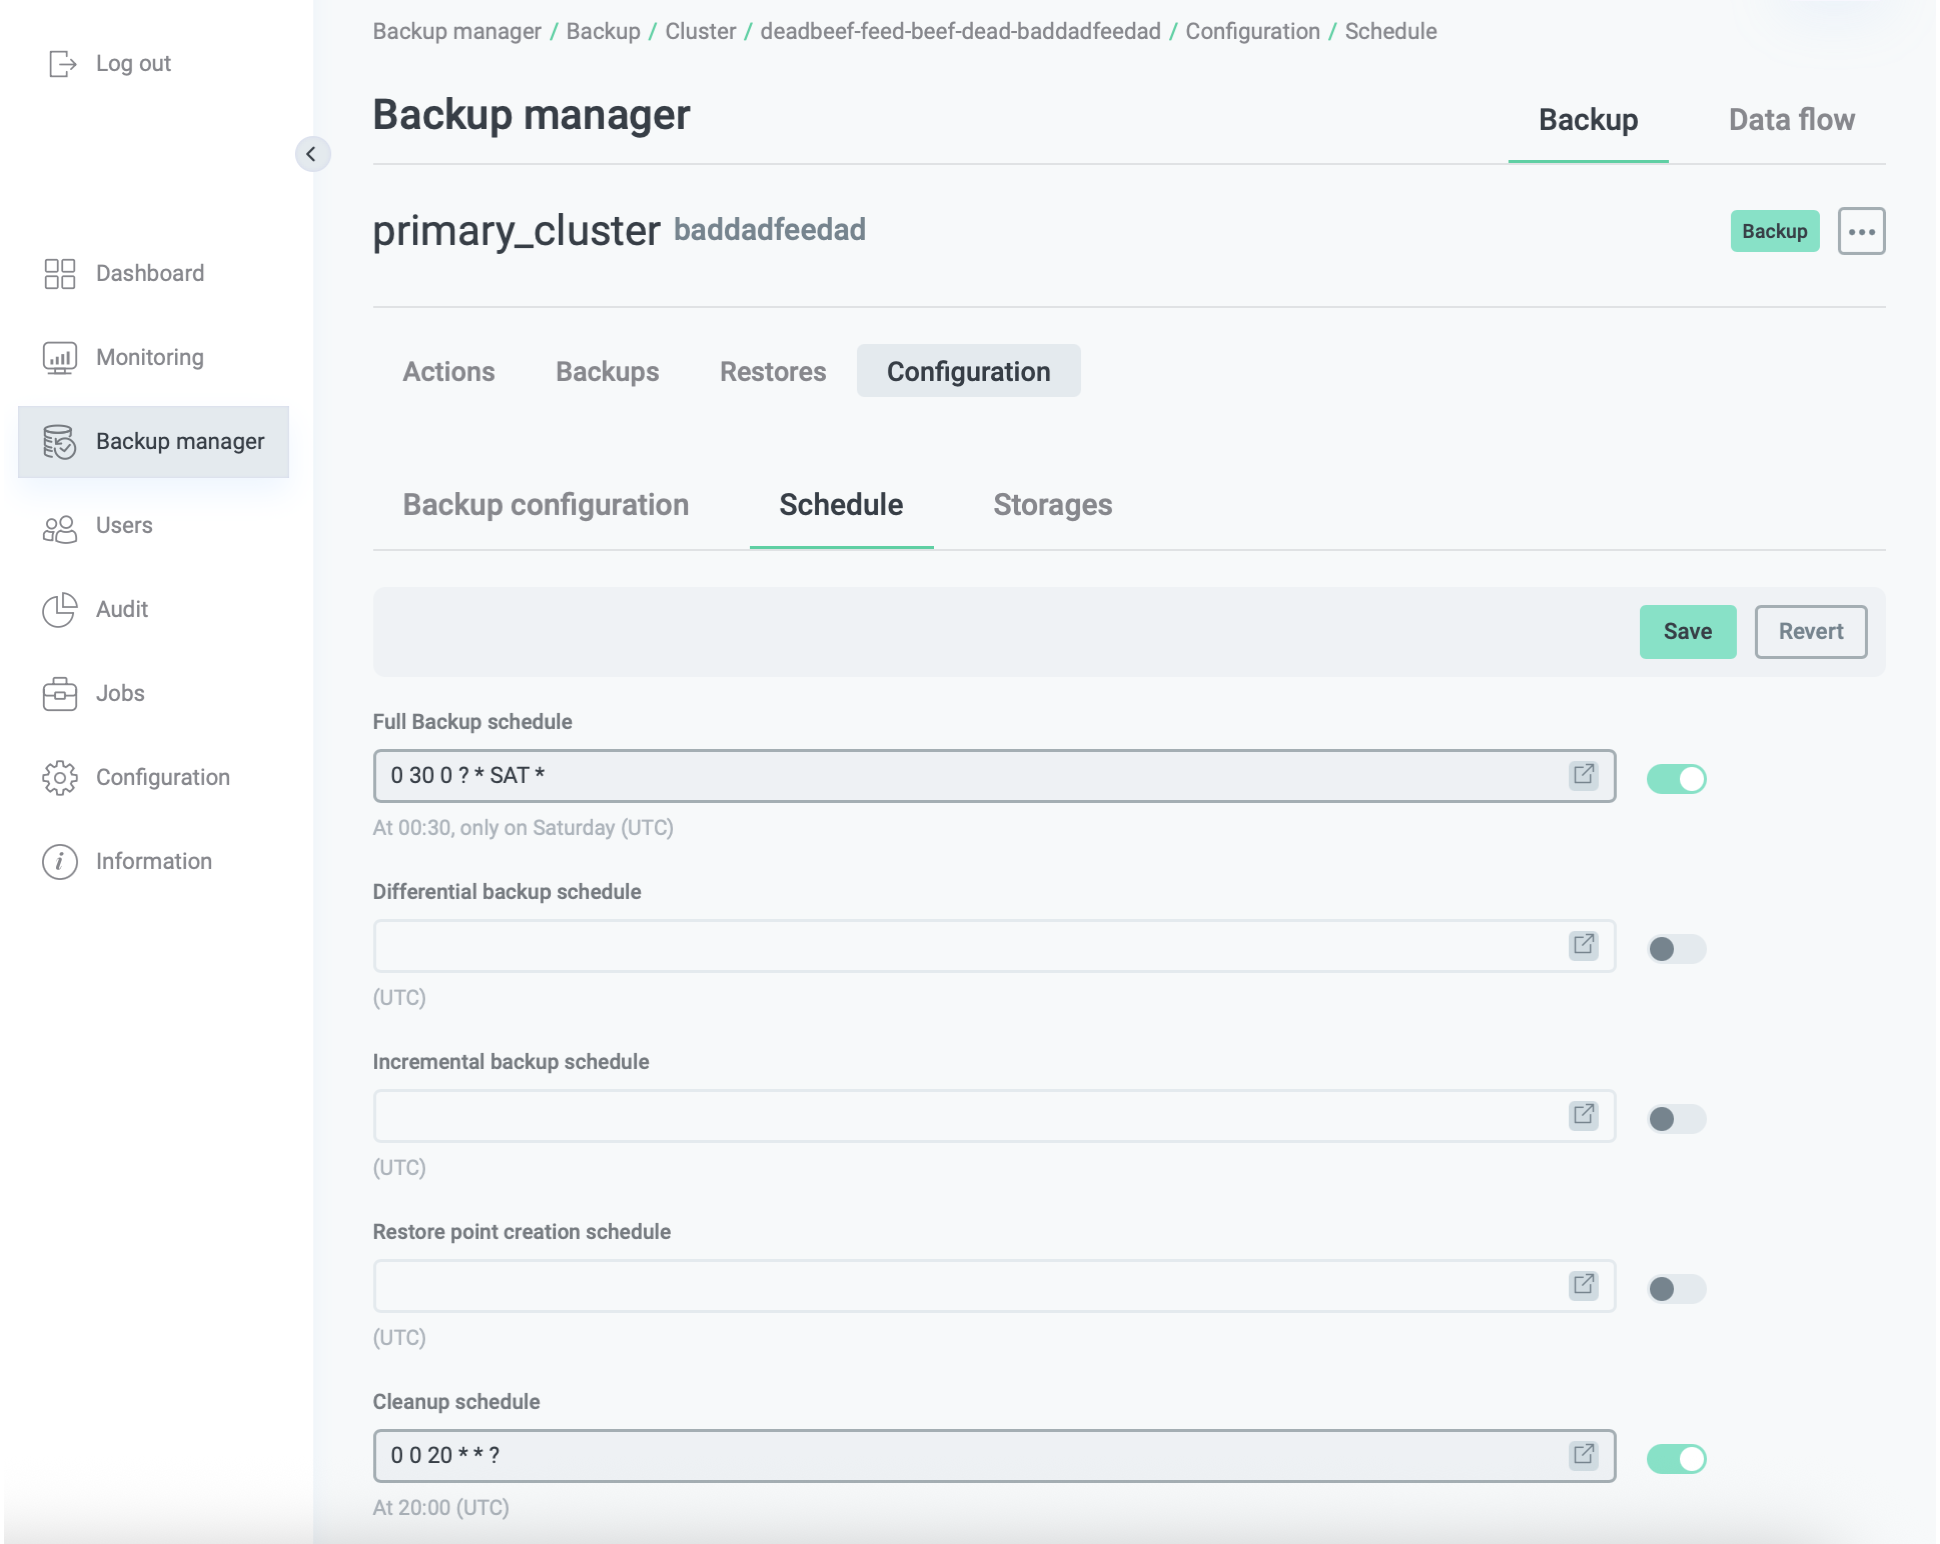
Below is the description of schedules that can be filled in on the Configuration → Schedule tab.
| Parameter | Description |
|---|---|
Full Backup schedule |
A schedule for automatic creation of full backups. If you are going to create backups only manually, do not activate the switcher that is located next to the field |
Differential backup schedule |
A schedule for automatic creation of differential backups. If you are going to create backups only manually, do not activate the switcher that is located next to the field |
Incremental backup schedule |
A schedule for automatic creation of incremental backups. If you are going to create backups only manually, do not activate the switcher that is located next to the field |
Restore point creation schedule |
A schedule for automatic creation of restore points. If you are going to create restore points only manually, do not activate the switcher that is located next to the field |
Cleanup schedule |
A schedule for deleting extra backups (see Number of full backups and Number of differential backups above) and backups with the |
Deleted backup TTL |
Defines whether to keep metadata for backups in the Use the For new clusters, the Deleted backup TTL option is disabled by default. For existing clusters, if any parameter from the Schedule section was used before the upgrade to ADBM 2.12.0, then the Deleted backup TTL option is enabled and the default TTL is one week. If none of these parameters were used, the Deleted backup TTL option is disabled by default |
To fill in any of the schedules mentioned above, activate the corresponding switch and enter the cron expression in the field that becomes available.
To switch to the alternative schedule fill mode, click the 
 icon.
As a result, the Cron expression generator window opens where you can set a schedule by selecting seconds, minutes, hours, days, months, and years.
The selected values are automatically transformed into the
icon.
As a result, the Cron expression generator window opens where you can set a schedule by selecting seconds, minutes, hours, days, months, and years.
The selected values are automatically transformed into the cron expression that will be used as the field value.
You can see it in the top part of the window along with its description.
To save the current expression and return to the Configuration → Schedule main form, click Save.
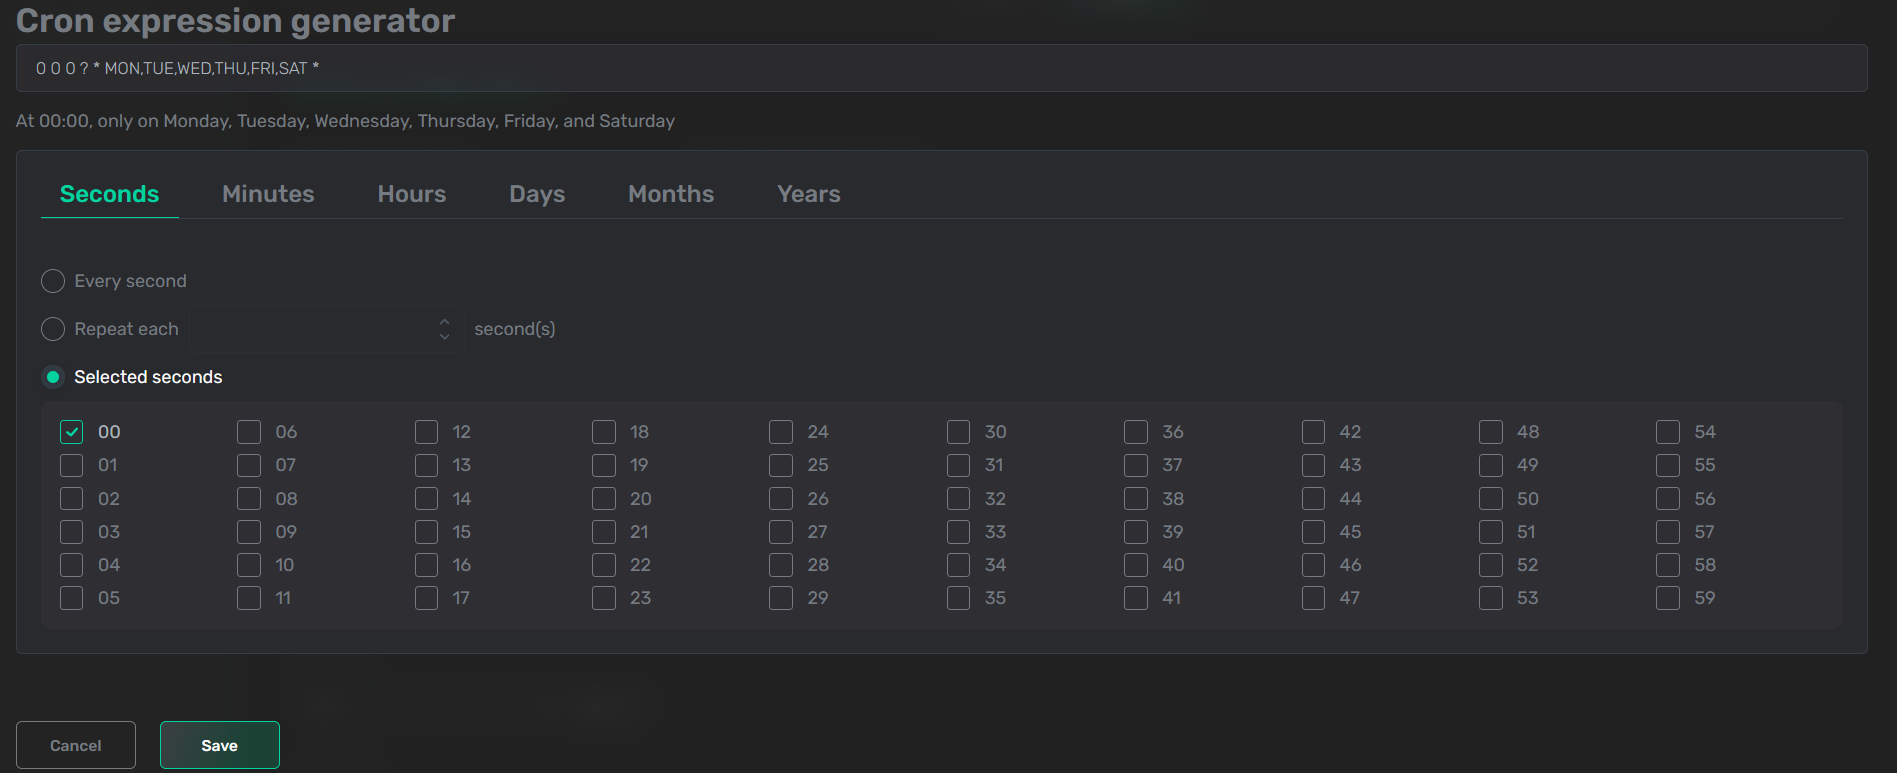
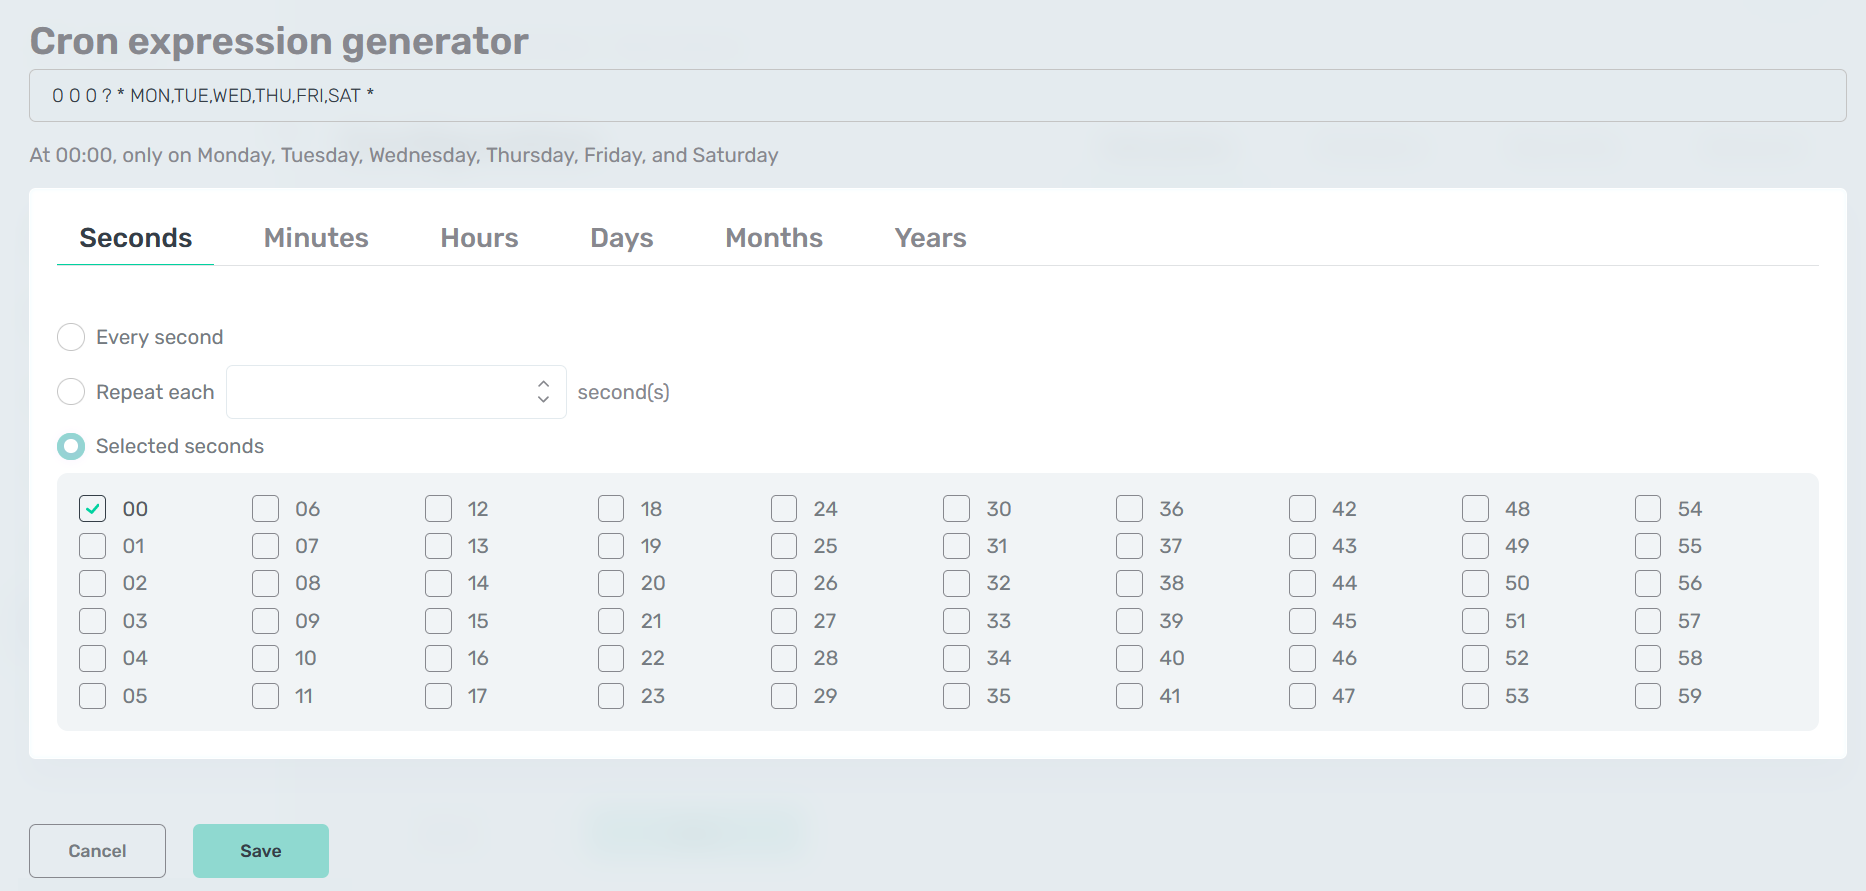
To save changes made on the Configuration → Schedule tab, click Save. To undo changes, click Revert.
Storages
In ADBM, a backup storage is a location where your data backup is stored. Starting with ADBM 2.6.5, it’s a separate entity that you can configure, edit, and share among different backup configurations. To use a storage for backup, you can select it in the Storage section of your backup configuration.
|
NOTE
It is recommended to use remote storages for backups.
Before creating a backup, ADBM checks the storage availability.
Starting with ADBM 2.14.0, for POSIX and CIFS storages, it also checks that the storage is located in a network file system, and this check will fail if you use a local file system.
In this case, the backup creation will also fail, and the space utilization metrics will not be collected.
If you need to use a local file system, disable this check for POSIX and CIFS storages by setting the |
Add a new storage
-
Open the Configuration → Storages tab and click Add storage.
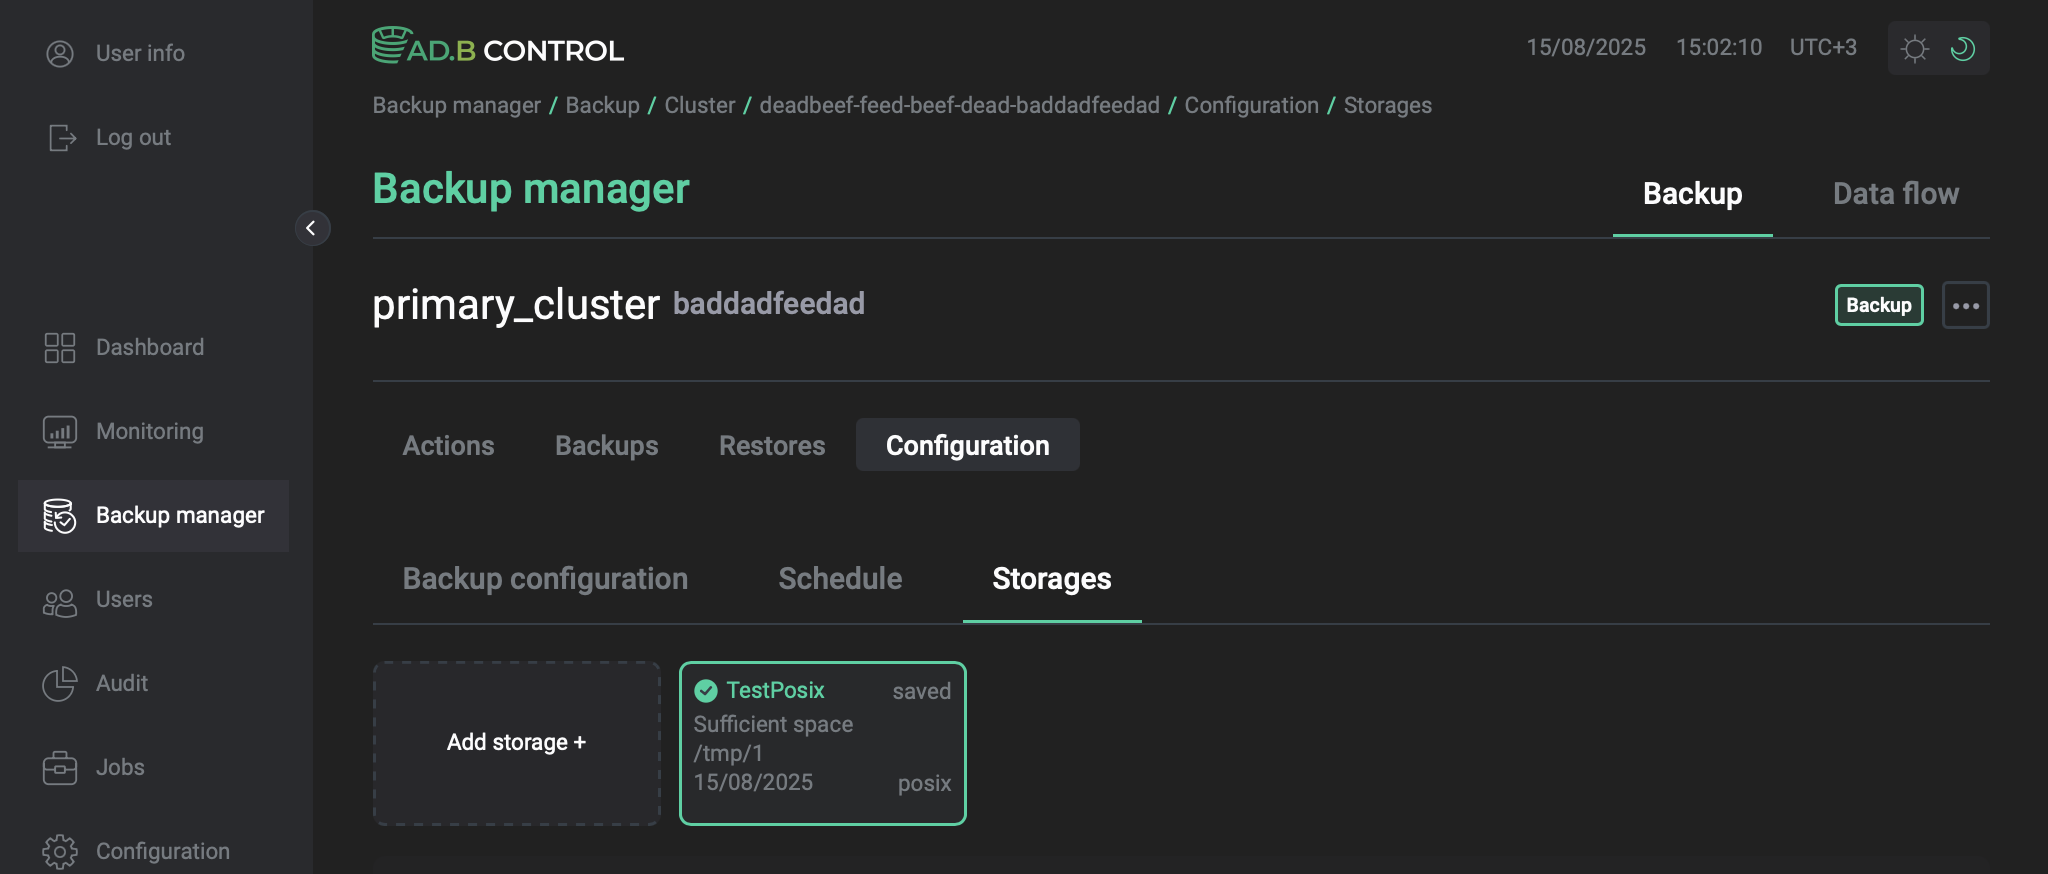 The Configuration → Storages tab
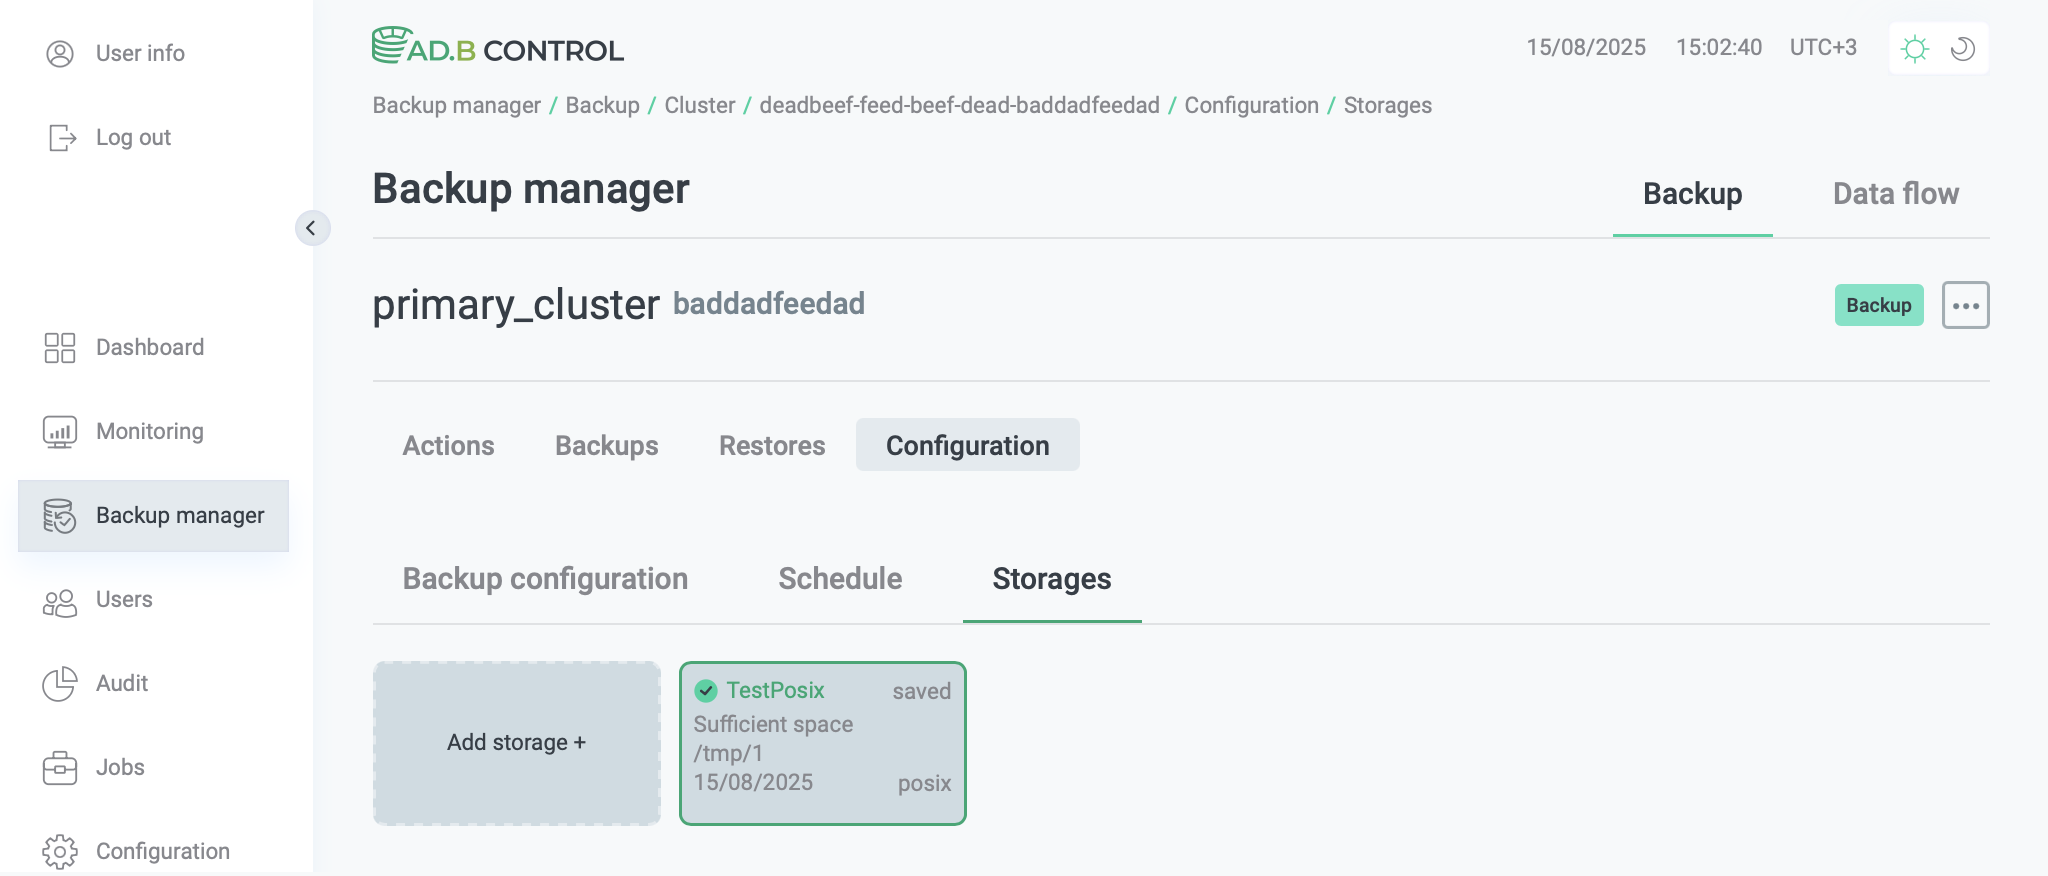 The Configuration → Storages tab
 -
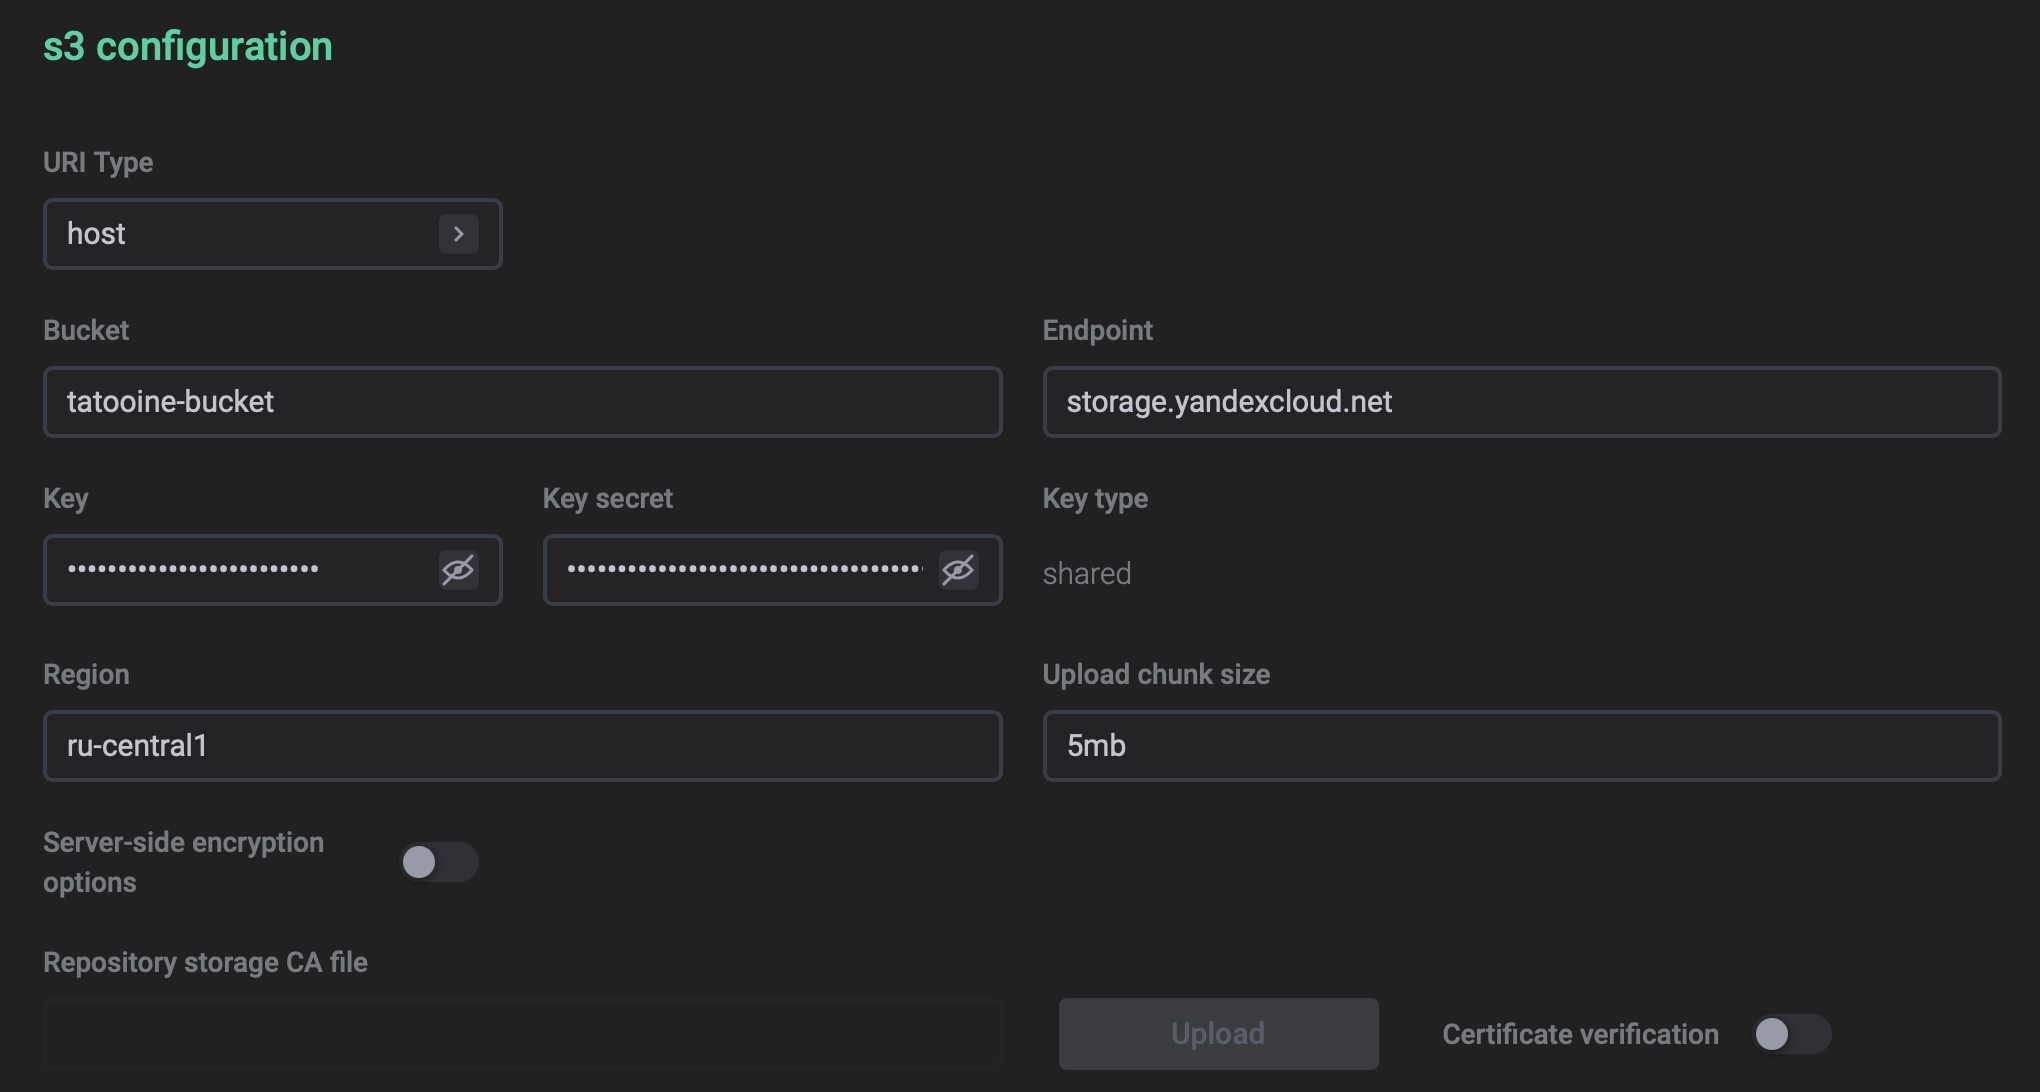
Fill in the parameters that are located in the Alert settings for storage and General sections described below. For S3 storages, you also need to fill in the parameters of the S3 configuration section.
-
Click Save.
| Parameter | Description | Default value |
|---|---|---|
Almost Full |
The storage usage threshold (in percent) at which the storage configuration will have a yellow indicator and the |
80 |
Critical |
The storage usage threshold (in percent) at which the storage configuration will have a red indicator and the |
90 |
| Parameter | Description | Default value |
|---|---|---|
Storage name |
A unique name for the storage by which you can identify it when selecting a storage in a backup configuration |
— |
Repository type |
A repository type. Possible values:
|
posix |
Repository path |
The repository where backups and archived WAL segments are to be stored. The repository directory should be pre-created and available from master and segment hosts. You can use the NFS shared directory, which is connected to all cluster segments. Do not use local directories on segments if mirroring is switched on — in that case, the hosts with mirror segments won’t have the required stanzas. Ensure that you set up the same repository path for complementary primary and mirror segments |
— |
S3 bucket size |
The amount of storage space that you want to allocate for backups in the bucket.
Displayed if The parameter is required to calculate the S3 storage utilization metrics and status |
— |
Check free space |
Whether to check free disk space on the storage. If enabled, ADBM performs this check every minute and before running the Backup action. If disabled, this check is not performed and the disk space metrics are not updated. Disabling this option can be useful when working with cloud S3 providers: if requests to obtain free space take too long, this check may slow down the Backup action |
true |


The following parameters are available if s3 is selected in the Repository type field.
|
NOTE
SSL is always used for connections of ADBM agents to S3. |
| Parameter | Description | Default value |
|---|---|---|
URI Type |
An endpoint type (see Endpoint below). Displayed if
|
|
Bucket |
A bucket name in the S3 storage. A bucket name cannot contain dots |
— |
Endpoint |
An endpoint of the S3 storage |
— |
Key |
A key to access the S3 storage |
— |
Key secret |
A secret key to access the S3 storage |
— |
Region |
A region of the S3 storage |
— |
Upload chunk size |
Size of the uploaded data chunk (part size in S3 terms). Limitations shown in the tooltip ( |
5mb |
Calculate checksum |
Determines when the S3 client (ADBM) computes and sends a checksum for request payloads:
|
When required |
Checksum algorithm |
Determines the cryptographic hash algorithm used to compute the checksum: |
CRC32 |
Server-side encryption options |
Indicates whether to perform data encryption on the server side. After this switch is activated, the Type and Key fields become visible and mandatory (see below) |
false |
Type |
A type of the server-side data encryption:
This field is mandatory if the Server-side encryption options switch is activated. You should also specify a key value in the Key field (see below) |
— |
Key |
A key that is used for data encryption on the server side. The key type is specified in the Type field (see above). This field is mandatory if the Server-side encryption options switch is activated. The field becomes enabled after you select a value from the Type drop-down list |
— |
Repository storage CA file |
Certificate Authority (CA) PEM file to access the S3 storage. To select the file, click Upload |
— |
Certificate verification |
Defines whether to verify a repository storage certificate. If you activate this switch, the Repository storage CA file becomes enabled |
true |
Monitor storages
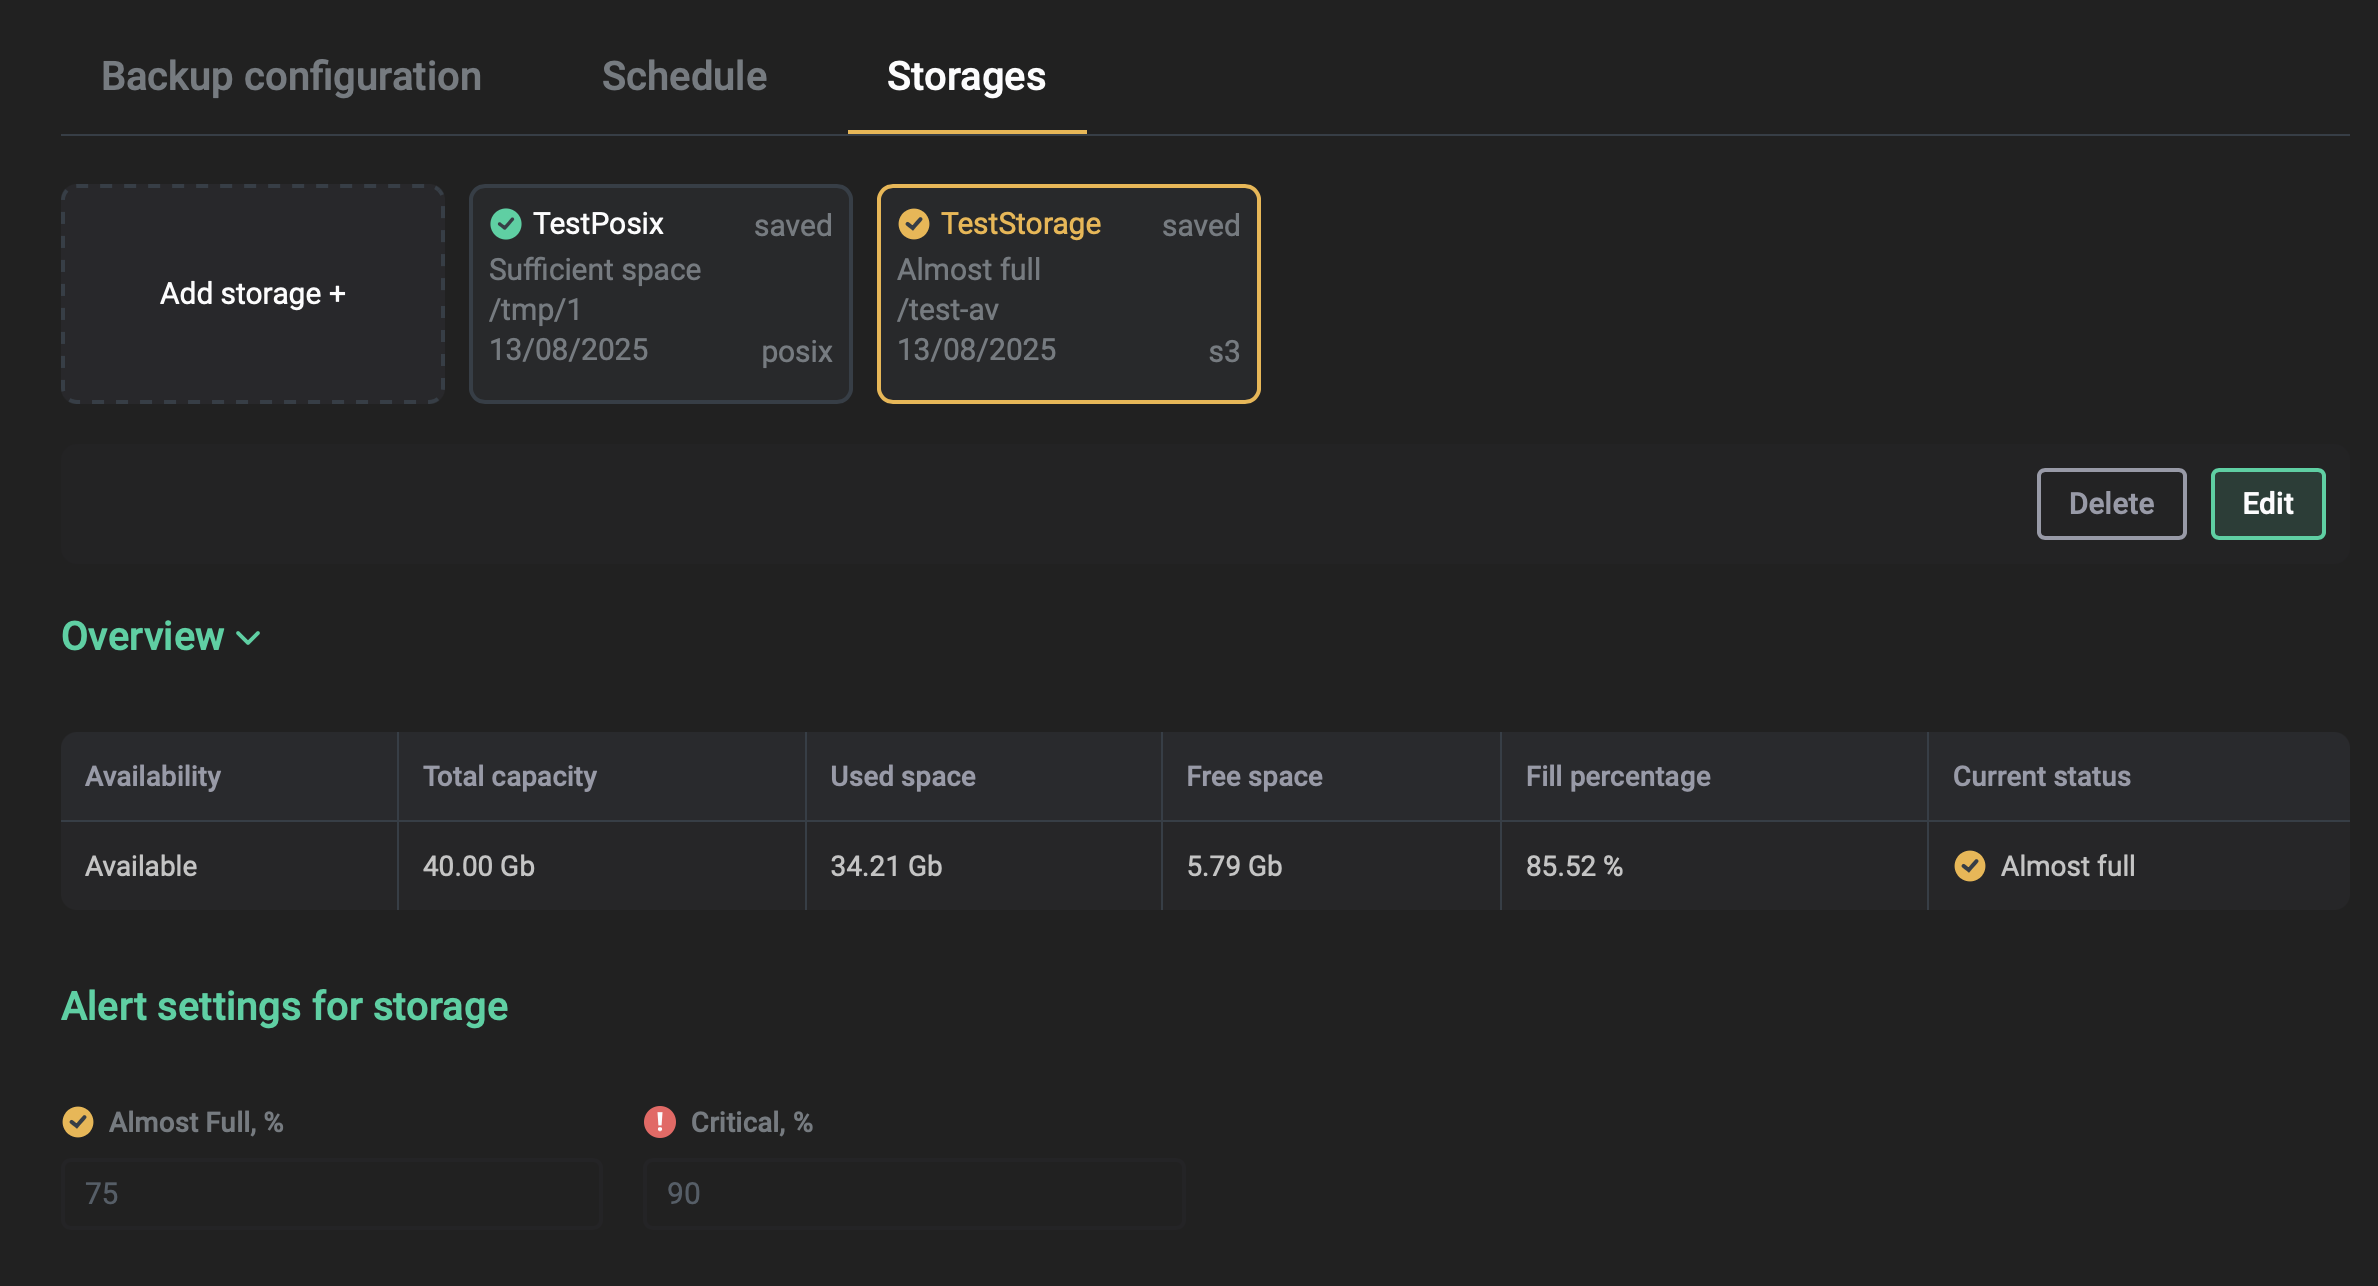
To monitor the storage status and space utilization, use the Overview section, which is available after applying the configuration with this storage. The Overview section allows you to monitor the following parameters:
-
Availability. Shows whether the storage is available. If ADBM cannot access the storage, it won’t perform a backup.
-
Space utilization: Total capacity, Used space, Free space, and Fill percentage.
The fill percentage shows the ratio between the total capacity and used space. For POSIX and CIFS storages, the total capacity is calculated automatically. For S3 storages, you should manually specify the total capacity using the S3 bucket size field. If no value is set, the S3 storage utilization metrics and status won’t be available.
-
Current status. Depending on the fill percentage value, each storage may have one of the following statuses:
-
Sufficient space— the fill percentage value is below the percentage configured under Alert settings for storage, in the Almost Full limit. -
Almost Full— the fill percentage value is above the Almost Full limit, but below the Critical limit. -
Critical— the fill percentage value is above the Critical limit. To avoid storage overflow during a backup, you can use the Fail on low space flag, which ensures the backup won’t proceed if the storage is in theCriticalstate.
-
These metrics are first calculated when you apply the backup configuration that uses this storage. Afterward, the metrics and the status are checked and updated every minute.
|
NOTE
The metrics are not collected if you apply a backup configuration where the storage settings have the Check free space option disabled (see the General section). |
Check for missing WAL segments
When the archiver process finds a .ready file for a WAL segment, it expects the actual segment file to be present on disk. If that file is missing (due to accidental deletion or a failure), the archiver will repeatedly encounter errors, leading to an accumulation of WAL files and potentially blocking backups. To prevent this, ADB ES 1.1.0 and later versions include the pgbackrest_wrapper.sh script (as part of the adbm-archive-wrapper package) that wraps the command provided in Archive command in the backup configuration.
The archive_command configuration parameter points to this script.
As a result, every time a WAL segment is ready for archiving, the wrapper runs and performs two checks before the actual archive-push command execution:
-
Missing .ready file. If a .ready file does not exist for a WAL segment, the wrapper reports the
ReadyFileMissingcluster issue. -
Missing WAL segment. If the .ready file exists, but the actual WAL segment file does not exist, the wrapper reports the
WalFileMissingcluster issue.
In the ADBM web interface, details of these issues are available when you hover over a cluster status or when you open the cluster page.
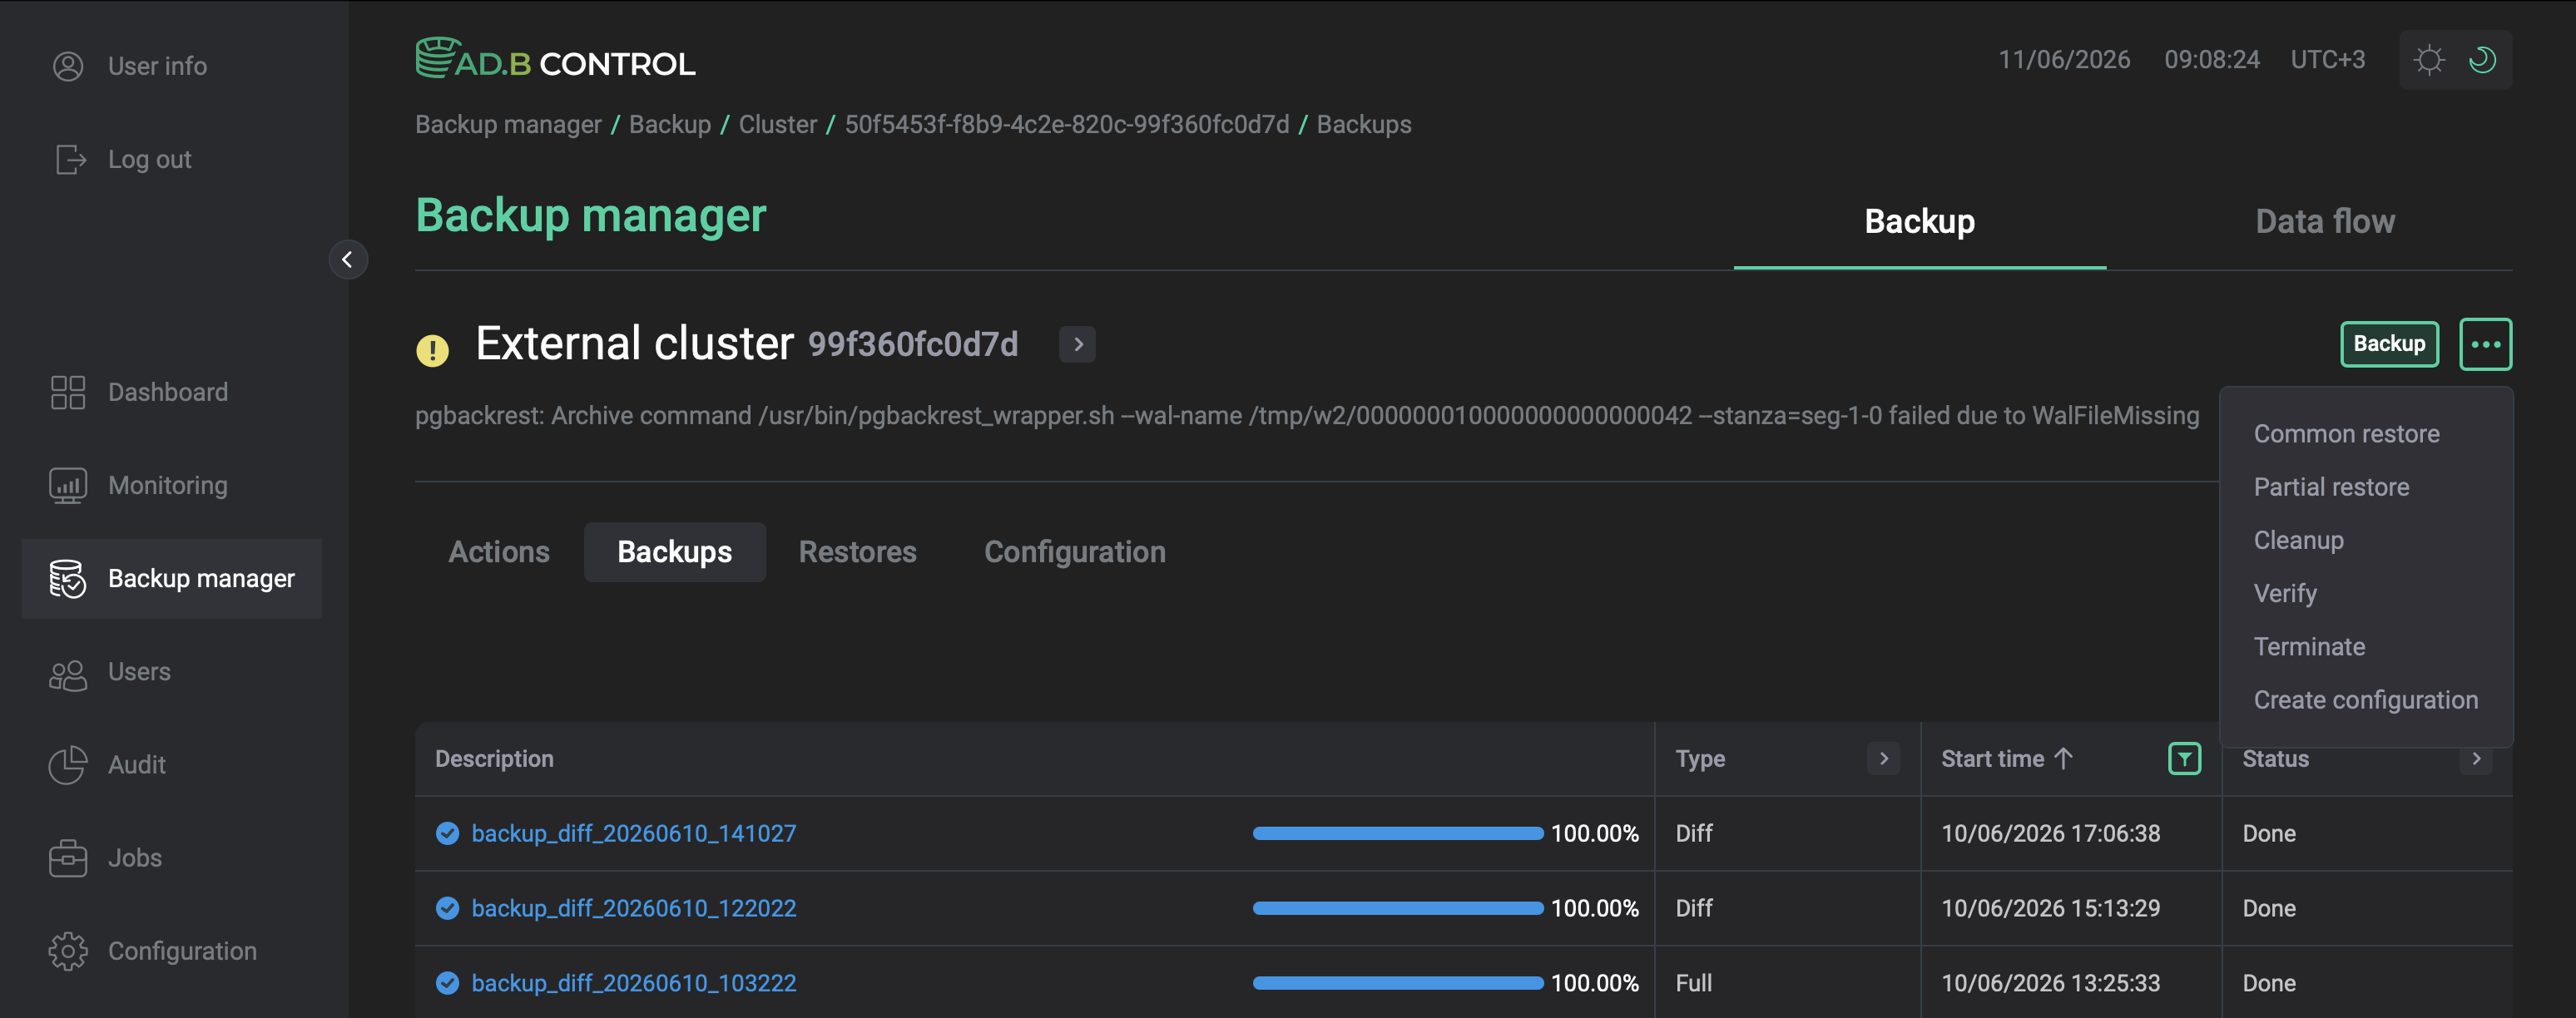
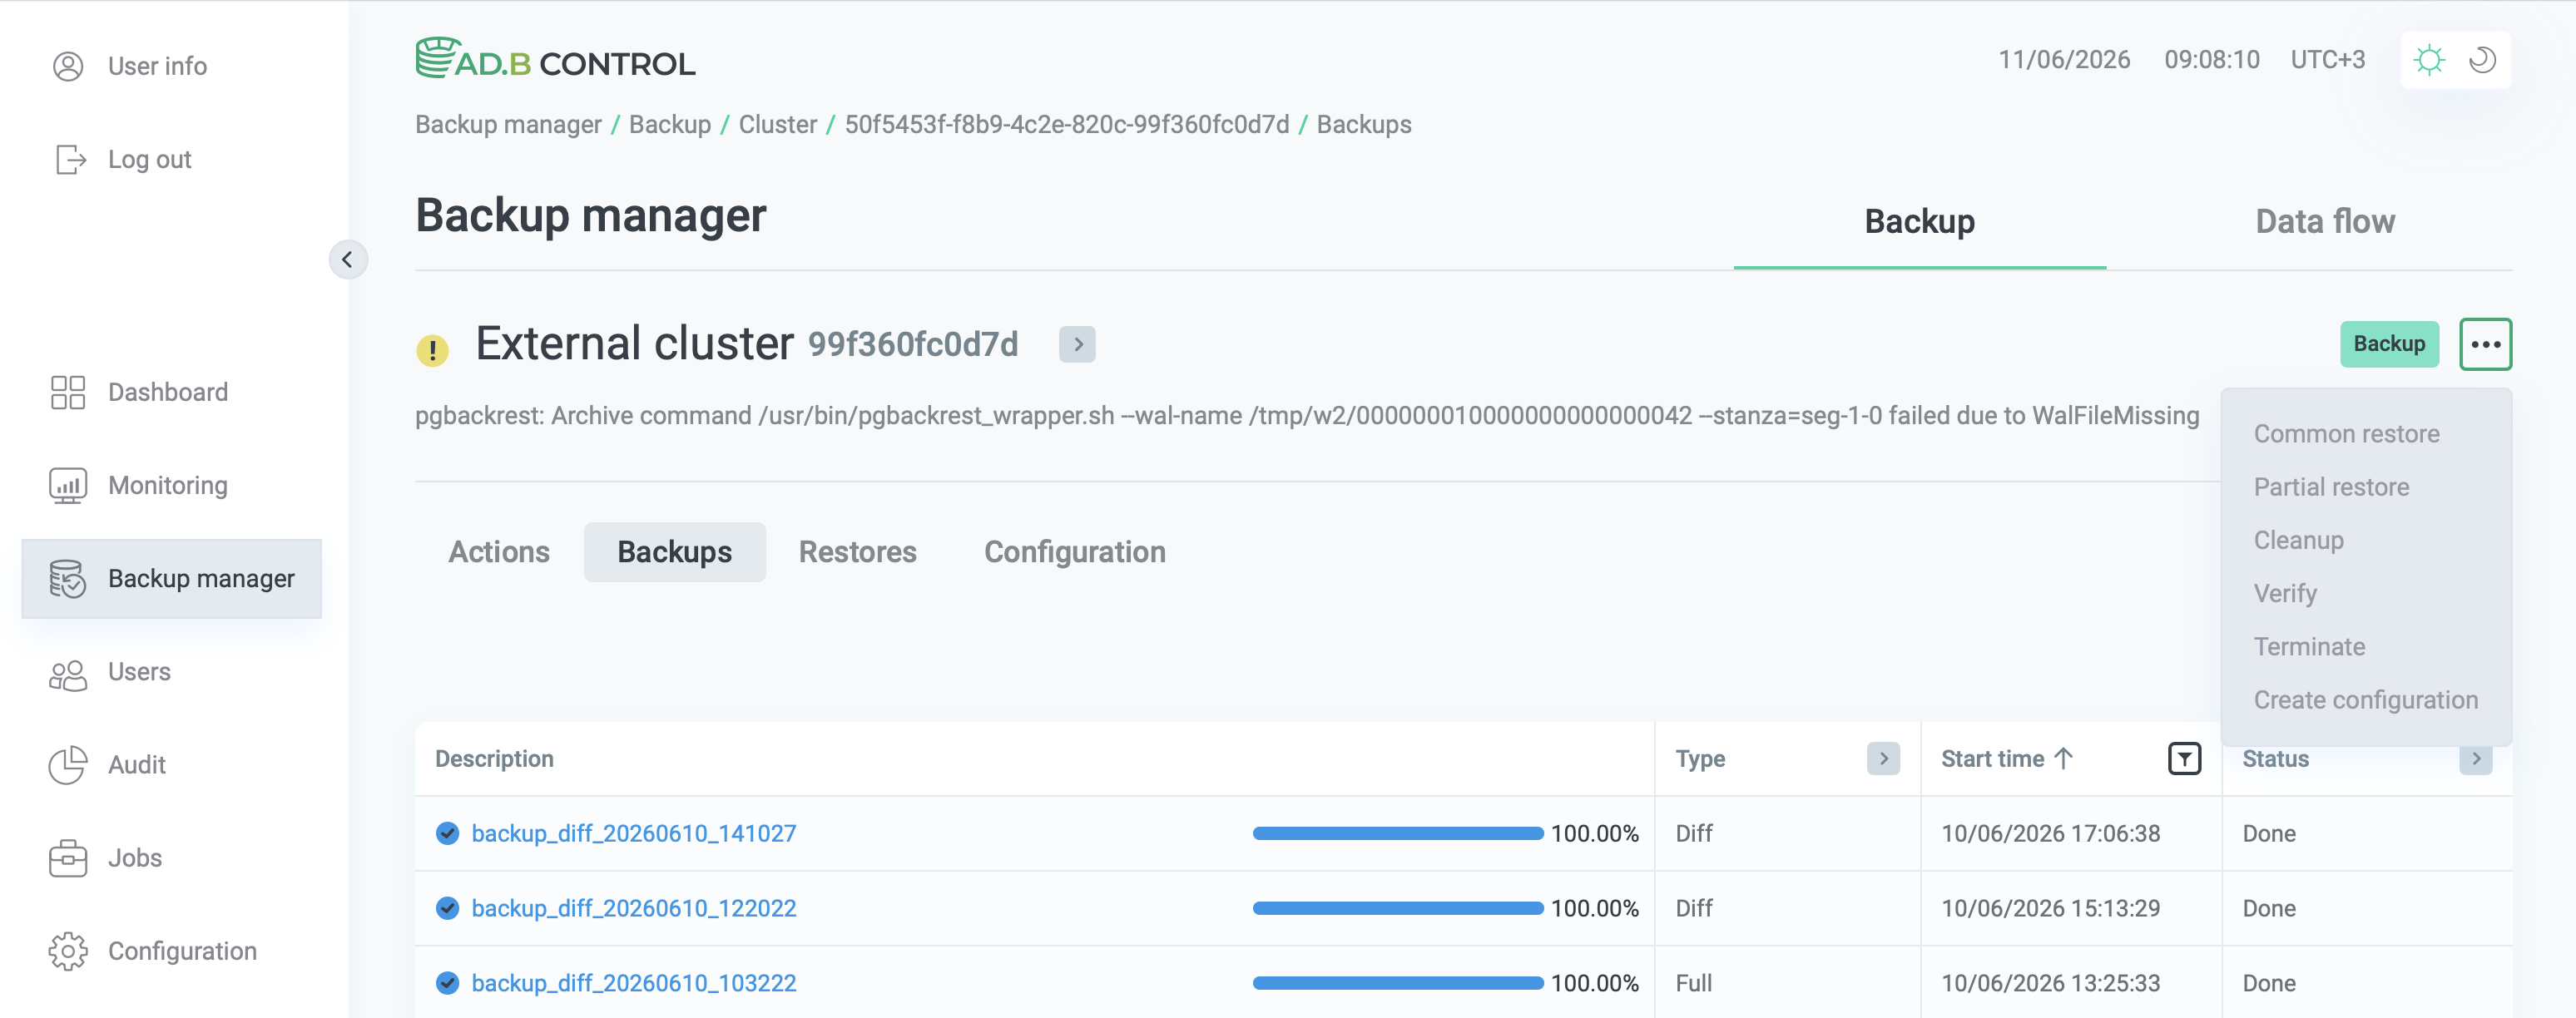
If any of these issues exist in the cluster, the following restrictions apply:
-
The Create restore point action is not available for this cluster.
-
The Create restore point schedule job won’t start.
-
If an issue occurs when a streaming data flow is in progress, the data flow is paused. It can be resumed only after the issue is resolved and from a new restore point.
|
NOTE
For the wrapper to be available on the ADB hosts:
ADB ES 1.1.0 is compatible with ADB 6.30, but the wrapper functionality is not provided. |
To diagnose and fix these issues:
-
Remove the .ready file that has no matching WAL segment file (see the cluster status for the exact path).
-
Check that the archiver process is archiving WAL files as expected by querying the gp_stat_archiver view:
SELECT archived_count,
       failed_count,
       last_archived_wal,
       last_archived_time,
       last_failed_time
FROM gp_stat_archiver
ORDER BY last_archived_time;
If archiving is functioning correctly, the
failed_countvalue does not increase, and thelast_failed_timevalue remains unchanged:archived_count | failed_count | last_archived_wal | last_archived_time | last_failed_time ----------------+--------------+--------------------------+-------------------------------+------------------------------- 23 | 3 | 0000000D0000000100000035 | 2026-06-10 14:10:30.319881+00 | 2026-06-10 08:52:45.696705+00 22 | 3 | 00000009000000010000001F | 2026-06-10 14:10:37.204627+00 | 2026-06-10 08:52:45.356228+00 22 | 3 | 0000000D000000010000002F | 2026-06-10 14:10:37.345172+00 | 2026-06-10 08:52:45.350985+00 22 | 3 | 0000000D000000010000002F | 2026-06-10 14:10:37.360515+00 | 2026-06-10 08:52:45.351205+00 22 | 3 | 00000009000000010000001E | 2026-06-10 14:10:37.381106+00 | 2026-06-10 08:52:45.288743+00 -
On each segment, check the WAL directory pg_xlog for .ready files. For example:
$ ls -l $MASTER_DATA_DIRECTORY/pg_xlog/archive_status/Each of the .ready files must have a corresponding WAL segment file present. Or, if all WAL segment files are successfully archived, the .ready files won’t be present:
-rw------- 1 gpadmin gpadmin 0 Jun 10 12:20 0000000D0000000100000031.done
-rw------- 1 gpadmin gpadmin 0 Jun 10 13:51 0000000D0000000100000032.done
-rw------- 1 gpadmin gpadmin 0 Jun 10 14:06 0000000D0000000100000033.done
-
On the affected cluster, run the Backup action in ADBM.