

Basic authentication
When basic authentication is used, users log in to ADB Control under the accounts previously created for them in the system. On the creation step, every user is assigned a role, which defines a set of permissions in ADB Control.
To manage users, you can use the Management tab on the Users page in the ADB Control web interface.
|
IMPORTANT
The operations listed below are available only to users with the |
View a list of users
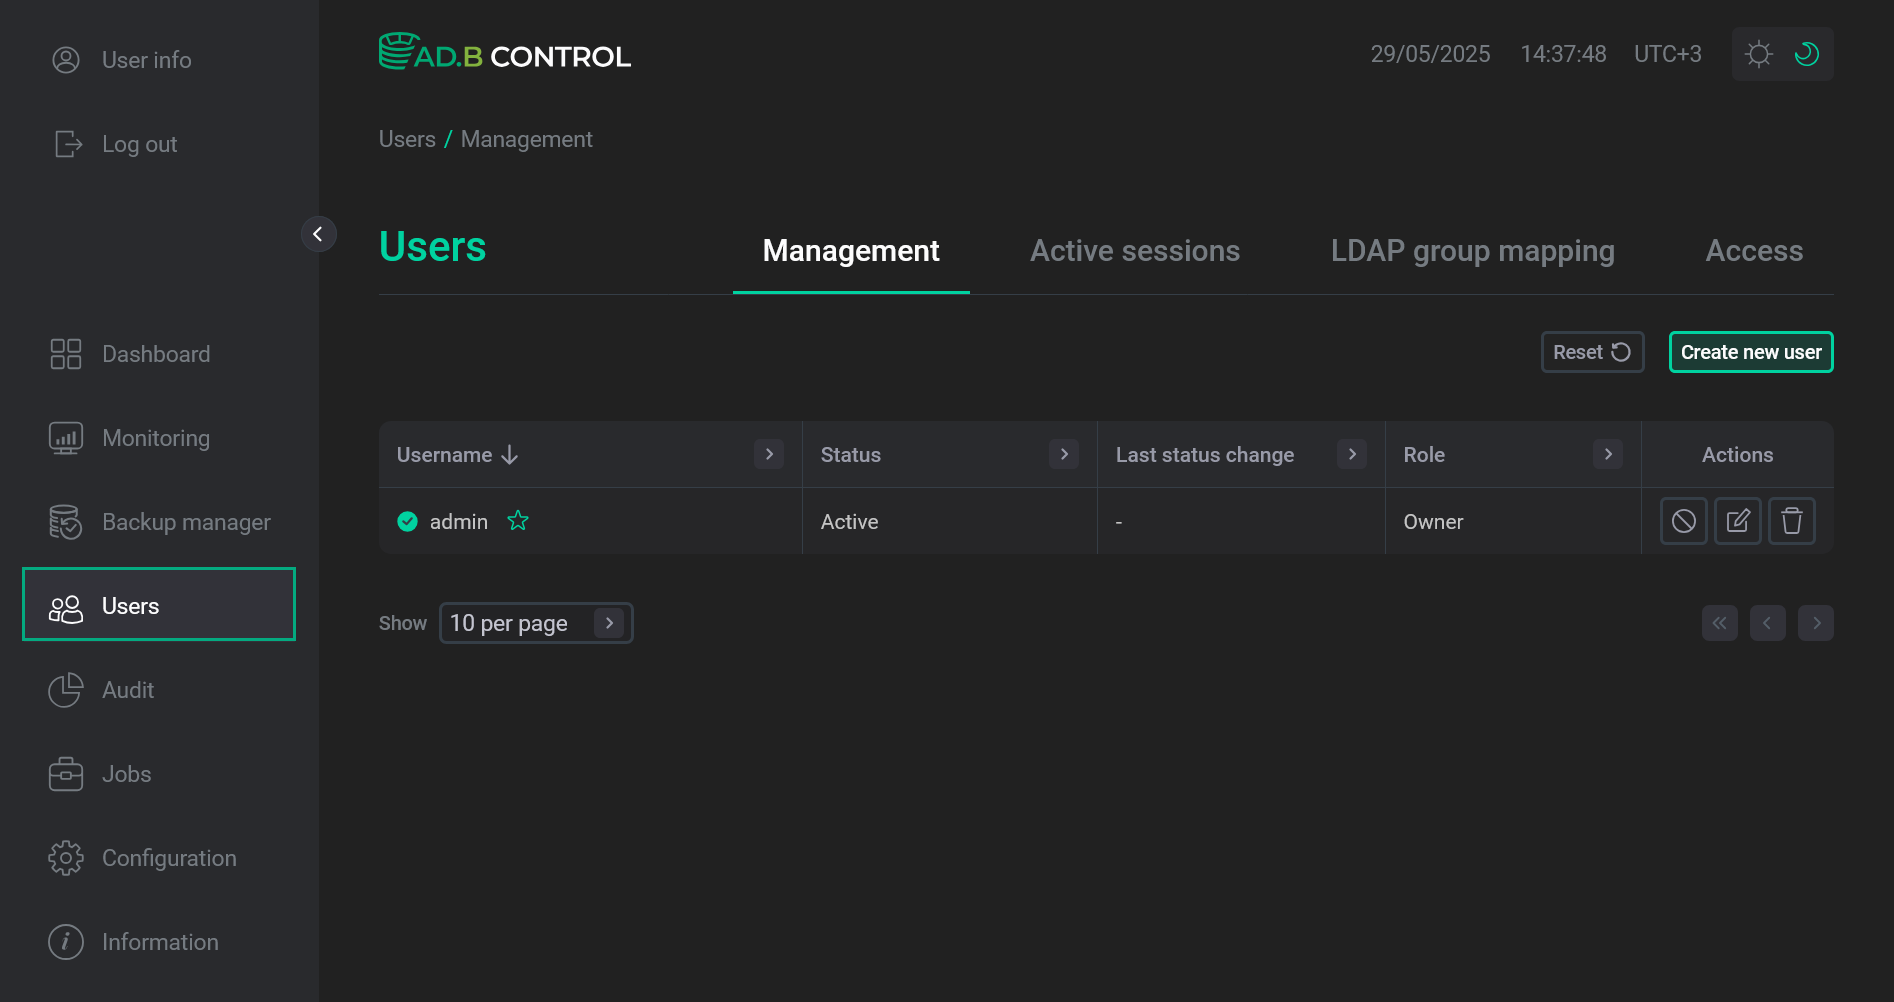
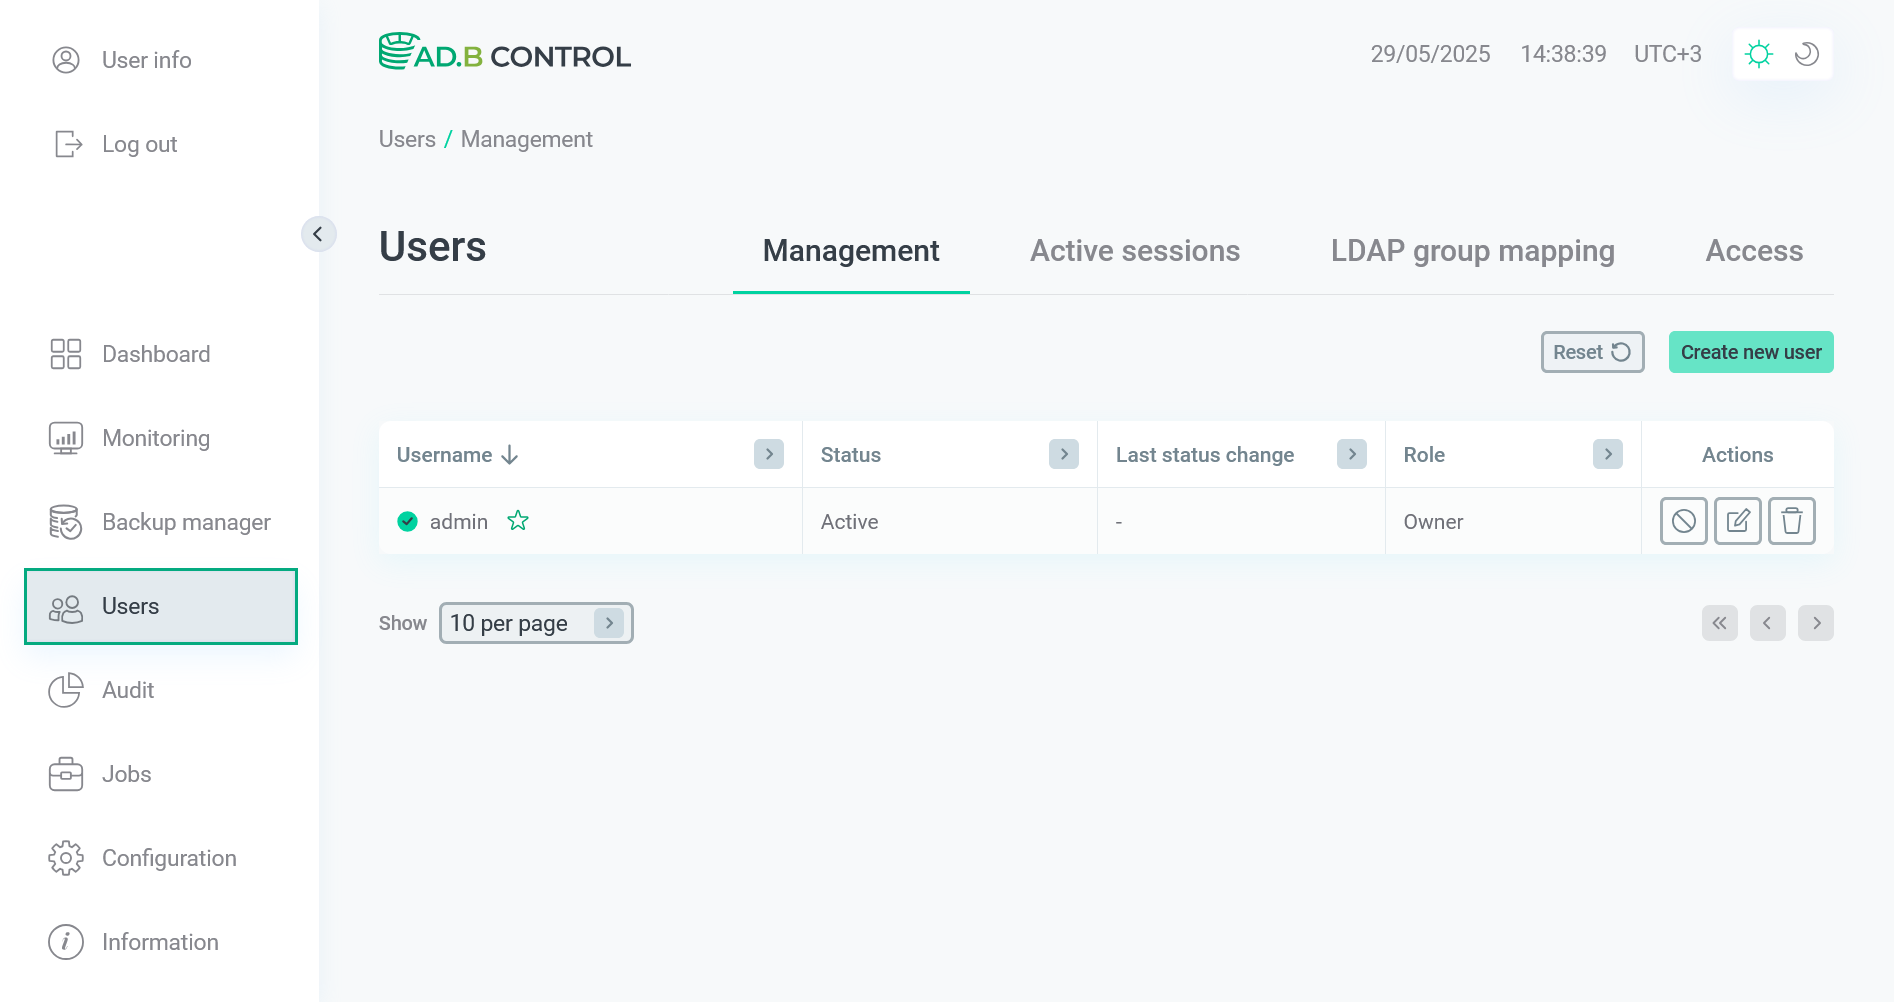
The Users → Management tab displays the following information on users.
| Field | Description |
|---|---|
Username |
A user name. Depending on the user role and status (see below), the column can contain the following icons:
|
Status |
A user status. Possible values:
|
Last status change |
The last status change timestamp (see Status above) in the |
Role |
A user role. Possible values:
|


You can use column headers to filter and sort data in the table.
Add a user
To add a new user, follow the steps:
-
Click Create new user on the Users → Management tab.
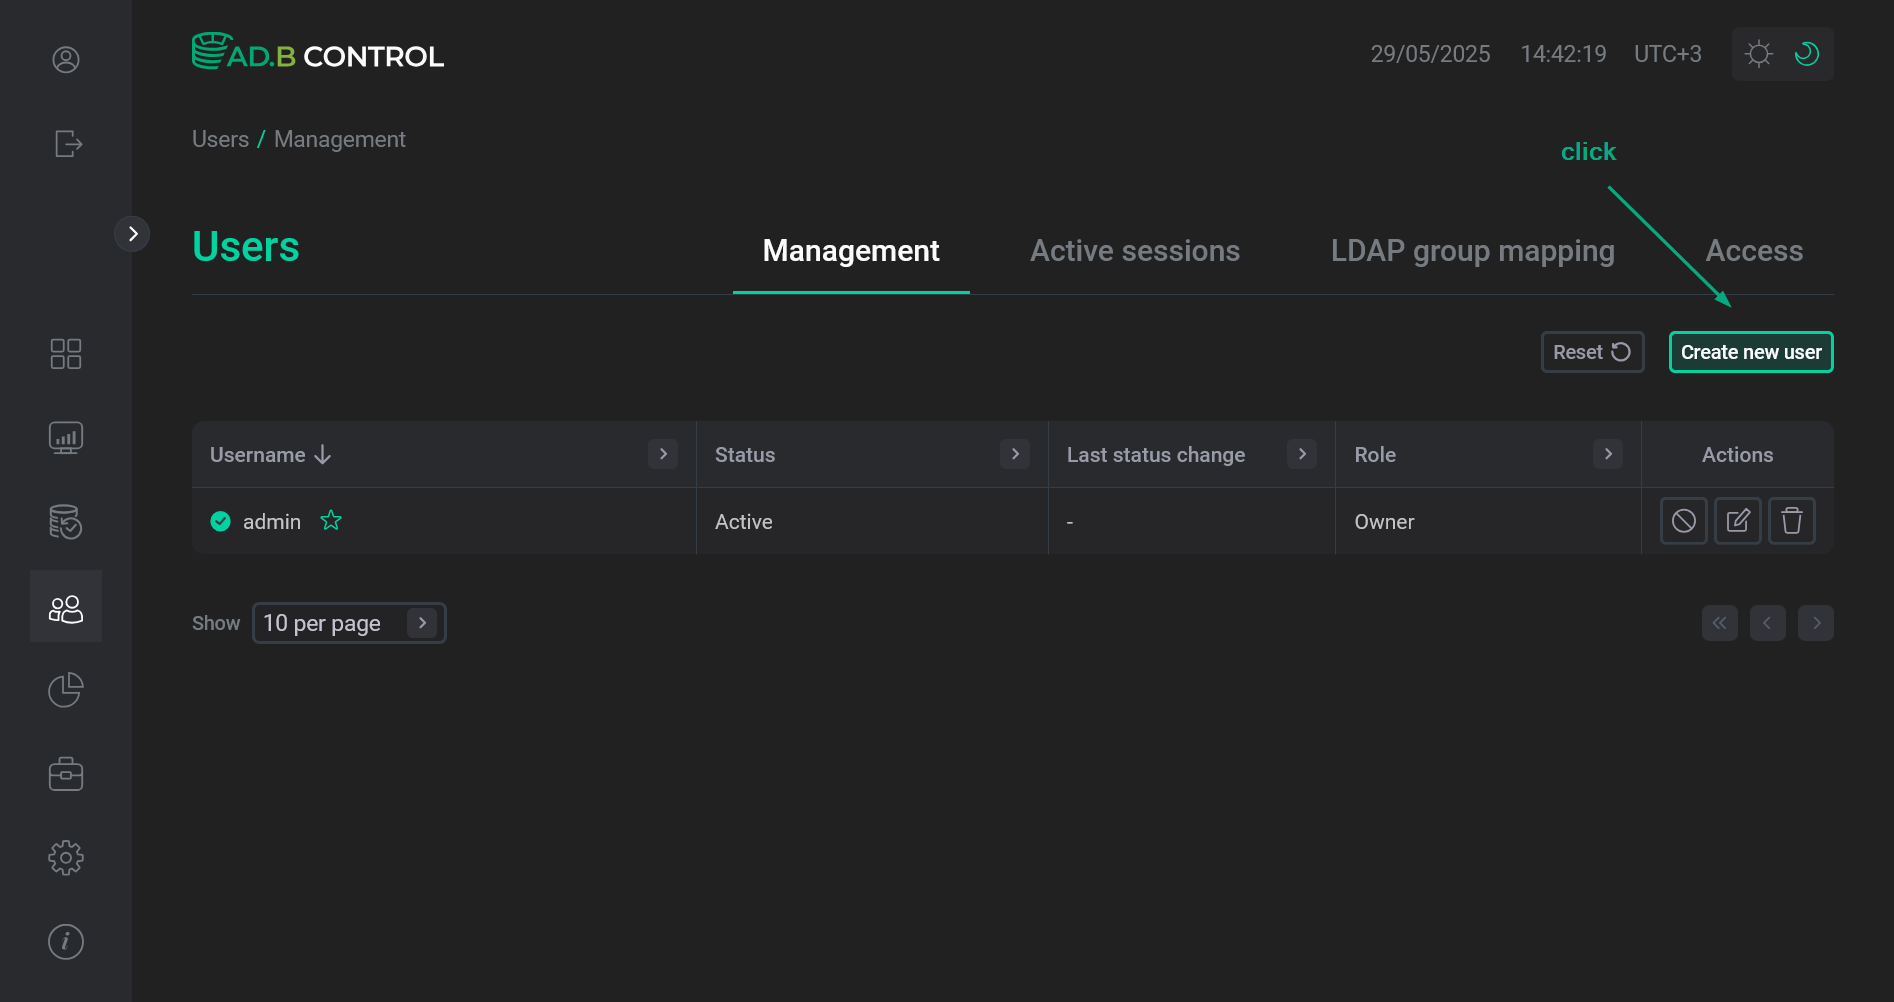 Switch to adding a user
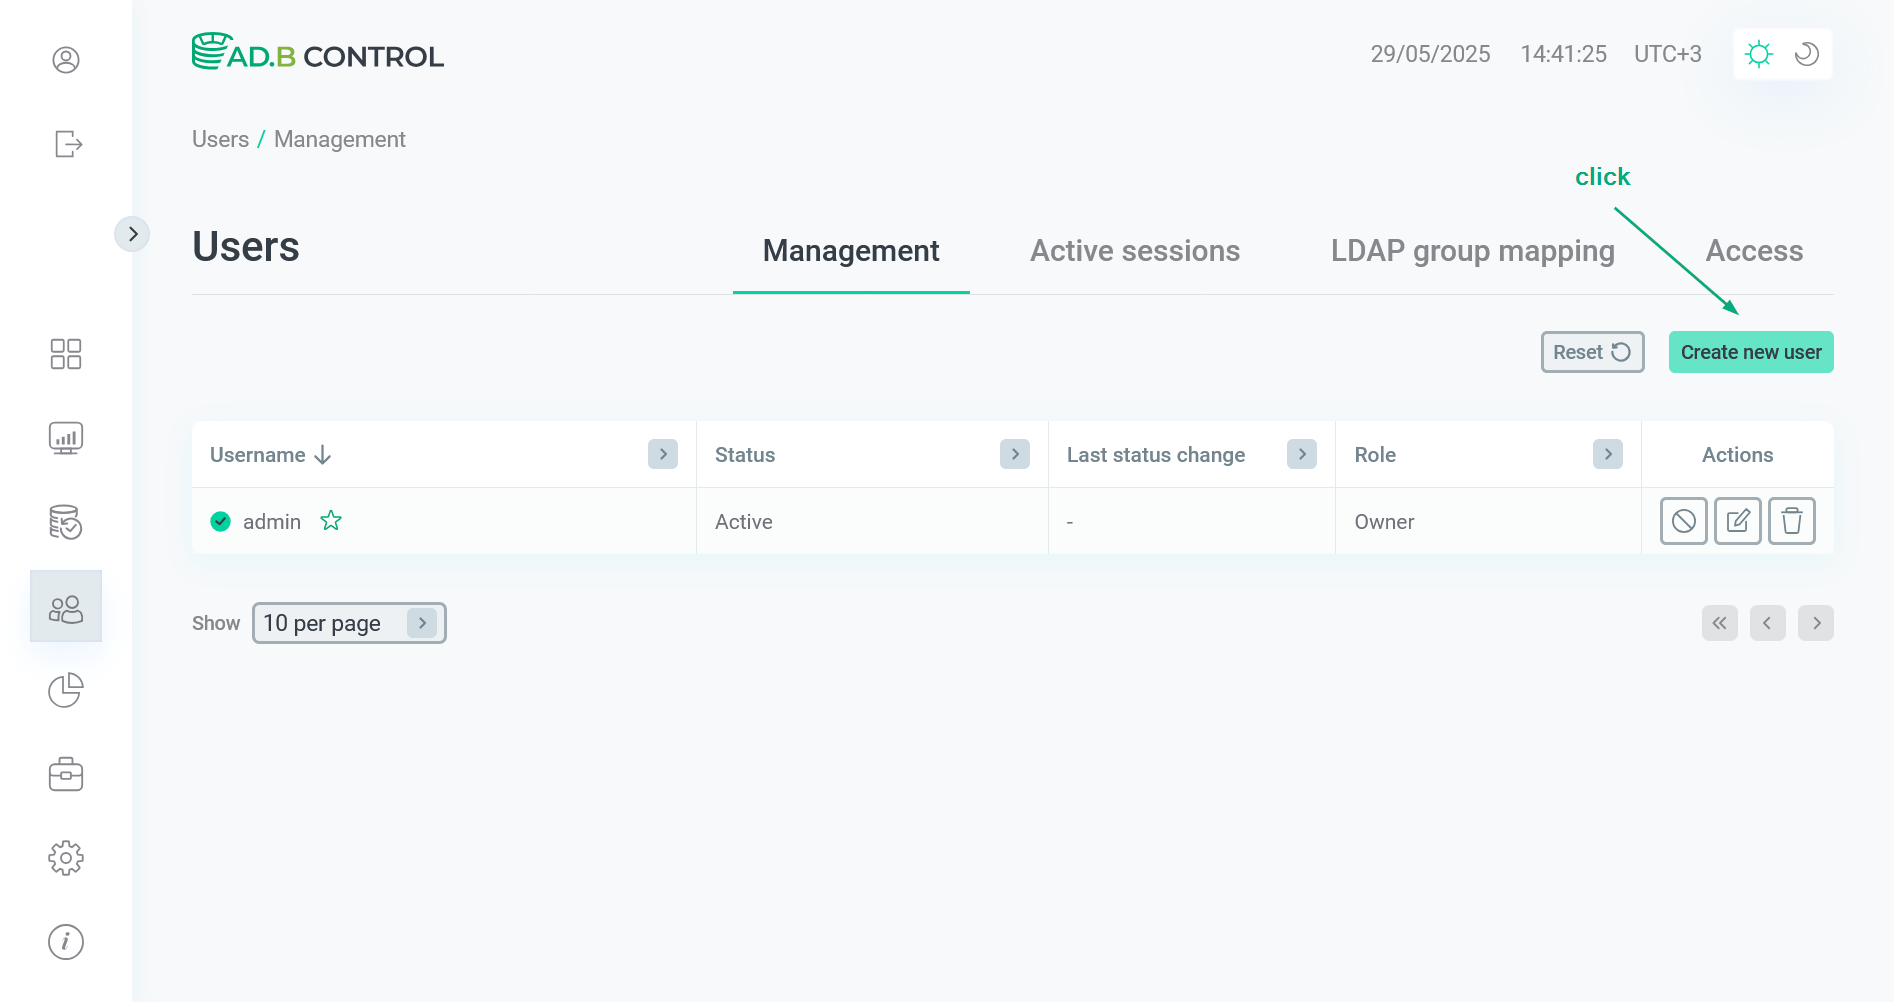 Switch to adding a user
 -
In the window that opens, fill in the following fields:
-
User — user name;
-
Role — user role;
-
Password — user password.
TIPFor information on login and password requirements, you can hover the mouse over the

 icon, which appears to the right of the User and Password fields during their filling.
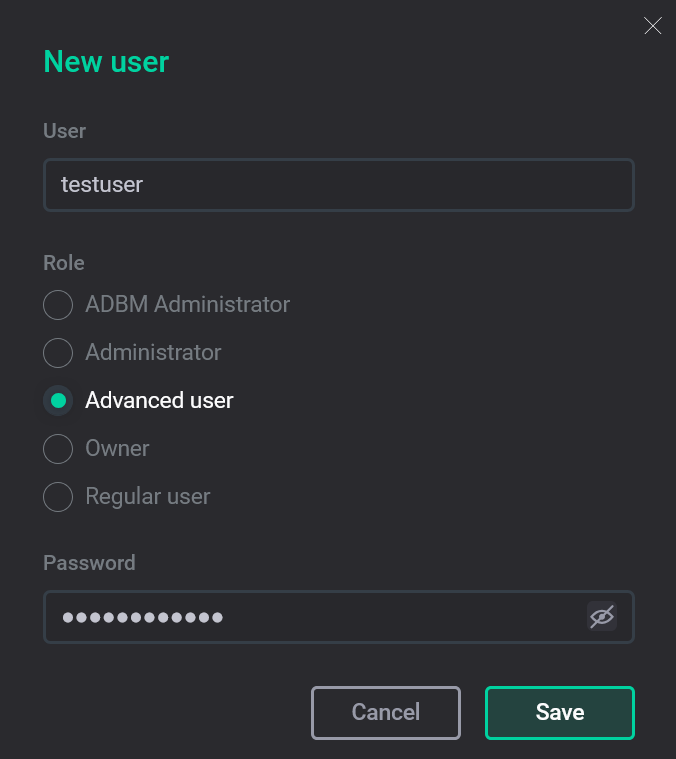 Enter user data
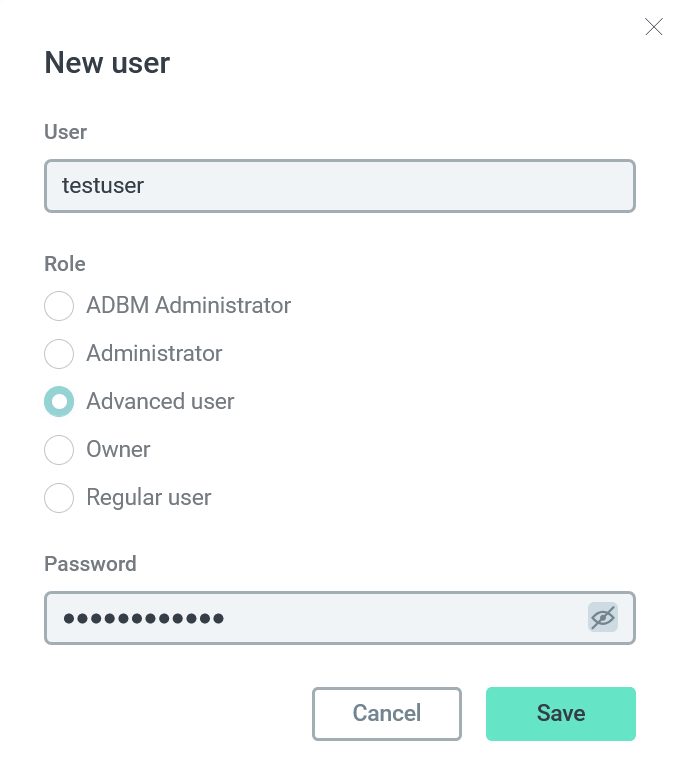 Enter user data
-
-
Click Save. As a result, a new user is displayed on the Users → Management tab.
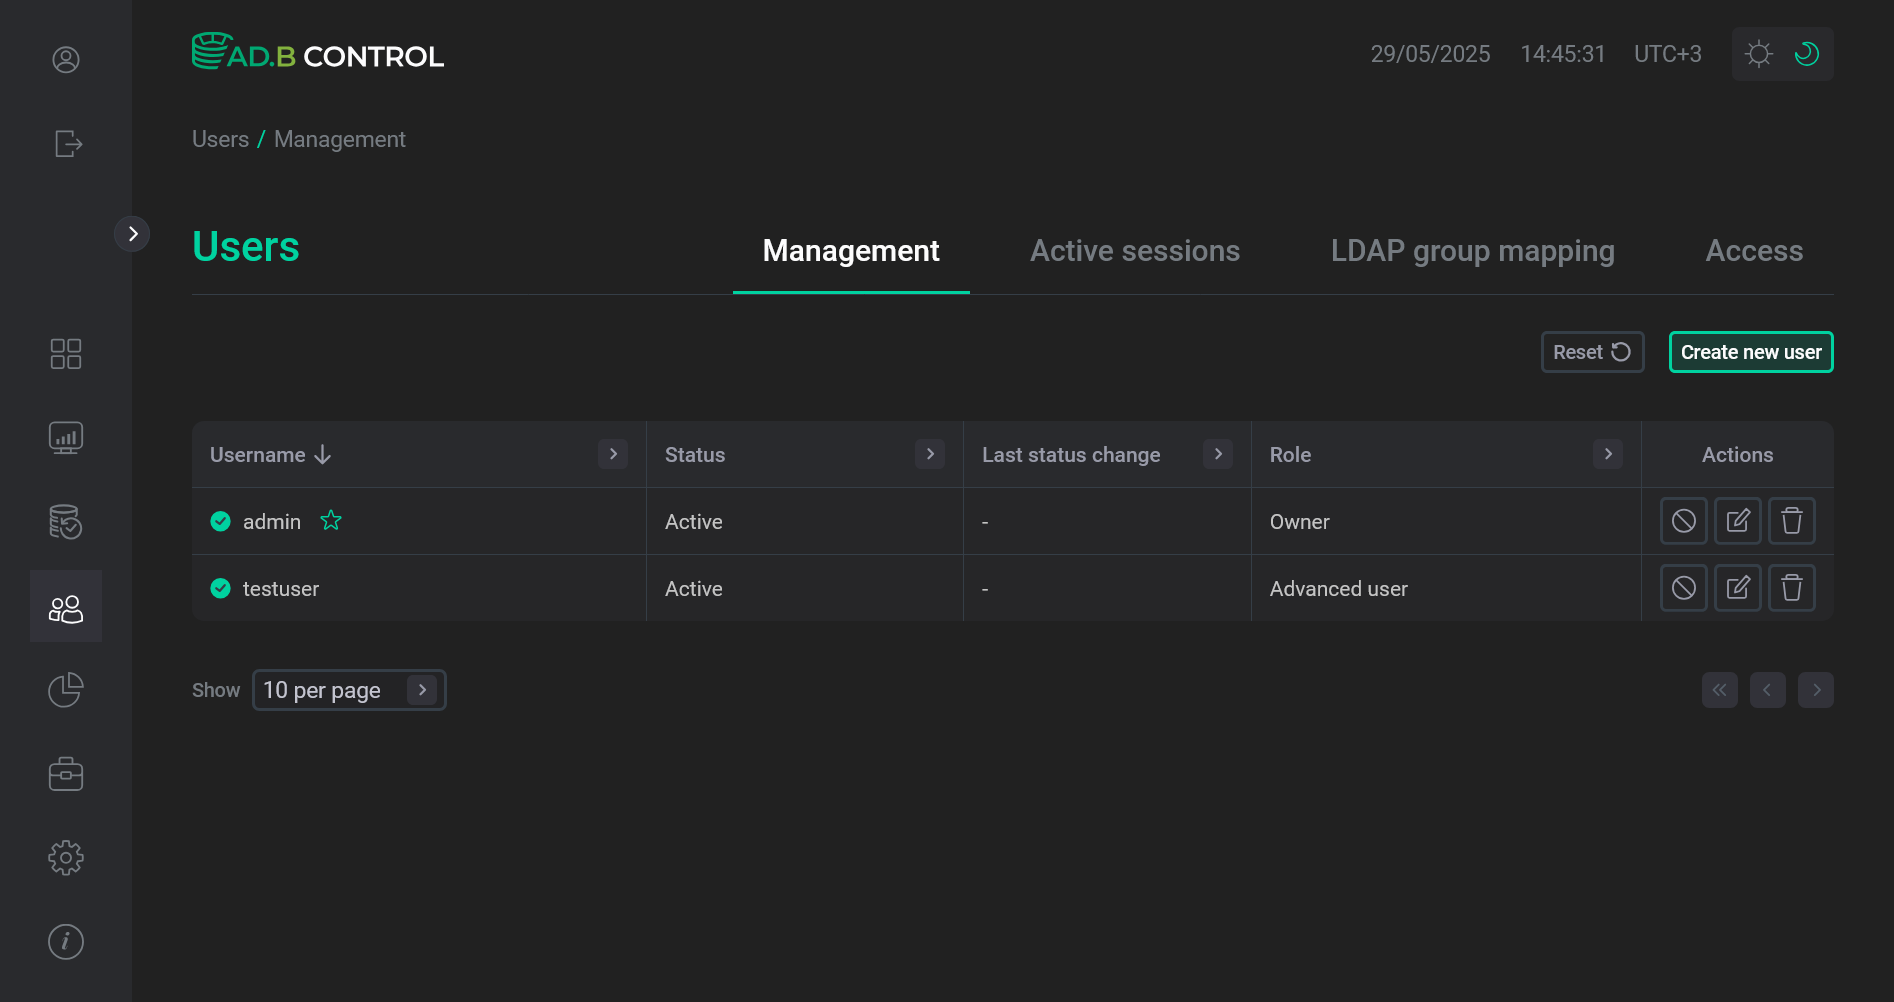 User is added
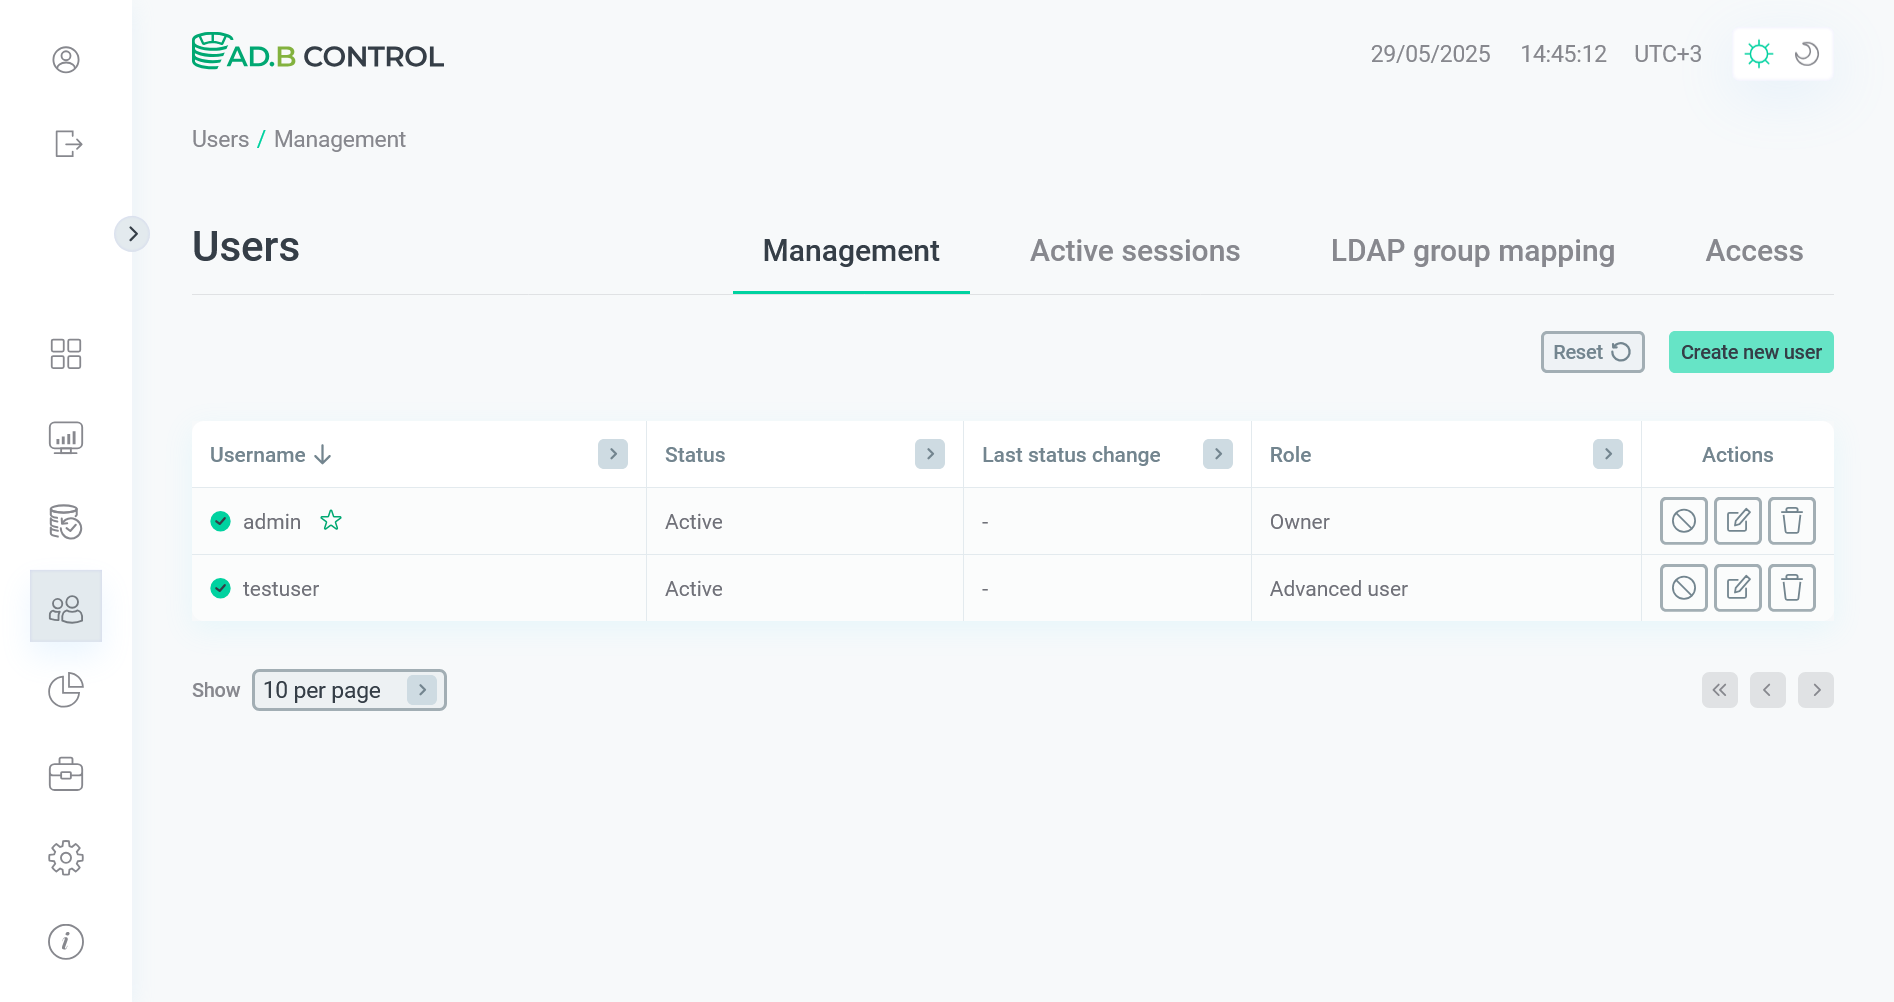 User is added
Edit a user
To edit user data, follow the steps:
-
Click the

 icon in the Actions column on the Users → Management tab.
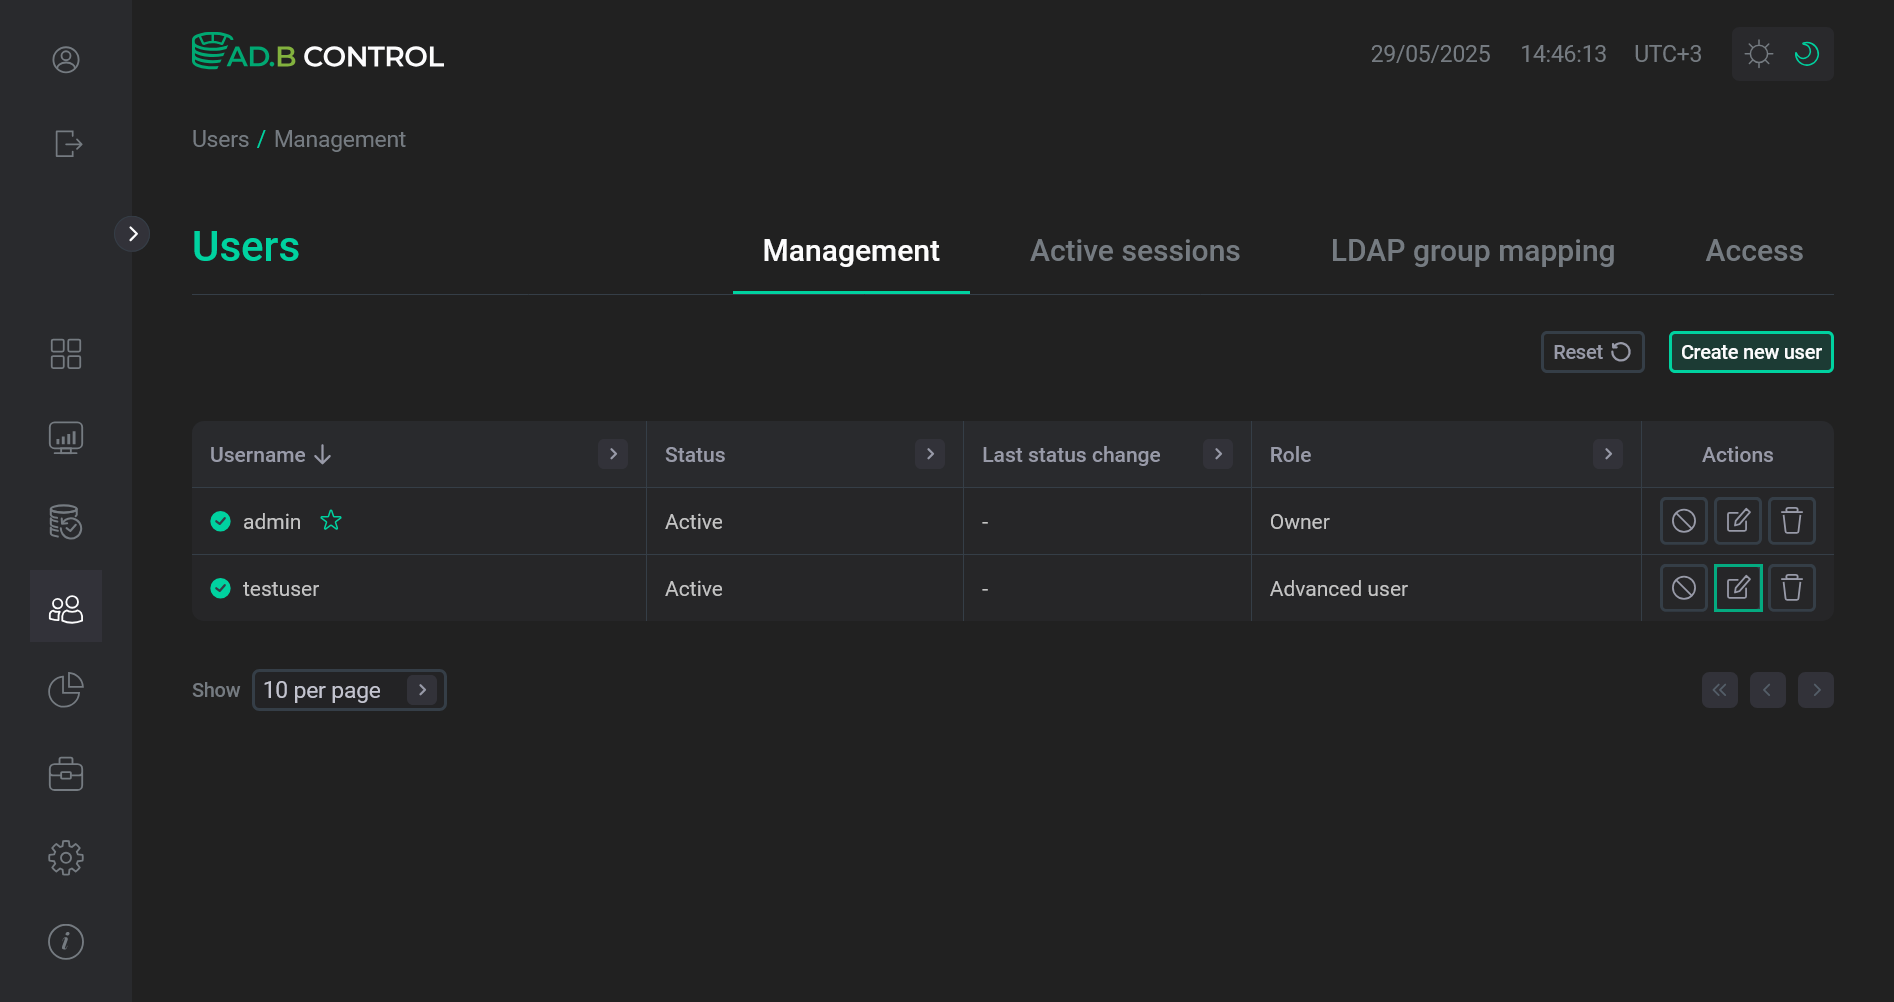 Switch to editing a user
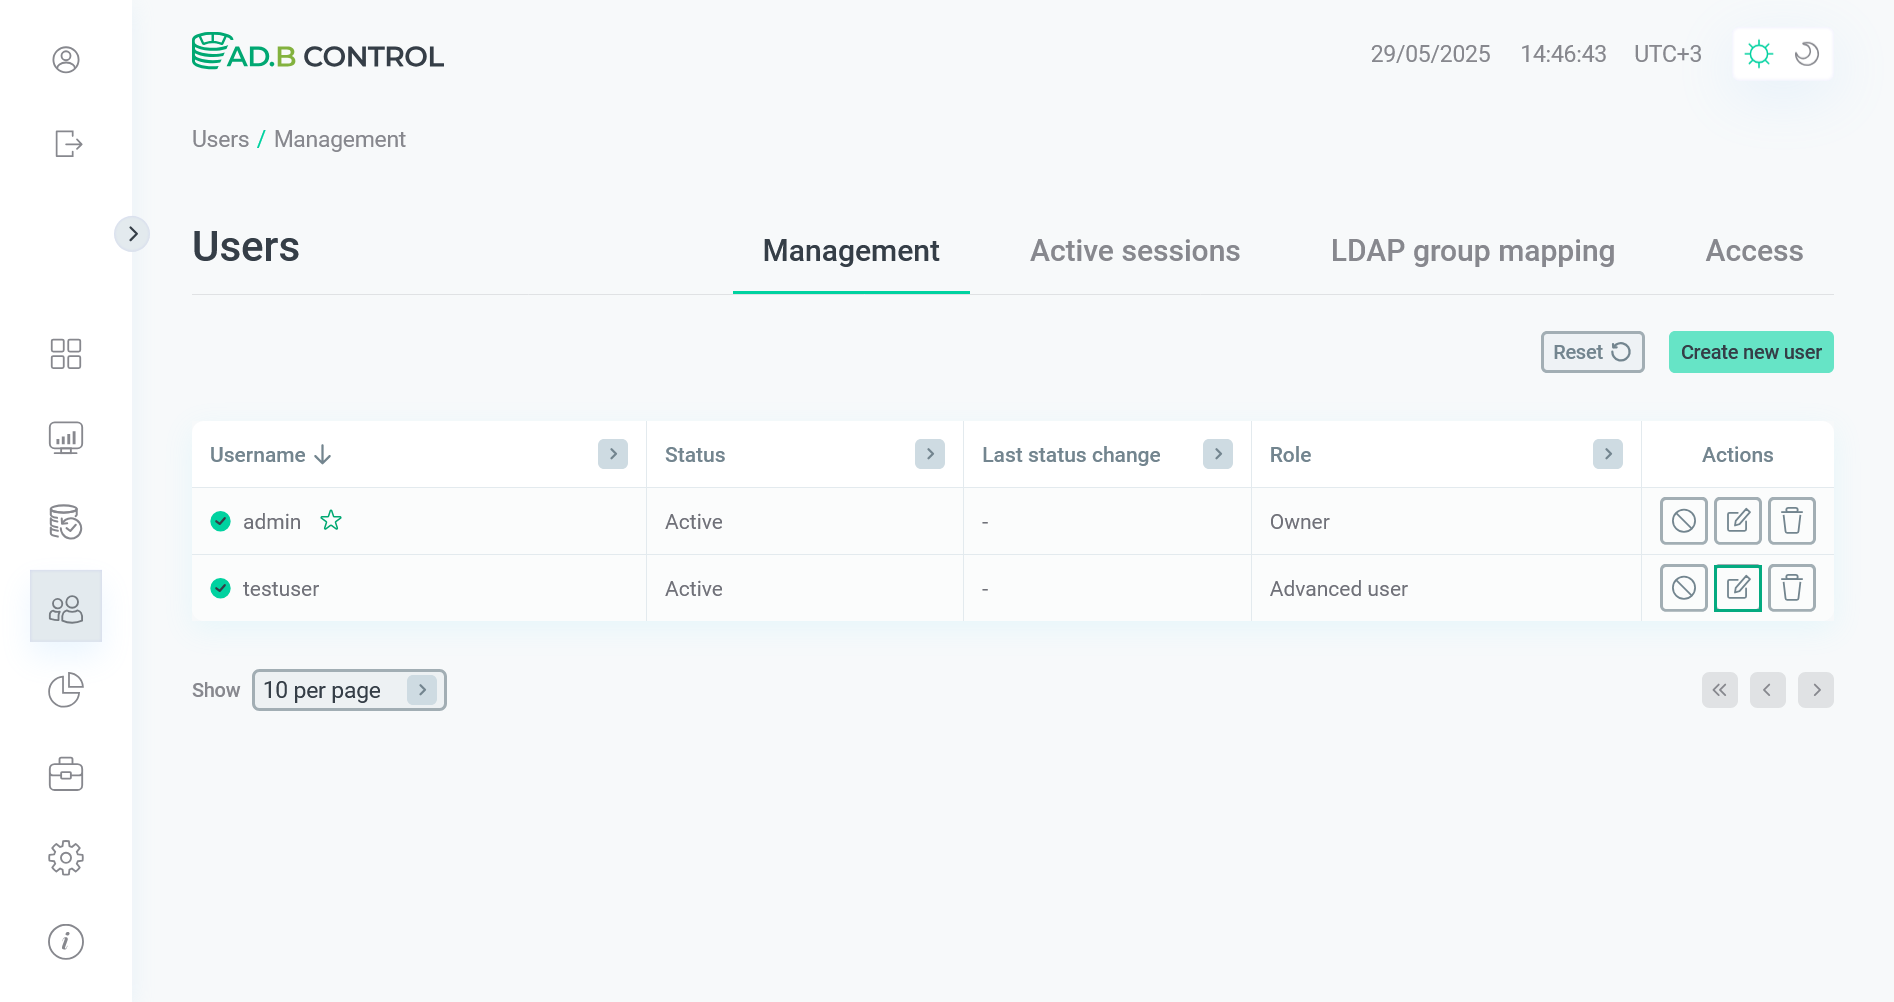 Switch to editing a user
 -
In the window that opens, edit necessary fields. You can change a user role in the Role drop-down list and specify a new password in the Enter new password field (which is displayed after you open the Change password section). The User field value cannot be changed.
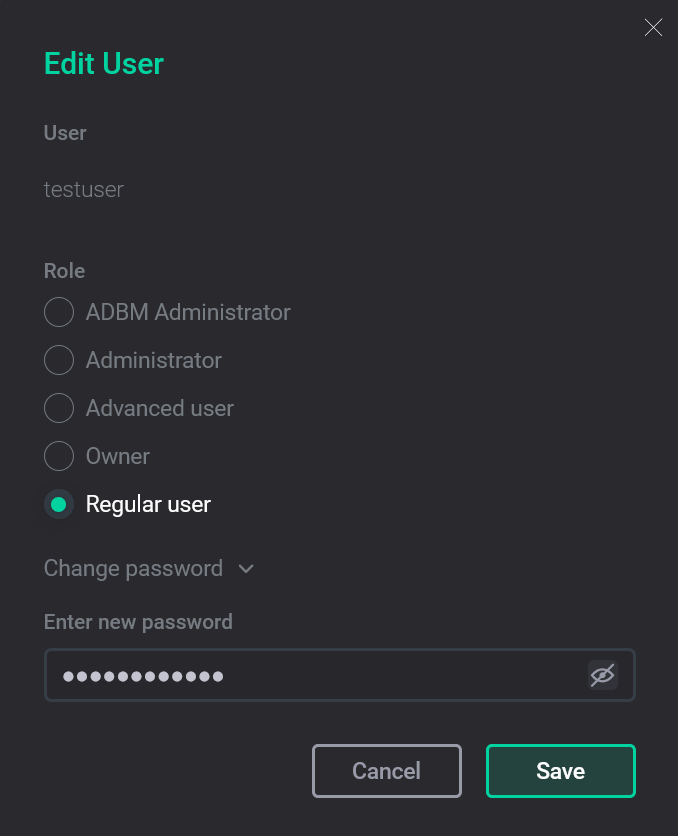 Edit user data
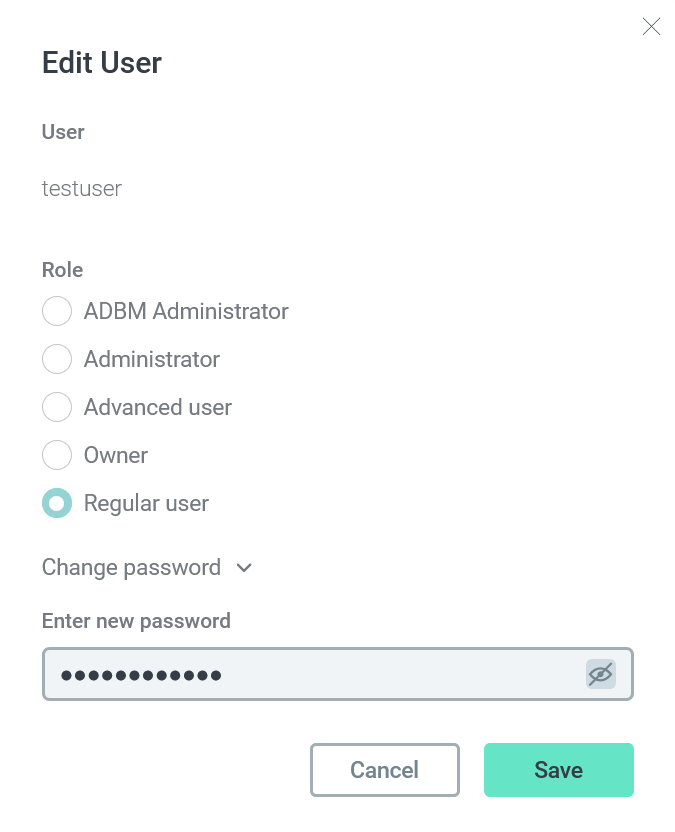 Edit user data
 -
Click Save. As a result, the user data is updated on the Users → Management tab.
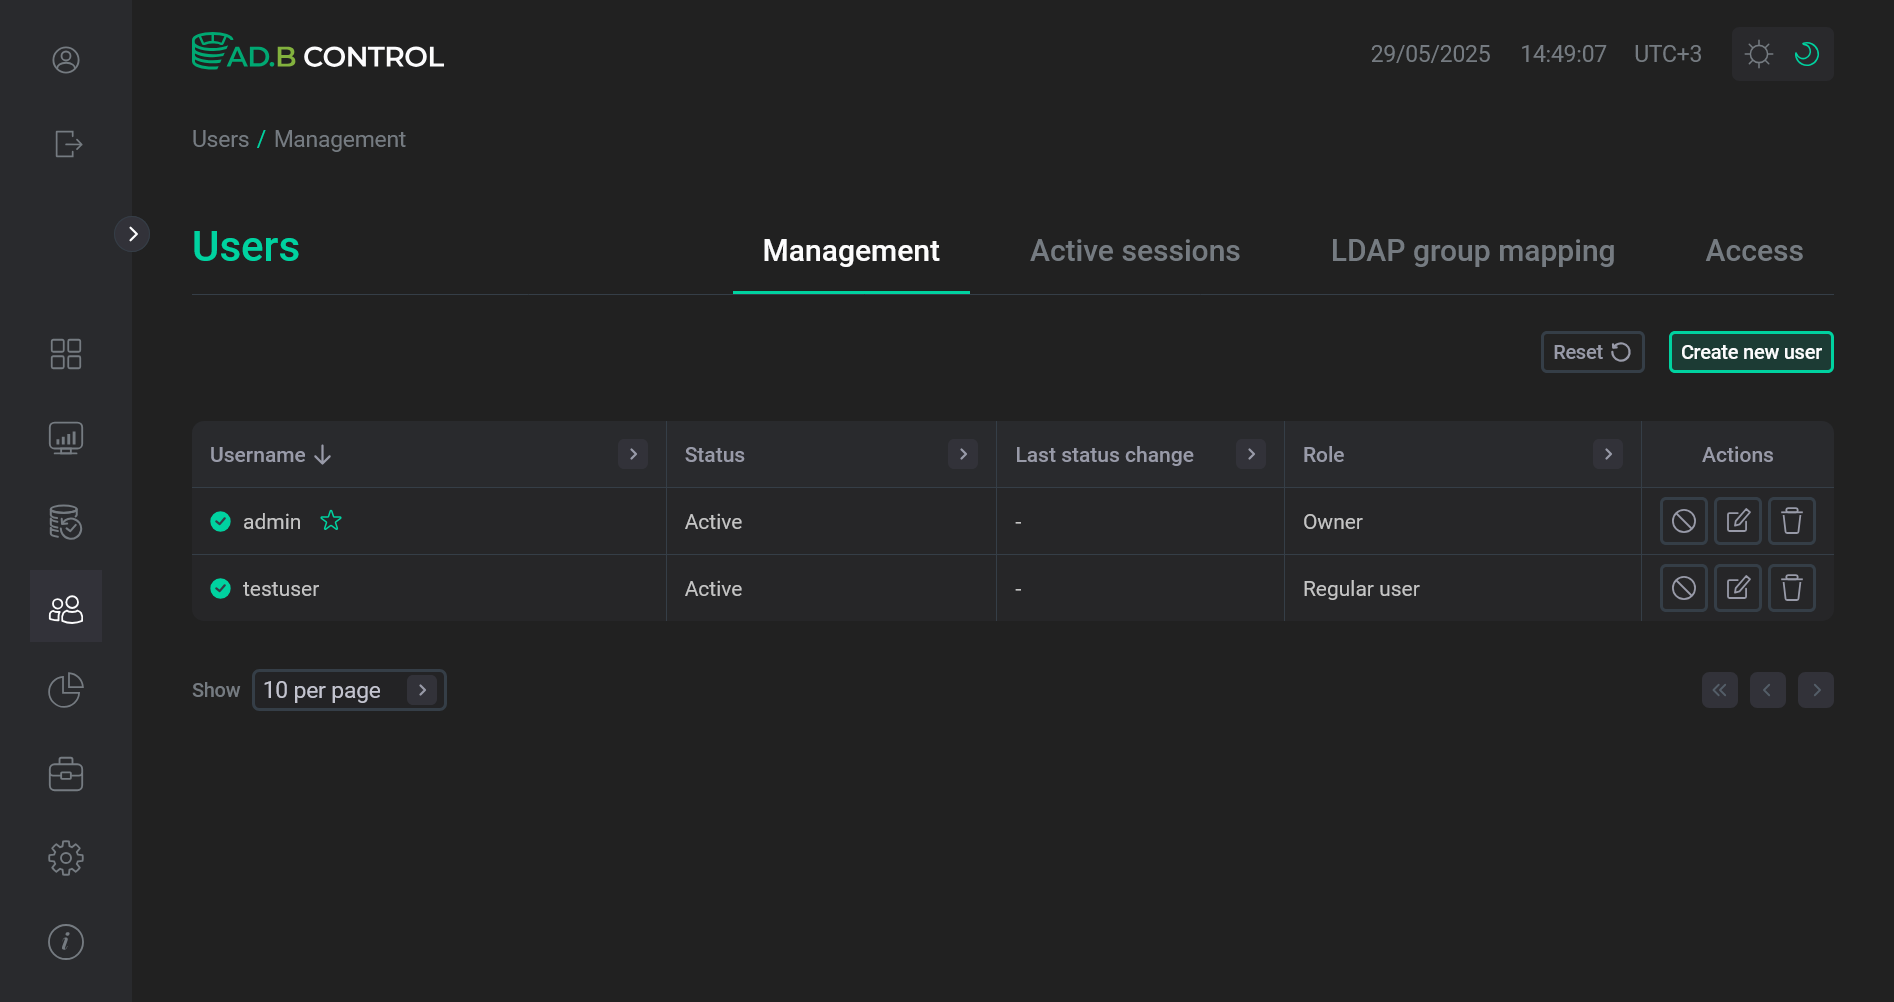 User data is updated
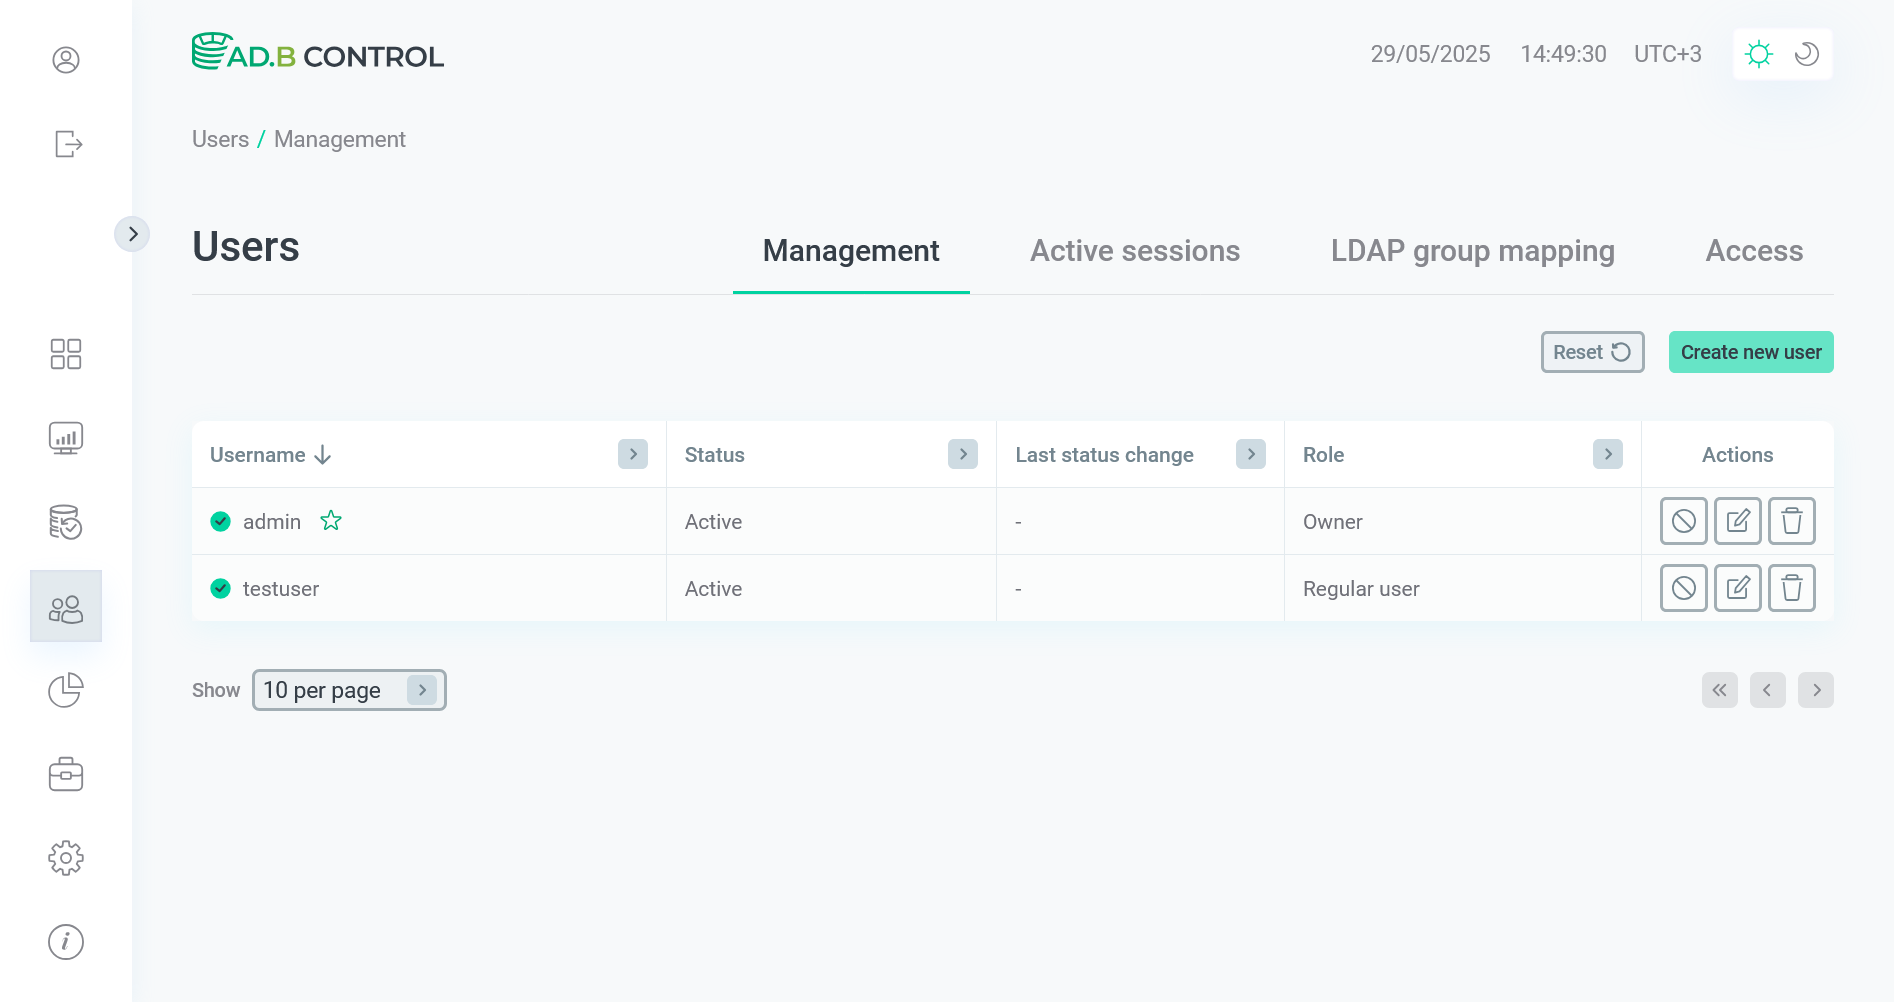 User data is updated
Block a user
To block a user, follow the steps:
-
Click the

 icon in the Actions column on the Users → Management tab.
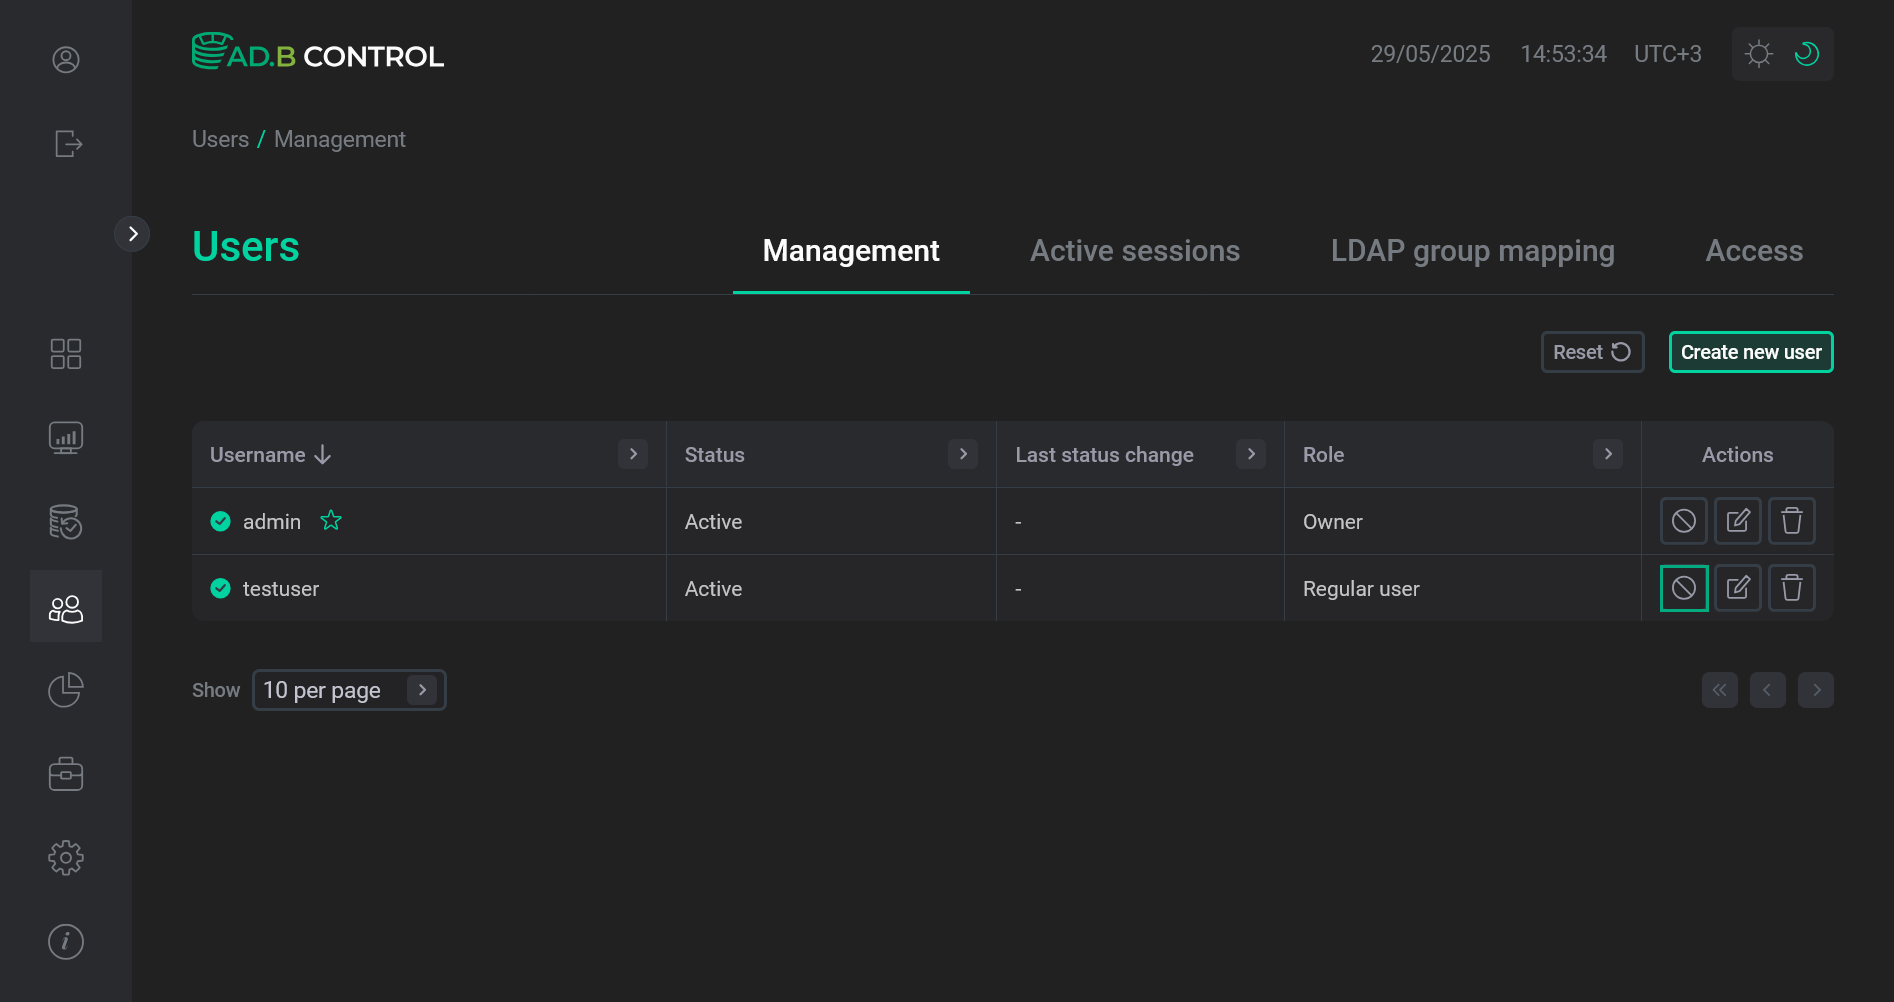 Switch to blocking a user
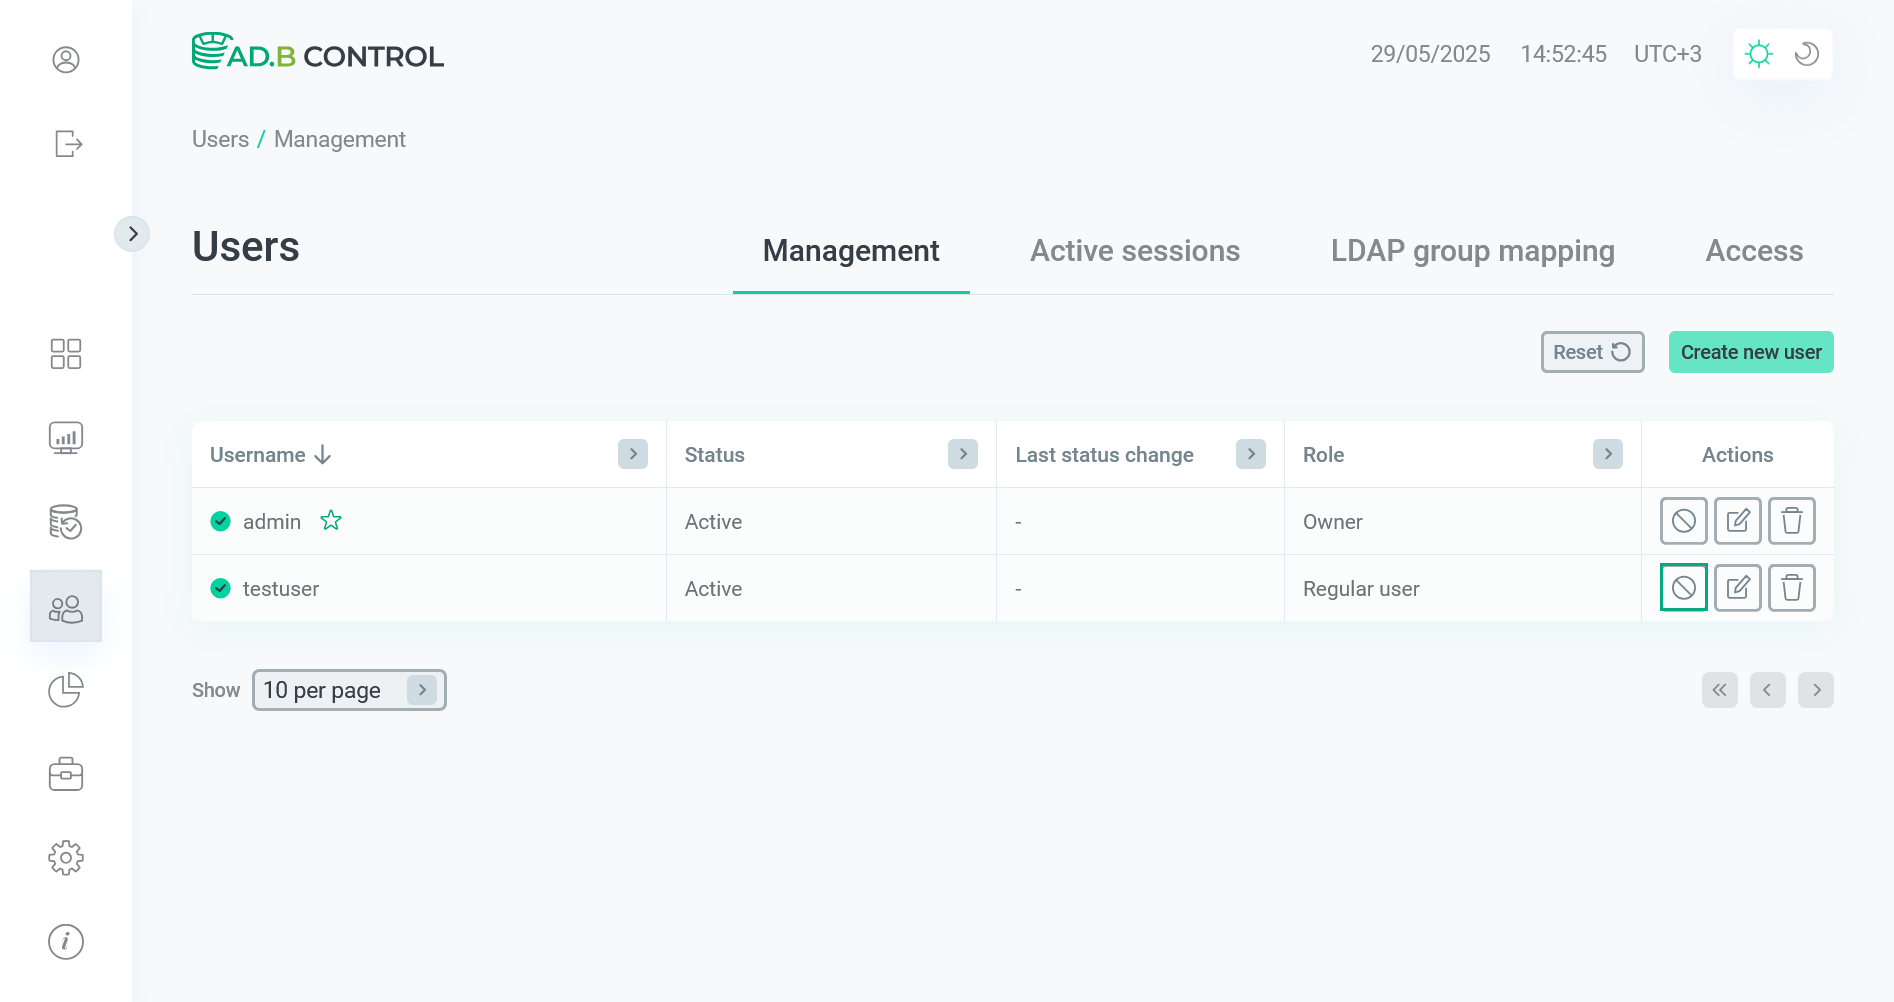 Switch to blocking a user
 -
In the window that opens, confirm the operation by clicking Block.
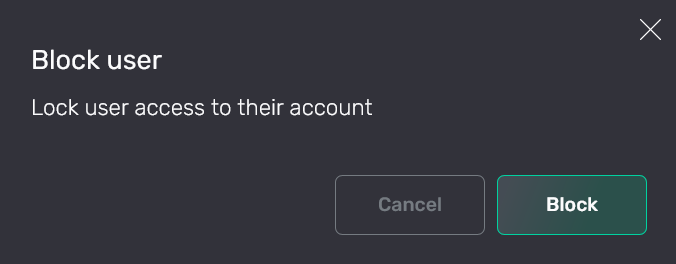 Confirm the operation
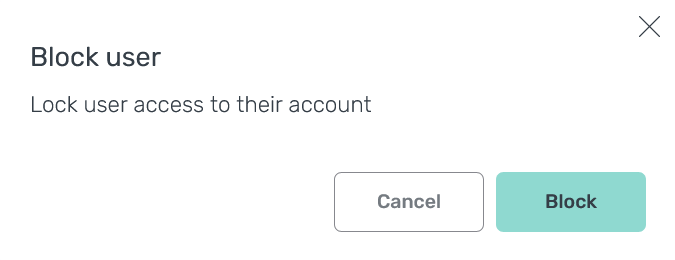 Confirm the operation
As a result, the user status is changed from Active to Blocked. Note that the Last status change field is also updated on the Users → Management tab.
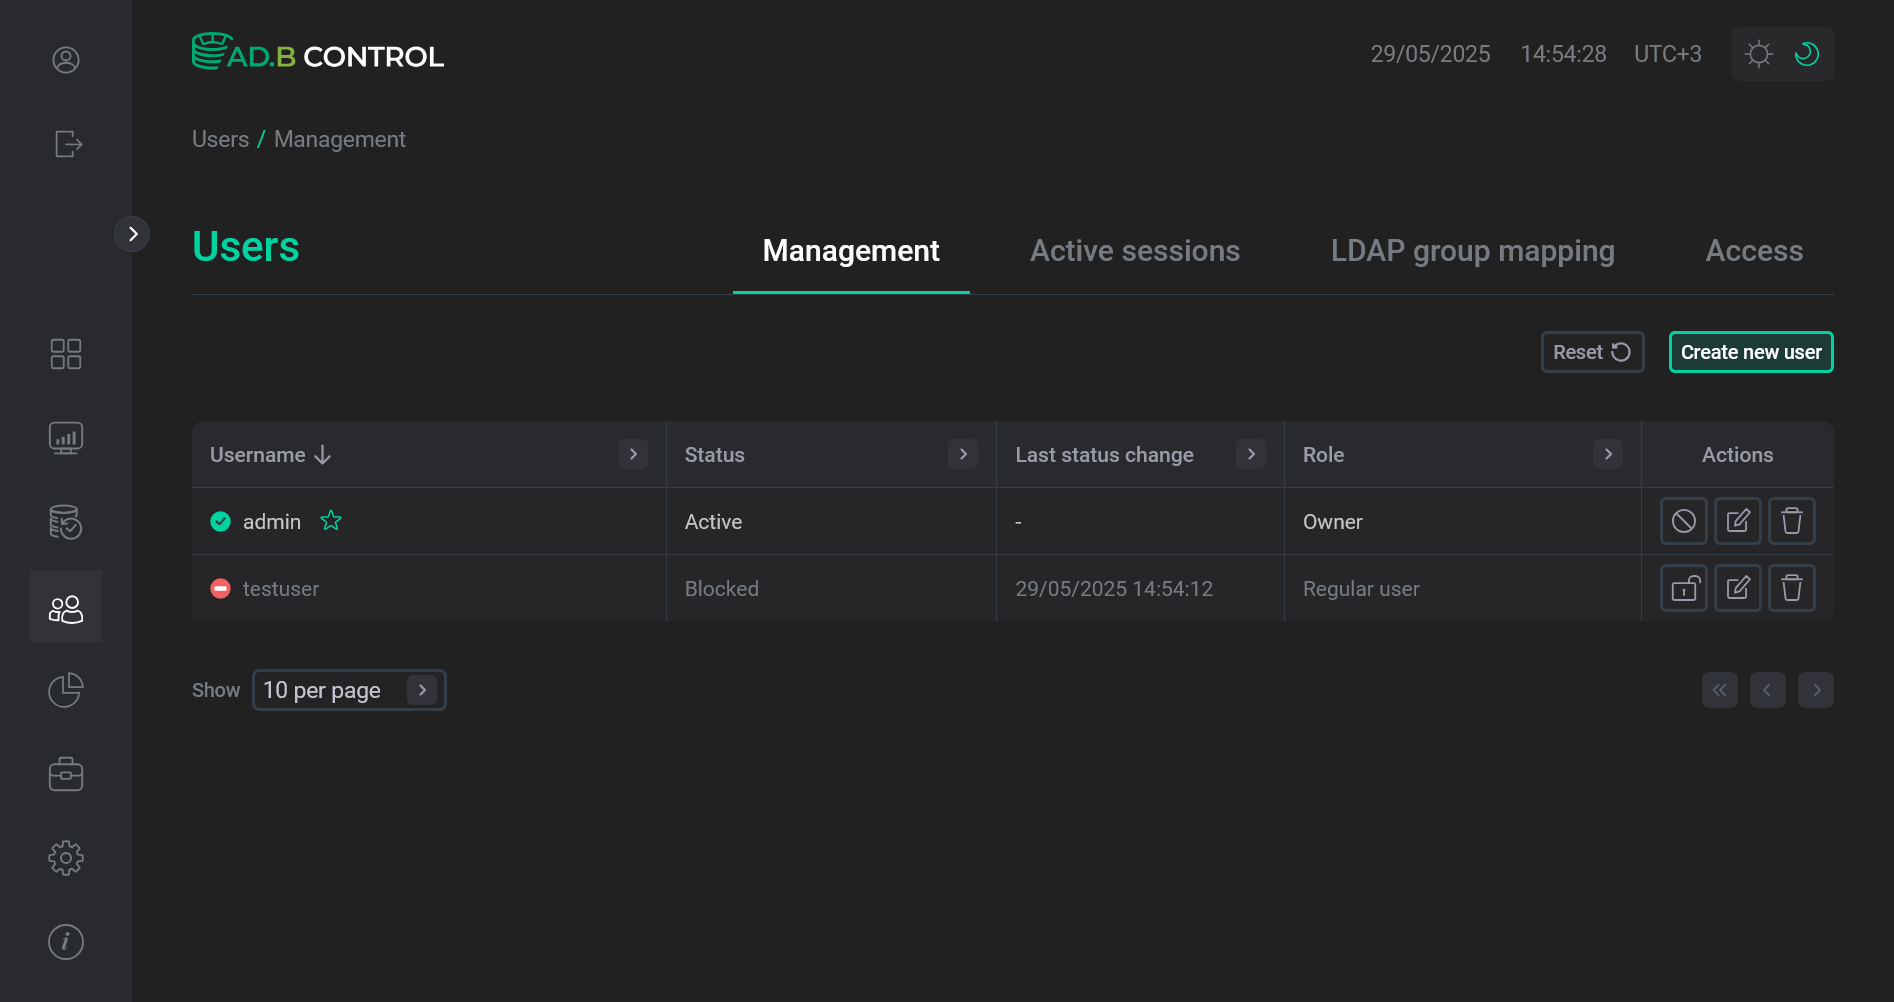 User is blocked
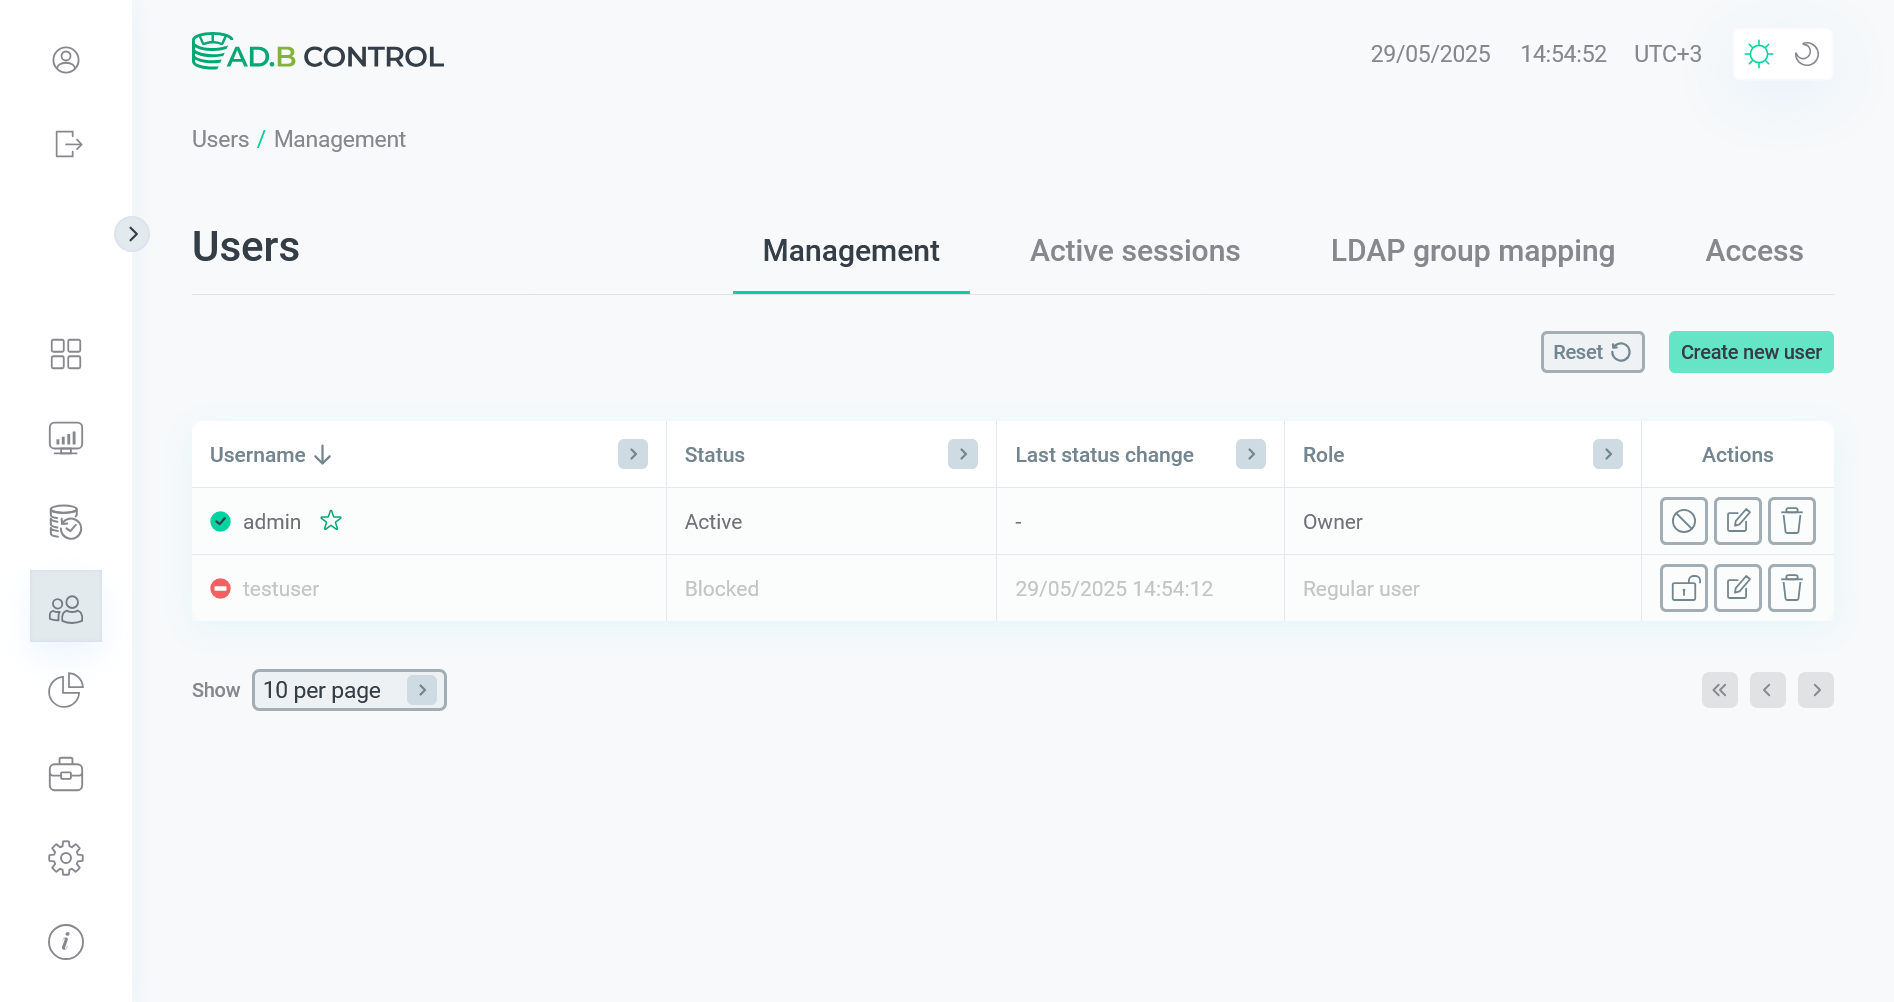 User is blocked
Unblock a user
To activate a previously blocked user, follow the steps:
-
Click the

 icon in the Actions column on the Users → Management tab.
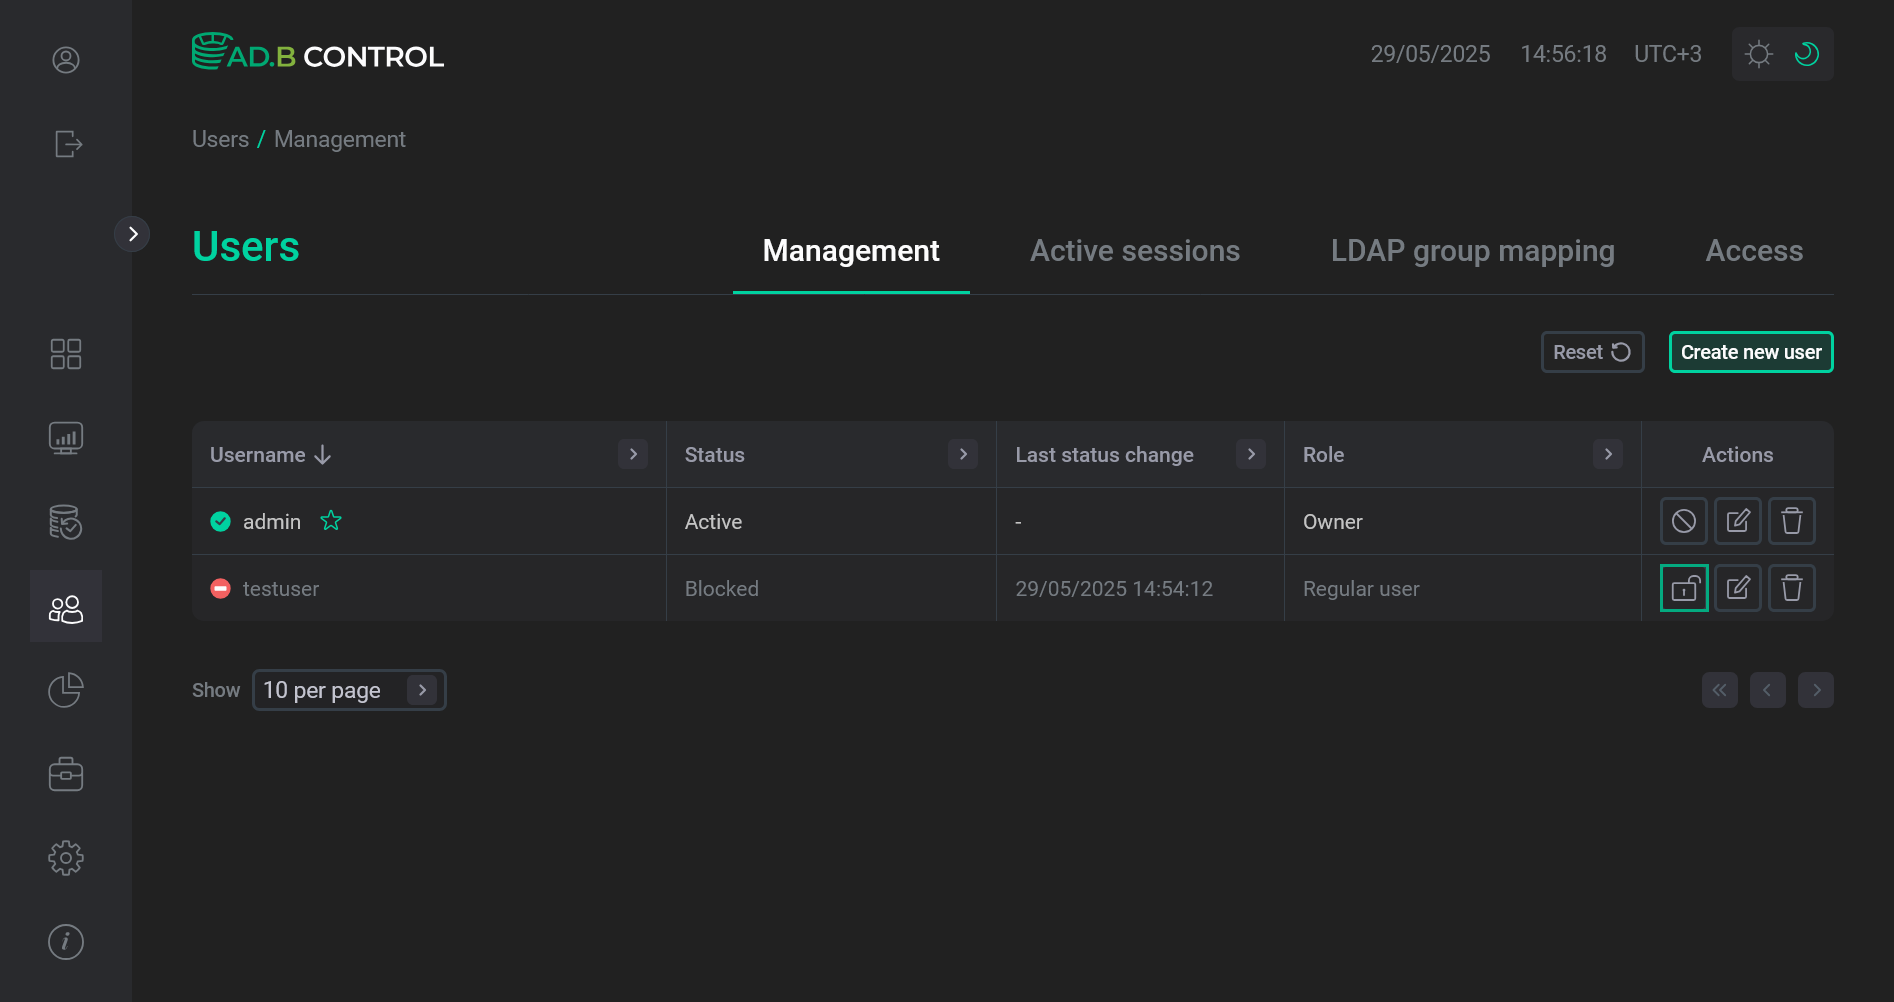 Switch to unblocking a user
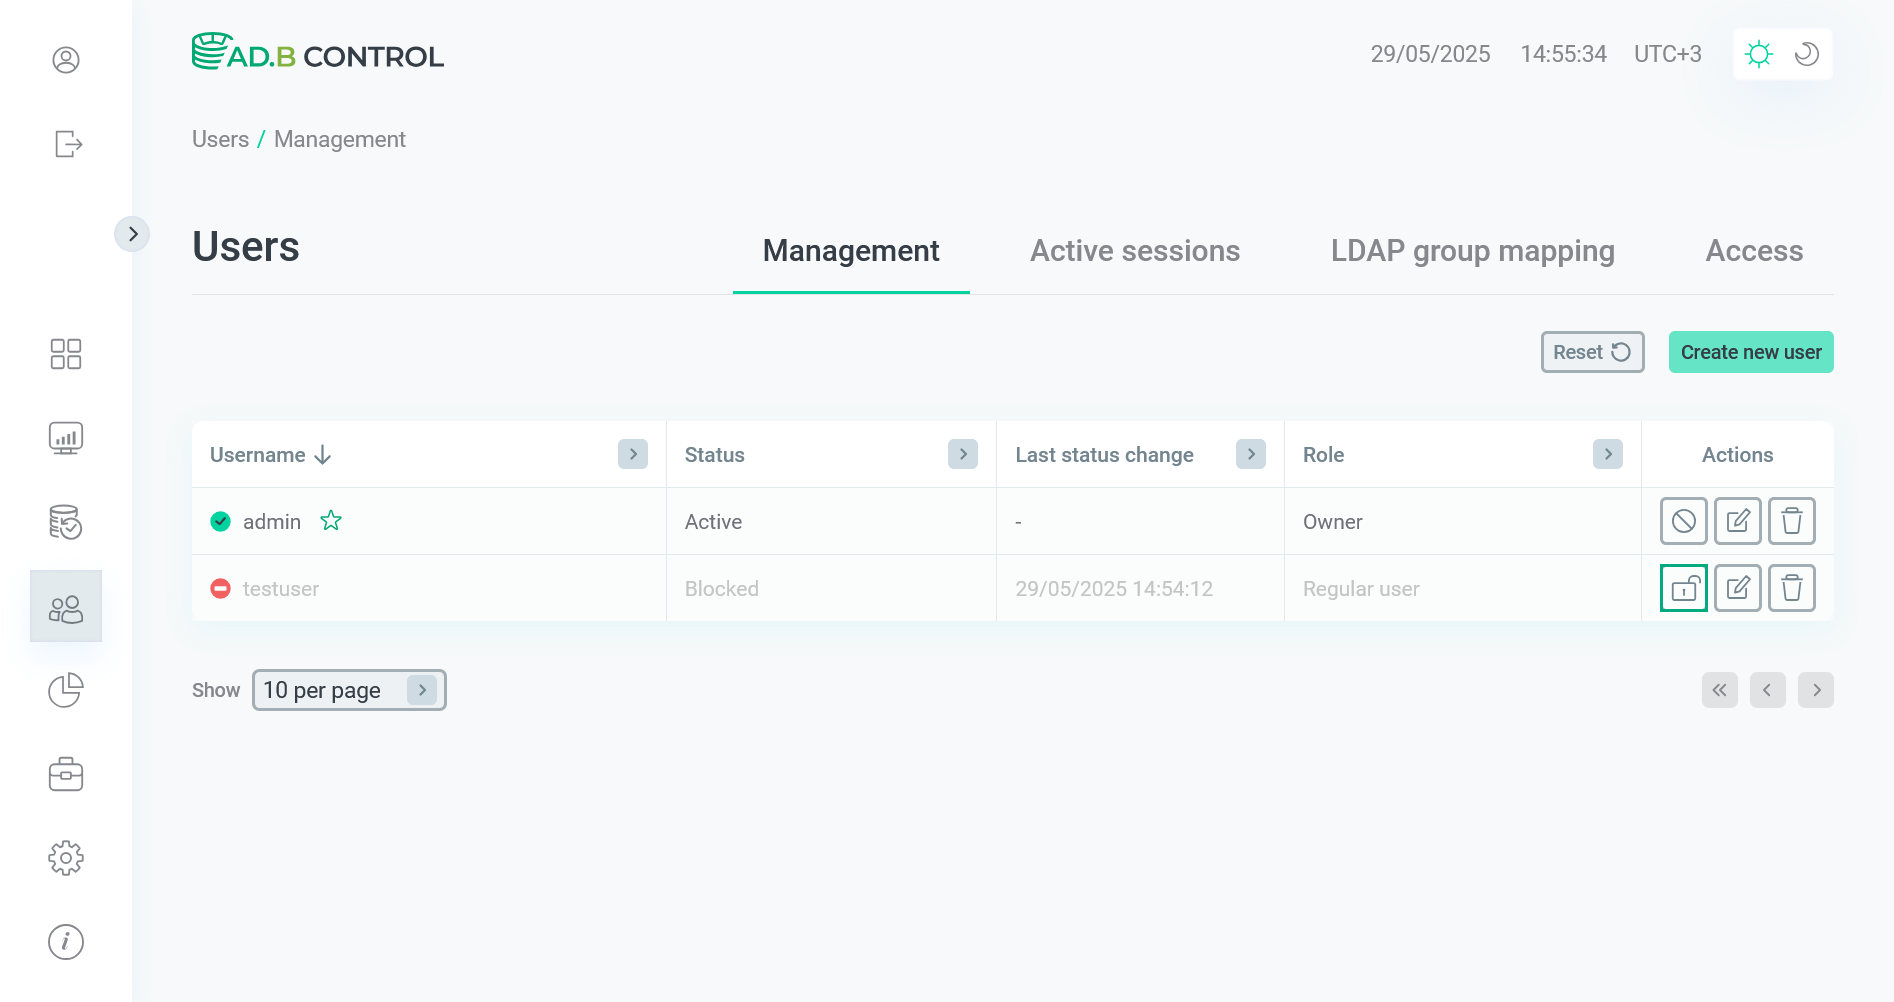 Switch to unblocking a user
 -
In the window that opens, confirm the operation by clicking Unblock.
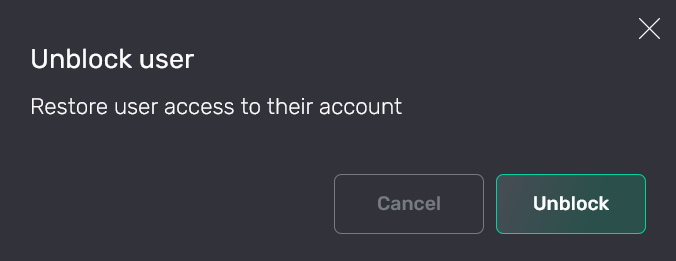 Confirm the operation
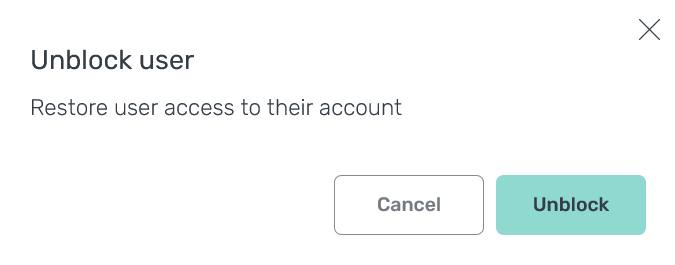 Confirm the operation
As a result, the user regains access to the system, and the user status is changed from Blocked to Active.
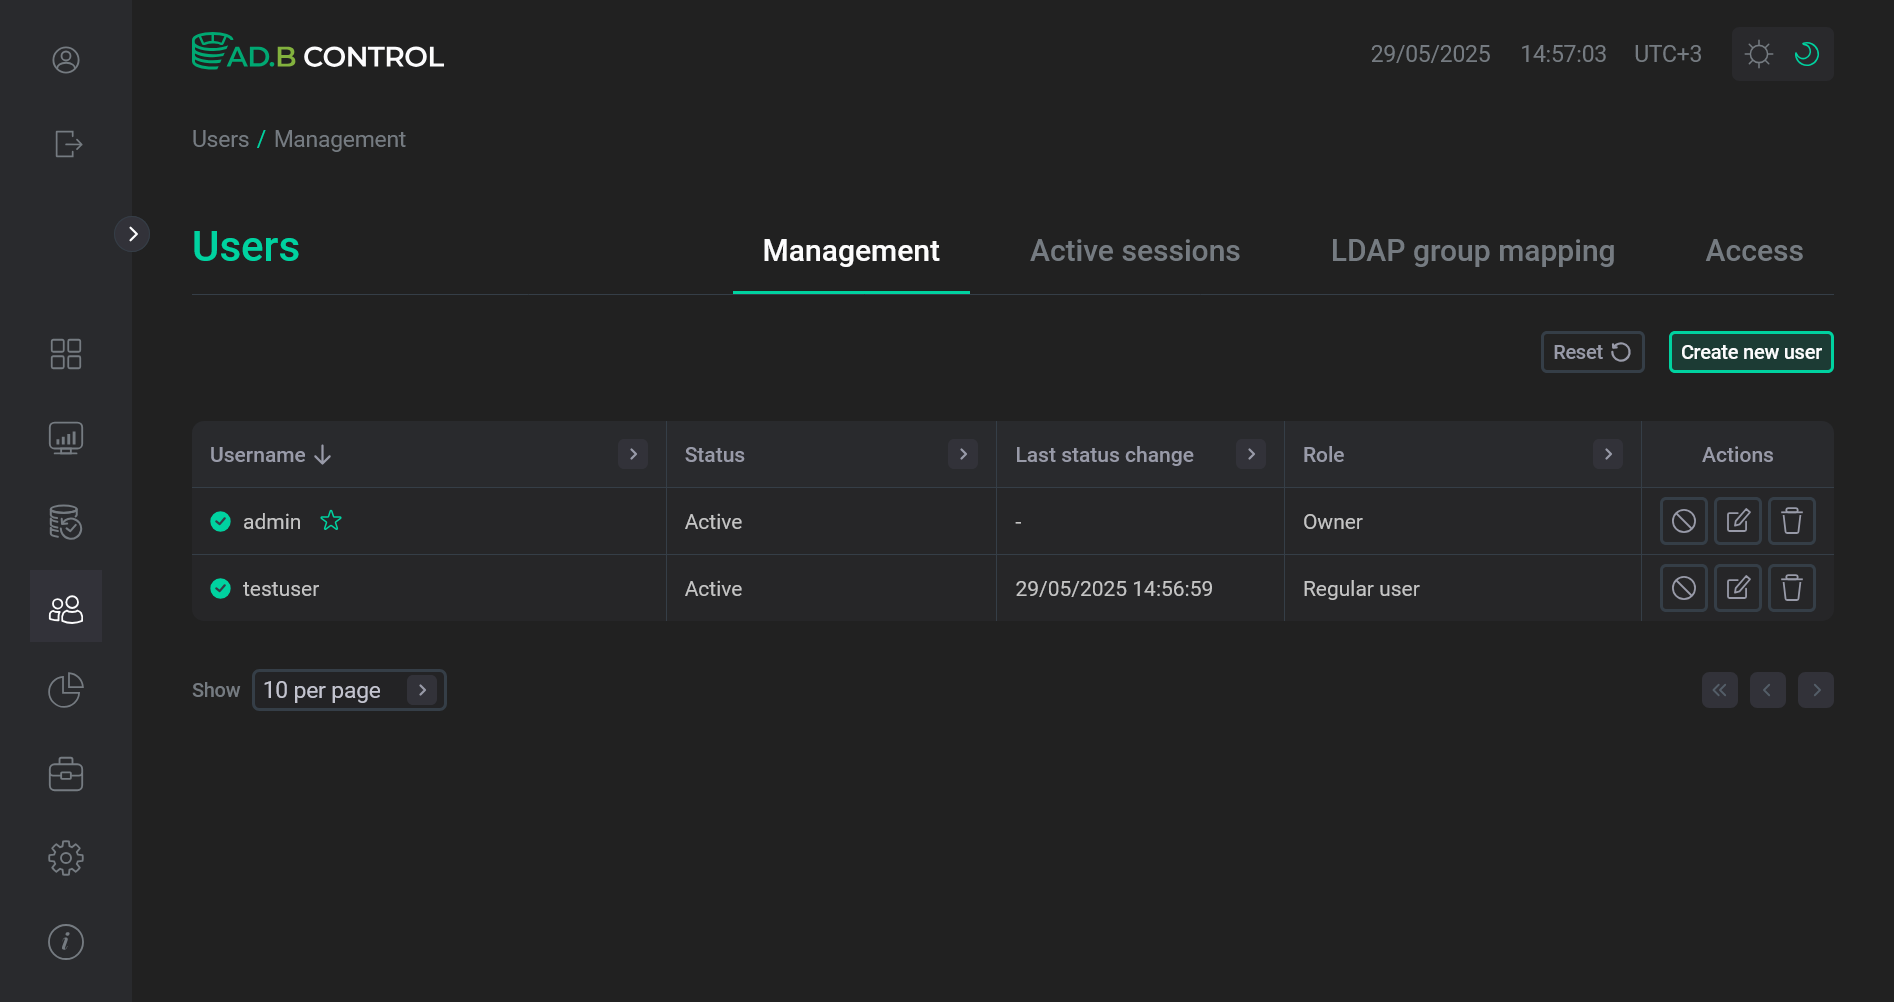 User is unblocked
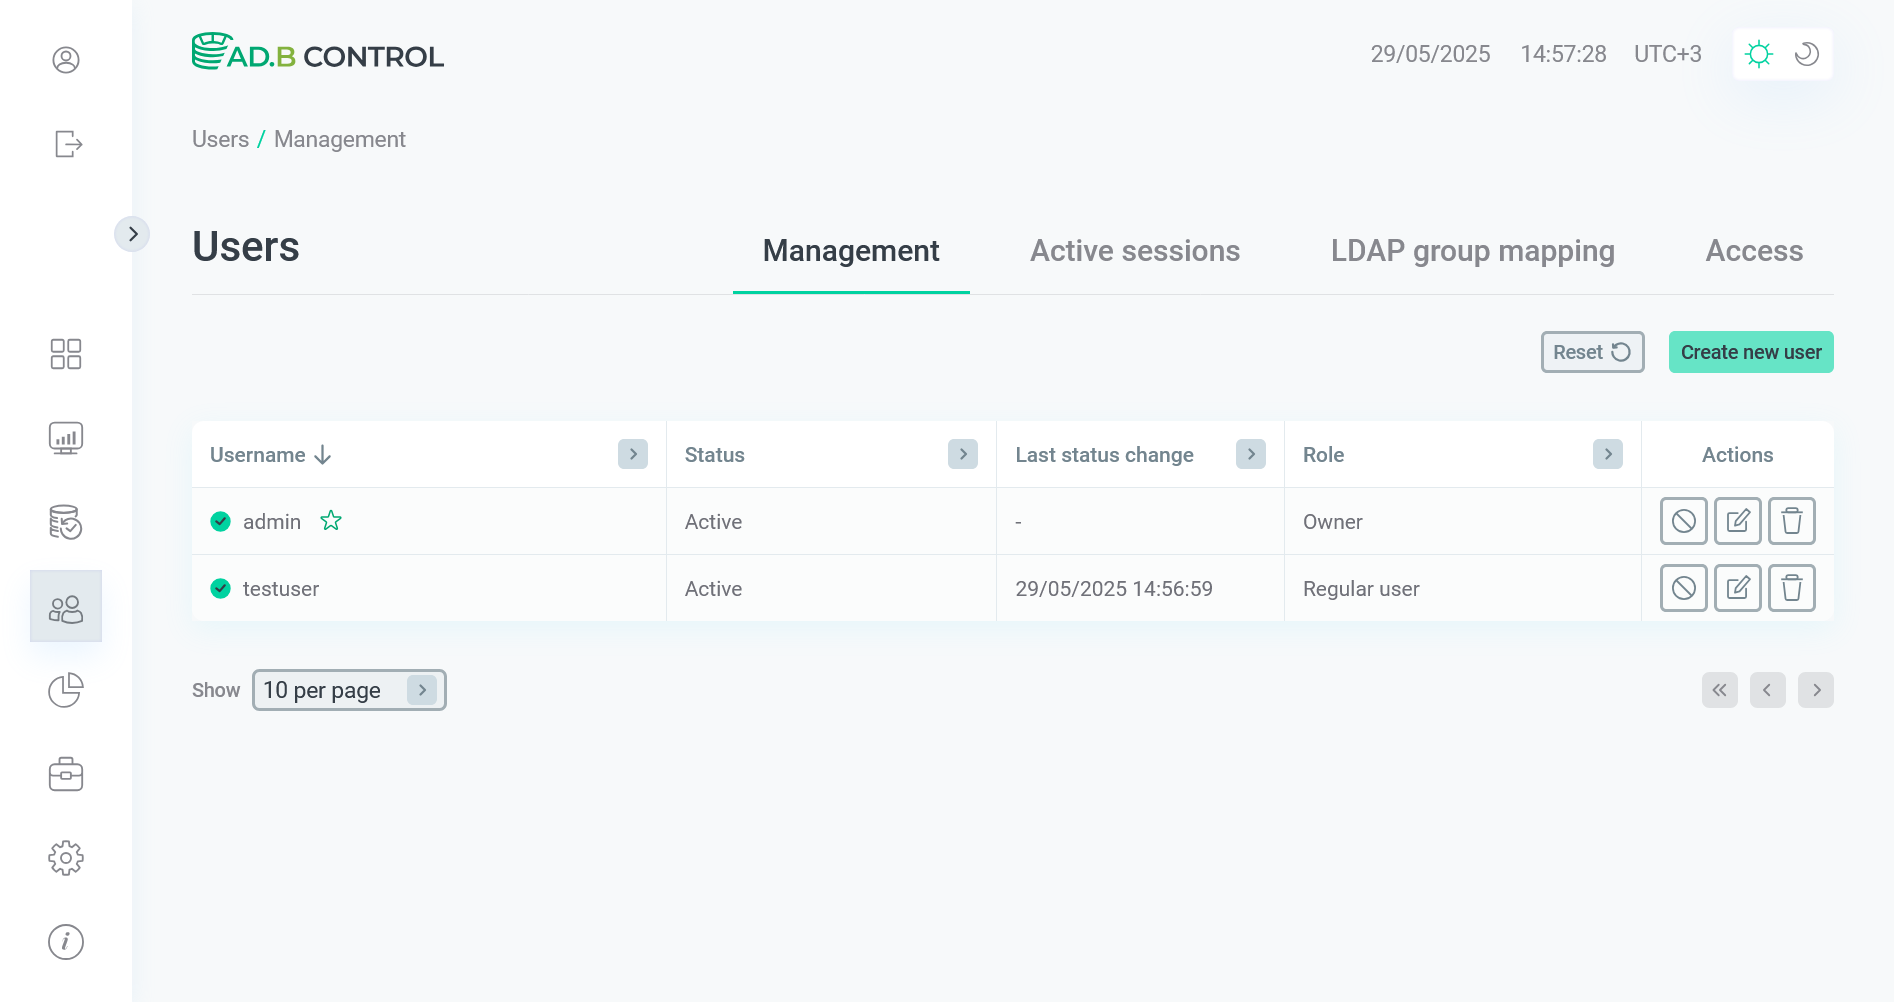 User is unblocked
Delete a user
To delete an existing user, follow the steps:
-
Click the

 icon in the Actions column on the Users → Management tab.
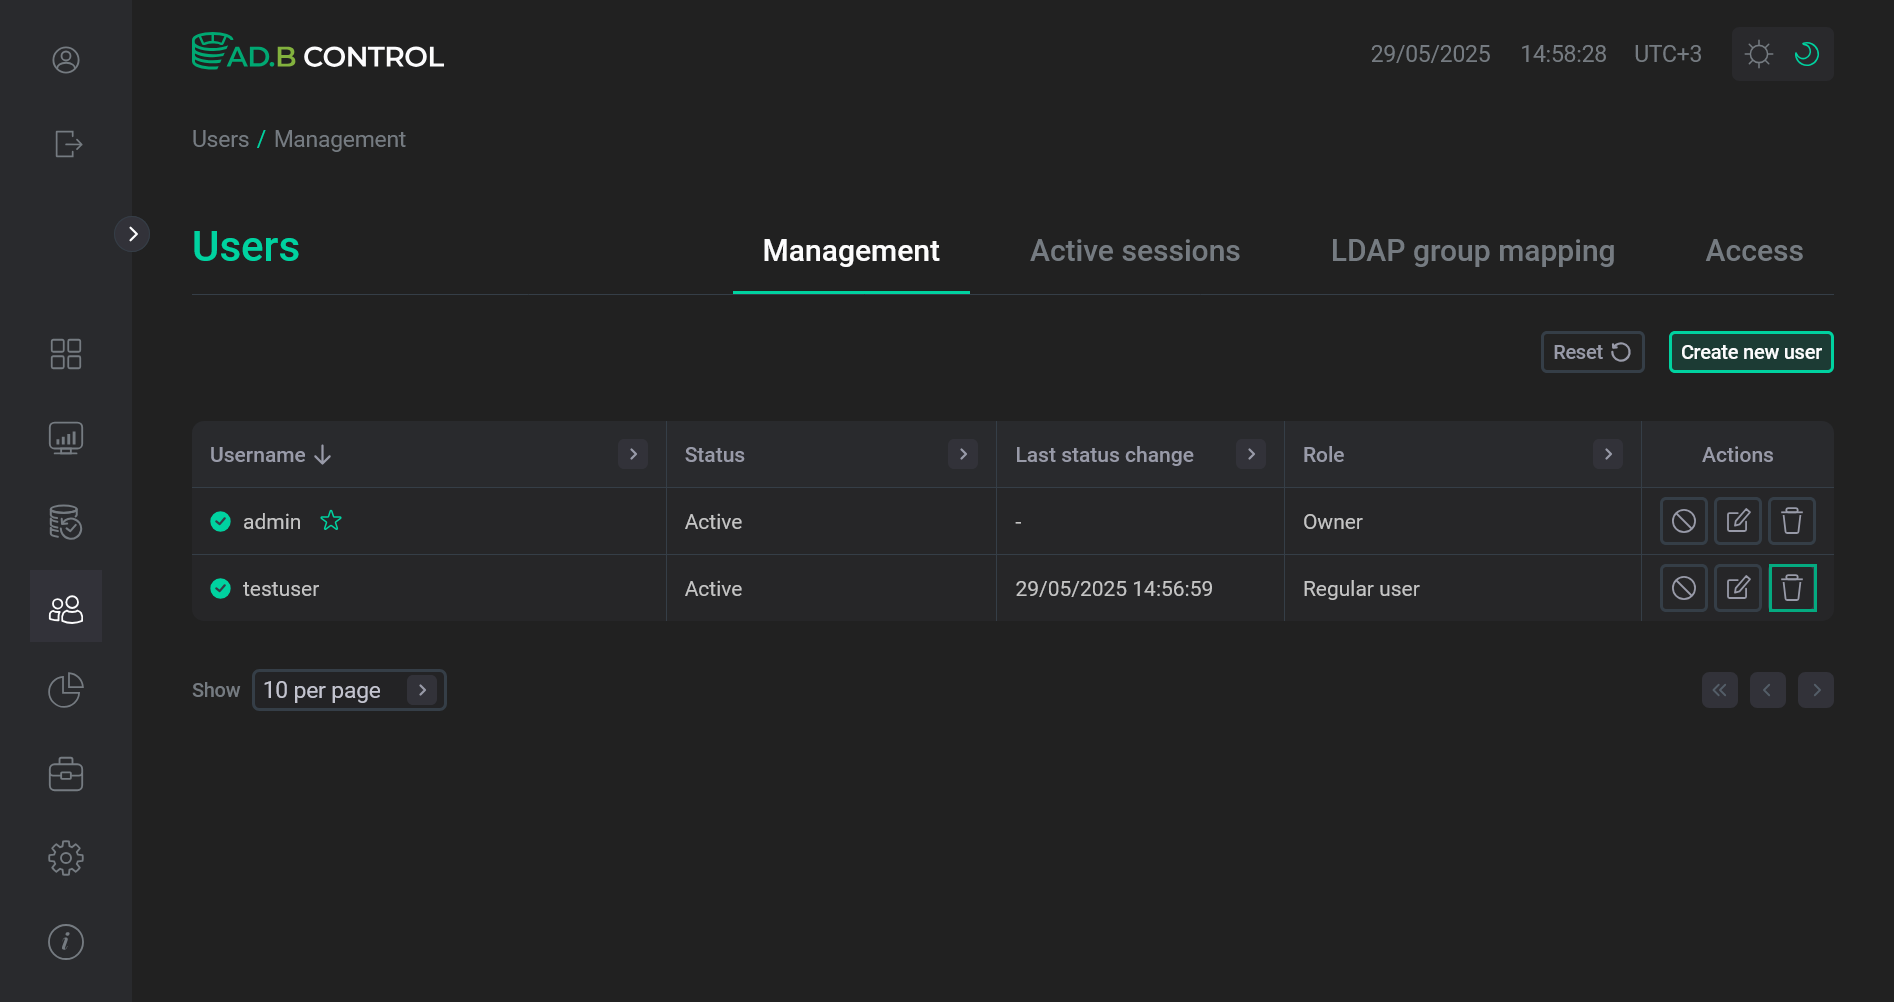 Switch to deleting a user
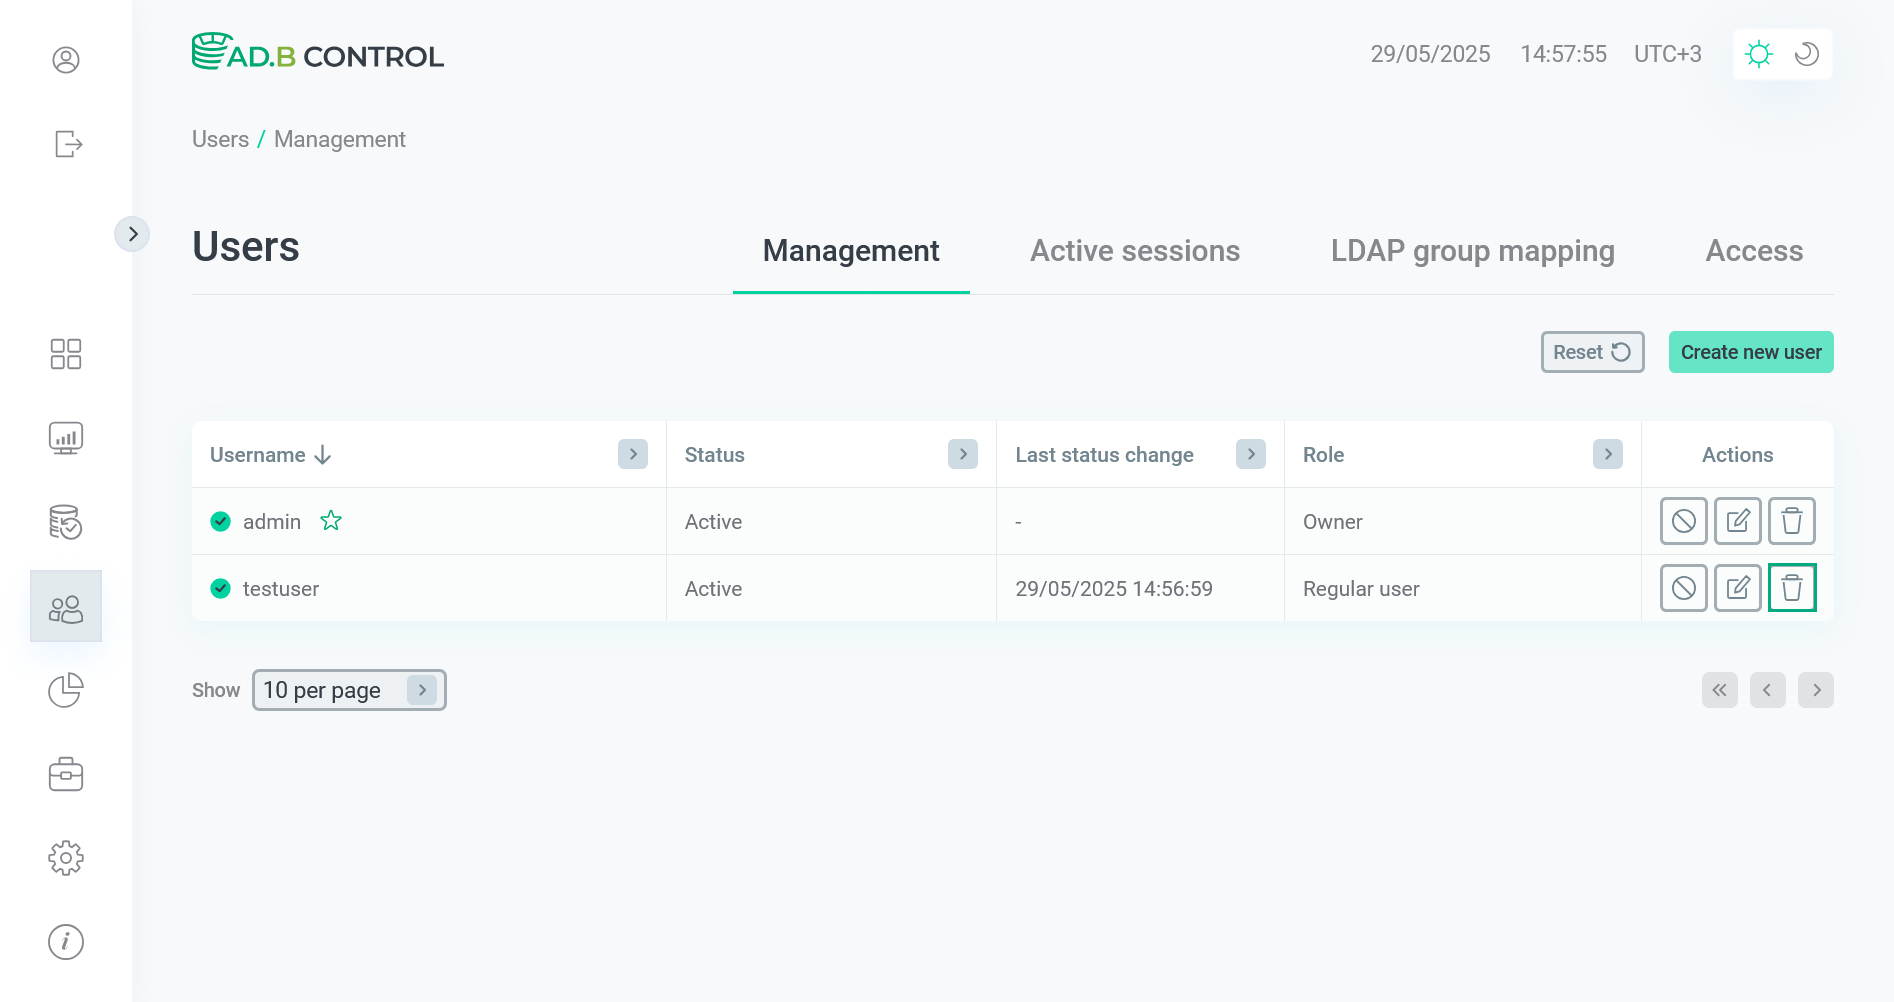 Switch to deleting a user
 -
In the window that opens, confirm the operation by clicking Delete.
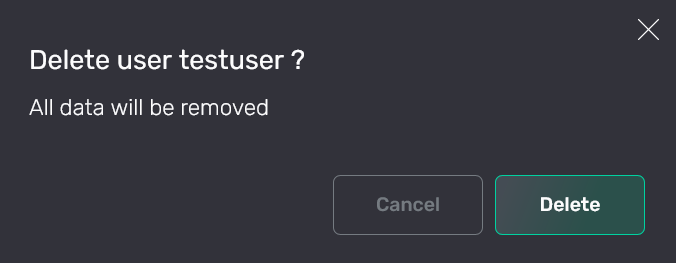 Confirm the operation
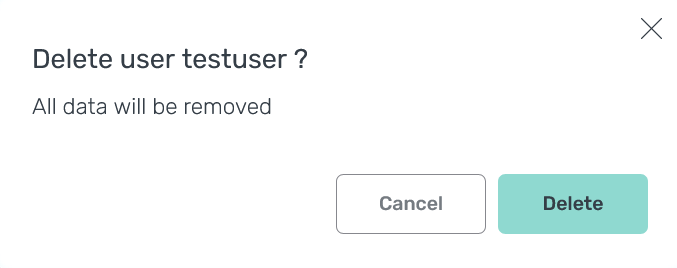 Confirm the operation
As a result, the user data is removed from the system and no longer displayed on the Users → Management tab.
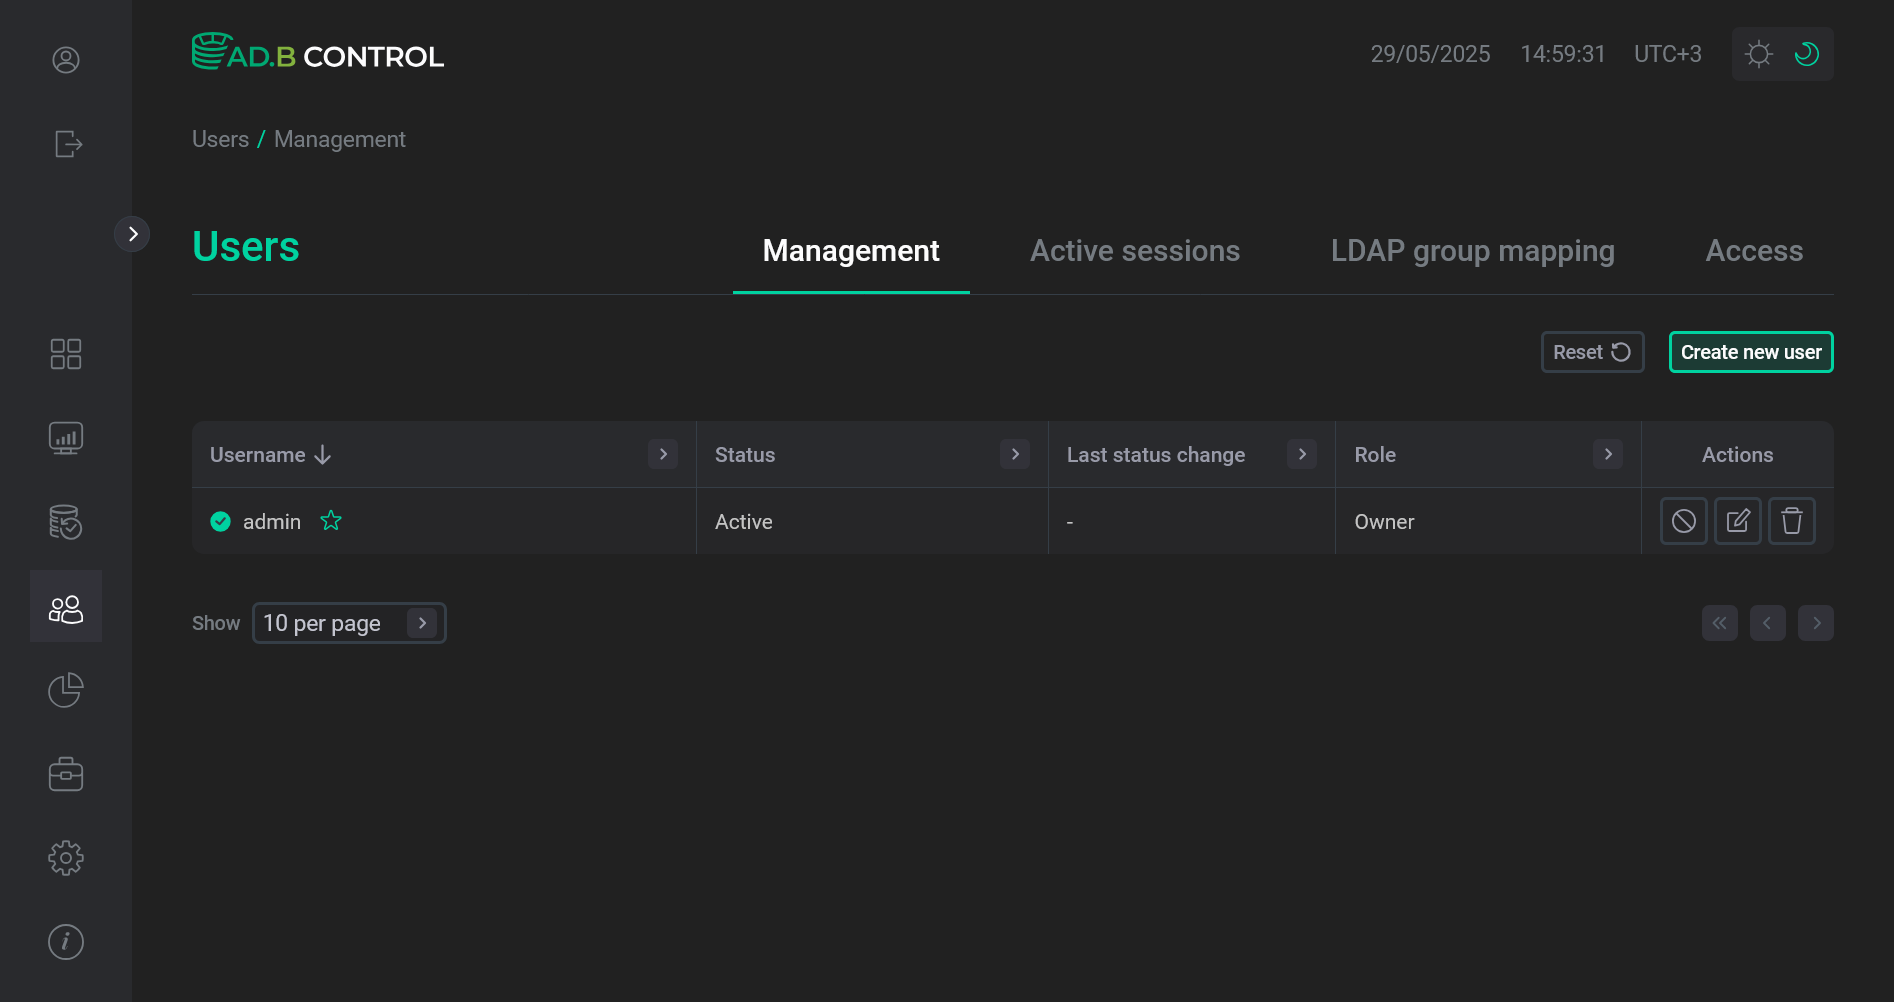 User is removed
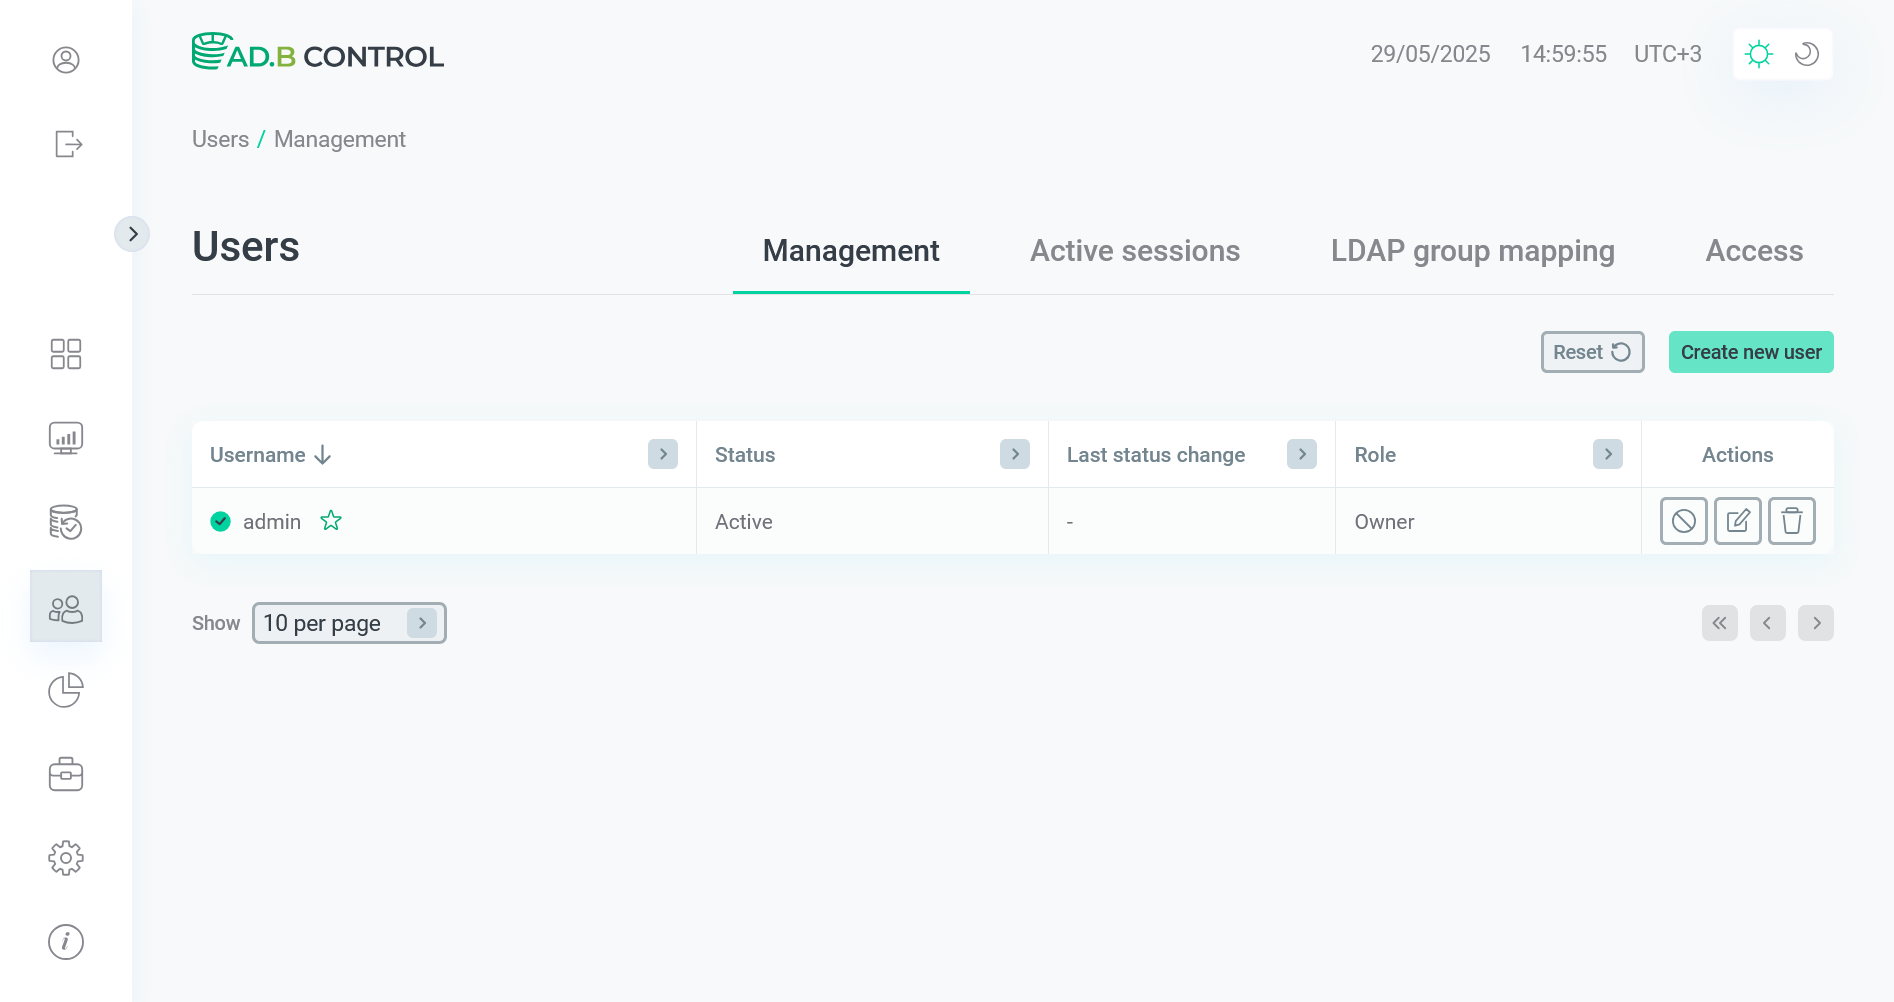 User is removed