
Run actions in ADBM
Overview
After you created a configuration, backups are created and cleaned up according to the schedules that you defined. However, ADBM also allows you to manage backups manually via the cluster actions that are described below.
|
NOTE
If a cluster belongs to a cluster group, these actions are available only to the group leader. |
To run the actions, follow the steps:
-
Open the Backup manager page via the ADB Control web interface.
-
In the Clusters section of the page that opens, find a cluster for which you want to run actions and click the

 icon in the row that corresponds to that cluster. Possible actions are listed in the drop-down list.
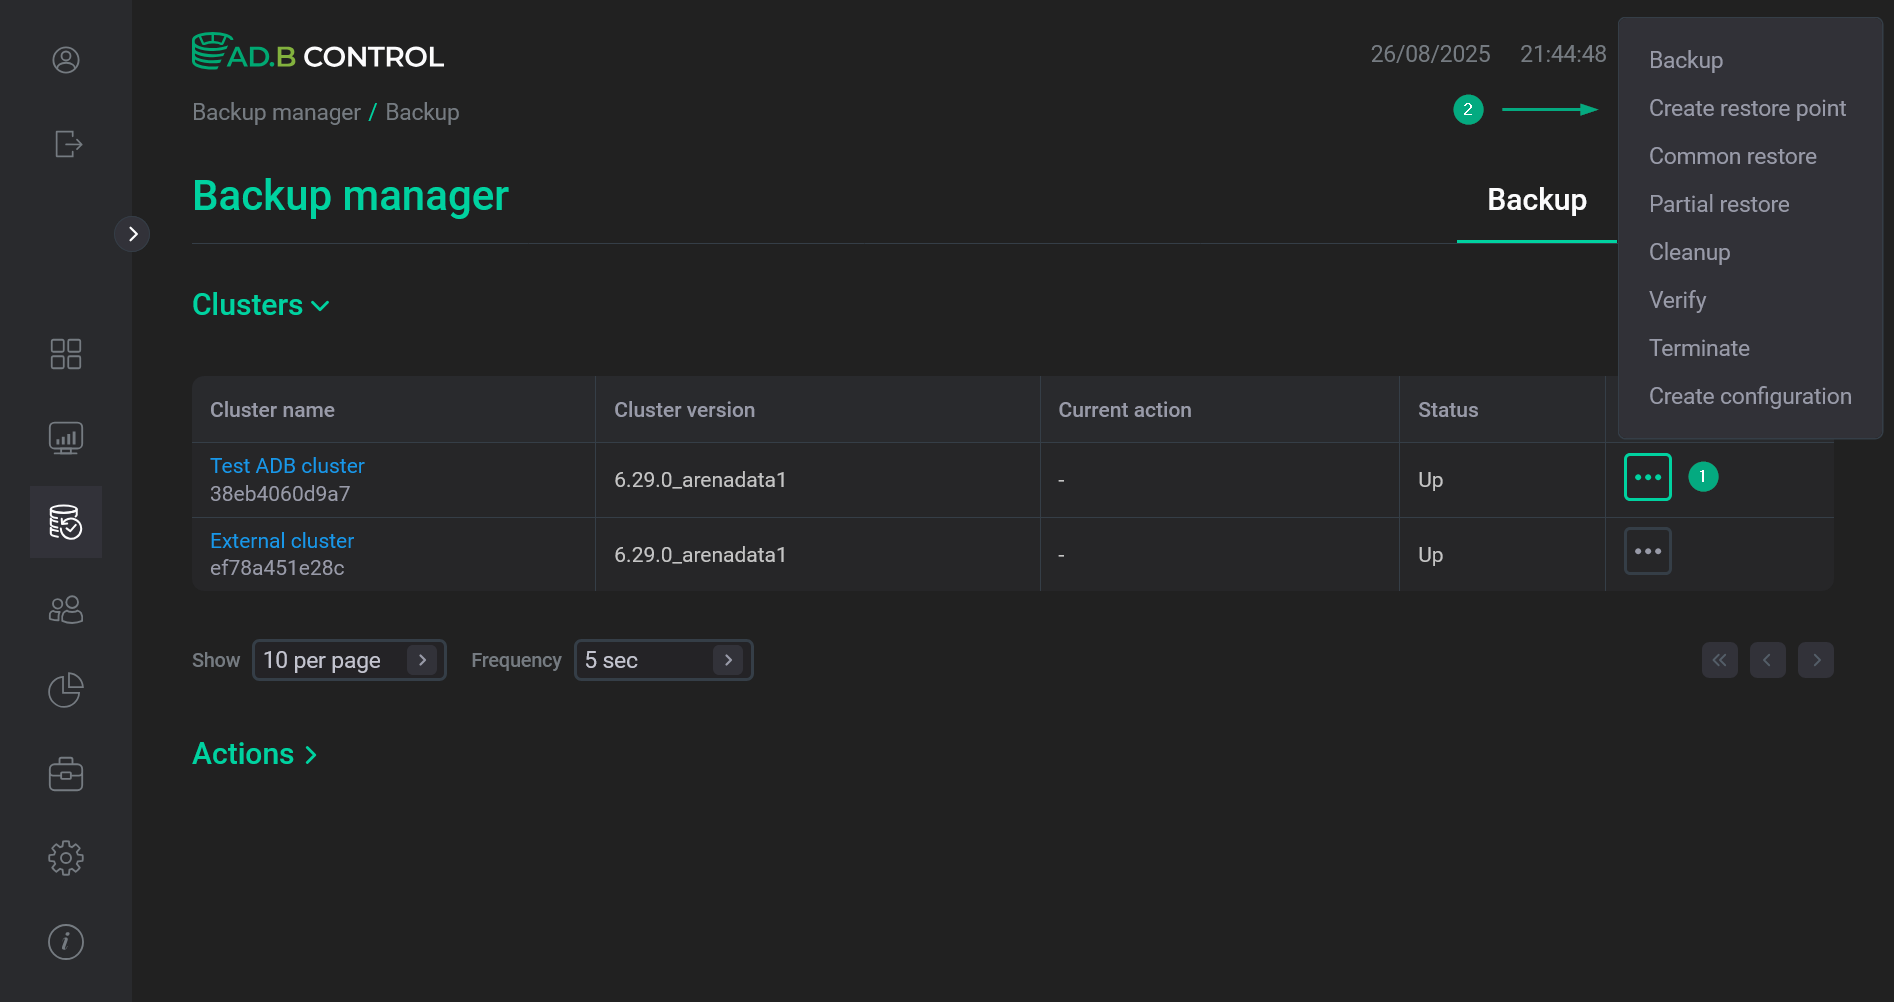 Actions in the Clusters section
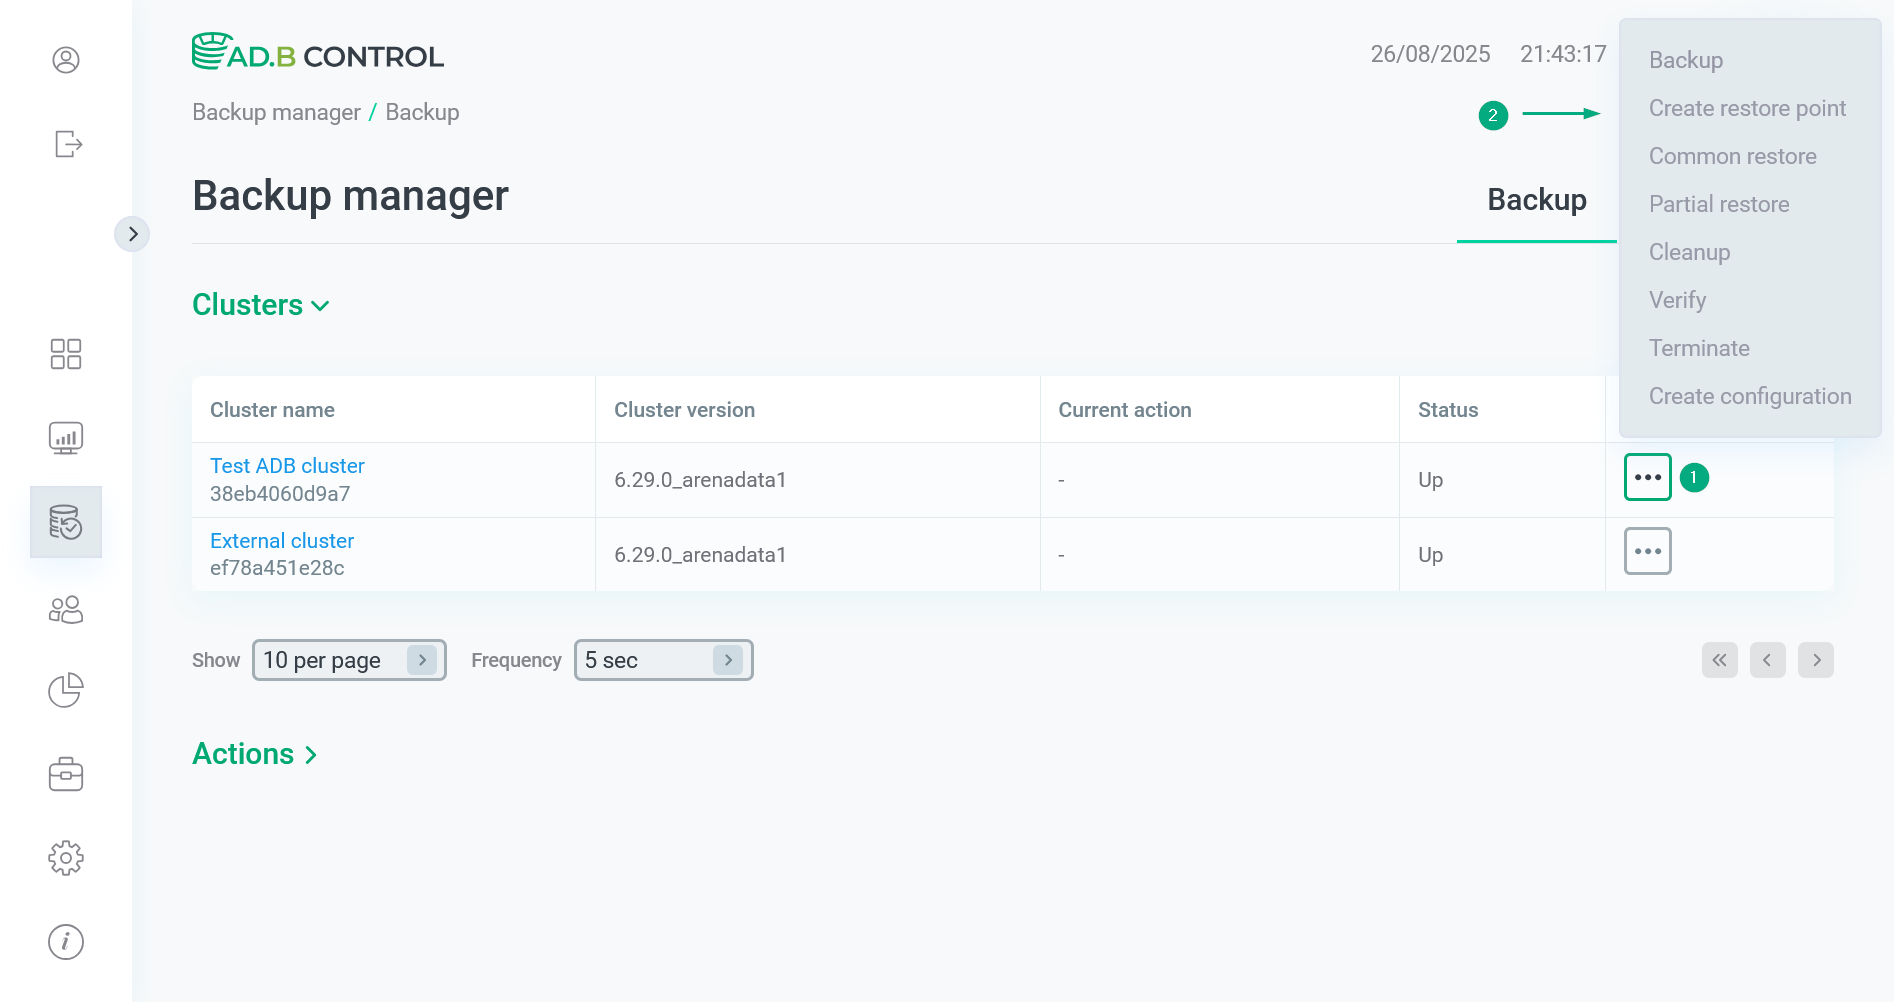 Actions in the Clusters section
 -
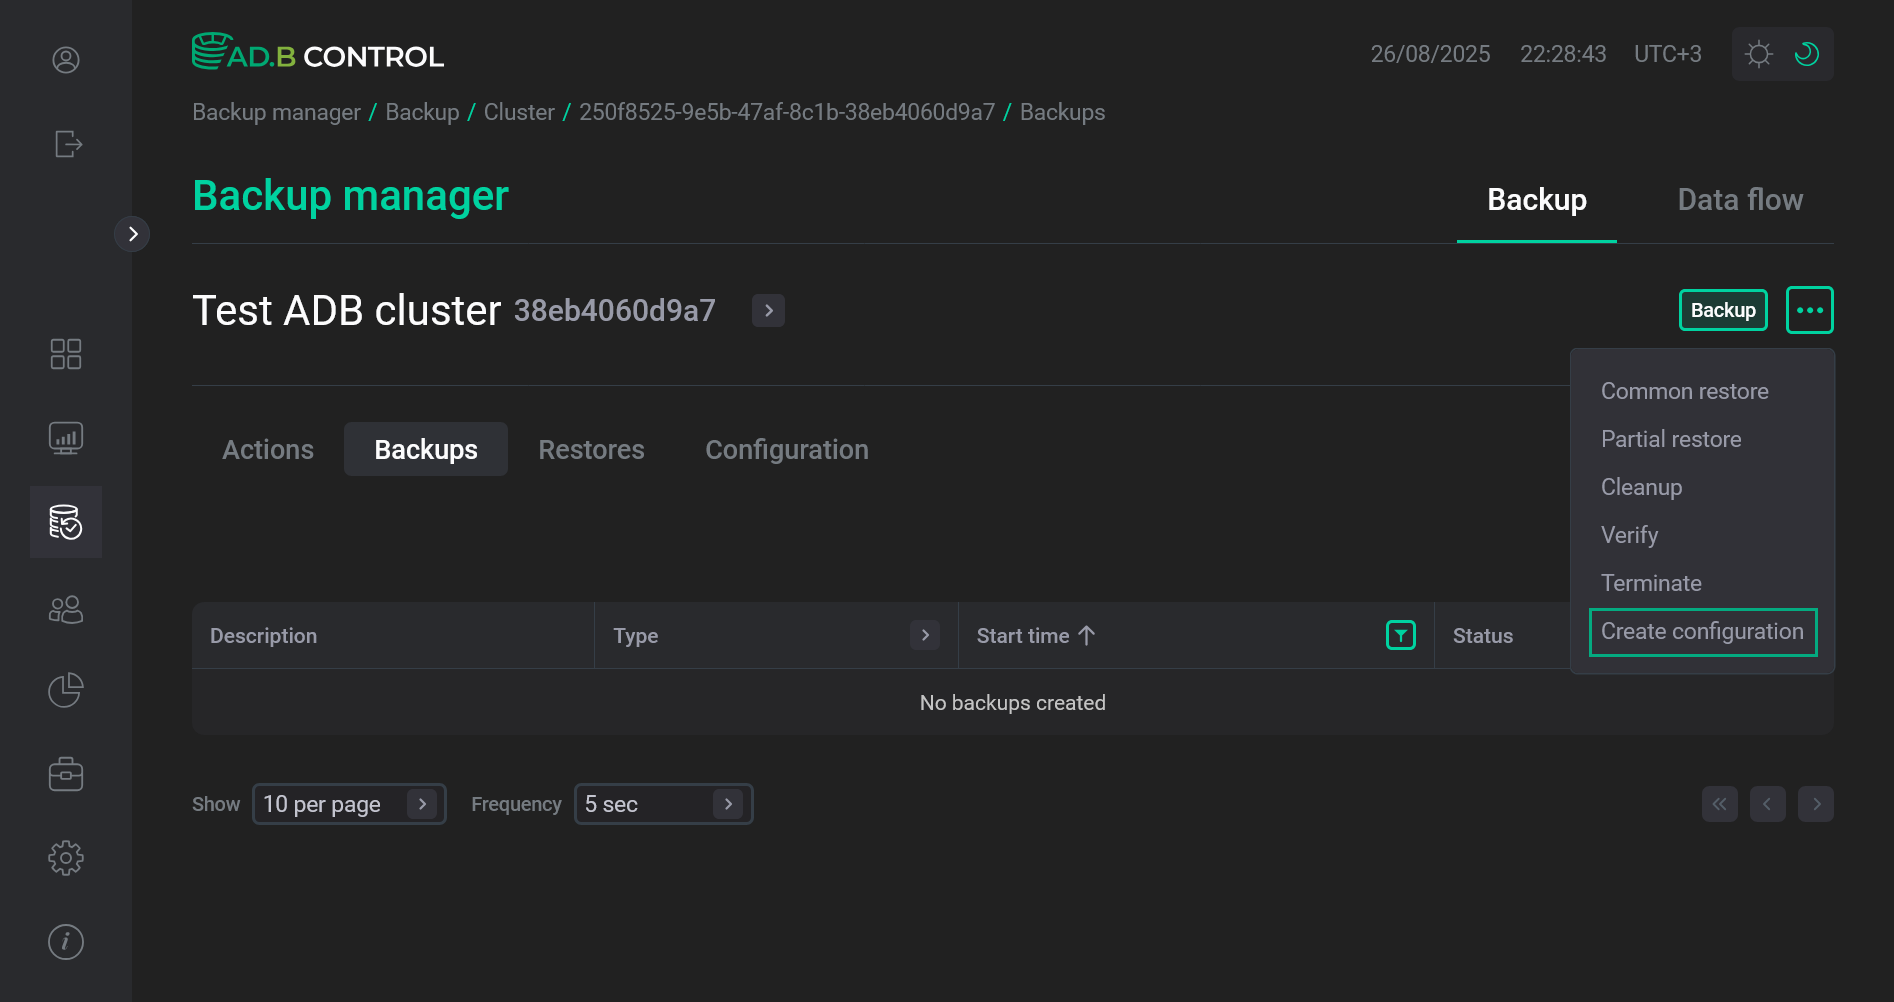
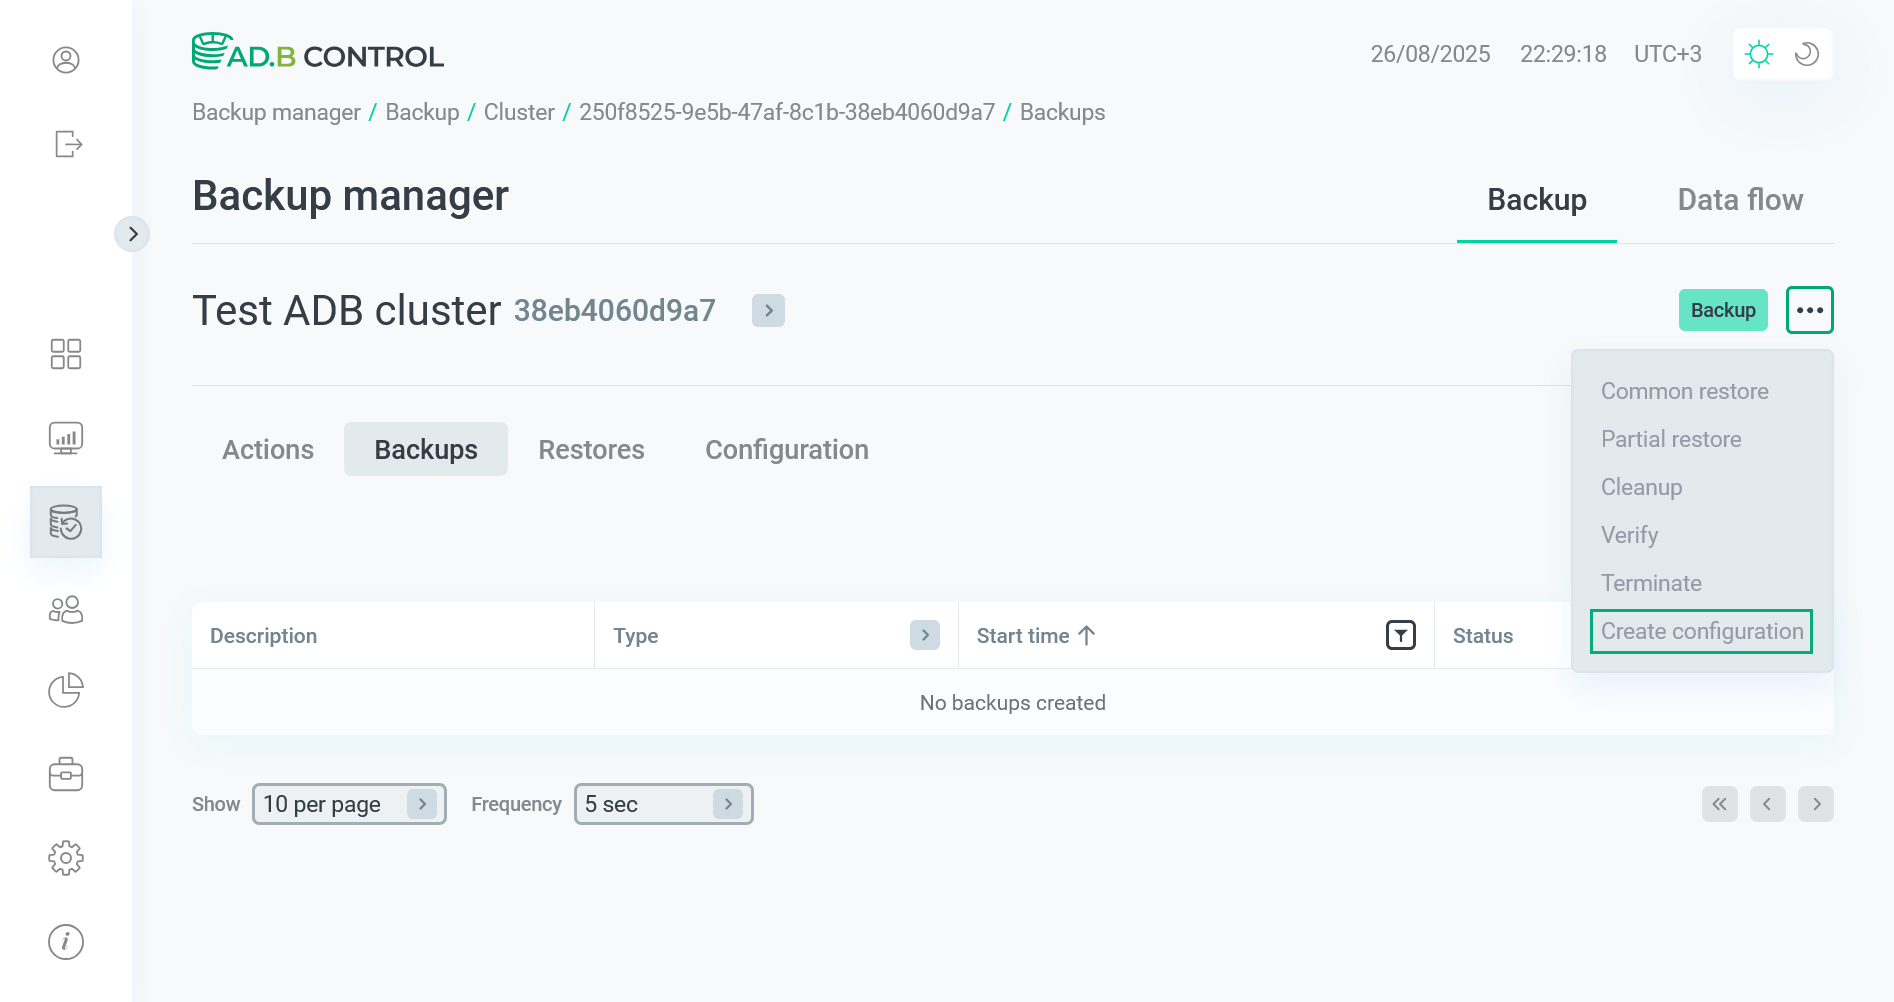
If you want to work with a specified cluster, click the cluster name in the table that is located in the Clusters section. The selected cluster page opens. The Backup button is designed to launch backups. To open a menu with other actions, click
.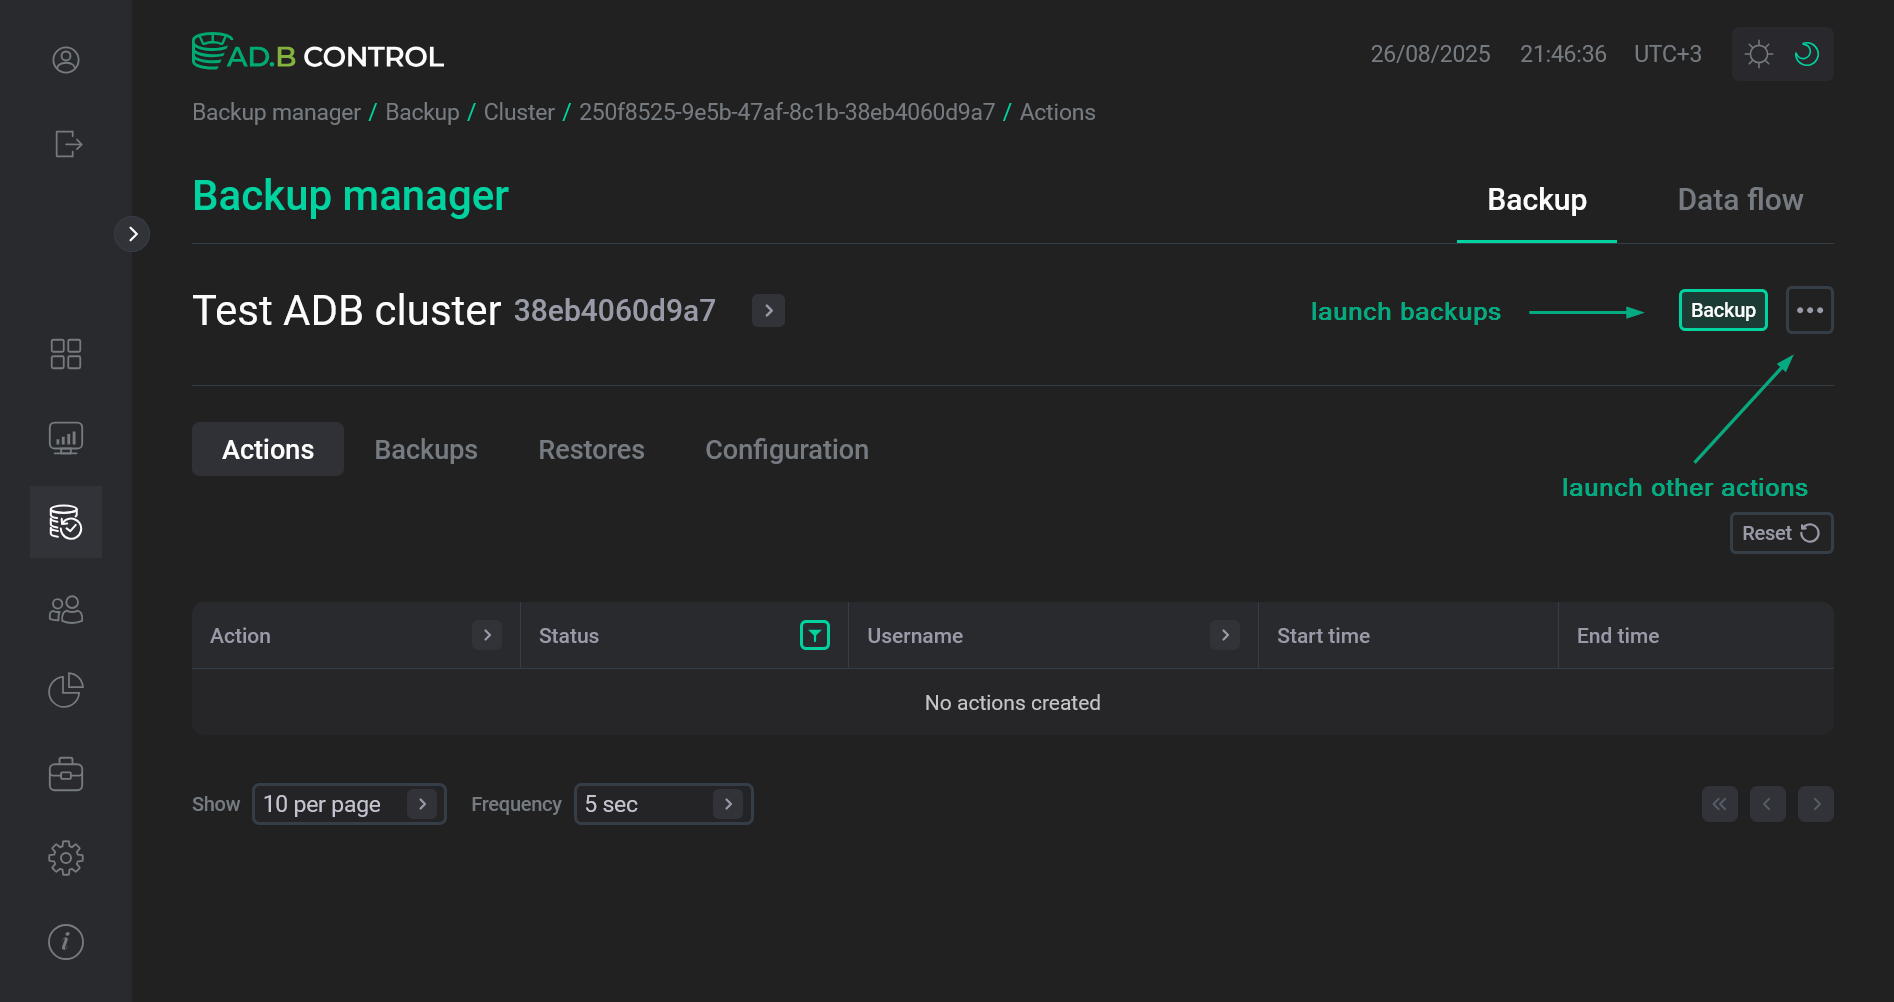 Actions on the selected cluster page
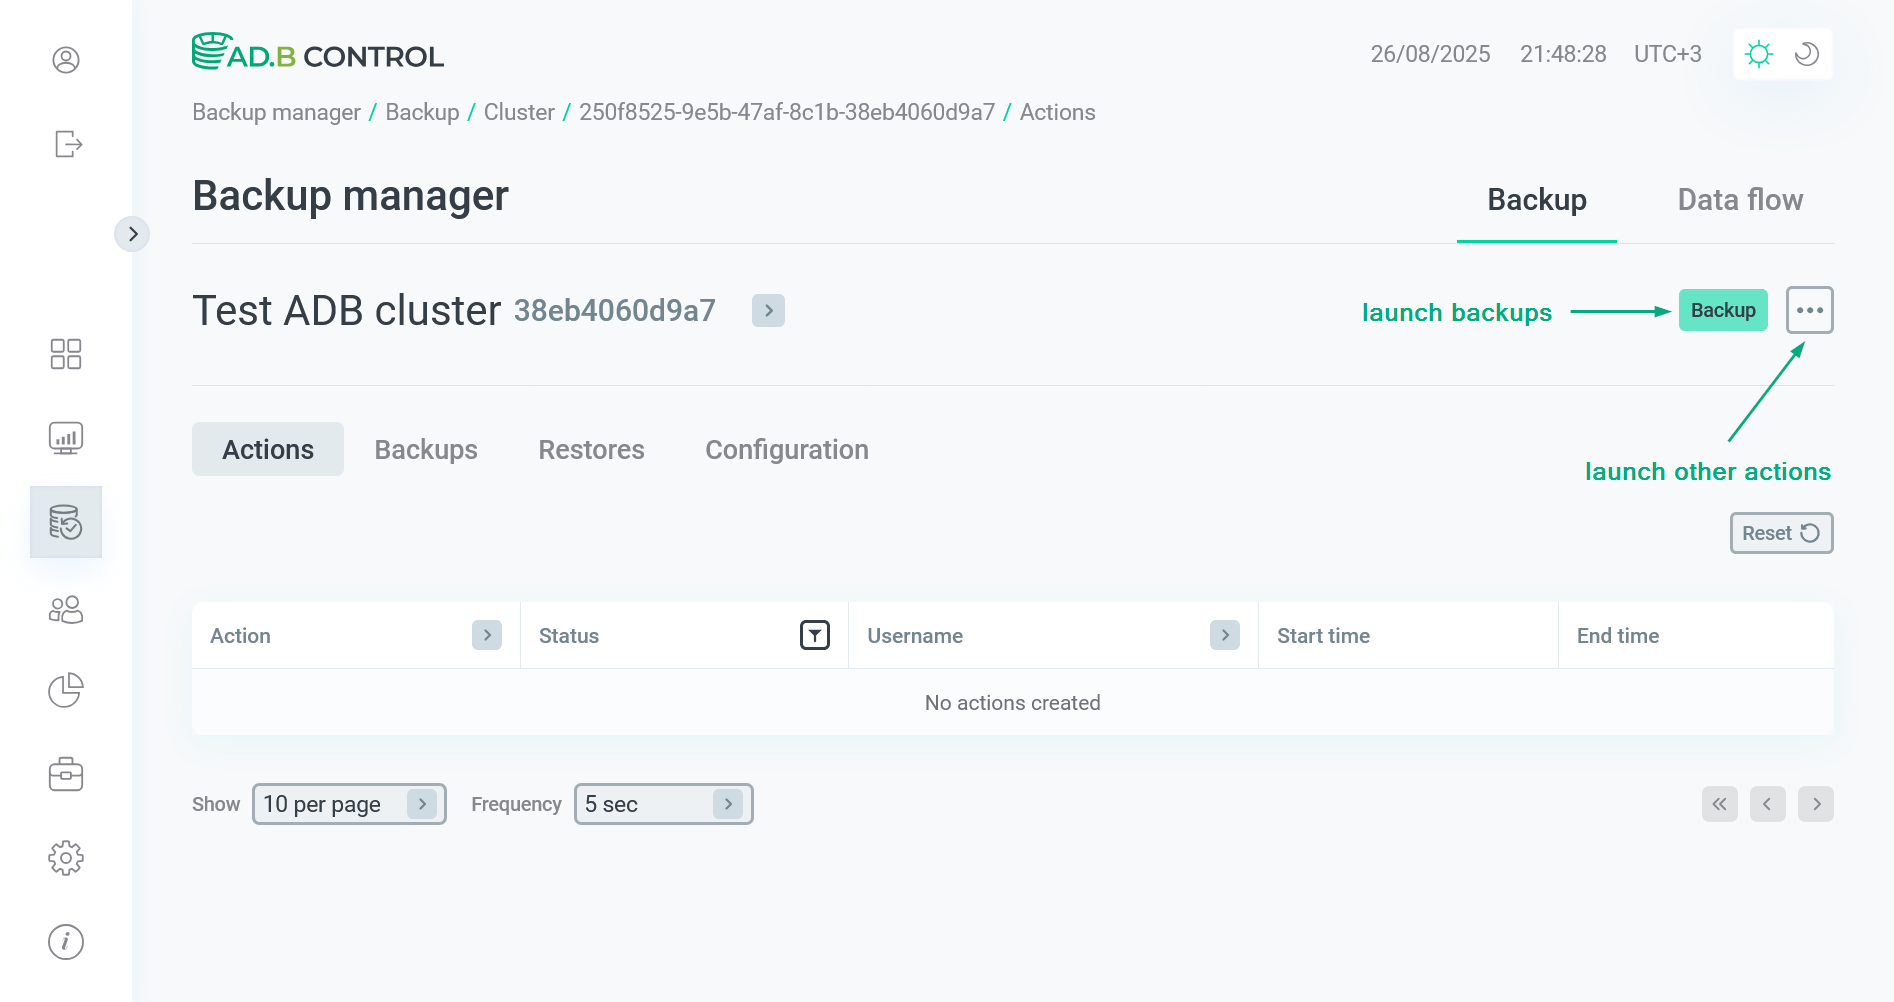 Actions on the selected cluster page
Running actions is an exclusive operation. You cannot run another action until the previous one is completed (Terminate is exception). If you try to run several actions simultaneously, you get the following error.


|
IMPORTANT
Starting with ADBM 2.3.2, some of the actions mentioned below may be hidden in the menu if they are not allowed at the current time. In particular, after a cluster upgrade that requires verification or recreation of the backup configuration, only two actions are displayed in the drop-down menu: Verify and Create configuration. Access to other actions is possible only after you launch one of the allowed actions. |
Backup
Database backups are launched automatically on the schedules that are specified by the following parameters of the current configuration version (see the Configuration → Schedule tab):
-
Full Backup schedule — full backups;
-
Differential backup schedule — differential backups;
-
Incremental backup schedule — incremental backups.
If you need to get an additional backup of any type without waiting for the next auto launch, do the following:
-
Click Backup on the cluster page or select the Backup action for the specified cluster in the Clusters section.
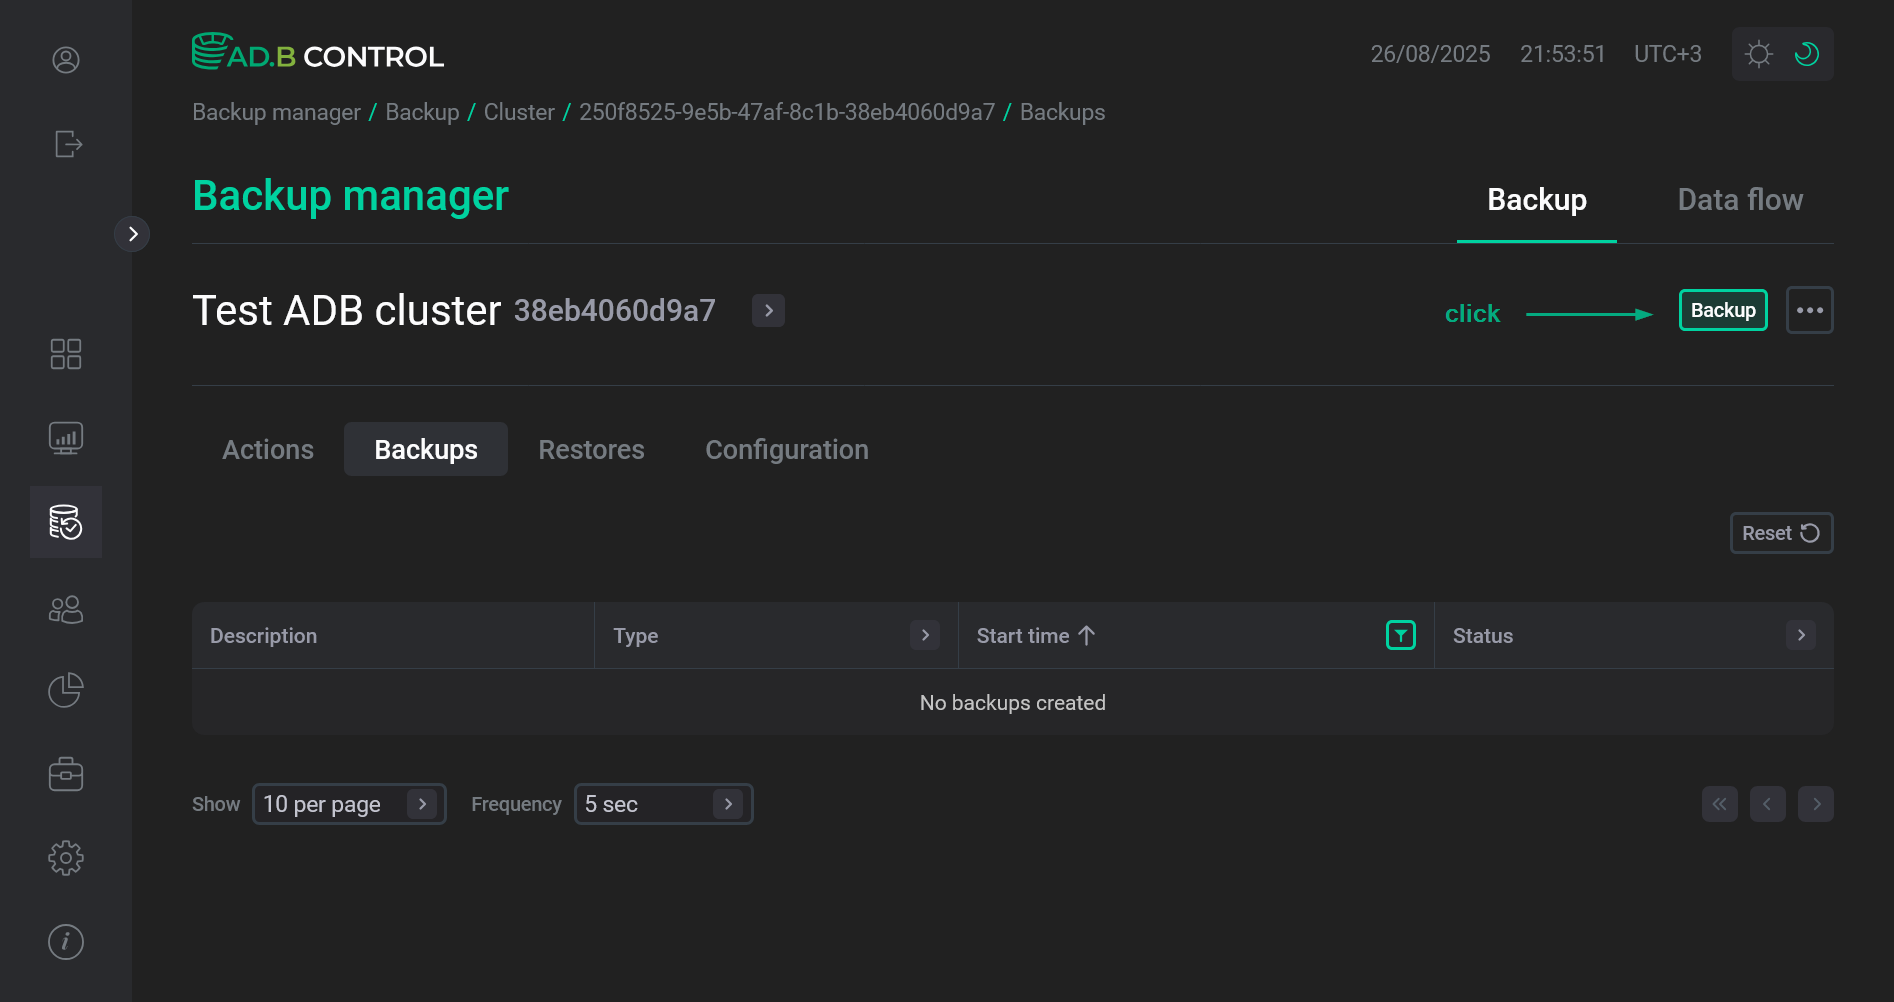 Switch to the Backup action
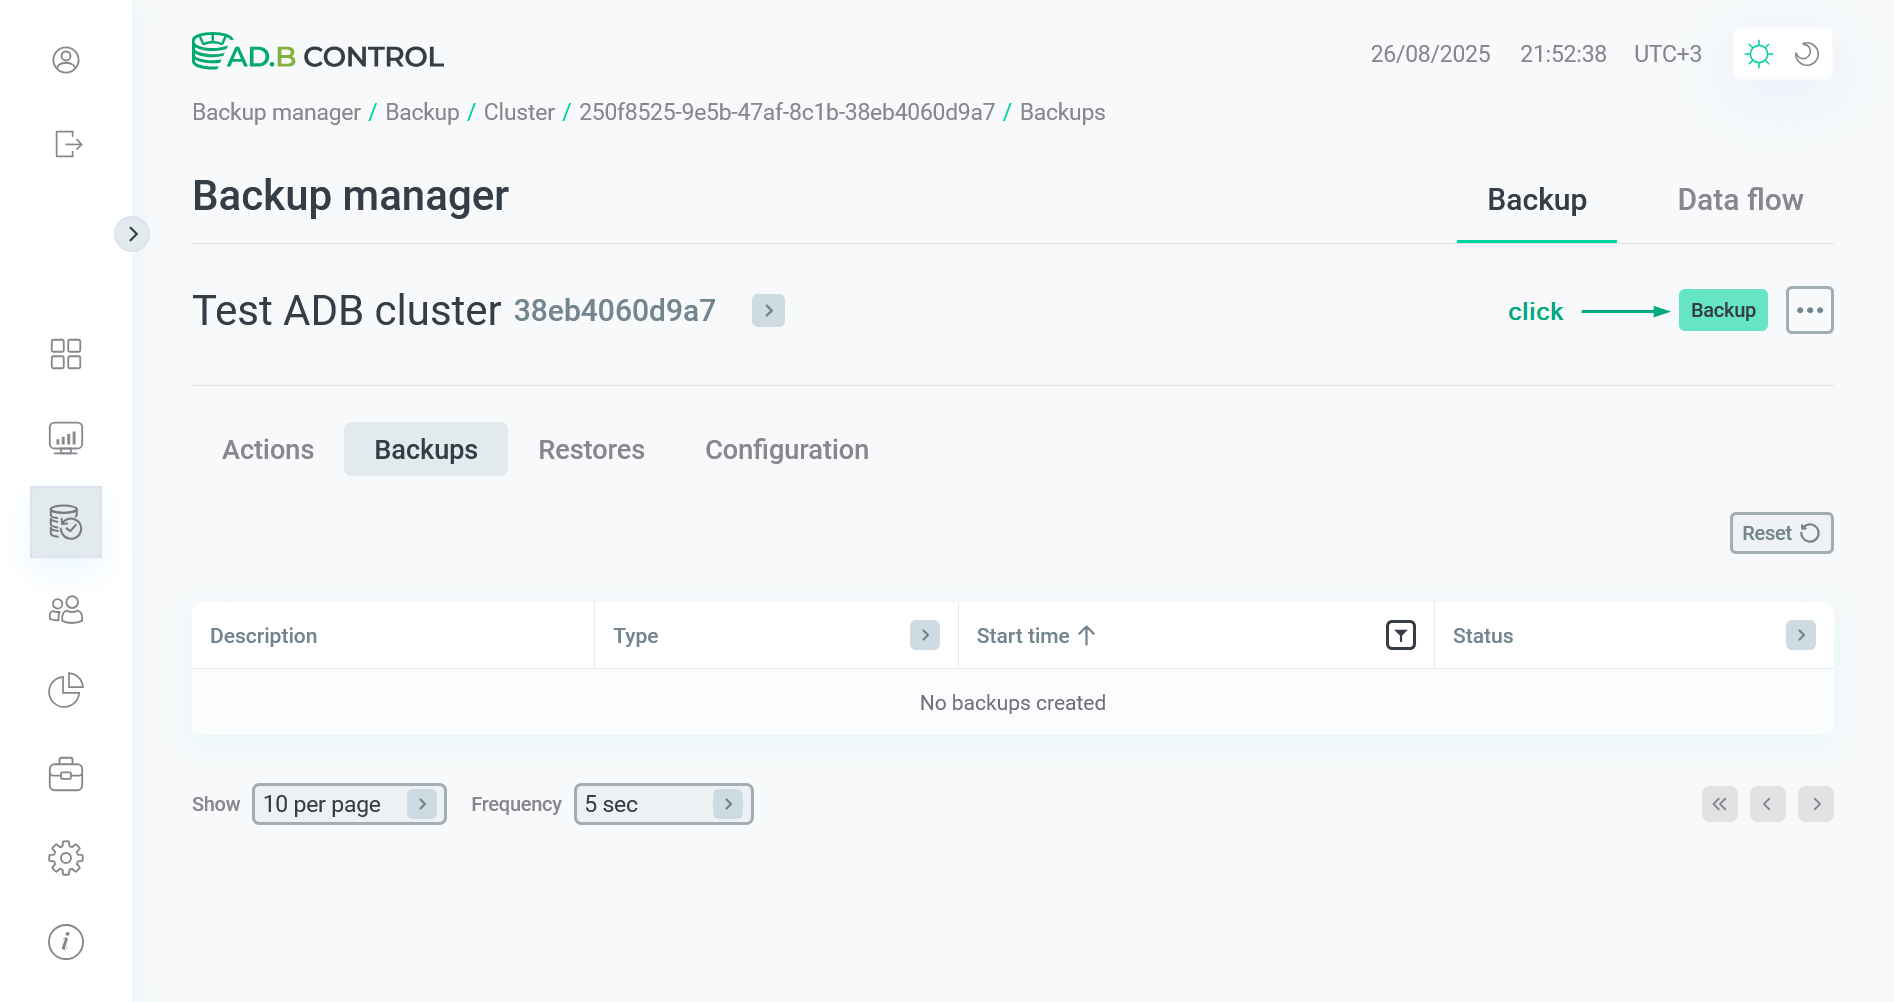 Switch to the Backup action
The window that opens contains the following fields:
-
Restore point — an automatically generated name for a new restore point.
-
Type — a backup type. Possible values:
-
Full— full; -
Incr— incremental; -
Diff— differential.
-
-
Configuration — the configuration version that will be applied. You can click it to check or edit the configuration parameters in the list of configurations.
-
Date — a current timestamp.
-
Delta — a flag that indicates the need to use checksums during the
IncrorDiffbackup creation. It does not affectFullbackups. -
Fail on low space — a flag that indicates that the backup won’t run if the storage has the Critical status. The flag is ignored if the Check free space flag is disabled in the storage settings.
-
Preserve table metadata — a flag that enables the collection of metadata (such as table names, schemas, and internal identifiers of clusters, backups, and restore points) for all user tables during the action. This metadata is stored in ADBM (in the
adbm.rp_table_metadatatable) and in the backup repository (in the table_metadata.json file).You can then select a restore point with metadata during a partial restore — this will let ADBM check the existence of the selected tables before running the restore operation.
IMPORTANTFull consistency between the stored metadata and the actual table data is not guaranteed if DDL operations were performed during restore point creation. It is recommended to create restore points with the Preserve table metadata flag only during periods without DDL activity.
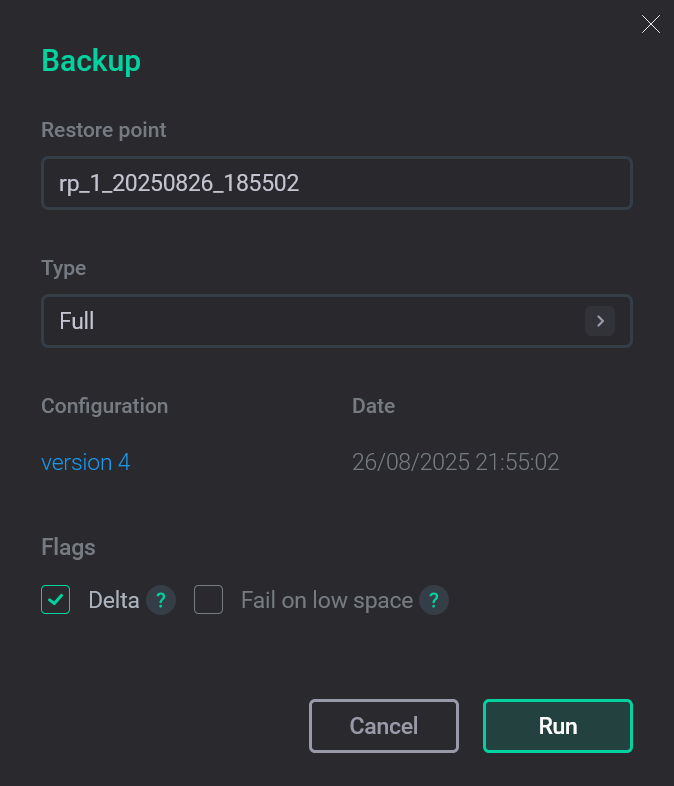 The Backup action form
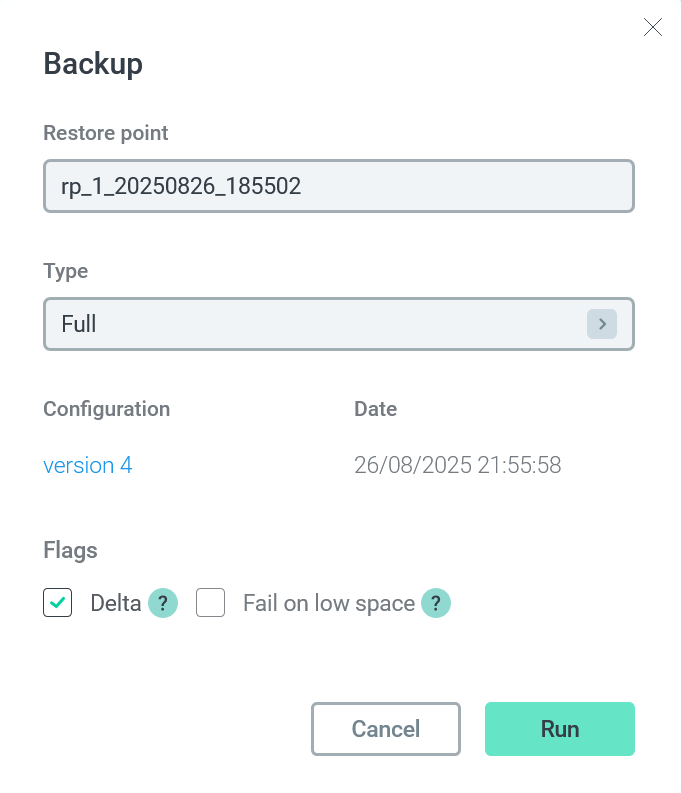 The Backup action form
-
-
Select the backup type in the Type field and change the Restore point value if necessary.
-
Click Run.
-
As a result, the Backup action runs. This action, in turn, generates several subactions. You can see all of them on the Actions tab (for more details, see View actions in ADBM).
-
As a successful result of all actions, the new backup becomes available in the list of backups on the Backups tab.
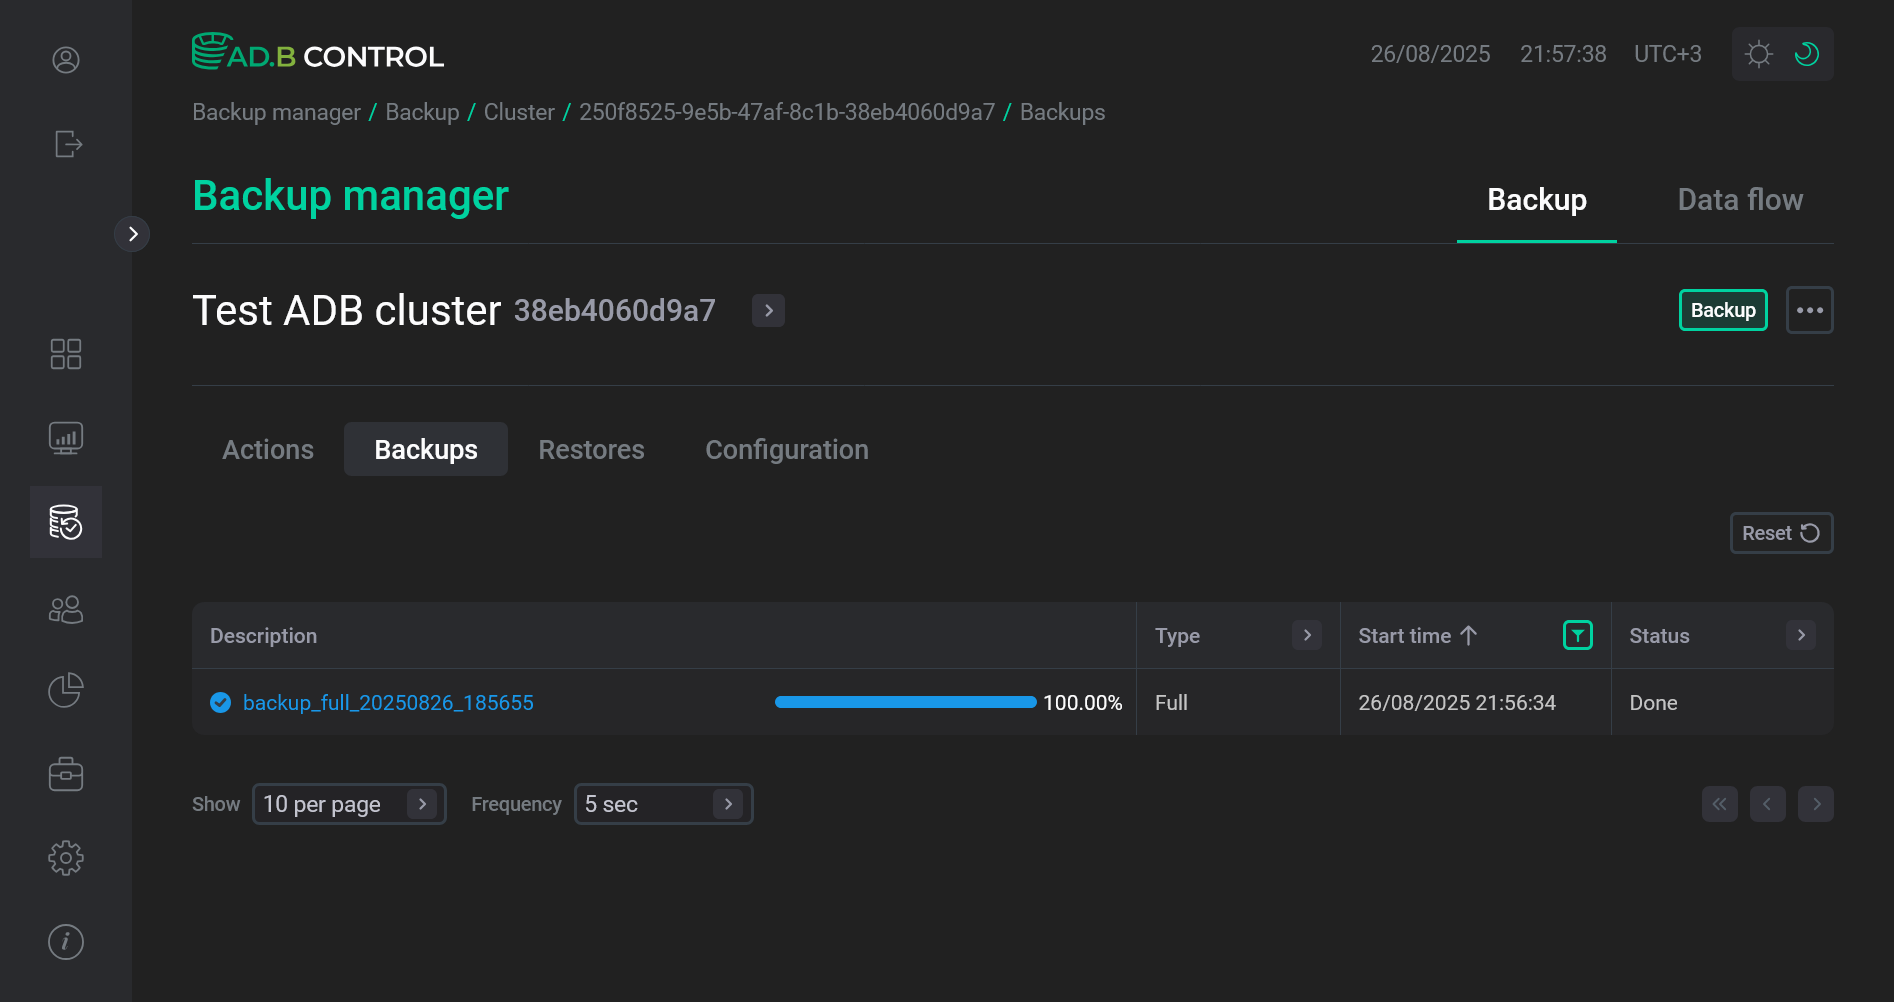 The new backup is available on the Backups tab
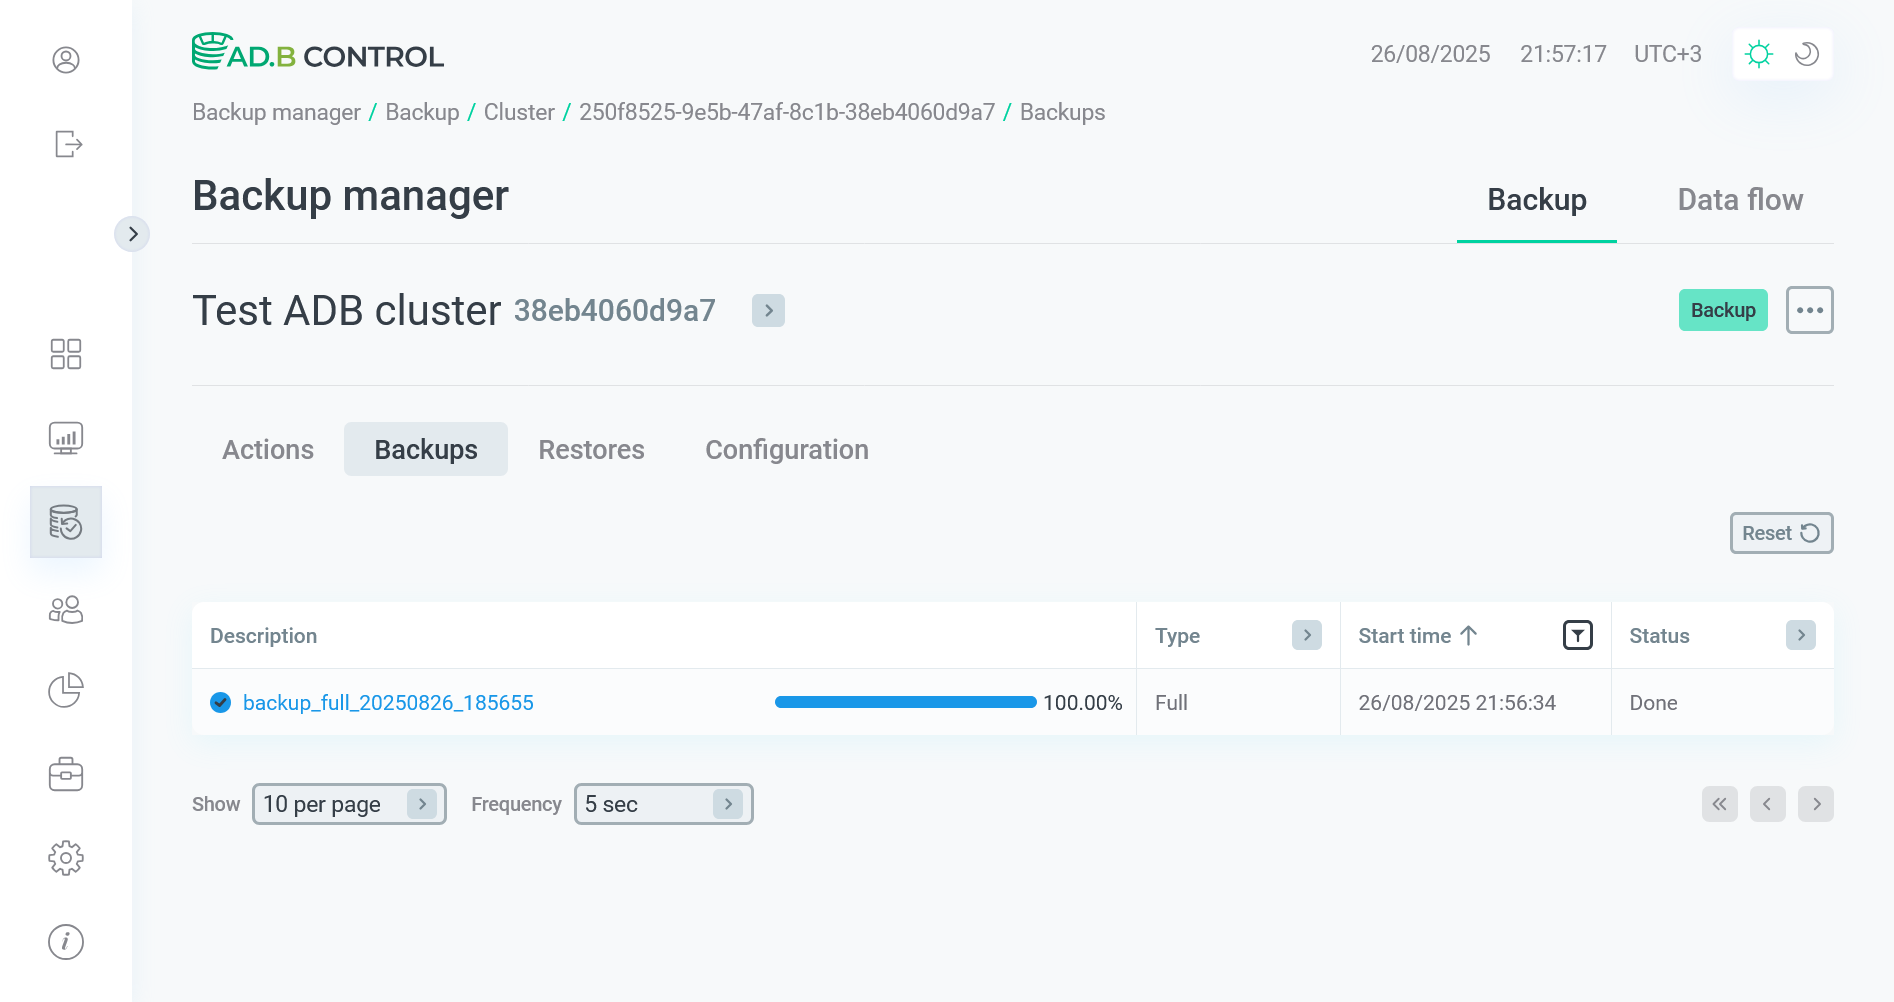 The new backup is available on the Backups tab
Starting with ADBM 2.4.0, there is a progress bar next to the backup name in the Description column, which displays the backup execution progress (as a percentage of the estimated duration for all cluster segments). Note that backup progress is calculated only for the physical cluster reservation and does not include other actions.
Create restore point
|
NOTE
|
Restore points are automatically created according to the schedule that is defined by the Restore point creation schedule parameter of the current configuration version (see the Configuration → Schedule tab).
If you need to create a restore point without waiting for the next auto launch, follow the steps:
-
Select the Create restore point action on the cluster page or in the Clusters section.
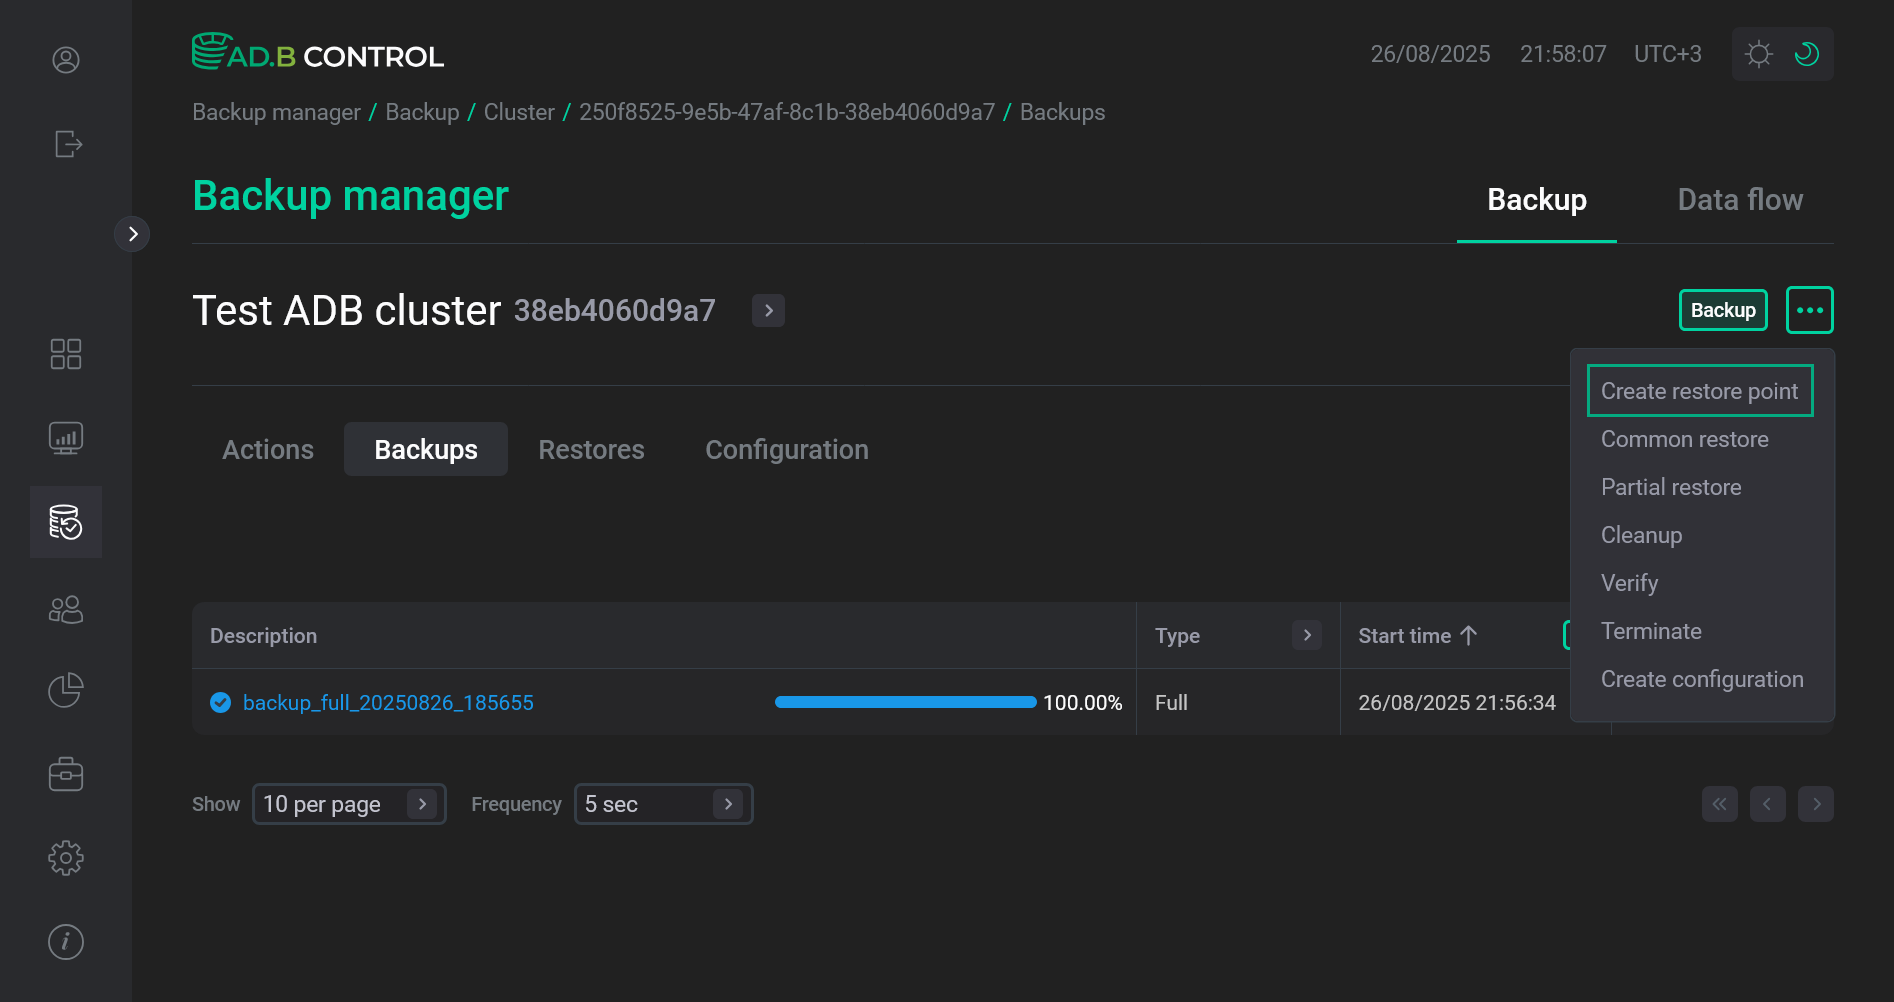 Switch to the "Create restore point" action
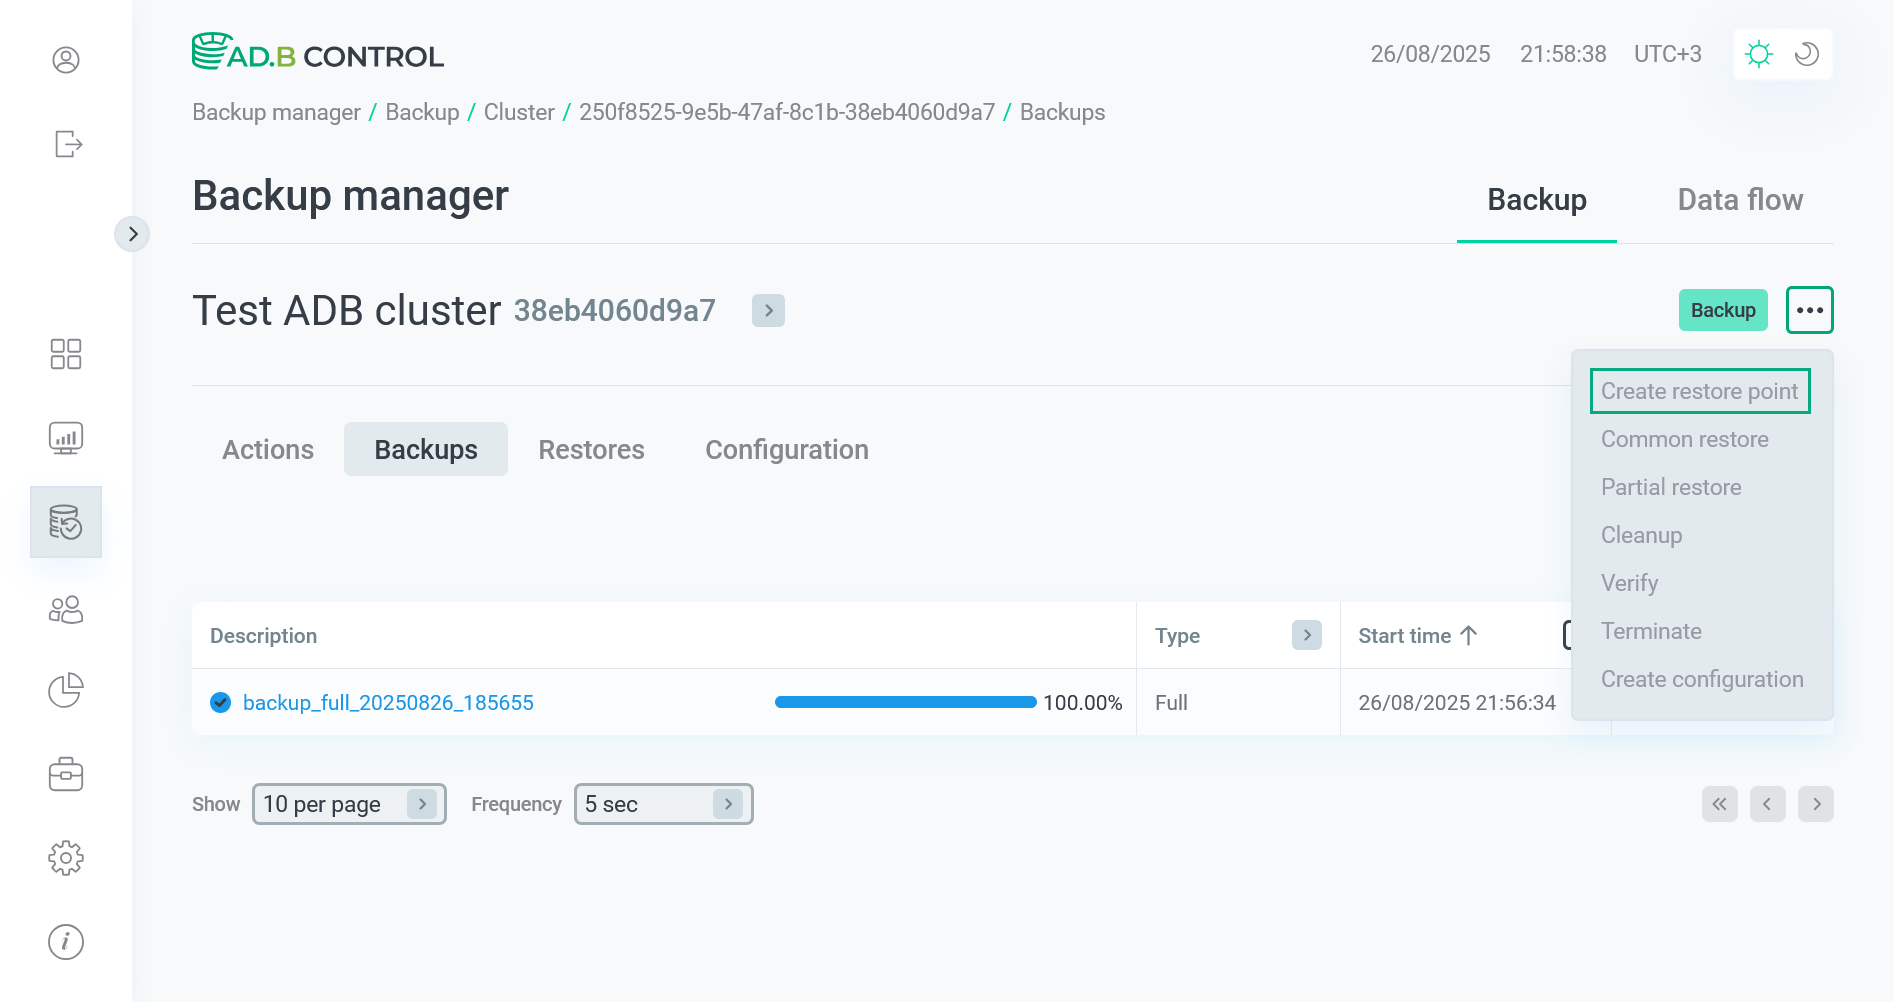 Switch to the "Create restore point" action
The window that opens contains the following fields:
-
Restore point — an automatically generated name for a new restore point.
-
Configuration — the configuration version that will be applied. You can click it to check or edit the configuration parameters in the list of configurations.
-
Date — a current timestamp.
-
Preserve table metadata — a flag that enables the collection of metadata (such as table names, schemas, and internal identifiers of clusters, backups, and restore points) for all user tables during the action. This metadata is stored in ADBM (in the
adbm.rp_table_metadatatable) and in the backup repository (in the table_metadata.json file).You can then select a restore point with metadata during a partial restore — this will let ADBM check the existence of the selected tables before running the restore operation.
IMPORTANTFull consistency between the stored metadata and the actual table data is not guaranteed if DDL operations were performed during restore point creation. It is recommended to create restore points with the Preserve table metadata flag only during periods without DDL activity.
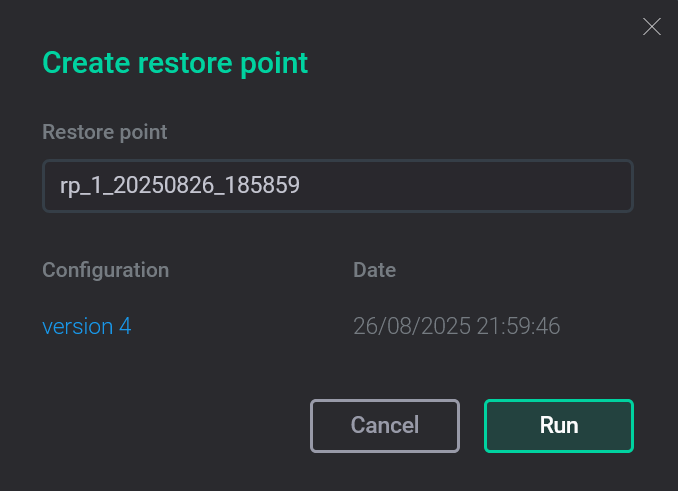 The "Create restore point" action form
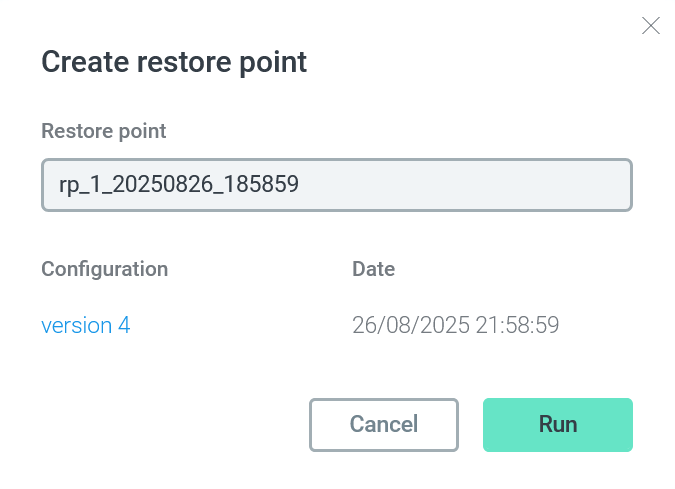 The "Create restore point" action form
-
-
Change the restore point name in the Restore point field if necessary.
-
Click Run.
-
As a result, the Create restore point action runs. This action, in turn, generates several subactions. You can see all of them on the Actions tab (for more details, see View actions in ADBM).
-
As a successful result of all actions, a new restore point becomes available. You can check it by running the Common restore, Partial restore, or Cleanup action.
 The new restore point is available
 The new restore point is available
Common restore
The Common restore action allows you to restore databases at the moment of one of existing restore points. This is the only action that can be applied to both a running and a stopped ADB cluster. The action logic depends on the cluster status:
-
ADB cluster is running (marked as Up in the ADBM UI). In this case, before the action is started, additional checks are automatically performed to ensure that the selected backup can be applied to the cluster:
-
The topology that is saved in the backup is compared with the topology obtained from the ADB cluster (from the system table
gp_segment_configuration). -
The backup metadata is also checked (see Verify below).
If the validation is successful, the cluster stops automatically. In addition, if any error is fixed during the Common restore action, you can run Restore retry — this is a restart of the last restore process without any additional checks.
-
-
ADB cluster is stopped (marked as Down in the ADBM UI). In this case, any validation is skipped. However, it is still possible to start the restore process. This method is recommended only in case of fatal problems when the cluster does not even start.
|
NOTE
|
To restore databases, follow the steps:
-
Select the Common restore action on the cluster page or in the Clusters section.
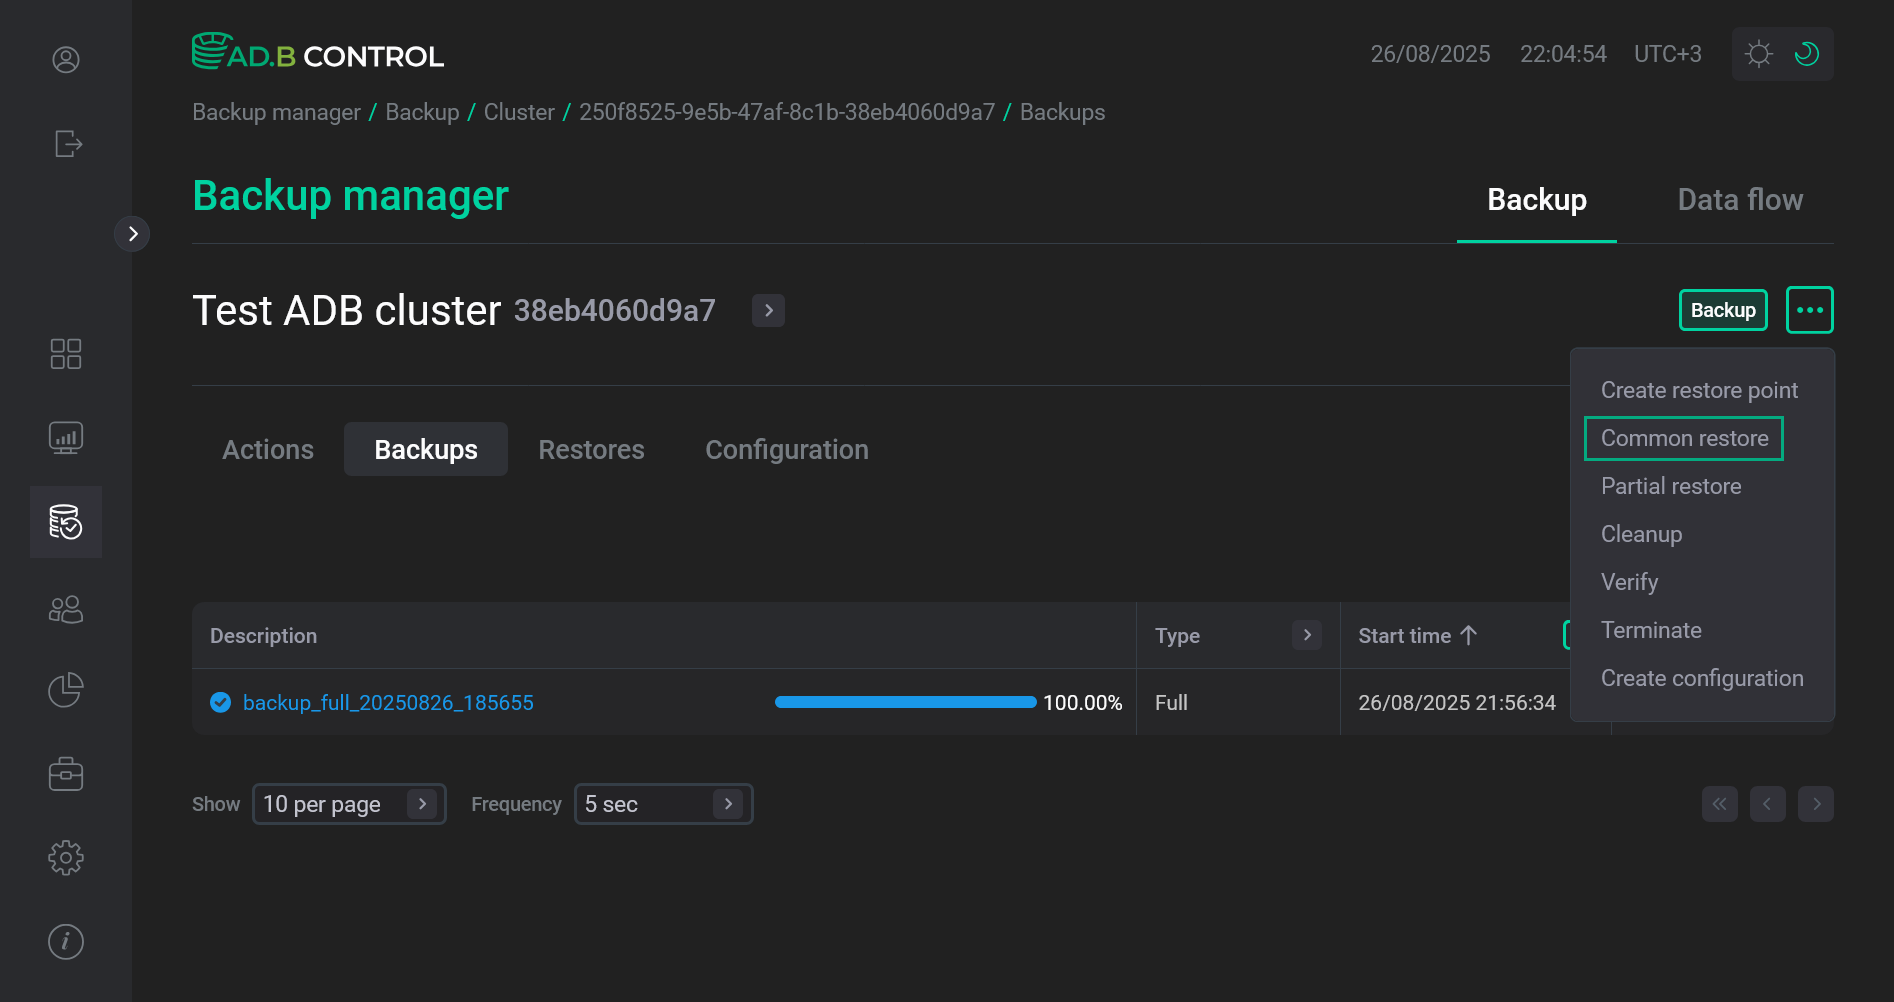 Switch to the Common restore action
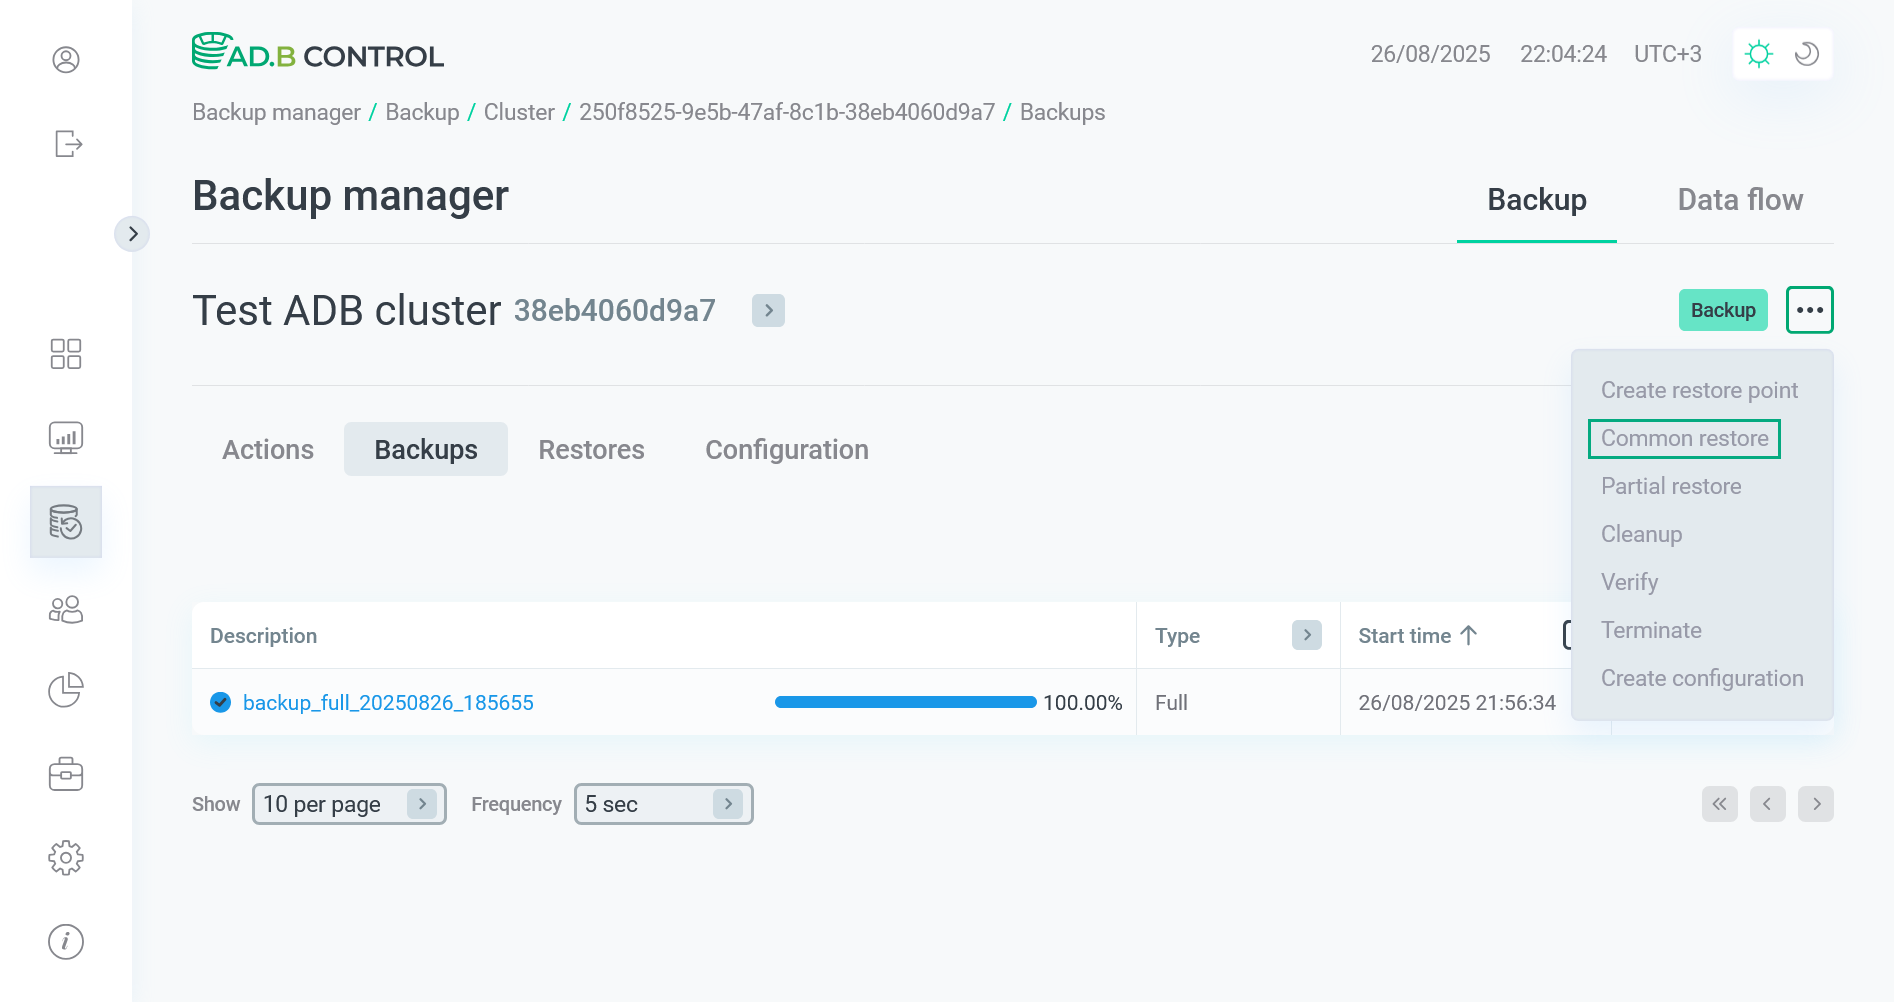 Switch to the Common restore action
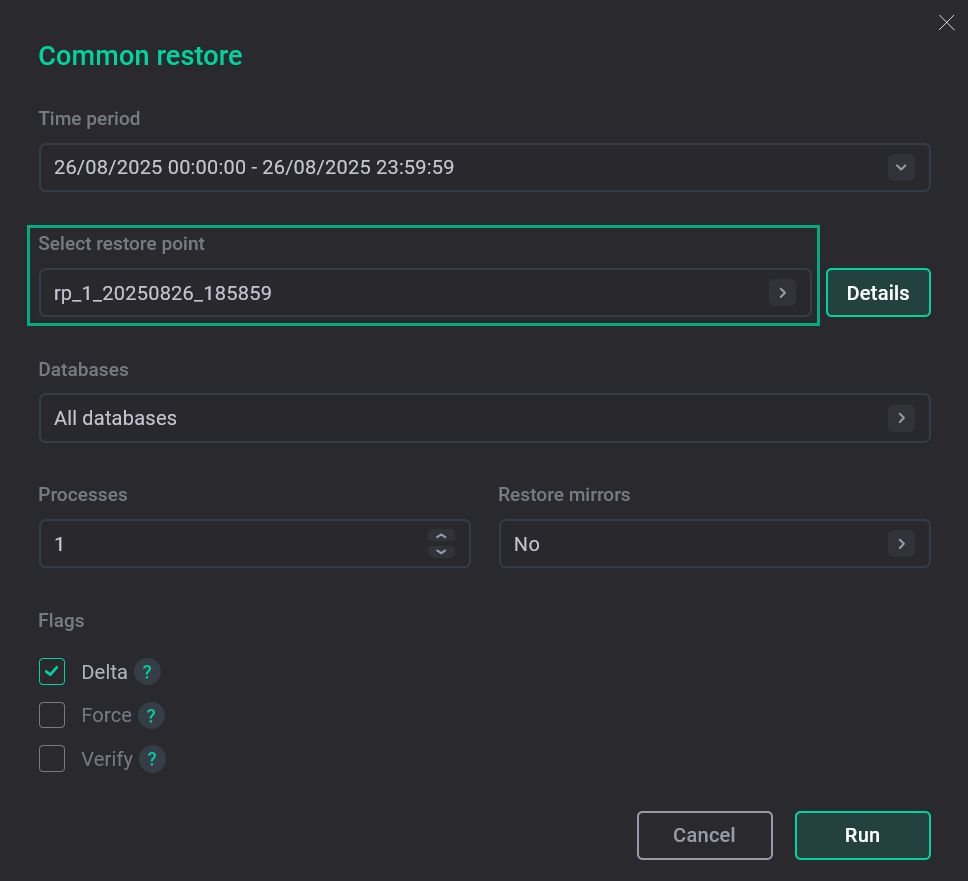
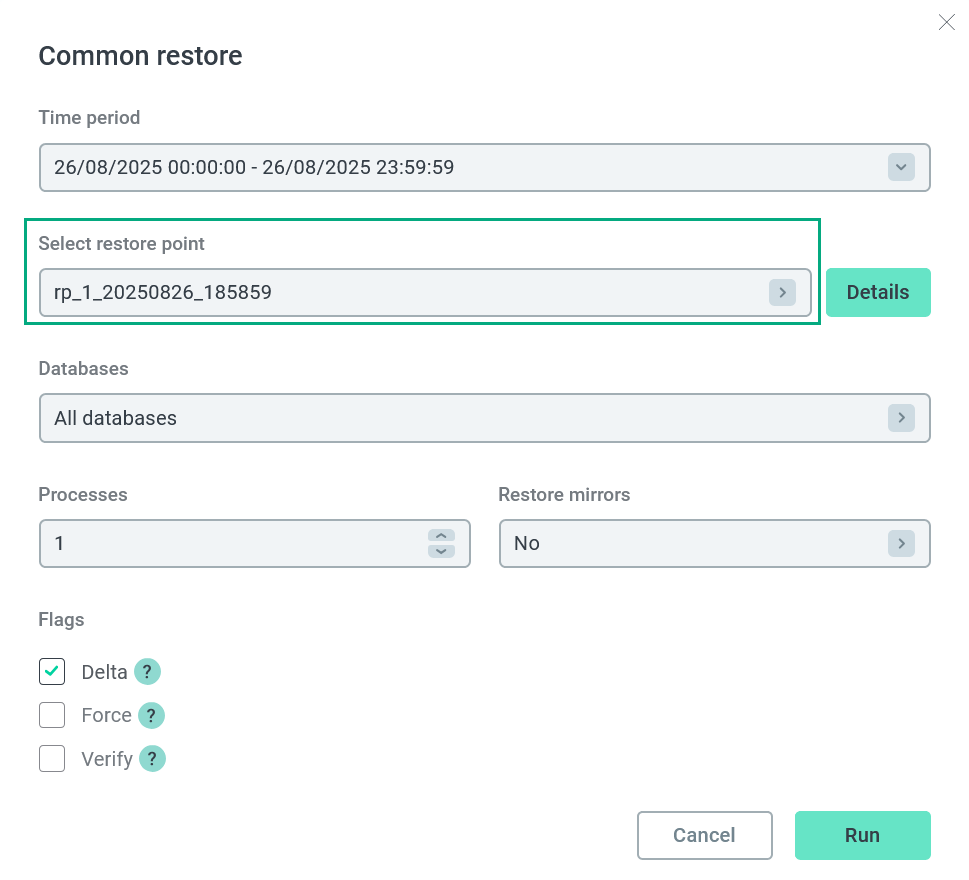
The window that opens contains the following fields:
-
Time period — the timestamp range that is used to search restore points. The default value is the current date.
-
Select restore point — the restore point at the moment of which you want to restore databases.
-
Databases — the databases that you can restore for the selected restore point.
-
Processes — a maximum number of processes to restore one segment.
-
Restore mirrors — the drop-down list, which value indicates whether to restore data for mirrors and standby if they exist in the cluster:
-
No— do not restore mirrors. -
Parallel— restore mirrors concurrently with primary segments. -
Sequential— restore mirrors after all primary segments are restored.
-
-
Override files — defines how the restore process handles existing files in the data and tablespace directories. Three options are available:
-
All files — completely overwrites existing files in the target directories. This corresponds to the
--forceoption ofpgbackrest restore. -
Compare using time and size — compares existing files with backup files by modification time and size, and overwrites only those that differ. This corresponds to the
--force --deltaoptions ofpgbackrest restore. -
Compare using checksums — compares existing files with backup files by checksums, and overwrites only those that differ. This corresponds to the
--deltaoption ofpgbackrest restore.
-
-
Verify — a flag that indicates the need to check backup data before data restore.
IMPORTANT-
The Override files option is available starting with ADBM 2.14.0 and replaces the previously separate Delta and Force flags.
-
Comparing by time and size is faster but provides fewer integrity assurances than the checksum check.
After you click Details, you can also see additional fields:
-
Date created — a creation timestamp of the selected restore point.
-
Backup date — a creation timestamp of the latest backup that was completed before the selected restore point.
-
Backup type — a type of the latest backup that was created before the selected restore point.
-
Configuration — the configuration version that was applied to the selected restore point. You can click it to view the configuration parameters in the list of configurations.
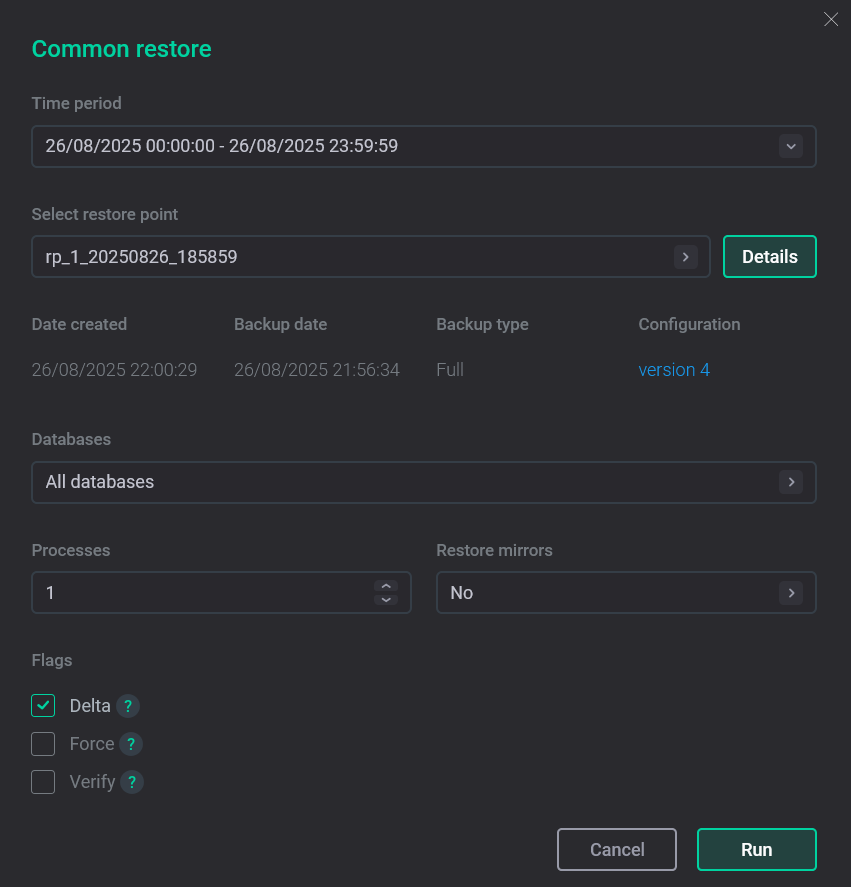 The Common restore action form
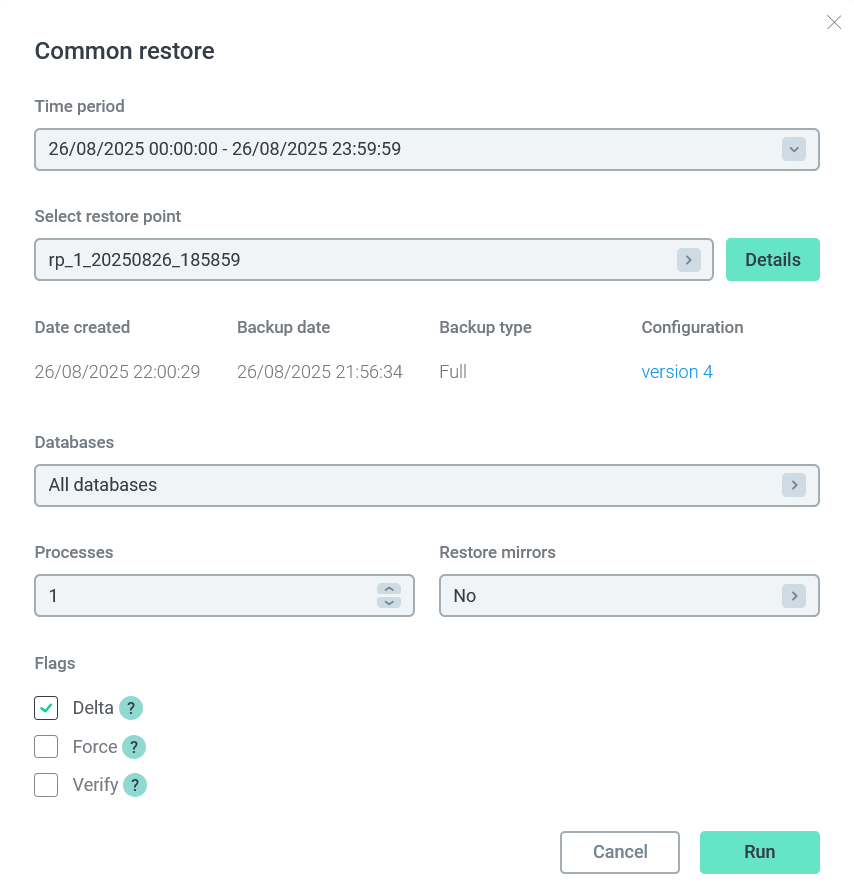 The Common restore action form
-
-
Fill in the necessary fields:
-
Select a restore point in the Select restore point drop-down list. Use the Time period filter if necessary.
-
In the Databases drop-down list, select the databases that you want to restore.
-
Select the Restore mirrors list value.
-
-
Click Run.
-
As a result, the Restore action runs. This action, in turn, generates several subactions. You can see all of them on the Actions tab (for more details, see View actions in ADBM).
Upon successful completion of all actions, the selected databases should be restored to the state they had at the specified restore point.
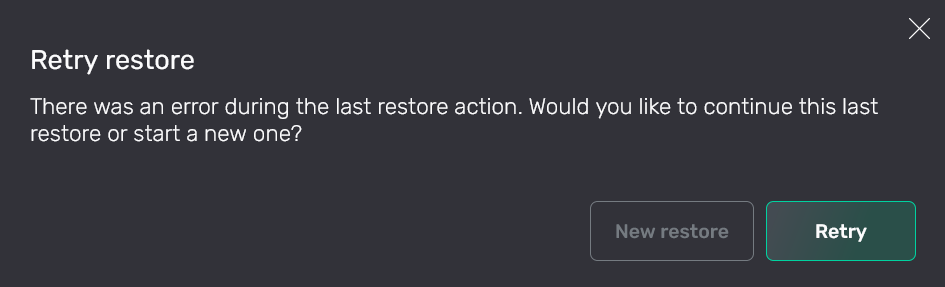
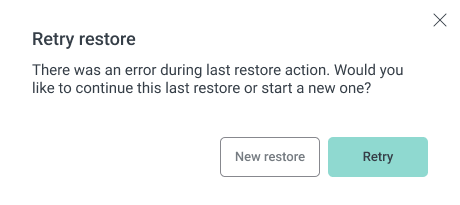
For running ADB clusters (with the Up status), if any error occurs when running the Common restore action — you can retry the latest restore process. To do this, select the Common restore action again (see step 1 above) and click Retry in the window that opens. If you want to run a new Common restore action from scratch (with all checks), click New restore.
Partial restore
|
NOTE
The Partial restore action is available starting with ADBM 2.2.2.
|
The Partial restore action allows you to restore selected tables to the state at the time of one of the existing restore points without stopping the ADB cluster.
Because the process runs on an active cluster, direct overwriting of data files is impossible. ADBM uses a multi-stage filtering of system catalogs and WAL files to select only the records related to the selected tables that are being restored. As a result, performing a Partial restore can take considerably longer than a full cluster restore.
|
IMPORTANT
|
The Partial restore action is recommended for:
-
Restoring a small number of tables or schemas when cluster downtime for a full restore is not allowed due to service-level agreements.
-
Periods of minimal load on the objects being restored — to reduce the impact of their inconsistent state on users.
The Partial restore action is not recommended for urgent recovery of large volumes of data. In such cases, a full restore (the Common restore action) with cluster shutdown will be significantly faster and safer.
Starting with version 2.14.0, ADBM can optionally collect table metadata during the Backup and Create restore point actions. Without metadata, ADBM restores system catalogs on each segment and scans them to find the required tables, which consumes additional disk space and time. Using metadata eliminates this step making table validation before restore faster. If the selected restore point has metadata, the tables that match your filter and exist in the backup are shown in the partial restore form.
To run the Partial restore action, follow the steps:
-
Select the Partial restore action on the cluster page or in the Clusters section.
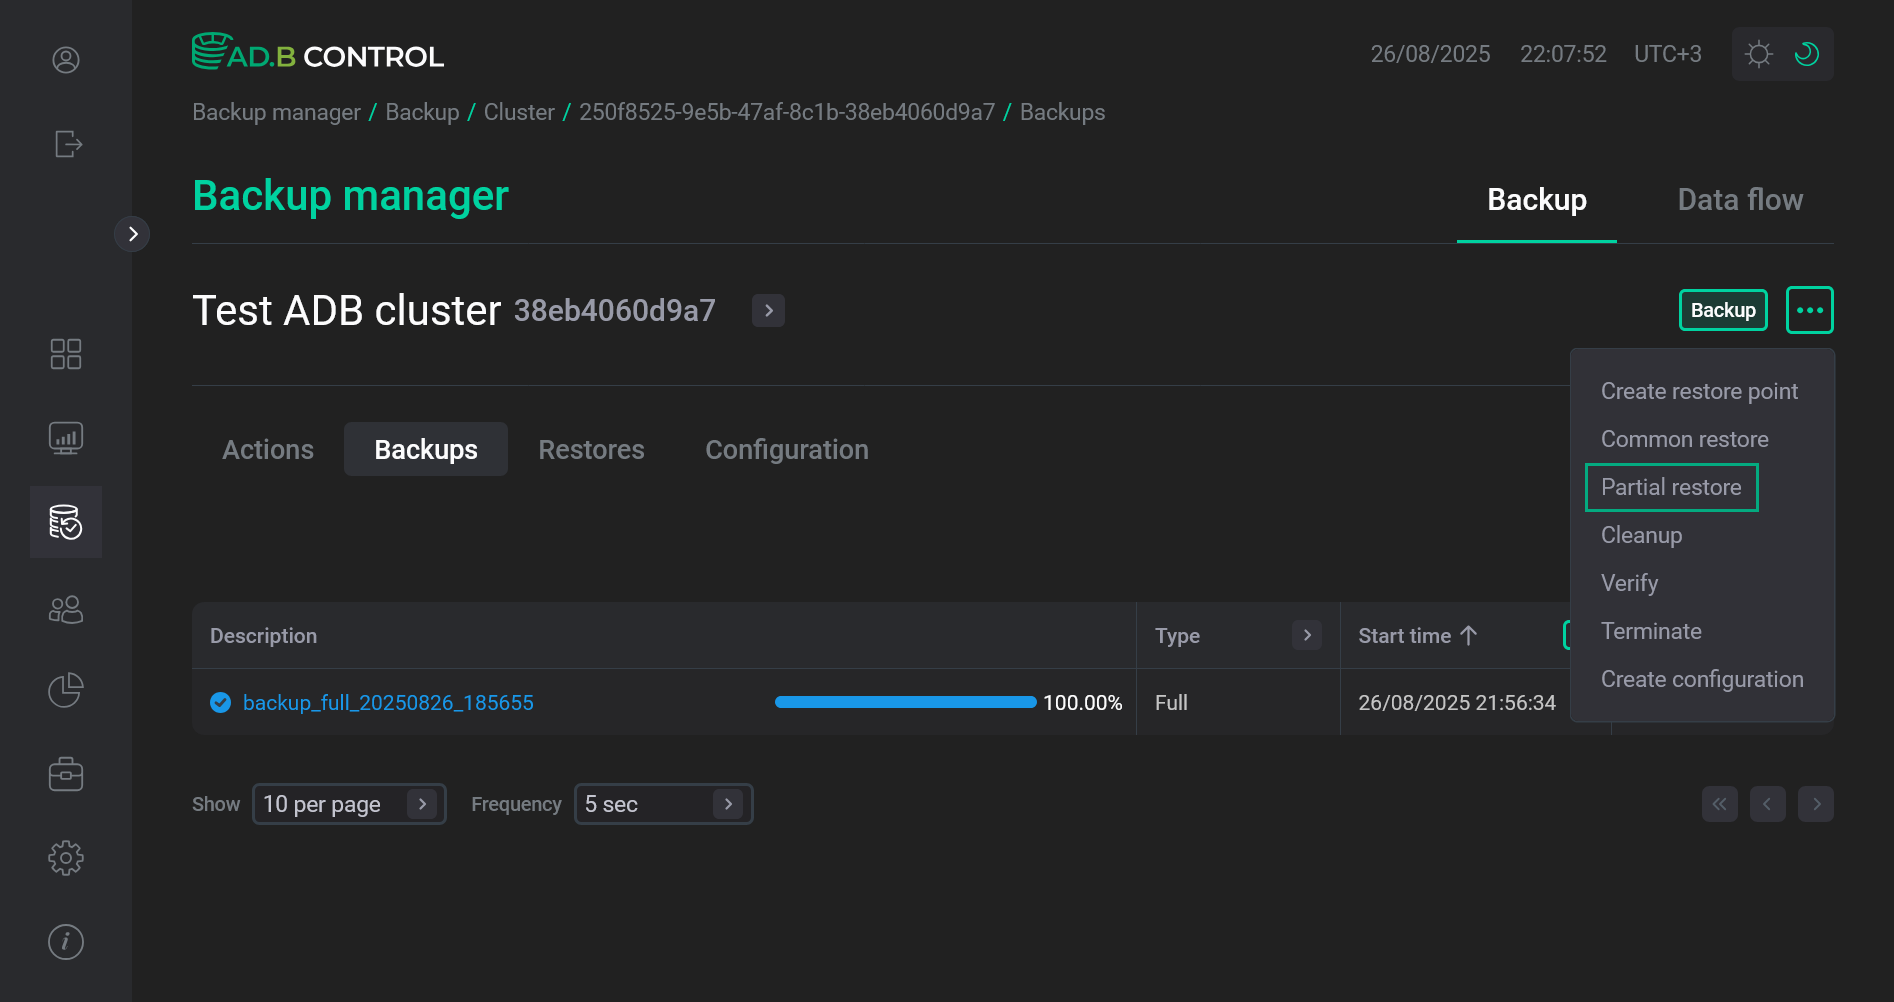 Switch to the Partial restore action
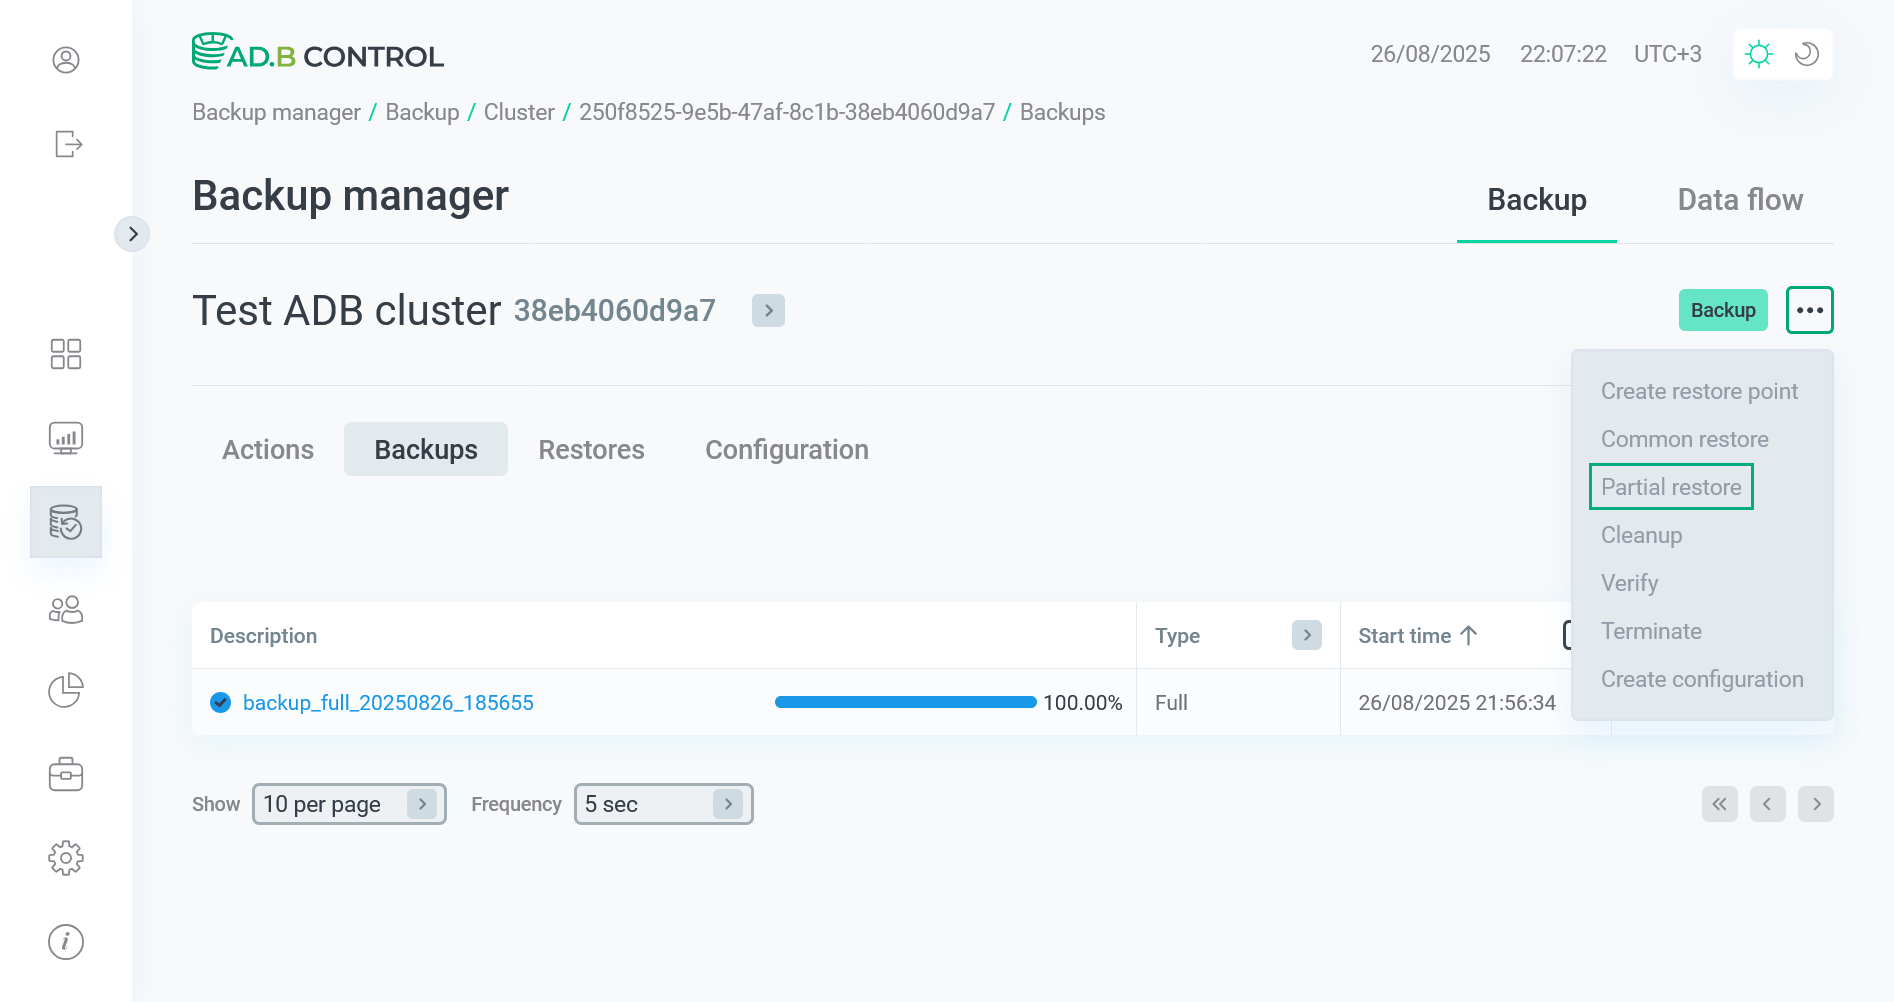 Switch to the Partial restore action
 -
At the General settings step, configure the following parameters:
-
Time period — the timestamp range that is used to search restore points. The default value is the current date.
-
Select restore point — the restore point at the moment of which you want to restore tables. To quickly find restore points with table metadata, select the Show restore points with metadata flag.
-
Source database — the source database whose tables you can restore for the selected restore point.
-
Target database — the target database where tables should be restored. If not specified, all tables will be restored in the source database.
-
Processes — a maximum number of parallel processes per host during the restore process. Values from the following range are supported:
[1,100]. The default value comes from the Max processes per host field in the backup configuration (see the Workspace section in Manage configurations in ADBM). -
Verify — a flag that indicates the need to check backup data before data restore.
TIPSince one process restores data of one segment on a host, it is recommended to set the maximum value equal to the number of primary segments on the host. If the value is higher, the rest of the processes will not be used, if the value is lower — the data restore process will take longer, yet consume less resources (due to the limit).The Restore point details tab shows the following information:
-
Date created — a creation timestamp of the selected restore point.
-
Backup date — a creation timestamp of the latest backup that was completed before the selected restore point.
-
Backup type — a type of the latest backup that was created before the selected restore point.
-
Configuration — the configuration version that was applied to the selected restore point. You can click it to view the configuration parameters in the list of configurations.
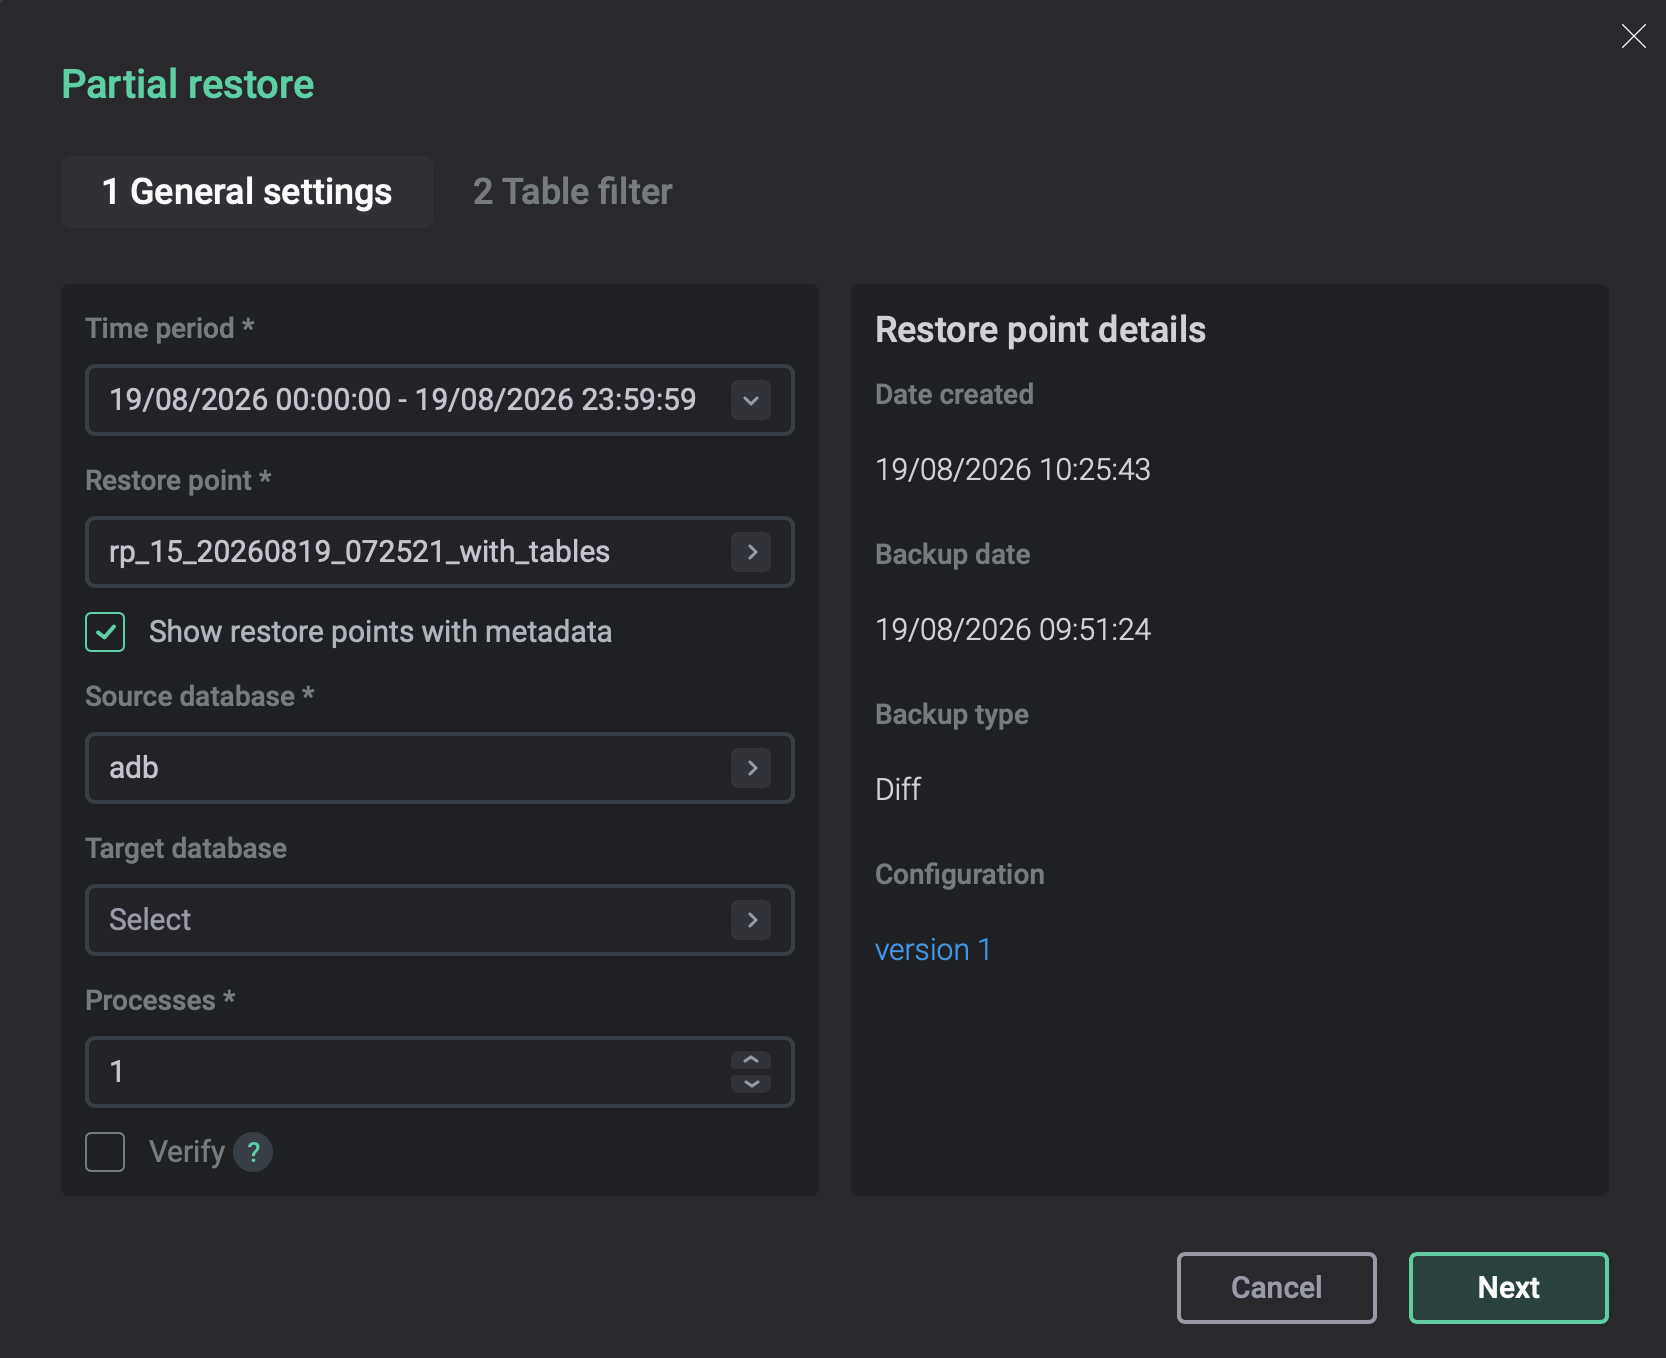 The Partial restore action form. General settings
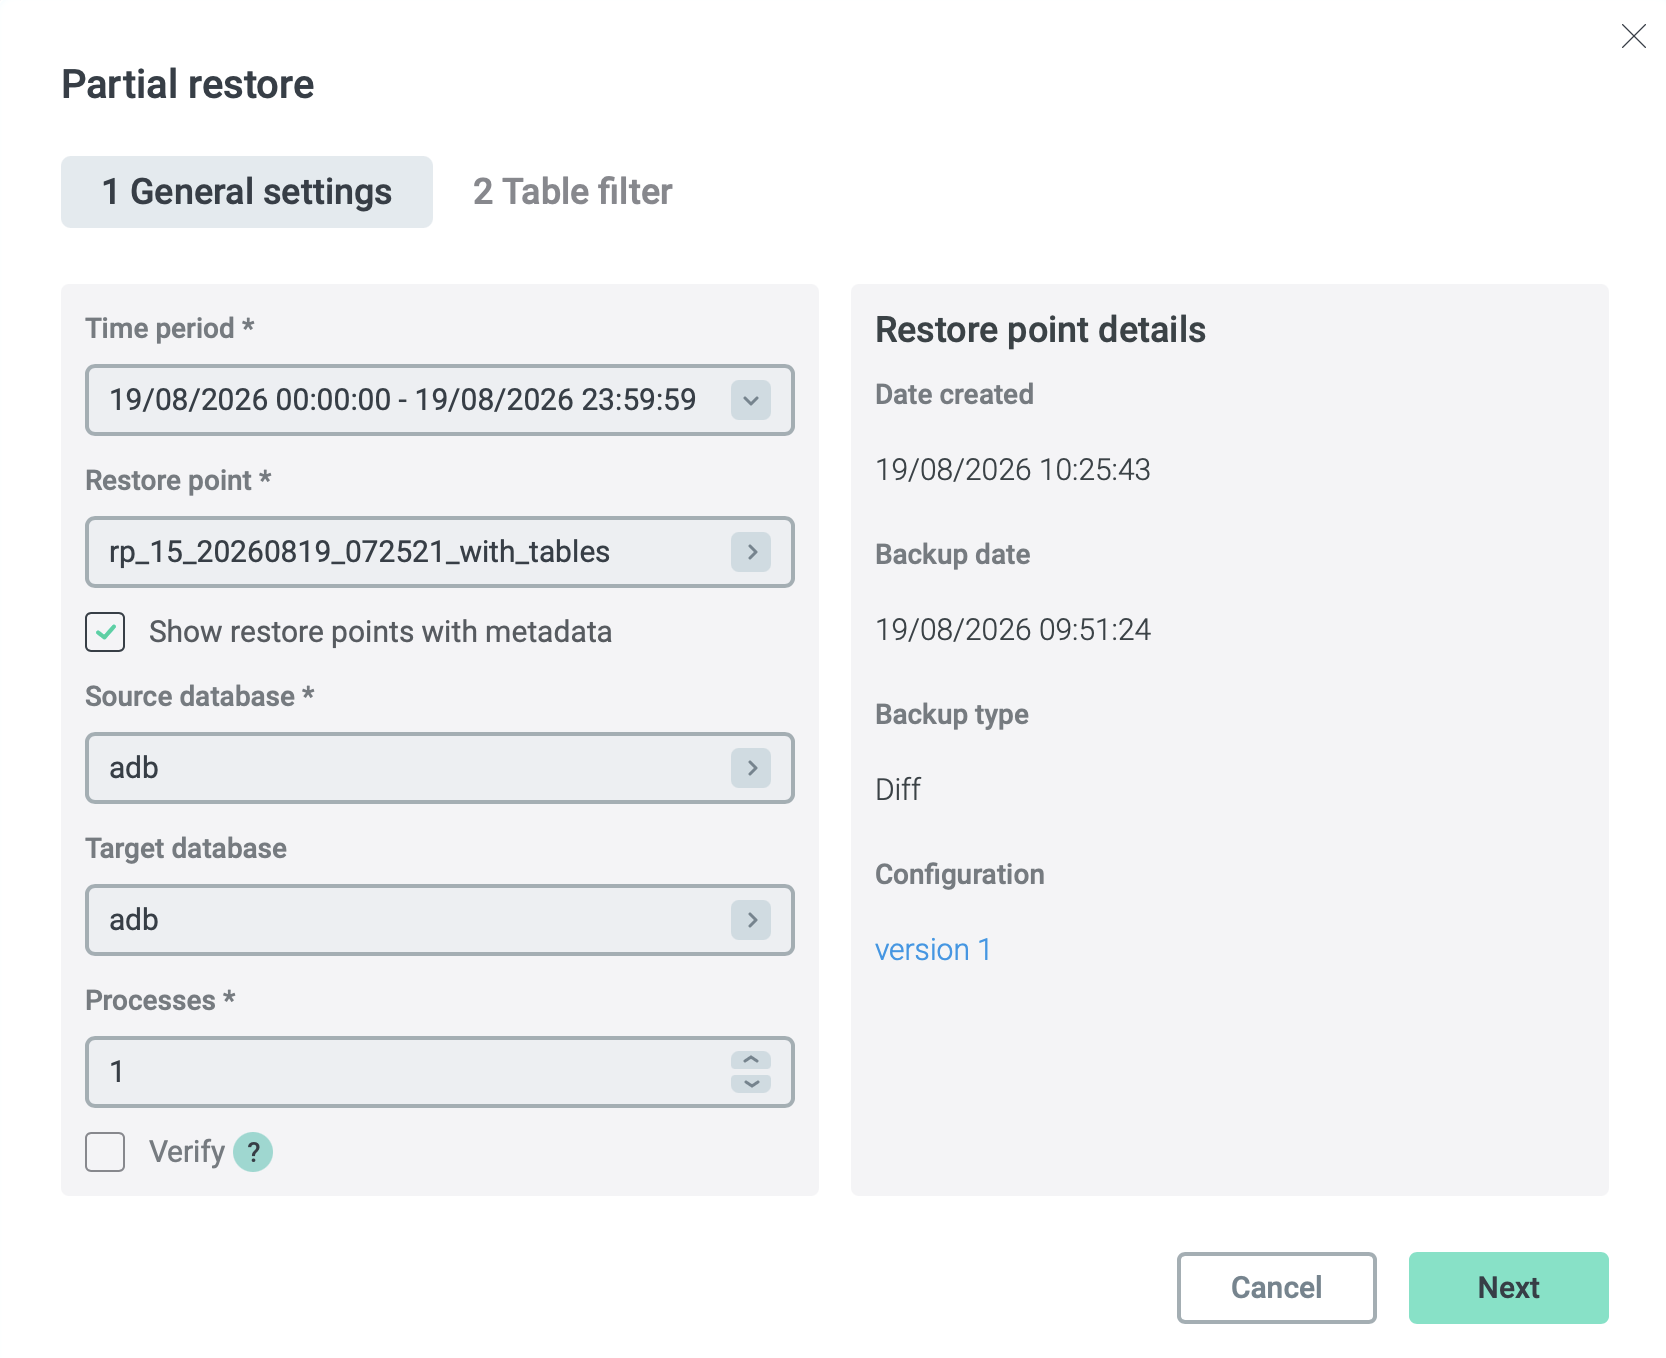 The Partial restore action form. General settings
-
-
At the Table filter step, configure the following parameters:
-
Table suffix — the suffix that will be added to all table names in the target database during the restore process. Maximum length is 32 characters. If not specified, table names from the source database will be used. In the latter case, for successful data restore, it is important that the selected tables do not exist in the target database.
-
In the Method for selecting tables to restore list, select one of two ways to define the list of tables to be restored:
-
Search by pattern — enter table name masks manually. To add a mask, enter it in the Table name masks field and click

 .
To delete a mask, click
.
To delete a mask, click 
 .
The
.
The <schema>/<table_name>format is supported. Wildcards (*) are allowed in any part of the table name (<table_name>) to match zero or more characters, similar to the SQL%wildcard. If<schema>/is omitted, thepublicschema is used. -
Upload table list from file — upload a .txt file with a list of tables to restore. Each line must contain one table name in the
<schema>/<table_name>format. Table names follow the same rules as for Search by pattern.
If metadata is used, tables matching the filter are shown in this dialog. If metadata is not used, the following message is shown:
The tables cannot be validated because the selected restore point does not have table metadata saved. In this case, the resulting tables are not shown and ADBM will perform the restore operation without prior validation.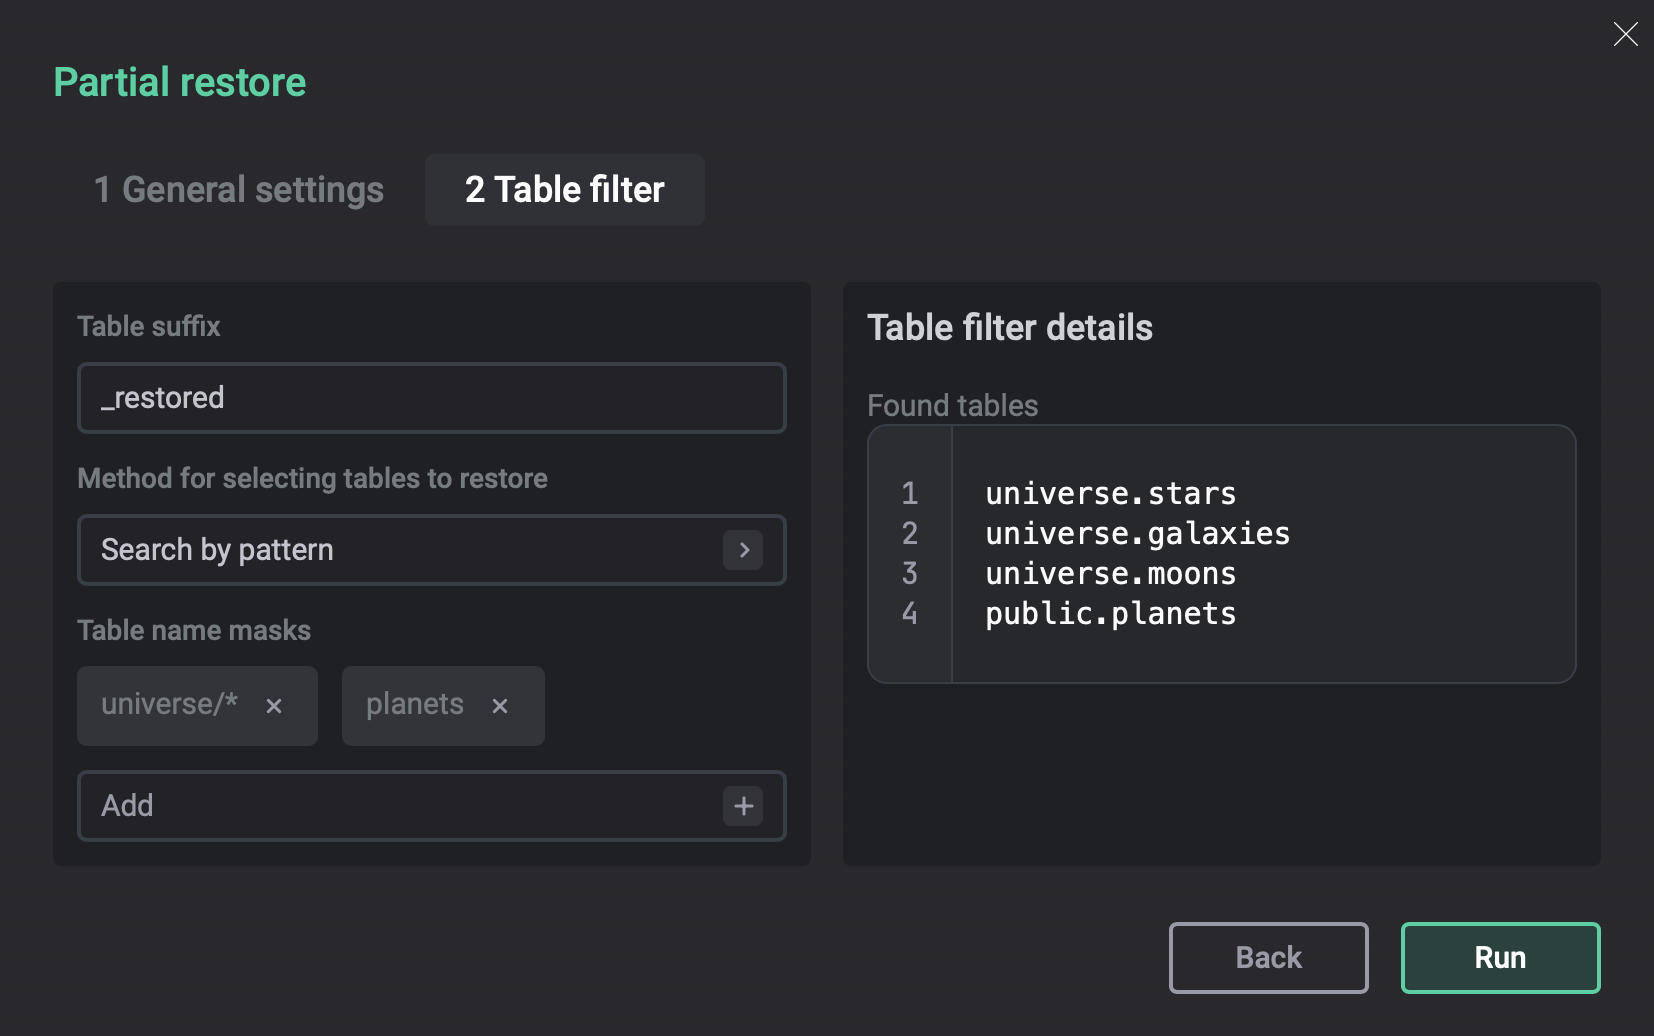 The Partial restore action form. Table filter
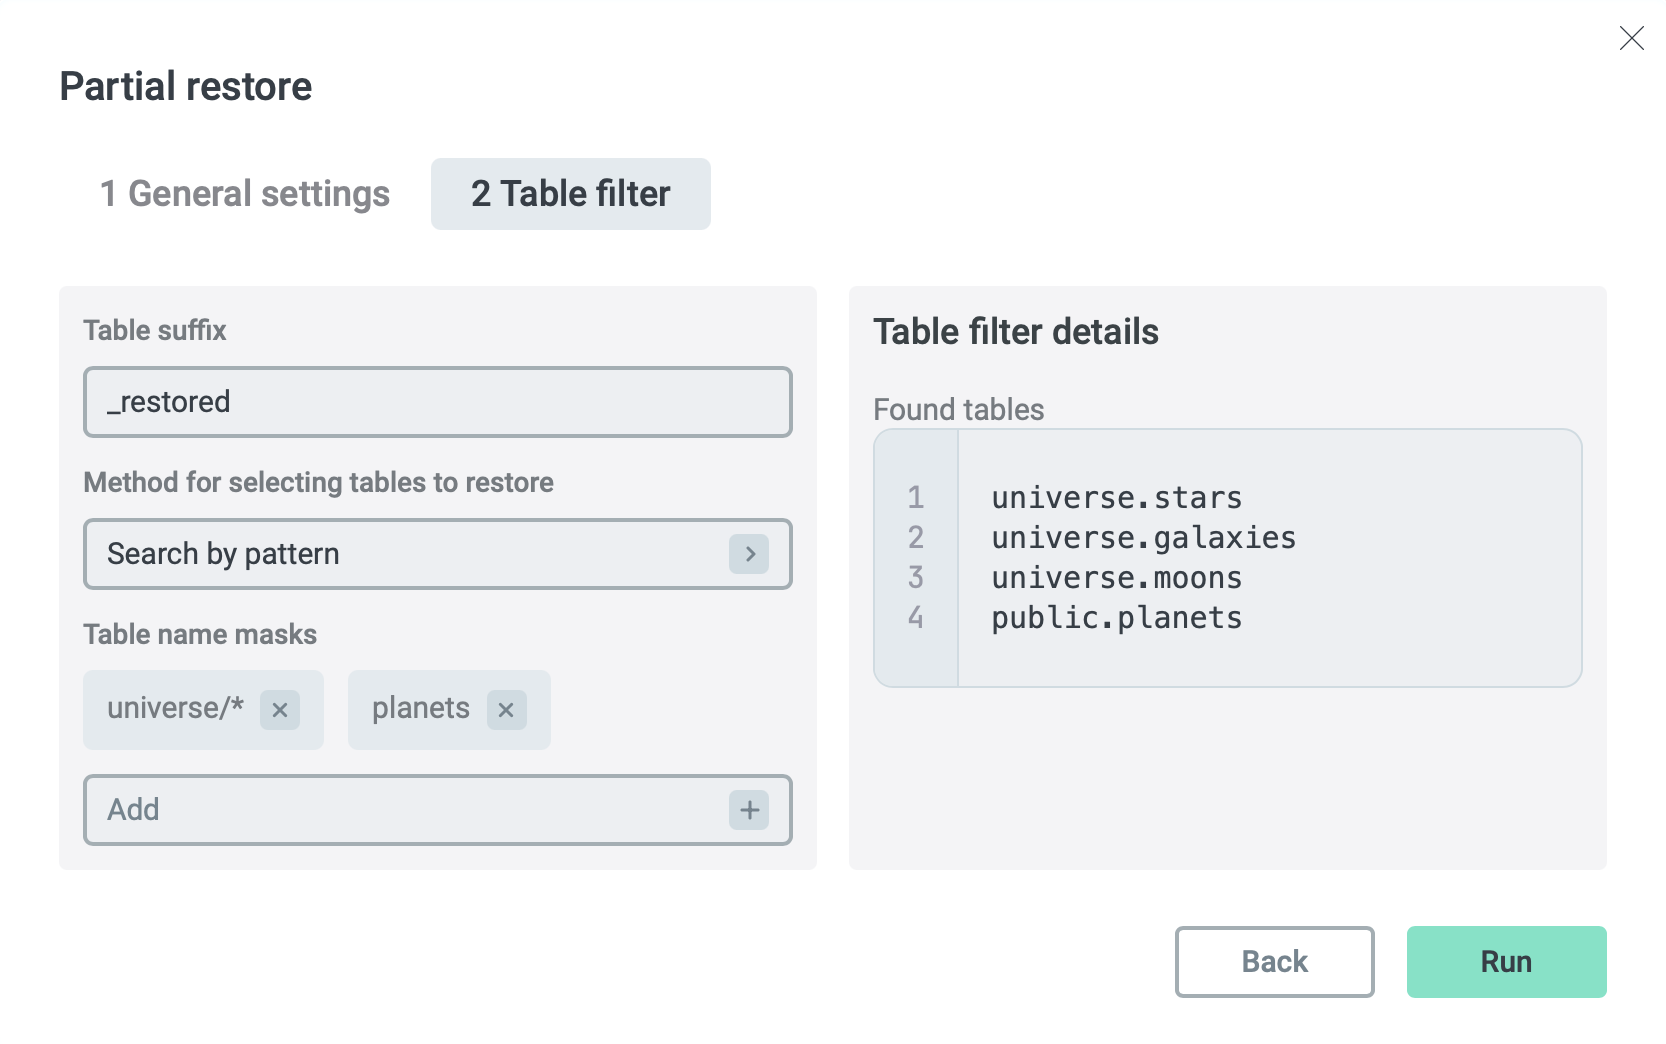 The Partial restore action form. Table filterCAUTION
-
If the Table suffix value is empty and a table with the source name already exists in the target database, the following error occurs in one of subactions:
Couldn’t create table <table_name>. In that case, the table data restore fails (the process of restoring other tables still continues). To avoid such a problem, use a suffix in case of existence of the table being restored. -
When choosing the Table suffix value, remember that the maximum length of any DB relation name (including partition names) in ADB is
64characters. If the overall length of the name with the suffix exceeds the specified limit, the name will be trimmed, which could potentially lead to duplication of table names. -
If metadata is used and no table matches the provided filter, you won’t be able to start the restore operation. If metadata is not used, tables are checked against the filters in the source database after the action starts. In this case, if the specified tables cannot be found (for example, a non-existent schema is specified), the following error is logged in one of the subactions:
No tables were found by provided filter, and the restore status is changed toFailed. If at least one of the filters is valid, the tables corresponding to this filter are successfully restored and invalid filters are ignored. To avoid such situations, ensure that all schemas and tables are present in the source database before launching the Partial restore action.
-
-
-
Click Run.
-
As a result, the Table restore action runs. This action, in turn, generates several subactions. You can see all of them on the Actions tab (for more details, see View actions in ADBM).
-
As a successful result of all actions, the selected tables should be restored at the moment of the specified restore point. If at least one table is restored with a failure, the Table restore action status changes to
Warning, and the restore status of each table can be seen on the Restores page — in details of the selected data restore on the Tables tab.
Cleanup
The Cleanup action is automatically executed according to the schedule that is defined by the Cleanup schedule parameter of the current configuration version (see the Configuration → Schedule tab). This action removes:
-
The oldest extra full backups — if the number of full backups exceeds the Number of full backups parameter defined for the current configuration.
-
The oldest extra differential backups — if the number of differential backups exceeds the Number of differential backups parameter defined for the current configuration.
-
All backups in the following statuses:
Failed,Invalid. -
Inactive configuration versions that have no related backups.
|
NOTE
Starting with ADBM 2.12.0, if the Deleted backup TTL option is configured in the backup configuration schedule, the backup status will be changed to |
When you run the Cleanup action manually, you select the restore point, and ADBM identifies the nearest full or differential backup before it. Then, all backups and restore points related to that backup are removed. The objects listed above are also removed. You can use the Target only flag to exclude these objects from cleanup and delete only the data associated with the selected restore point.
To run the Cleanup action manually, follow the steps:
-
Select the Cleanup action on the cluster page or in the Clusters section.
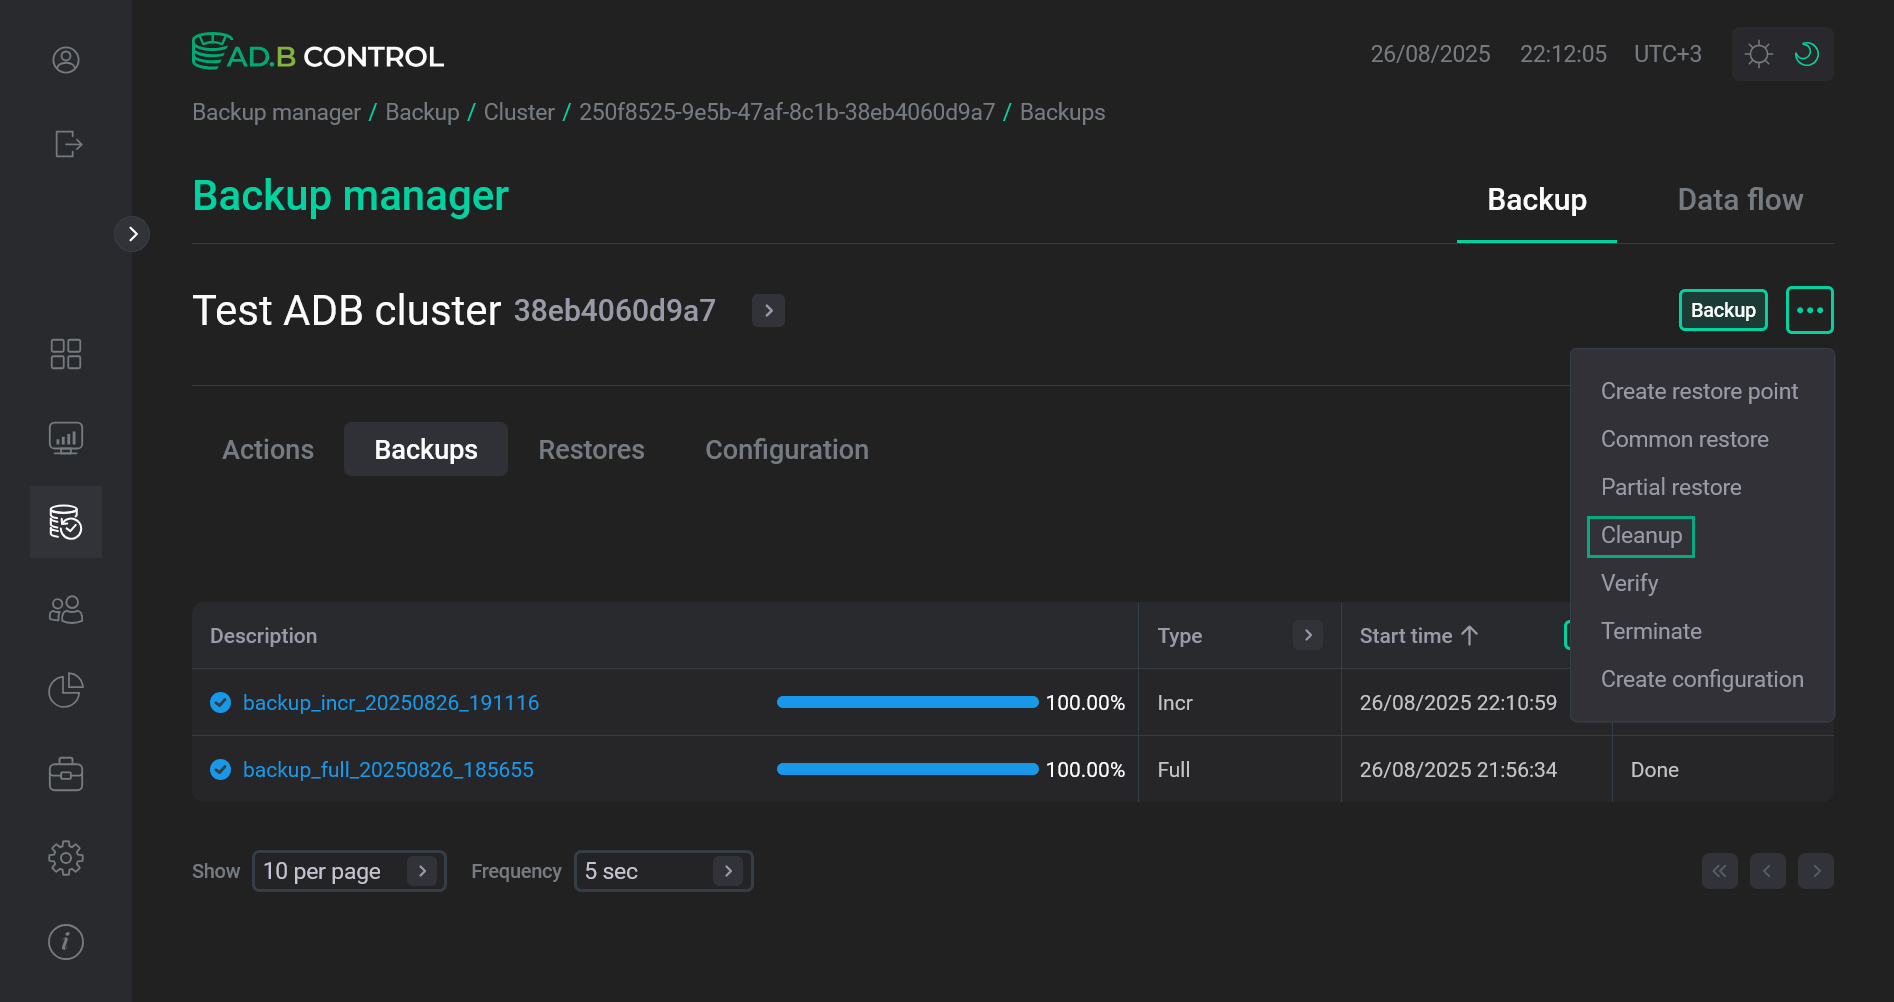 Switch to the Cleanup action
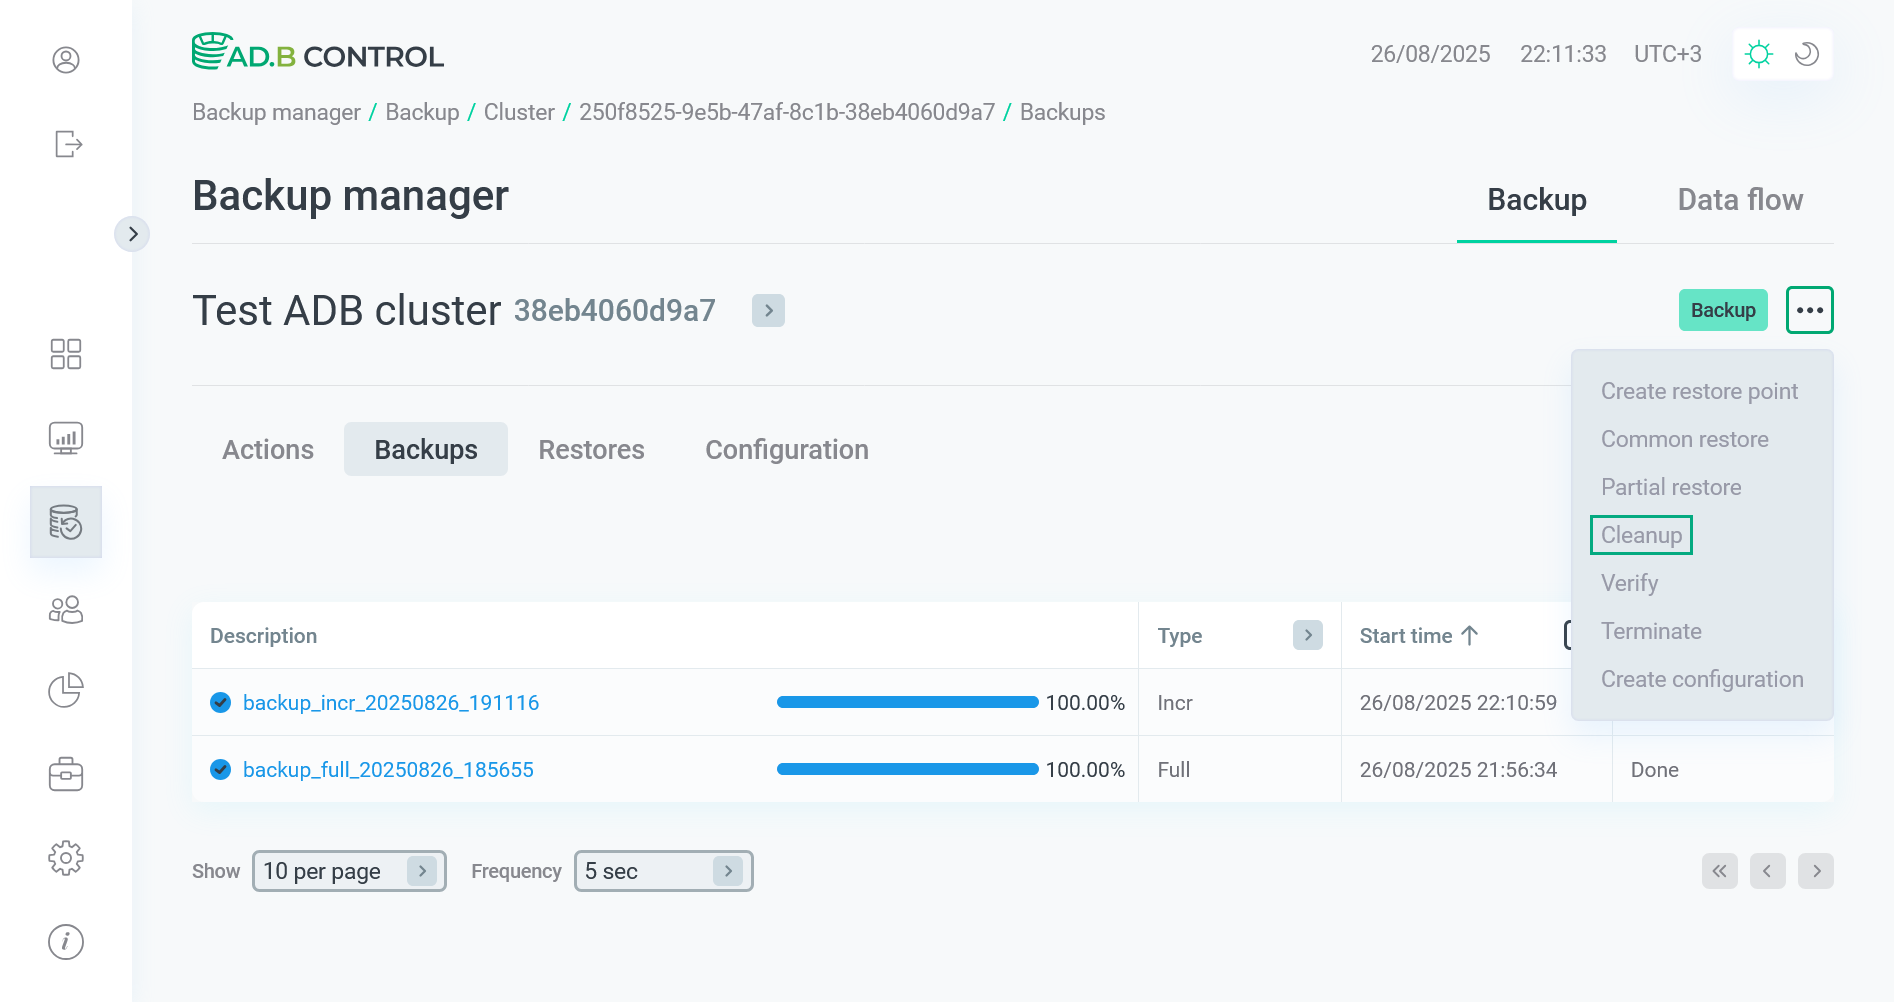 Switch to the Cleanup action
The window that opens contains the following fields:
-
Time period — the timestamp range that is used to search restore points. The default value is the current date.
-
Select restore point — the restore point at the moment of which you want to remove a set of related backups and restore points.
-
Configuration — the configuration version that was applied to the selected restore point. You can click it to view the configuration parameters in the list of configurations.
-
Date created — a creation timestamp of the selected restore point.
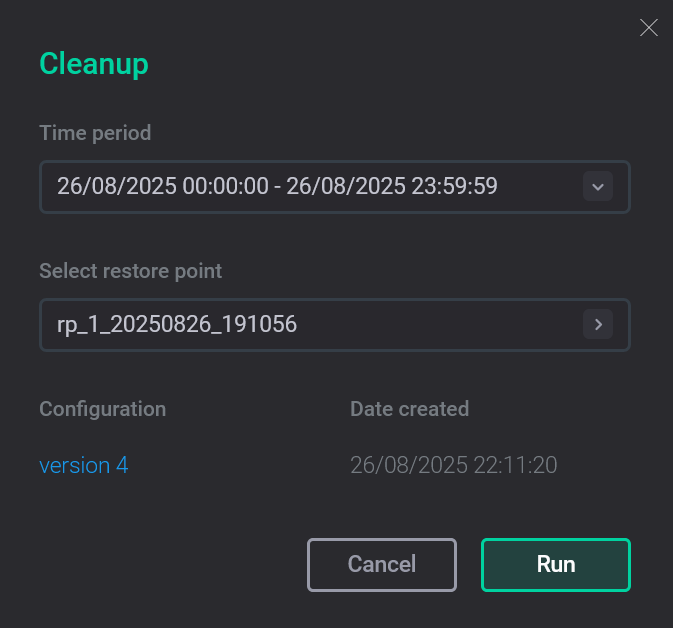 The Cleanup action form
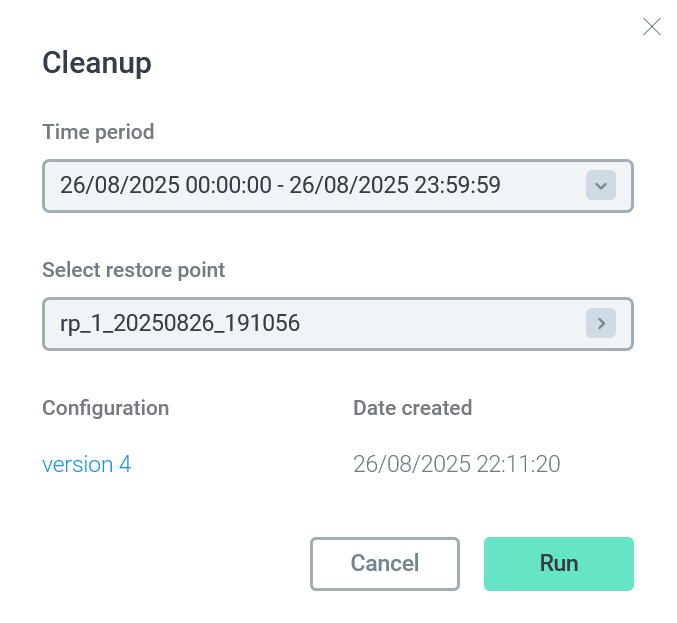 The Cleanup action form
-
-
Configure the cleanup parameters:
-
Select a restore point in the Select restore point drop-down list. Use the Time period filter if necessary.
-
Use the Target only flag to define data to be removed. When this option is selected, only backups that depend on the target restore point (selected in Select restore point) are deleted. The retention policy defined by the backup/restore configuration is ignored. When the option is not selected (default), backups depending on the target restore point are deleted first, and then data is deleted according to the retention policy.
-
-
Click Run.
-
As a result, the Start cleanup job for Verify backup action runs. This action, in turn, generates several subactions. You can see all of them on the Actions tab (for more details, see View actions in ADBM).
-
As a successful result of all actions, backups and restore points are removed according to the rules described above. You can check it in the list of backups on the Backups tab.
For example, if you have two backups, full and incremental, and select the restore point that was created after the incremental backup — both backups will be deleted.
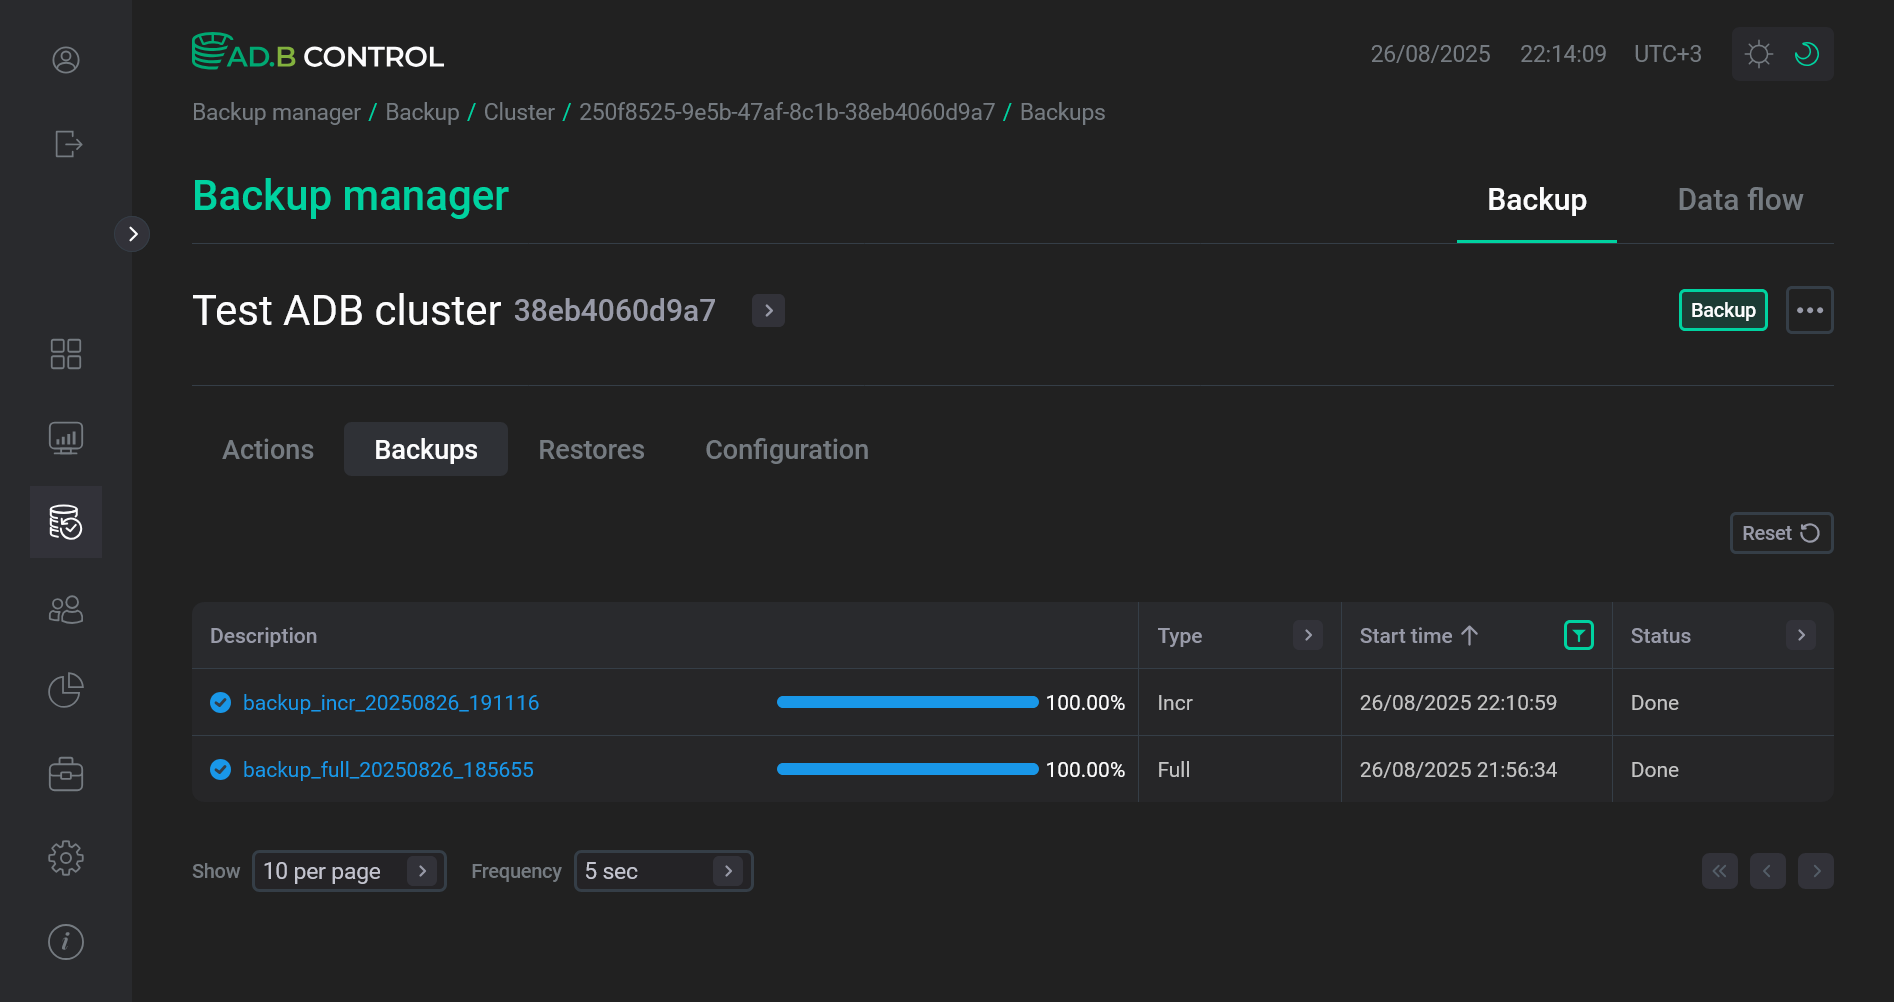 List of backups before the Cleanup action
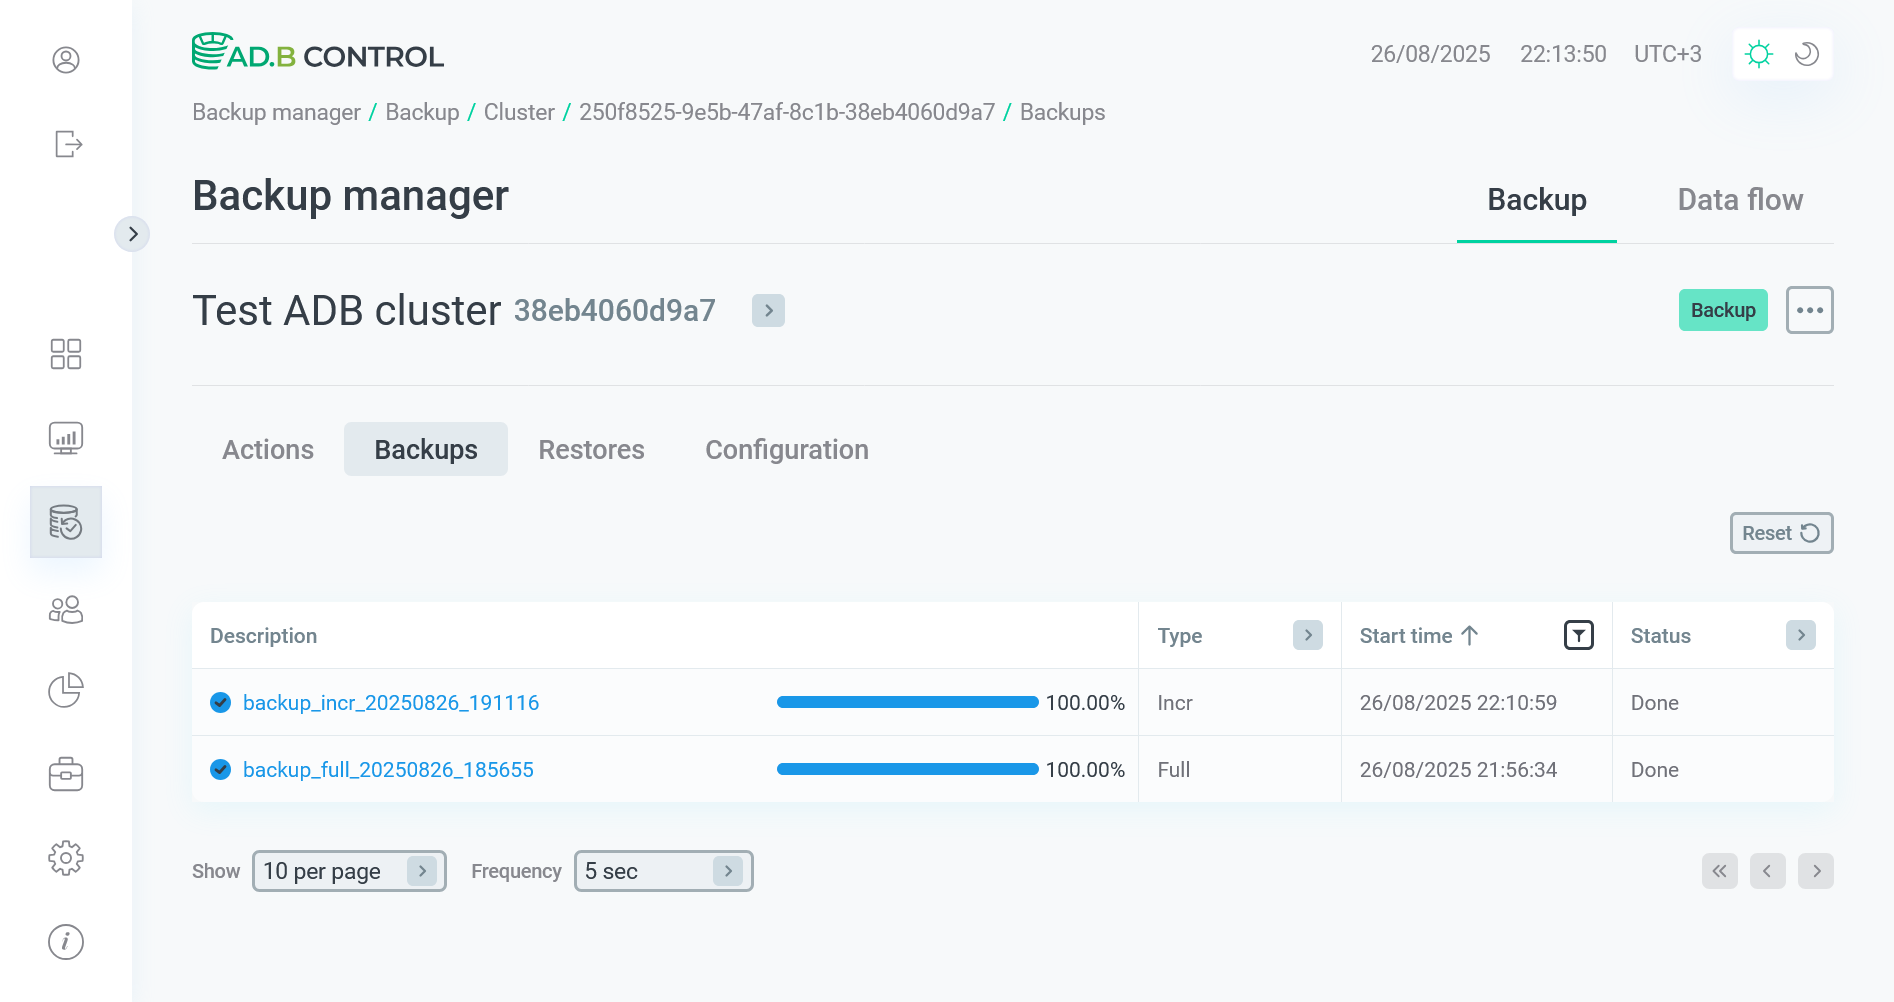 List of backups before the Cleanup action
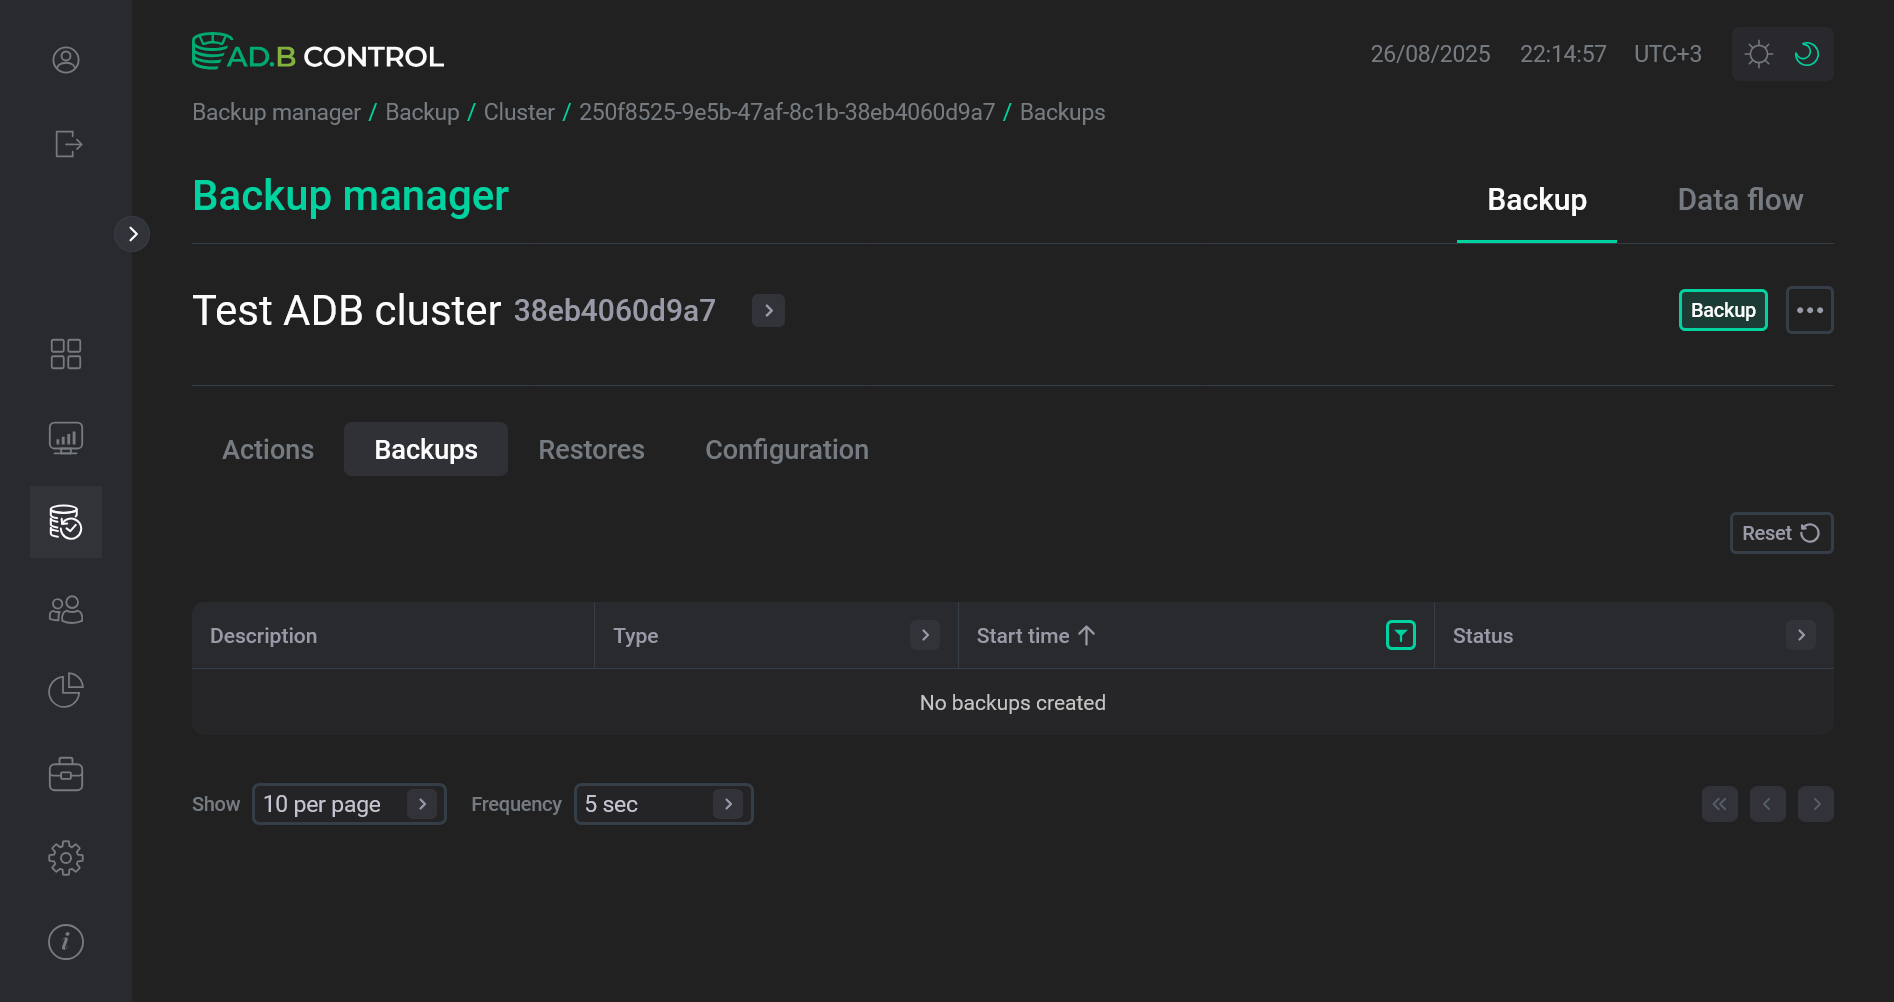 List of backups after the Cleanup action
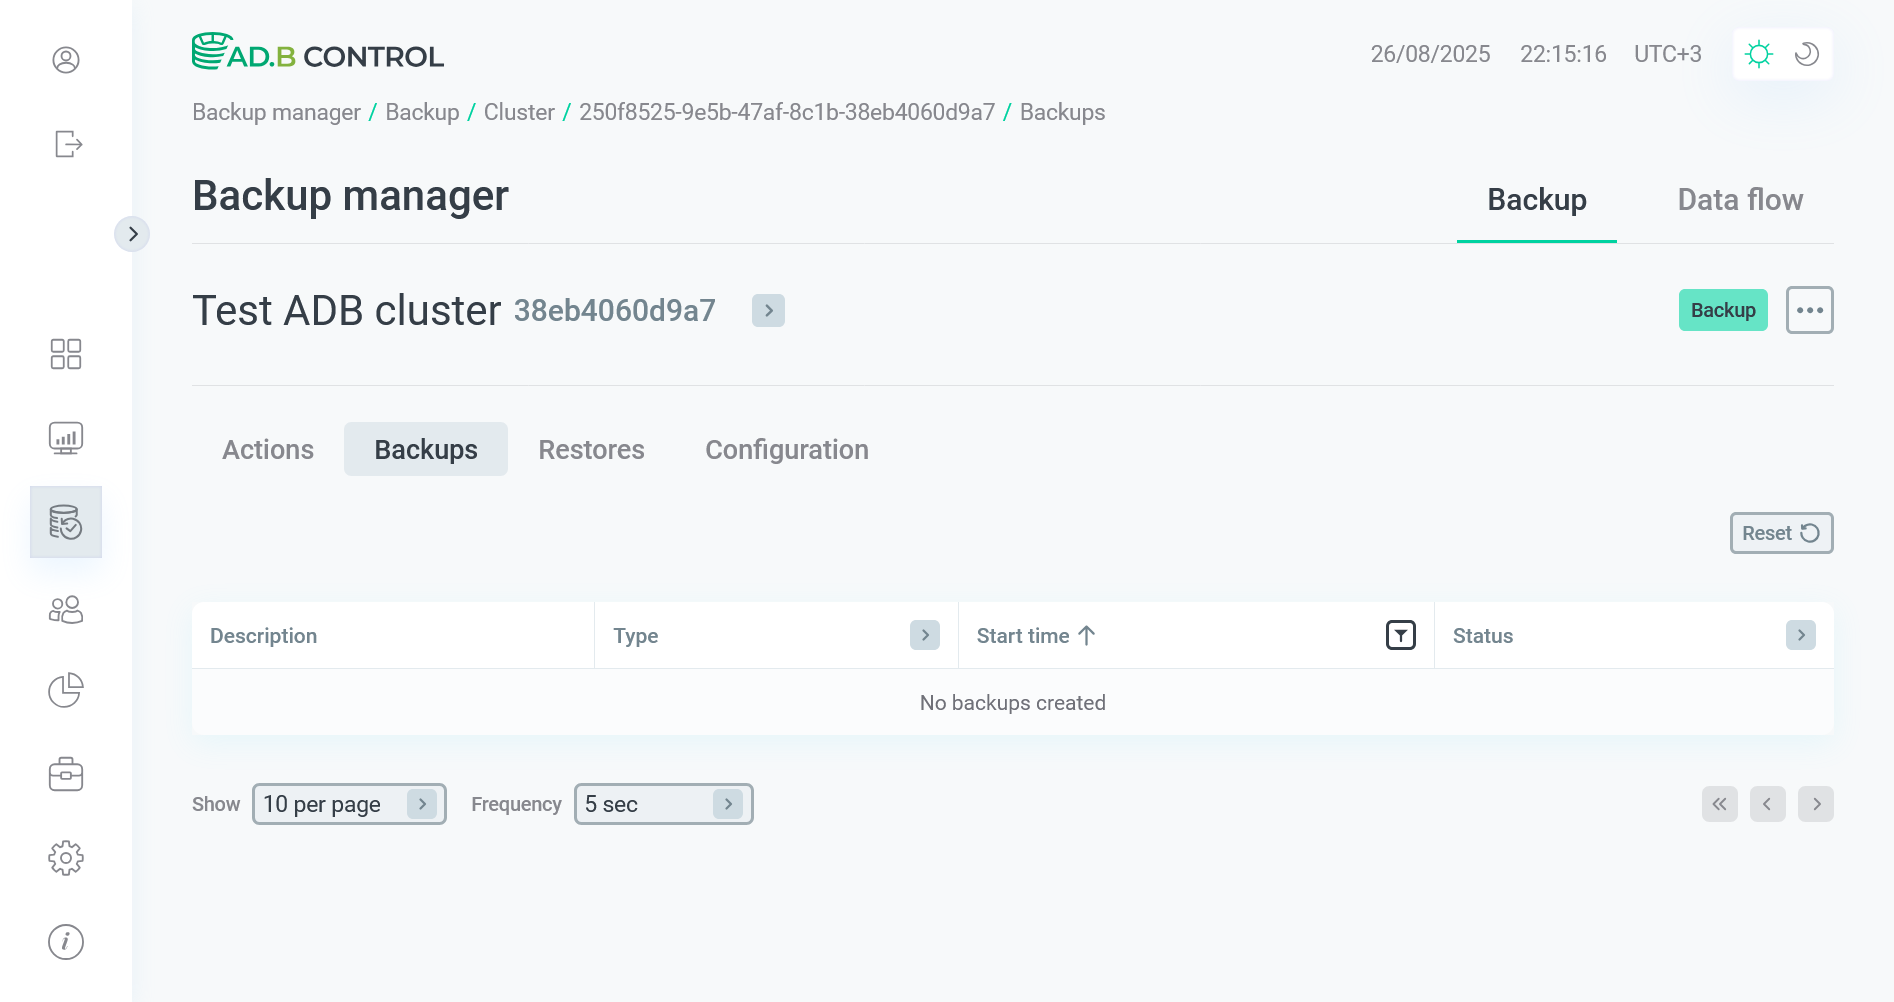 List of backups after the Cleanup action
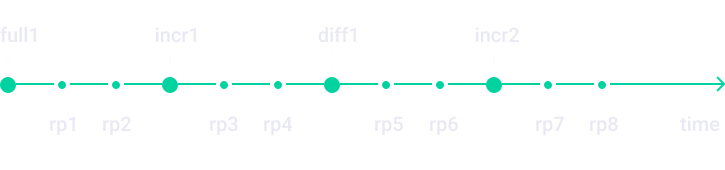
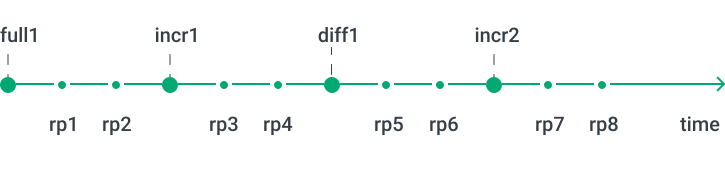
To better understand the logic of the Cleanup manual action, you can view the example listed below.
The figure shows a timeline with a list of backups of different types (called full*, diff*, incr*) and restore points (called rp*).
The table explains which objects will be deleted when any of the restore points is selected in the Cleanup action form.
This example assumes that the limits of the retention policy are not exceeded, or that the Target only flag is set in the Cleanup action form.
| Selected restore point | Objects to be removed |
|---|---|
rp1 |
All backups and restore points for the specified period |
rp2 |
All backups and restore points for the specified period |
rp3 |
All backups and restore points for the specified period |
rp4 |
All backups and restore points for the specified period |
rp5 |
diff1, incr2, rp5 — rp8 |
rp6 |
diff1, incr2, rp5 — rp8 |
rp7 |
diff1, incr2, rp5 — rp8 |
rp8 |
diff1, incr2, rp5 — rp8 |
Verify
The Verify action performs the following:
-
Compares the backup metadata that is stored in ADBM with the backup metadata that is being received from
pgbackrest(i.e. actual backups). -
Checks whether the backups and archives in a repository are valid on the moment of the selected restore point. The following checks are made:
-
Existence of backup files.
-
Size of backup files.
-
Checksums of backup files.
-
Validity of WAL archives that belong to the backup.
-
If the difference is fixed for any backups, they acquire the Invalid status as they cannot be used to restore databases. Such backups will be removed during the next Cleanup action launch.
Before comparing data and metadata, ADBM additionally checks existence of configuration files (pgbackrest.conf) for all timelines on all segment hosts. If any of these files are not present, the last available version of the timeline configuration is taken, and a new configuration file is created on the basis of this configuration. Then this file is written to the segment host for the selected timeline. This is necessary to ensure that all configurations are present before backup data and metadata are checked.
|
NOTE
|
To run the Verify action, do the following:
-
Select the Verify action on the cluster page or in the Clusters section.
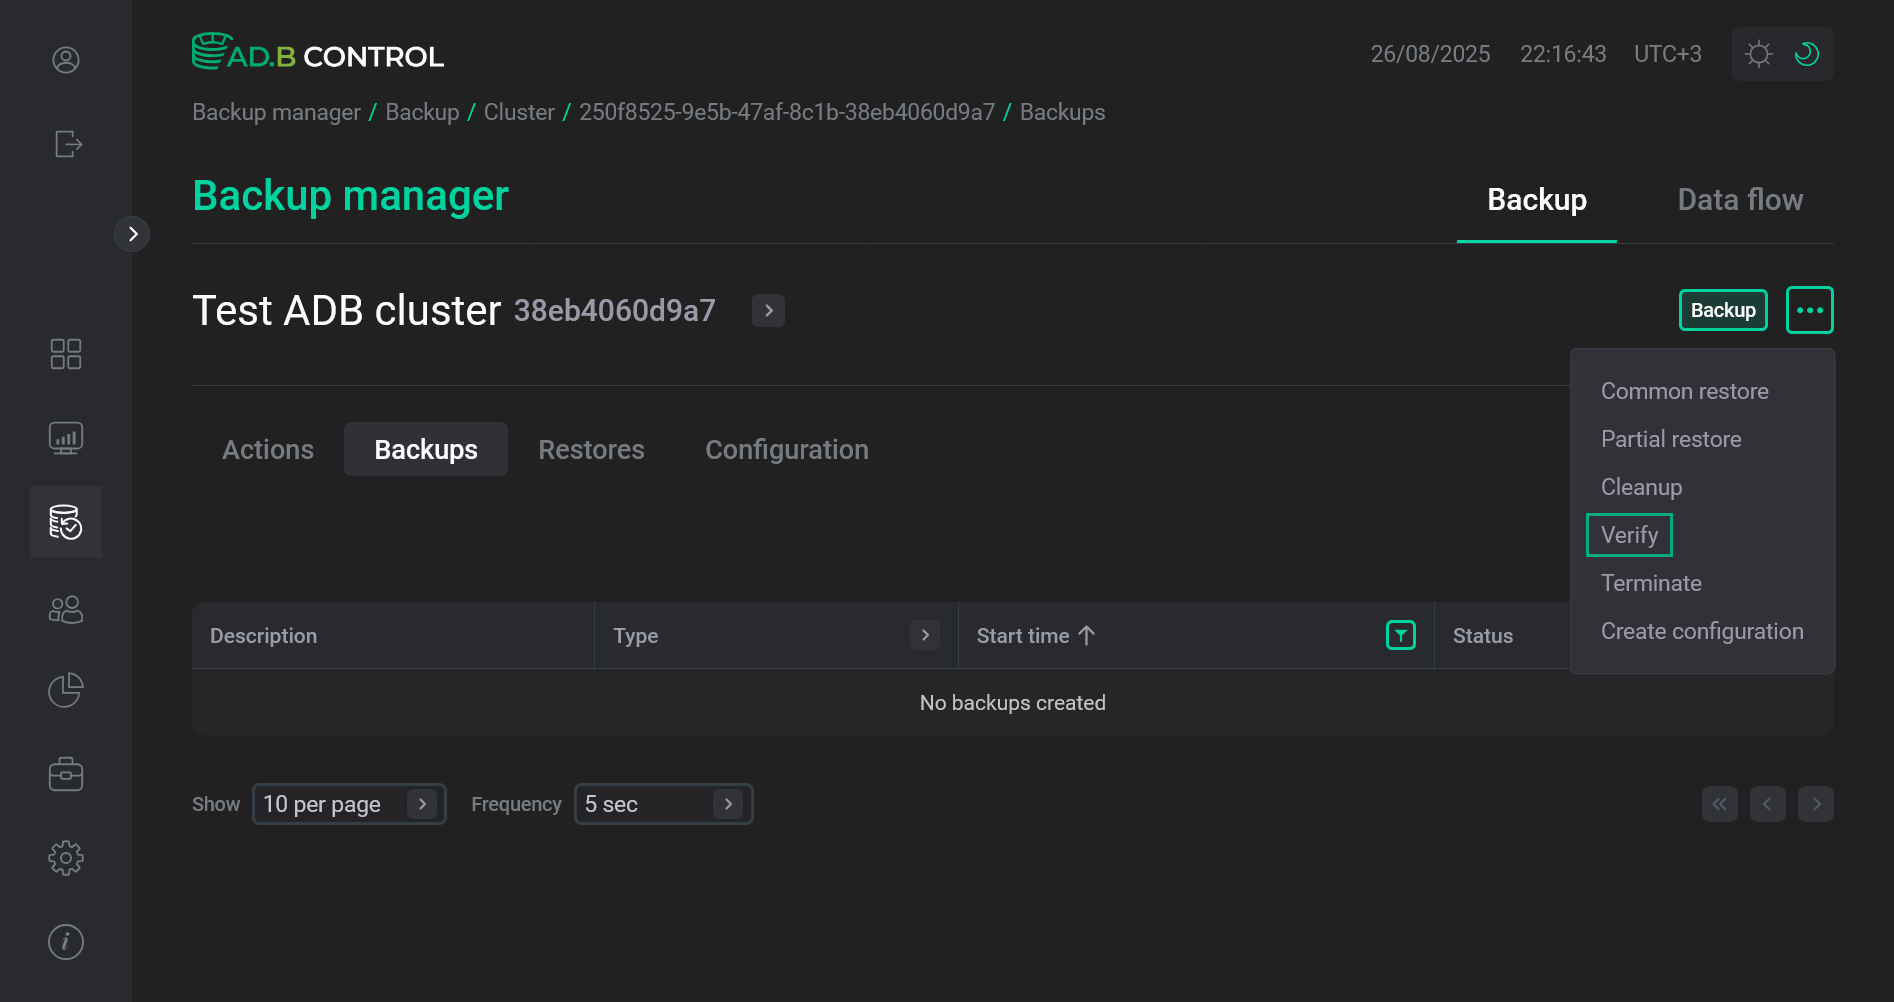 Switch to the Verify action
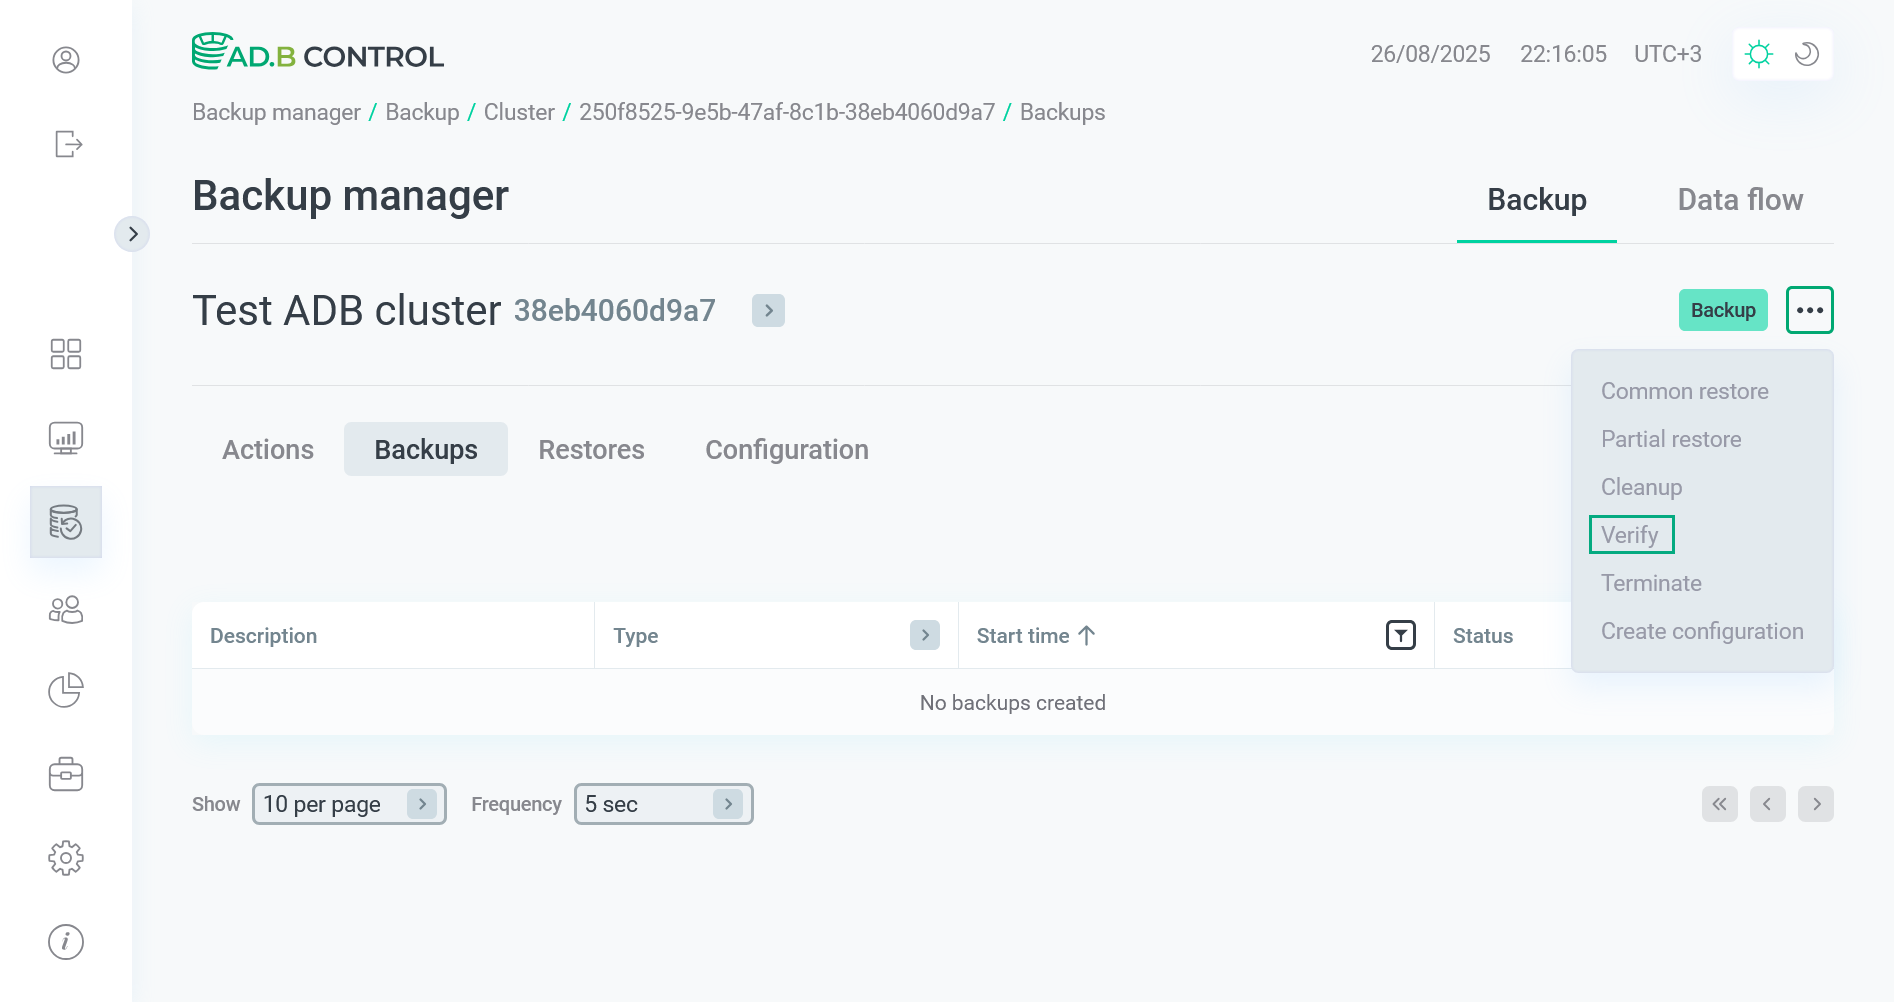 Switch to the Verify action
 -
In the window that opens, select a restore point (on the moment of which creation you need to check backup data) and click Run.
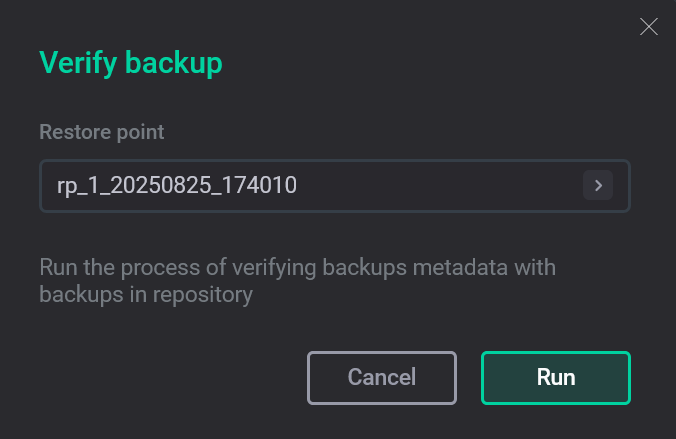 The Verify action form
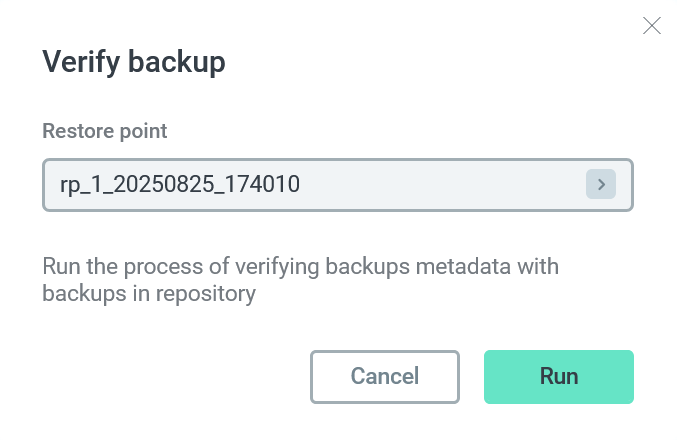 The Verify action form
 -
As a result, the Verify backup action runs. This action, in turn, generates several subactions. You can see all of them on the Actions tab (for more details, see View actions in ADBM).
-
As a successful result of all actions, some of the backups can acquire the
InvalidorUnknownstatus. You can search such backups using the Status filter on the Backups tab.
Terminate
The Terminate action allows you to terminate some of the currently running actions. This is the only action type for which a separate distributed lock is used (in etcd), which allows you to run Terminate in parallel with other types of actions.
|
IMPORTANT
|
Below is an example how to terminate the Backup action:
-
Run the Backup action as shown above.
-
Select the Terminate action on the cluster page or in the Clusters section.
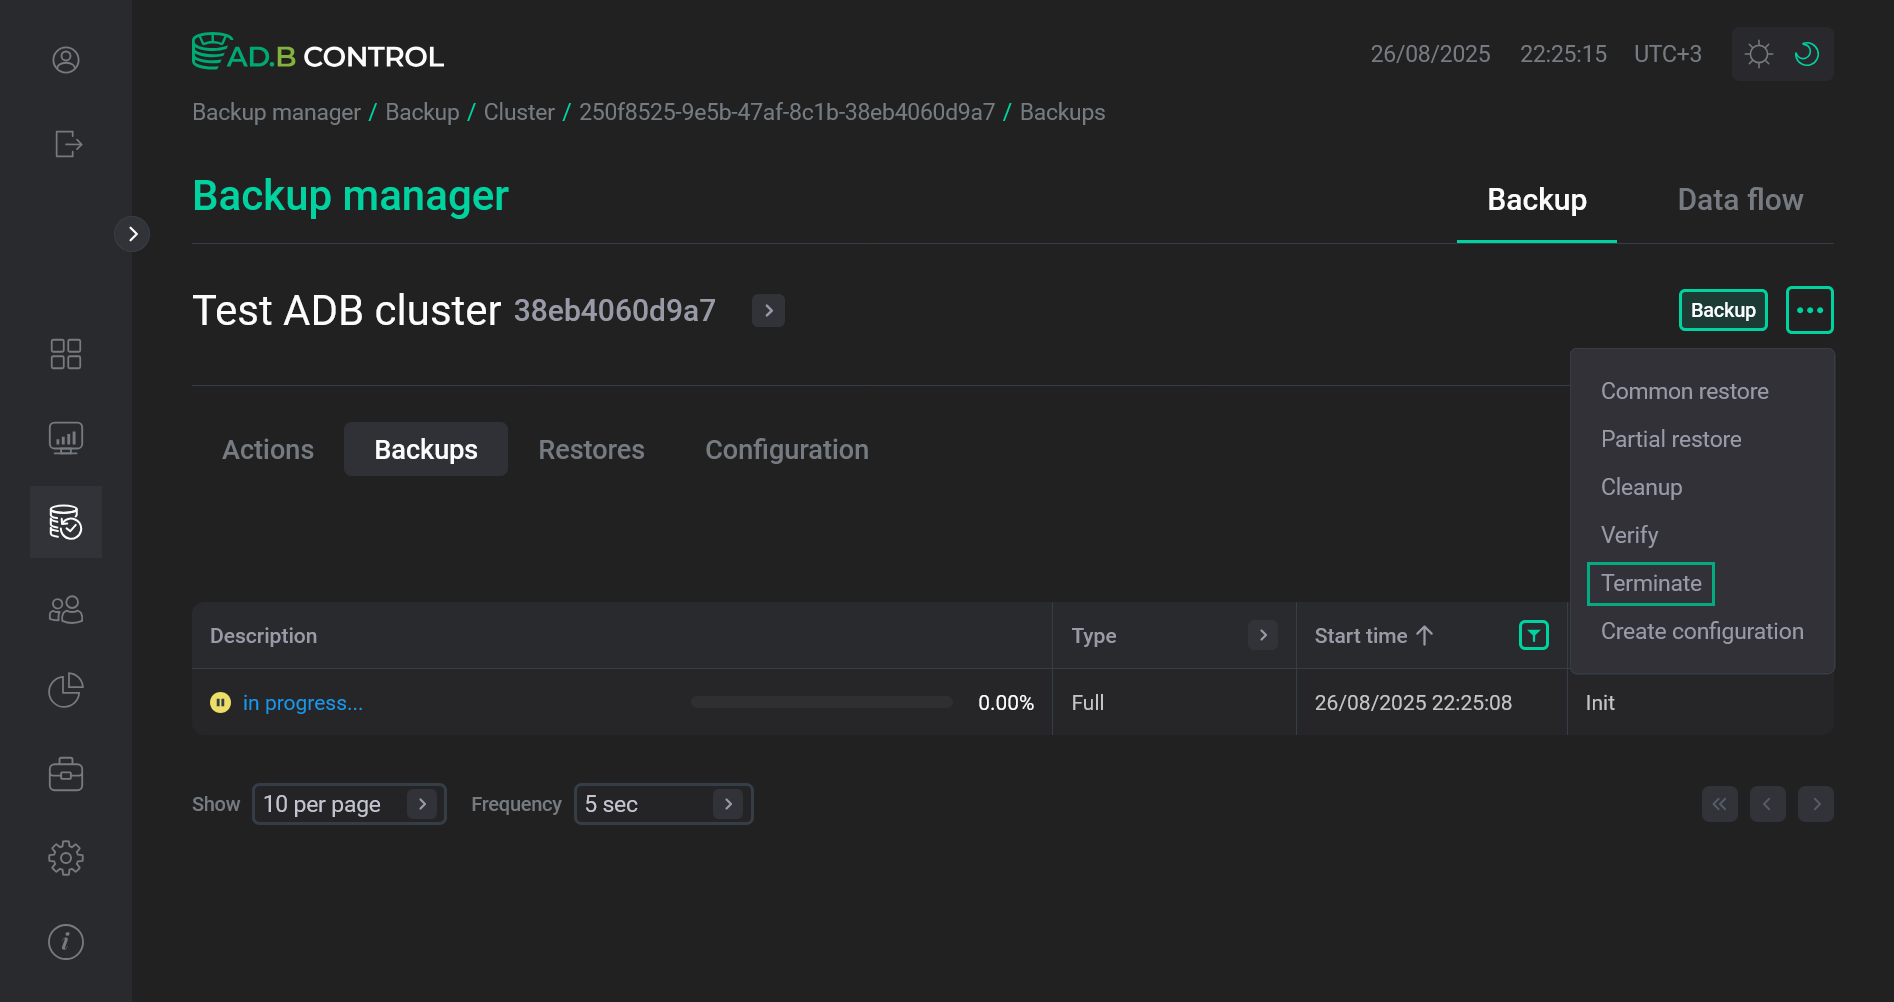 Switch to the Terminate action
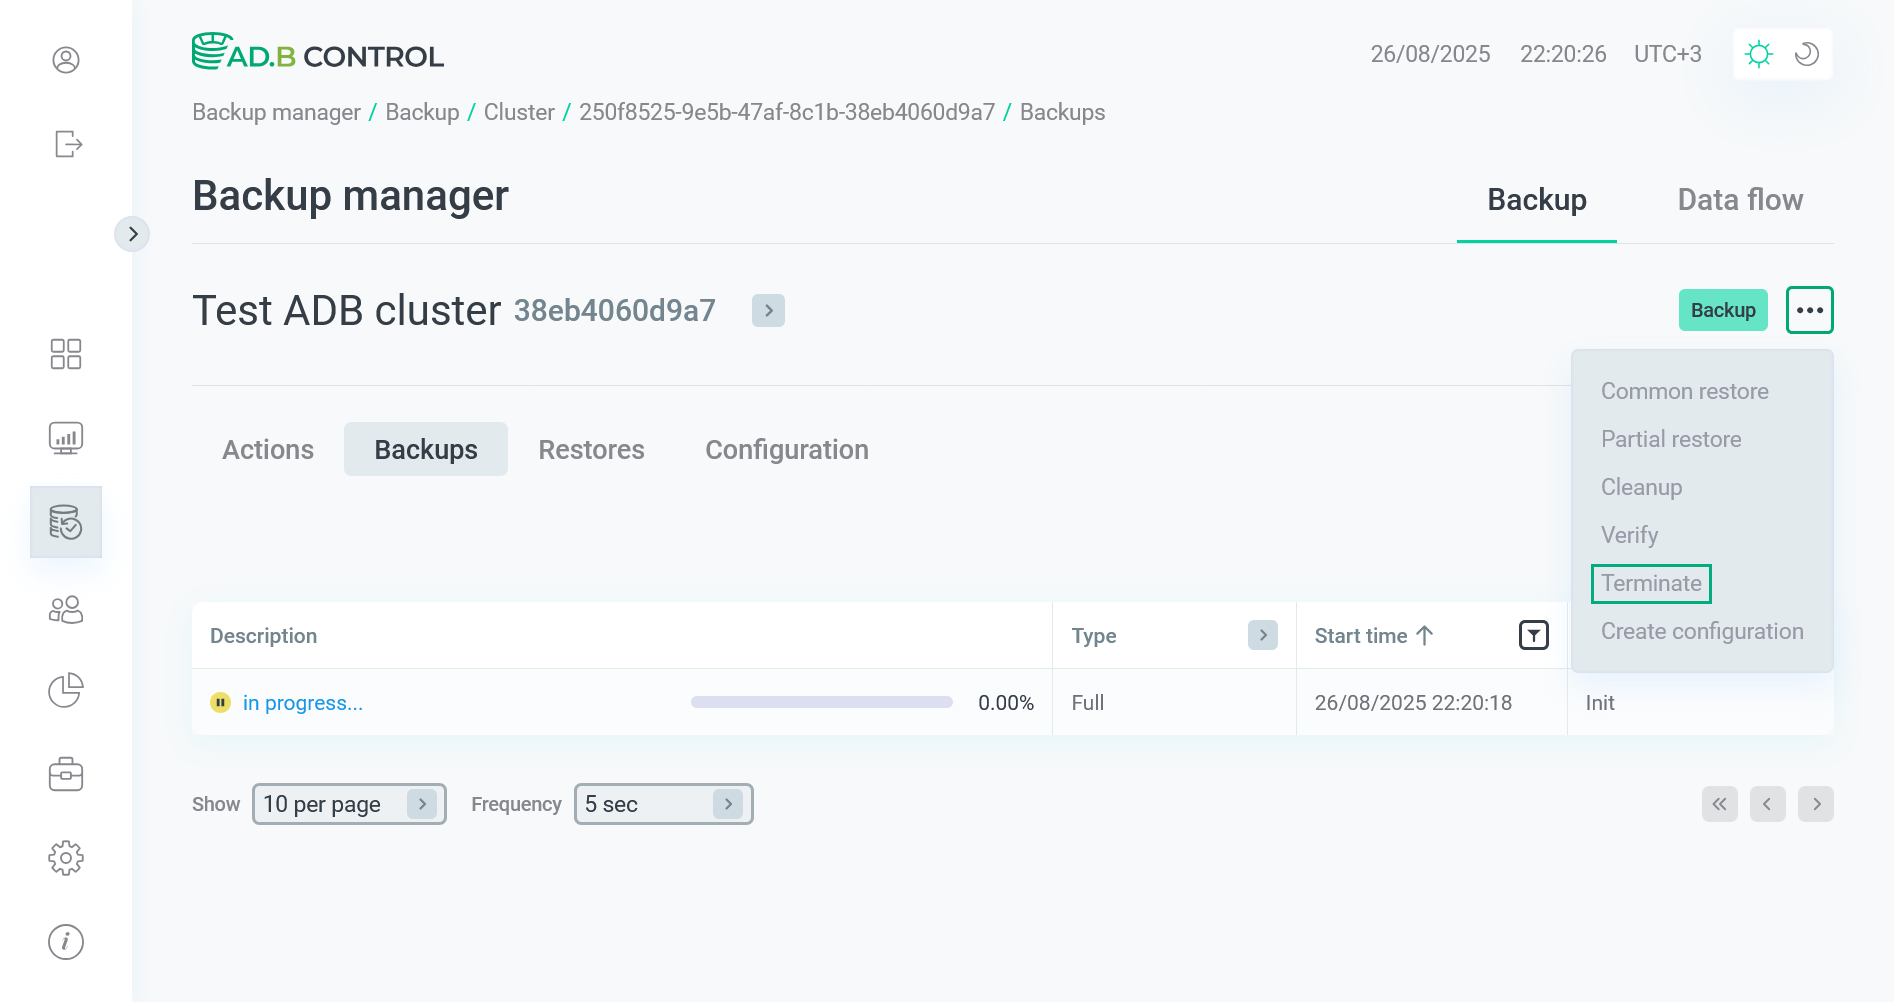 Switch to the Terminate action
 -
In the window that opens, click Run.
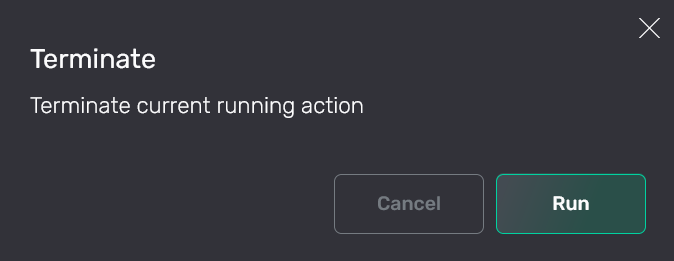 The Terminate action form
 The Terminate action form
 -
As a result, the Terminate action runs. This action, in turn, generates several subactions. You can see all of them on the Actions tab (for more details, see View actions in ADBM).
The current backup acquires the
Terminatingstatus. You can check it in the list of backups on the Backups tab.As a successful result of all actions, the backup acquires the
Stoppedstatus.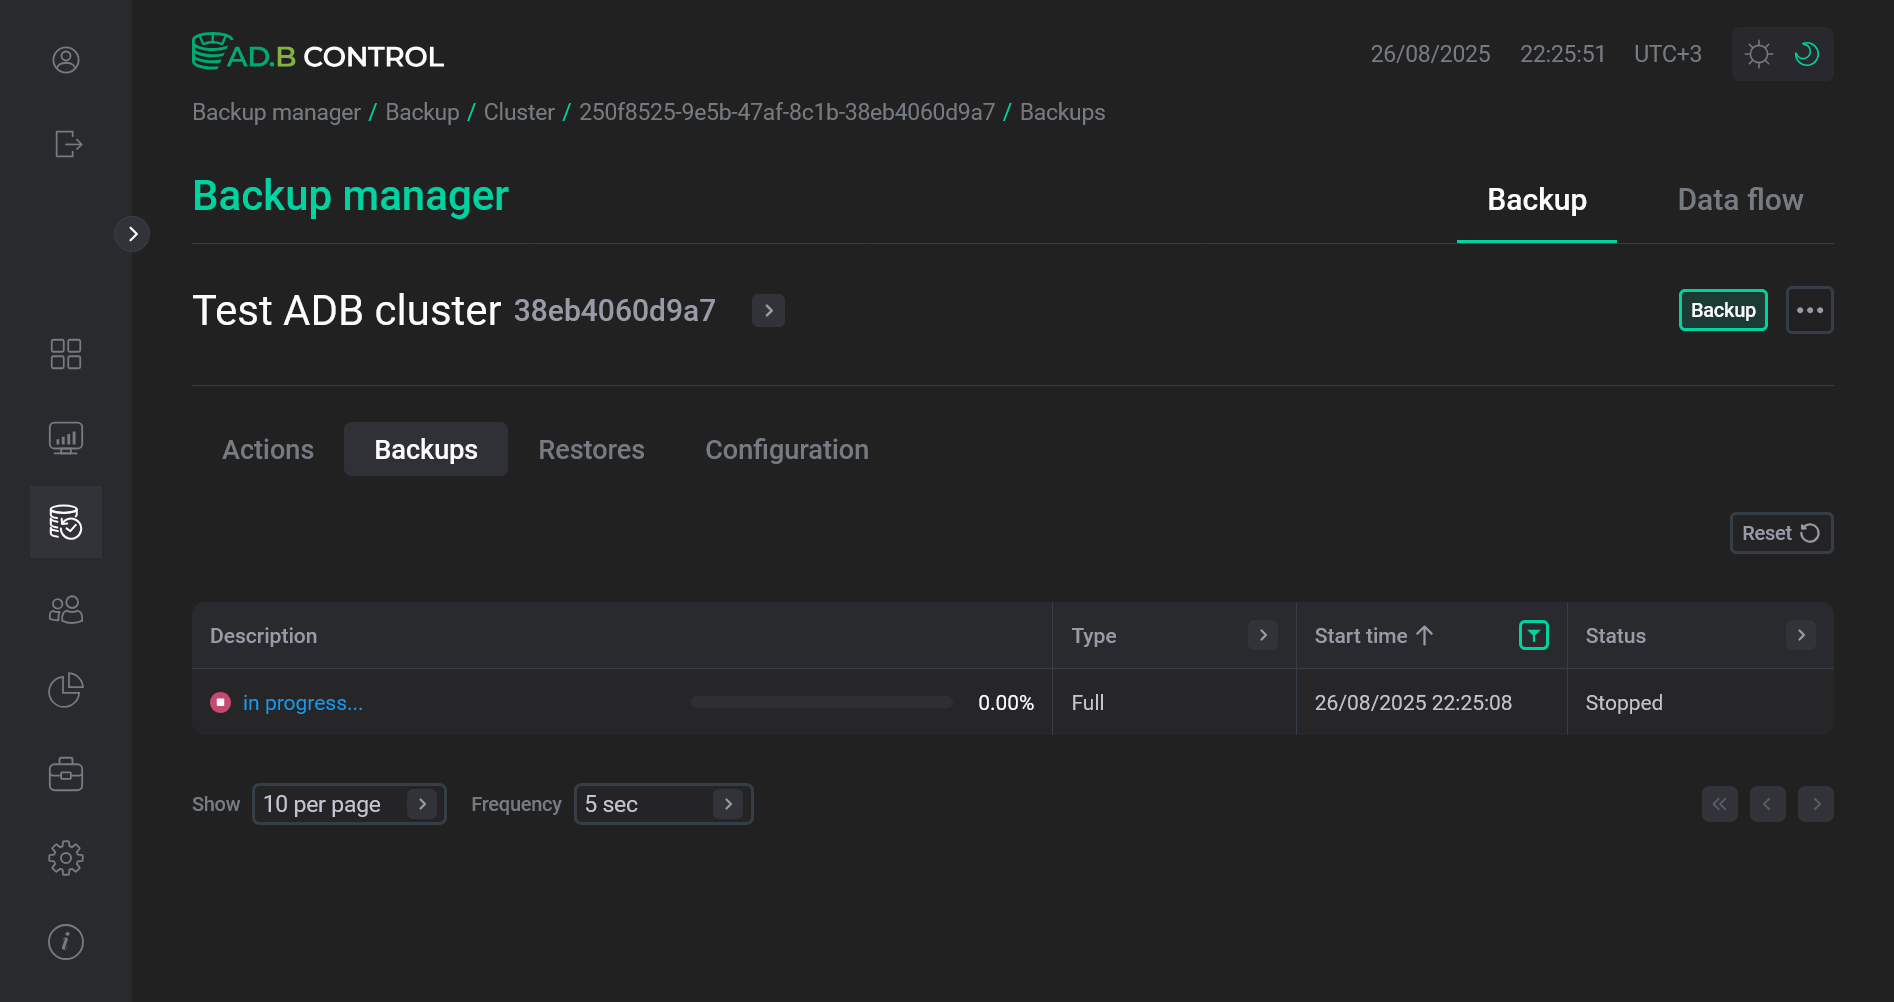 The backup status is switched to Stopped
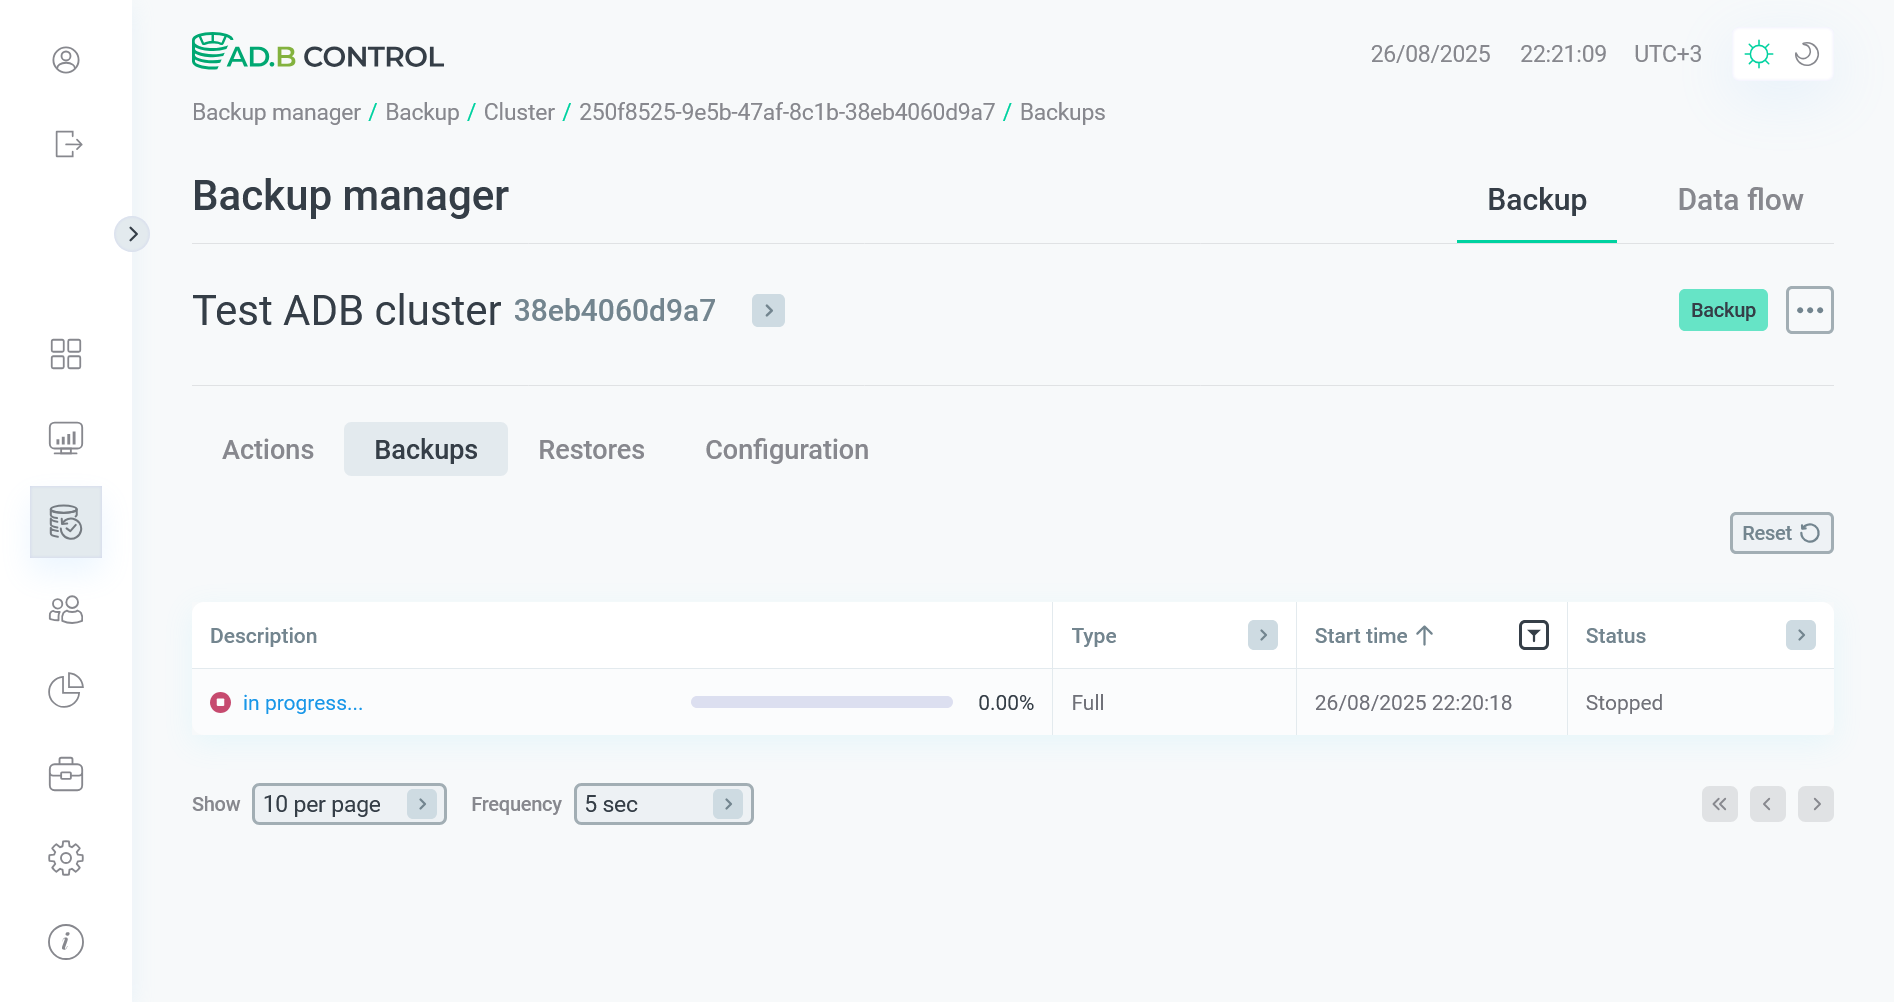 The backup status is switched to Stopped
Resume
|
IMPORTANT
|
The Resume action allows you to resume the latest terminated backup launch or the last failed attempt to create a backup.
This action is available in the list of cluster actions only if there are backups with a Stopped or Failed status.
Below is an example of how to resume the backup that was terminated in the previous section:
-
Select the Resume action on the cluster page or in the Clusters section.
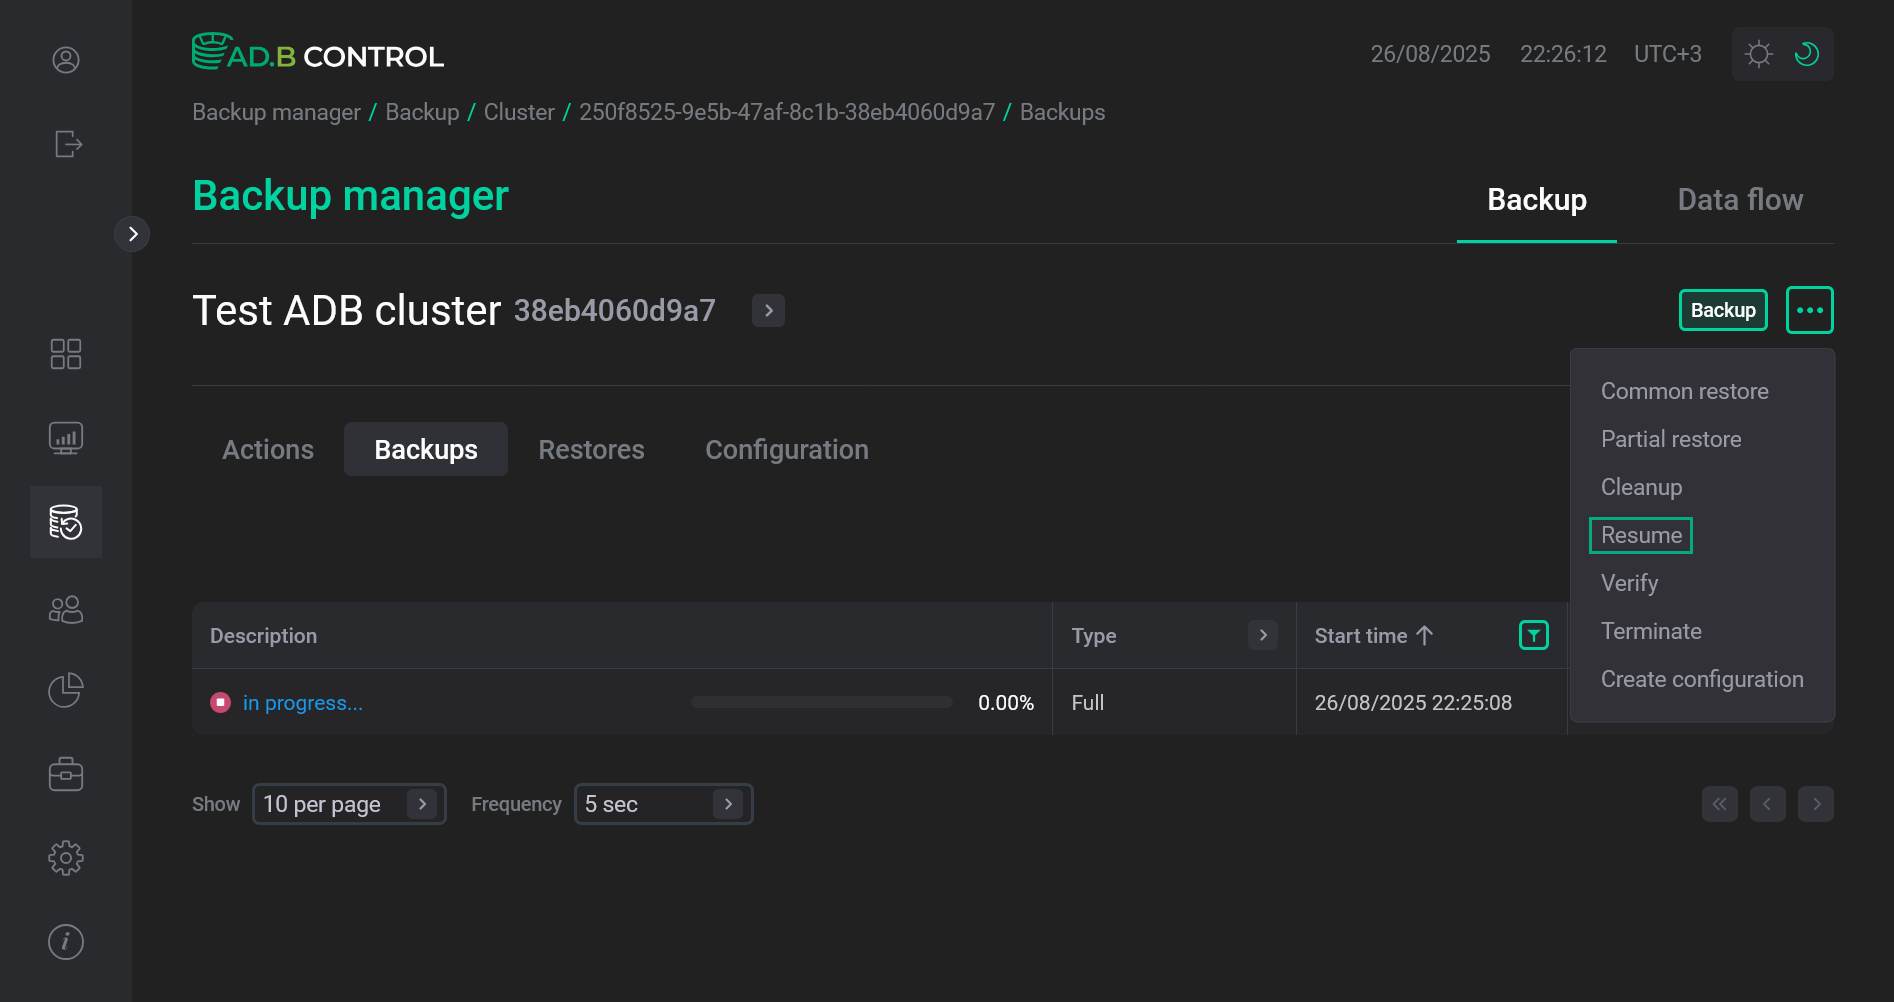 Switch to the Resume action
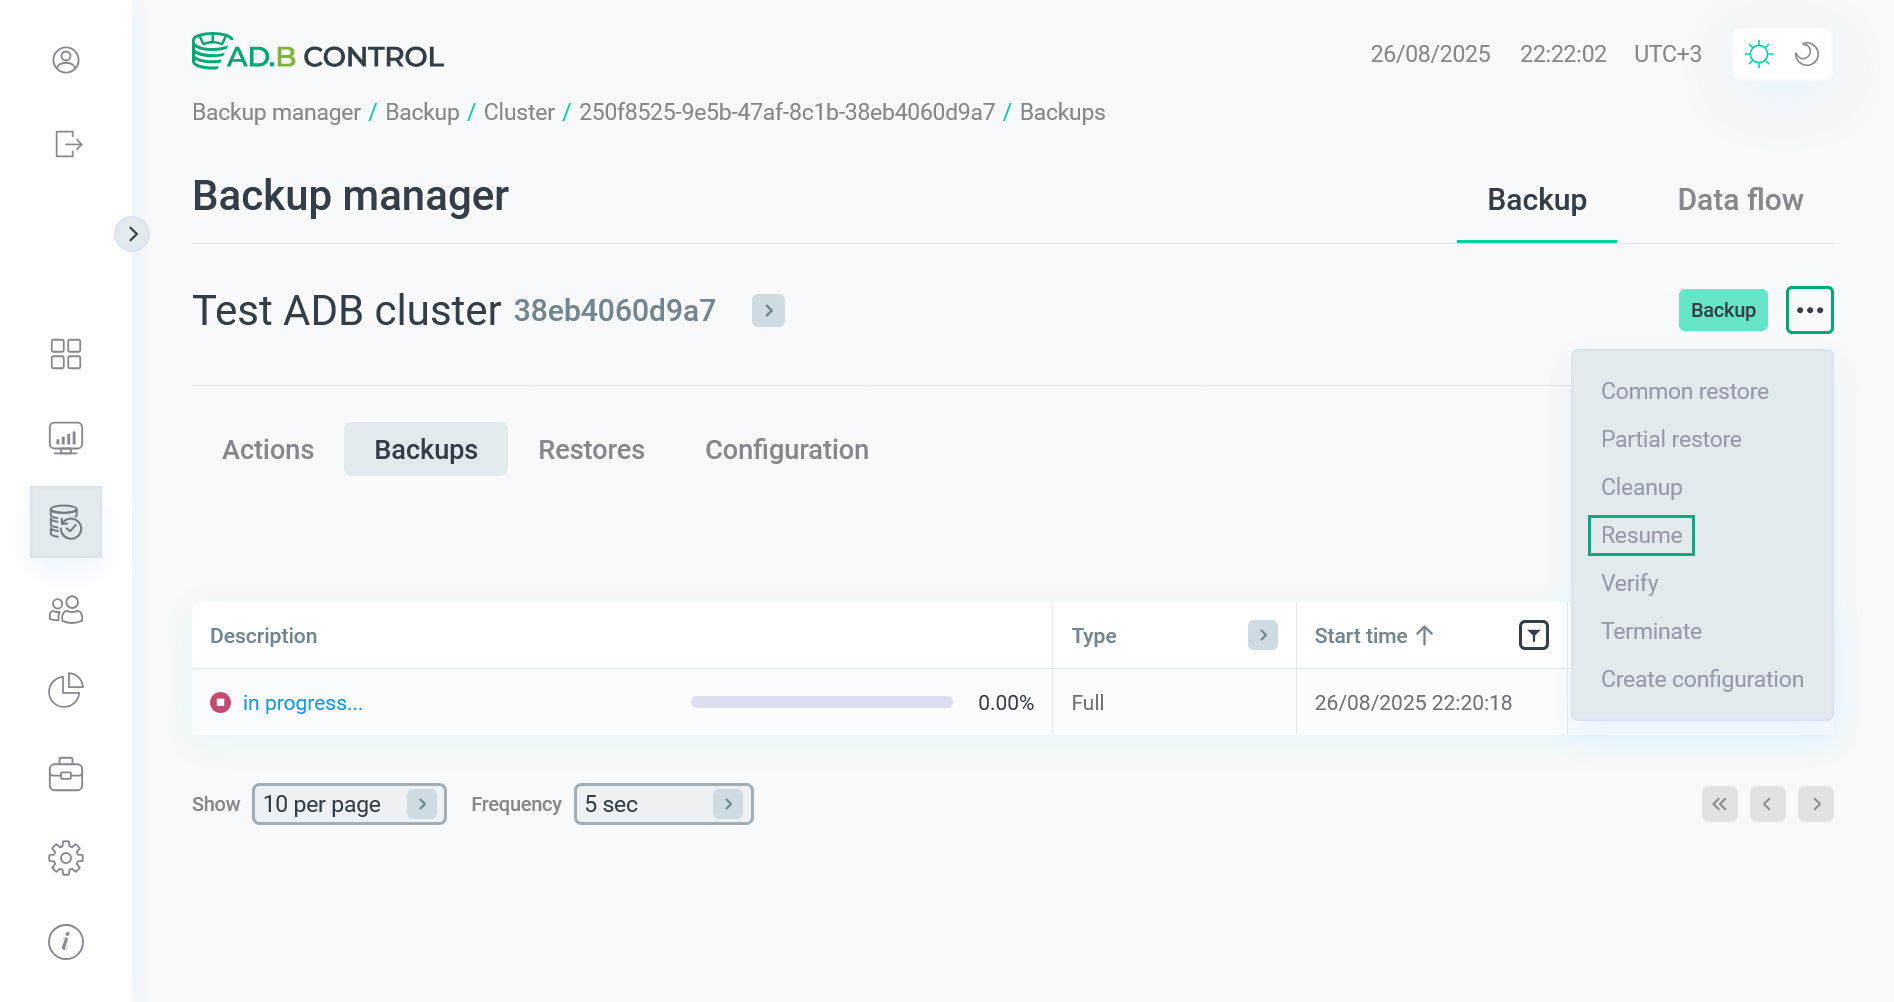 Switch to the Resume action
The window that opens contains the following fields:
-
Restore point — an automatically generated name for a new restore point.
-
Configuration — the configuration version that will be applied. You can click it to check the configuration parameters in the list of configurations.
-
Date — a current timestamp.
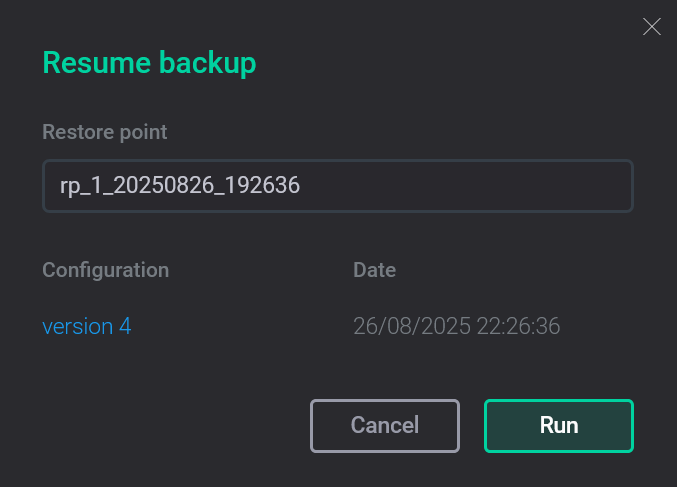 The Resume action form
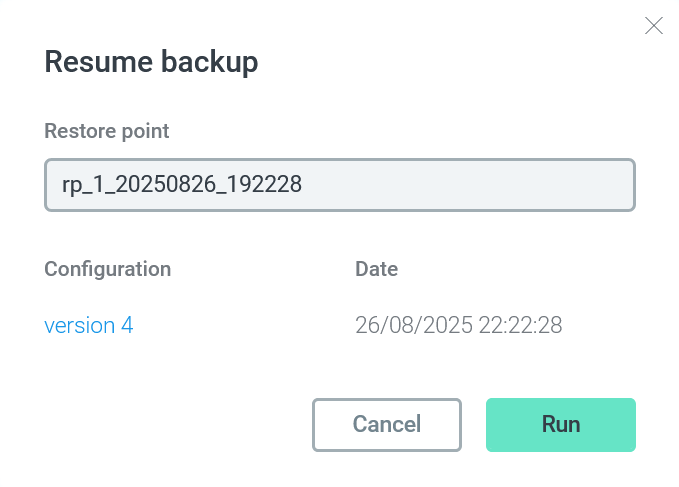 The Resume action form
-
-
Change the restore point name in the Restore point field if necessary.
-
Click Run.
-
As a result, the Resume backup action runs. This action, in turn, generates several subactions. You can see all of them on the Actions tab (for more details, see View actions in ADBM).
The backup acquires the
Resumestatus. You can check it in the list of backups on the Backups tab.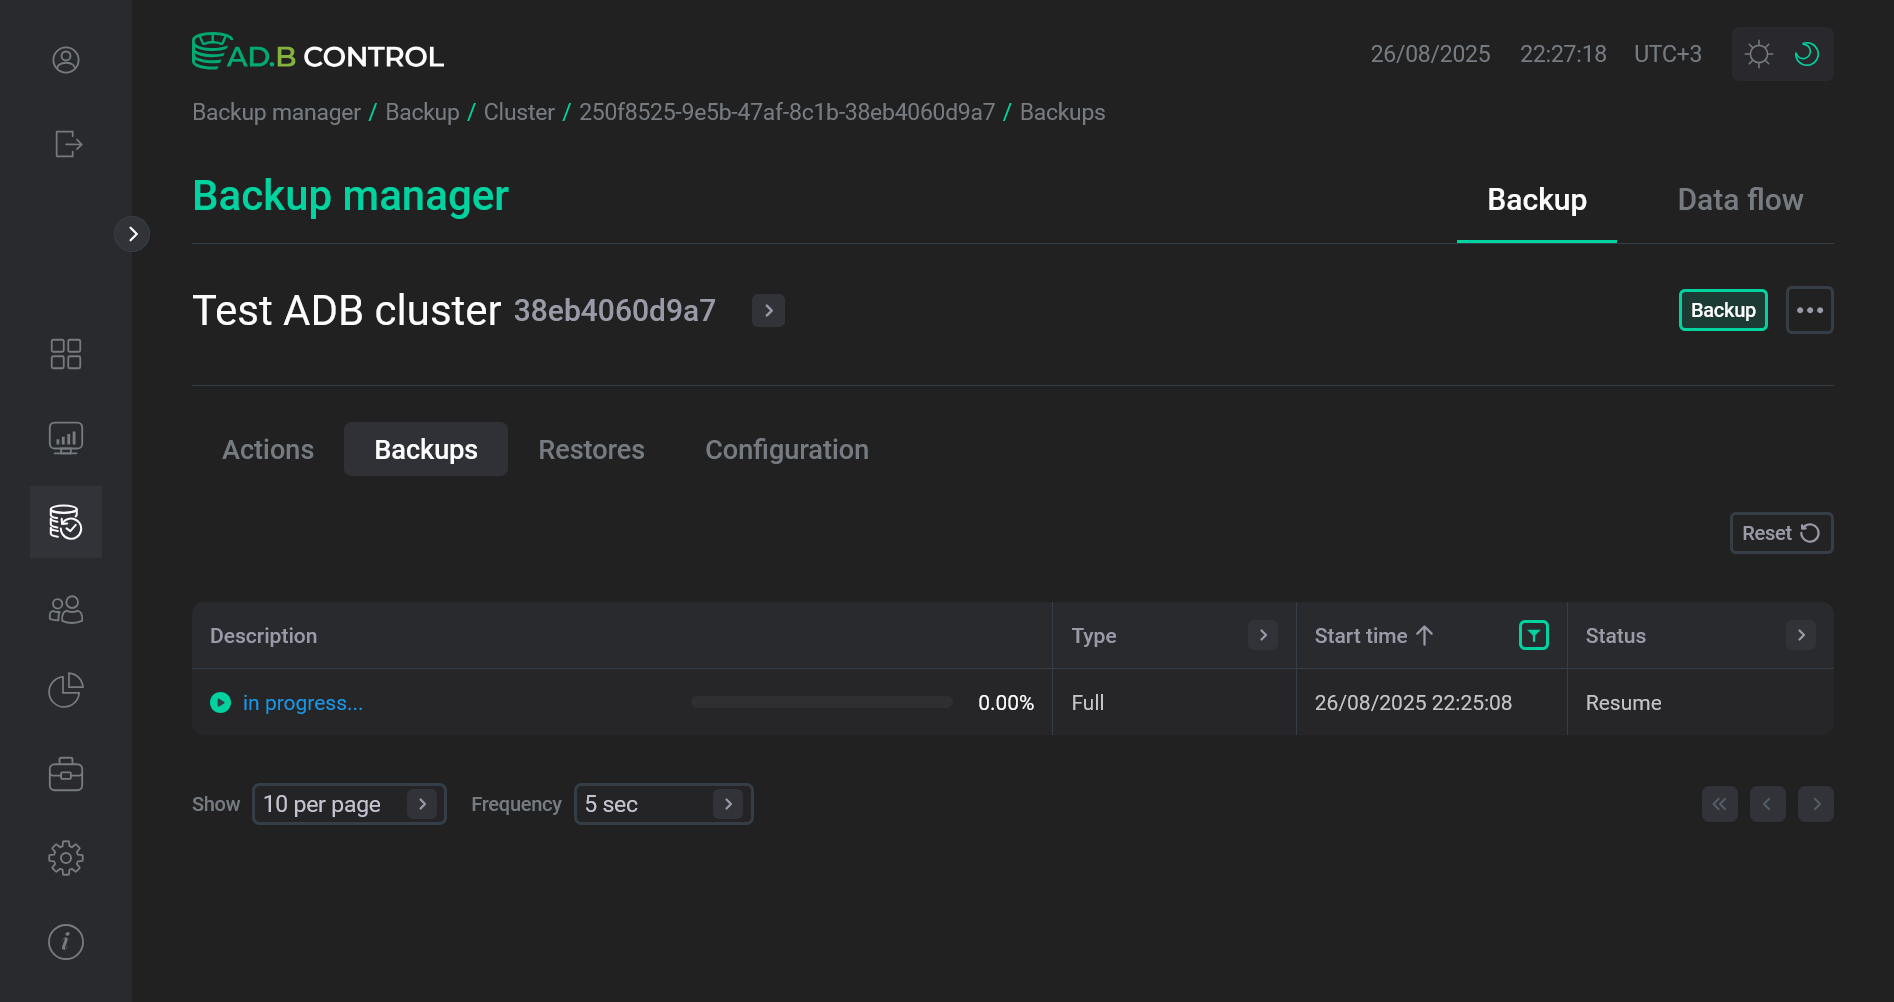 The backup has the Resume status
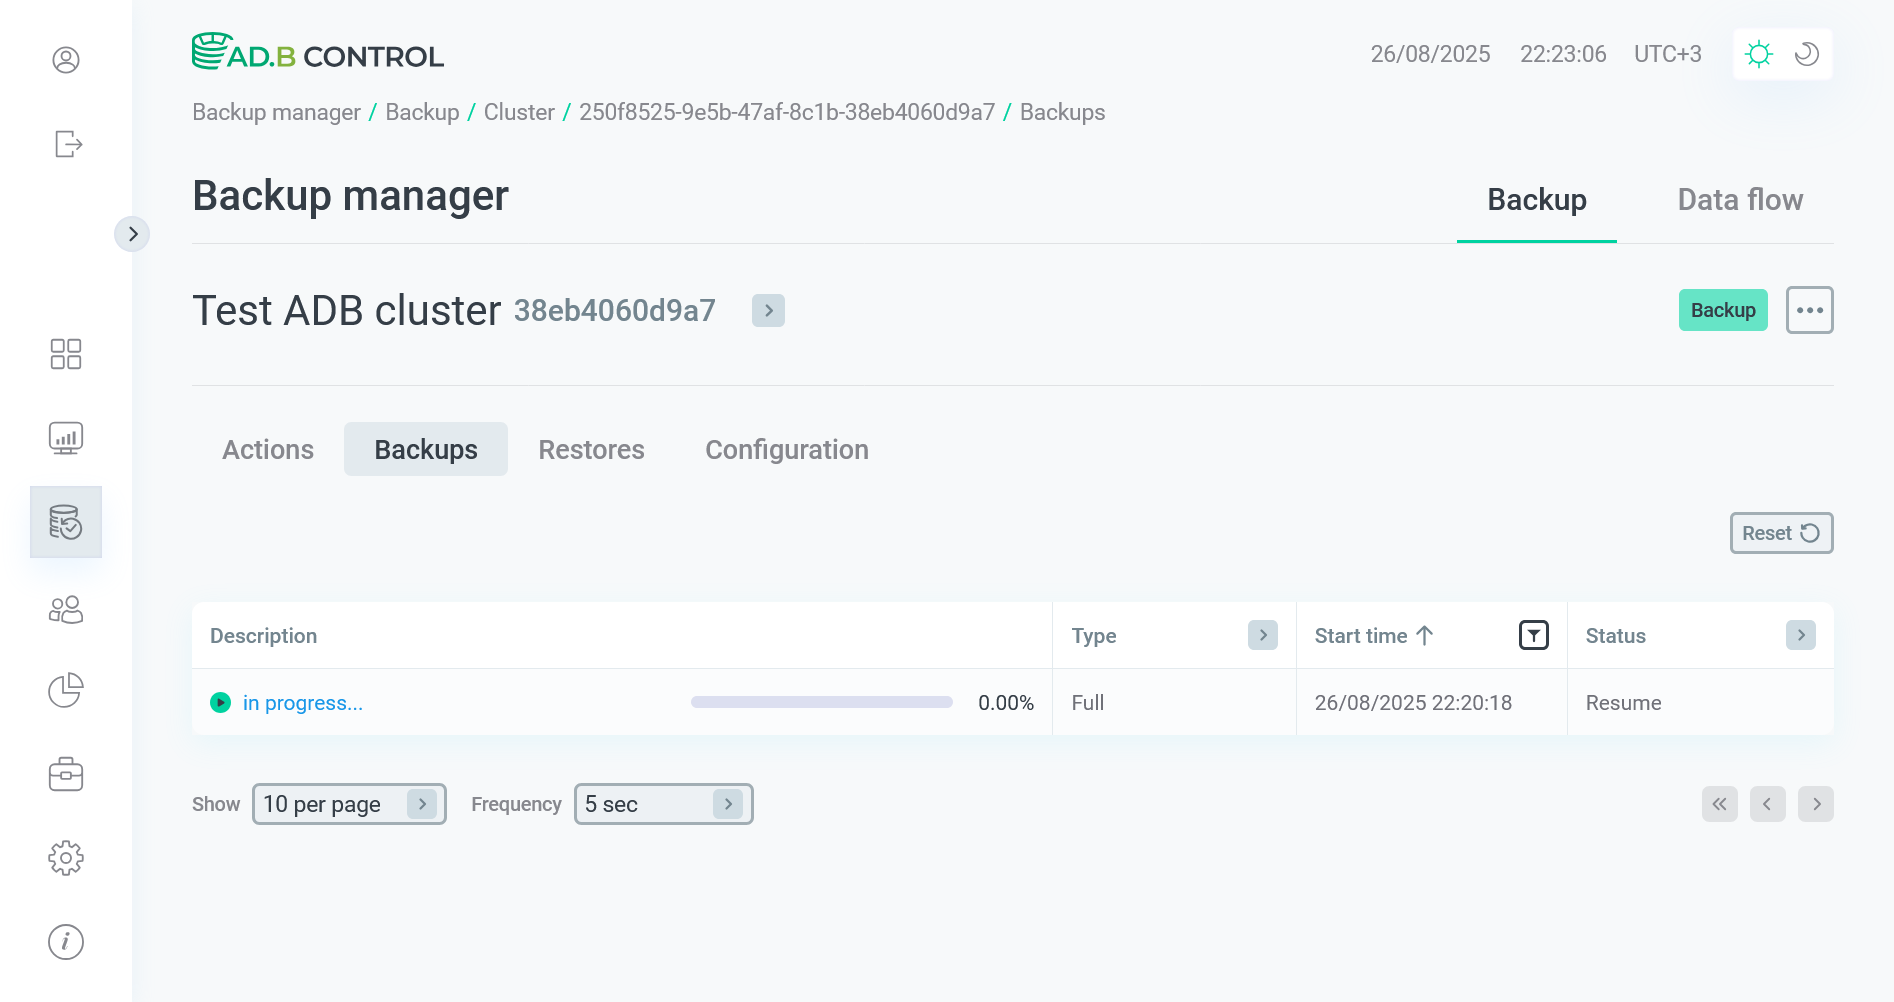 The backup has the Resume status
 -
As a successful result of all actions, the backup acquires the
Donestatus.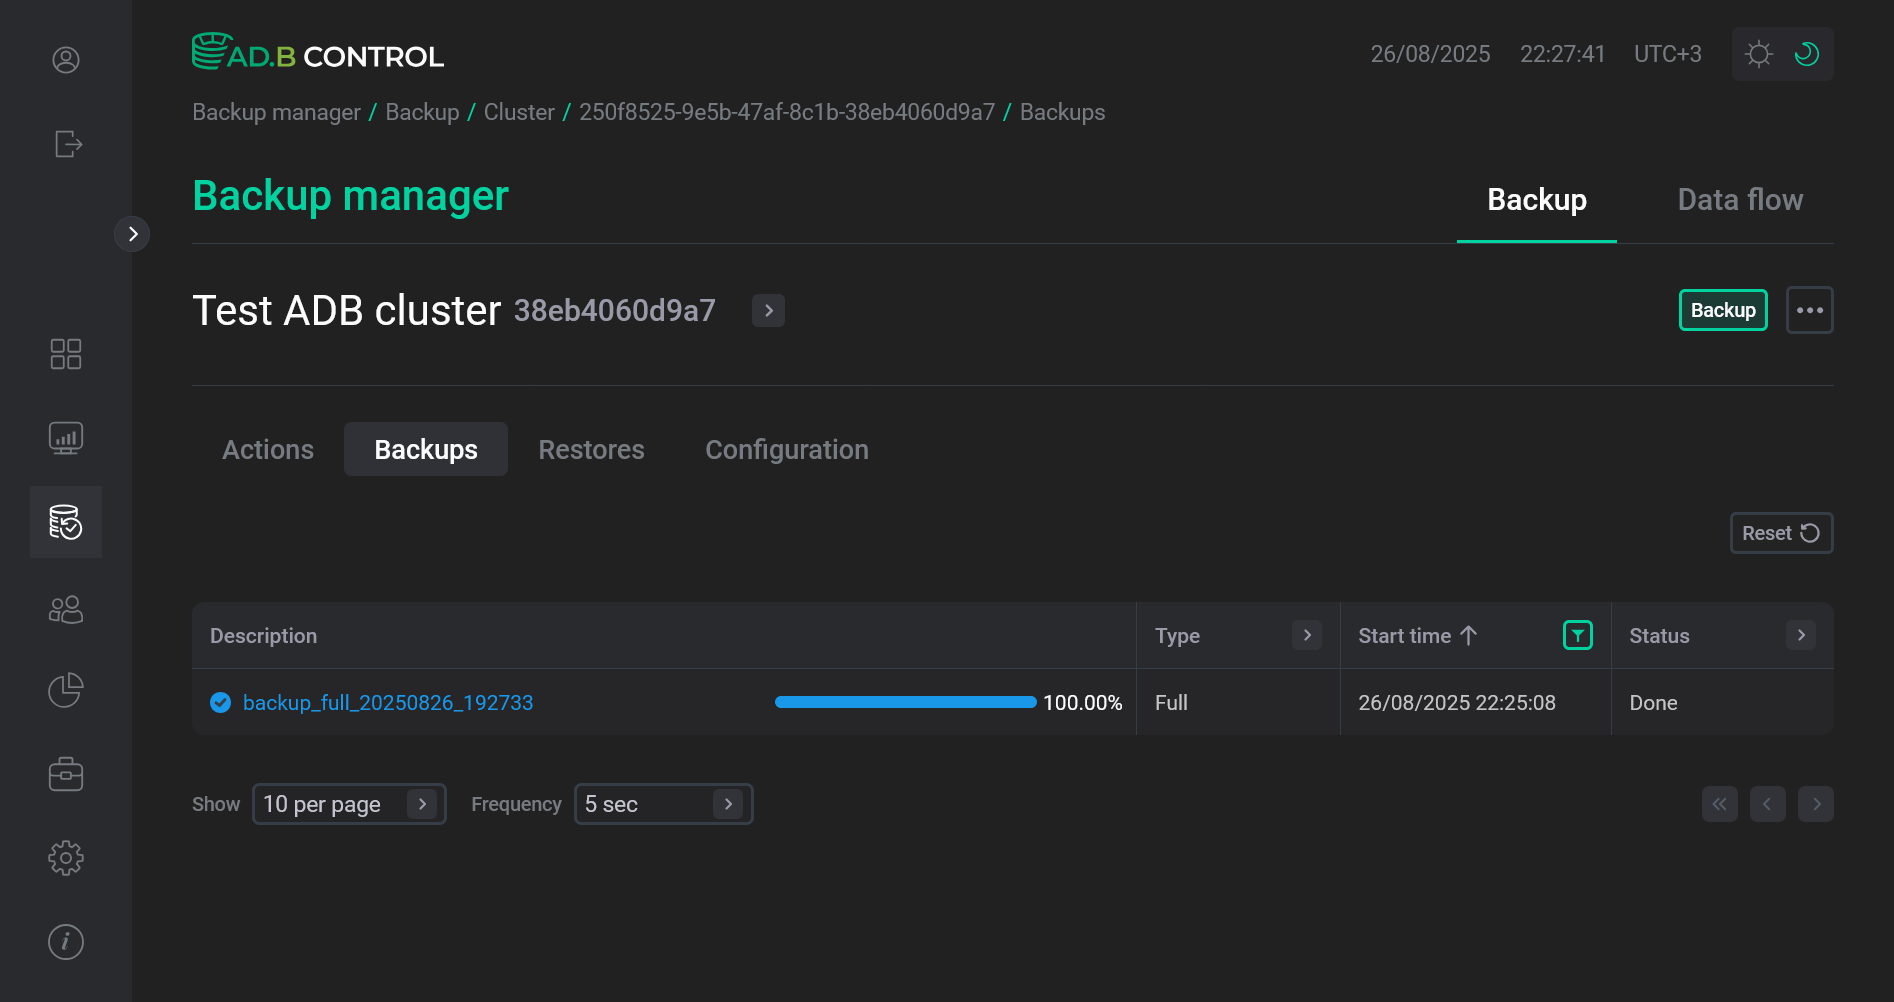 The backup status is switched to Done
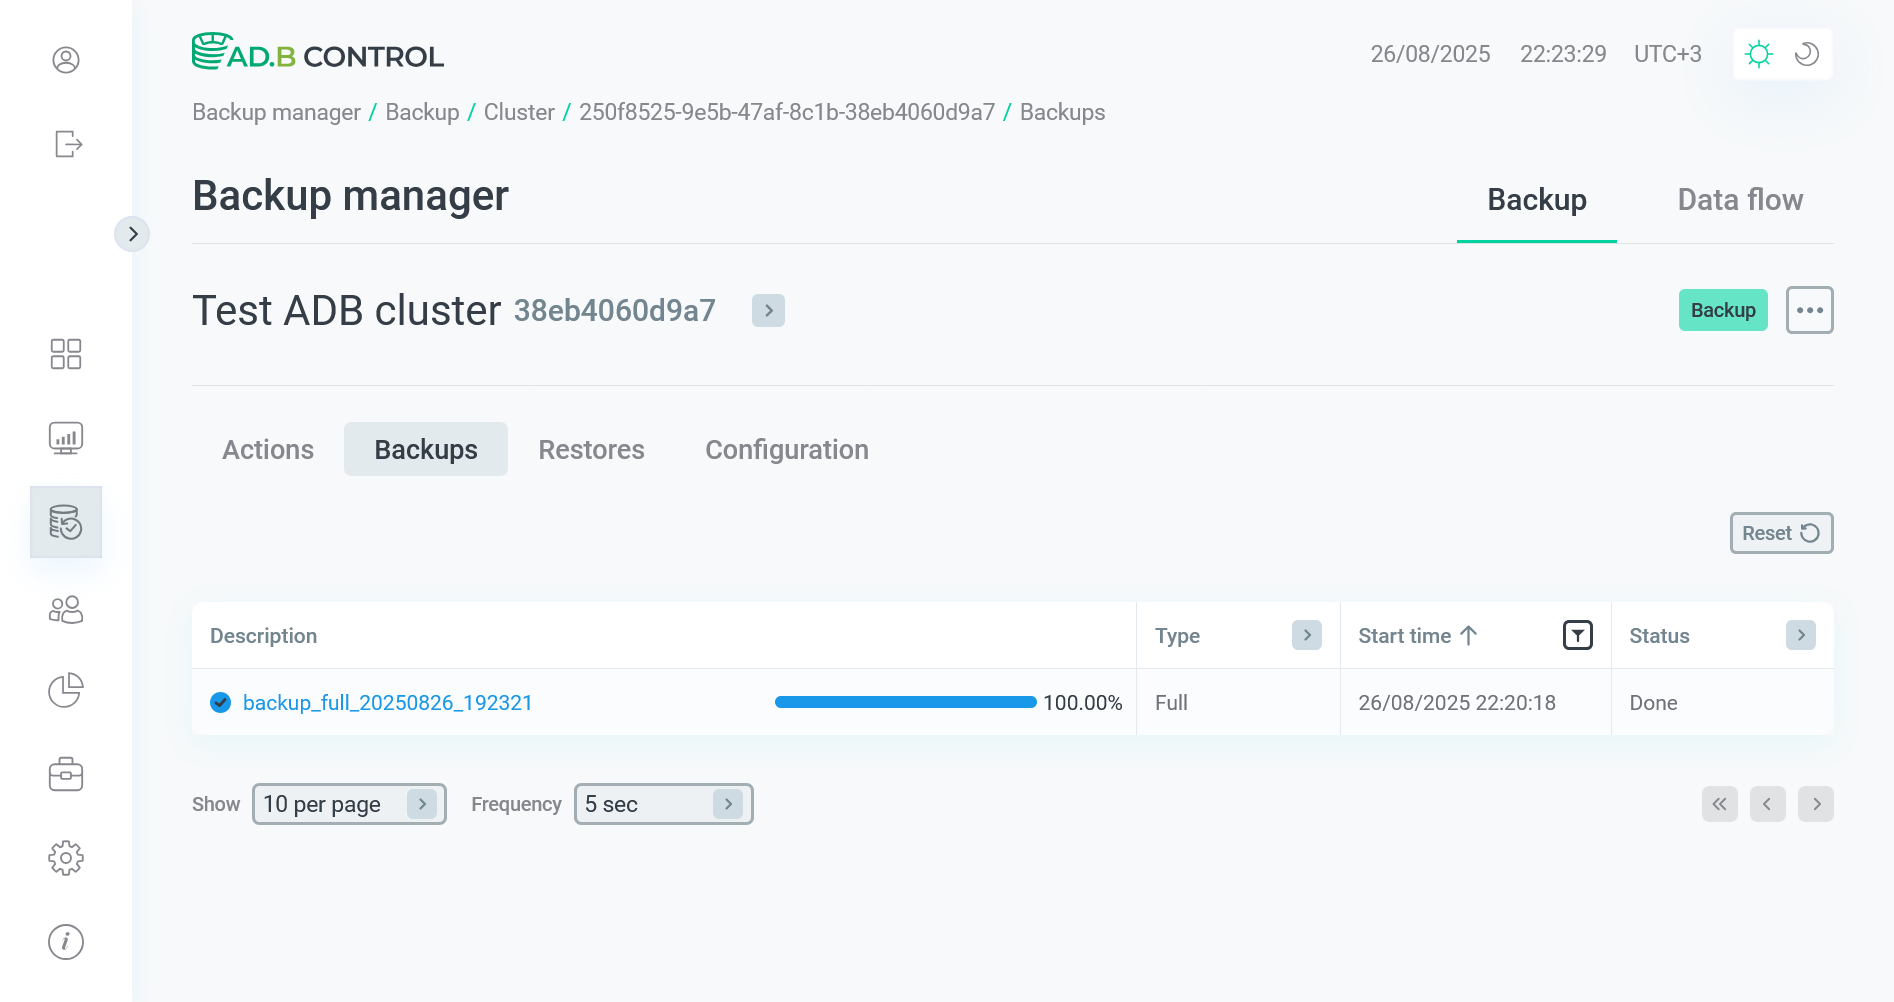 The backup status is switched to Done
Create configuration
|
NOTE
The Create configuration action is available starting with ADBM 2.3.2.
|
The Create configuration action redirects you to the Backup manager → Backup → Cluster → <Current ADB cluster name> → Configuration tab, where you can add a new backup configuration based on one of the previously created.