

Use Beekeeper Studio to connect to ADB
To connect to ADB, you can use Beekeeper Studio — a third-party client tool that supports different databases.
Starting with version 5.7, Beekeeper Studio supports Greengage DB.
For information on how to install Beekeeper Studio, refer to Installation.
Connect to ADB
To connect to ADB, launch Beekeeper Studio and follow the steps below:
-
Click New Connection and select GreengageDB in the Connection Type window.
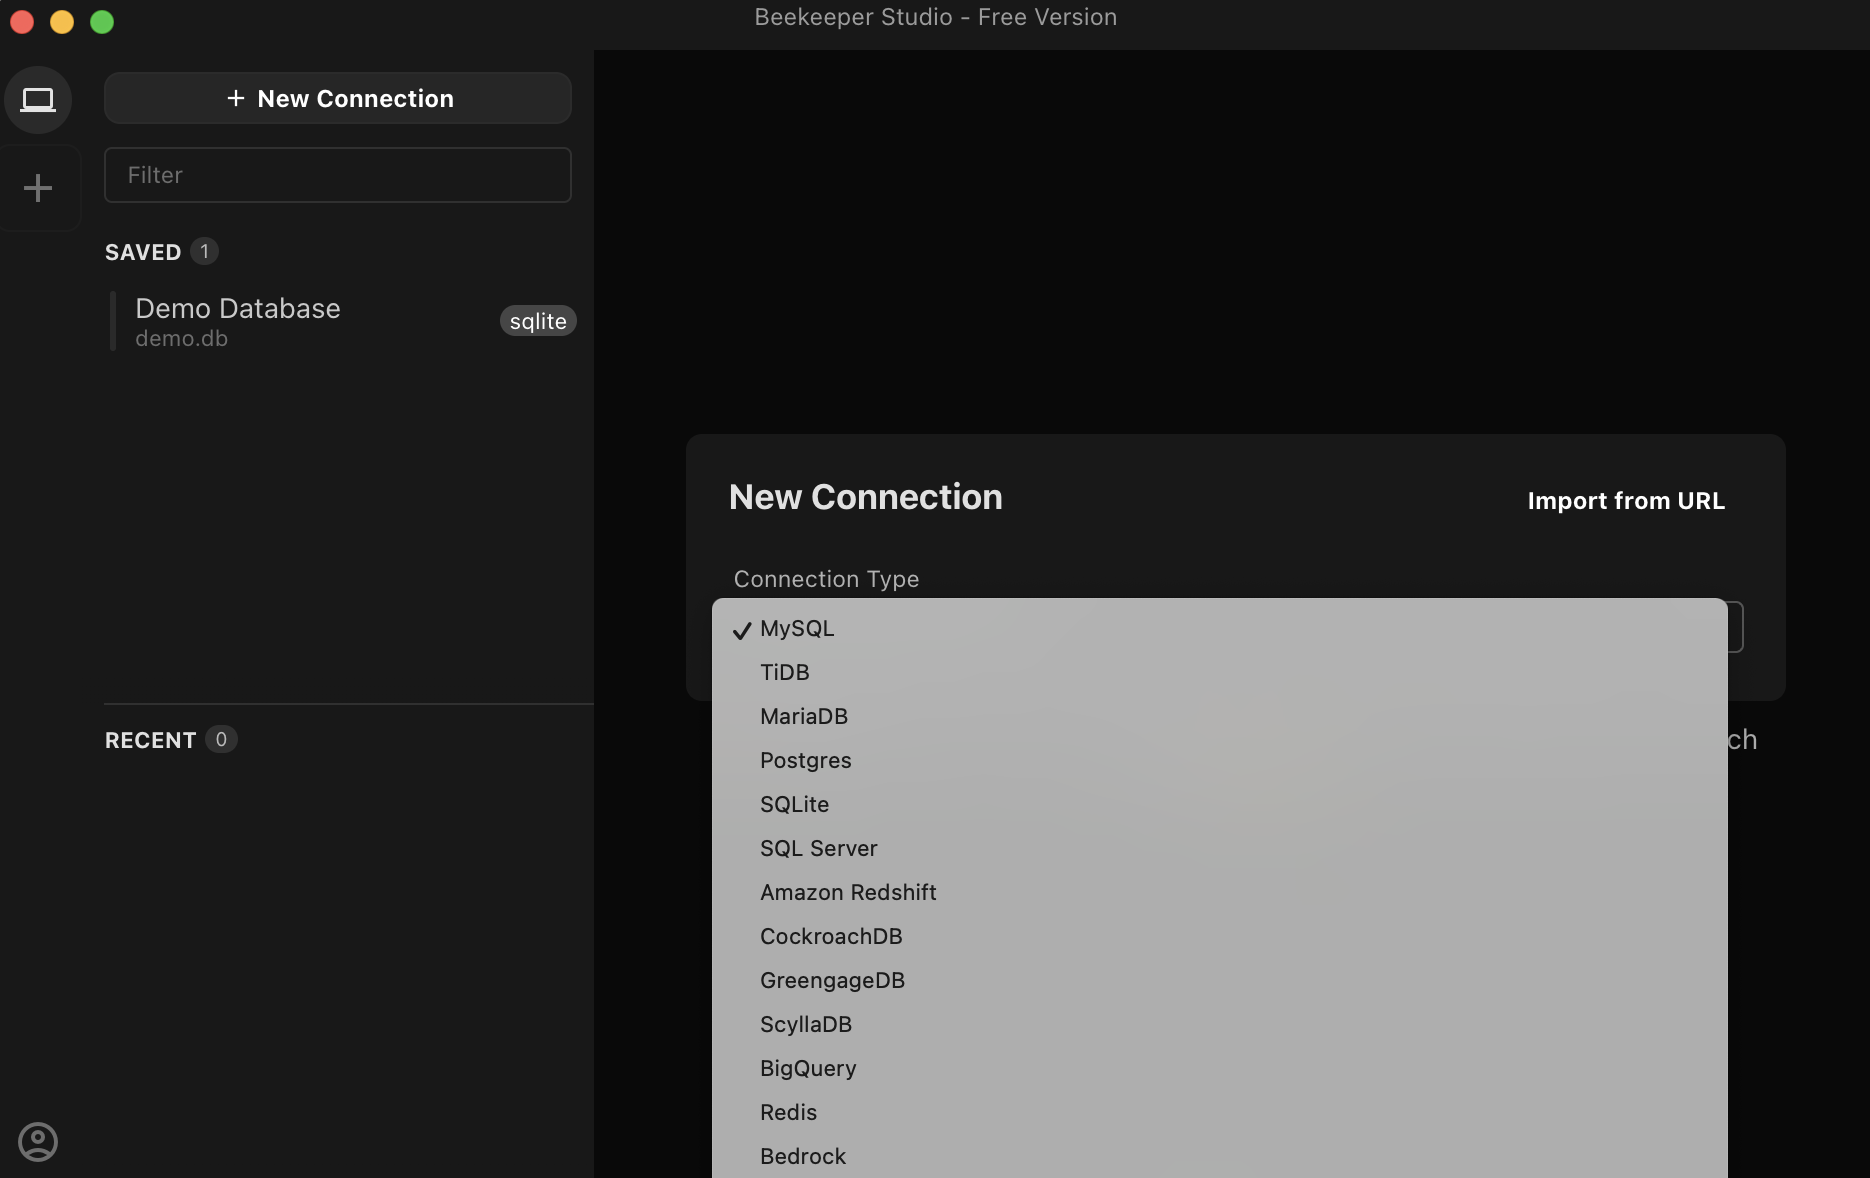 Select a connection type
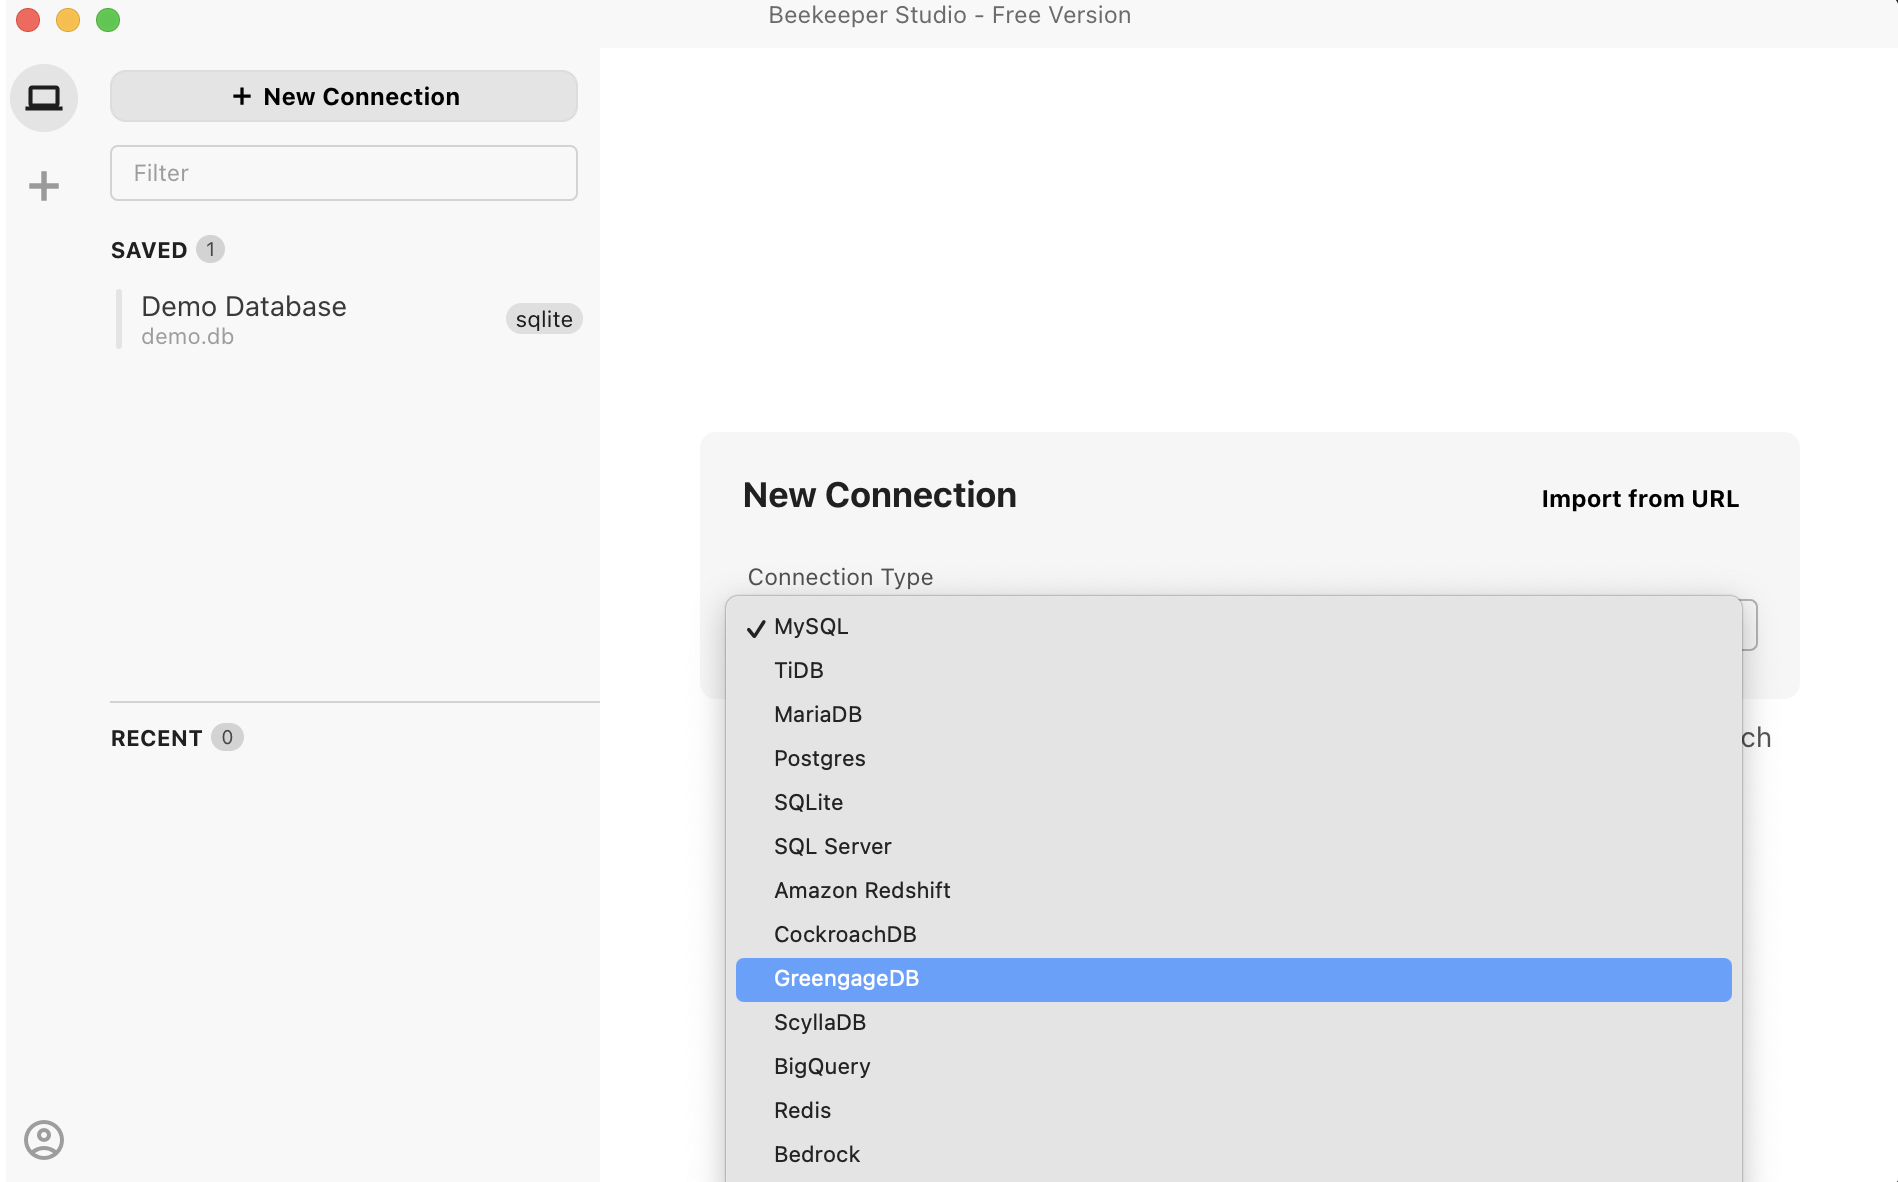 Select a connection type
 -
In the New Connection window that opens, specify the following:
-
Host — the address of the ADB master host.
-
Database — the name of a database to connect to, for example
adb. -
Username — the database username. The default
gpadminuser has no password by default. So if you specify this account and have not manually added a password for it, leave the Password field empty.
NOTEMake sure the master accepts connections from the host where you run Beekeeper Studio. If necessary, add the IP address of your client host to the pg_hba.conf file as described in Remote connection.
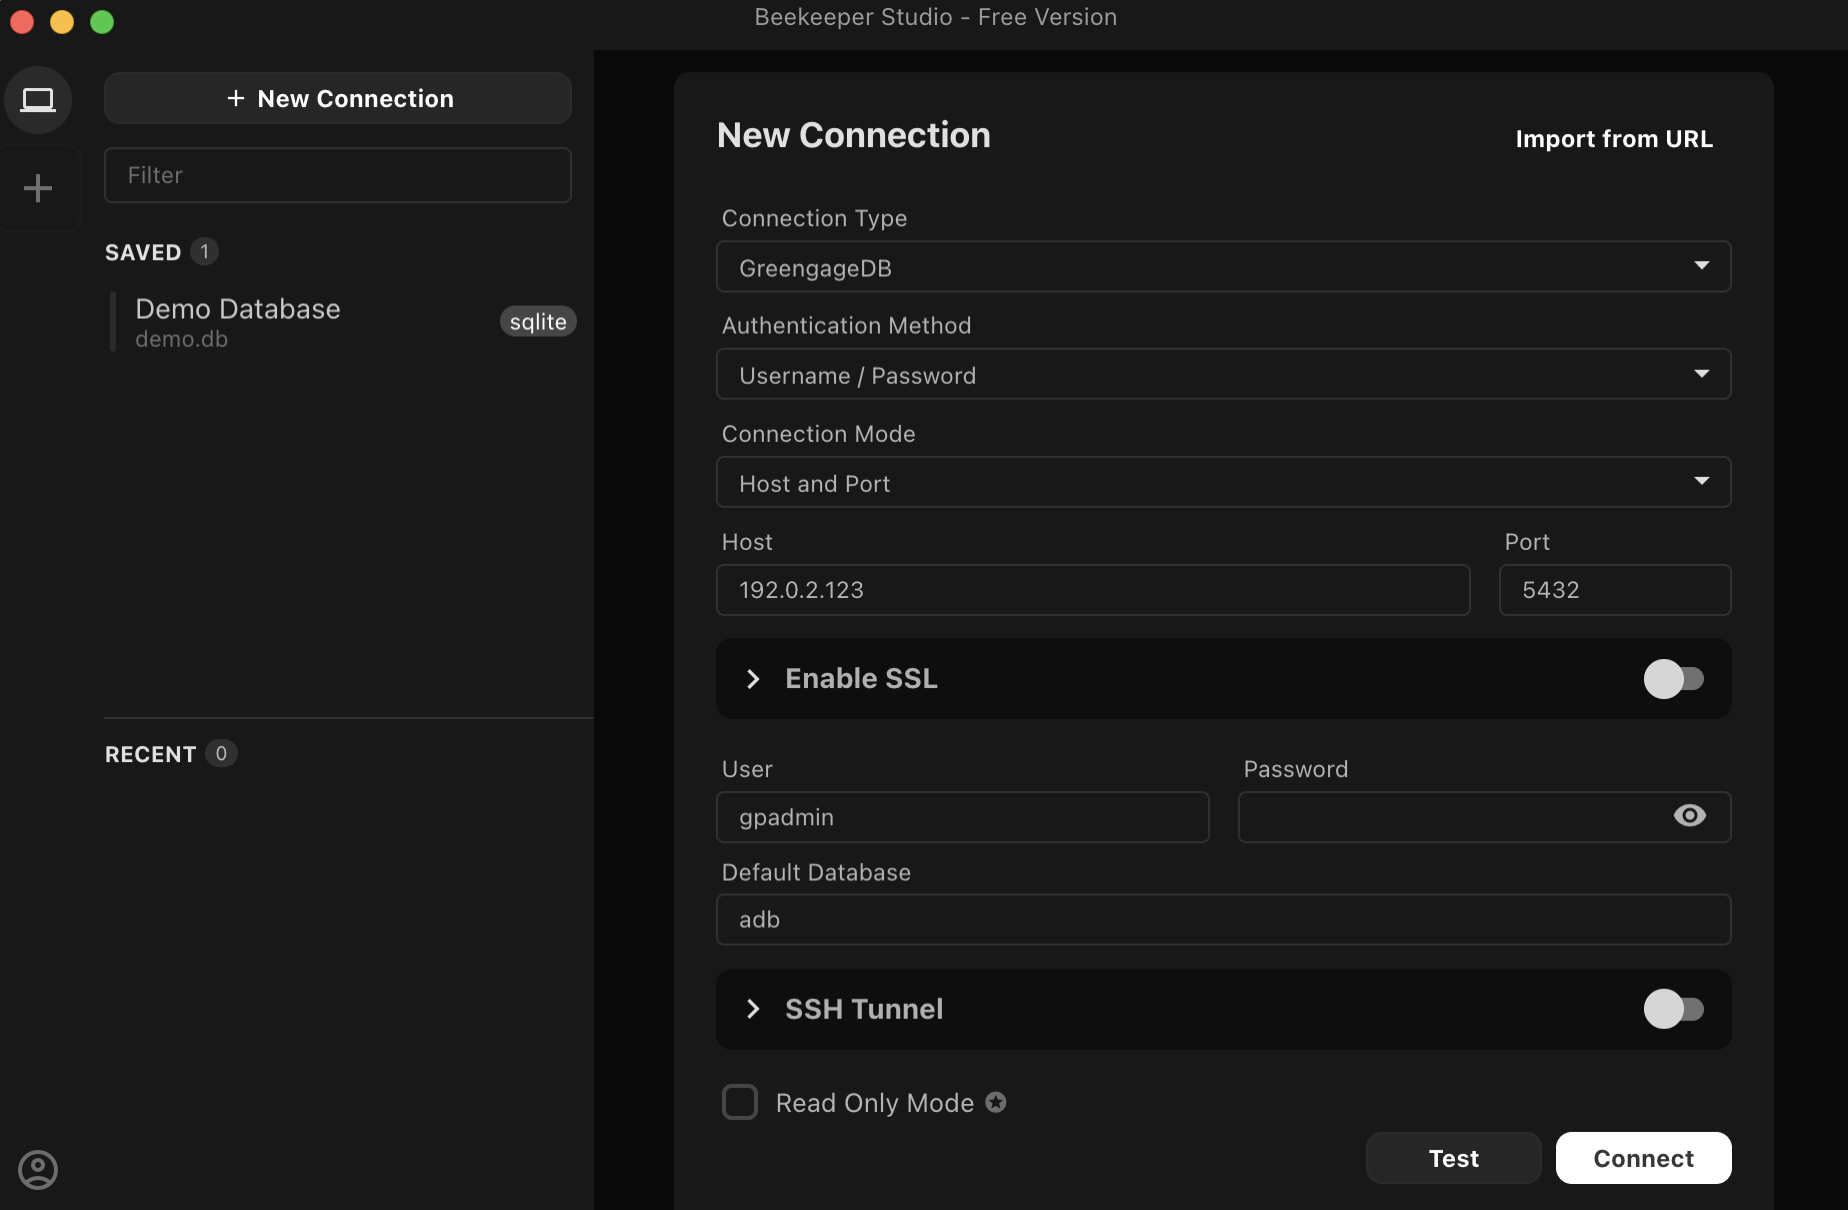 Connection settings
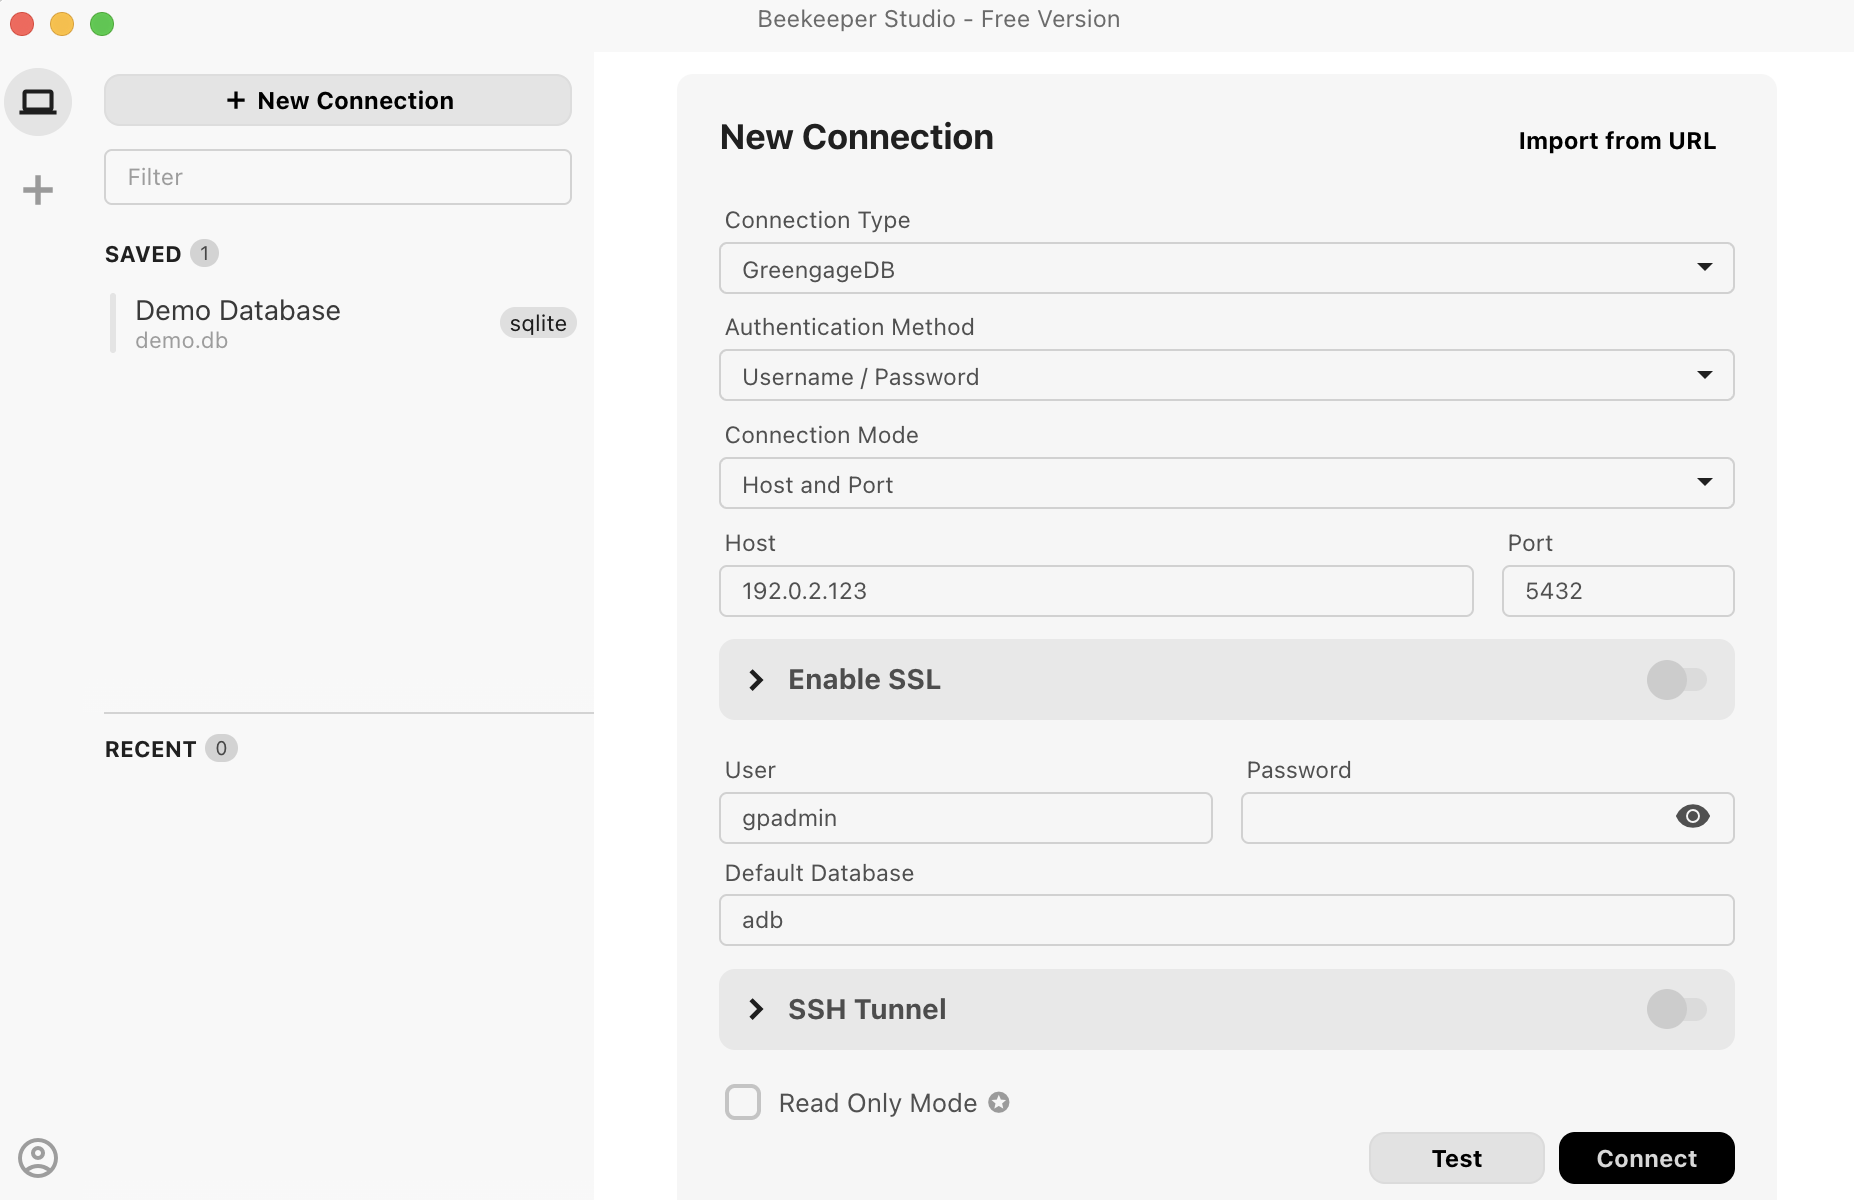 Connection settings
 -
-
Click Connect. If the connection is established correctly, Beekeeper Studio displays the list of entities in the database you’ve specified. You can switch to another database by using the drop-down list at the top of the Beekeeper Studio window. You can also display the details of an entity by selecting it in the Entities list.
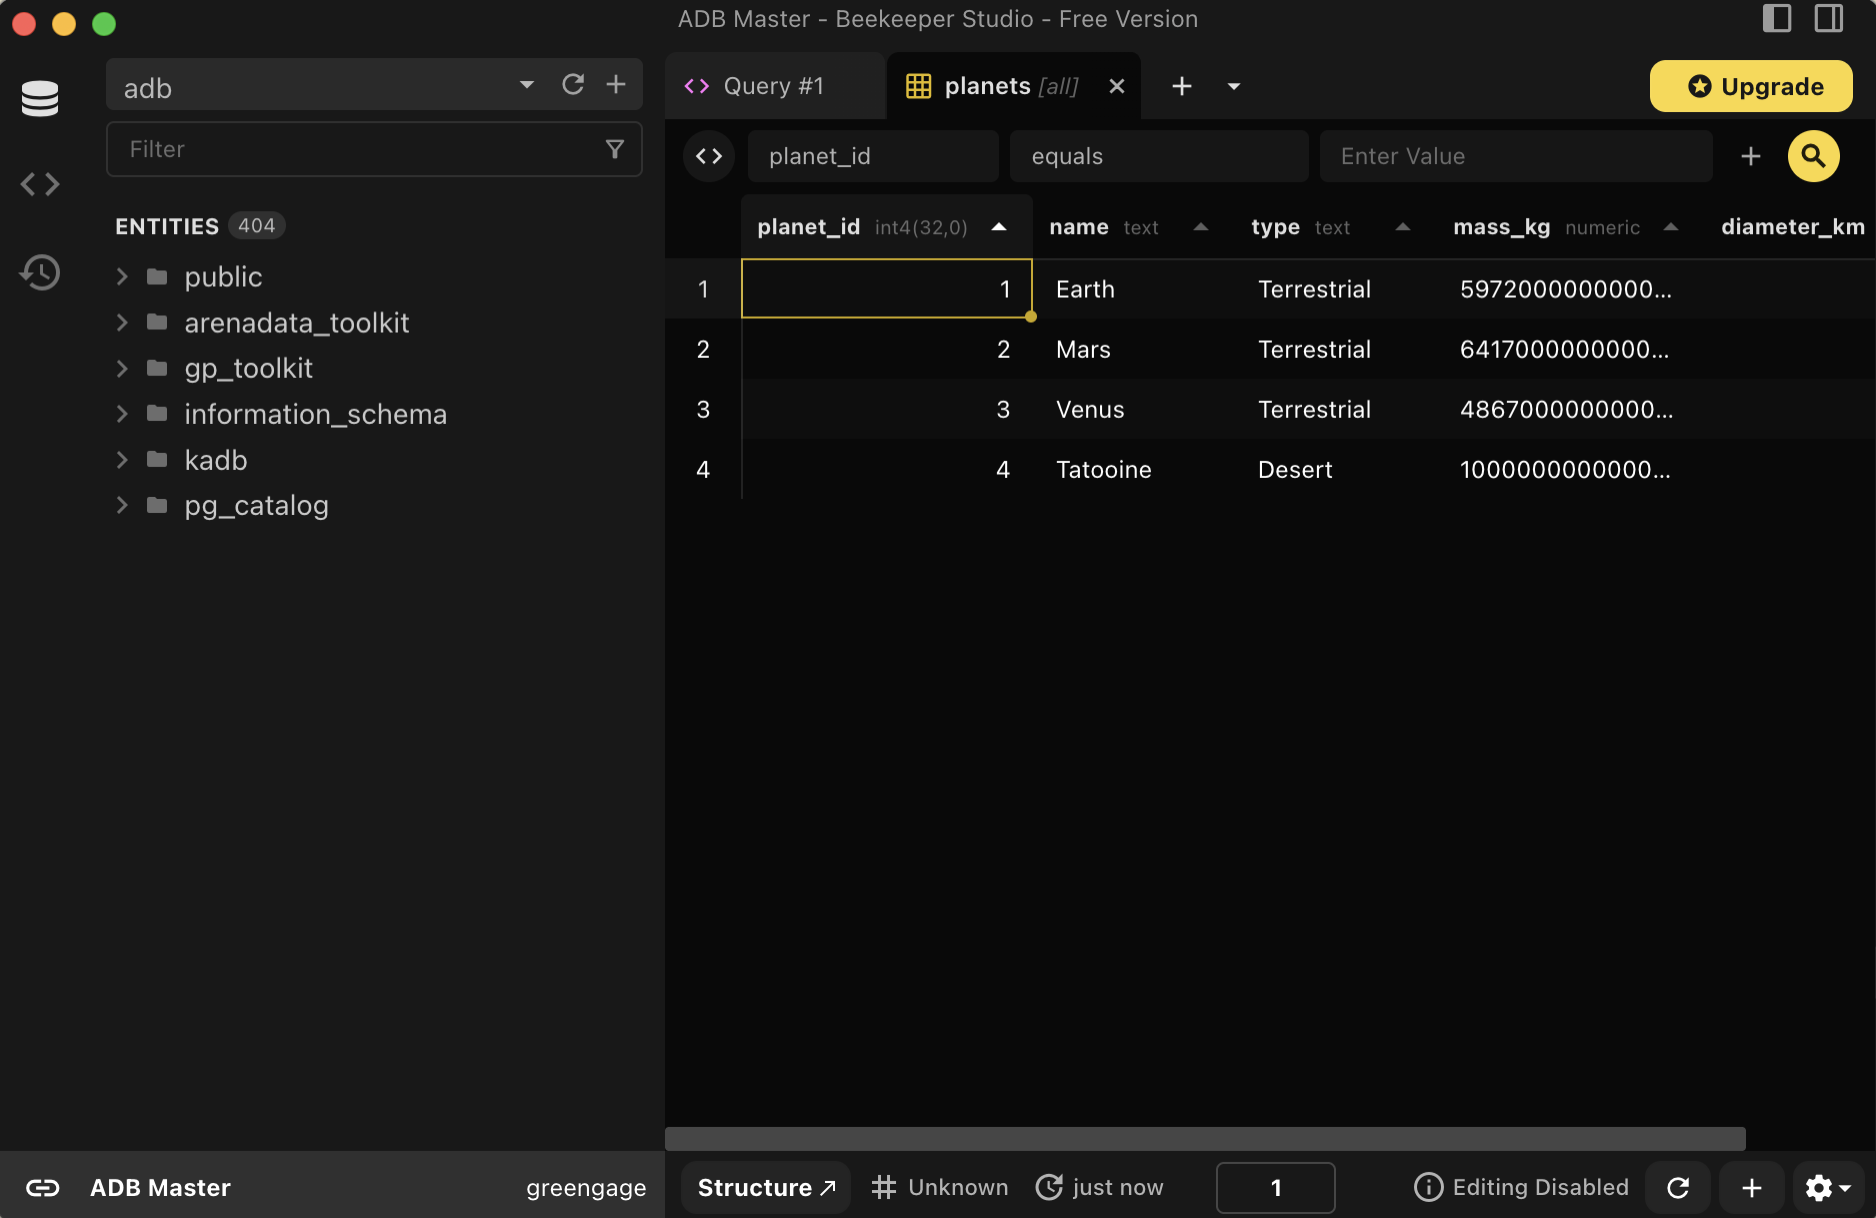 DB entities in Beekeeper Studio
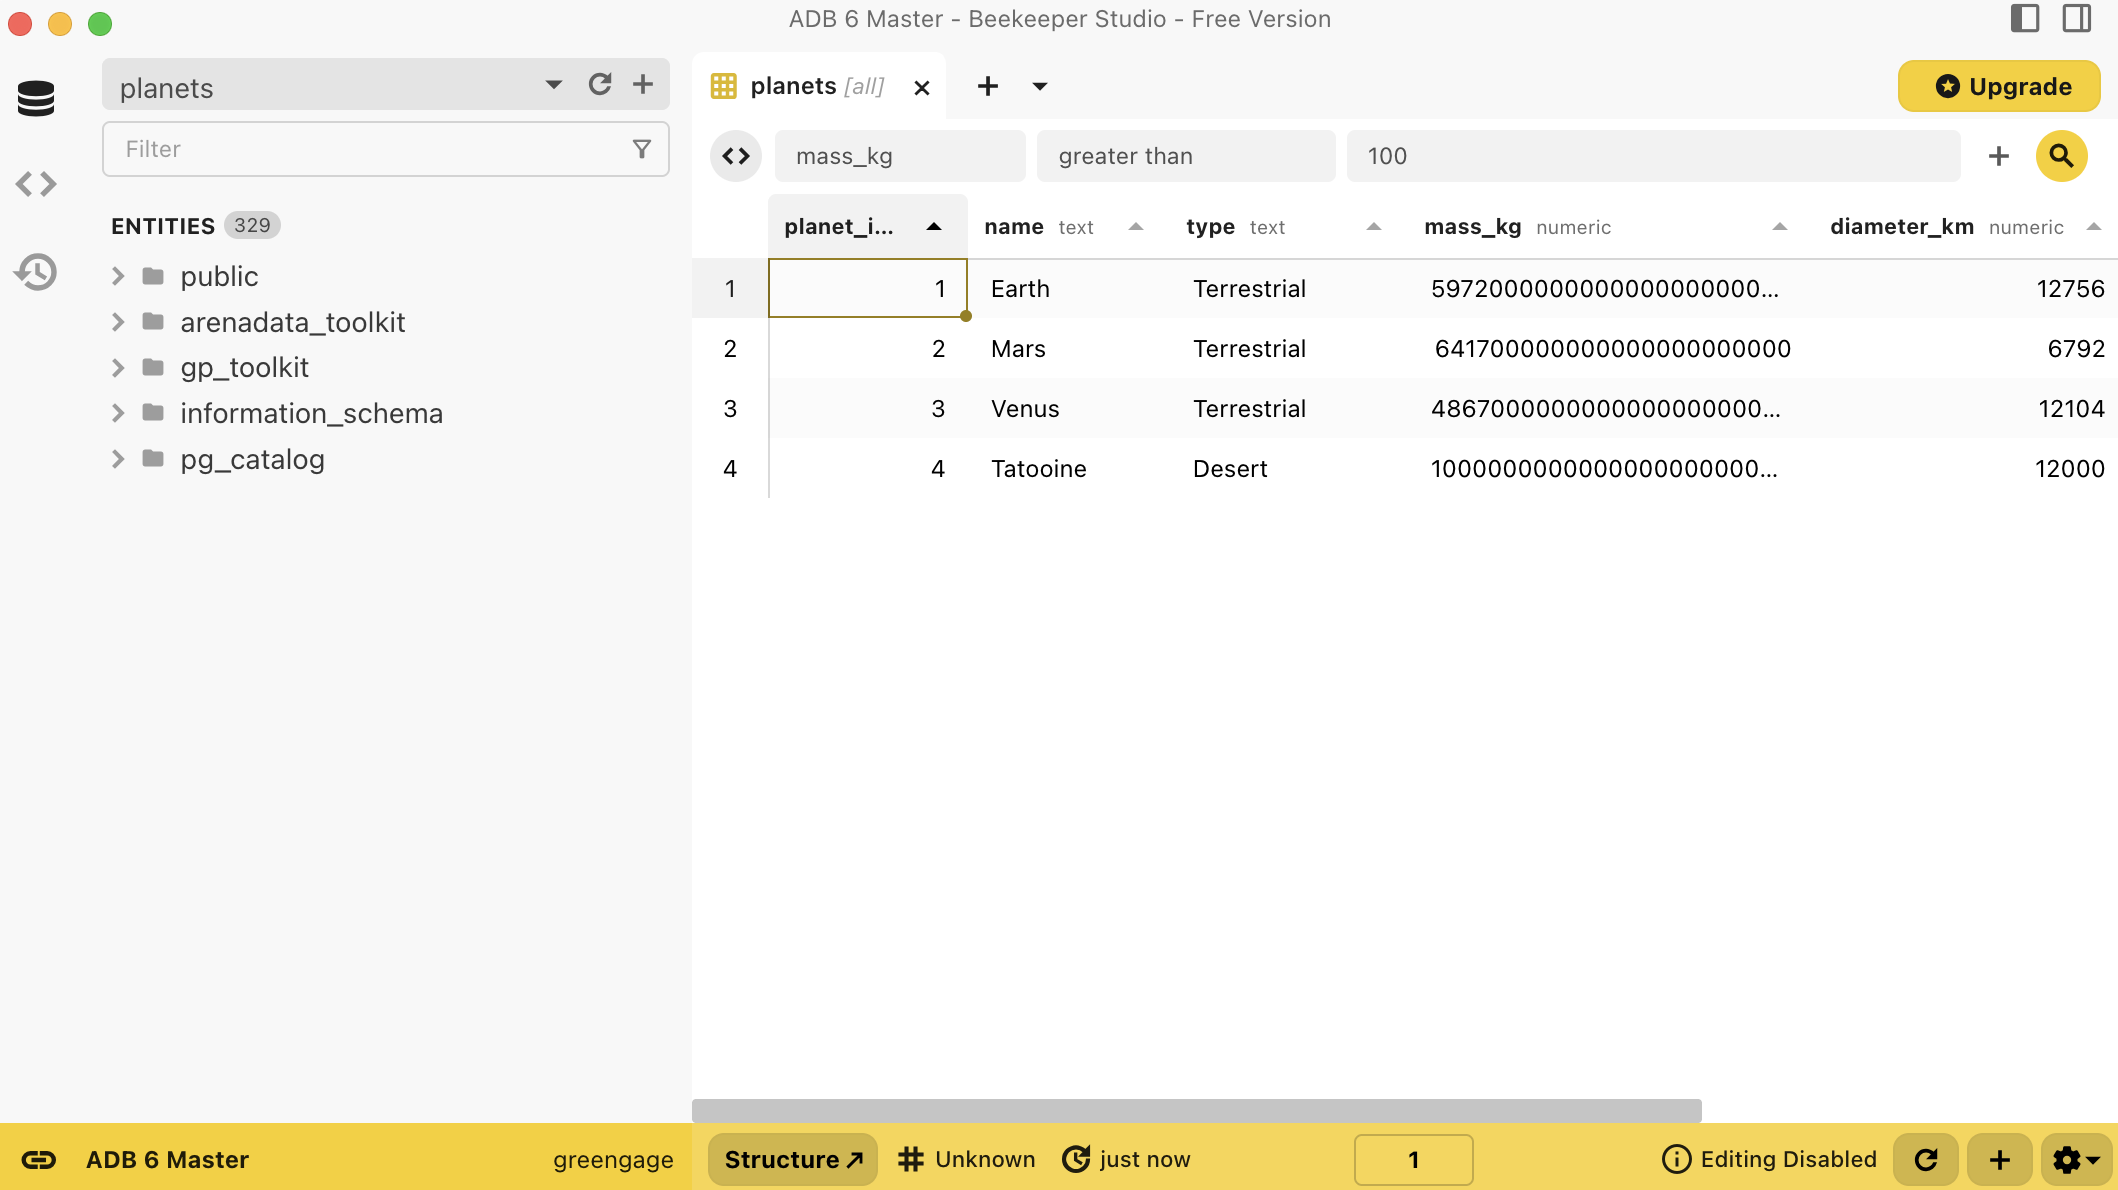 DB entities in Beekeeper Studio
Run a sample query
You can now use Beekeeper Studio to interact with ADB.
Note that Beekeeper Studio only supports editing tables with primary keys. You can set a primary key when creating a table, but you cannot add or modify it in Beekeeper Studio after the table is created. This restriction applies to the visual editor — you can still change the table via the SQL console in Beekeeper Studio. In the following example, no primary key is set to illustrate this limitation.
-
Next to the Entities list, click the plus icon (

 ) and select New Table.
 -
Enter the table name and define the names and data types for the table columns. Do not set any primary key.
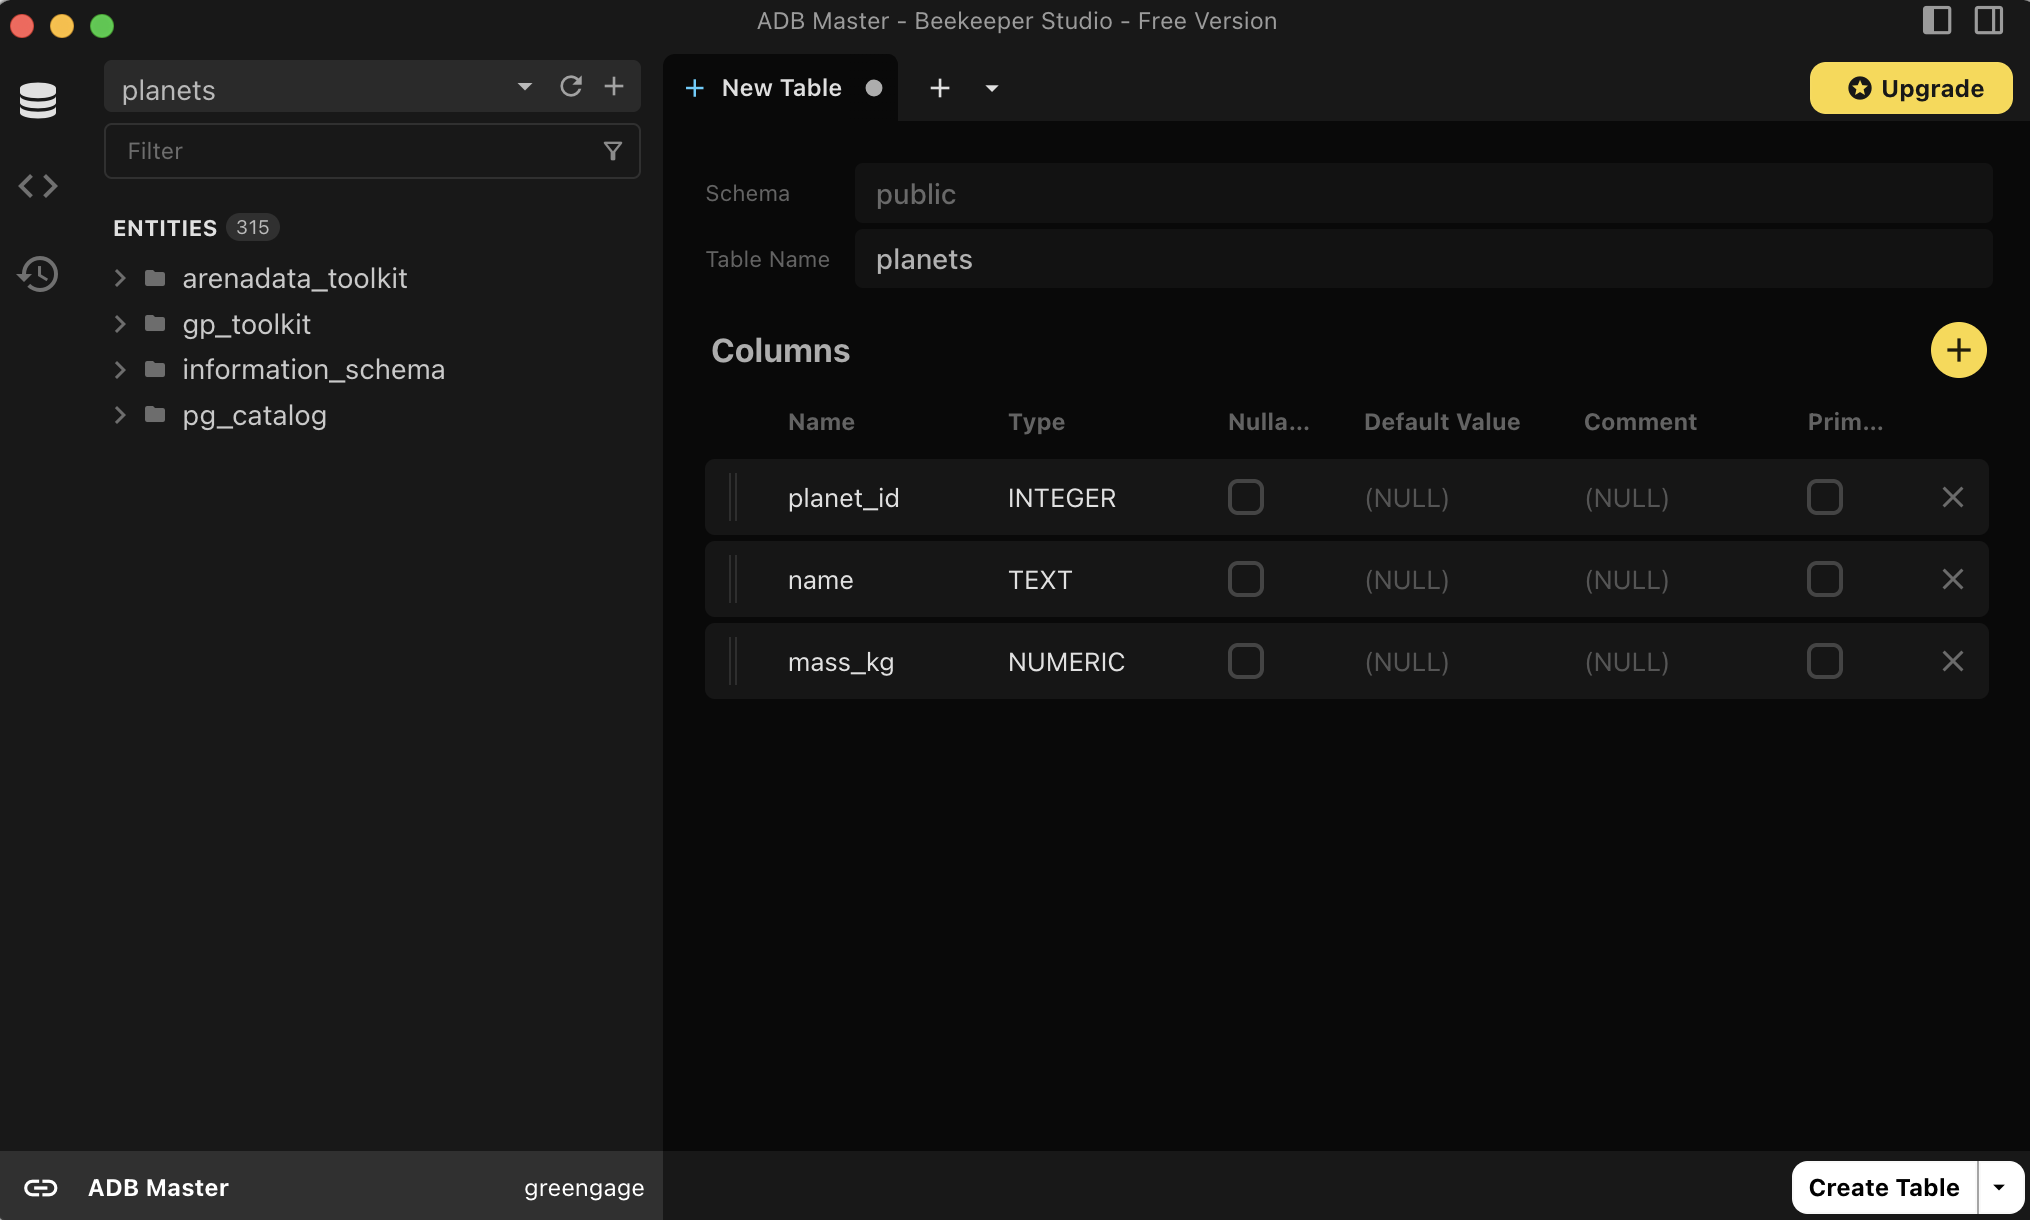 Creating a table in Beekeeper Studio
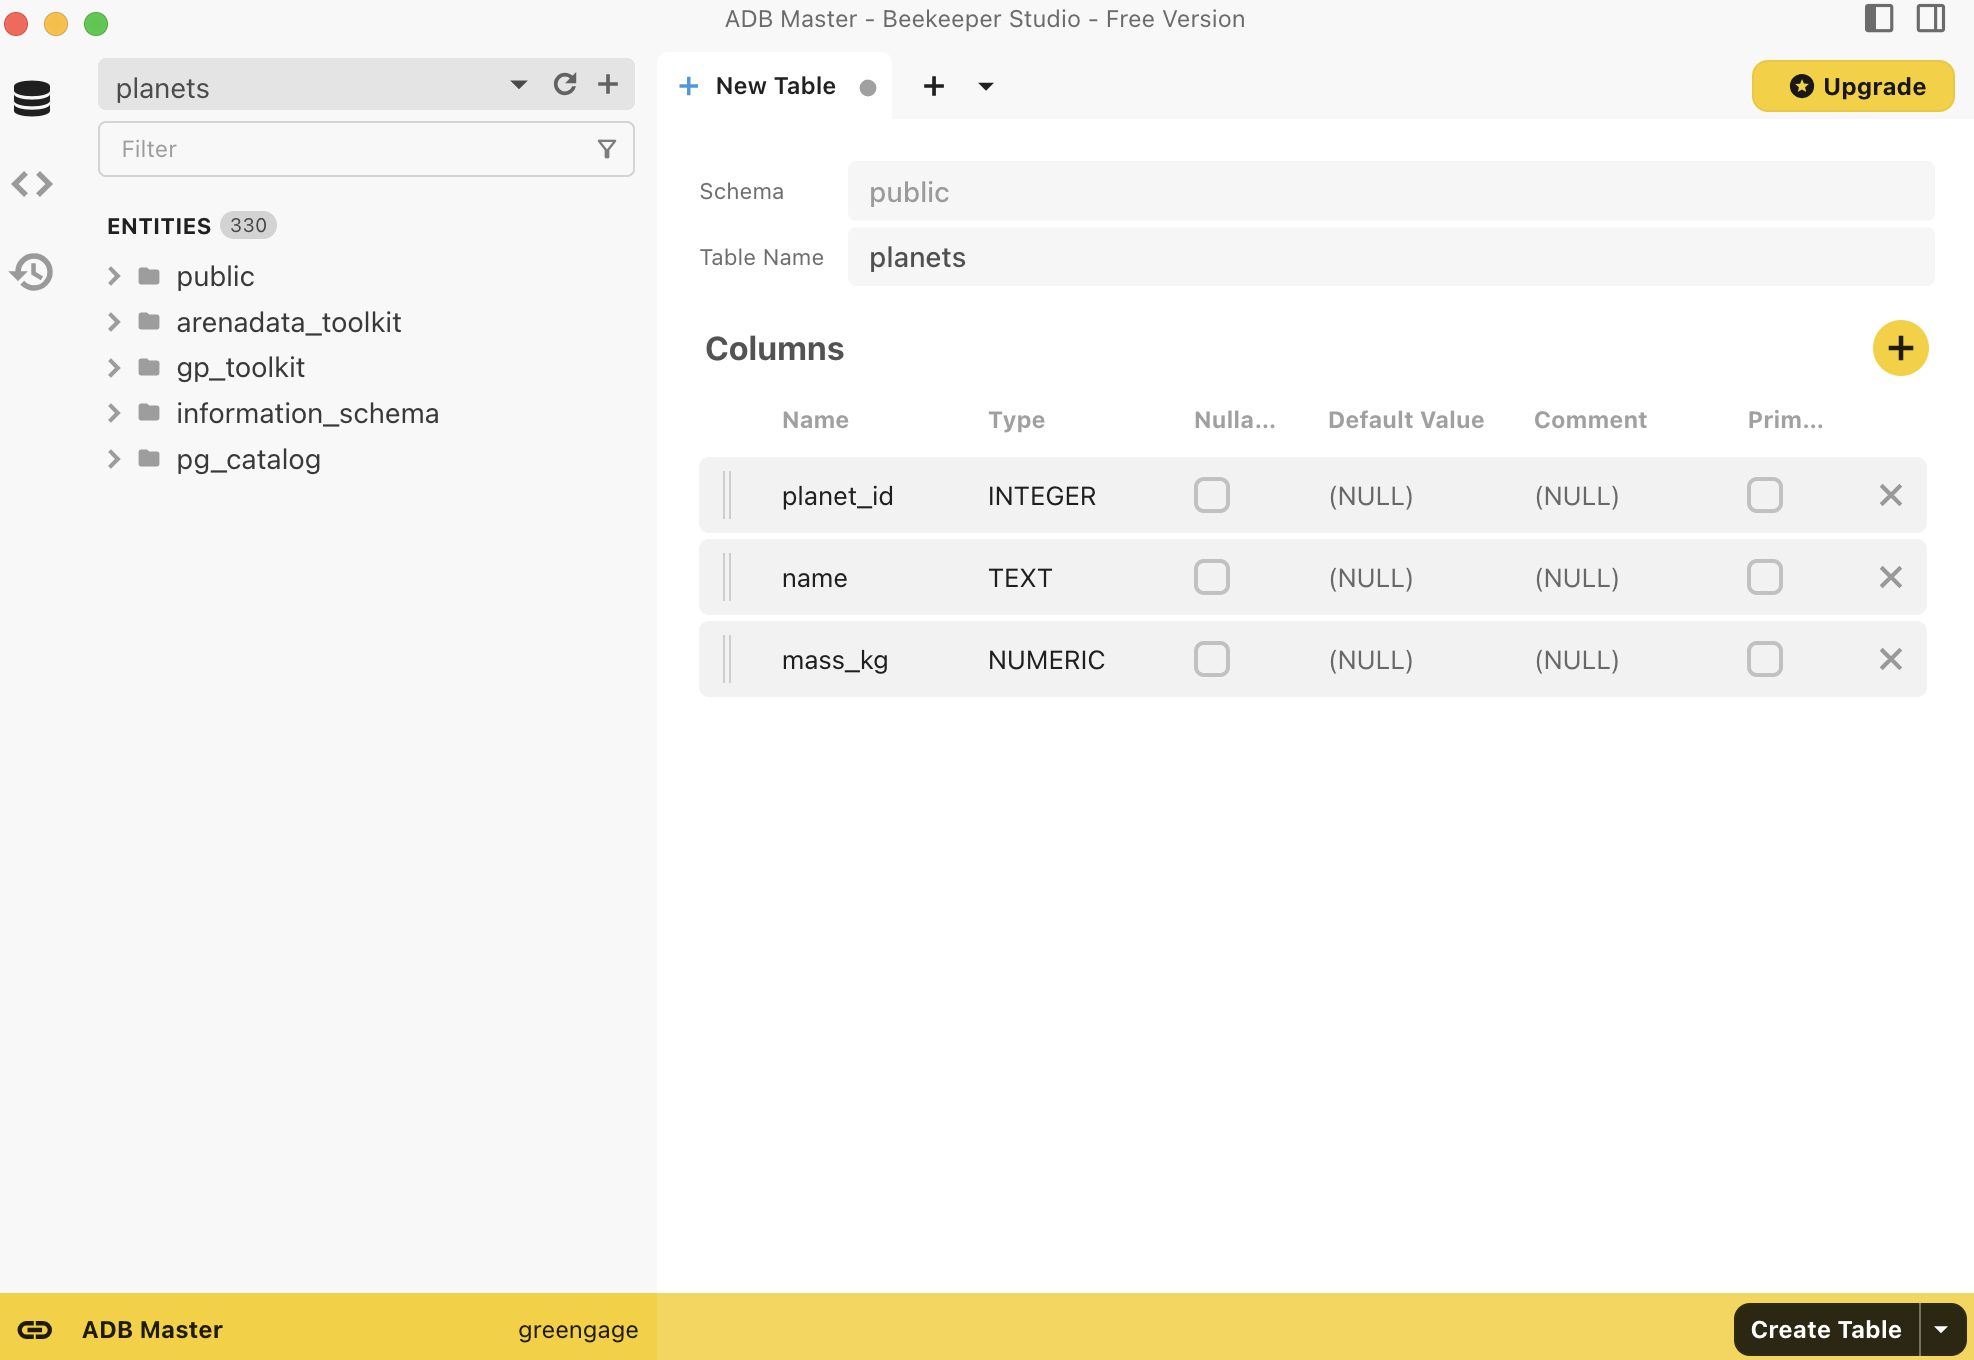 Creating a table in Beekeeper Studio
 -
Click Create Table. Because the resulting table contains no primary key, you won’t be able to alter the table and add or edit rows in Beekeeper Studio, and the Editing Disabled note is shown at the bottom of the Beekeeper Studio window.
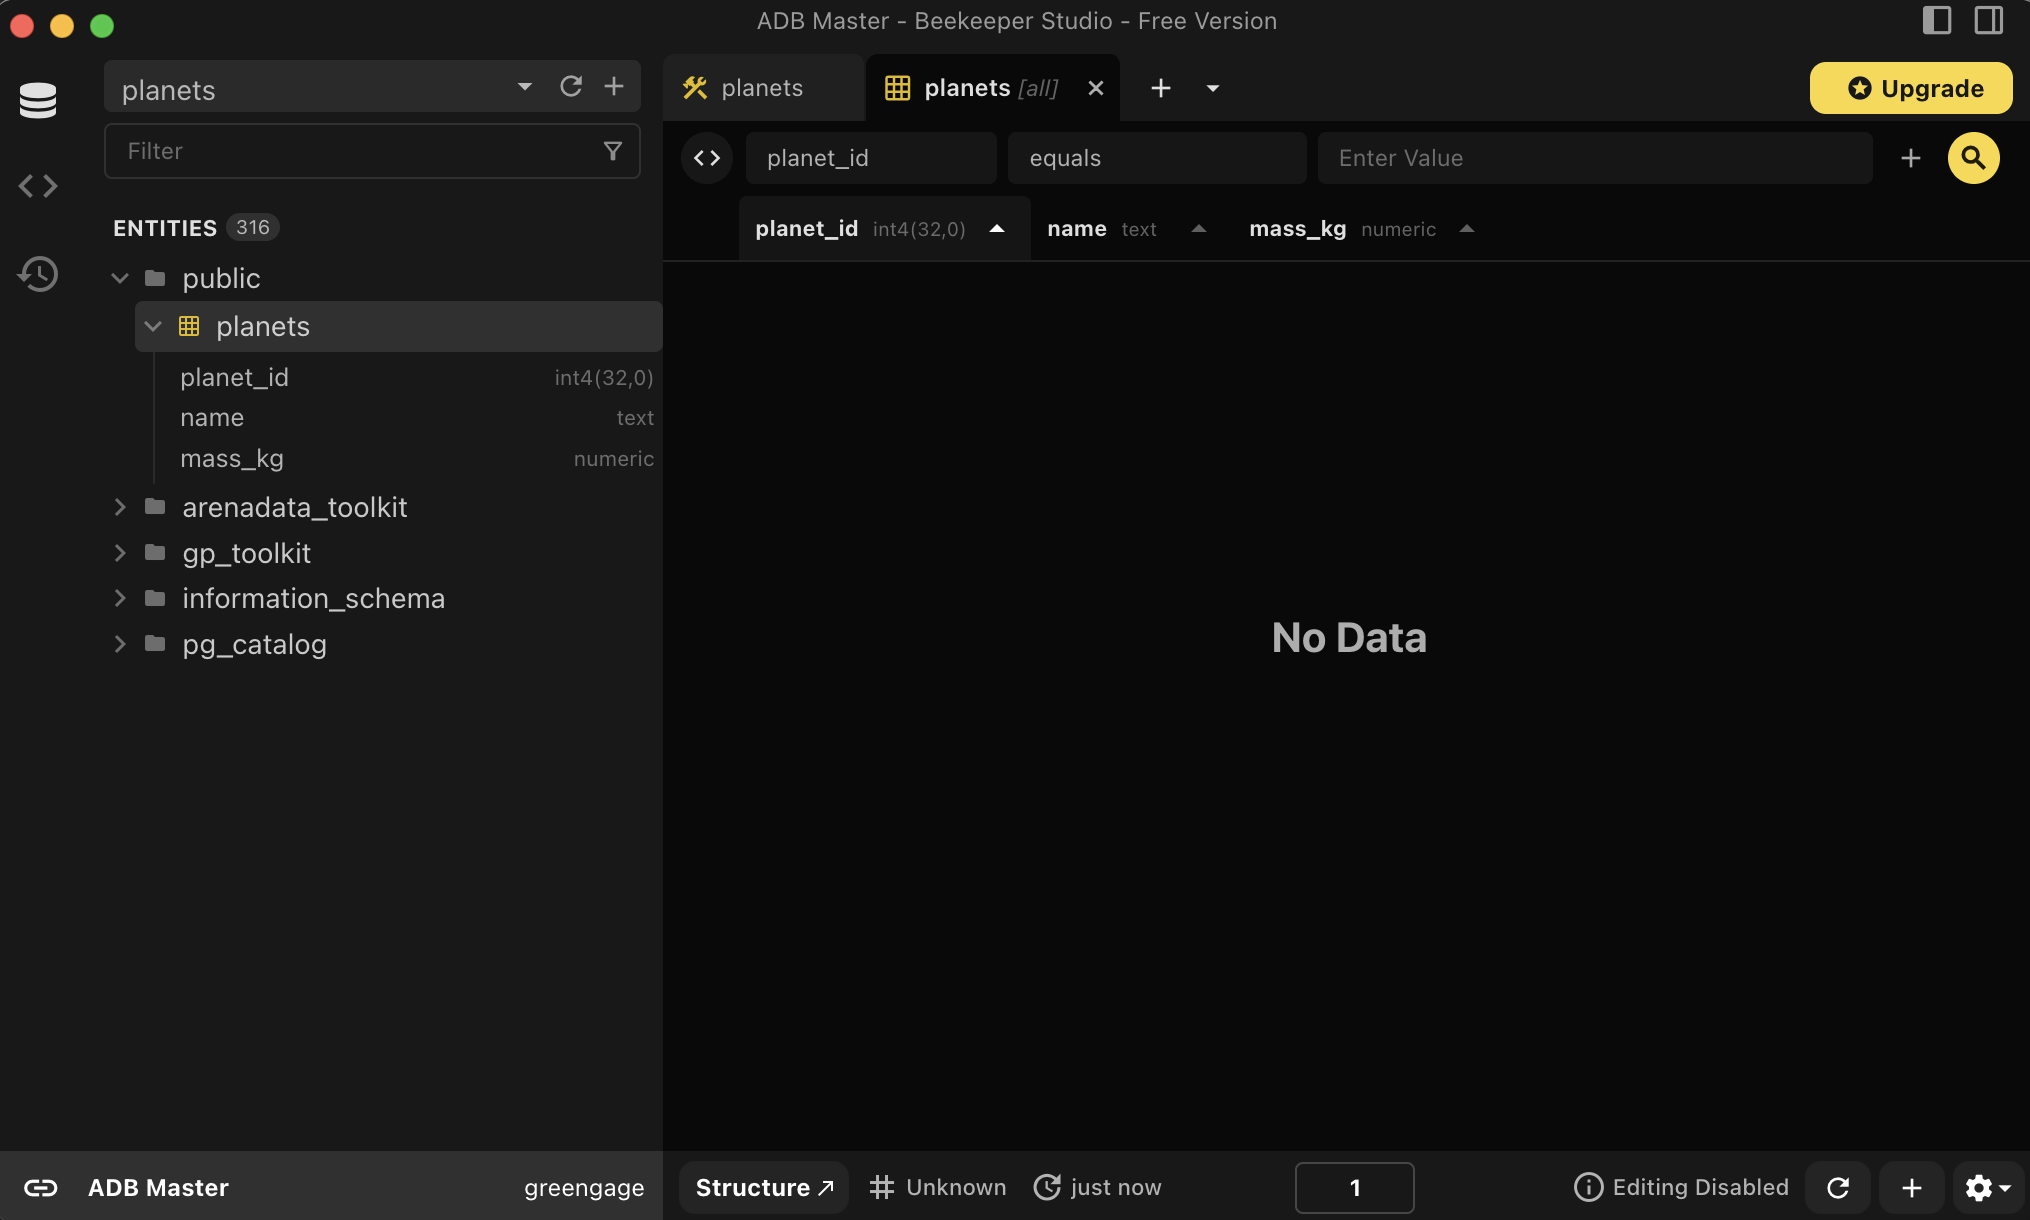 Table editing disabled
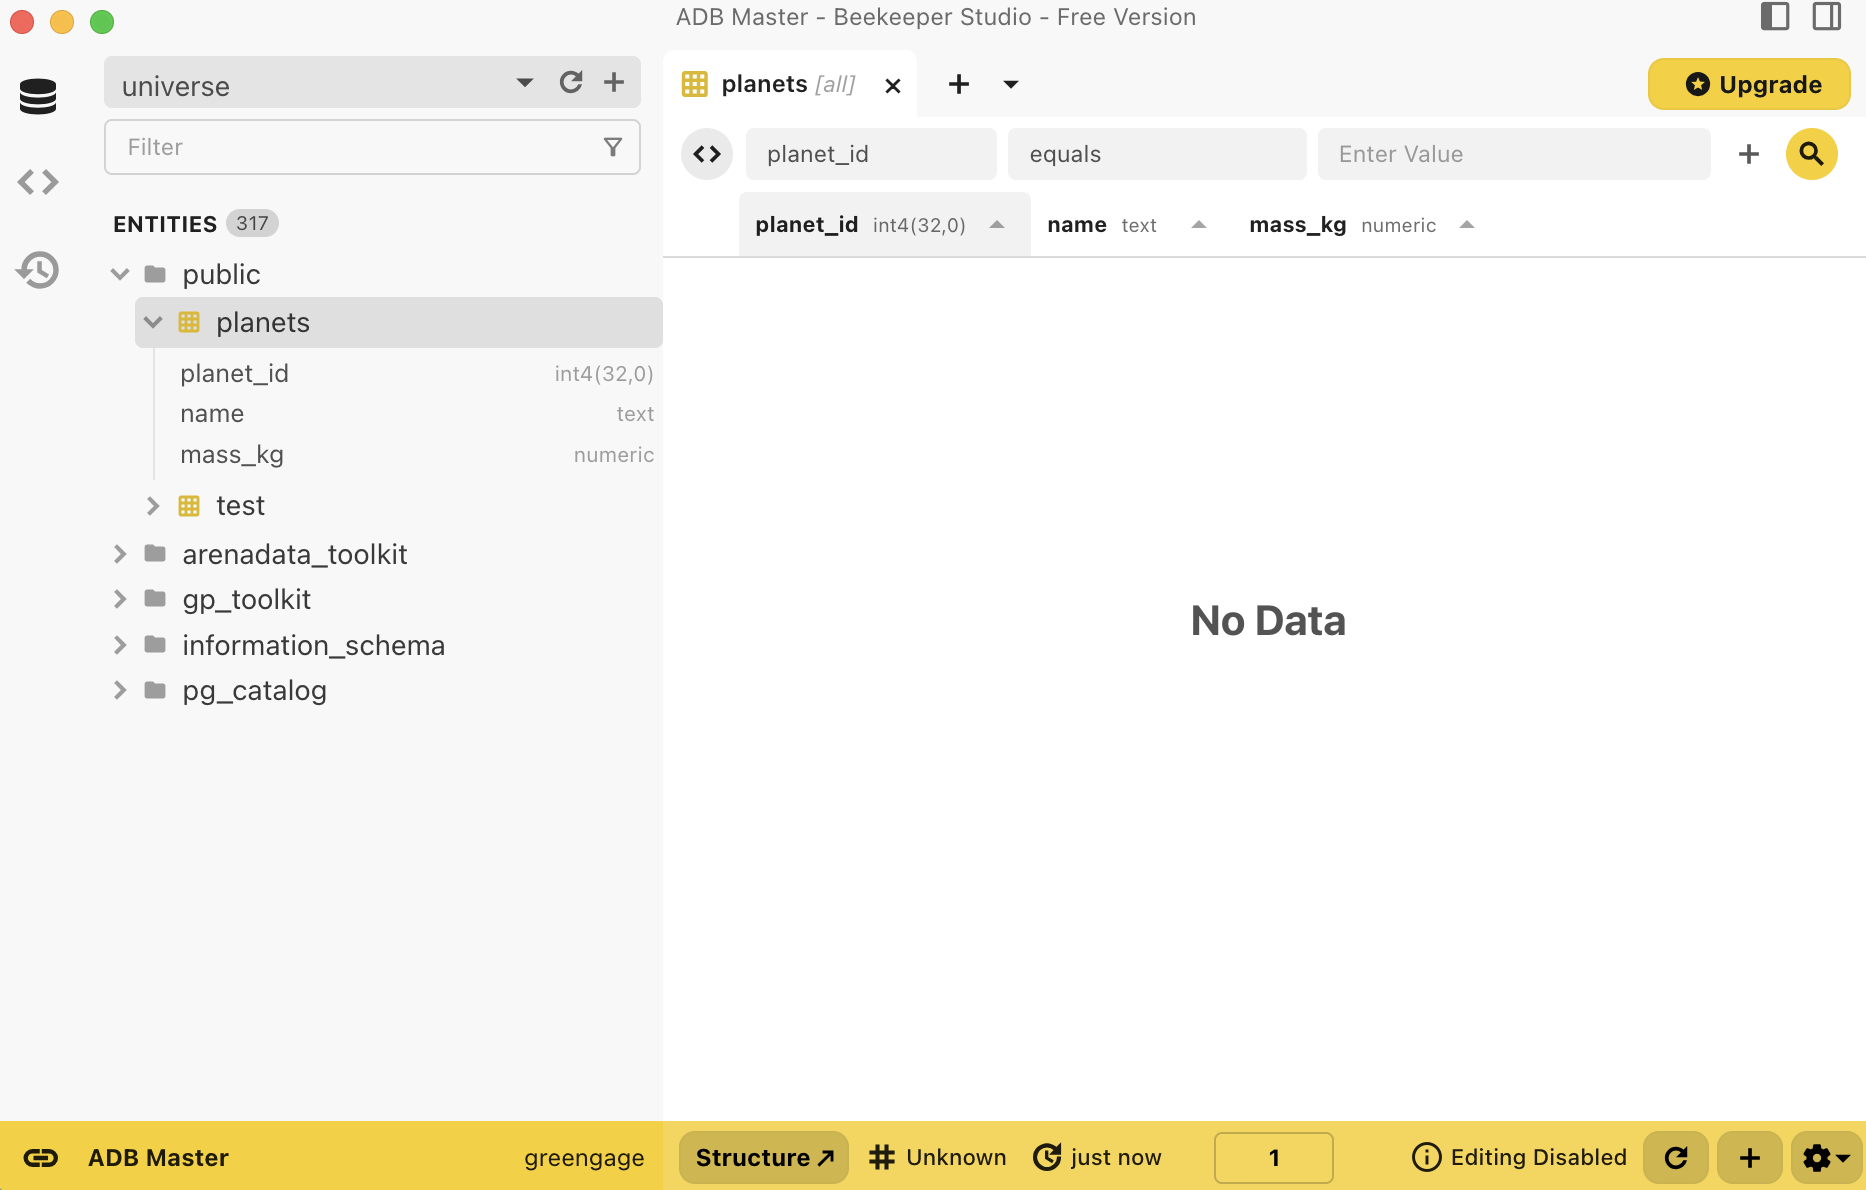 Table editing disabled
 -
Press
Ctrl+Tto open a new SQL editor tab and modify this table to contain a primary key:ALTER TABLE planets ADD PRIMARY KEY (planet_id); -
The table is now editable in the Beekeeper Studio visual editor. For example, you can click the plus icon (
) at the bottom of the Beekeeper Studio window to add new rows.
After you’ve finished editing, click Apply to commit the changes.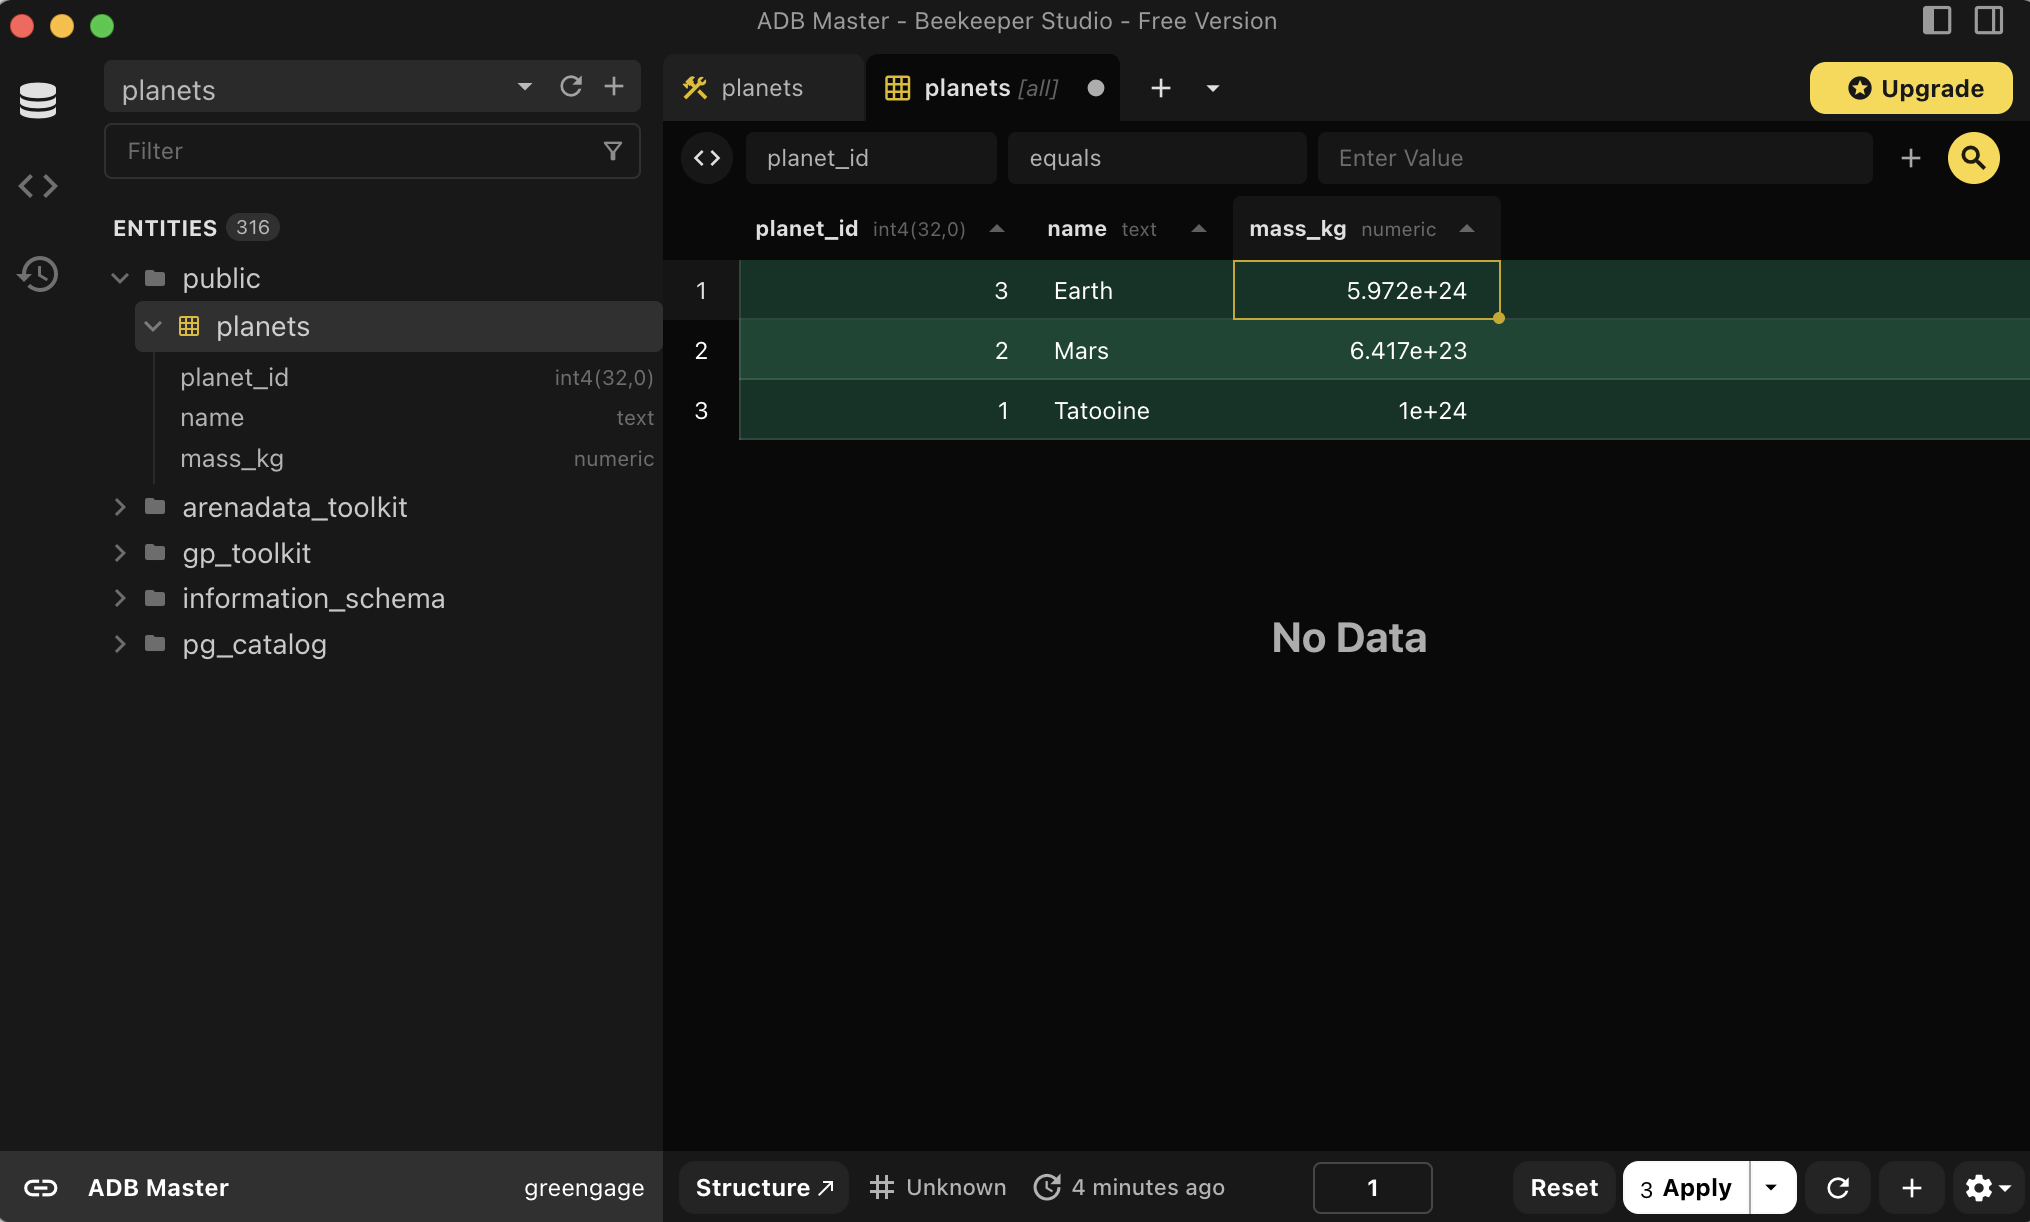 Table editing enabled
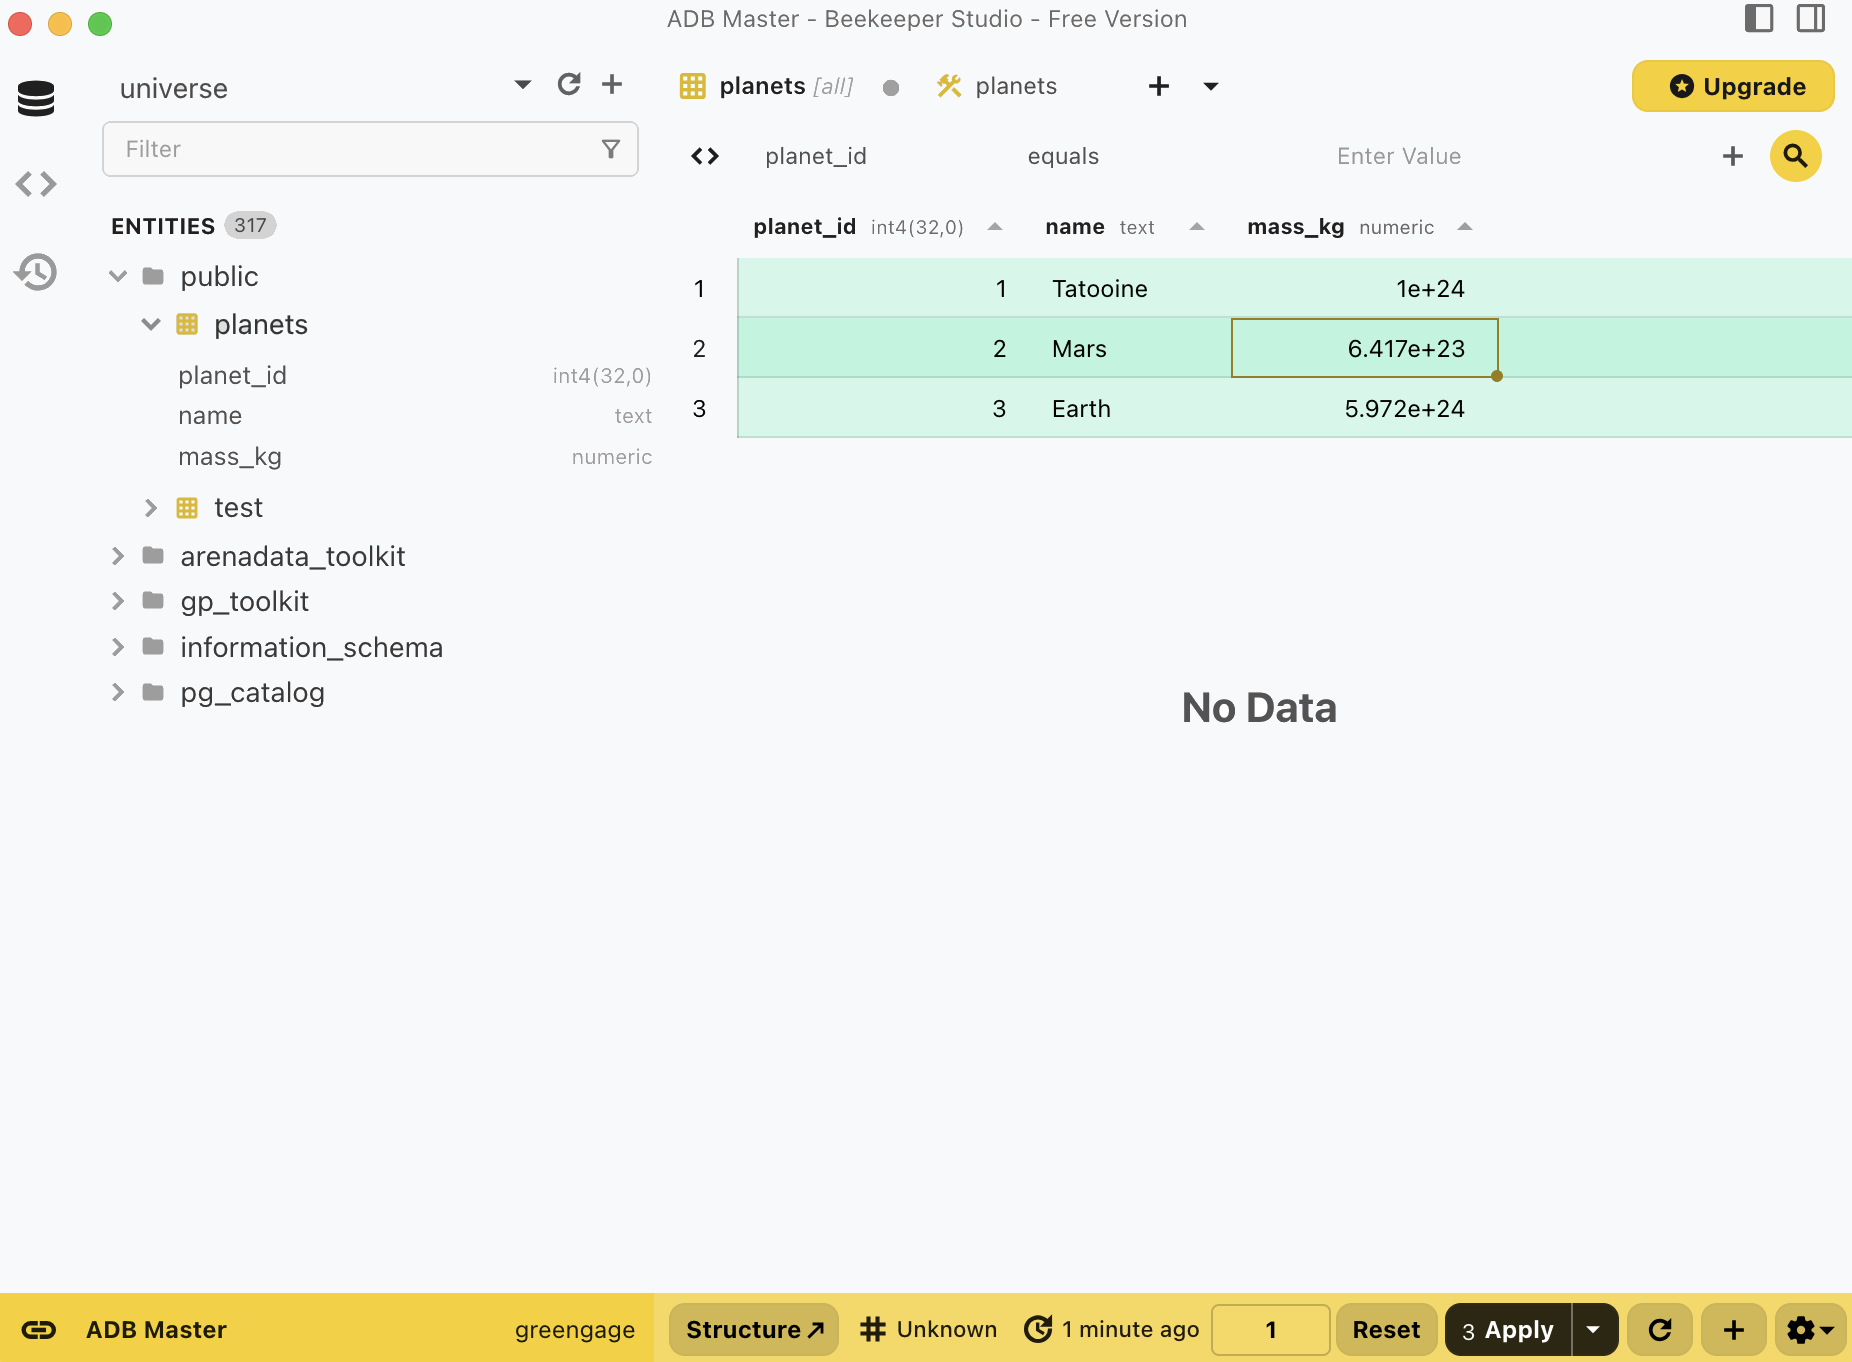 Table editing enabled
 -
Optionally, query the same table from another client (for example, via psql) to make sure it contains the added rows:
SELECT * FROM planets;The output should be similar to:
 planet_id |   name   |          mass_kg
-----------+----------+----------------------------
         1 | Tatooine | 10000000000000000000000000
         2 | Mars     |   641700000000000000000000
         3 | Earth    |  5972000000000000000000000
(3 rows)