

Installation
Online installation via a Docker Image
|
NOTE
|
To install ADCM, perform the following steps:
-
Pull a Docker image from the Arenadata Docker Registry:
$ sudo docker pull hub.arenadata.io/adcm/adcm:<version>where
<version>is a desired ADCM image version in one of the following formats:-
<major>.<minor>.<patch>— if you need a specific ADCM patch. For example,2.0.0. -
<major>.<minor>— if you need the last patch within the selected ADCM version. For example,2.0.
IMPORTANT-
latestwas used for earlier versions of ADCM and is no longer supported starting from version2.0.0. -
Before ADCM 2.0.0, the following format was used for versioning:
YYYY.MM.DD.HH.
-
-
Add and start a container based on that image:
NOTEThe command below creates and starts a container with ADCM on the8000port and establishes a connection to an external database. All its data will be stored on the host machine in the /opt/adcm/ directory. The environment variables description is given in the table below.$ sudo docker run --name adcm -p 8000:8000 -v /opt/adcm:/adcm/data -e DB_HOST="<DATABASE_HOSTNAME_OR_IP_ADDRESS>" -e DB_PORT="<DATABASE_TCP_PORT>" -e DB_USER="<DATABASE_USERNAME>" -e DB_NAME="<DATABASE_NAME>" -e DB_PASS="<DATABASE_USER_PASSWORD>" -e DB_OPTIONS="<DATABASE_OPTIONS>" hub.arenadata.io/adcm/adcm:<version>If you want to run ADCM with SELinux enabled, a Docker container should be created and started with the
:Zoption in the data catalog parameter:$ sudo docker run --name adcm -p 8000:8000 -v /opt/adcm:/adcm/data:Z hub.arenadata.io/adcm/adcm:<version>Optionally, when you create and start a container, you can specify the environment variables listed below. Each variable is specified in the following format:
-e <name>="<value>". For example:$ sudo docker run --name adcm -p 8000:8000 -v /opt/adcm:/adcm/data -e LOG_LEVEL="INFO" hub.arenadata.io/adcm/adcm:<version>NOTESpecial environment variables, such asSTATUS_LOG_LEVEL,ADCM_LOG_LEVEL,AUDIT_LOG_LEVEL,LDAP_LOG_LEVEL,BACKGROUND_TASKS_LOG_LEVEL, andTASK_RUNNER_LOG_LEVELhave higher priority than theLOG_LEVELvariable.
| Name | Description |
|---|---|
DB_HOST |
Name or IP address of the host where the database is deployed |
DB_PORT |
TCP port number that is used to connect to the database |
DB_USER |
Username that is used to connect to the database |
DB_NAME |
Database name |
DB_PASS |
Password that is used to connect to the database |
DB_OPTIONS |
Options for connecting to the database:
|
DEFAULT_ADCM_URL |
URL of the host where the ADCM container is deployed. Use the following format: |
LOG_LEVEL |
Log level for all log types. Possible values:
|
STATUS_LOG_LEVEL |
Log level for status.log. Possible values:
|
ADCM_LOG_LEVEL |
Log level for adcm.log and adcm_debug.log. Possible values:
|
AUDIT_LOG_LEVEL |
Log level for audit.log. Possible values:
|
LDAP_LOG_LEVEL |
Log level for ldap.log. Possible values:
|
BACKGROUND_TASKS_LOG_LEVEL |
Log level for cron_task.log. Possible values:
|
TASK_RUNNER_LOG_LEVEL |
Log level for task_runner.err. Possible values:
|
MIGRATION_MODE |
Flag that indicates whether migration mode (ability to migrate ADCM database from SQLite to PostgreSQL) is turned on. For more information, see Migration. Possible values:
|
CONSUL_URL |
HashiCorp Consul server URL. Use the following format: |
CONSUL_DATACENTER |
HashiCorp Consul Datacenter. If the variable value is not specified, the value specified in HashiCorp Consul by default will be used |
CONSUL_CACERT_FILE |
Path to the certificate authority (CA) certificate file if encryption is enabled in HashiCorp Consul |
CONSUL_CLIENT_CERT_FILE |
Path to the client certificate file if encryption is enabled in HashiCorp Consul |
CONSUL_CLIENT_KEY_FILE |
Path to the client private key file if encryption is enabled in HashiCorp Consul |
SECRET_BACKEND |
Type of secret storage. Specify |
VAULT_URL |
HashiCorp Vault server URL (for example, https://vault.example.com:8200) |
VAULT_MOUNT_POINT |
Mount point in HashiCorp Vault for storing ADCM secrets |
VAULT_TOKEN_FILE |
Path to the file containing the access token used for authentication in HashiCorp Vault |
VAULT_NAMESPACE |
HashiCorp Vault namespace. Used in the Enterprise version to isolate data and configuration |
VAULT_CA_FILE |
Path to the certificate authority (CA) certificate file for verifying TLS connections to HashiCorp Vault. If the variable is not set, but |
VAULT_CLIENT_CERT_FILE |
Path to the client certificate file when using TLS authentication in HashiCorp Vault |
VAULT_CLIENT_KEY_FILE |
Path to the client private key file when using TLS authentication in HashiCorp Vault |
|
NOTE
The VAULT_* variables are used when working with HashiCorp Vault (SECRET_BACKEND="VaultBackend").
|
Offline installation (available in the Enterprise Edition)
If you use Enterprise Edition of the product, you can also try offline ADCM installation. It can be useful in situations without Internet access.
Offline ADCM installation includes the following steps:
-
Get an archive with the sh.xz extension that contains a special installation shell script from the Arenadata support team.
-
Make a directory on the host where ADCM should be deployed, and put the received archive into it.
-
Unpack the archive into the created directory using any of the available methods.
NOTERunning the command can take some time. Please wait until it is completed. -
Load the Docker image to the local storage using the received script:
$ sudo bash <script_name> unpack_adcmwhere
<script_name>is the full script name with the extension (for example, adcm_2.5.0.sh).The example of a successful command execution result:
Loaded image: hub.arenadata.io/adcm/adcm:2.5.0
-
Create and start a new container based on the downloaded image:
$ sudo docker run --name adcm -p 8000:8000 -v /opt/adcm:/adcm/data -e DB_HOST="<DATABASE_HOSTNAME_OR_IP_ADDRESS>" -e DB_PORT="<DATABASE_TCP_PORT>" -e DB_USER="<DATABASE_USERNAME>" -e DB_NAME="<DATABASE_NAME>" -e DB_PASS="<DATABASE_USER_PASSWORD>" -e DB_OPTIONS="<DATABASE_OPTIONS>" hub.arenadata.io/adcm/adcm:<version>
Start and stop
ADCM is just a container operated by Docker. So you are able to use simple Docker commands to start and stop ADCM:
-
To stop ADCM, use the following command.
$ sudo docker stop adcm -
To start ADCM, use the following command.
$ sudo docker start adcm -
In order to provide the automatic start of the Docker container after unexpected errors, use the following command.
$ sudo docker update --restart=on-failure adcm
|
NOTE
|
Check installation
Check the Docker container status
To make sure that the Docker container adcm is successfully deployed, run the following command:
$ sudo docker container lsThe example of the command execution result is listed below. Make sure that the STATUS value is equal to Up.
CONTAINER ID        IMAGE                               COMMAND             CREATED             STATUS              PORTS                    NAMES
74b5628146e5        hub.arenadata.io/adcm/adcm:2.0   "/etc/startup.sh"   4 days ago          Up 21 minutes       0.0.0.0:8000->8000/tcp   adcm
Check the 8000 port availability
After ADCM is installed and started, its web interface should become available on the 8000 port of the deployed container.
For Ubuntu 22.04, first install the packages required for executing the netstat command:
$ sudo apt-get install net-toolsYou can check the 8000 port availability using these commands:
-
The
netstatcommand — to display information about port listening.$ sudo netstat -ntpl | grep 8000The example of the command execution result:
tcp6 0 0 :::8000 :::* LISTEN 1514/docker-proxy-c
-
The
curlcommand — to check the URL connection.$ curl http://localhost:8000The example of the command execution result:
<!doctype html>
<html lang="en">
<head>
  <meta charset="utf-8">
  <title>Arenadata Cluster Manager</title>
  <base href="/">
  <meta name="viewport" content="width=device-width, initial-scale=1">
  <link rel="icon" type="image/x-icon" href="assets/favicon.ico">
<link rel="stylesheet" href="styles.10db6328264e0907c52f.css"></head>
<body>
  <app-root></app-root>
<script src="runtime-es2015.7eb406ed18bf0258cd35.js" type="module"></script><script src="runtime-es5.7eb406ed18bf0258cd35.js" nomodule defer></script><script src="polyfills-es5.2e224d70daec4412d3c2.js" nomodule defer></script><script src="polyfills-es2015.37e0553ac06970d6a5b5.js" type="module"></script><script src="main-es2015.39851da0ebf9ed6fec45.js" type="module"></script><script src="main-es5.39851da0ebf9ed6fec45.js" nomodule defer></script></body>
</html>
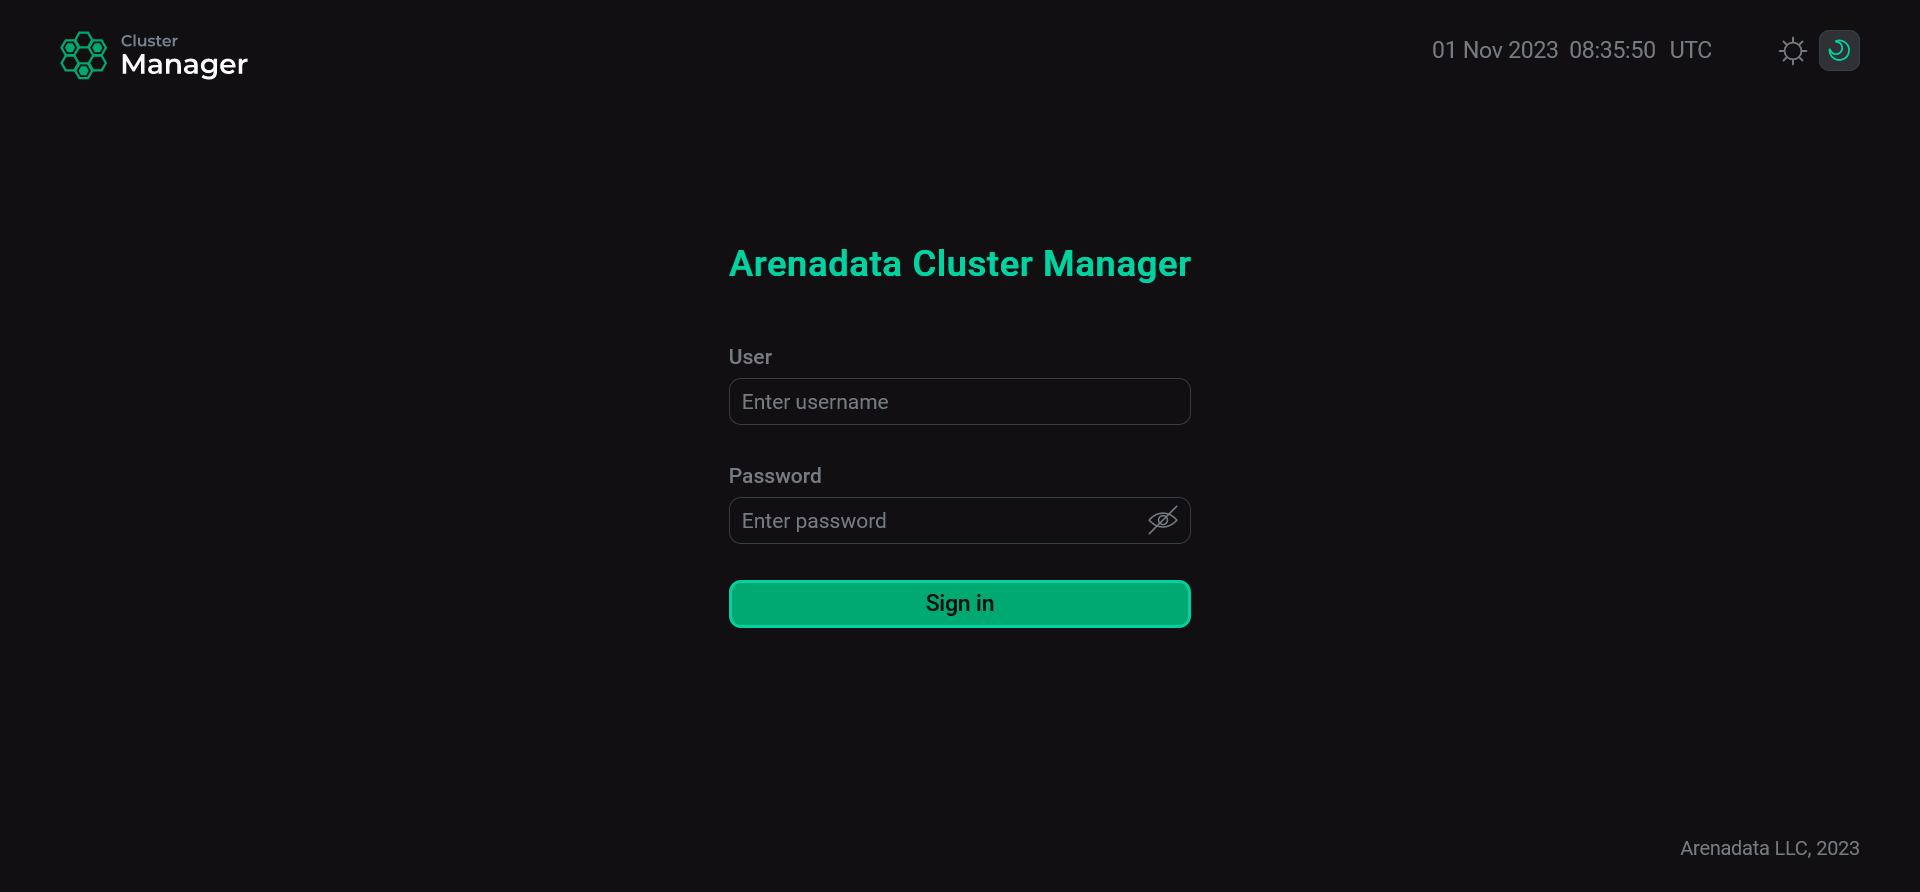
Check the ADCM web-interface
To log in to ADCM, use the user with administrator rights that is created by default:
-
User: admin
-
Password: admin
Later you can change the password if necessary. To do this:
-
Open the user profile in the left navigation menu.
-
Enter the current password in the Current password field.
-
Fill in the New password field.
-
Confirm a new password in the Confirm password field.
-
Click Save.
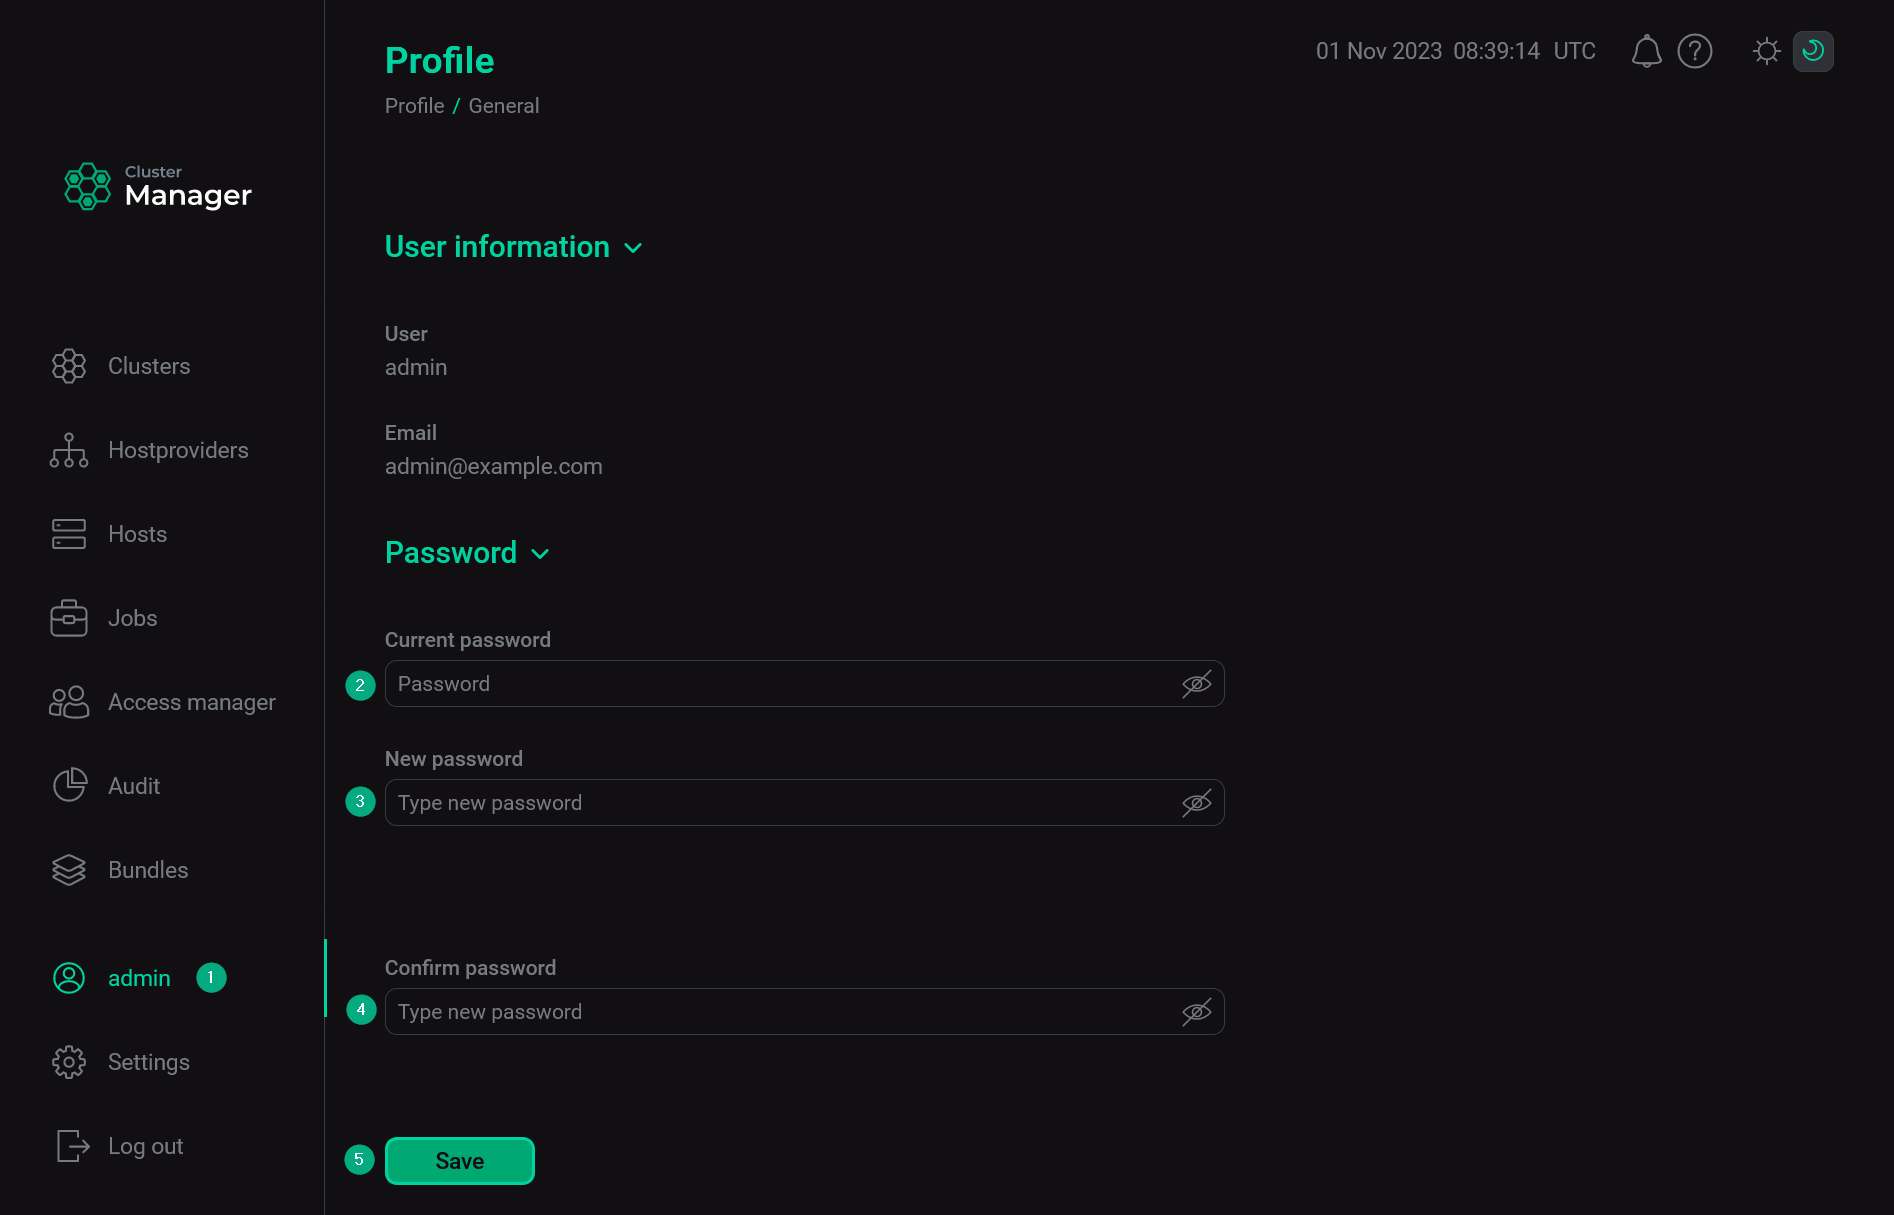 Change the admin password
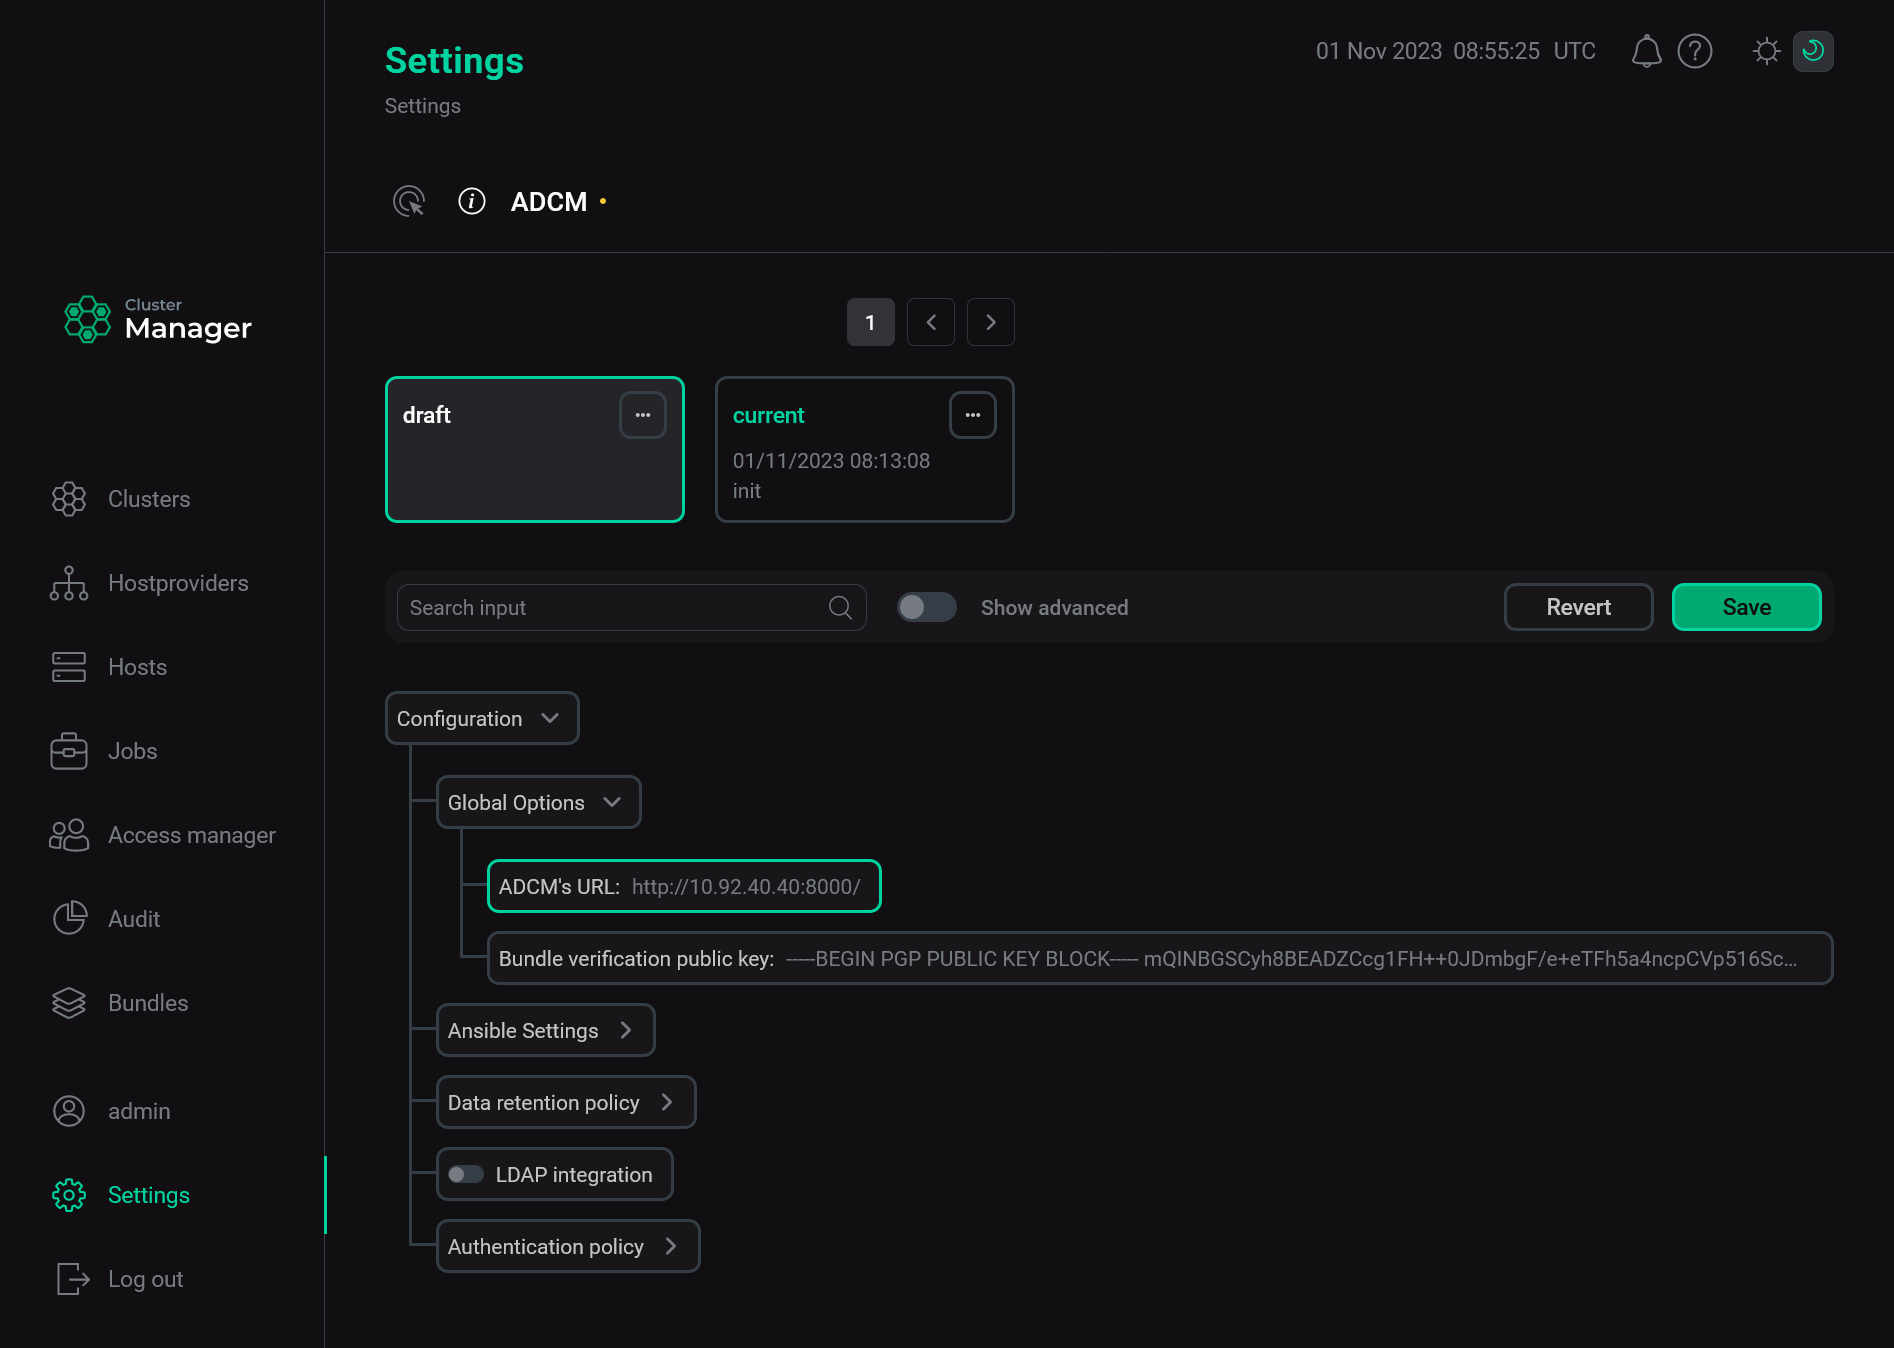
Set the ADCM URL
For successful communication between ADCM and product clusters deployed via ADCM, it is important to correctly define the external ADCM address. This address is used by cluster components for sending information about their state to ADCM. To specify the ADCM URL, use the environment variable DEFAULT_ADCM_URL when creating the ADCM container. If you did not specify that variable, you should manually install the URL in the ADCM web interface. To do this, follow the steps:
-
Select the Settings item in the left navigation menu.
-
Expand the Global Options node in the tree of configuration settings.
-
Click the ADCM’s URL field value.
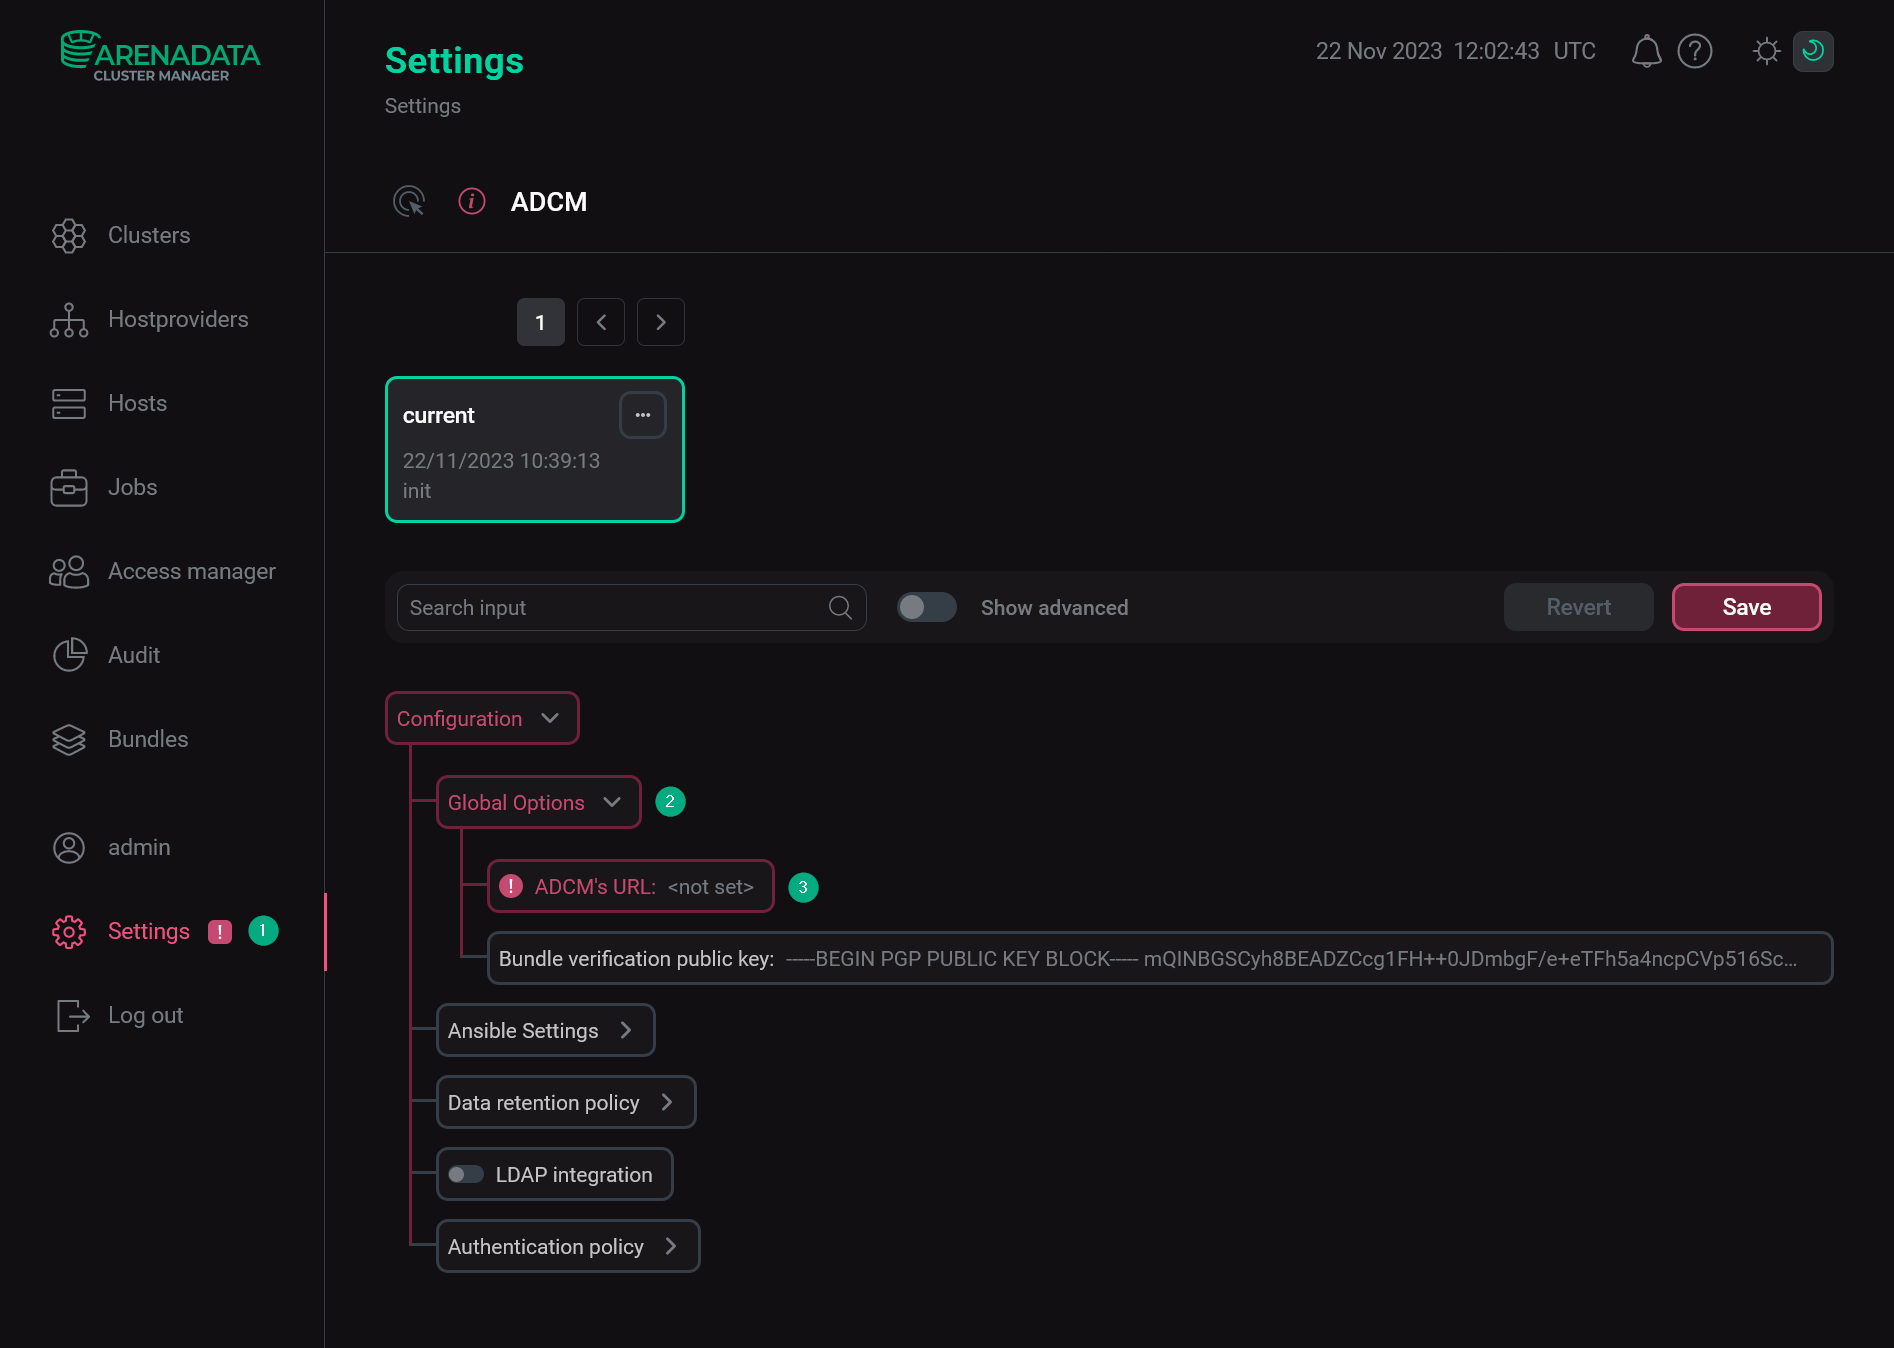 The Settings page
 -
In the window that opens, edit the ADCM’s URL field value and click Apply.
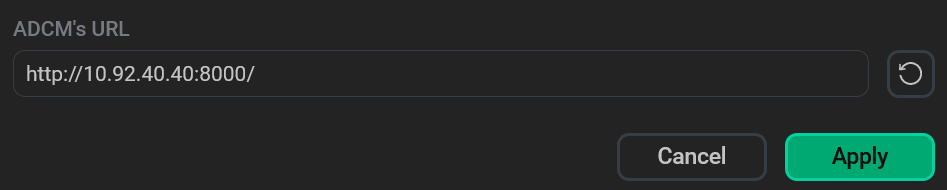 Change the ADCM URL
 -
Click Save to apply changes.
 Save the ADCM URL