

Manage groups in Ranger
Overview
A group in Ranger is a collection of users. It is convenient to create a group when you want to control access for several users at once. Groups can be internal and external. Internal groups are created by Ranger Admin, while the external ones are imported during a sync with other systems like LDAP, Active Directory, or Unix.
You can see all the groups in Ranger on the Settings → Groups page.
Create a group
To create a new group, follow the steps below:
-
On the Groups tab, click Add New Group.
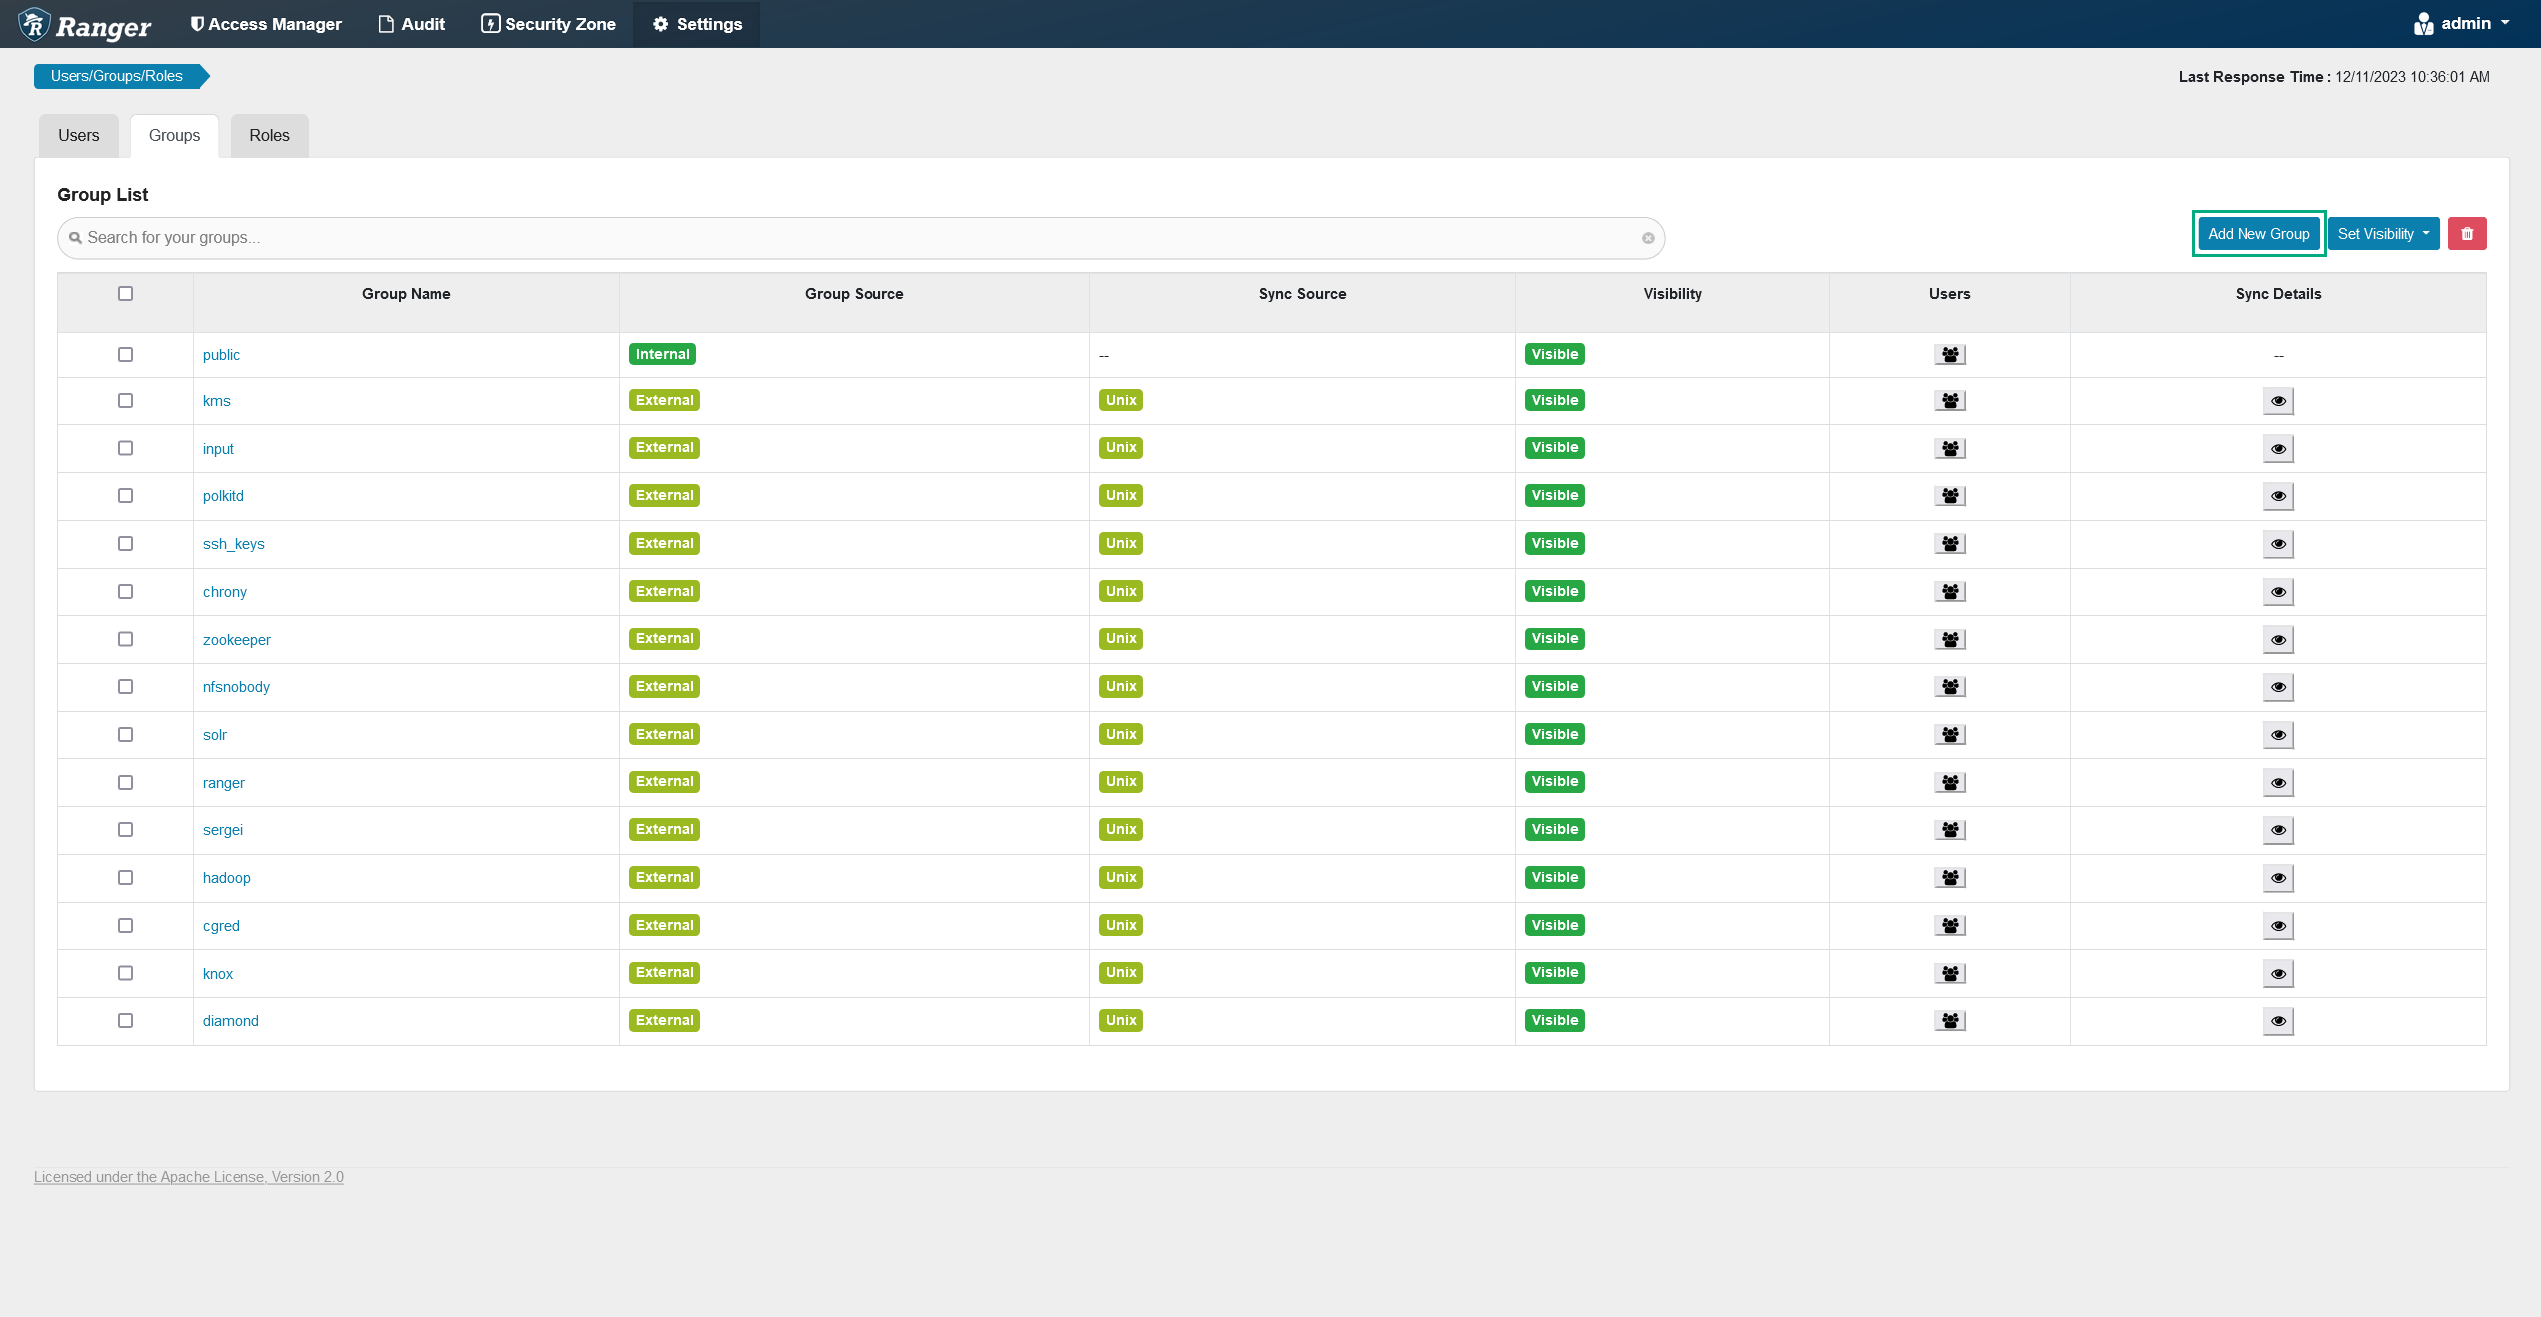 Creating a new group
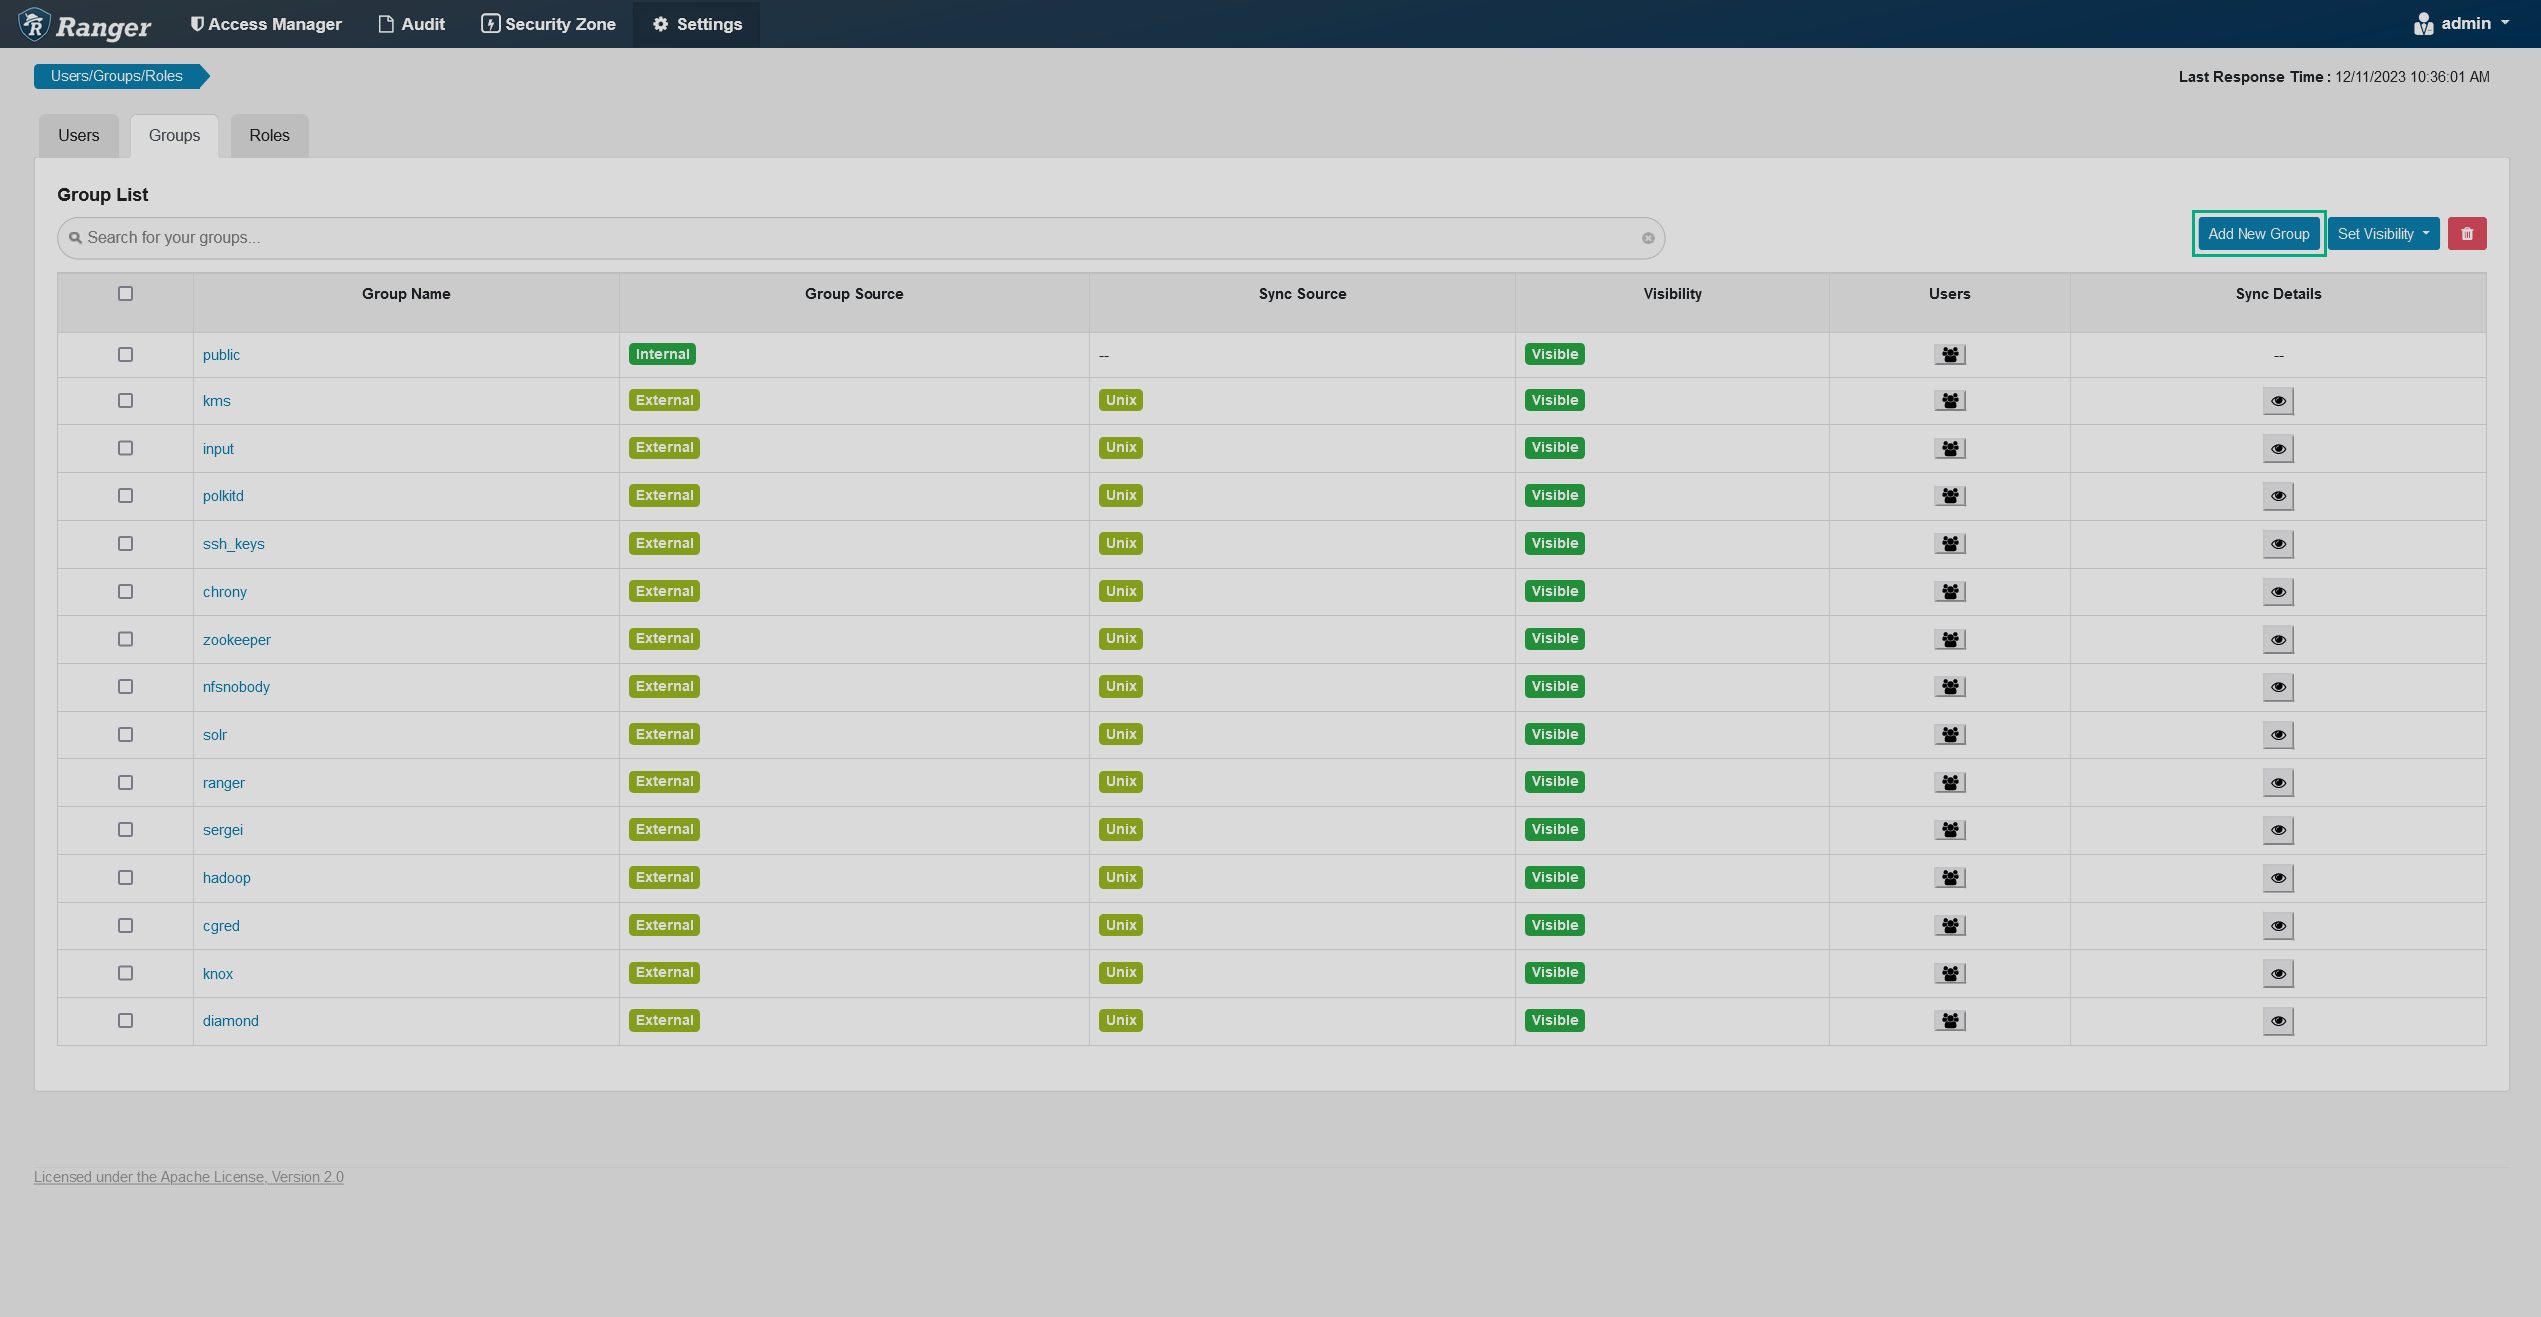 Creating a new group
 -
On the opened Group Create page, fill in the necessary information.
 Group details
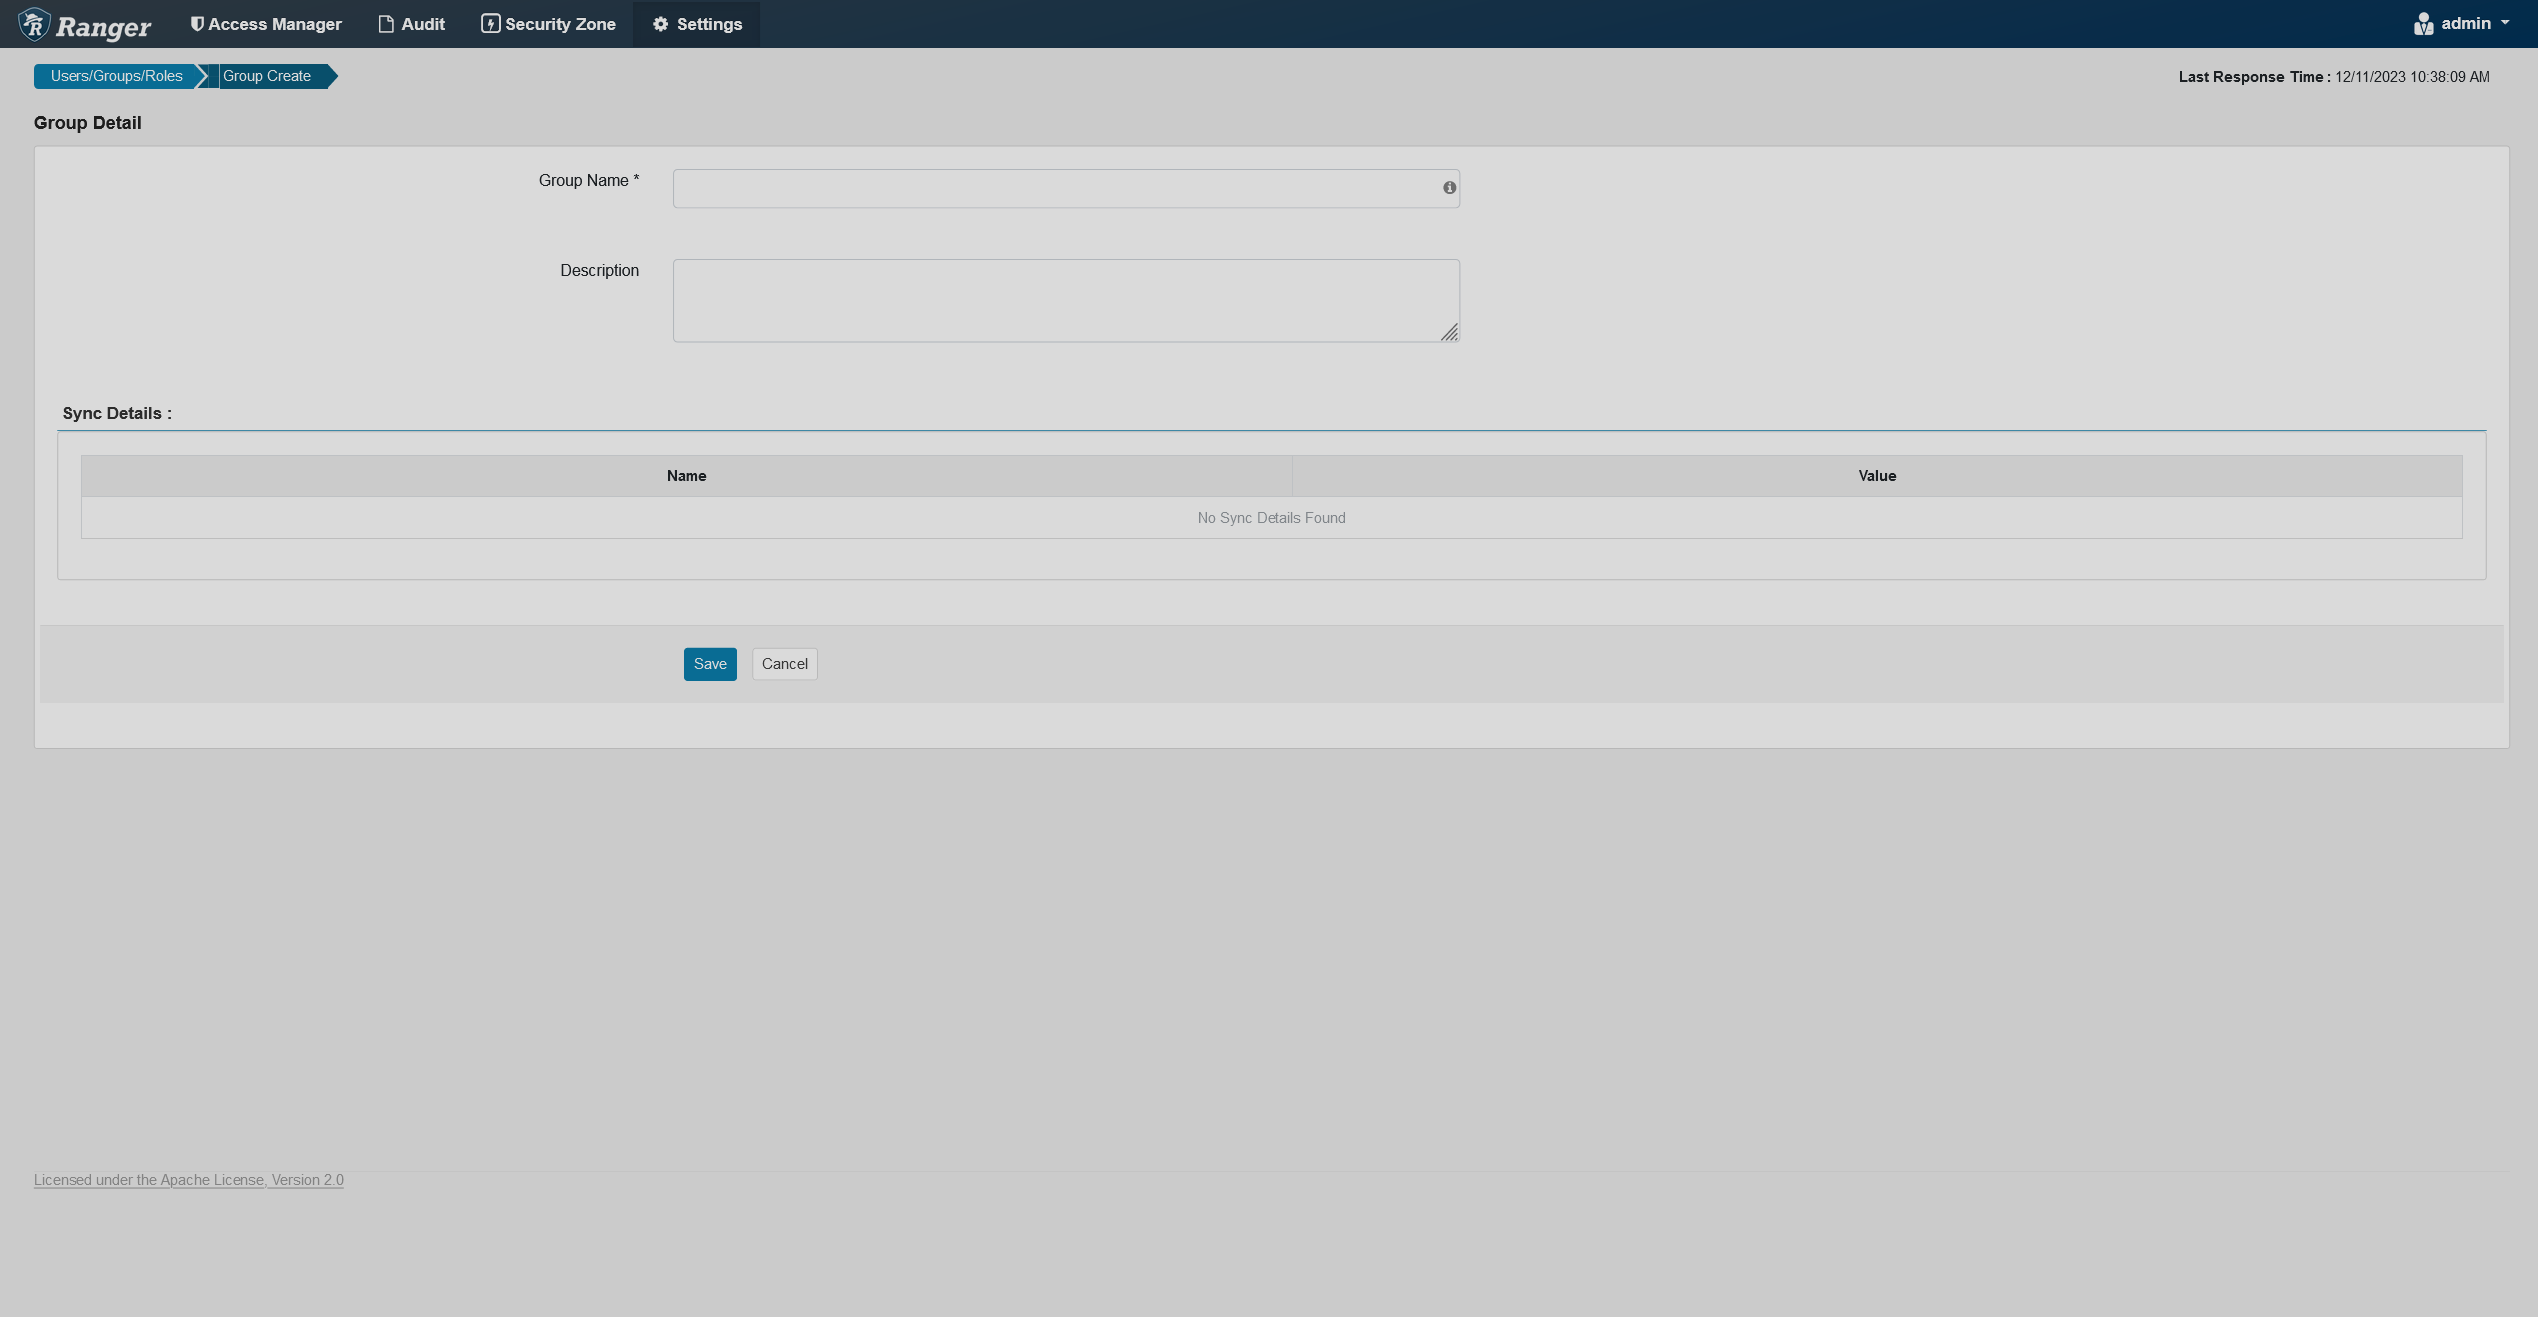 Group details
 -
Click Save at the bottom of the page. The created group will be added to the bottom of the group list.
Change group visibility
During LDAP/AD sync a lot of groups are imported into the database. Some groups might not be using Hadoop and associated services, so it’s convenient to hide all the irrelevant groups so that they don’t show up during policy creation.
To change group visibility, follow the steps below:
-
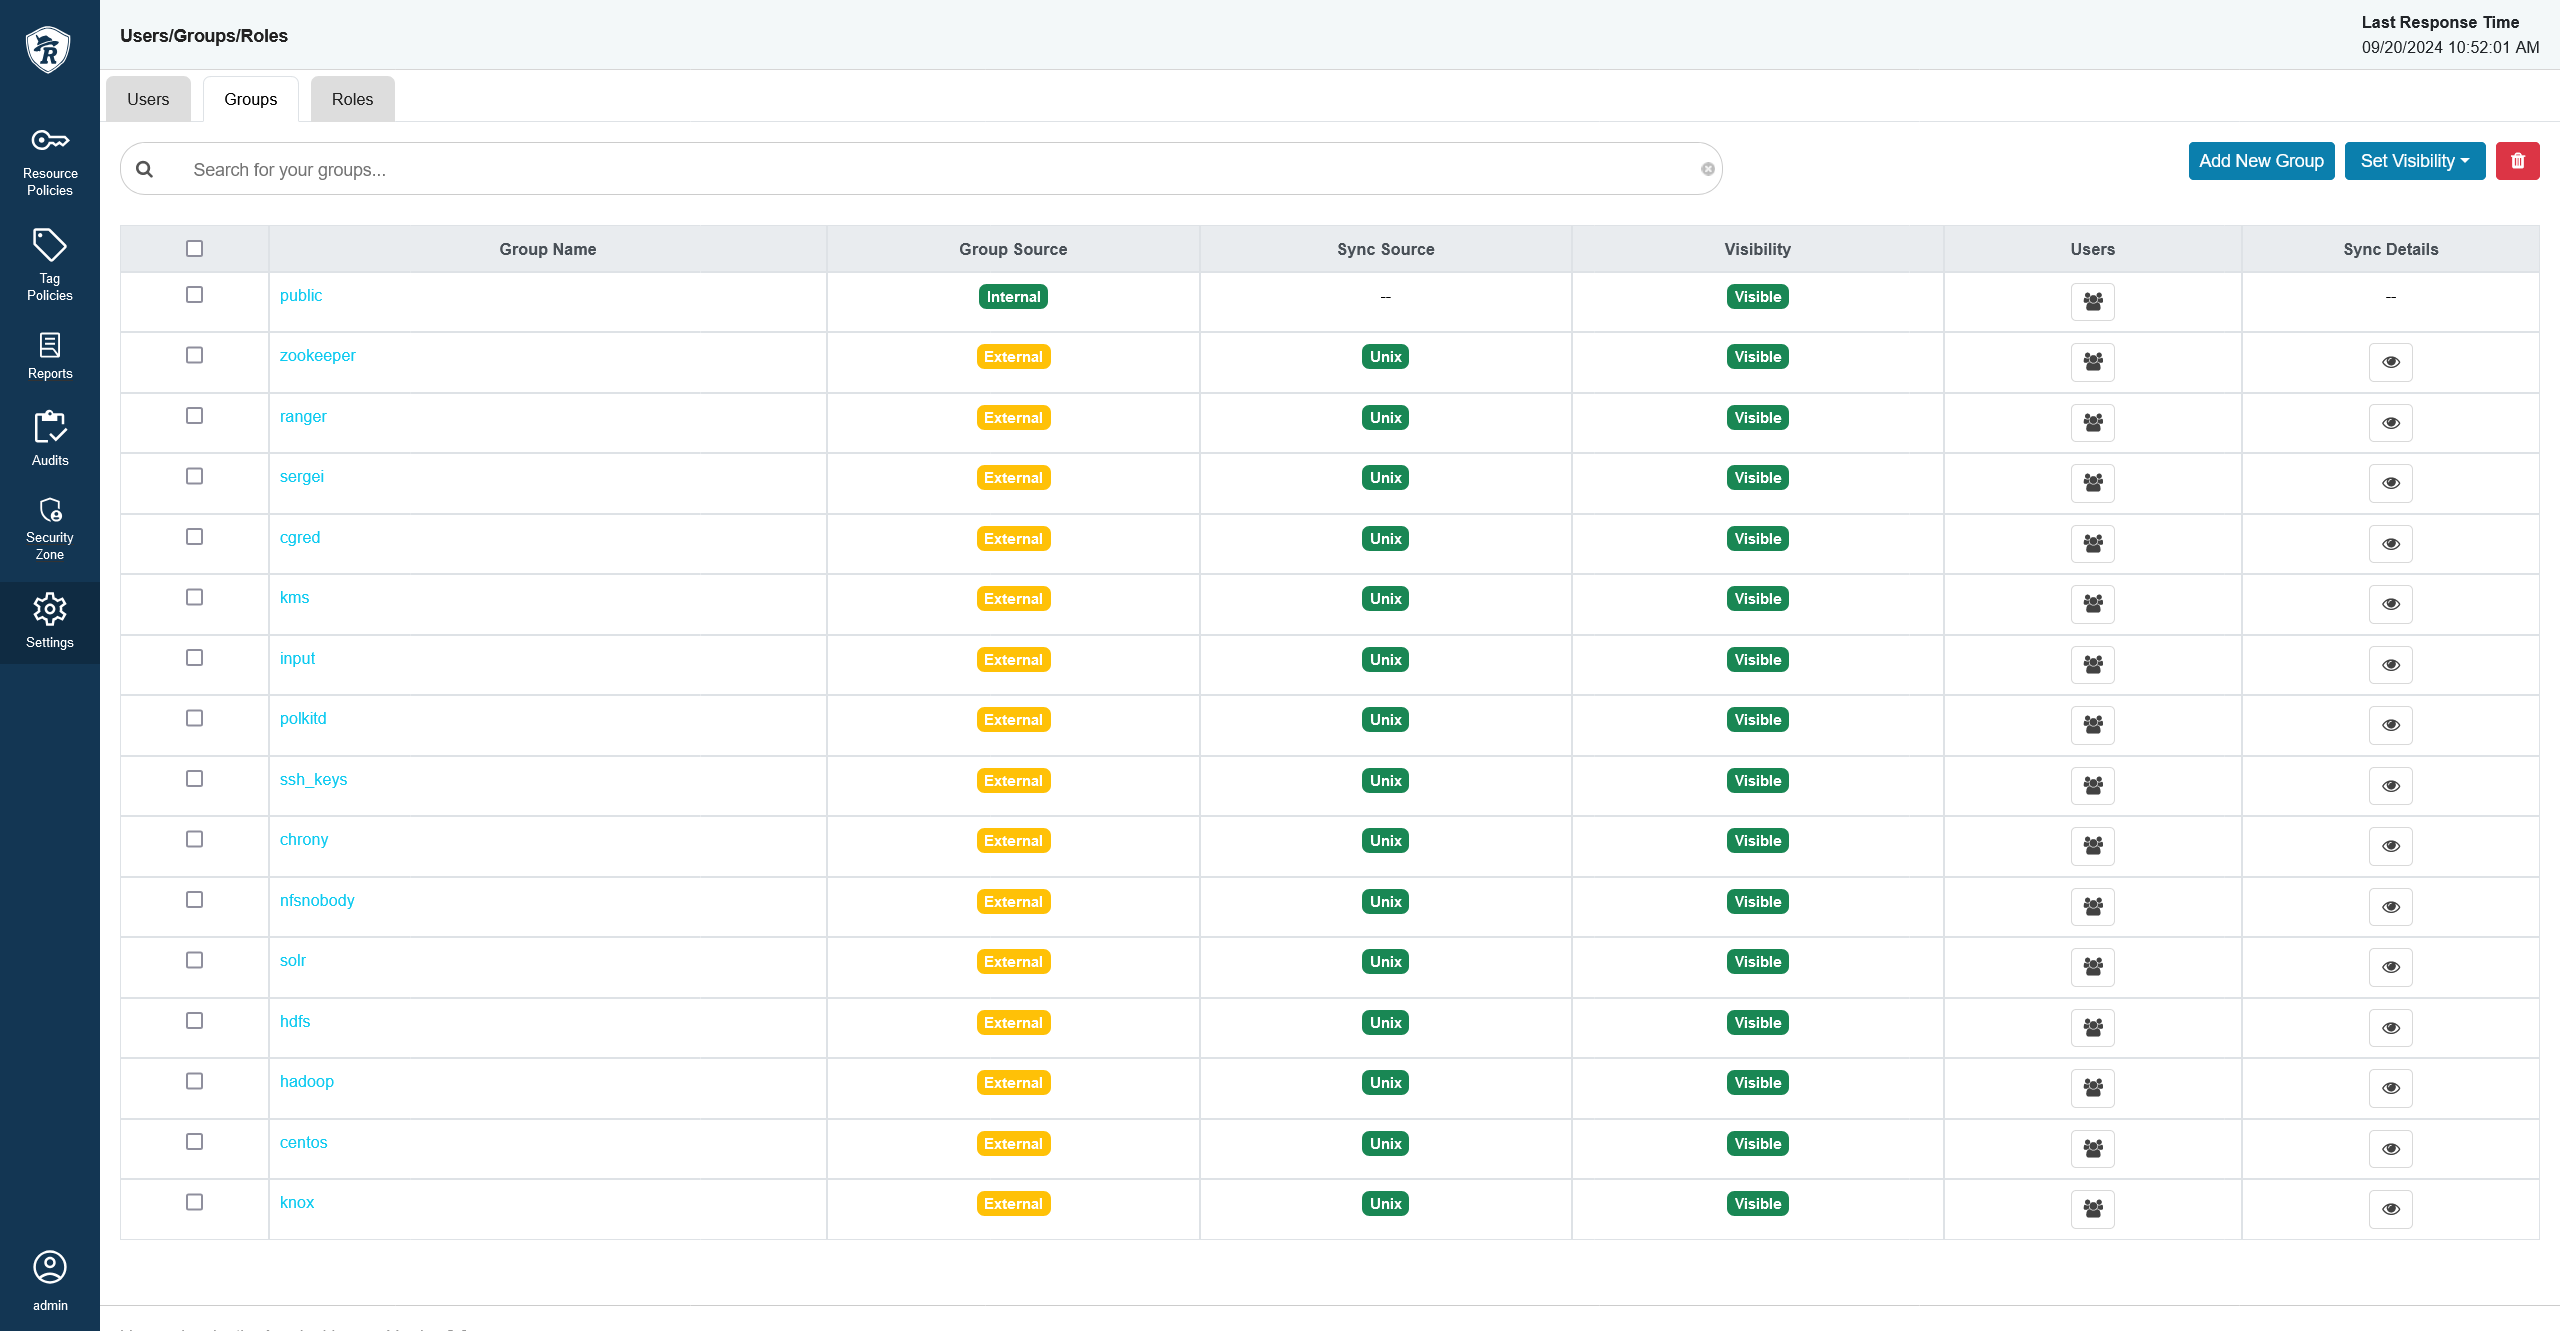
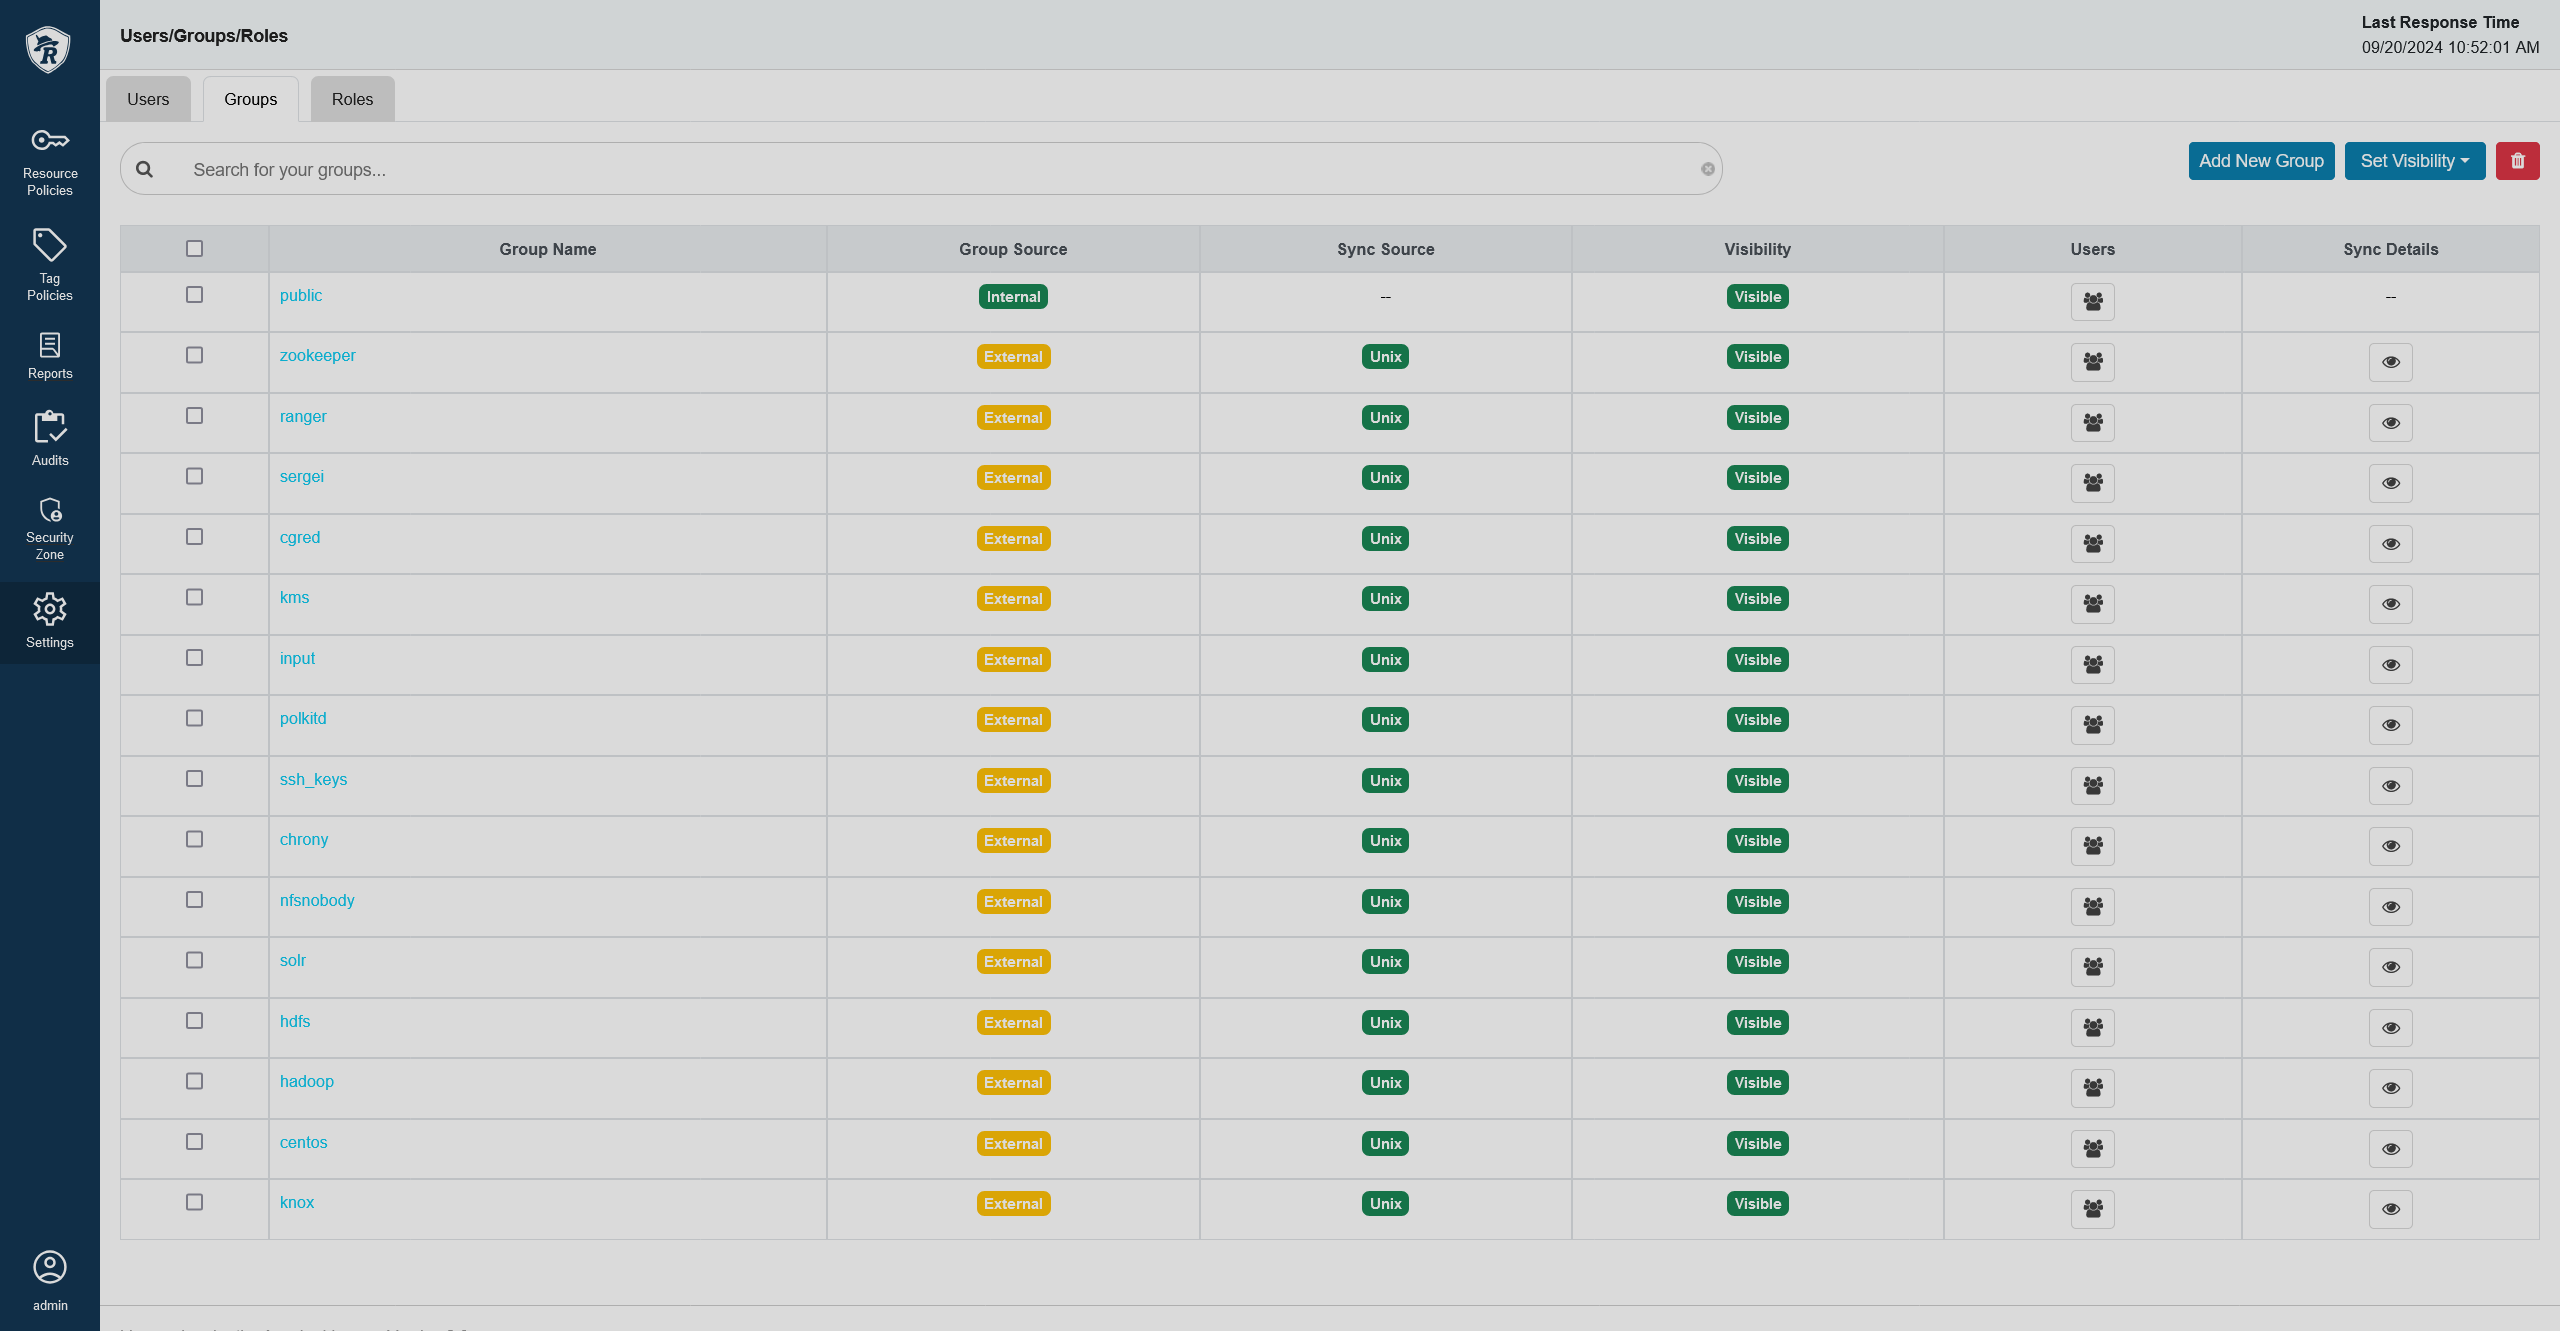
On the Groups tab, tick the checkbox next to a group you want to hide or make visible (can choose multiple groups).
-
Click Set Visibility and choose the relevant option (visible or hidden).
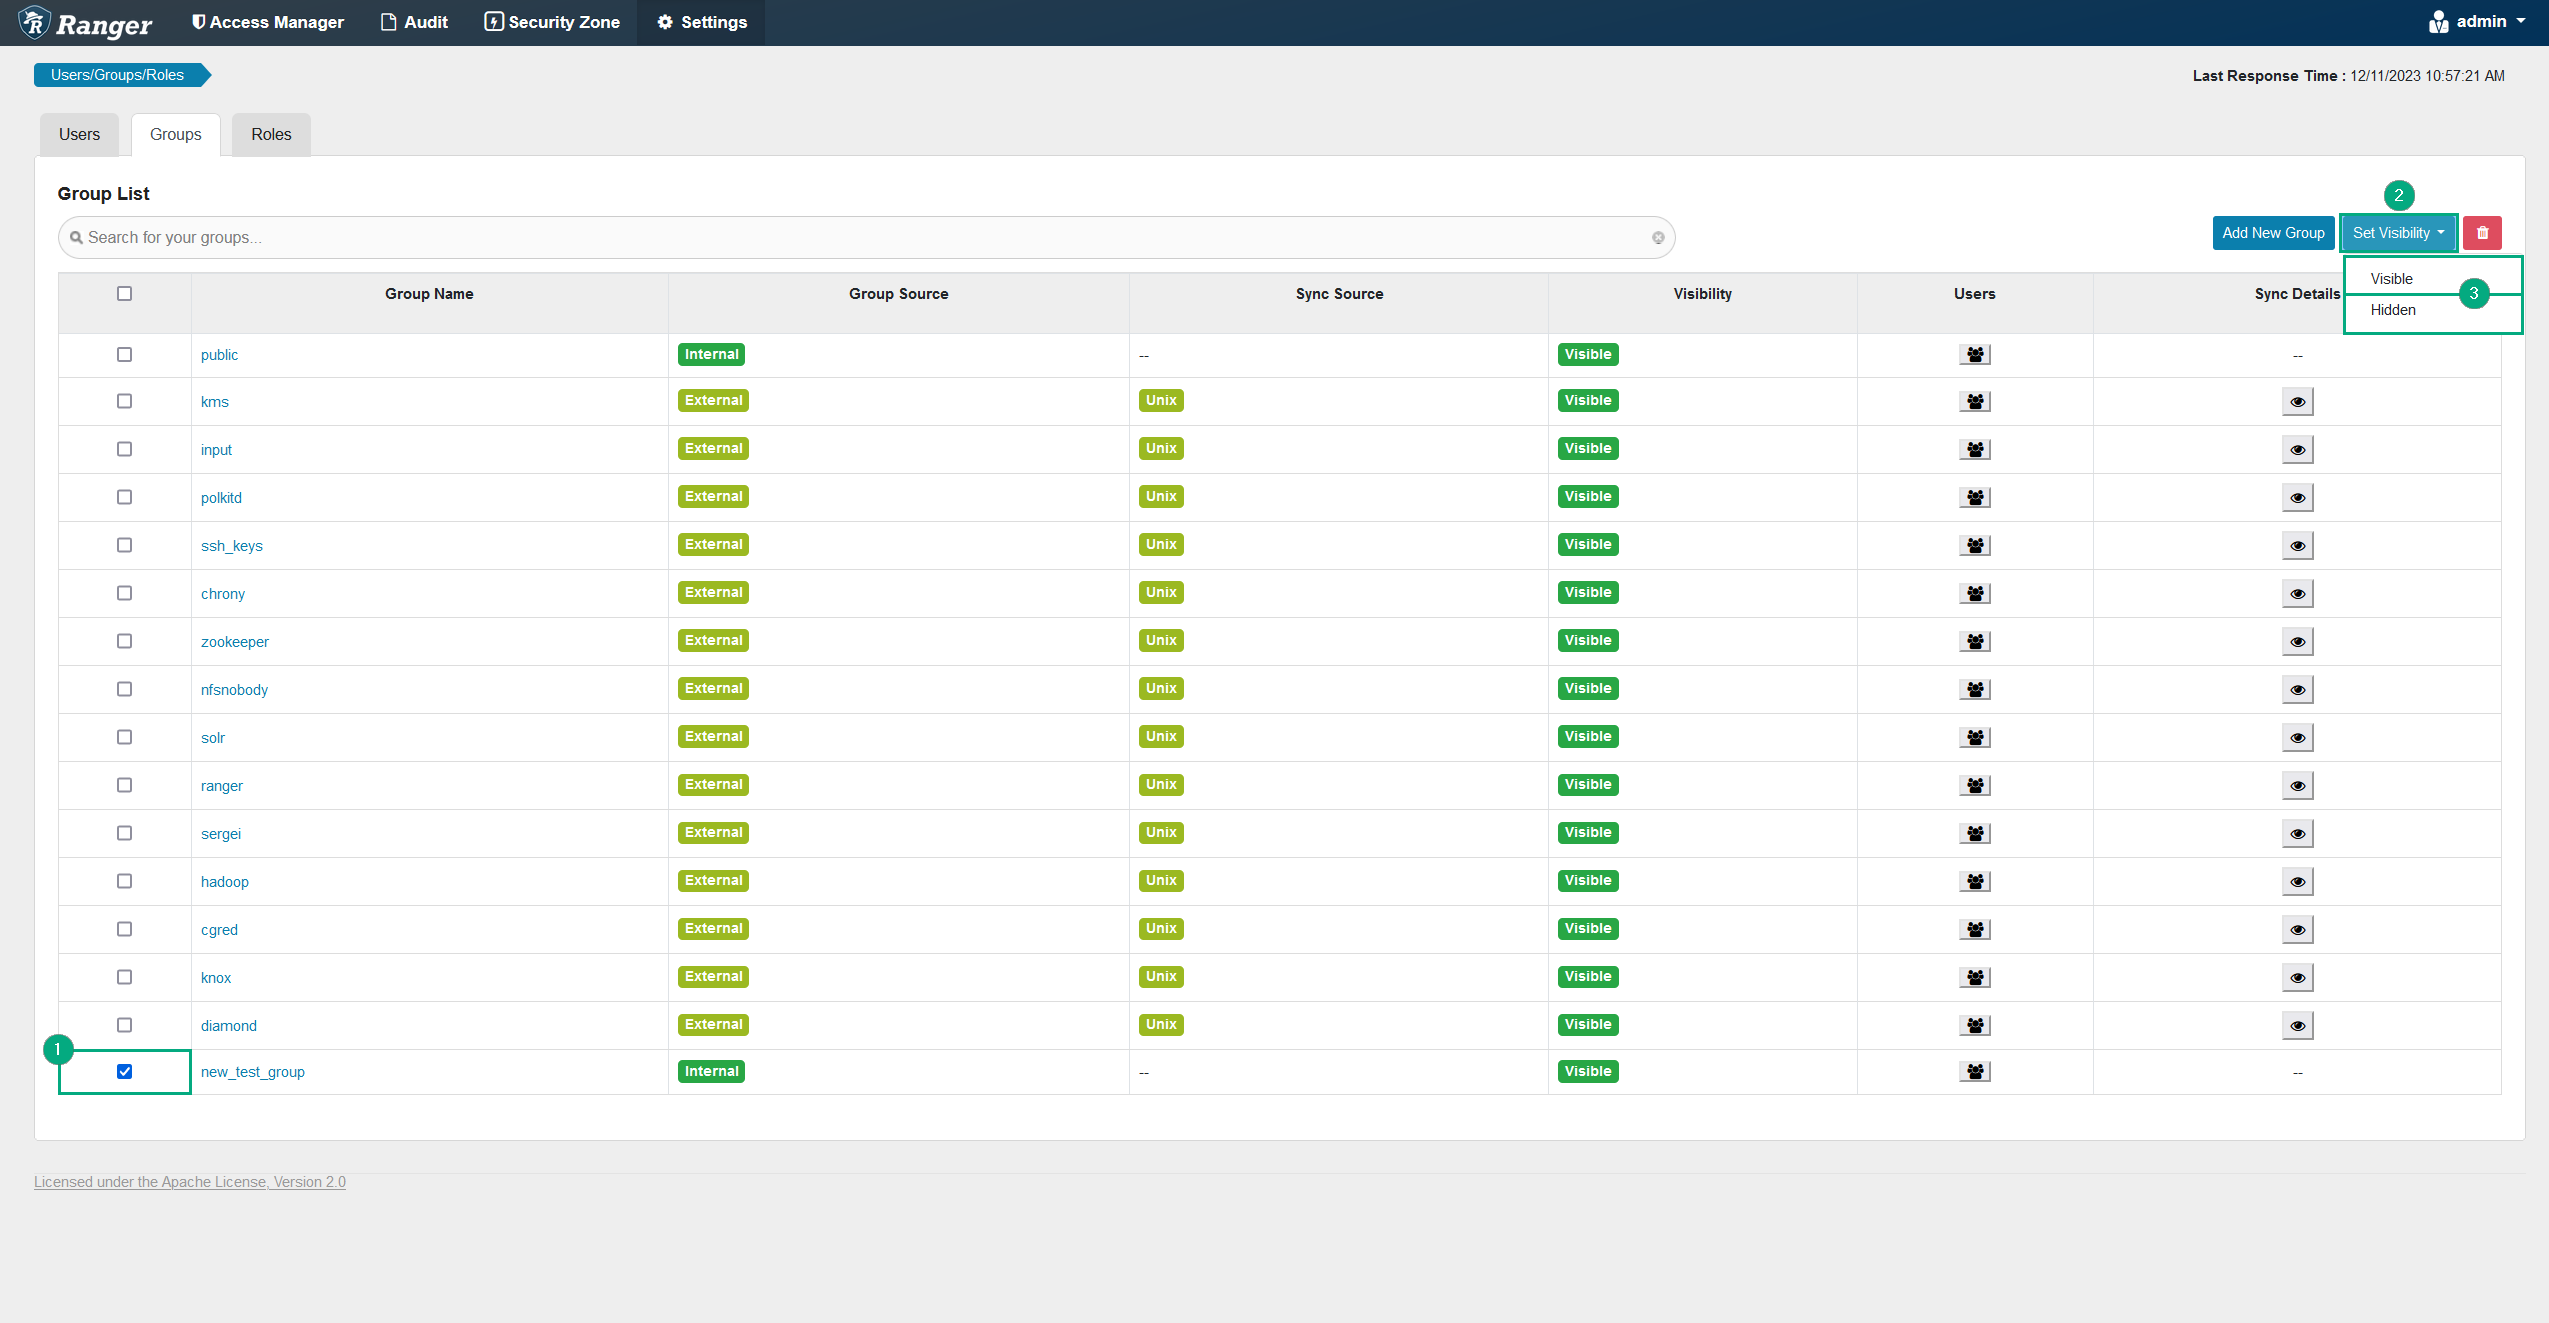 Changing group visibility
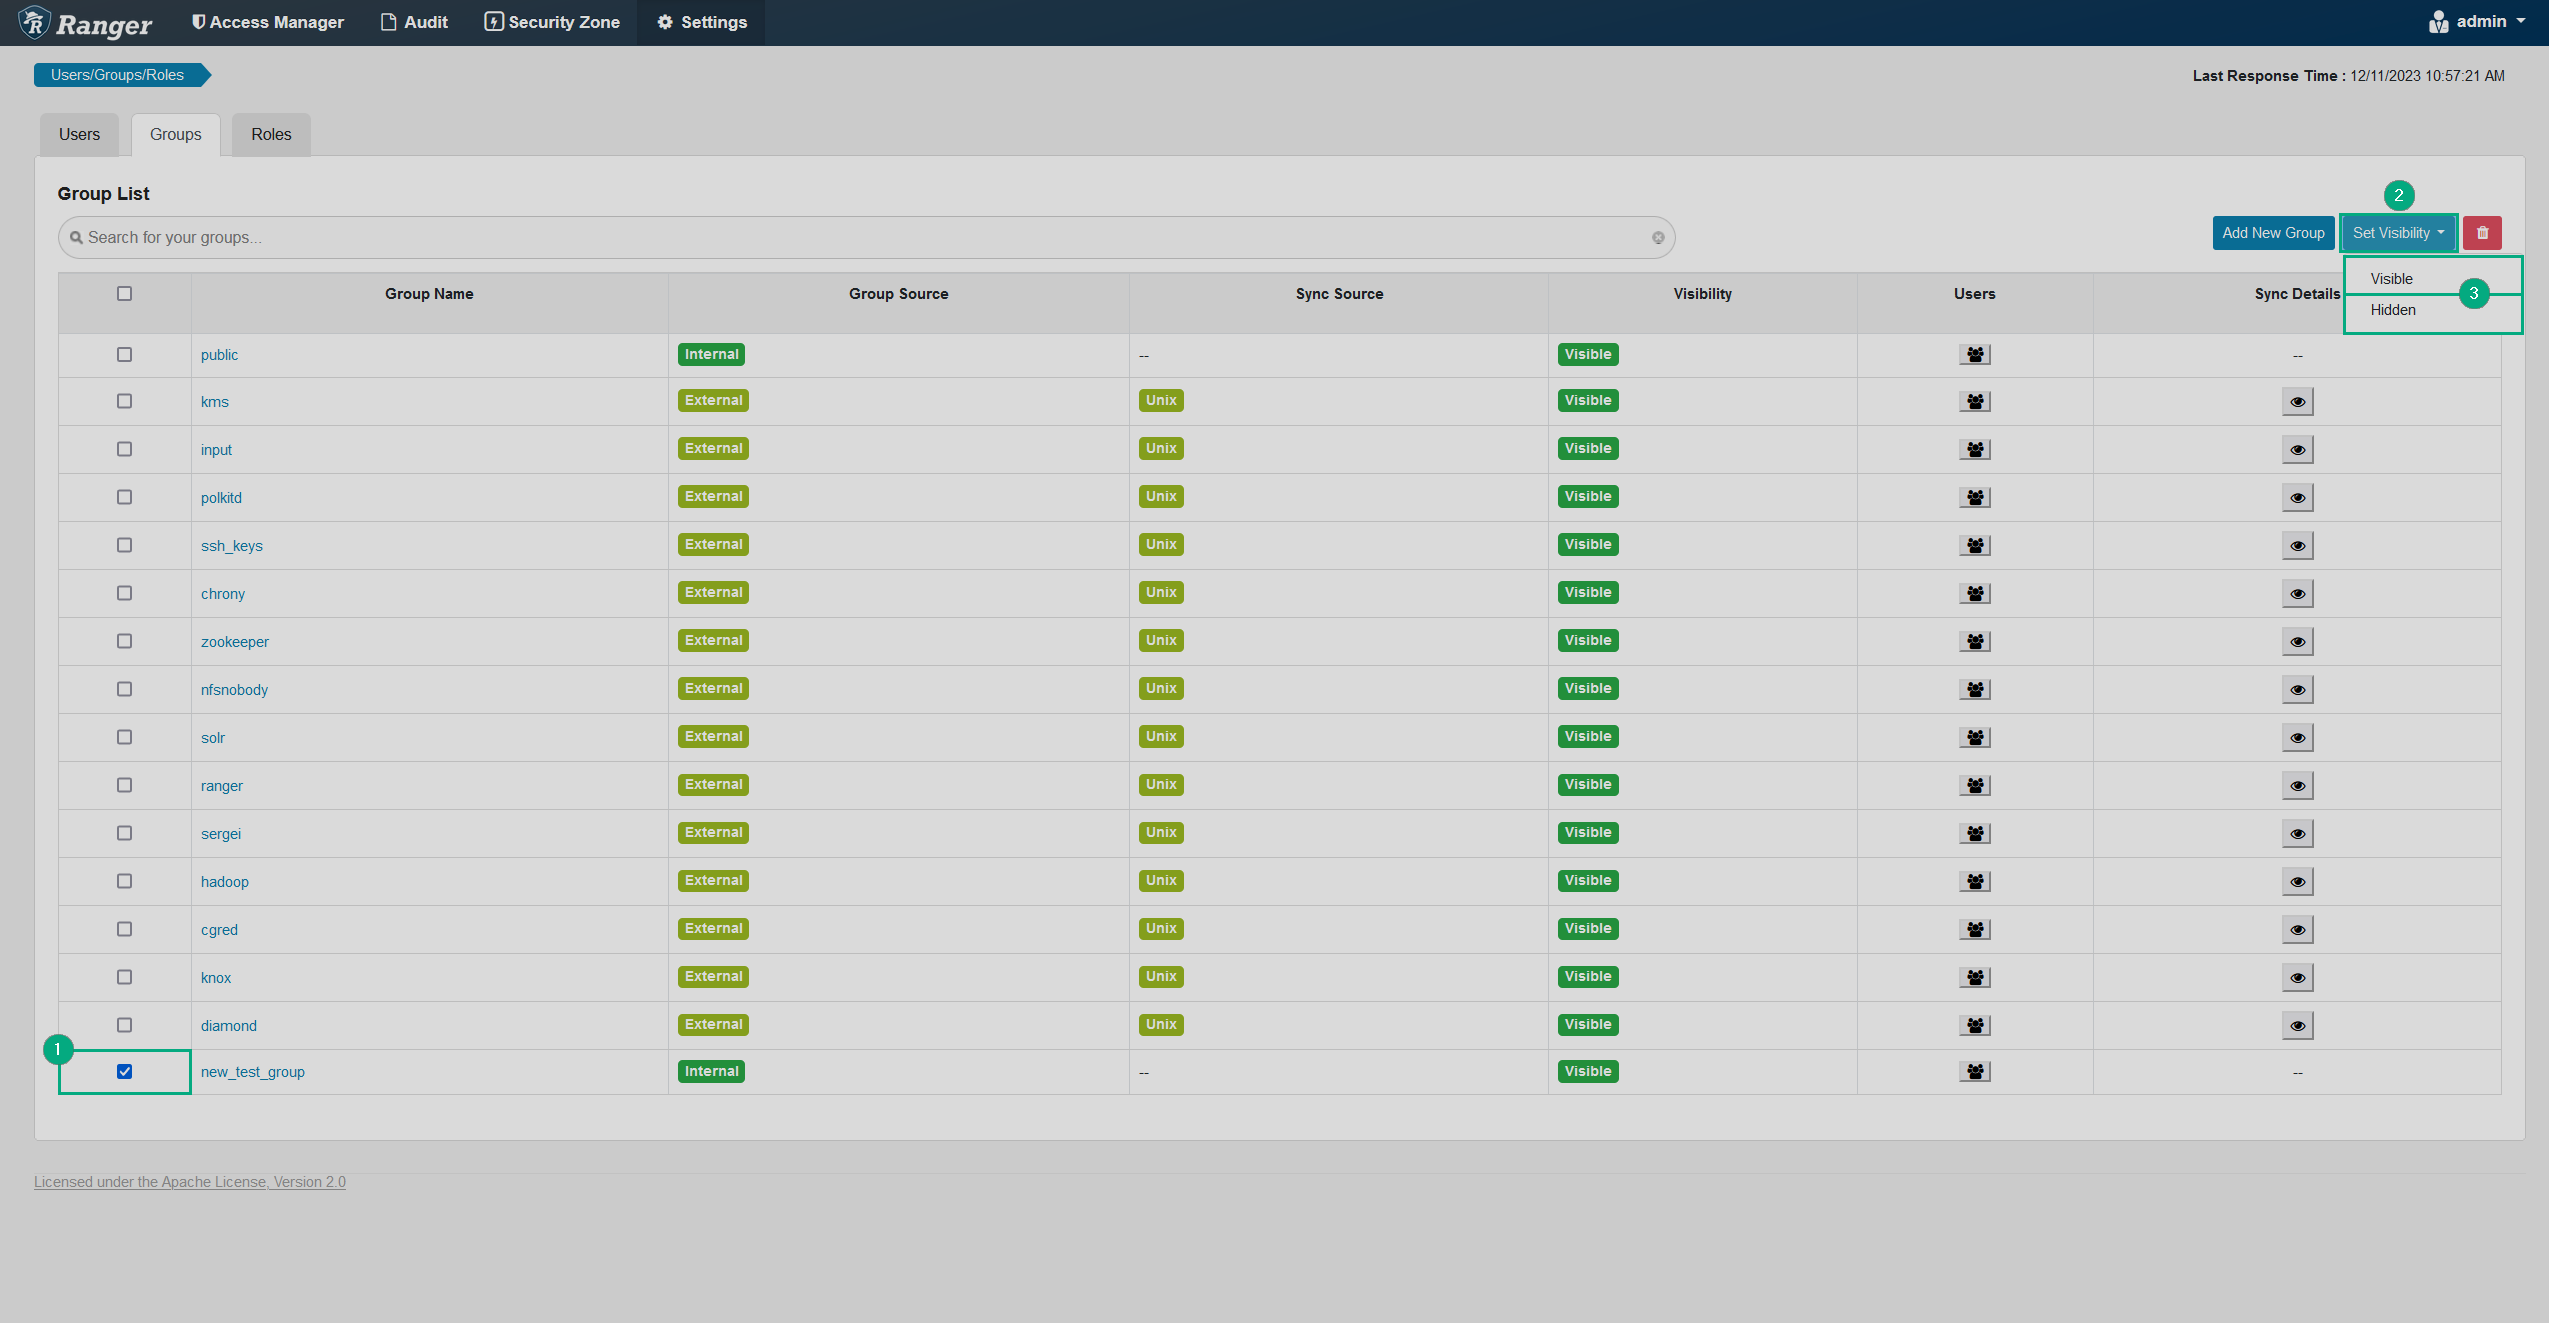 Changing group visibility
Edit group information
To edit information about a group, follow the steps below:
-
On the Groups tab, click the name of the group whose details you want to edit in the Group Name column.
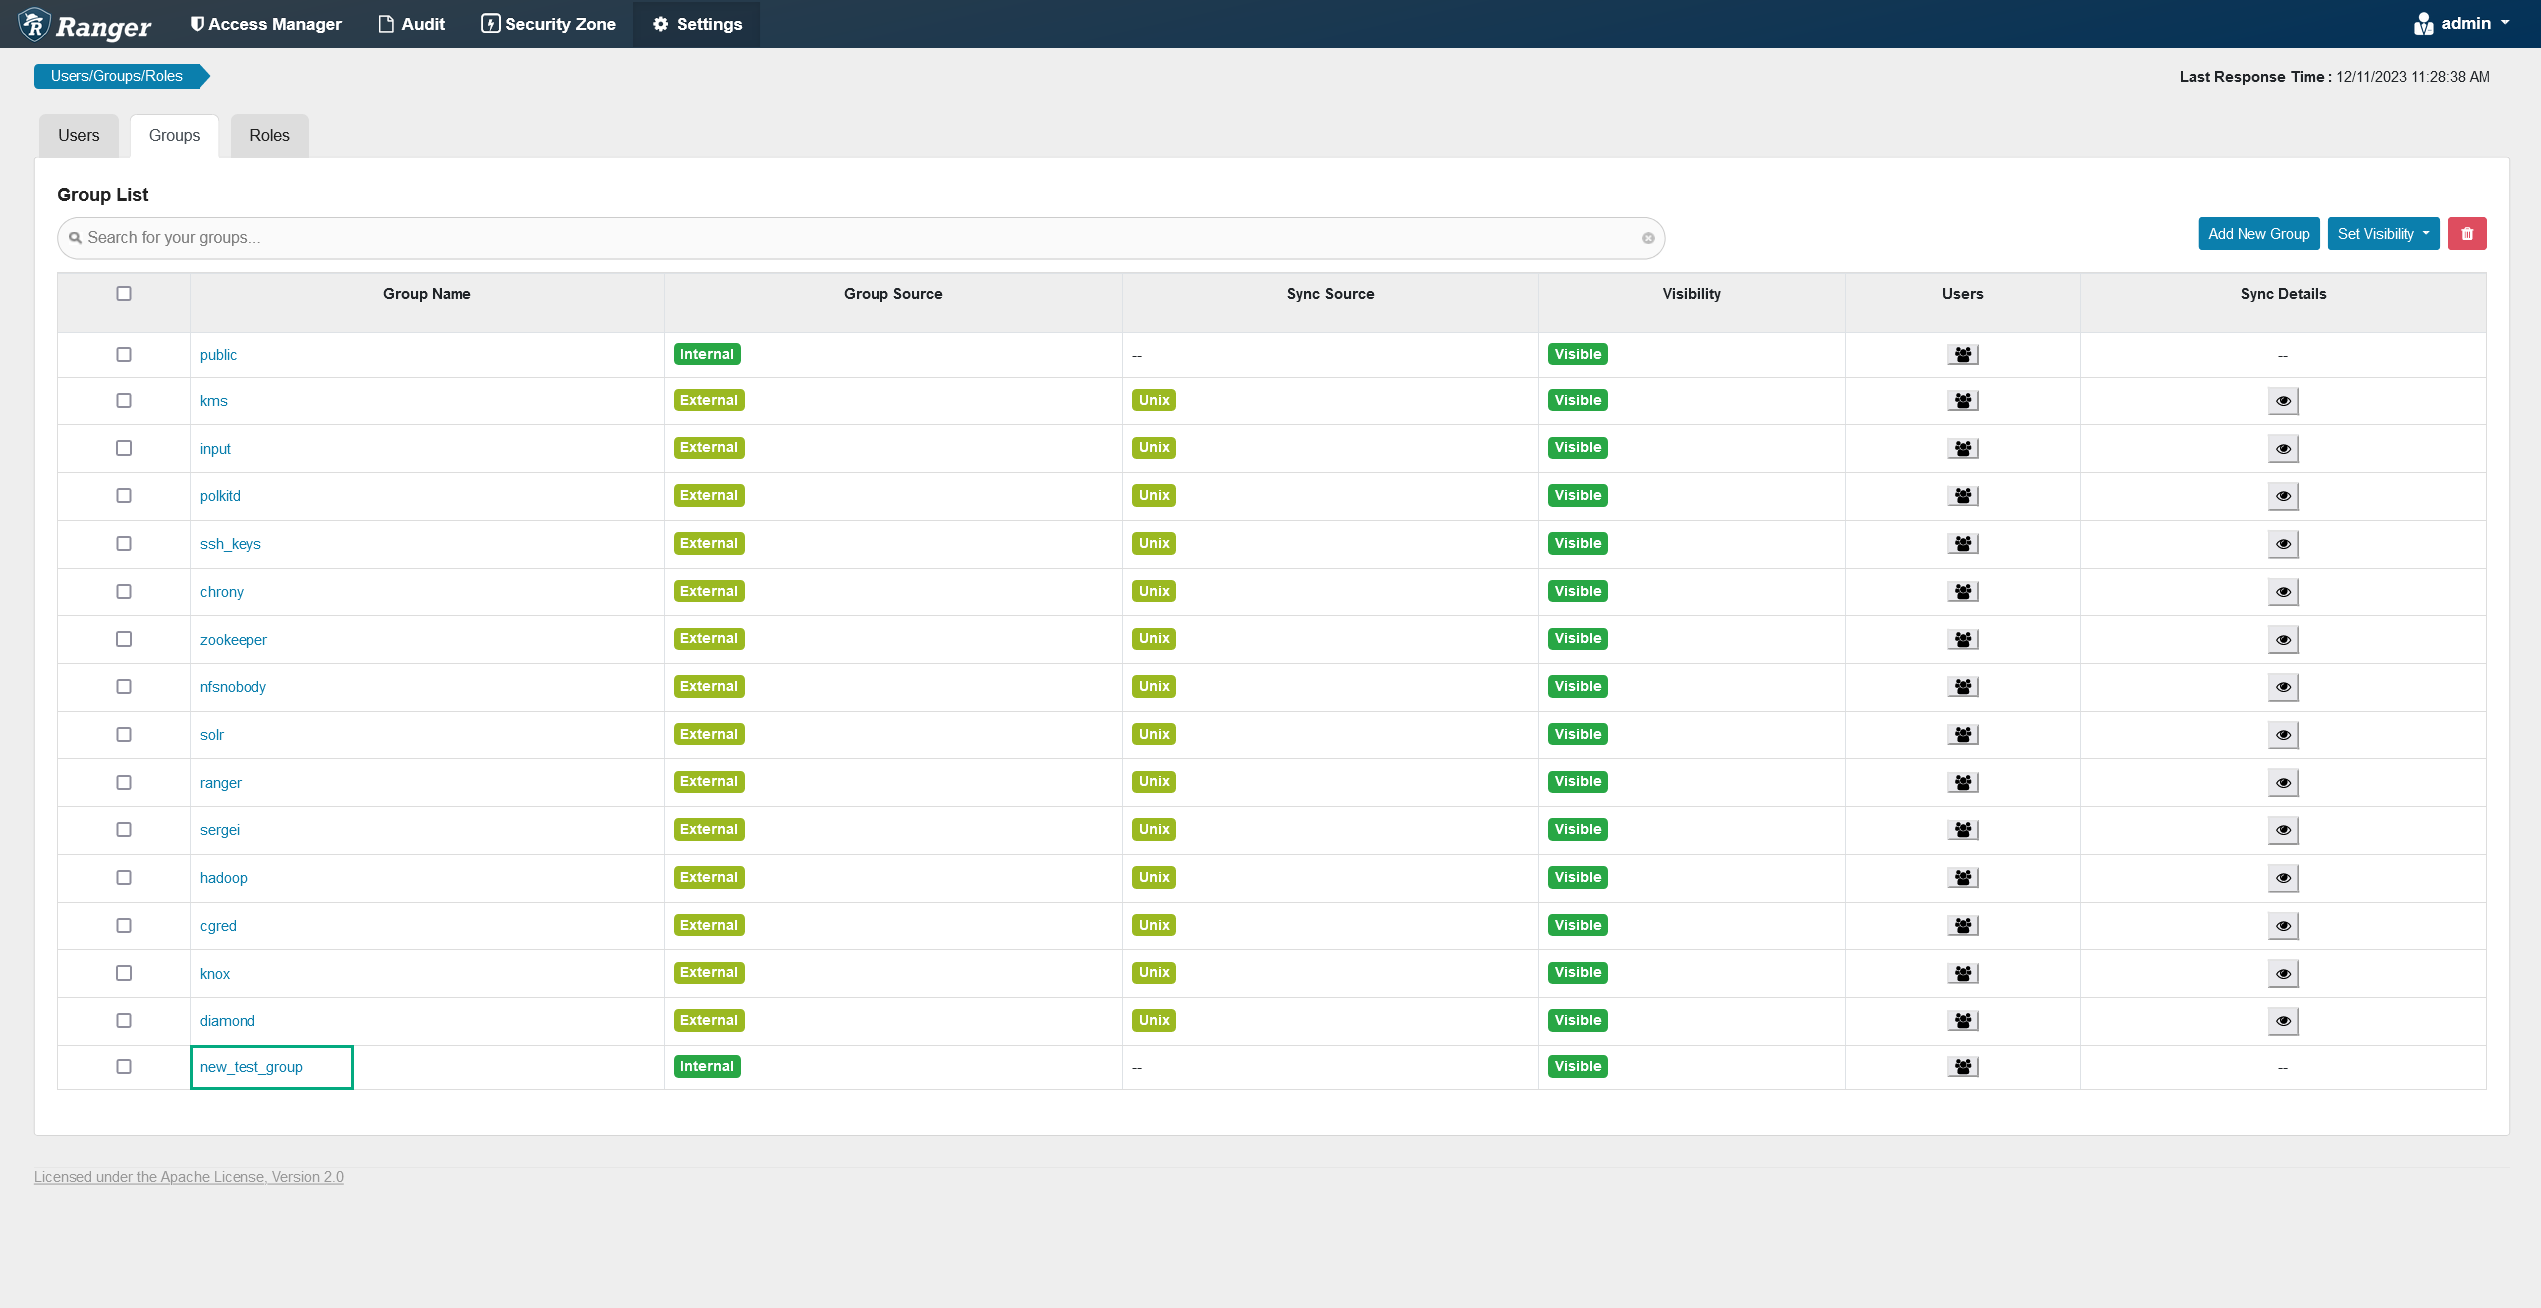 Editing group information
 Editing group information
 -
On the opened Group Edit page, edit the necessary information.
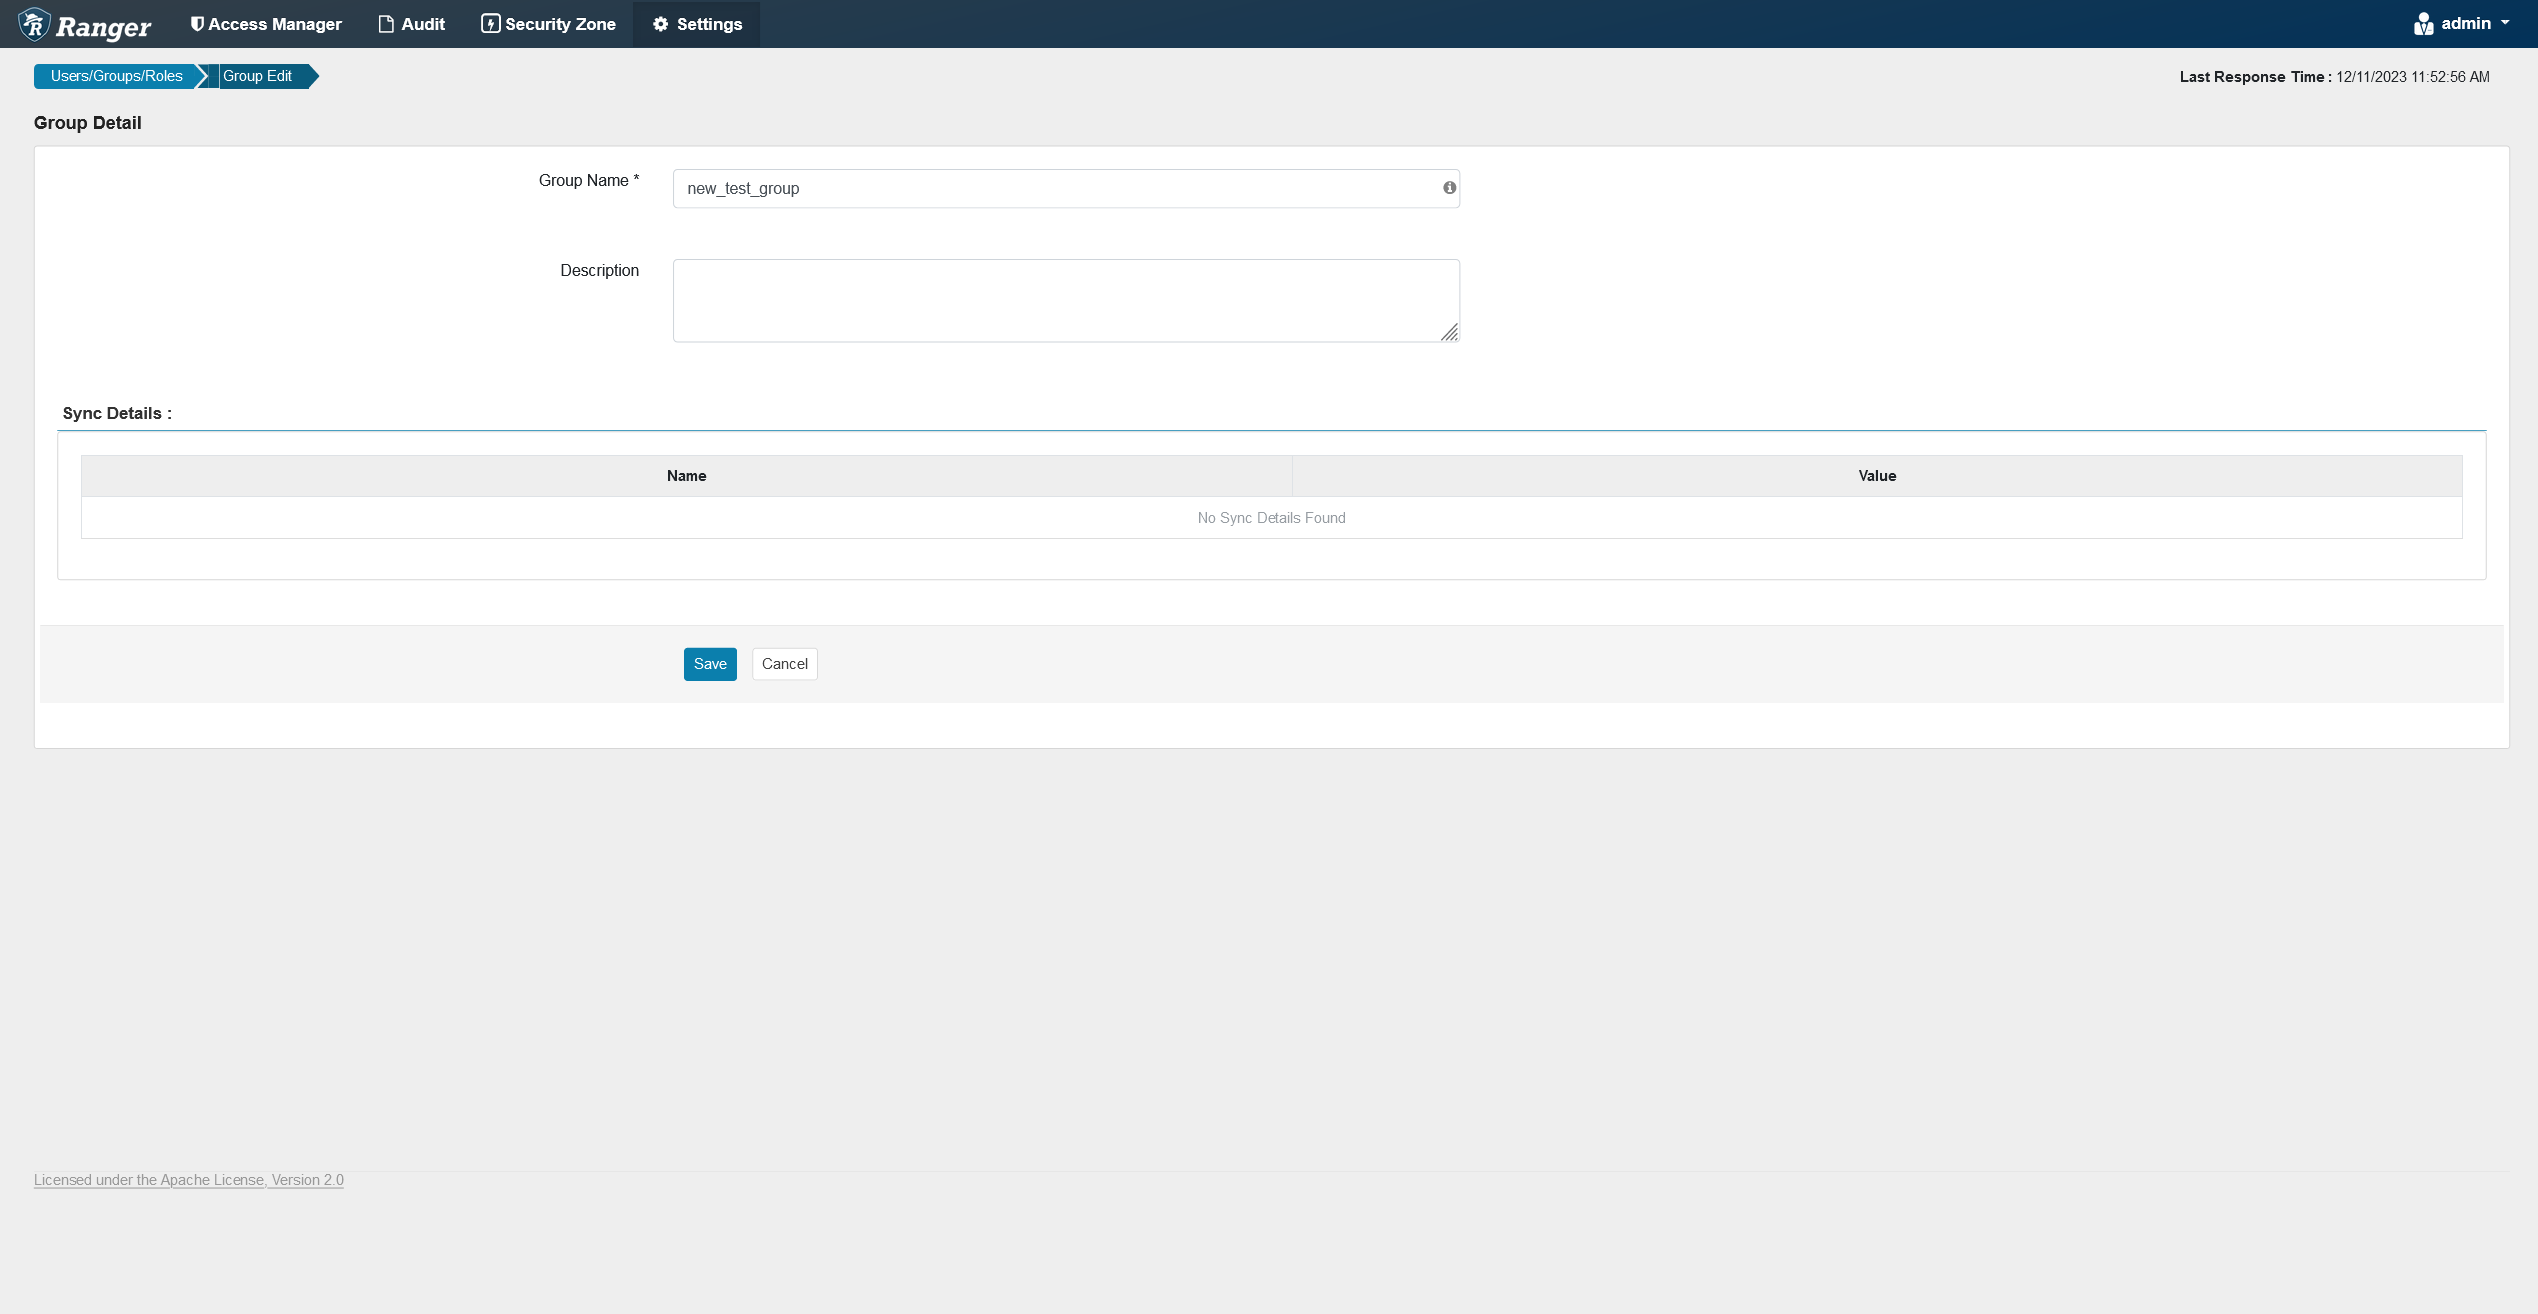 Group details
 Group details
 -
Click Save at the bottom of the page.
Delete a group
To delete a group, follow the steps below:
-
On the Groups tab, tick a checkbox next to the name of the group you want to delete.
-
Click
 .
.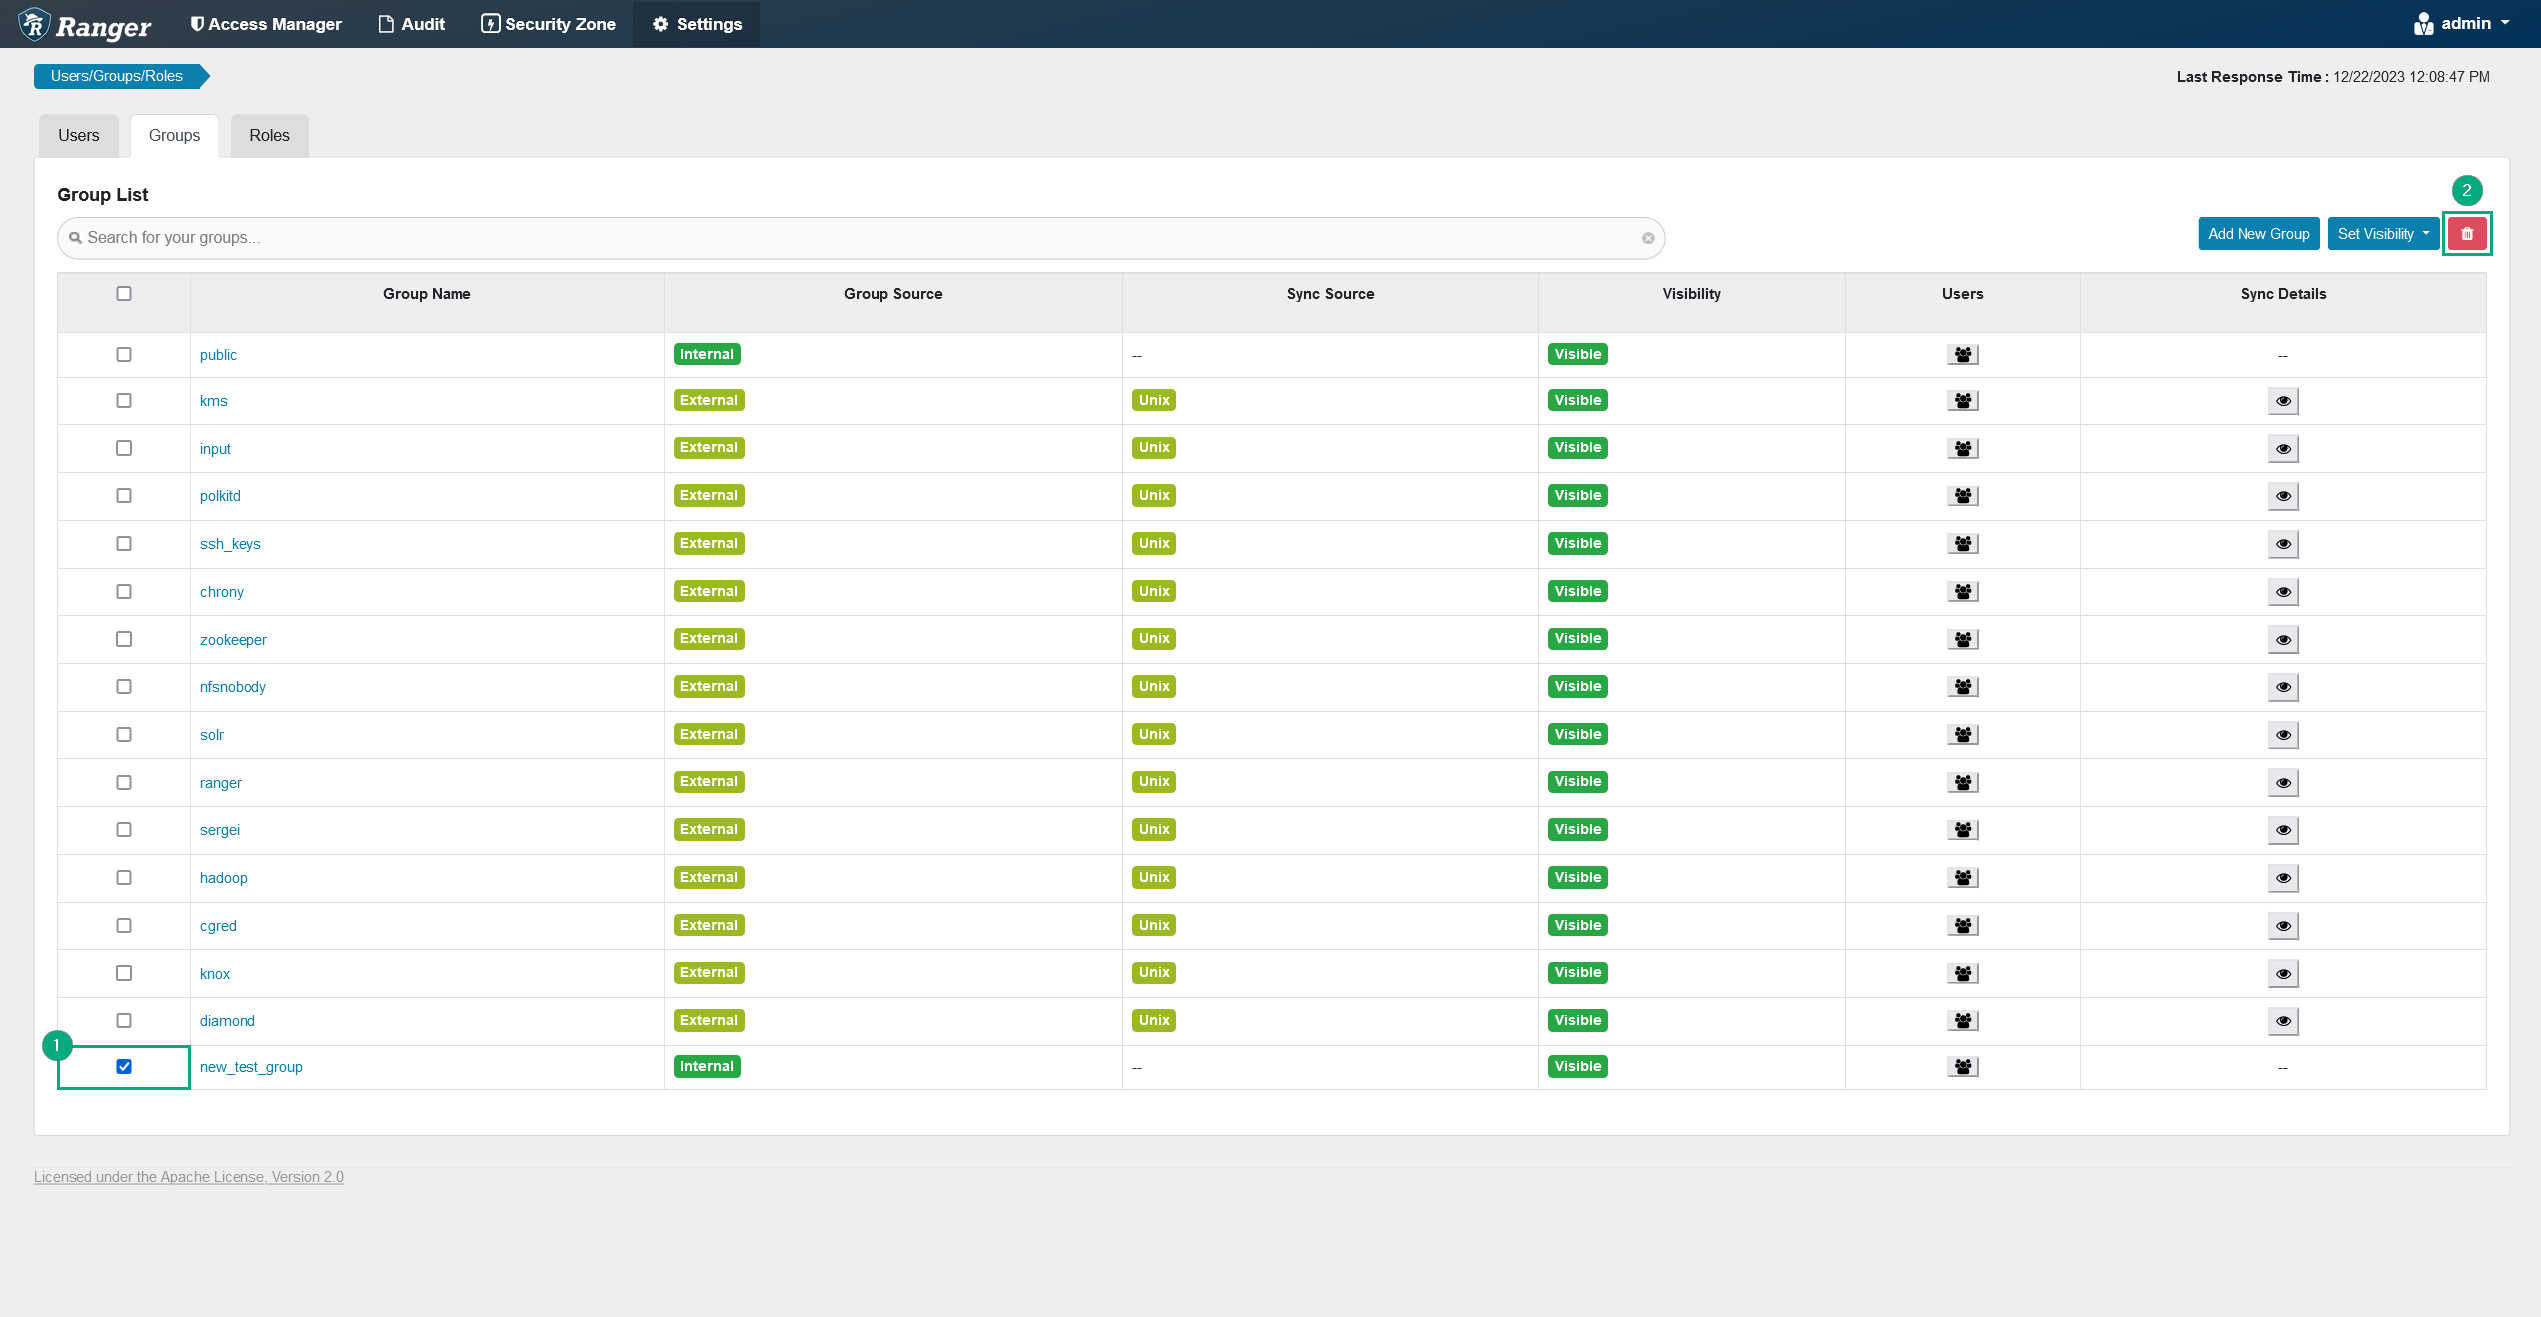 Deleting a group
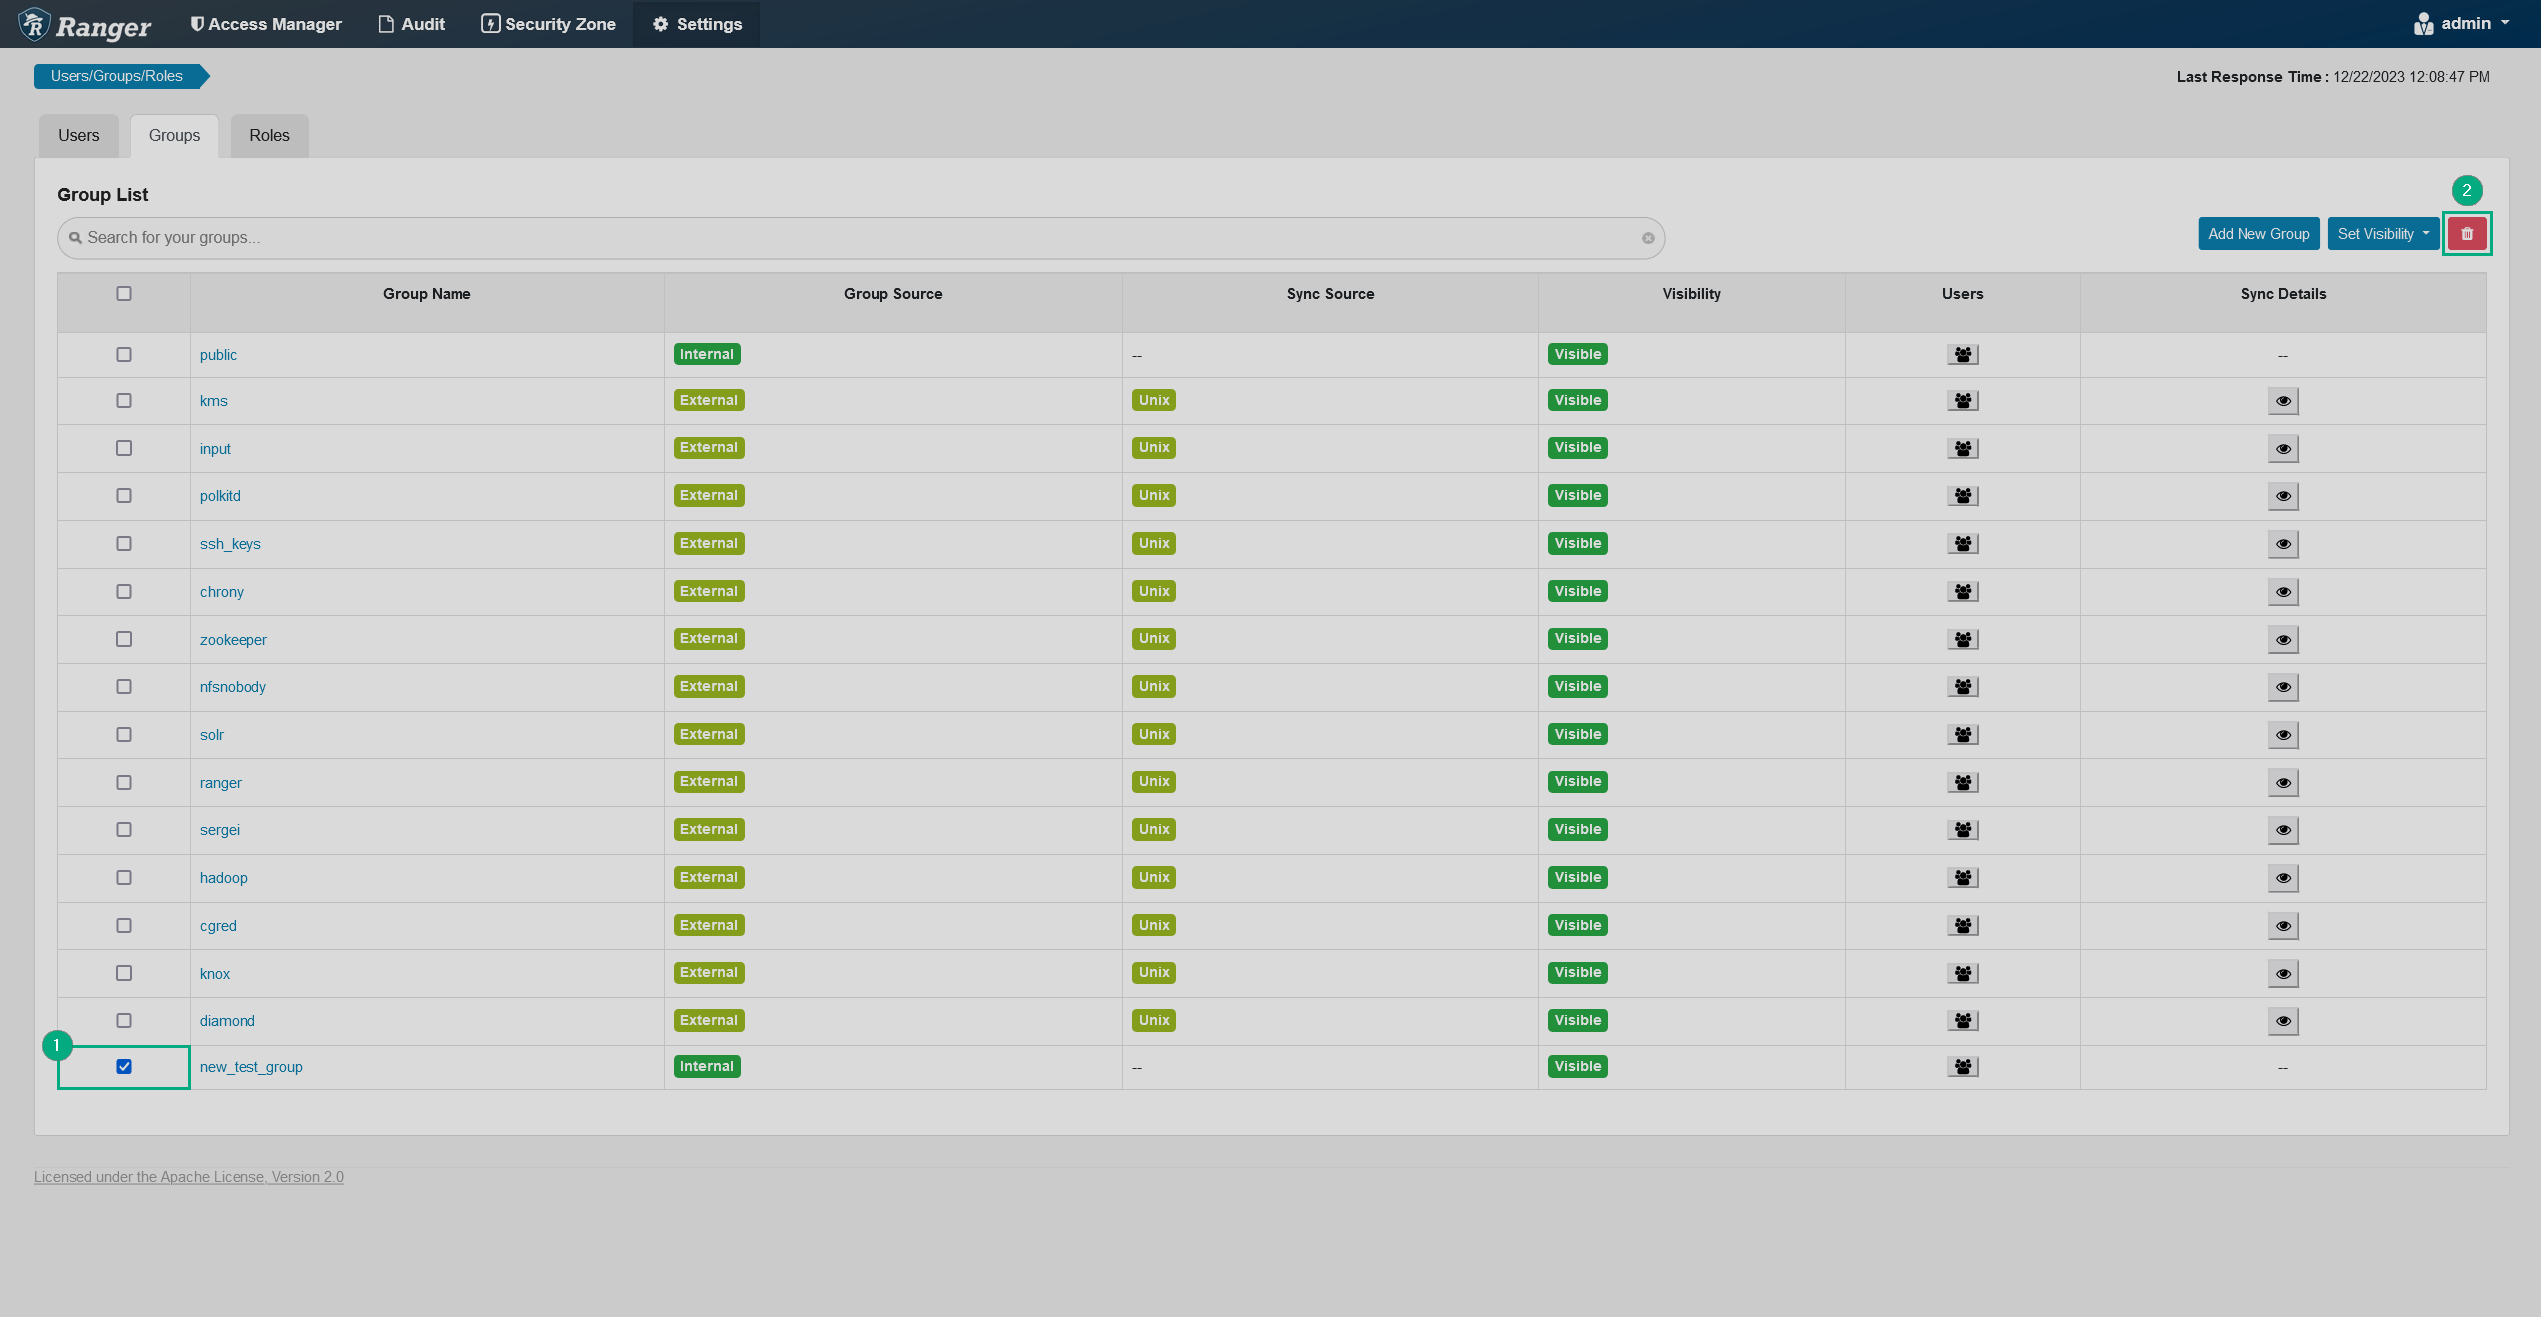 Deleting a group
 -
Confirm the action by clicking OK in the pop-up window.
See the group members
To see the members of a group, follow the steps below:
-
Open the Groups tab.
-
In the row of the group whose members you want to see, click the
 icon in the Users column.
 Group list
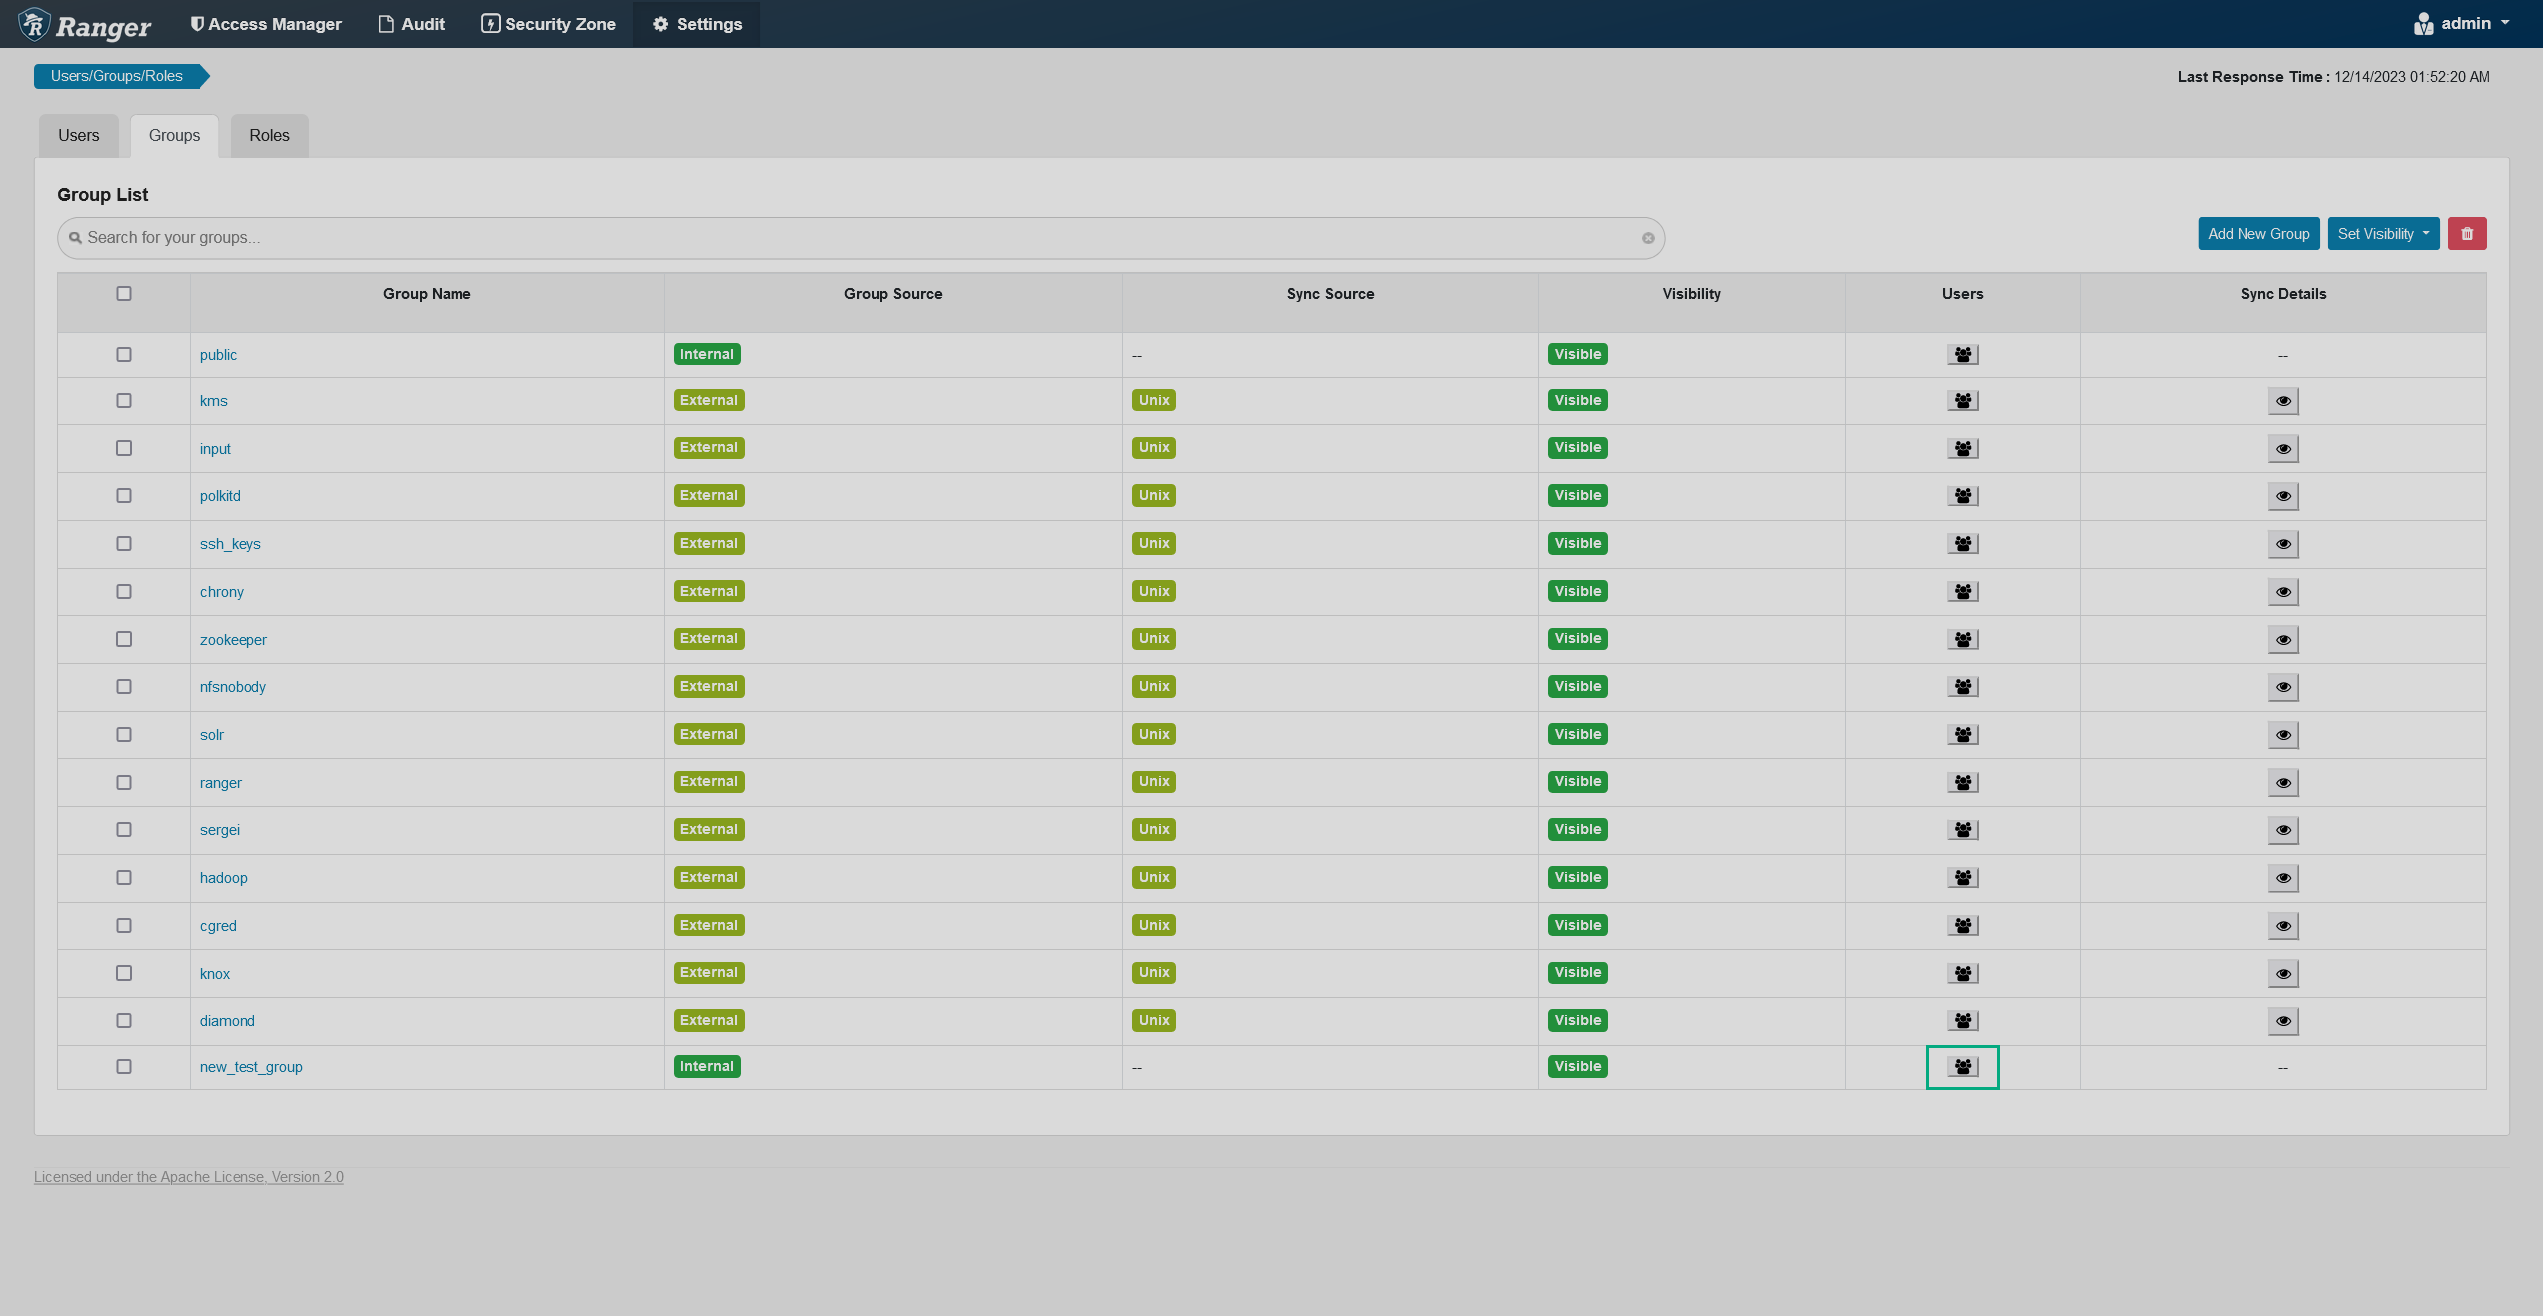 Group list
 -
The user list will appear in a pop-up window.
 Member list
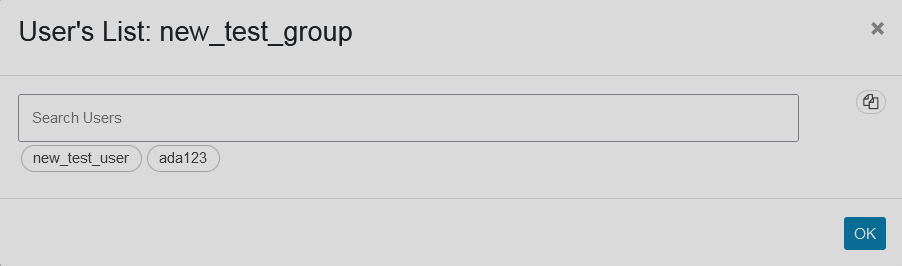 Member list
Add a user to a group
To manually add an internal user to a group, follow the steps below:
-
On the Settings → Users page, click on the username of the user you want to add to a group (essentially, initiate the editing process for a user).
-
In the Group field, select a group you want to add the user to (can choose multiple).
-
Click Save at the bottom of the page.