

Configure policies in Ranger: advanced examples
Overview
A Ranger policy is a handy tool for access control. This article contains some theory about policy conditions and examples of complex policies. You can read about the basic policy configuration in the Manage policies in Ranger article.
Advanced Ranger policies require you to update the service definition which can only be done via REST API. For some policies, you may need to add a context enricher that allows Ranger to get additional information from the access context. The following context enrichers are available:
-
RangerFileBasedGeolocationProvider — adds geolocation information to an access request.
-
RangerGdsEnricher — adds information about datasets, resources included in each dataset, and accesses allowed through datasets to an access request.
You can create your own context enricher by implementing the RangerContextEnricher interface to supply custom information with a request.
If you want to add a non-default policy condition, you can do so by updating the policyConditions section of the service definition. A policy condition requires you to define a condition evaluator and, optionally, evaluator options. The following condition evaluators are available:
-
RangerAccessedFromClusterCondition — checks the name of the cluster from which the request came.
-
RangerAccessedFromClusterTypeCondition — checks the type of the cluster from which the request came.
-
RangerAccessedNotFromClusterCondition — reverse of the
RangerAccessedFromClusterConditioncondition. -
RangerAccessedNotFromClusterTypeCondition — reverse of the
RangerAccessedFromClusterTypeConditioncondition. -
RangerAnyOfExpectedTagsPresentConditionEvaluator — checks if a resource contains any of the policy condition tags.
-
RangerContextAttributeValueInCondition — checks if a value is in some whitelist.
-
RangerContextAttributeValueNotInCondition — reverse of the
RangerContextAttributeValueInConditioncondition. -
RangerHiveResourcesAccessedTogetherCondition — checks if a set of resources can be accessed simultaneously.
-
RangerHiveResourcesNotAccessedTogetherCondition — reverse of the
RangerHiveResourcesAccessedTogetherConditioncondition. -
RangerIpMatcher — evaluates whether the IP from which the request came is allowed to access the resource.
-
RangerNoneOfExpectedTagsPresentConditionEvaluator — checks if a resource contains none of the policy condition tags.
-
RangerScriptConditionEvaluator — evaluates a JS script condition.
-
RangerTagsAllPresentConditionEvaluator — checks if a resource contains all of the policy condition tags.
-
RangerTimeOfDayMatcher — evaluates to true if the request came within the allowed time frame.
You can mix and match these conditions based on your needs. Below, you can find some examples of useful policies.
Geolocation-based policy
This type of policy allows you to control the resource access based on where geographically it was requested from.
Preparation
Prepare a text file with the information about the allowed IPs for certain locations. See the example below:
IP_FROM,IP_TO,COUNTRY_CODE,COUNTRY_NAME,REGION,CITY
91.108.240.1,91.108.240.45,FR,France,Ile-de-France,Paris
Here, the IP_FROM value marks the start of the allowed IP range, while IP_TO marks its end. Other fields specify the location for which the IP range is applicable. This file should be placed on a Ranger Admin host in location where it can be accessed by Ranger. For example, /etc/ranger/geo-data.txt.
Update the service definition
Update the service definition file for the necessary service. The following example updates a configuration for the HBase service:
-
Get the current service definition:
$ curl --user <admin_user>:<admin_pwd> --get "http://<ranger_host>/service/public/v2/api/servicedef/name/hbase"where
<admin_user>and<admin_pwd>are credentials for a Ranger user with admin rights, and<ranger_host>is a URL of the Ranger Admin host including the port number (6080 for HTTP and 6082 for HTTPS).As a response, you should receive a JSON string that contains the service definition.
-
Edit the JSON by appending it with the following section:
"contextEnrichers": [
  {
    "enricher": "org.apache.ranger.plugin.contextenricher.RangerFileBasedGeolocationProvider",
    "enricherOptions": {
      "FilePath": "/etc/ranger/geo-data.txt",
      "IPInDotFormat": "true"
    }
  }
]
The
FilePathhere should contain the path to the IP information file you have created earlier. -
Append the
policyConditionssection with the following lines to add the ability to base your policies on a request being sent from a certain location:{ "itemId": 2, "name": "location-inside", "label": "Requested from inside of the location", "description": "Enter location", "evaluator": "org.apache.ranger.plugin.conditionevaluator.RangerContextAttributeValueInCondition", "evaluatorOptions": { "attributeName": "LOCATION_COUNTRY_CODE" } }Alternatively, you can create a reverse condition that will check if a request came from outside a certain location:
{
  "itemId": 3,
  "name": "location-outside",
  "label": "Requested from outside of the location",
  "description": "Enter location",
  "evaluator": "org.apache.ranger.plugin.conditionevaluator.RangerContextAttributeValueNotInCondition",
  "evaluatorOptions": {
  "attributeName": "LOCATION_COUNTRY_CODE"
  }
}
Note that the
attributeNameparameter value starts withLOCATION_followed by the column name from the IP information file. TheLOCATION_prefix here is required since it’s automatically added by the context enricher. -
Send the updated service definition to Ranger Admin using the command below:
$ curl -i -H "Content-Type: application/json" --user <admin_user>:<admin_pwd> -X PUT --data '<json>' "http://<ranger_host>/service/public/v2/api/servicedef/name/hbase"It is expected that your JSON has been formatted into a single string, you can use services like JSON Minifier to achieve that. Alternatively, you can send a JSON file. The correct response contains the
200 OKHTTP code, some meta information, and the new service definition.
Create/edit a policy
You can create/edit a policy with the Ranger’s REST API, but the example below utilizes the web interface:
-
If you are creating a policy, follow the common creation steps described in Add a policy. In case you want to edit an existing policy, see Edit a policy.
-
In the allow/deny conditions section, you will see that new conditions have appeared.
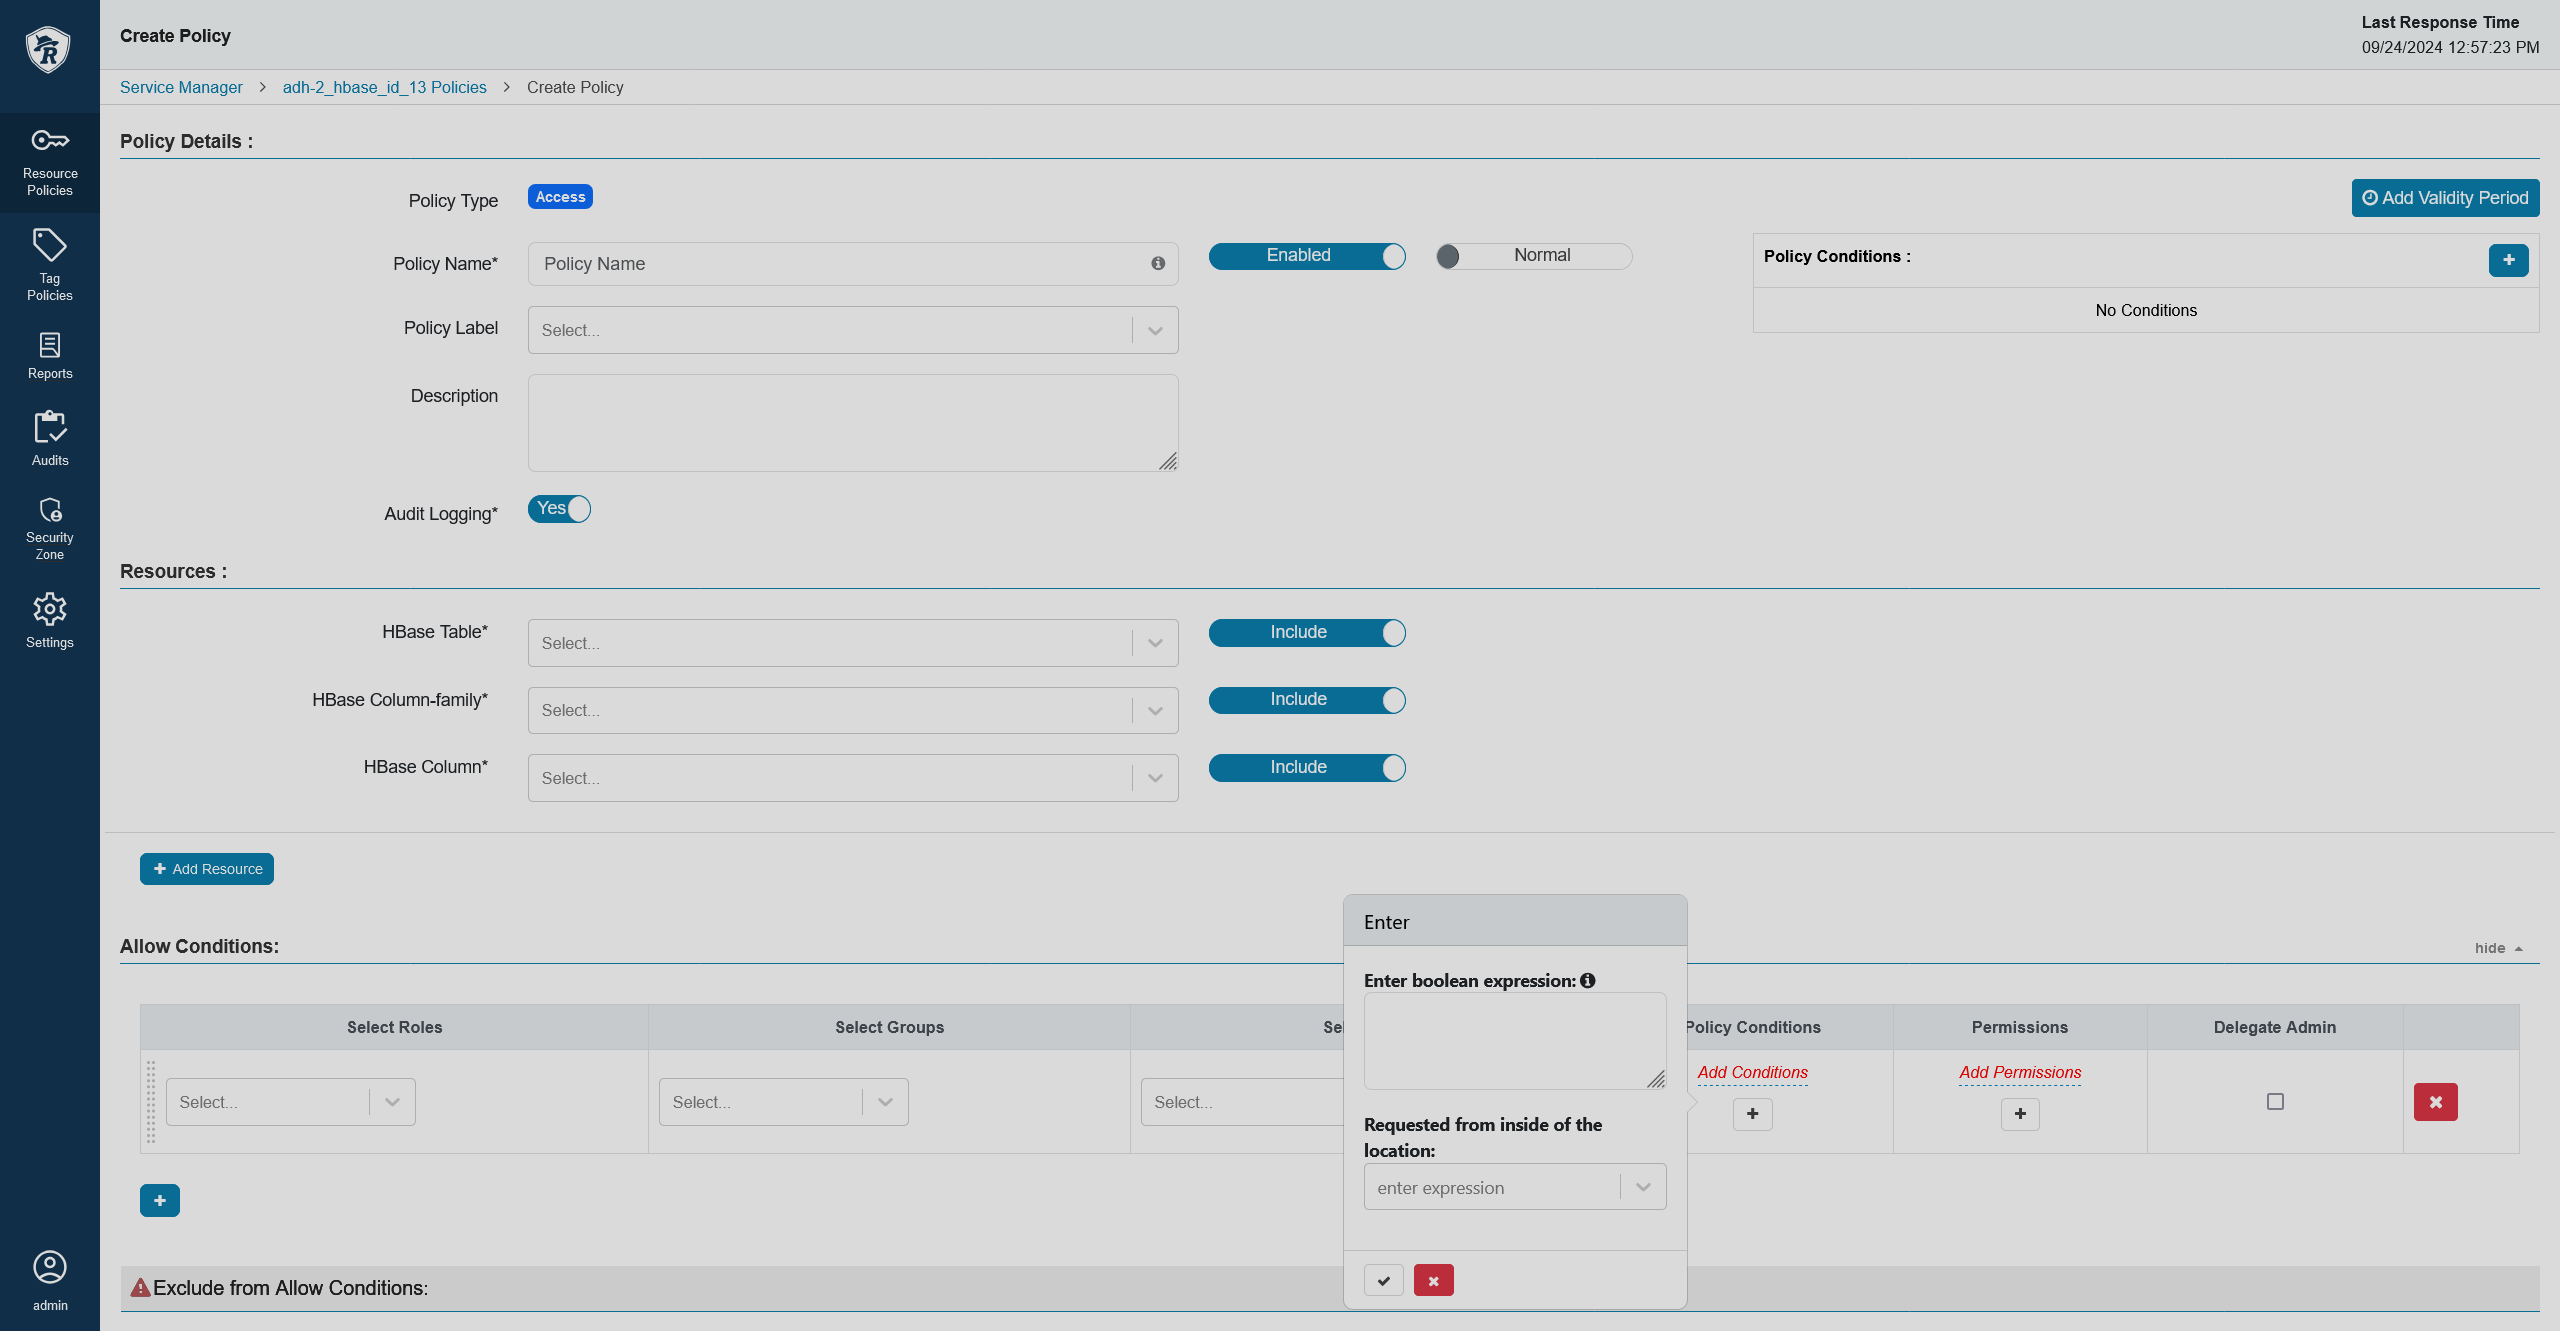 New conditions
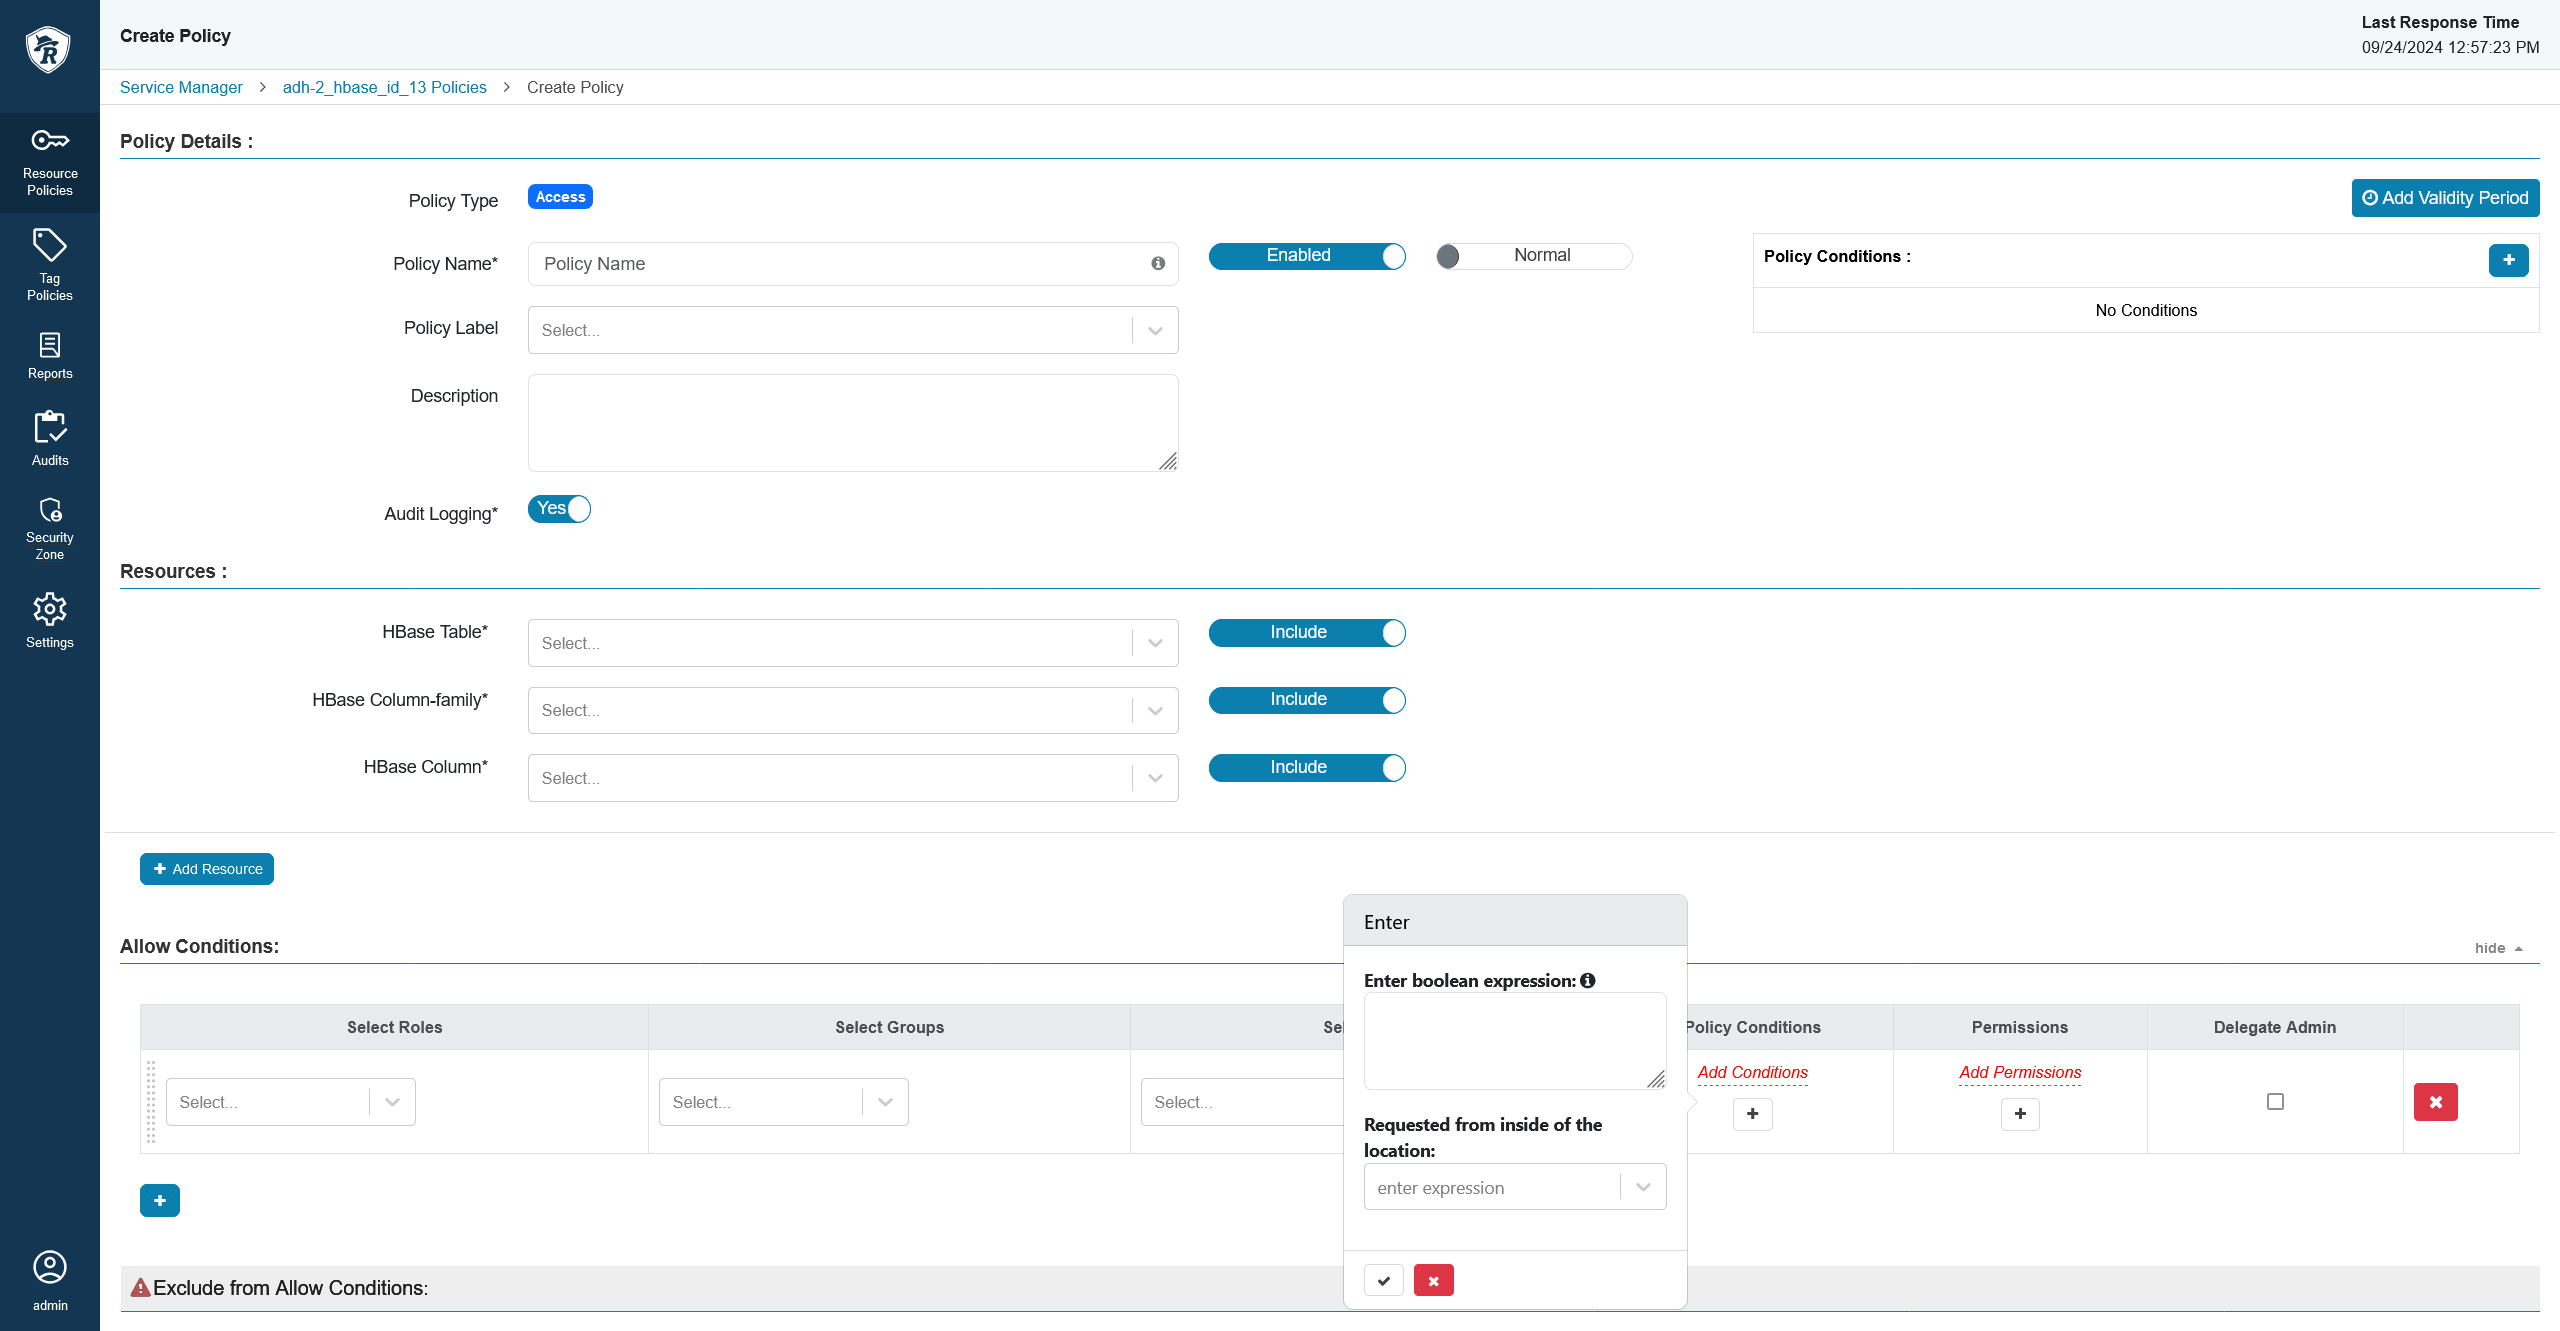 New conditions
Set up the condition. In this example, the condition checks the country code.
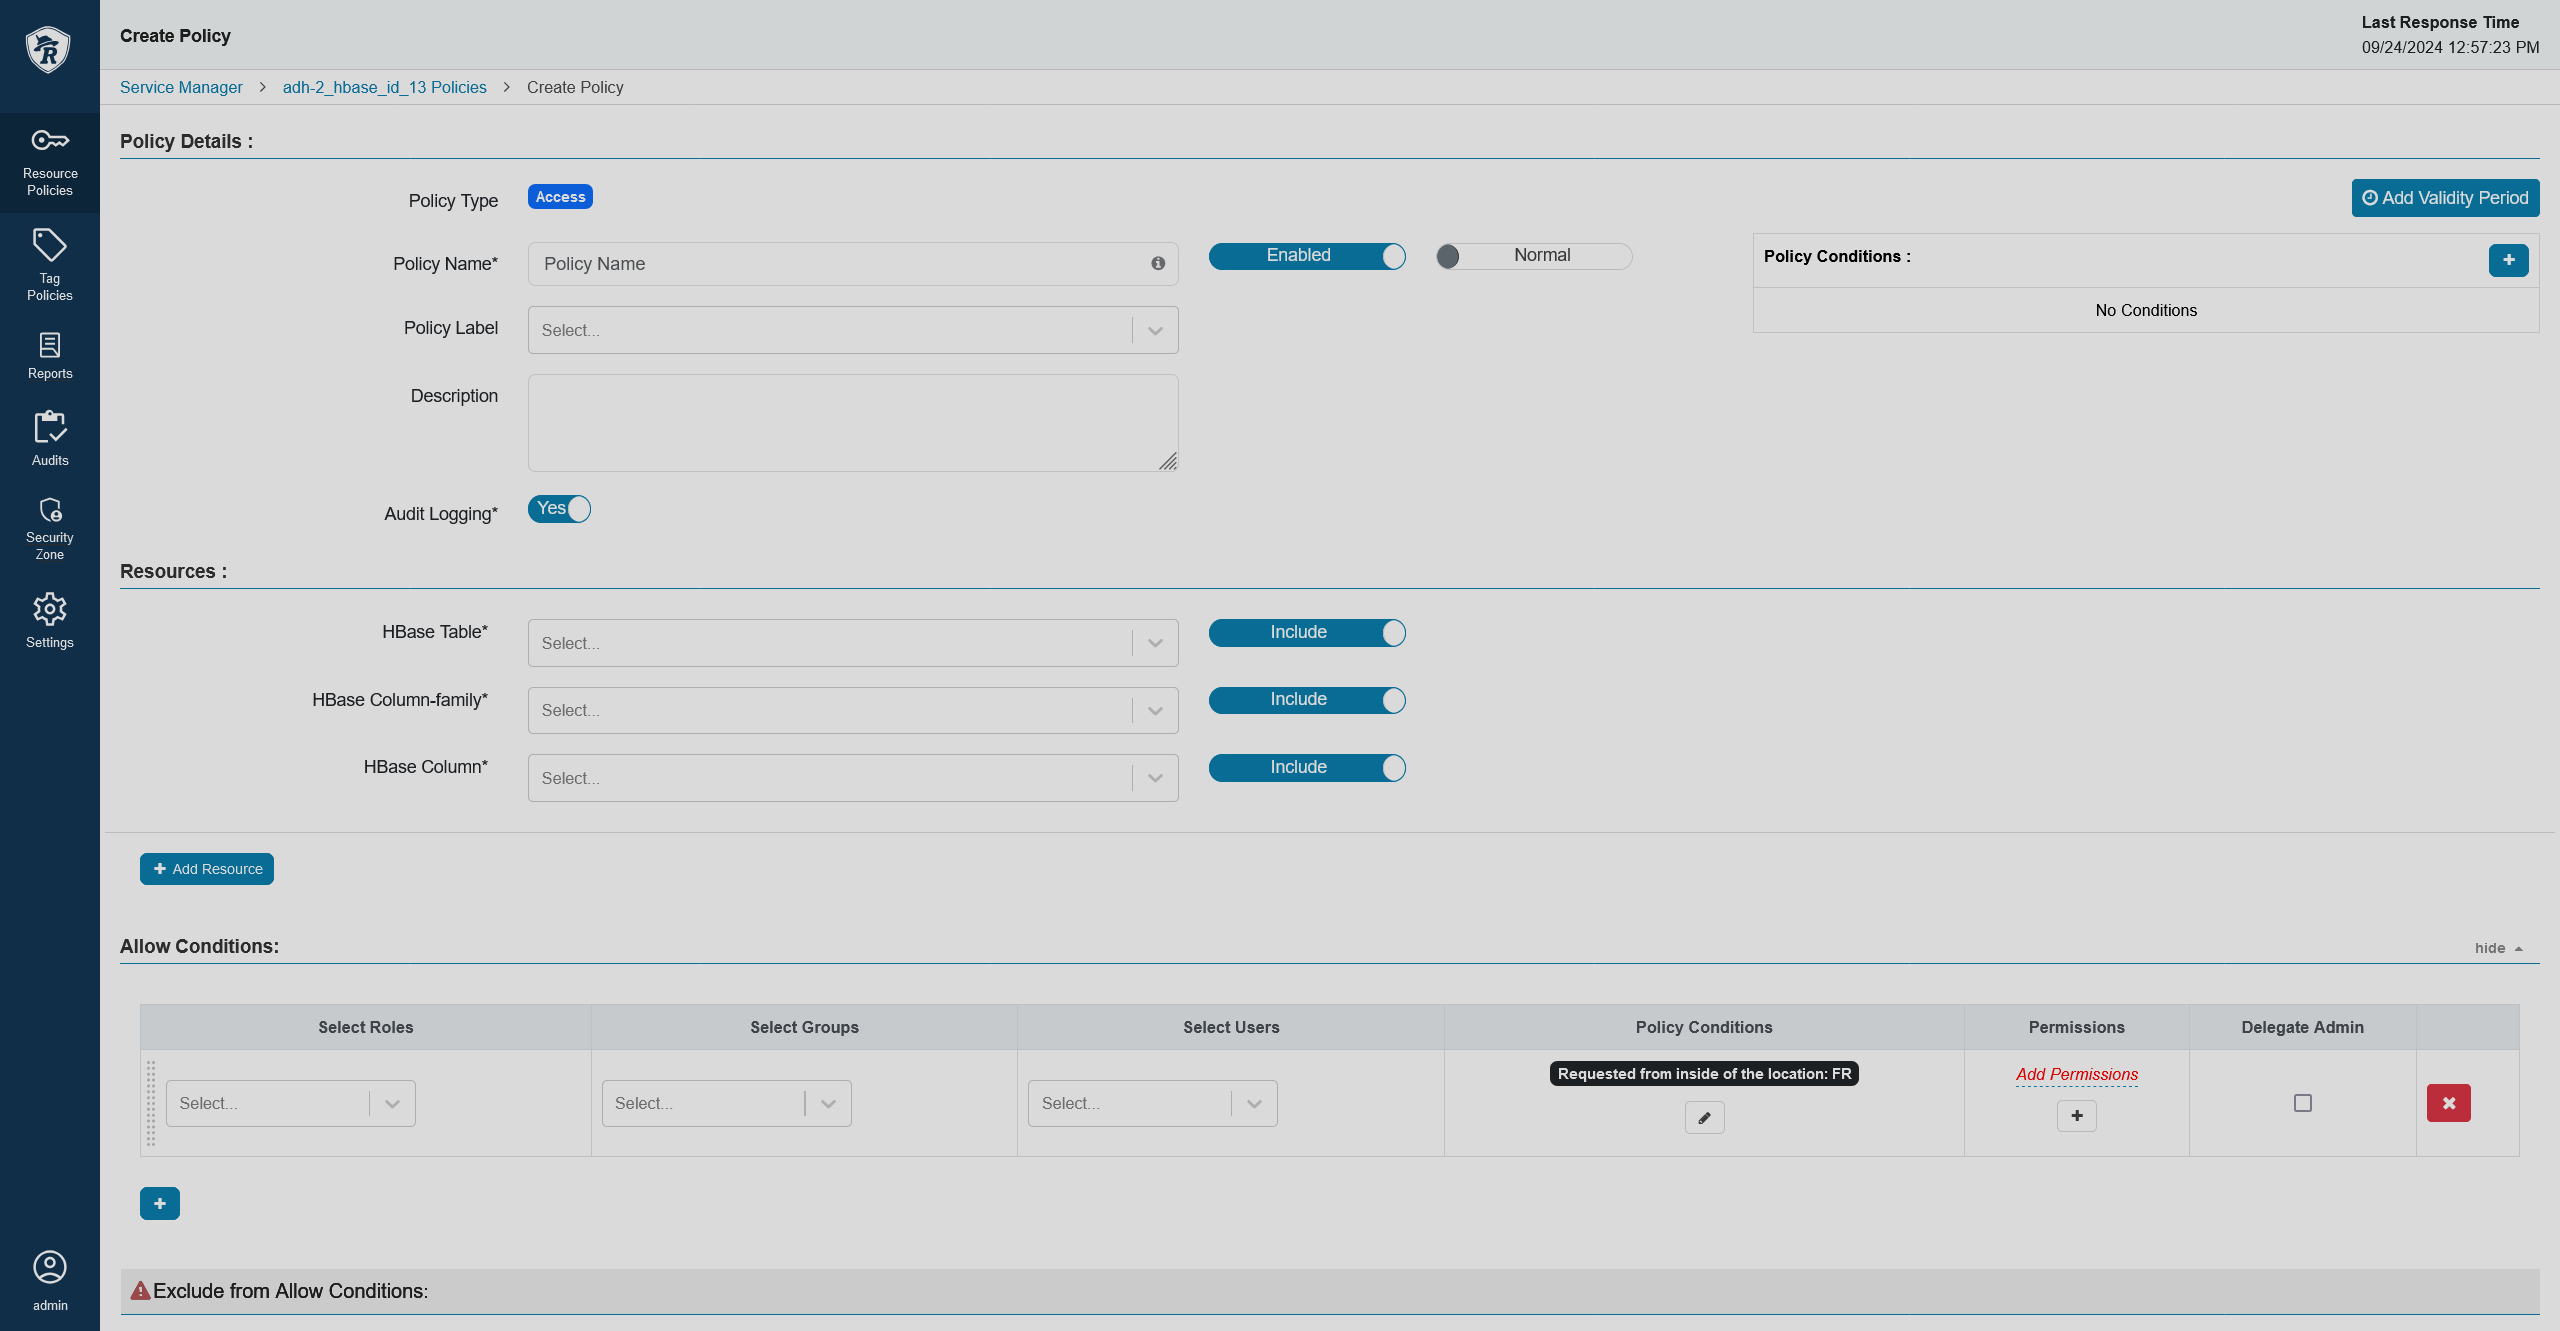 A geolocation policy
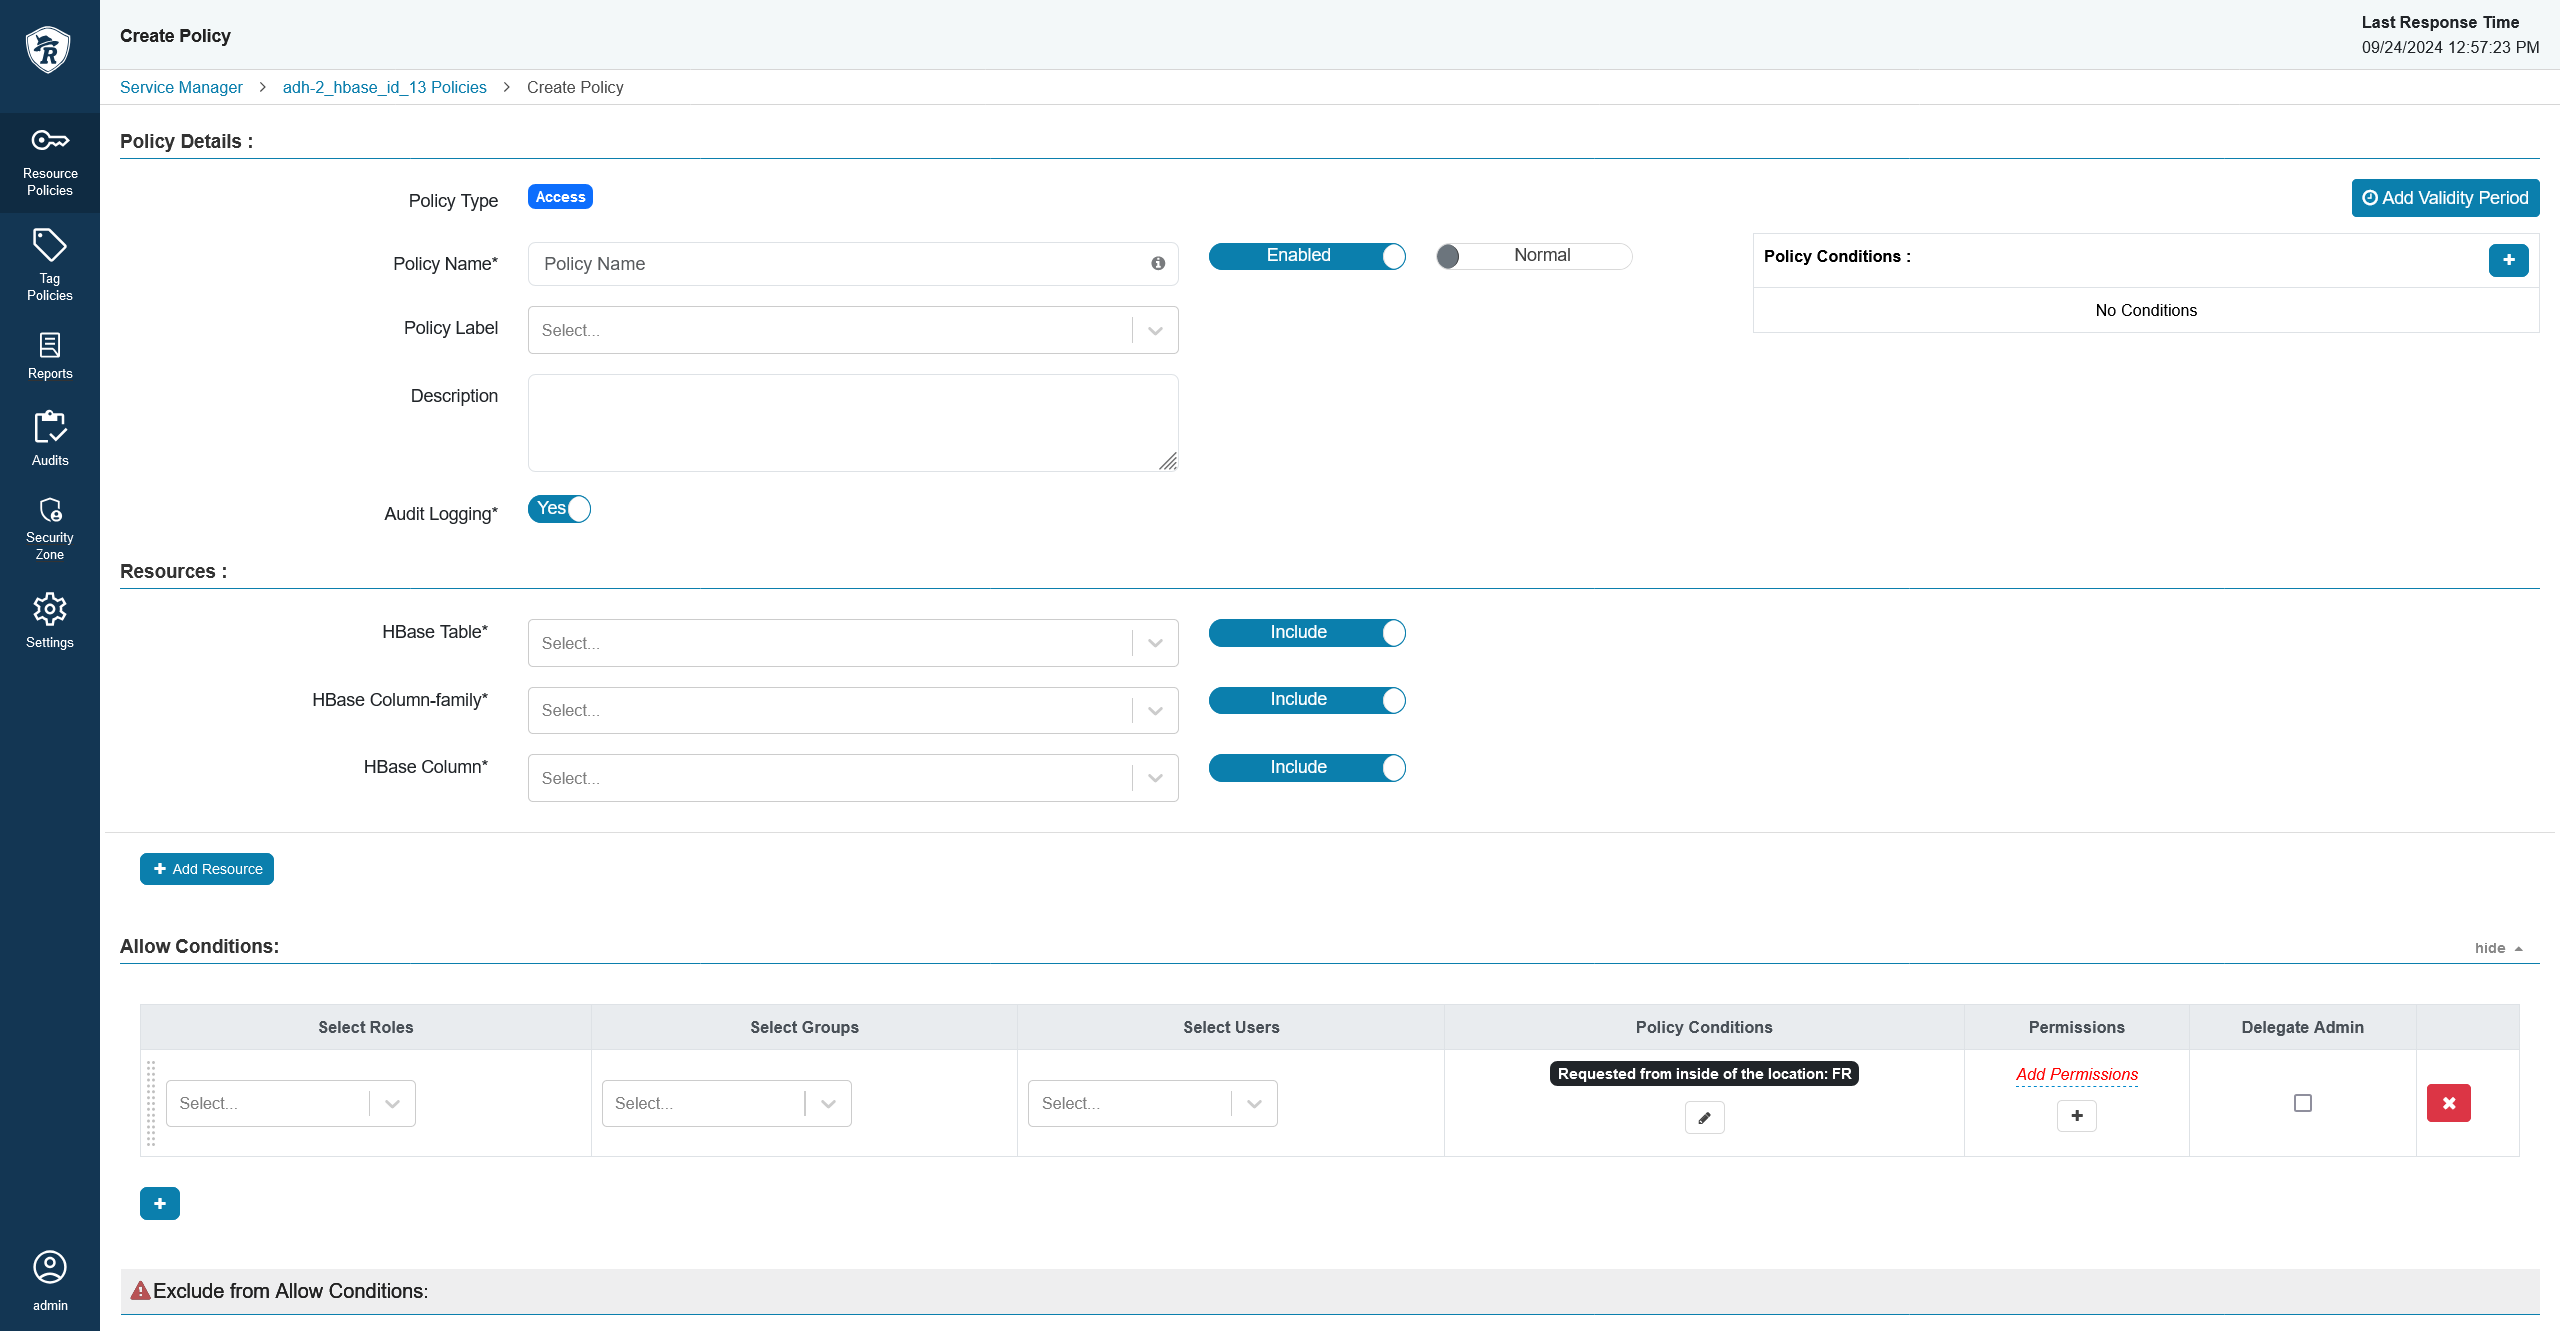 A geolocation policy
 -
Once you’re done, click Add (or Save) at the bottom of the page.
Time-based policy
This type of policy allows you to control the resource access based on some changing aspect of the time of day it was requested at.
Update the service definition
Update the service definition file for the necessary service. The following example updates a configuration for the HBase service:
-
Get the current service definition:
$ curl --user <admin_user>:<admin_pwd> --get "http://<ranger_host>/service/public/v2/api/servicedef/name/hbase"where
<admin_user>and<admin_pwd>are credentials for a Ranger user with admin rights, and<ranger_host>is a URL of the Ranger Admin host including the port number (6080 for HTTP and 6082 for HTTPS).As a response, you should receive a JSON string that contains the service definition.
-
Append the
policyConditionssection with the following lines to base your policies on a request being sent during a certain time frame:{ "itemId": 4, "name": "time-frame", "label": "Requested within the time frame", "description": "Enter time frame", "evaluator": "org.apache.ranger.plugin.conditionevaluator.RangerTimeOfDayMatcher", } -
Send the updated service definition to Ranger Admin using the command below:
$ curl -i -H "Content-Type: application/json" --user <admin_user>:<admin_pwd> -X PUT --data '<json>' "http://<ranger_host>/service/public/v2/api/servicedef/name/hbase"It is expected that your JSON has been formatted into a single string, you can use services like JSON Minifier to achieve that. The correct response contains the
200 OKHTTP code, some meta information, and the new service definition. Alternatively, you can send a JSON file.
Create/edit a policy
You can create/edit a policy with the Ranger’s REST API, but the example below utilizes the web interface:
-
If you are creating a policy, follow the common creation steps described in Add a policy. In case you want to edit an existing policy, see Edit a policy.
-
In the allow/deny conditions section, you will see that new conditions have appeared.
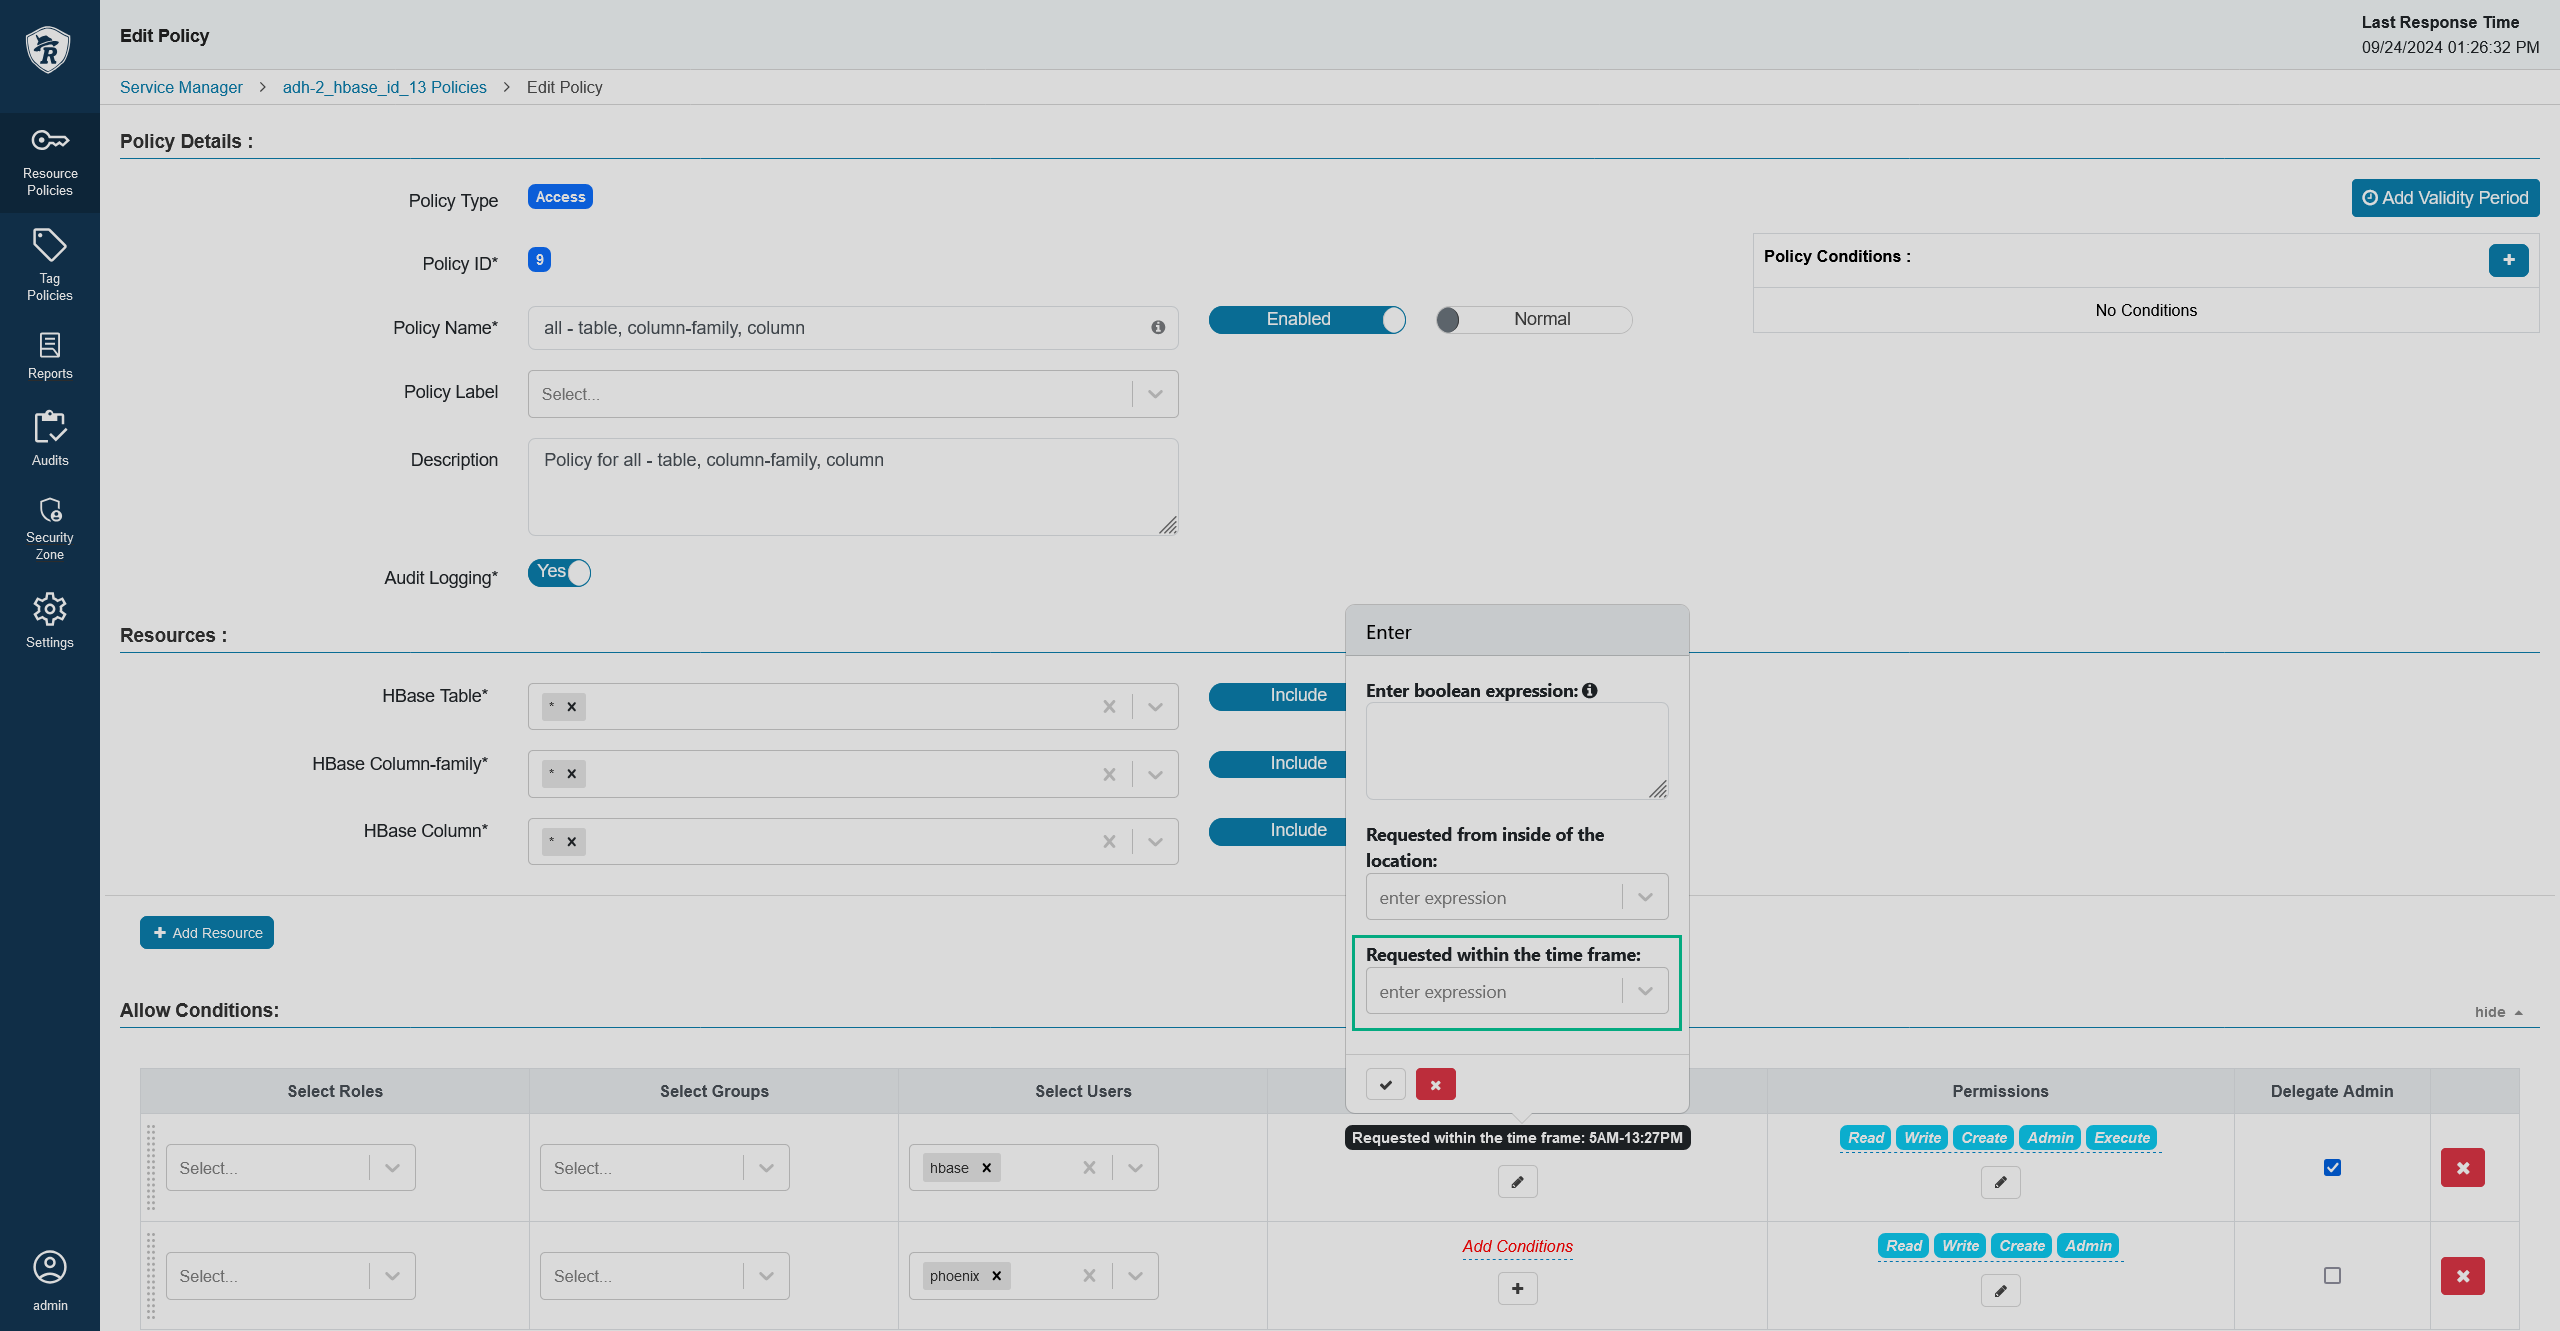 A new time condition
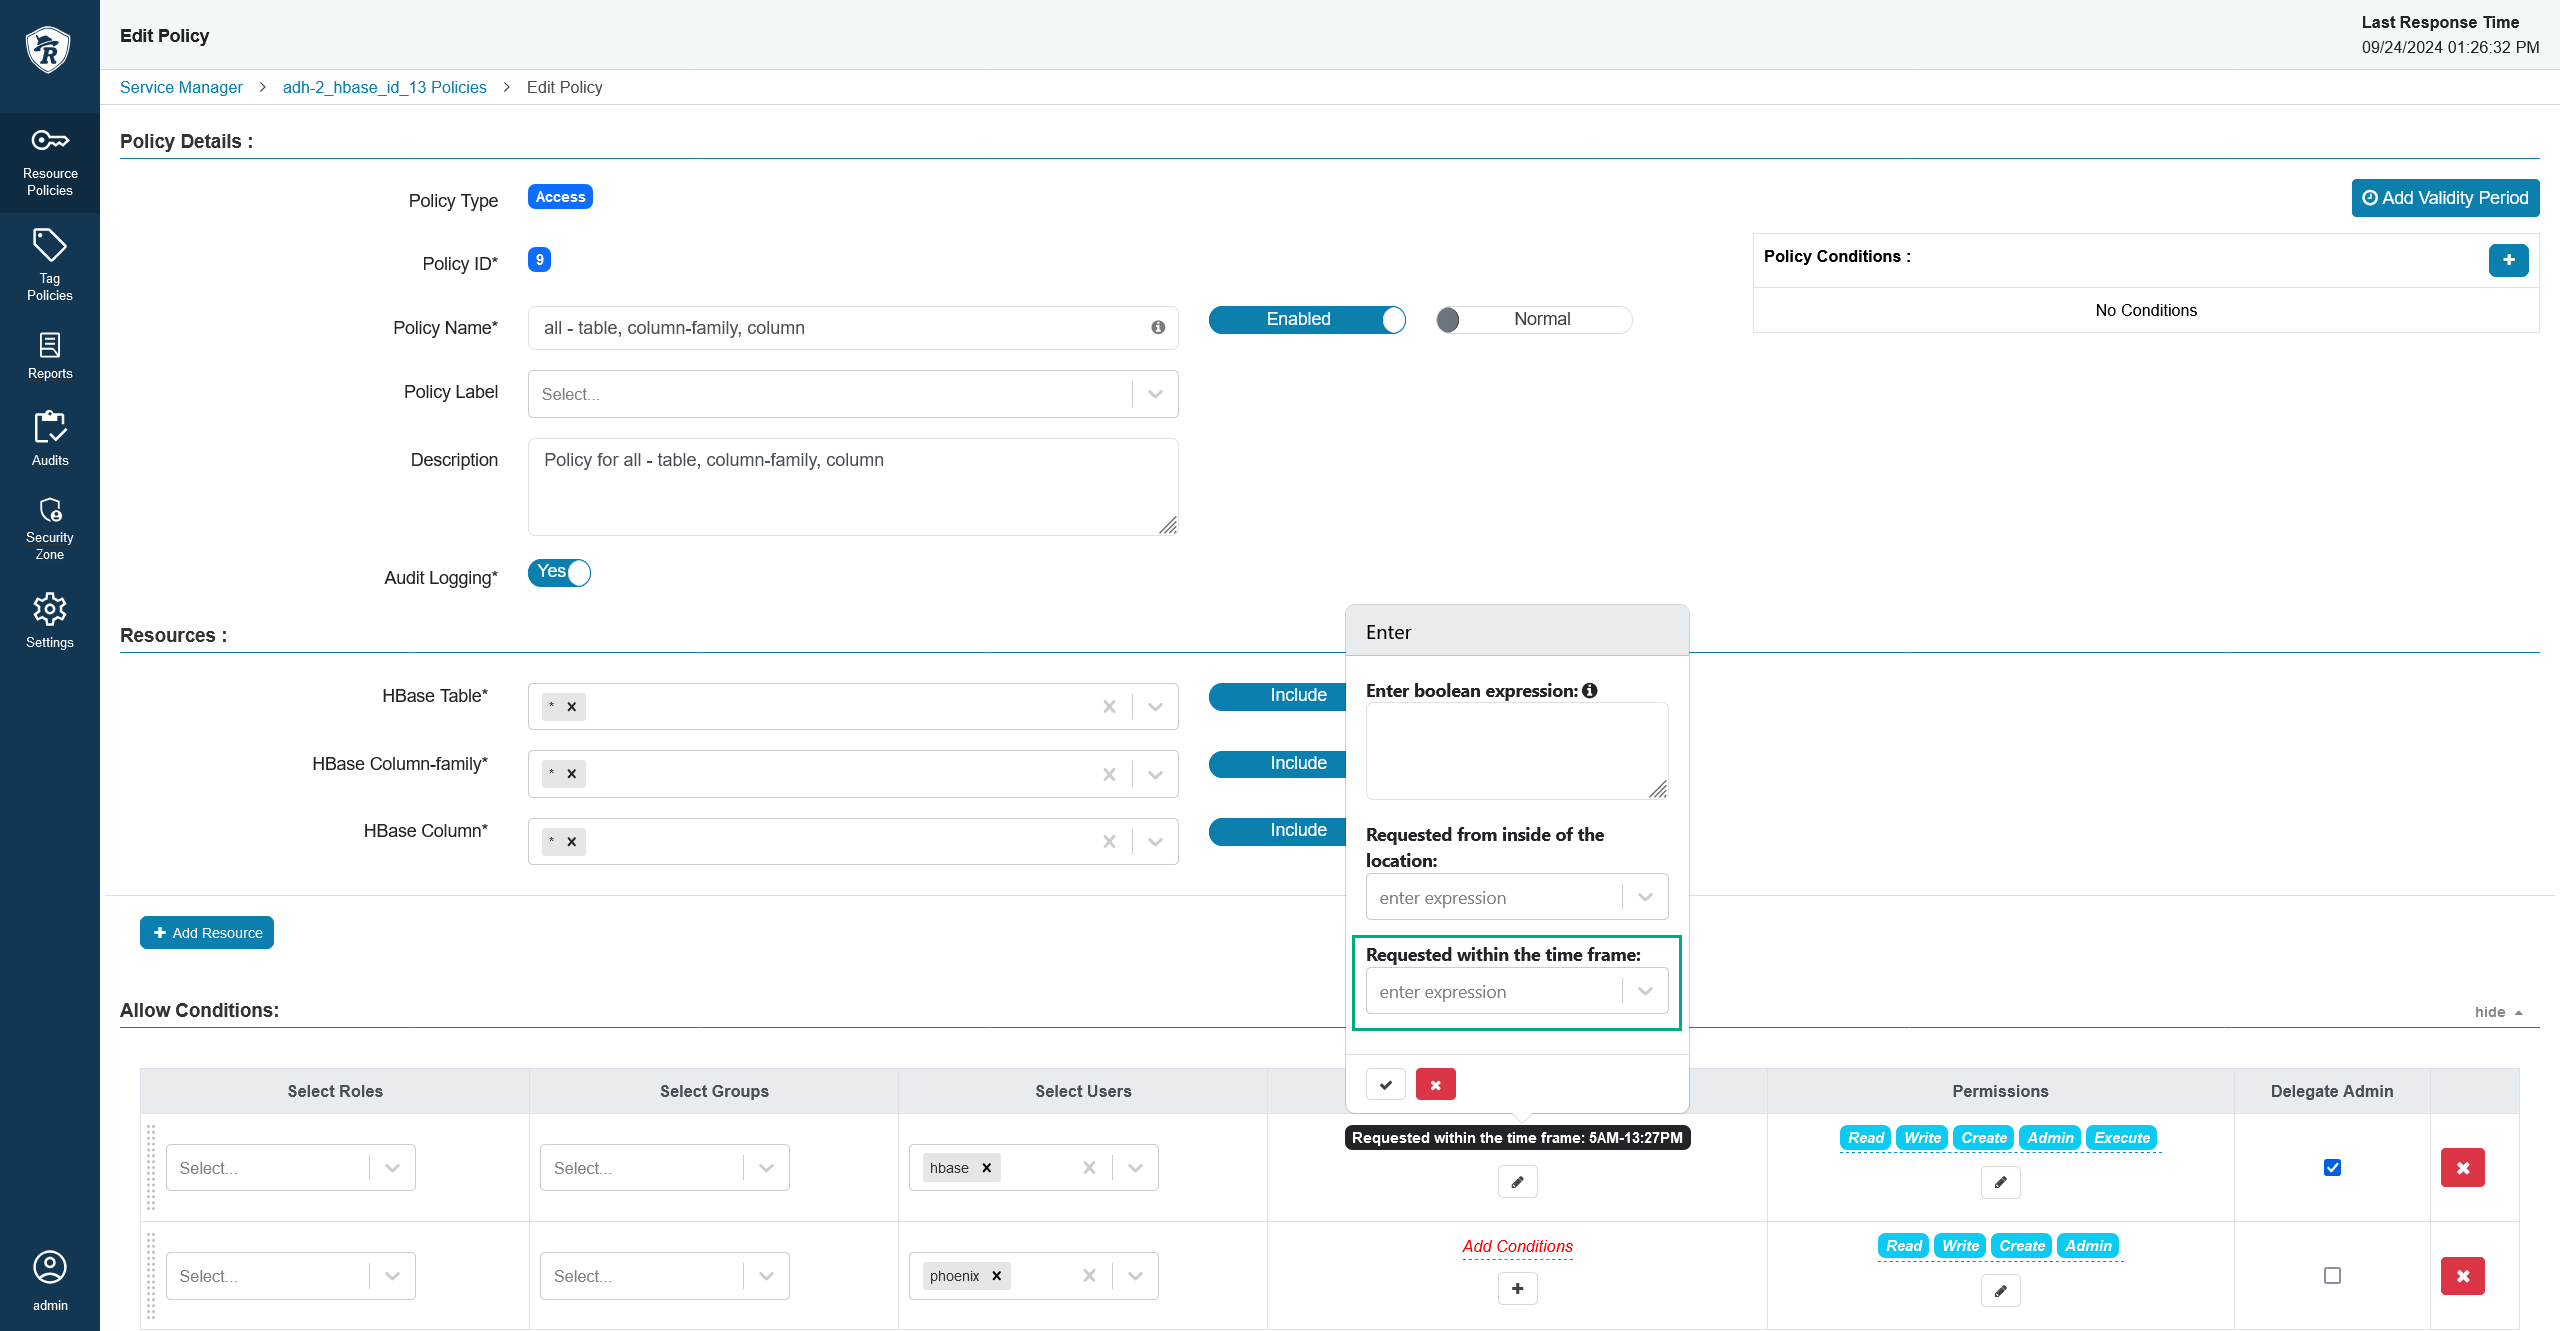 A new time condition
Set up the condition. The condition expects a time frame in the
{HH:MM} AM - {HH:MM} PMformat, for example9:30 AM - 3:15 PM.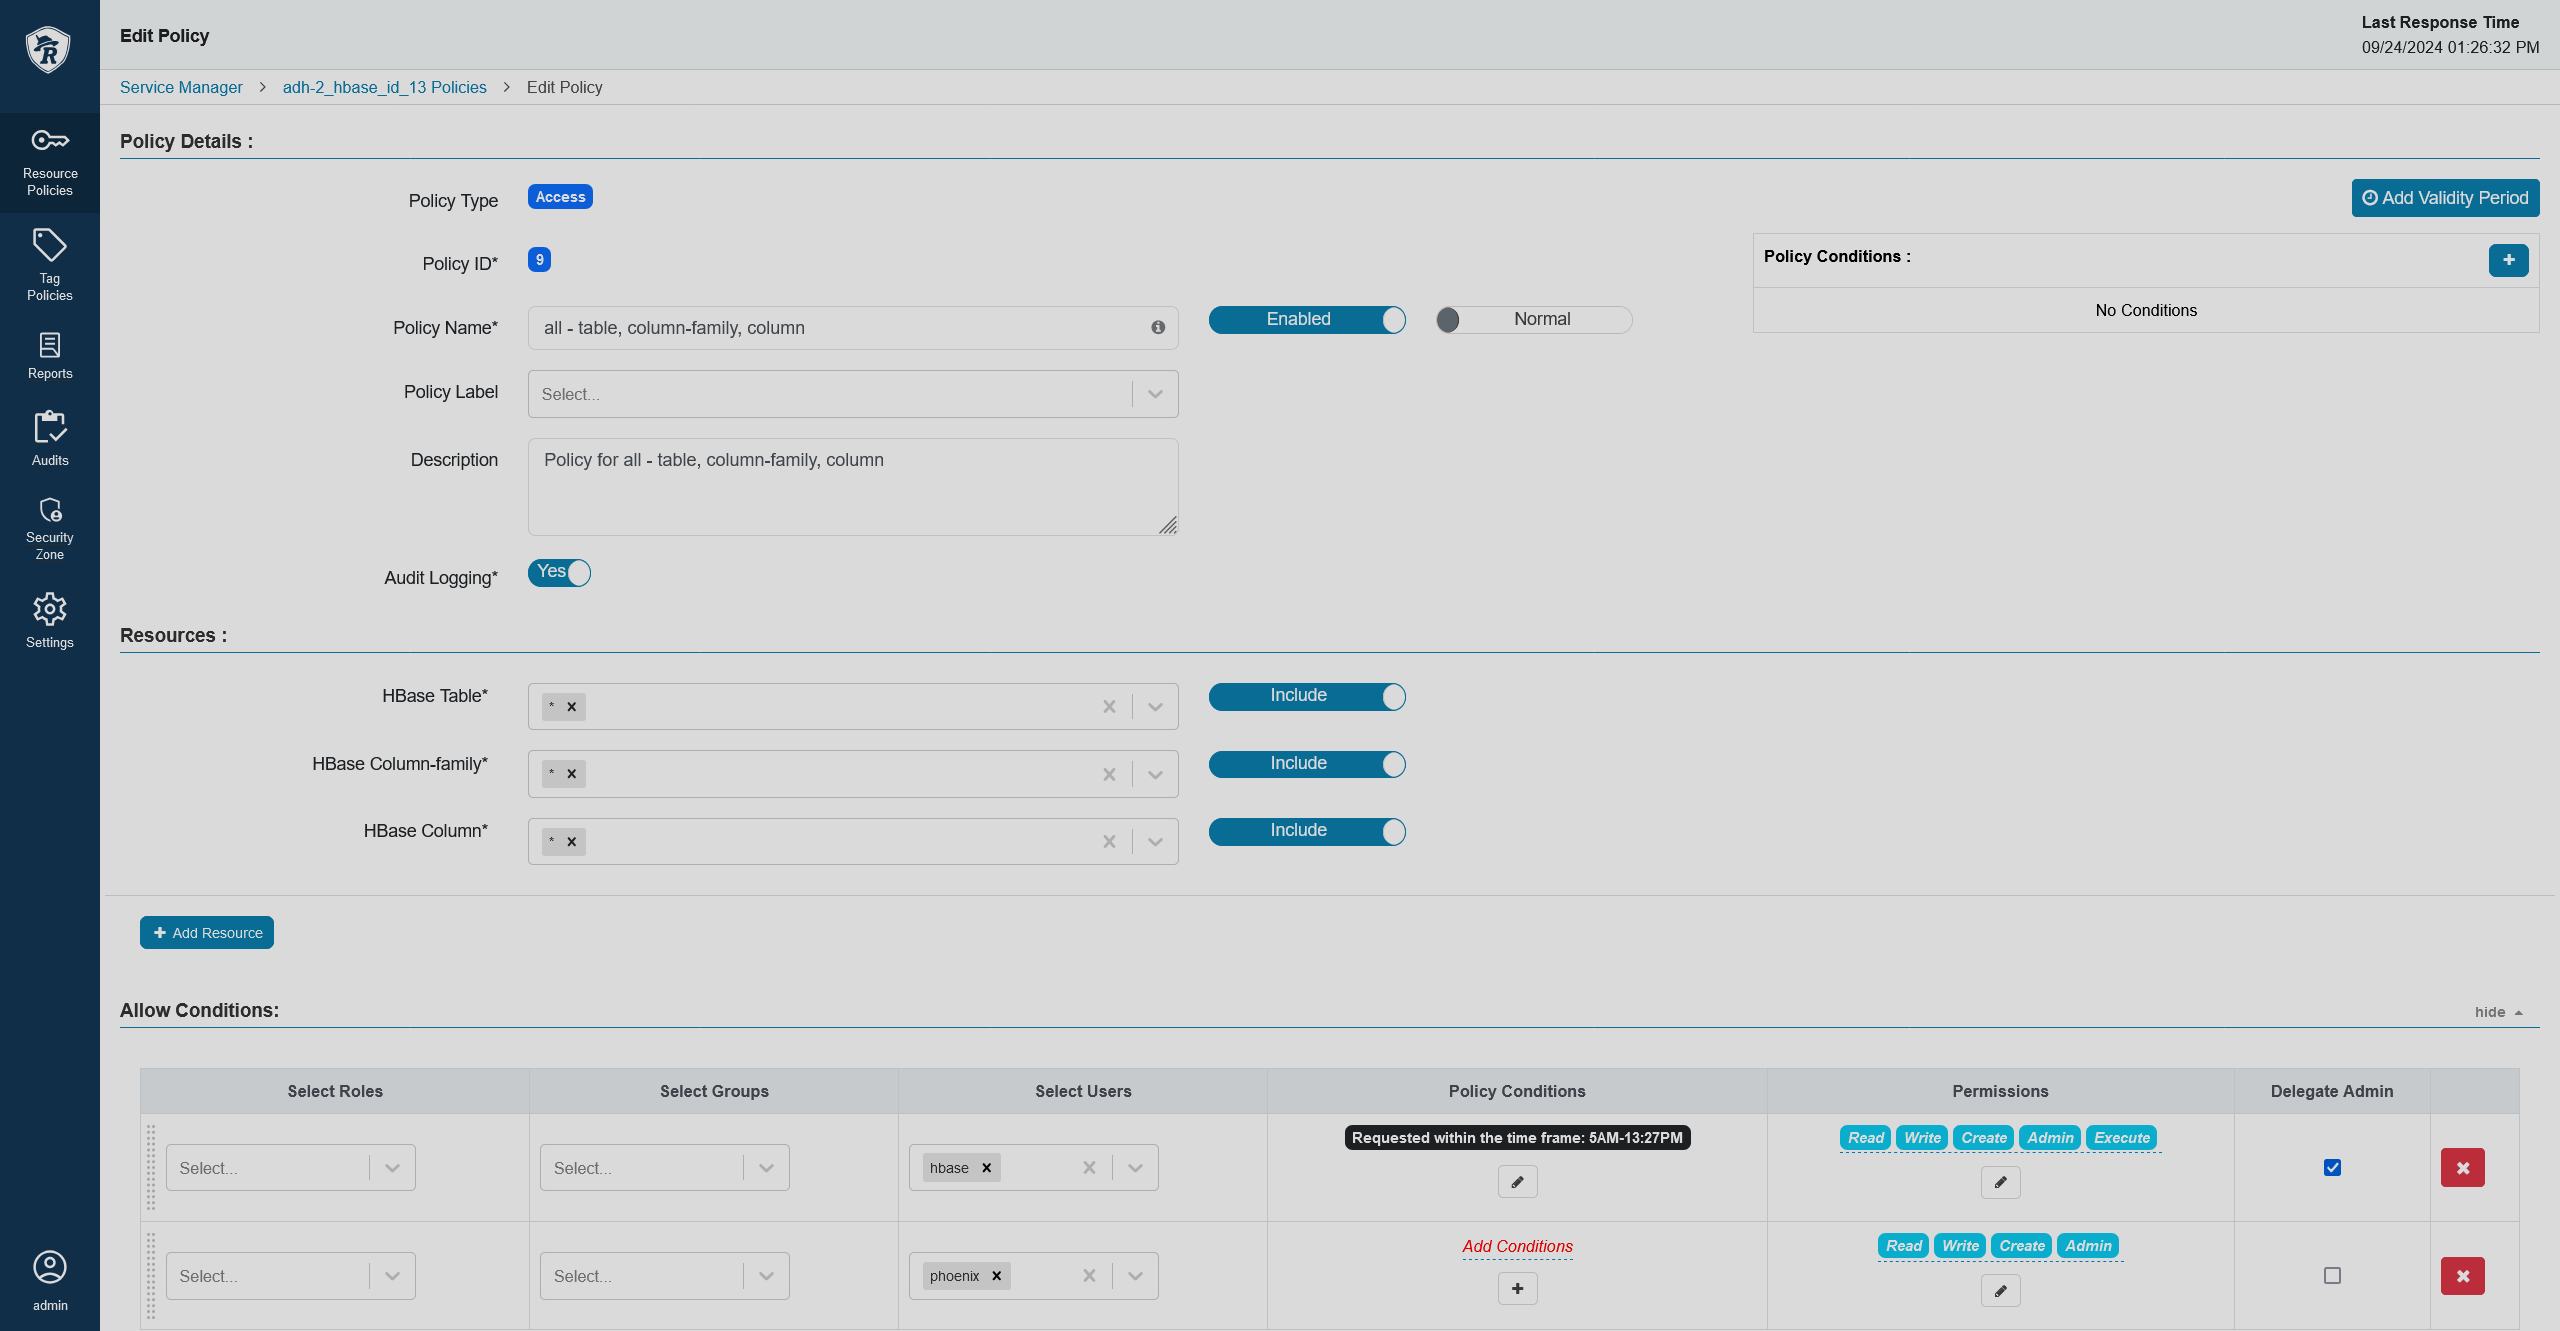 A time frame policy
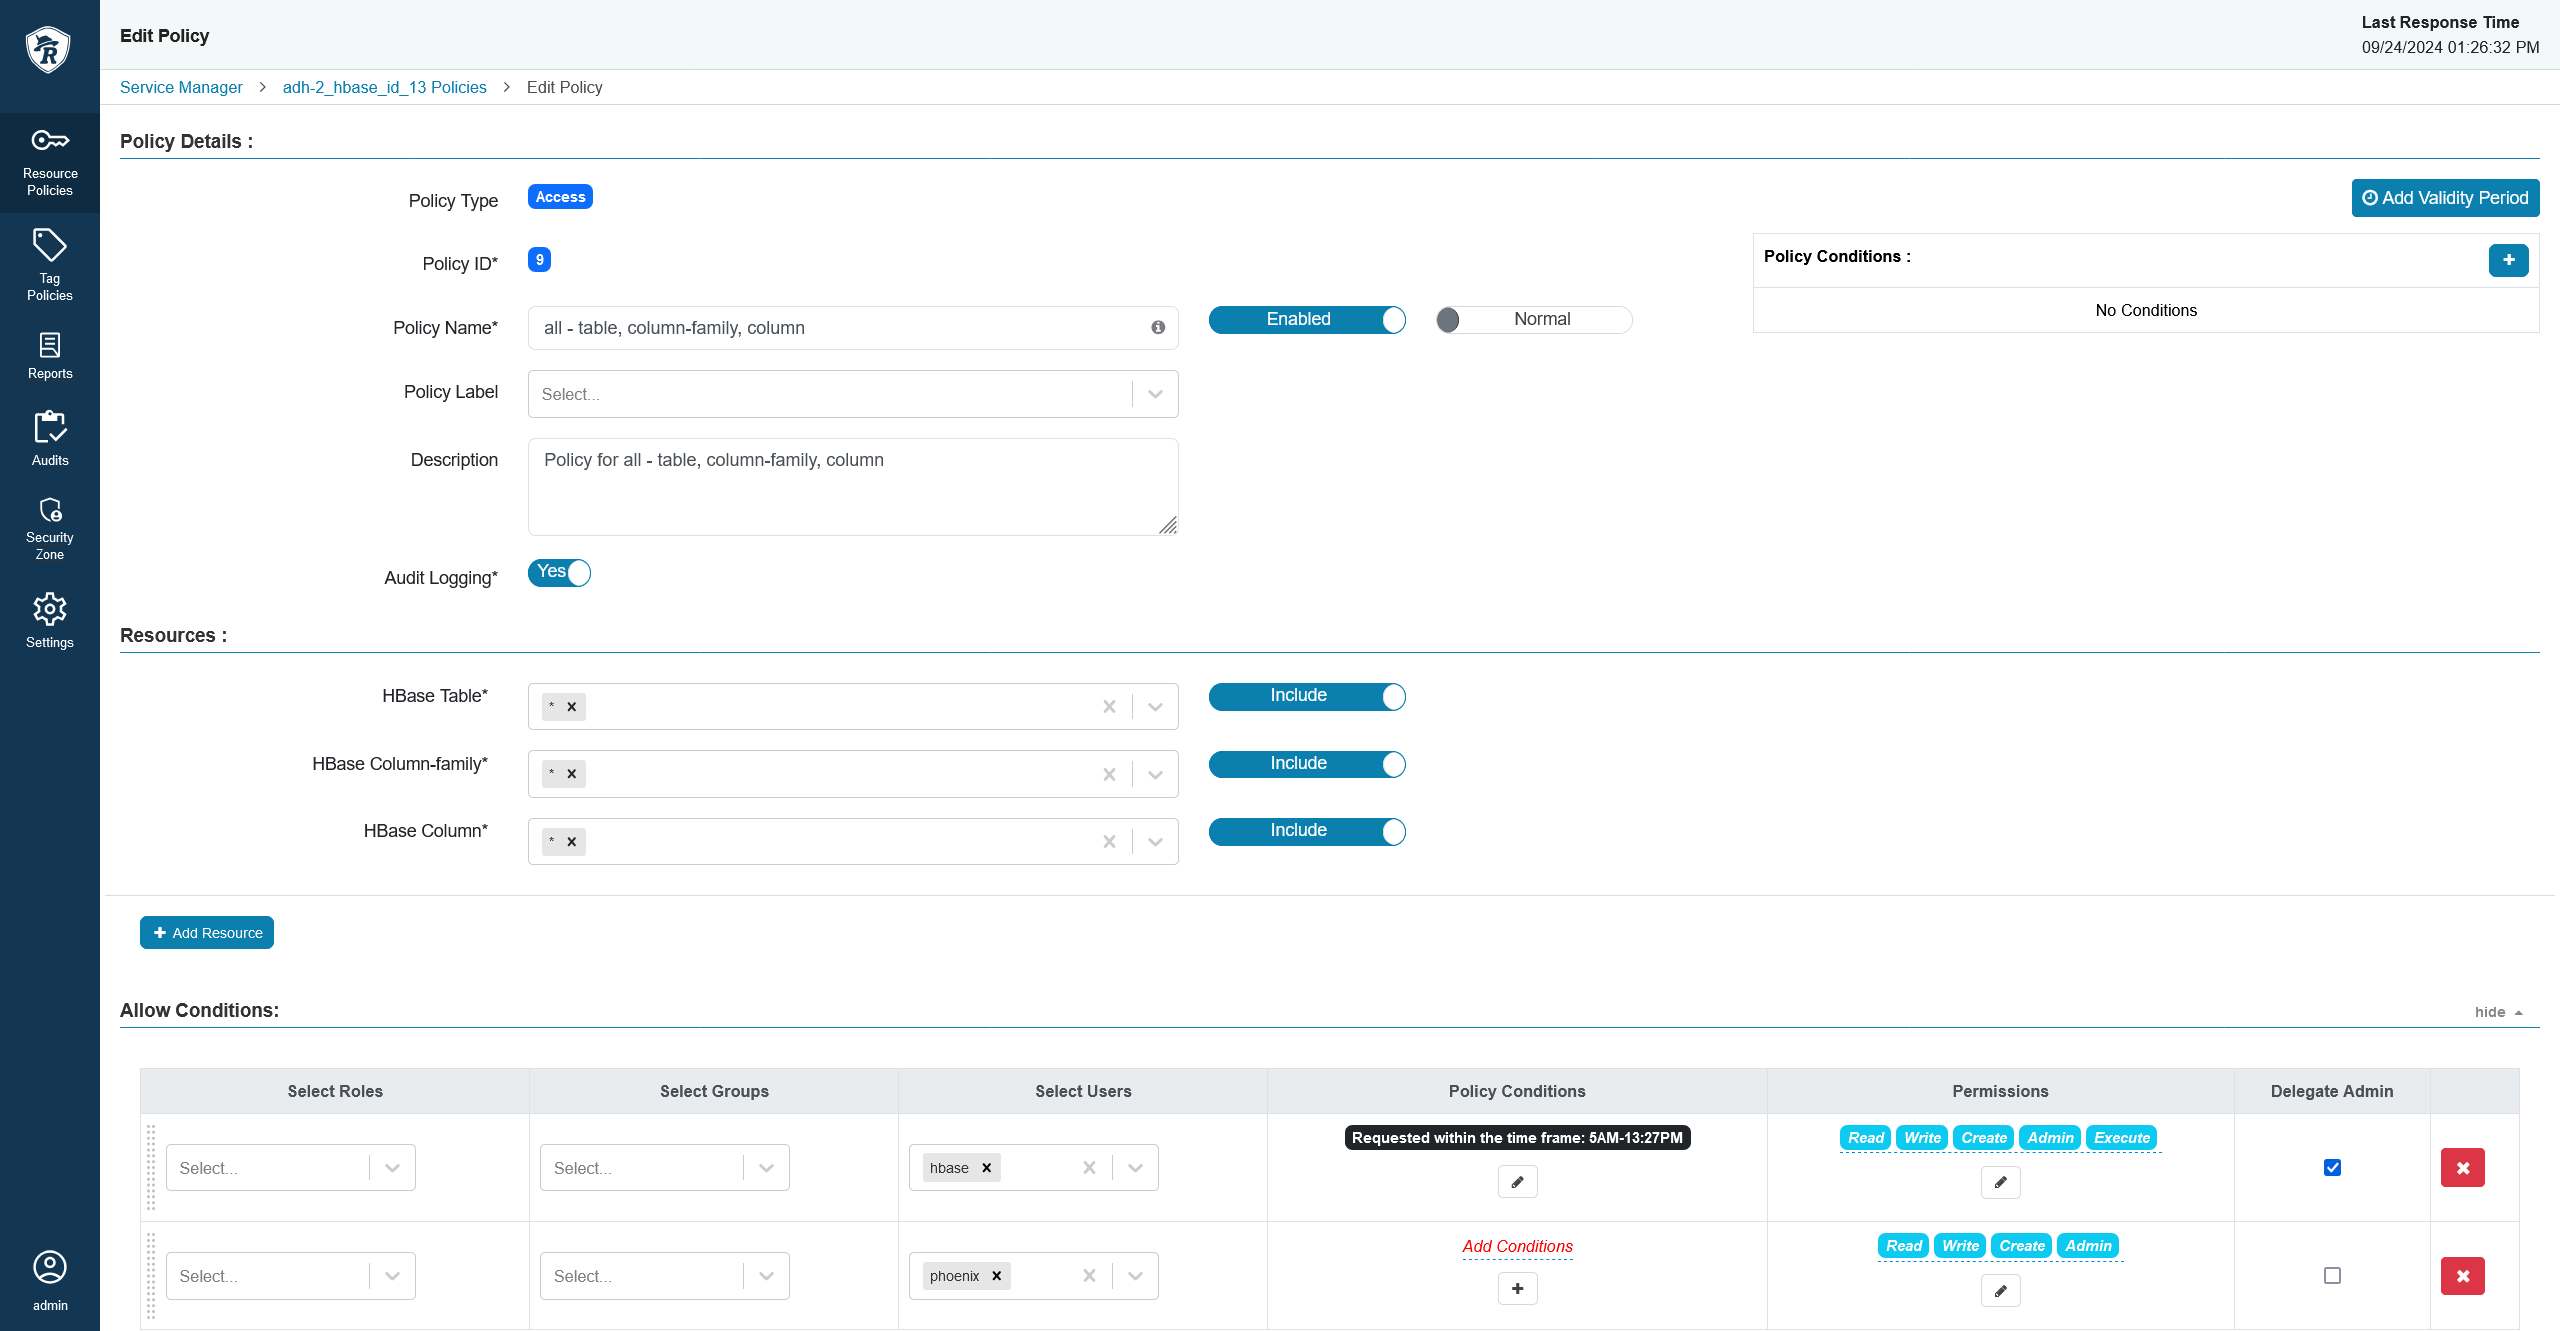 A time frame policy
 -
Once you’re done, click Add (or Save, if you edited an existing policy) at the bottom of the page.
The result of such policy can be seen on the Access tab of the Audits section.
Custom script condition
By default, some Ranger plugins have the RangerScriptConditionEvaluator policy condition enabled. For others (e.g. Knox), you can enable it by editing the service definition:
-
Get the current service definition:
$ curl --user <admin_user>:<admin_pwd> --get "http://<ranger_host>/service/public/v2/api/servicedef/name/knox"where
<admin_user>and<admin_pwd>are credentials for a Ranger user with admin rights, and<ranger_host>is a URL of the Ranger Admin host including the port number (6080 for HTTP and 6082 for HTTPS).As a response, you should receive a JSON string that contains the service definition.
-
Append the
policyConditionssection with the following lines to base your policies on a custom script condition:{ "itemId": 2, "name": "_expression", "evaluator": "org.apache.ranger.plugin.conditionevaluator.RangerScriptConditionEvaluator", "evaluatorOptions": { "ui.isMultiline": "true" }, "label": "Enter boolean expression", "description": "Boolean expression" } -
Send the updated service definition to Ranger Admin using the command below:
$ curl -i -H "Content-Type: application/json" --user <admin_user>:<admin_pwd> -X PUT --data '<json>' "http://<ranger_host>/service/public/v2/api/servicedef/name/knox"
After that, try to create/edit a policy and you will see that a new condition field has appeared. It allows you to write a JS script which evaluates to true or false. Depending on your needs, you may want to add a context enricher to your service definition to receive additional information with the access request, see how to do it in second step of the Geolocation-based policy section. In that script, you can reference the following variables:
-
ctx— context handler that contains metadata from the request. The following methods are available:-
getUser()— returns the name of the user who sent the access request. -
getUserGroups()— returns a list of the groups the user is a member of. -
getClientIPAddress()— returns the IP address of the client as a string. -
getAction()— returns the information about the requested action as a string.
-
-
tag— information about the current tag. -
tagAttr— a dictionary that contains all the current tag attributes and their values.
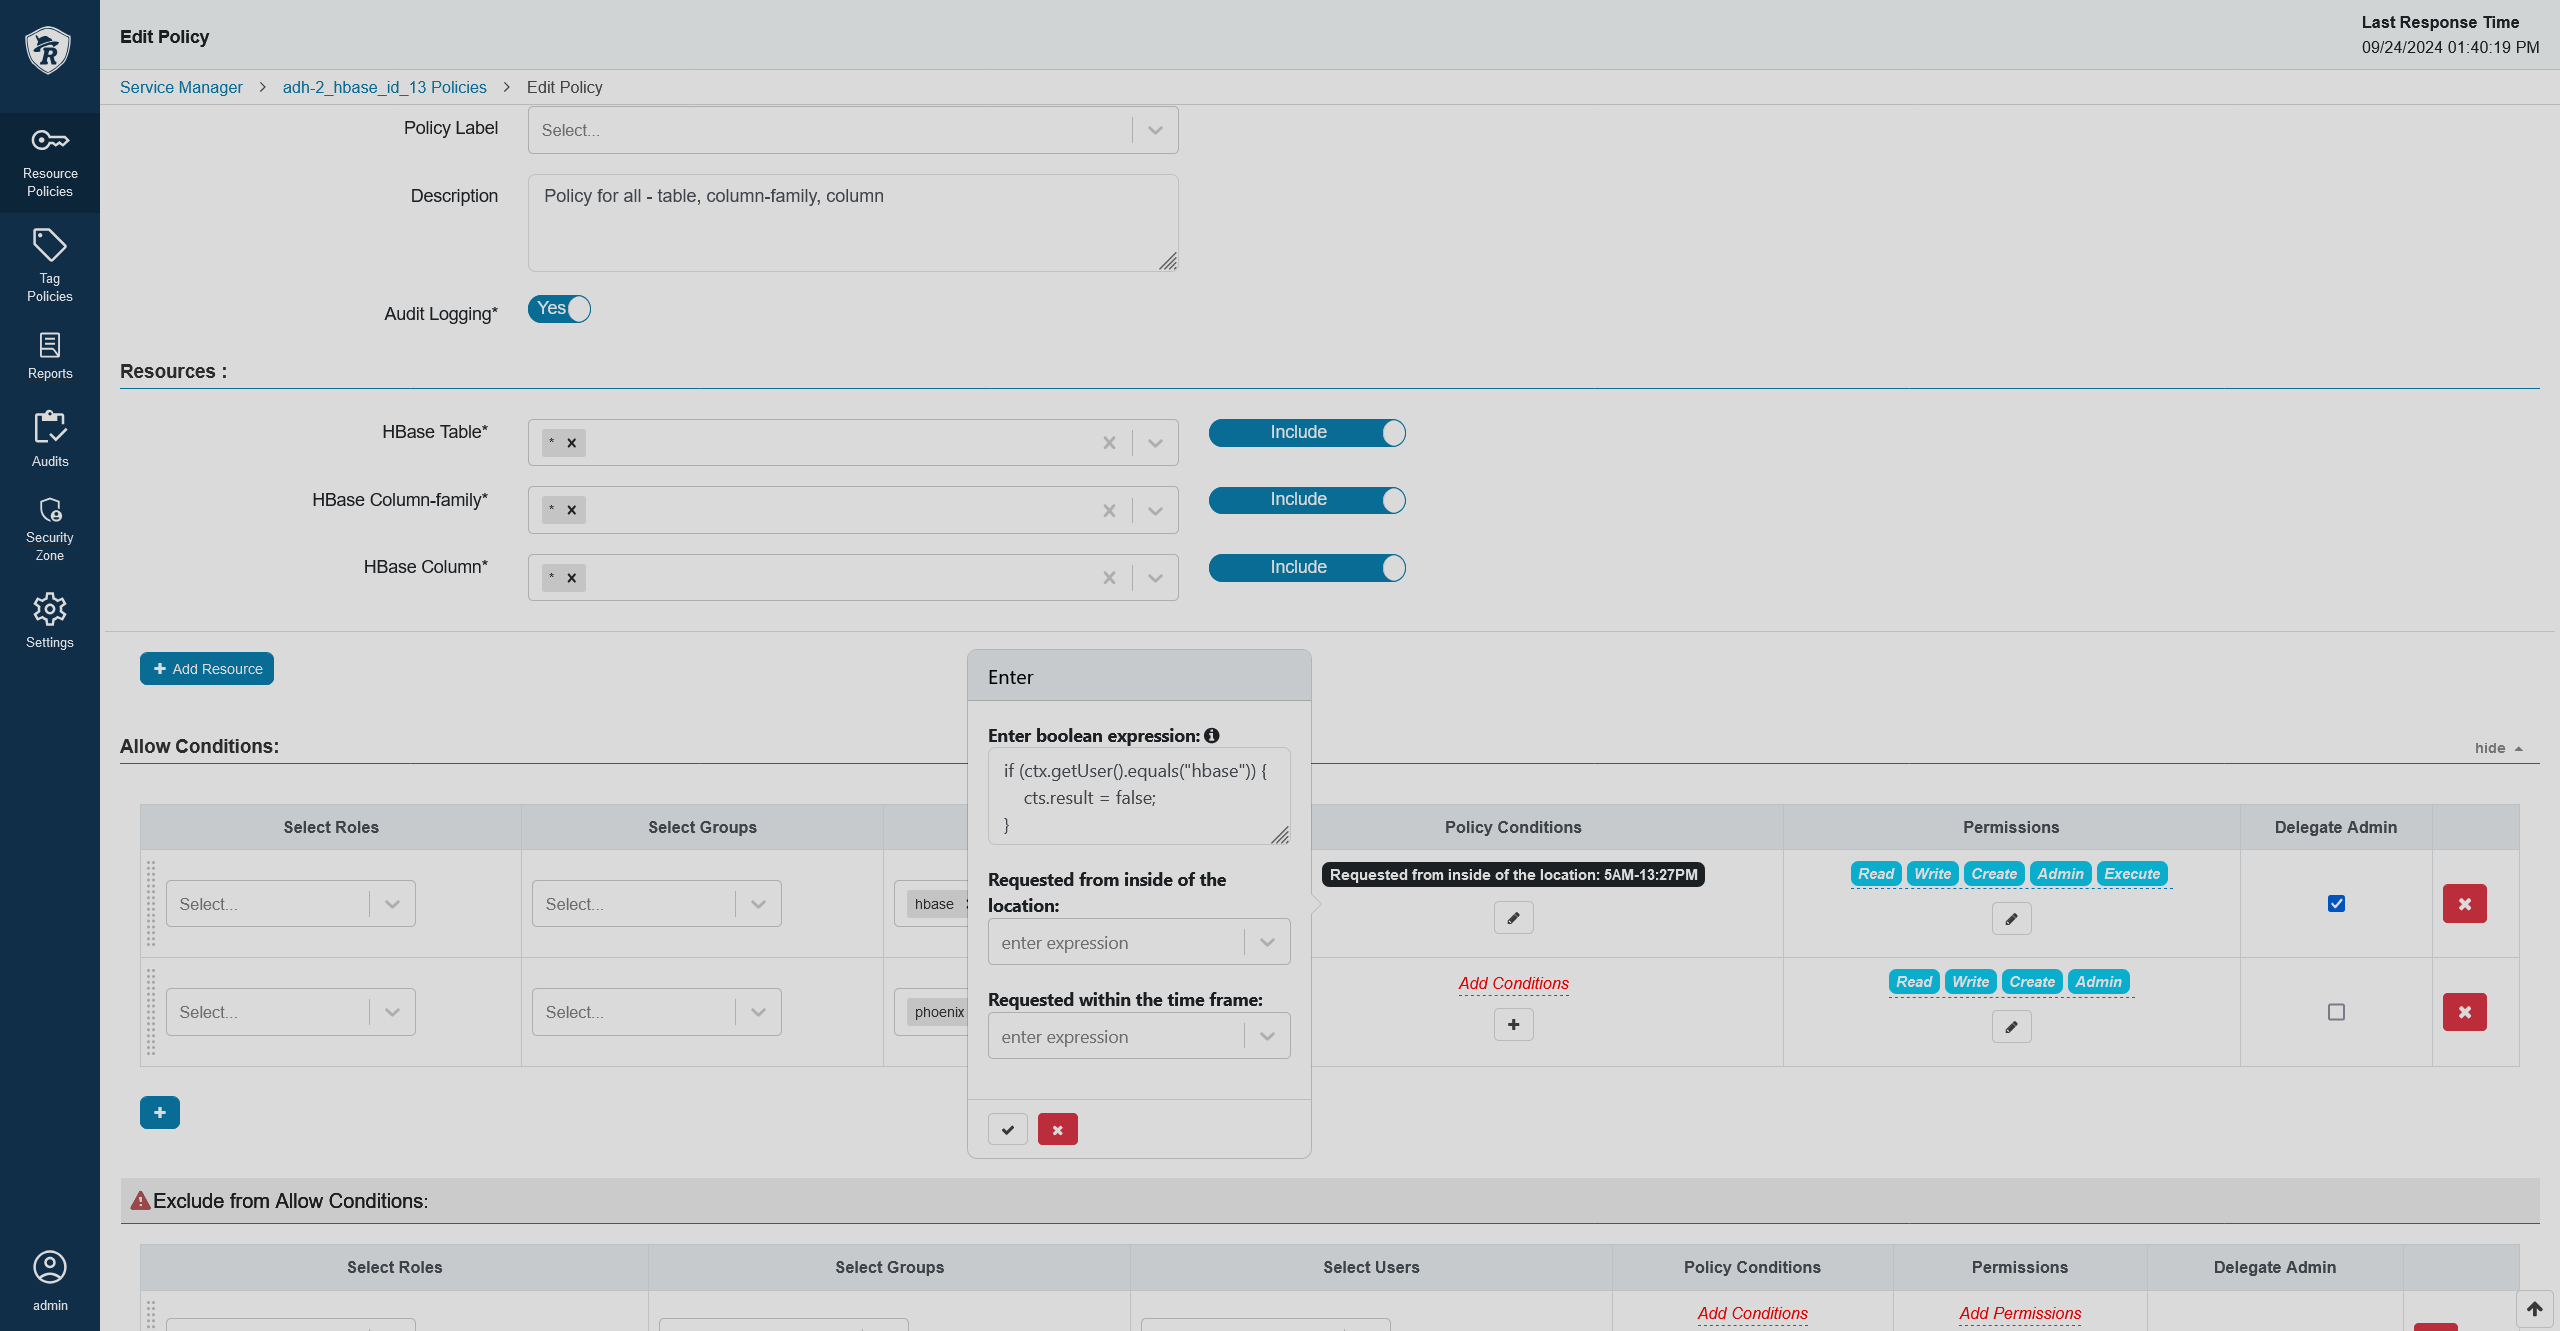
For example, you can write the following condition to deny access to a certain user (here, it’s hbase for the demonstrative purposes):
if (ctx.getUser().equals("hbase")) {
    cts.result = false;
}
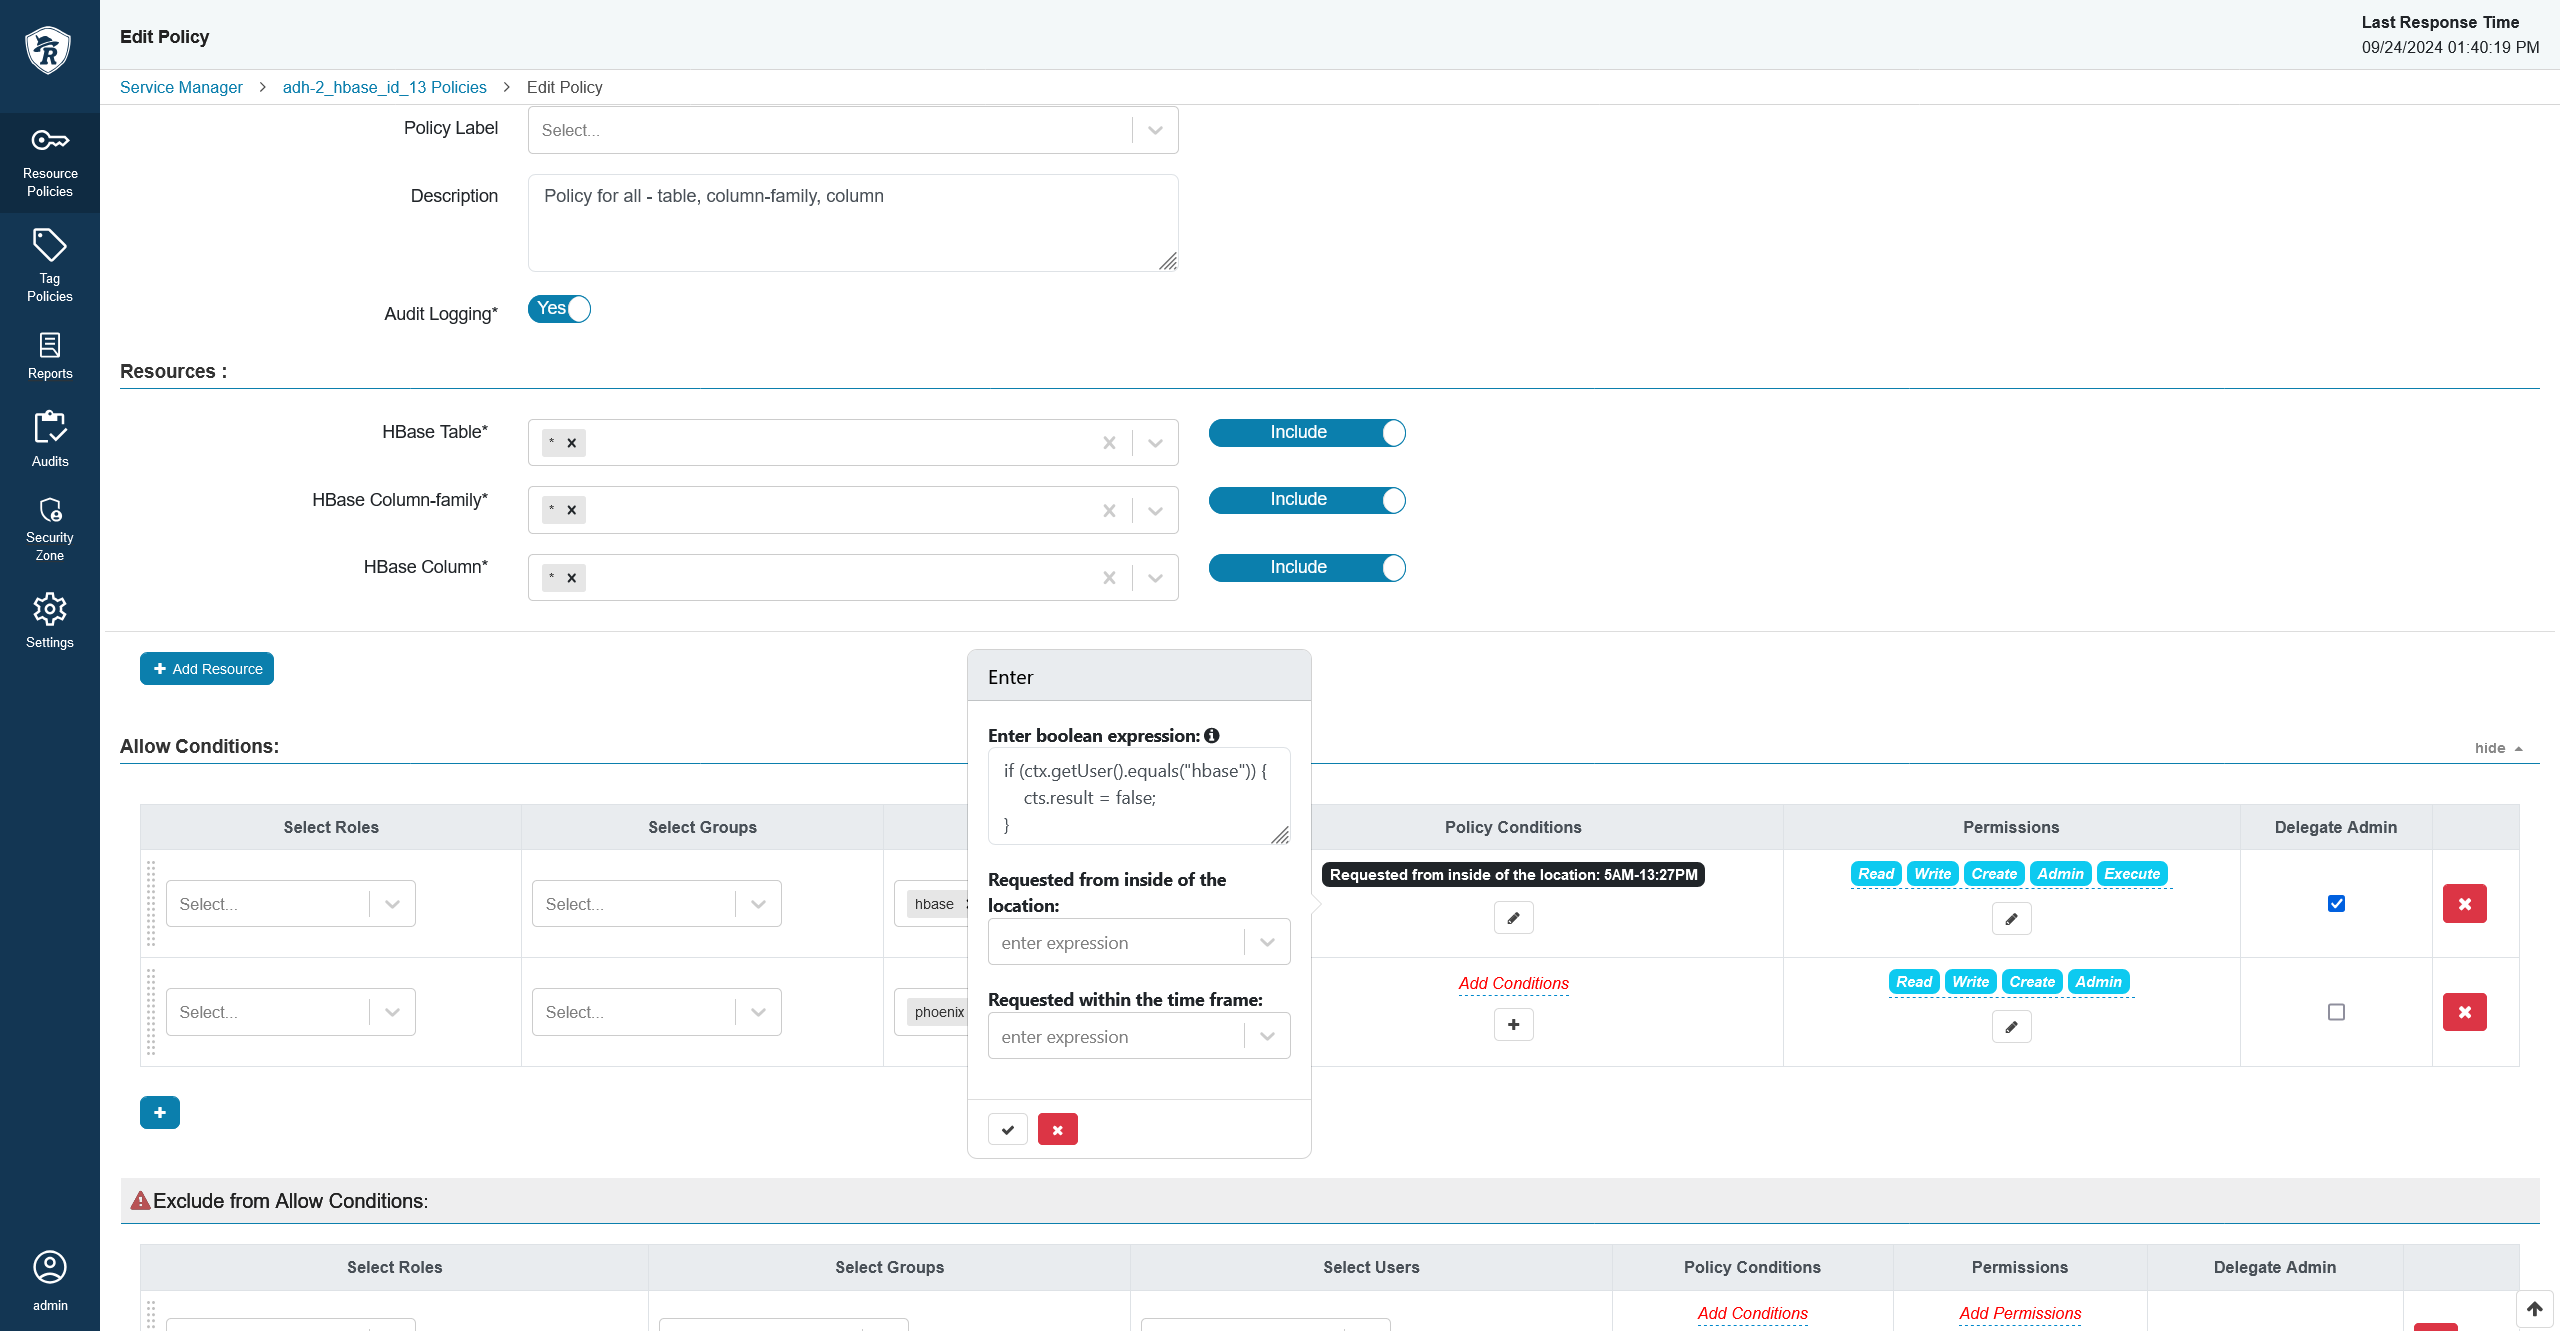
After saving the policy, you can check the result on the Access tab of the Audits section.