

Manage users
Users log in to ADQM Control under the accounts previously created for them in the system. To manage users, you can use the Users tab on the Access page in the ADQM Control web interface.
After an ADQM Control cluster has been installed, the admin user with the admin password and the Owner role (system owner) is automatically created.
View a list of users
The list of ADQM Control users is available on the Access → Users page. It displays the following information for each user:
-
User name — login;
-
First name and Last name — user’s first and last names;
-
Role — user’s role in the system;
-
Status — user’s status. Possible values:
-
Active— account exists in the system; -
Online— user has active sessions (the number of sessions is displayed in a tooltip that appears on hovering over the icon
 );
-
Blocked— user is blocked (the time when a user was blocked is displayed in a tooltip that appears on hovering over the icon ).
-

In column headers of the table with a list of users, there are filters that you can use to select specific data. To open a filter, click the 
 icon.
The 
 icon means that a filter is defined for a column. To reset all filters, click

 .
Add a user
To add a new user, follow the steps:
-
On the Access → Users page, click Create user.
 Switch to adding a user
-
In the window that opens, fill in the following fields:
-
User name — user’s login;
-
First name and Last name — user’s first and last names;
-
Password — user’s password;
-
Confirm password — password confirmation.
TIPBy default, the Password field shows the hint with password requirements (configured on the Settings → Password rules page) when you start filling it. To get this information, you can also hover the mouse over the
 icon, which appears to the right of the Password field name on hover.
 Enter user data
-
-
Click Create. As a result, a new user (with the
Administratorrole — system administrator) is displayed on the Access → Users page. User is added
Edit a user
To edit user data, follow the steps:
-
Click the

 icon in the Actions column on the Access → Users page.
 Switch to editing a user
-
In the window that opens, edit necessary fields. For example, you can specify another password for the user (taking into account the specified password complexity requirements). The user’s login in the User name field cannot be changed.
 Edit user dataNOTE
Administrators can change only their own passwords. Owners can change passwords for any users.
-
Click Save to apply changes.
Block a user
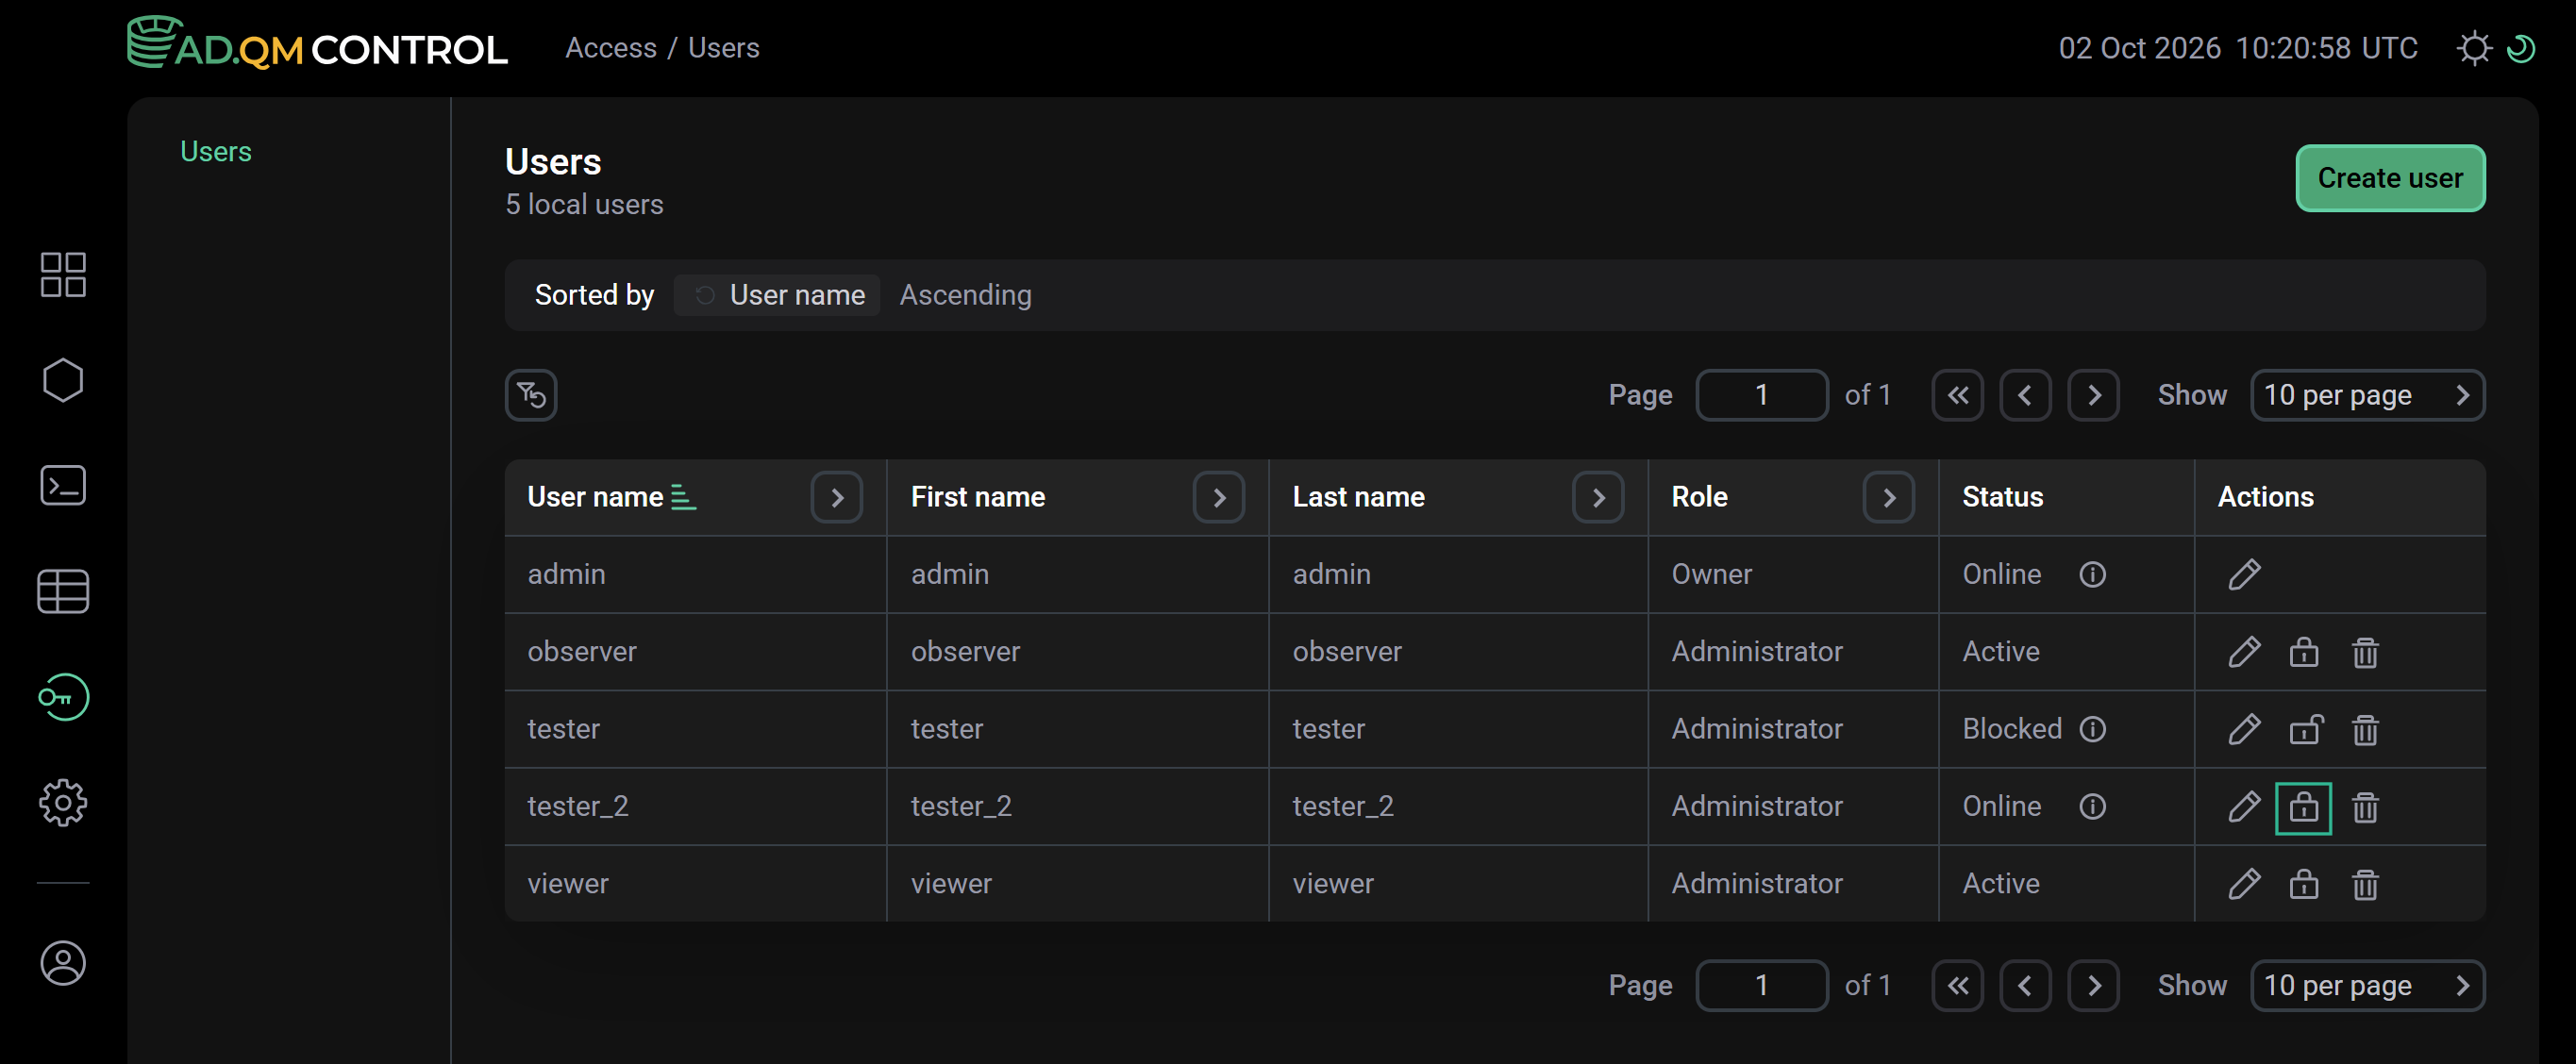
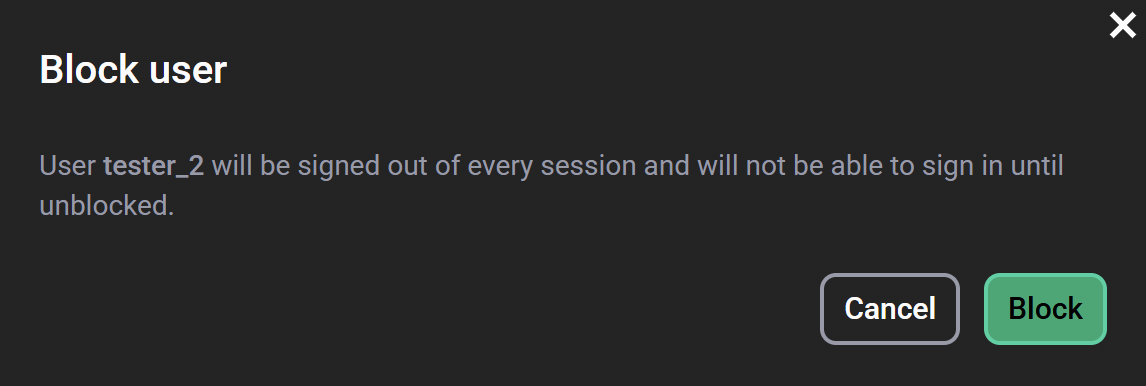
A system owner can block users (and unblock them later if necessary). All sessions of blocked users are automatically closed, and the users will not be able to log in to the system until they are unblocked.
To block a user, click the icon 
 in the Actions column on the Access → Users page.
In the window that opens, click Block to confirm the action.
To unblock a user, click the icon 
 in the Actions column.
Delete a user
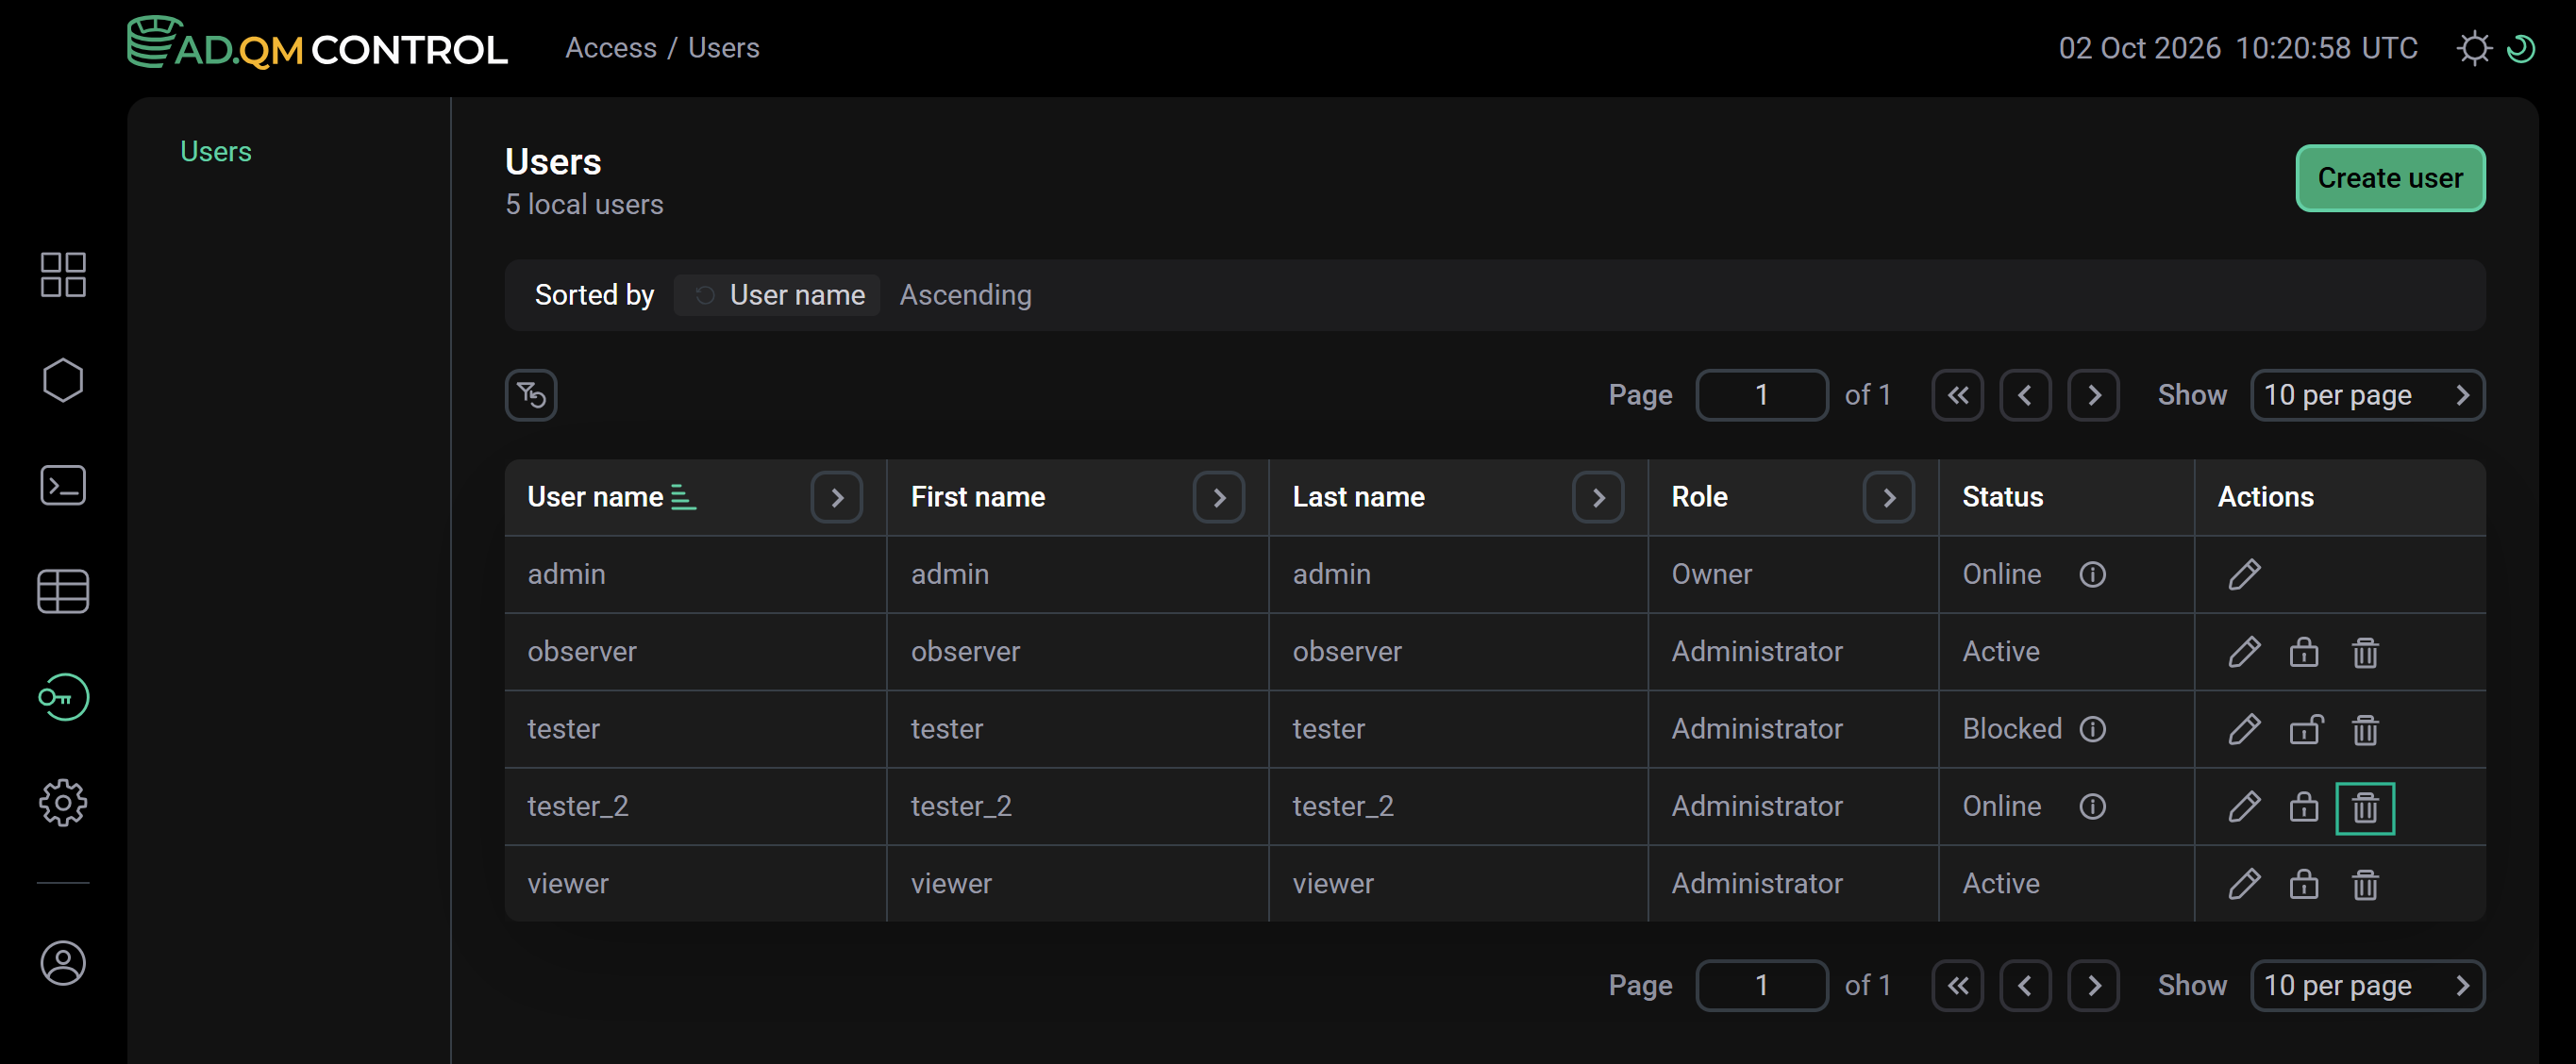
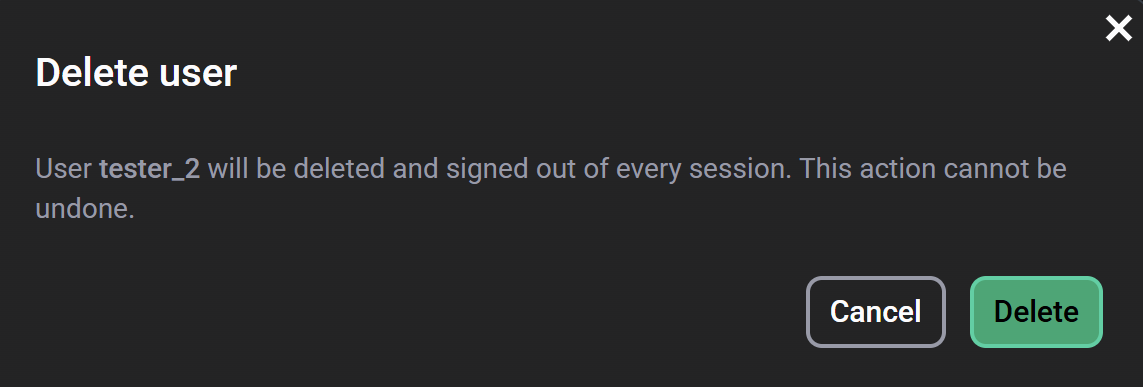
A system owner can delete users. To delete a user, click the icon 
 in the Actions column on the Access → Users page.
In the window that opens, click Delete to confirm the action.
Set password requirements
On the Settings → Password rules page, you can set requirements for the complexity of user passwords and parameters of brute force protection on login.

If you need to edit the default settings, change the necessary parameters and click Save. Click Revert change if you need to undo the changes that have not been yet saved by clicking Save.
| Parameter | Description | Default value |
|---|---|---|
Minimum length |
Minimum length of a password |
1 |
Maximum length |
Maximum length of a password |
255 |
At least one lowercase letter |
Indicates whether a password should contain at least one lowercase character |
Disabled |
At least one uppercase letter |
Indicates whether a password should contain at least one uppercase character |
Disabled |
At least one number |
Indicates whether a password should contain at least one numeric character |
Disabled |
At least one special character |
Indicates whether a password should contain at least one special character (excluding characters from the extended ASCII table) |
Disabled |
| Parameter | Description | Default value |
|---|---|---|
Allowed login attempts |
Allowed number of login attempts (no more than 255). The |
0 |
Lock duration |
Duration of the lock (no more than 1 day) |
5 min |