

Run actions of Backup manager
After you define a configuration and specify a schedule for backups, they will be created automatically according to your settings. However, you can manage backups manually via the Backup manager actions described below.
To run the actions, click Actions at the top of the Backup manager page and select the required action. The action will be executed for the cluster selected from the Cluster combo box next to Actions.
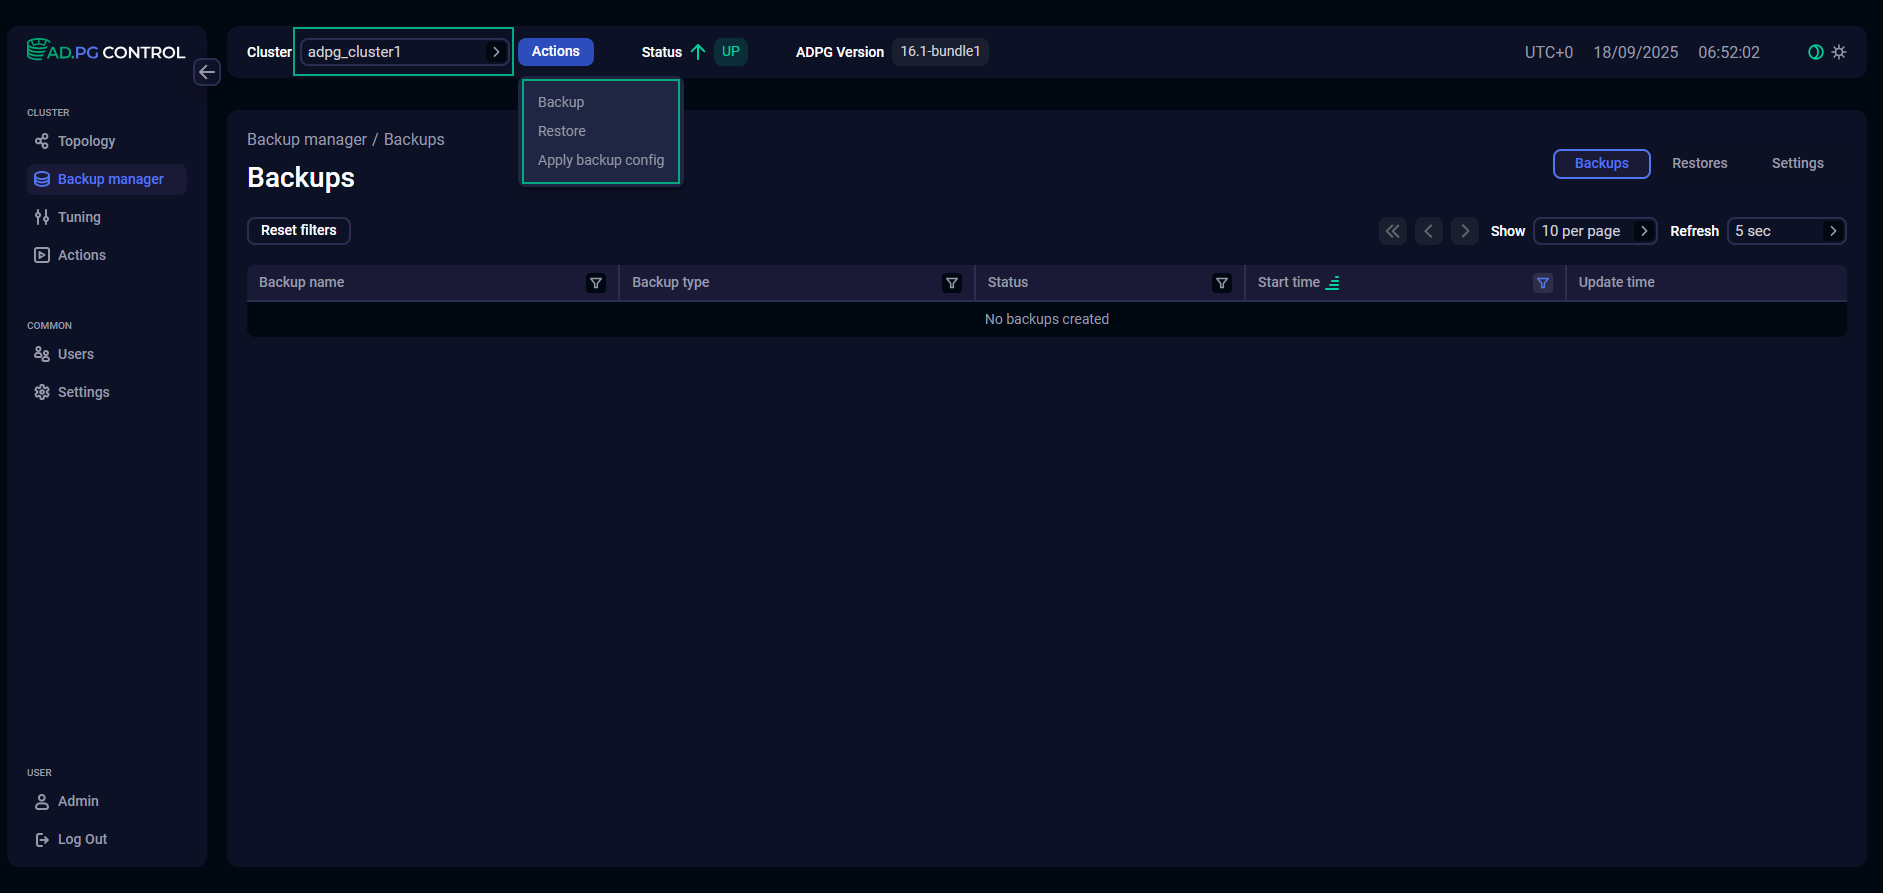
The following actions are available:
Backup
The Backup action allows you to create a backup. Backups are produced on the leader. To run the action, click Backup in the action list on the Backup manager page.
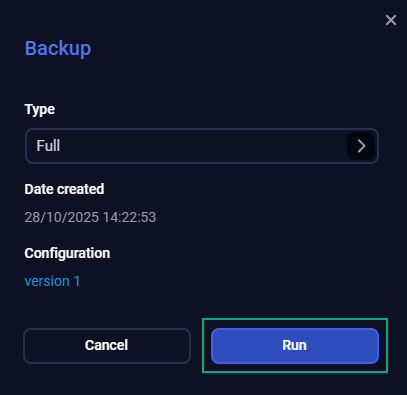
The window that opens contains the following fields:
-
Type — a backup type. Possible values are:
Full— full,Incr— incremental,Diff— differential. -
Backup name (optional) — backup name that will be added to the automatically generated name, formed as follows:
backup_<Backup name>_<Type>_<date>_<time>, for example,backup_Test_full_20260820_160610. -
Date created — a current timestamp. Non-editable field.
-
Configuration — the current configuration version that will be used. You can click the version name to open the Configuration tab, where you can check or edit the configuration parameters. Non-editable field.
Set field values according to your requirements and click Run.
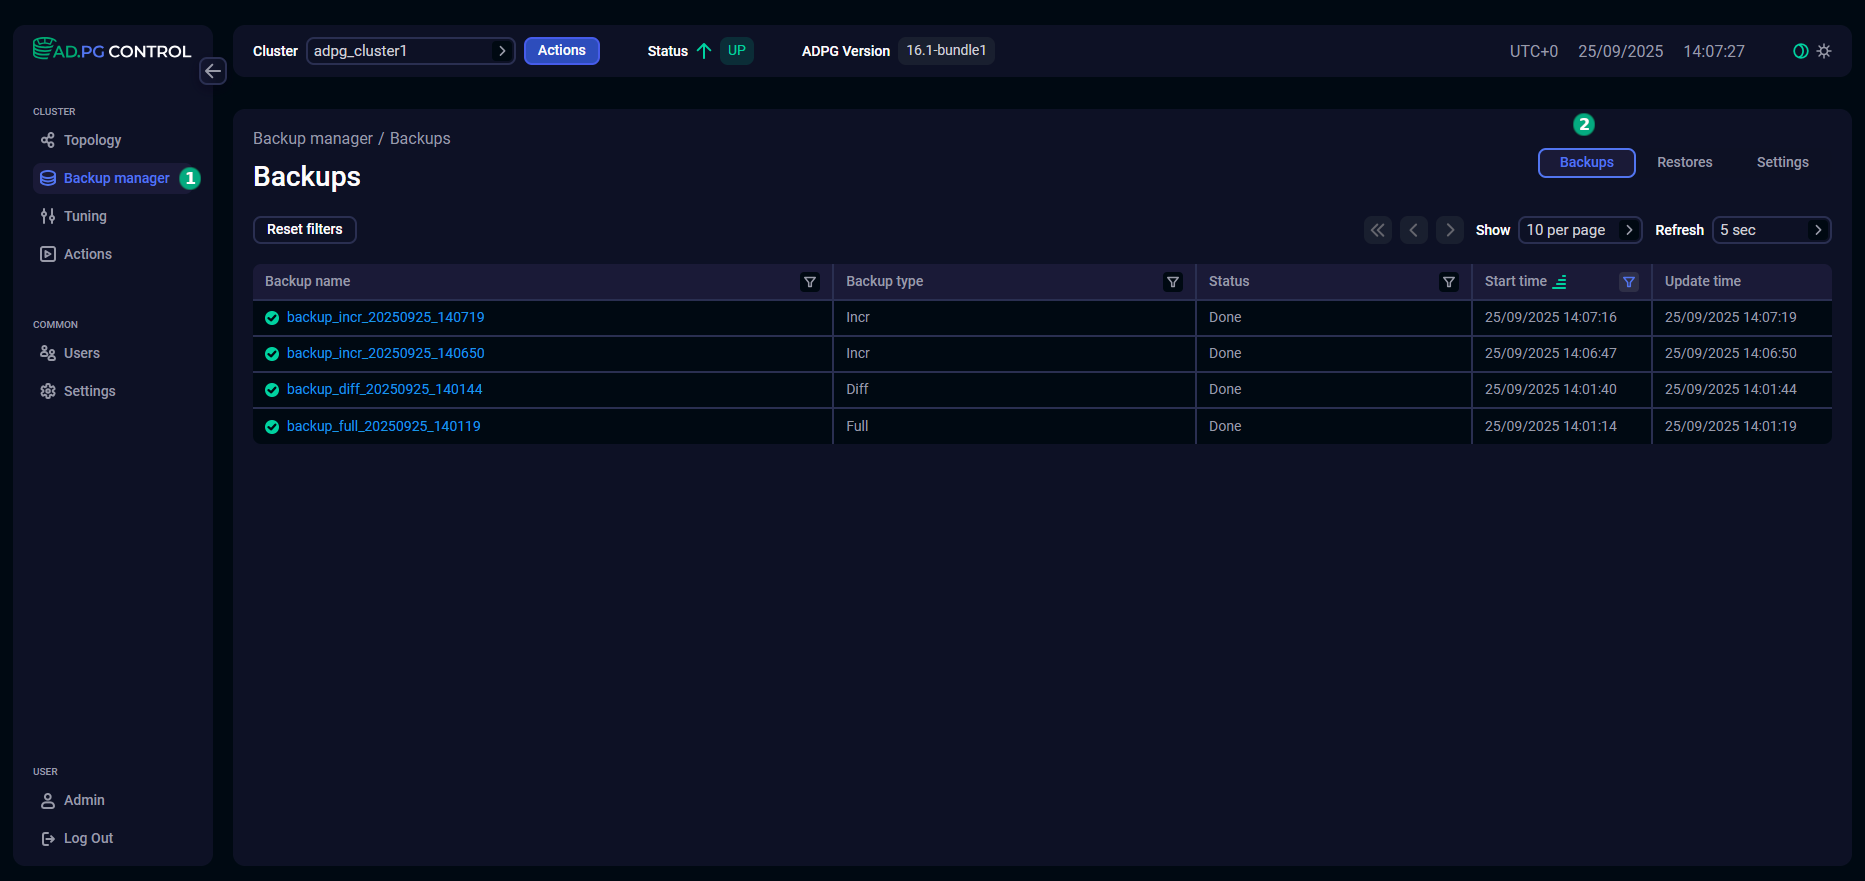
The created backups are listed on the Backups tab of the Backup manager page.
While a backup is being created, a progress bar appears in the Backup name field. It indicates the percentage of the backup operation completed by the pgbackrest utility. The progress bar updates every 60 seconds, and it is not displayed for fast backup operations.

Create restore point
The Create restore point action creates a restore point. A restore point is a named recovery point in the Write-Ahead Log (WAL) stream. It allows you to perform point-in-time recovery (PITR) to the time the given restore point was created.
The Create restore point action is available if Backup manager has at least one backup with the Done status.
To launch the action, click Create restore point in the action list on the Backup manager page. The action window opens.
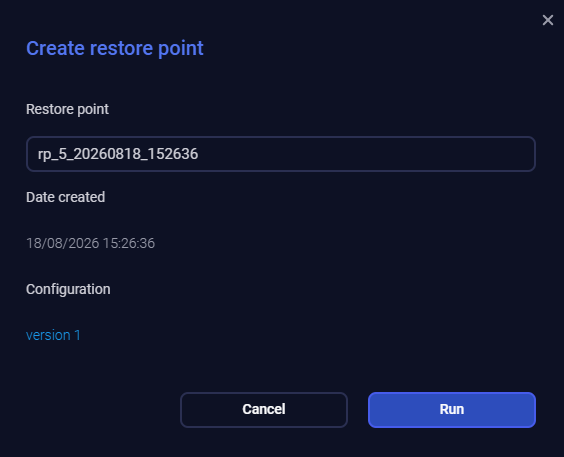
The window that opens contains the following fields:
-
Restore point — an automatically generated name for a new restore point. You can edit this value.
-
Configuration — the current configuration version that will be used. You can click the version name to open the Configuration tab, where you can check or edit the configuration parameters. Non-editable field.
-
Date created — a current timestamp. Non-editable field.
Set field values according to your requirements and click Run.
After a restore point is created, you can select it in the Restore action window.
The action result is displayed on the Actions page.
Restore
The Restore action allows you to restore databases on all cluster nodes. Click Restore in the action list on the Backup manager page to run the action. The action window will be opened.
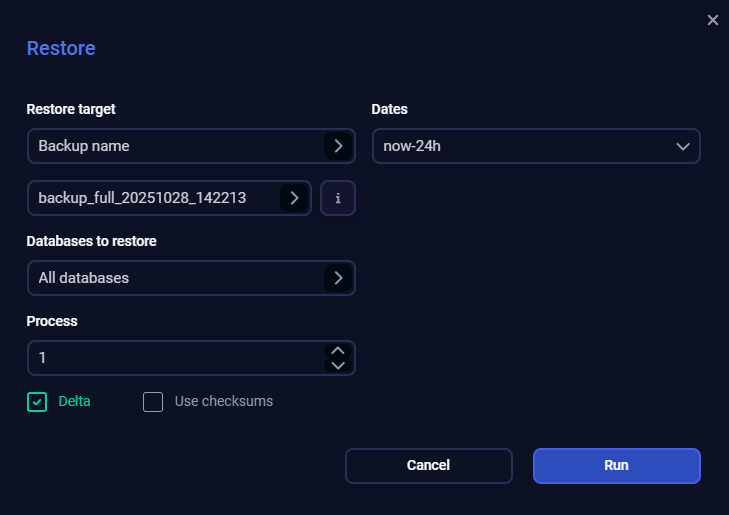
The Restore window contains the following fields:
-
Restore target — determines how the recovery should be performed. The following types are supported:
-
Backup name— restore from a backup; -
Restore point— restore to a restore point.
Below this field, a combo box with the available backups or restore points is displayed. It allows you to select the object from which you want to restore. To the right of the combo box, a filter button

 is located. Click it to set a time period for which the list of backups or restore points will be displayed in the combo box. You can select this period as a range (default) or specify it using the calendar.
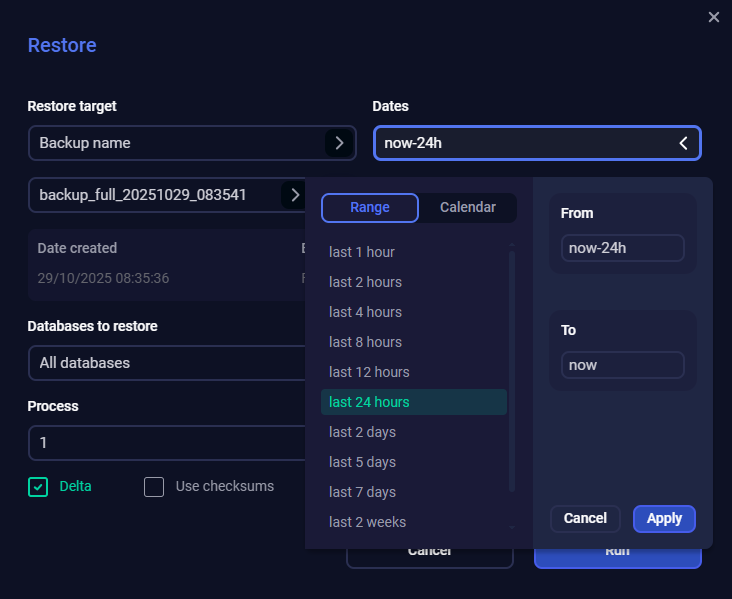 Select a range
To select a period in the
from <date> to <date>format, click Calendar.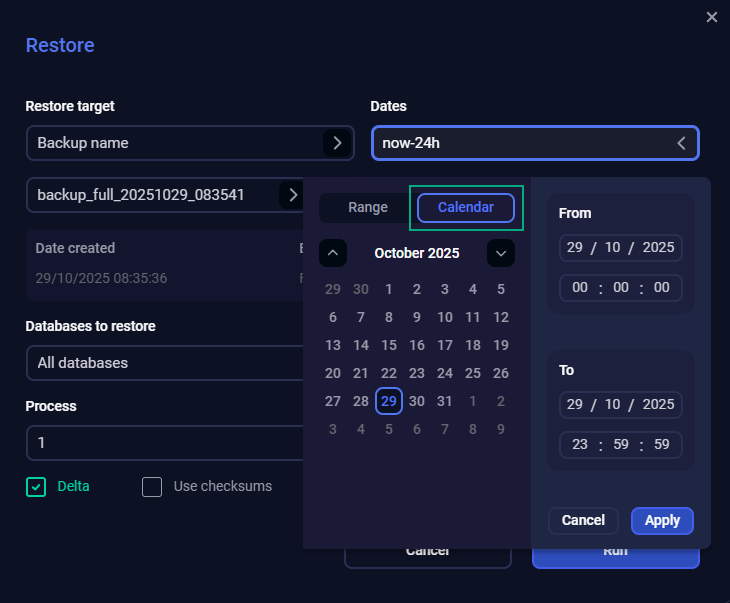 Select a period in the calendar
The selected time period is displayed below the combo box.
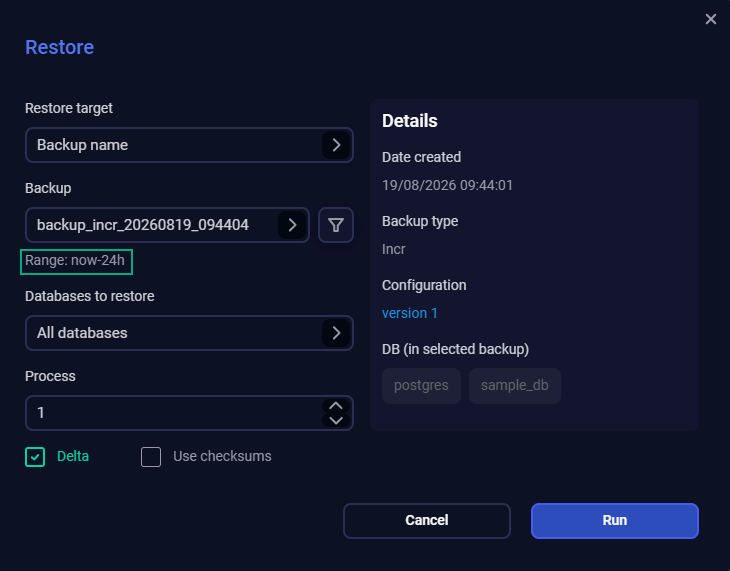 Time period of displayed backups
 -
-
Databases to restore — the databases to restore from the selected backup or to the selected restore point.
-
Process — the maximum number of concurrent
pgbackrestprocesses decompressing and moving files that are used during a restore operation. -
Delta — a flag that indicates whether to restore only the files that have changes from the existing files in the PostgreSQL data directory. This option can significantly speed up the restore process. If Delta is not set, all files in the data directory will be removed before the restore operation.
-
Use checksums — a flag that indicates whether to utilize checksums instead of timestamps to determine if a file should be replaced with its updated version from a backup. Using checksums is safer but may slow down the recovery operation for large files. The Use checksums flag is available if Delta is checked.
Detailed information about the selected backup or restore point is displayed on the right in the Details panel:
-
Date created — a creation timestamp.
-
Backup type — a backup type. Possible values are:
Full— full,Incr— incremental,Diff— differential. -
Configuration — the configuration version that was used. You can click the version name to open the Configuration tab, where you can check or edit the configuration parameters.
-
DB (in selected backup) — databases that can be restored using the selected backup or restore point.
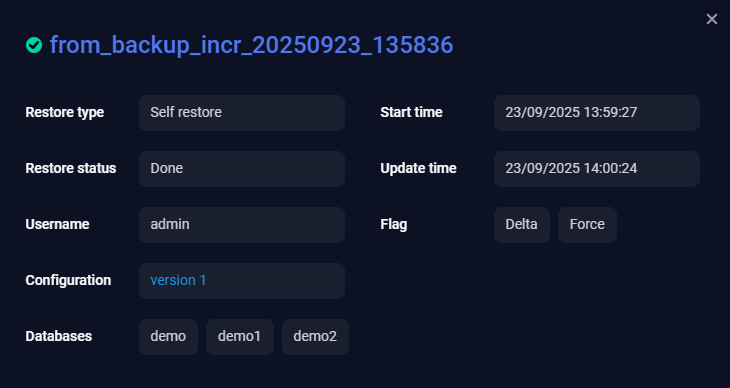
After you set the field values, click Run to execute the Restore action.
The performed restores are displayed on the Restores tab of the Backup manager page.
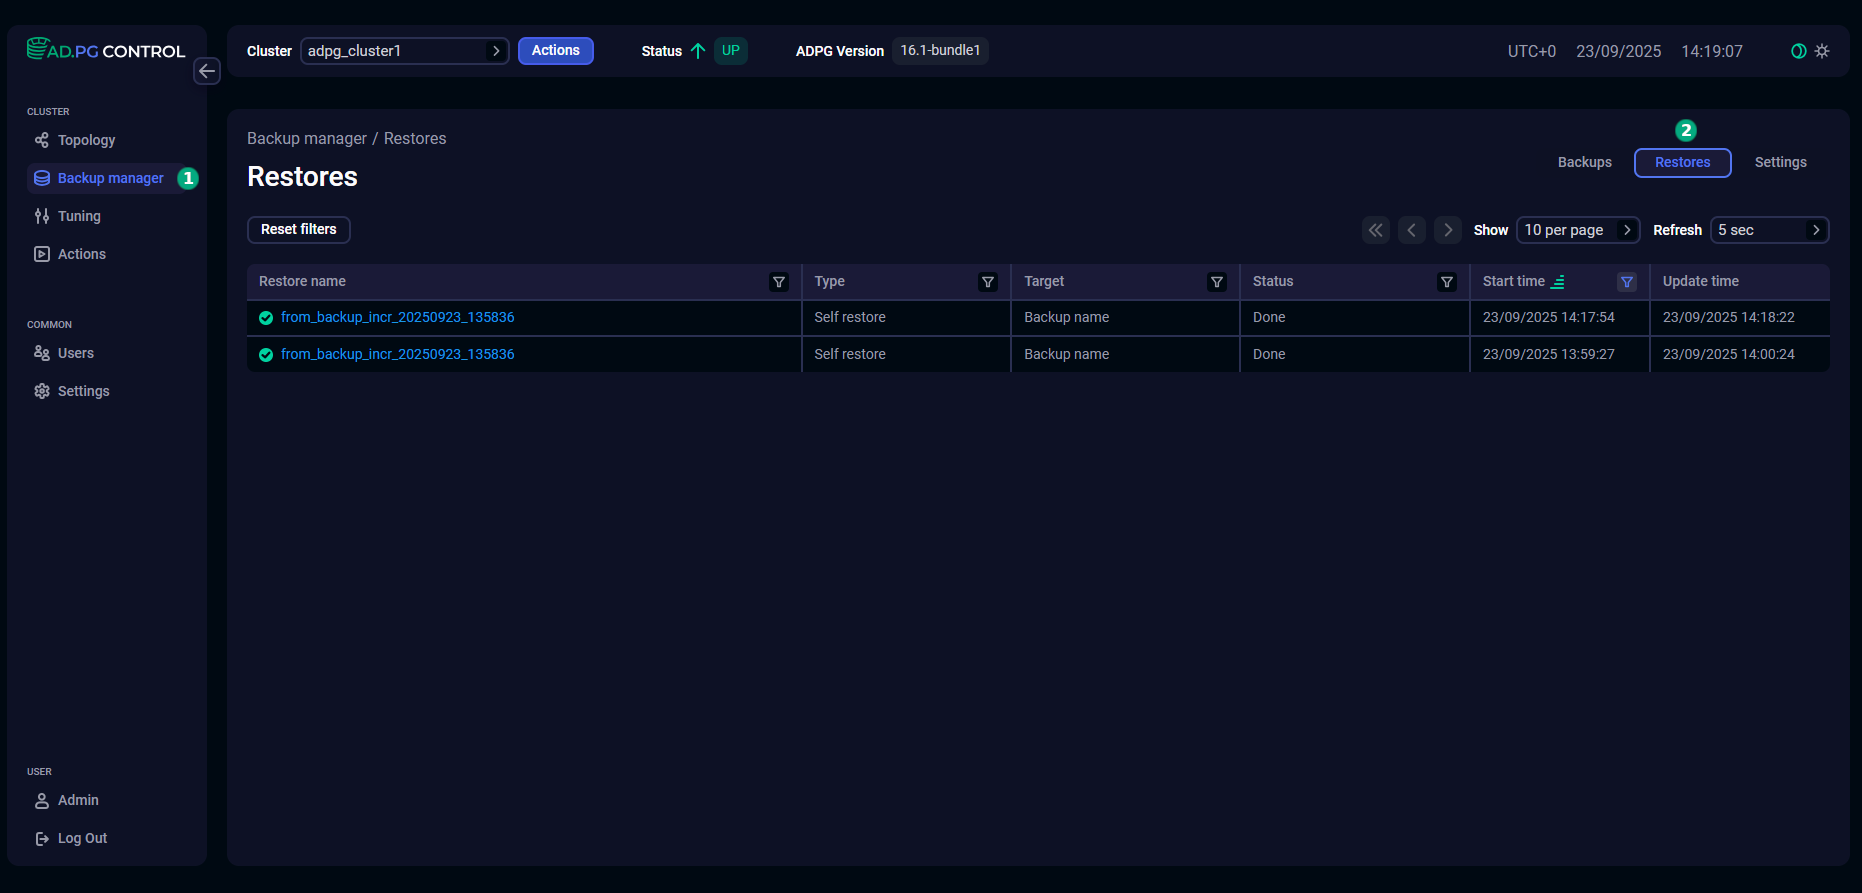
While a restore is being processed, a progress bar appears in the Restore name field. It indicates the percentage of the restore operation completed by the pgbackrest utility. The progress bar updates every 60 seconds, and it is not displayed for fast restore operations.

Cleanup
The Cleanup action removes expired backups and related data. A backup is considered expired according to the backup settings.
To start the action, select Cleanup in the action list and click Run in the window that opens.
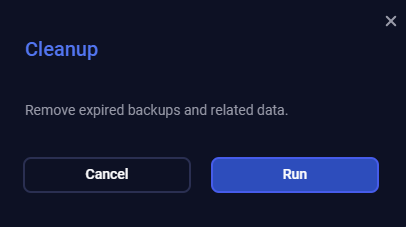
You can find the action result on the Actions page.
|
NOTE
Backups with the FAILED status are not removed directly by the Cleanup action. They may be removed only if they match retention rules specified by backup settings or are included in the dependency interval of another backup (for example, with the INVALID status).
|
Verify
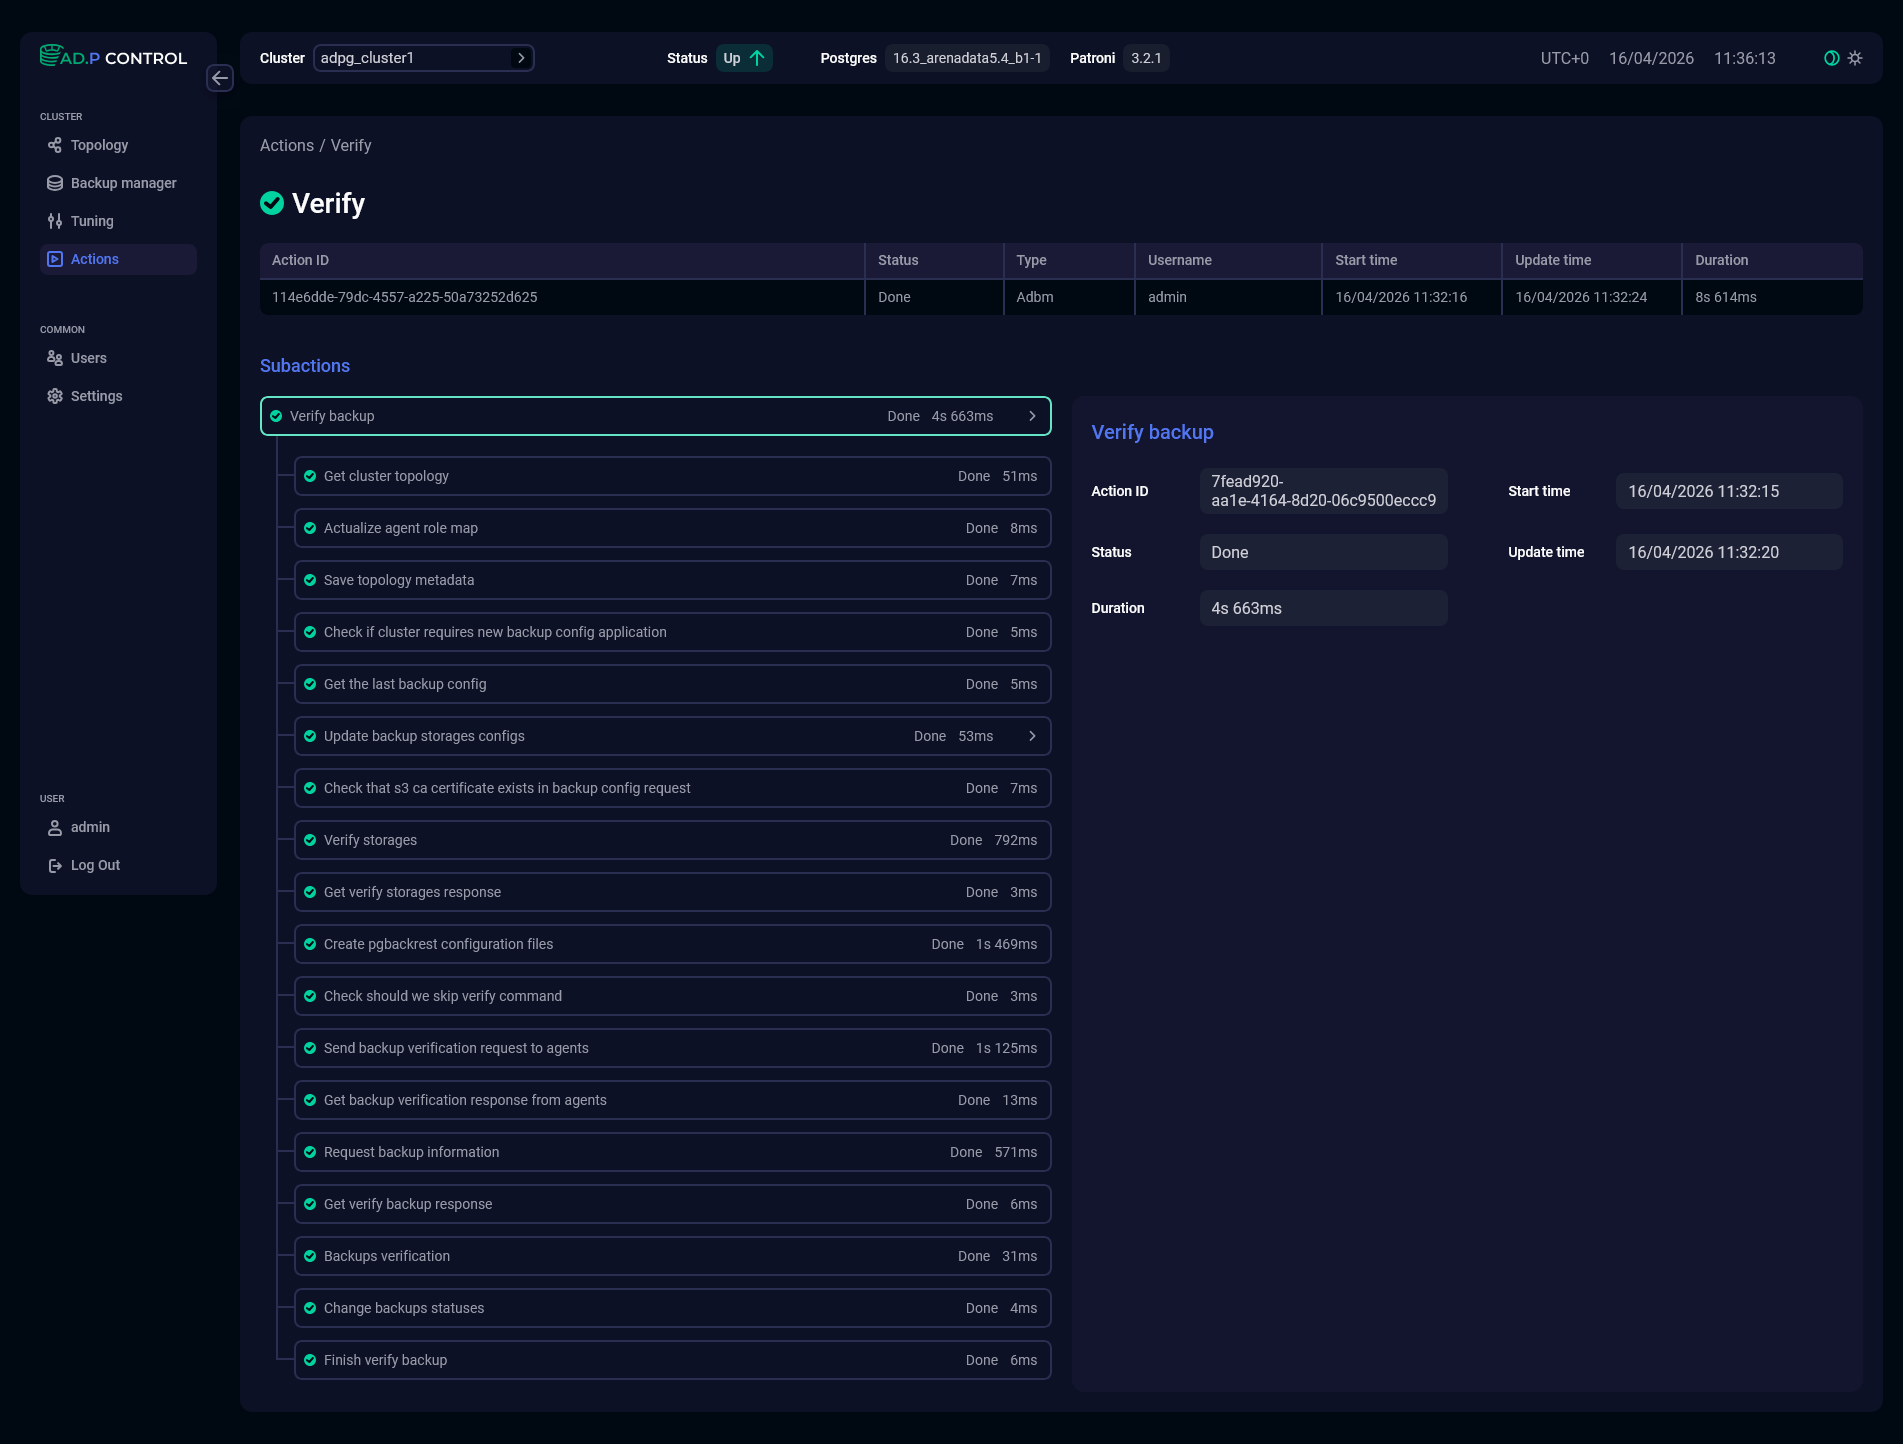
The Verify action checks if backup metadata used by ADP Control corresponds to the backups in the specified repository.
To start the action, select Verify in the action list and click Run in the window that opens.
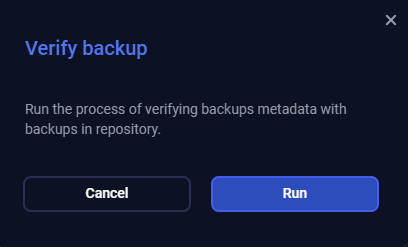
You can find the action result on the Actions page.
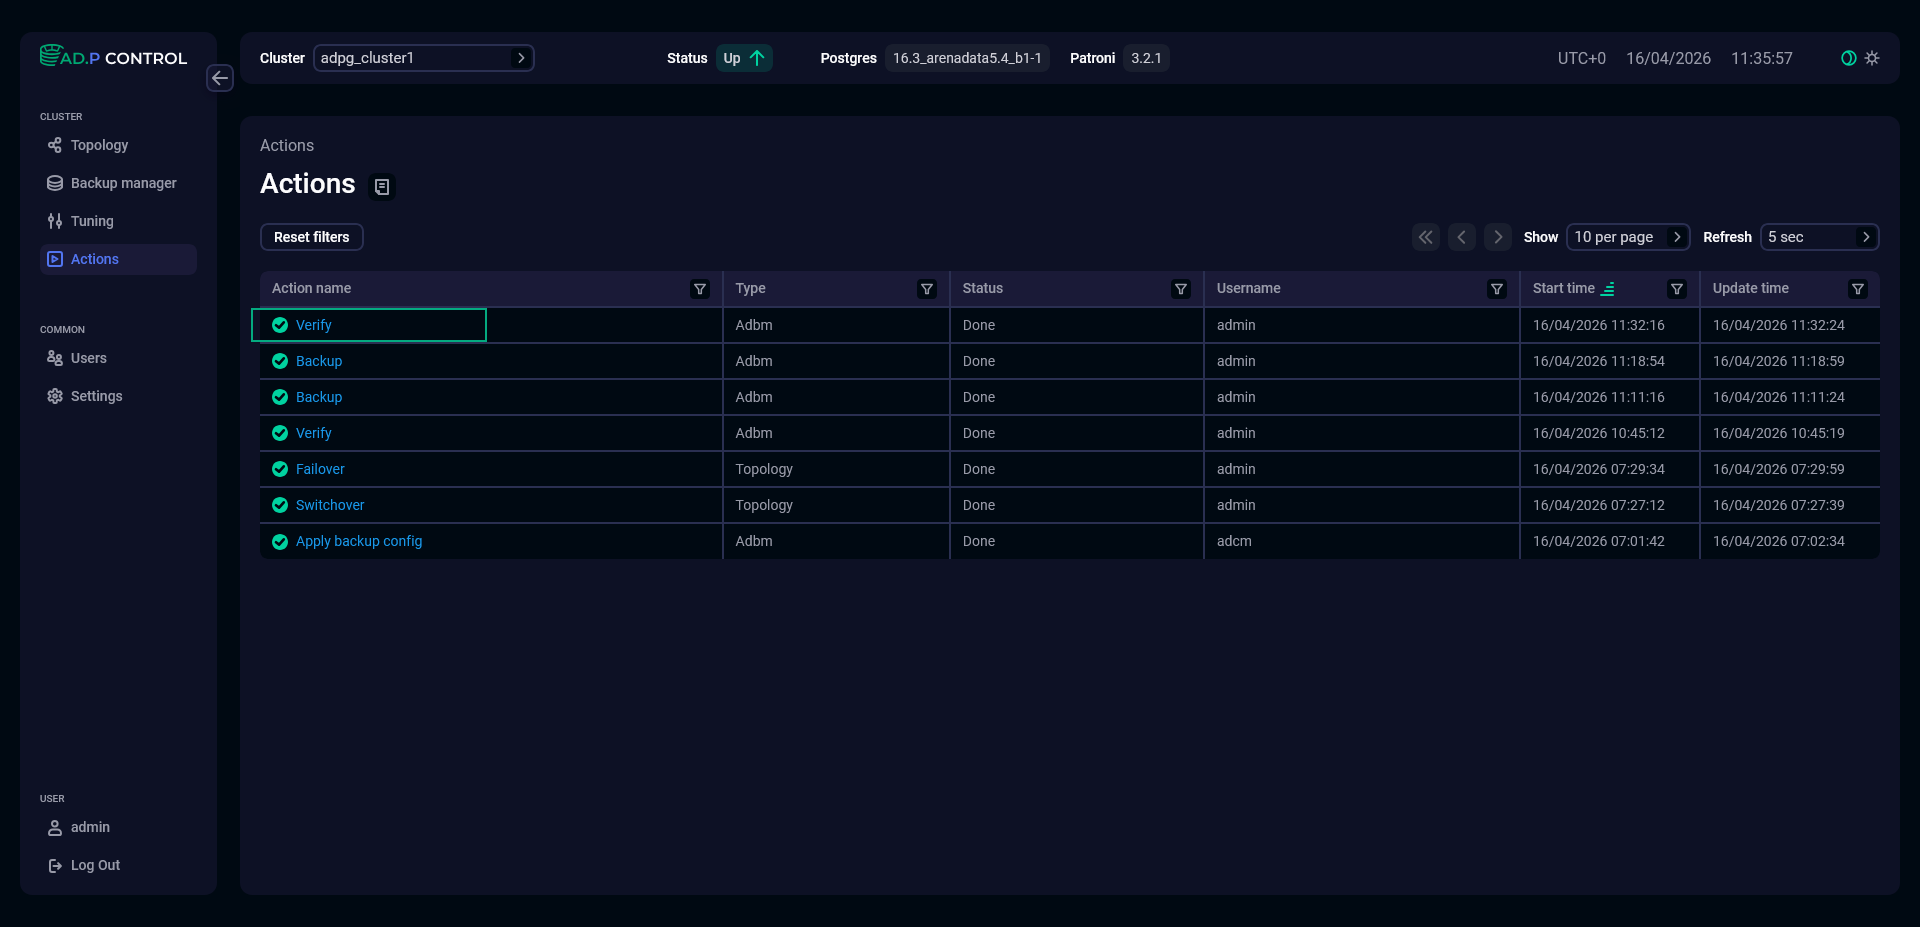
Click the Verify action to view details.
Apply backup config
The Apply backup config action verifies CIFS/POSIX/S3 storage settings across all nodes with the ADPG service to ensure that backup and restore operations can be performed successfully.
Apply backup config opens the Configuration sub-tab of the Backup manager → Settings tab. On this tab, the applied backup configuration is marked as current.
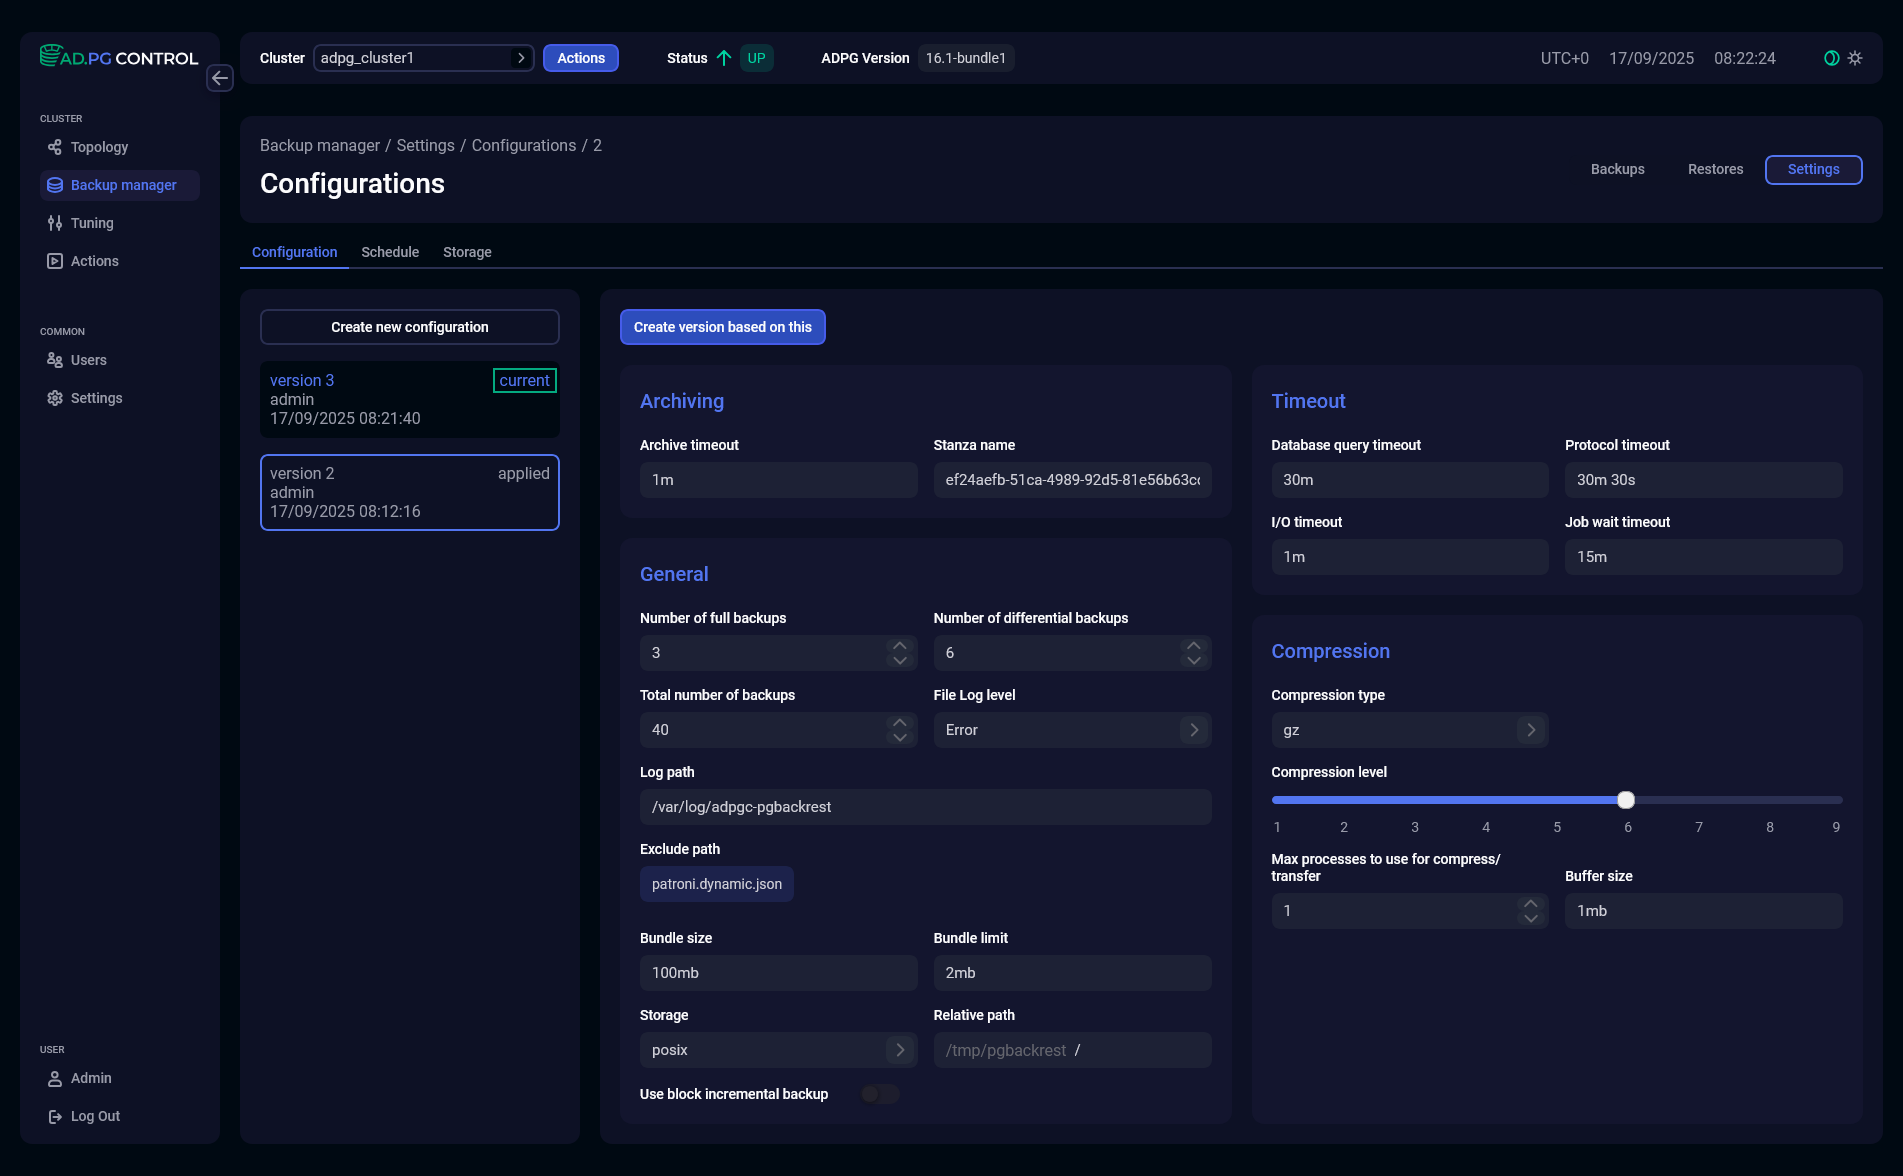
You can create a new configuration on this tab. ADP Control automatically applies this new configuration after you save it.