

Work with Schema-Registry in ADS Control
Schema registry page overview
The Clusters → <cluster name> → Schema registry page in the ADS Control web interface is designed to display information about schemas and manage schemas in ADS clusters with the Schema-Registry service installed. The Schema registry page becomes available after selecting a cluster in the cluster management section and going to the desired tab on the General page.
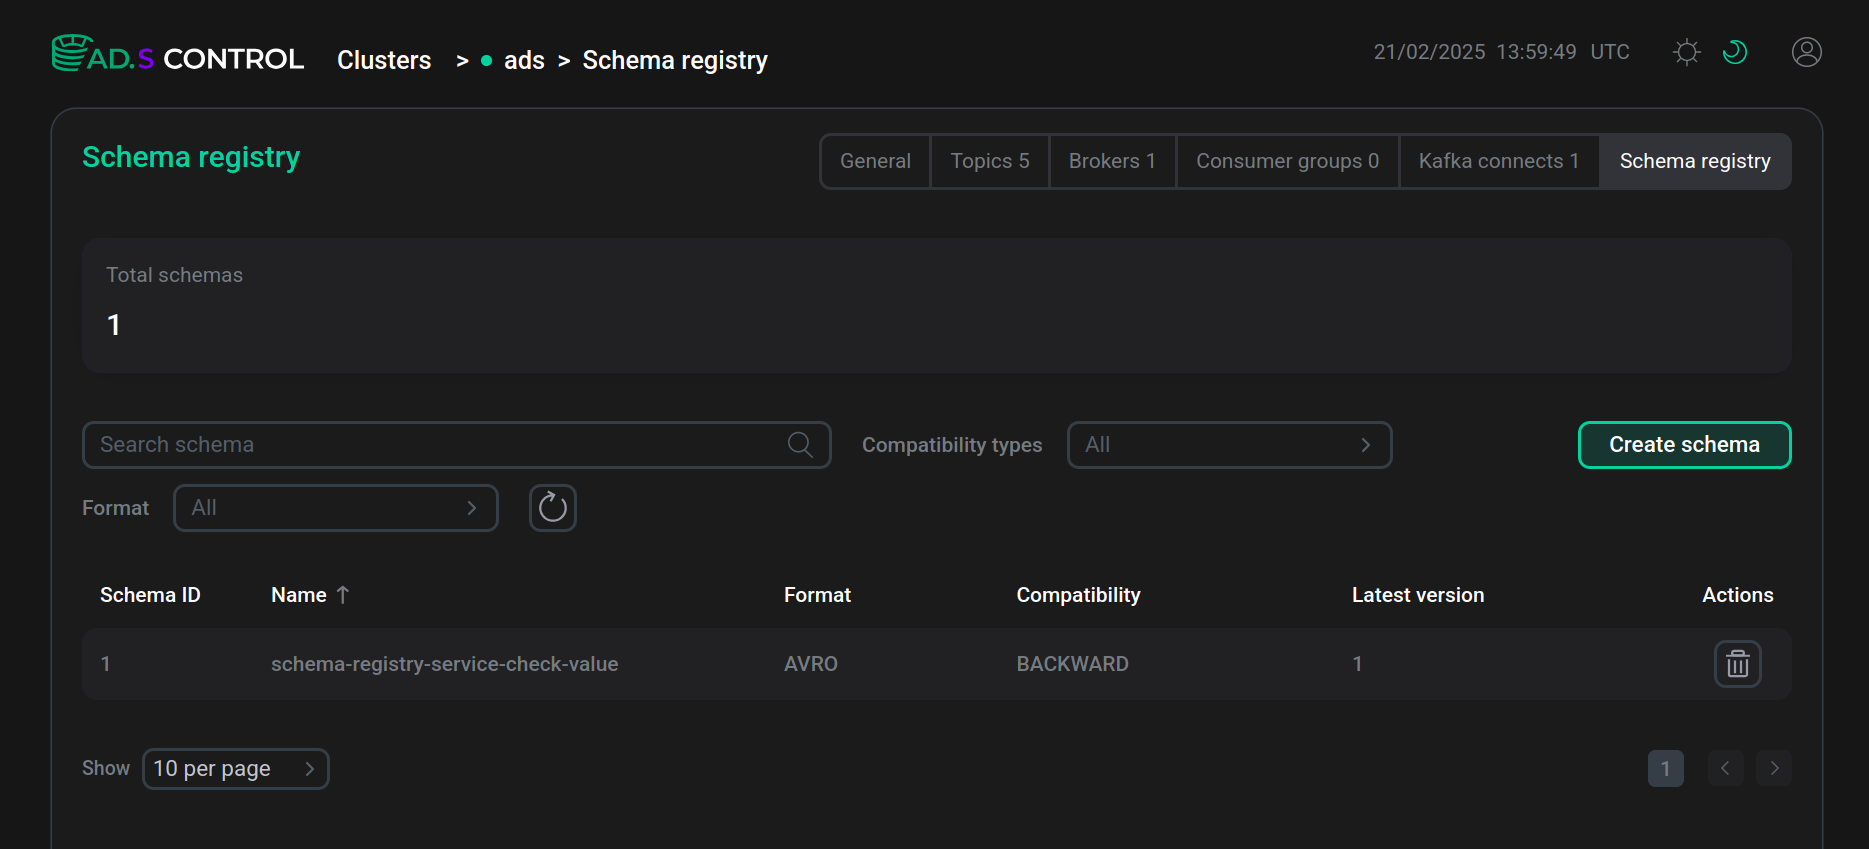
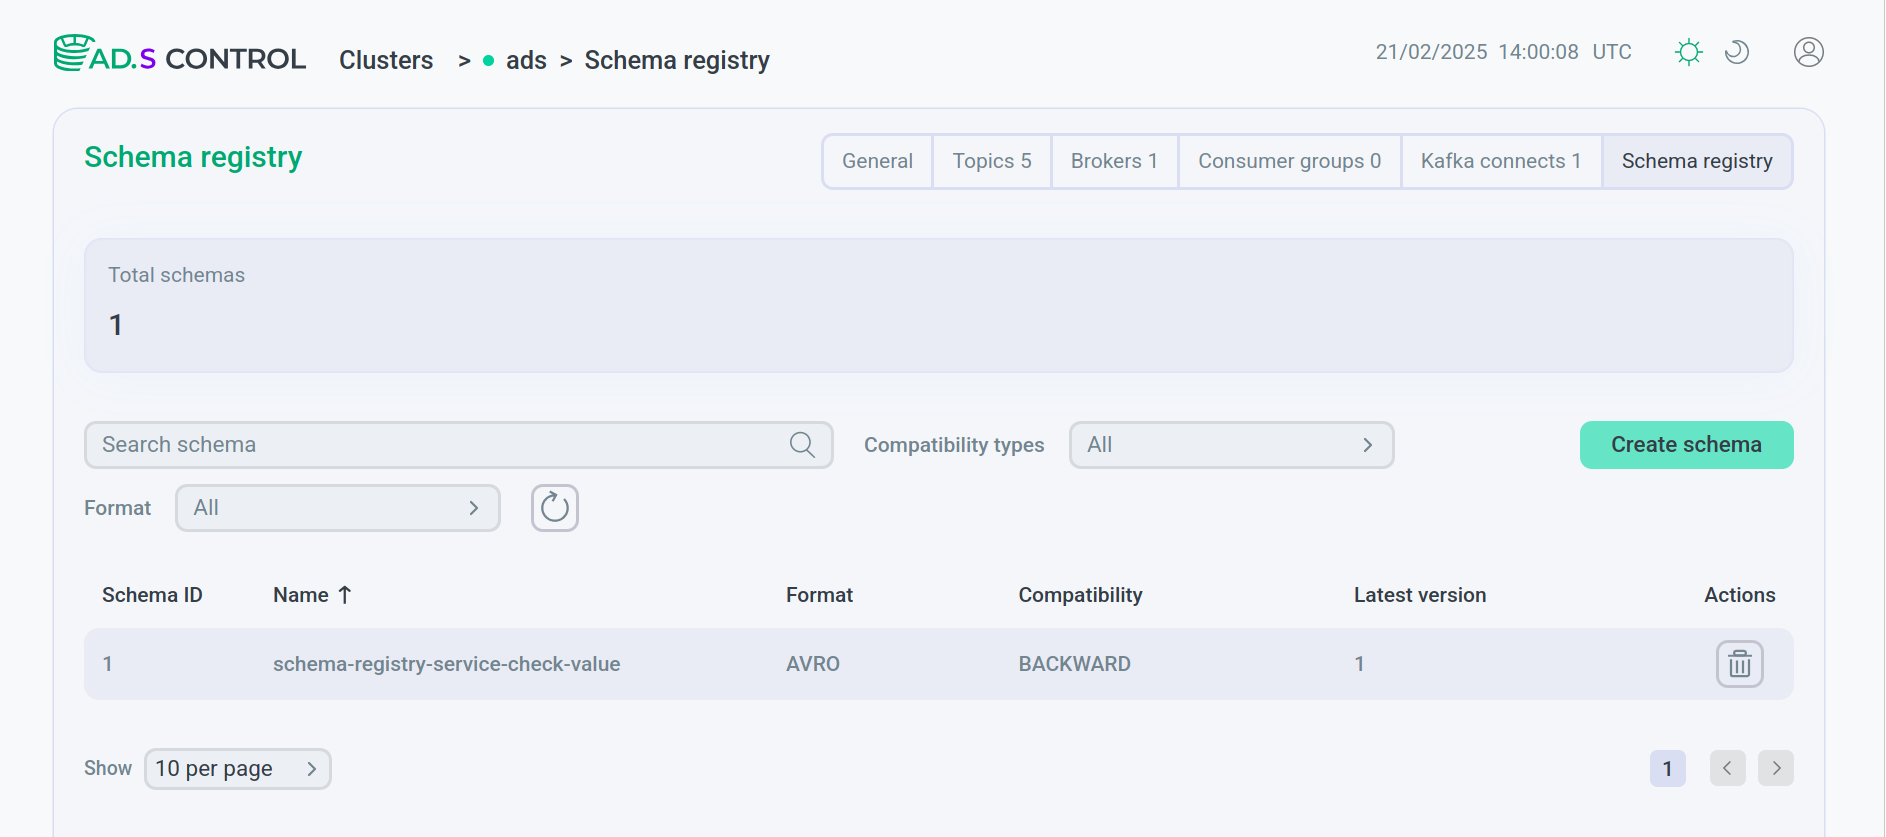
On the Schema registry page there are:
-
Total schemas field — displays the number of schemas created for the cluster.
-
Search and filtering section:
-
field for searching for a schema by name;
-
Compatibility types field for filtering schemas by compatibility type:
-
NONE -
FULL -
FORWARD -
BACKWARD -
FORWARD_TRANSITIVE -
BACKWARD_TRANSITIVE -
FULL_TRANSITIVE
-
-
Format field for filtering schemas by format:
-
AVRO -
PROTOBUF -
JSON
-
-

 button to reset search and filtering results;
-
-
Create schema button for creating new schemas.
The Schema registry page contains a table with information about each schema. The table columns are described below.
| Field | Description |
|---|---|
Schema ID |
Schema unique identifier |
Name |
Subject name of the schema. For schemas created automatically when recording messages using the producer, it is filled in depending on the selected strategy naming. By clicking on the name, you can go to the schema overview page |
Format |
Used schema format |
Compatibility |
Compatibility type set for this schema |
Latest version |
Latest schema version |
Actions |
After clicking on the |
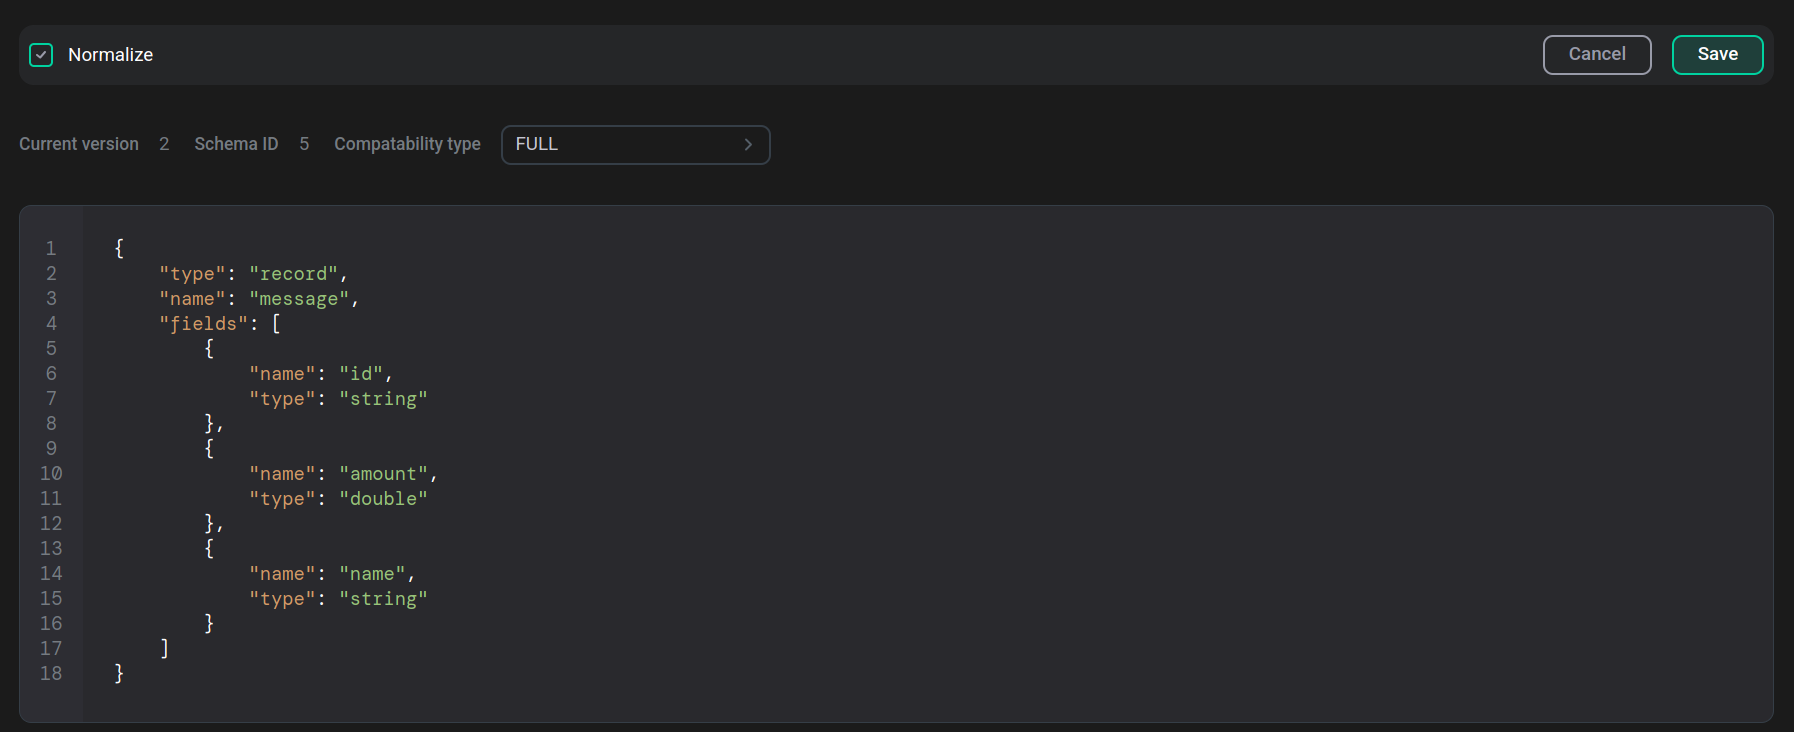
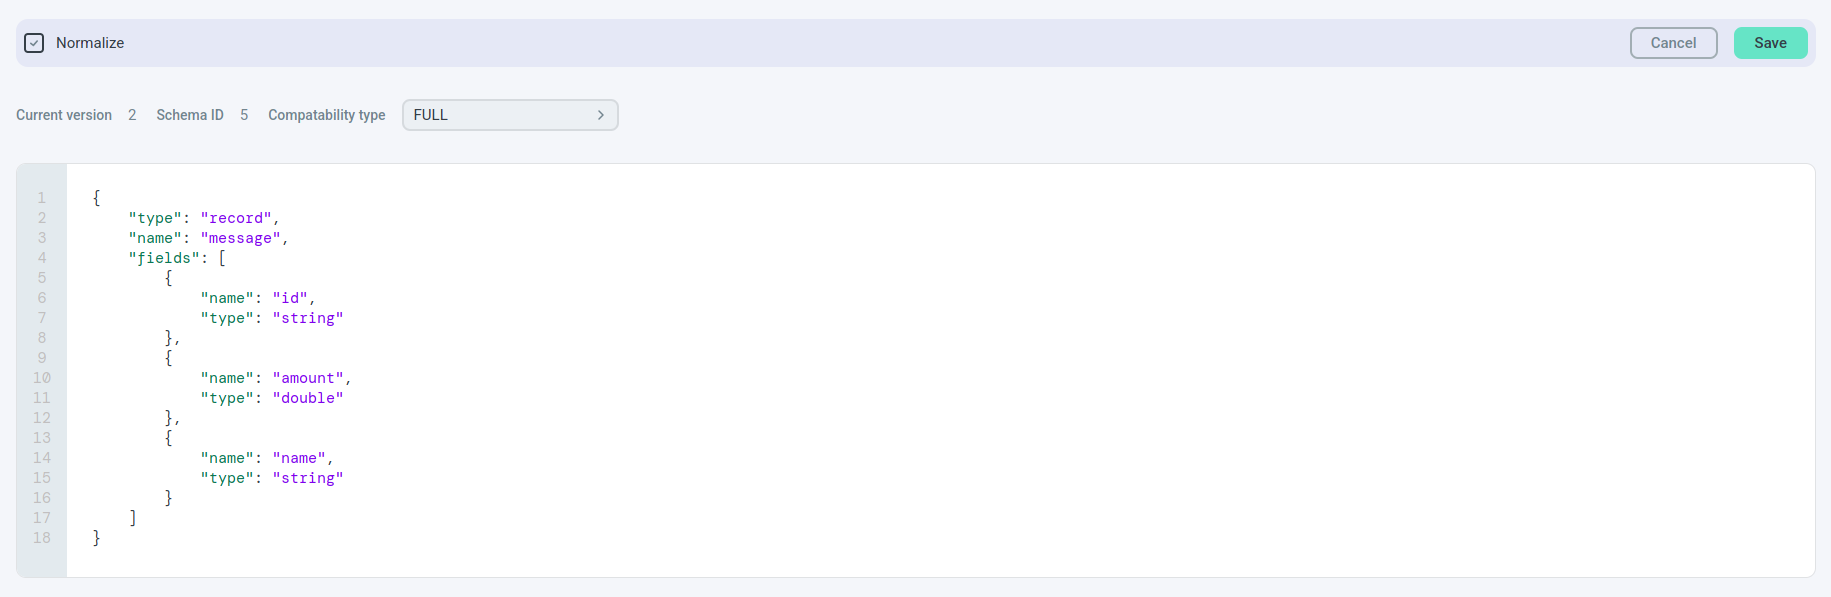
Create a schema
After clicking the Create schema button, the schema creation page opens.
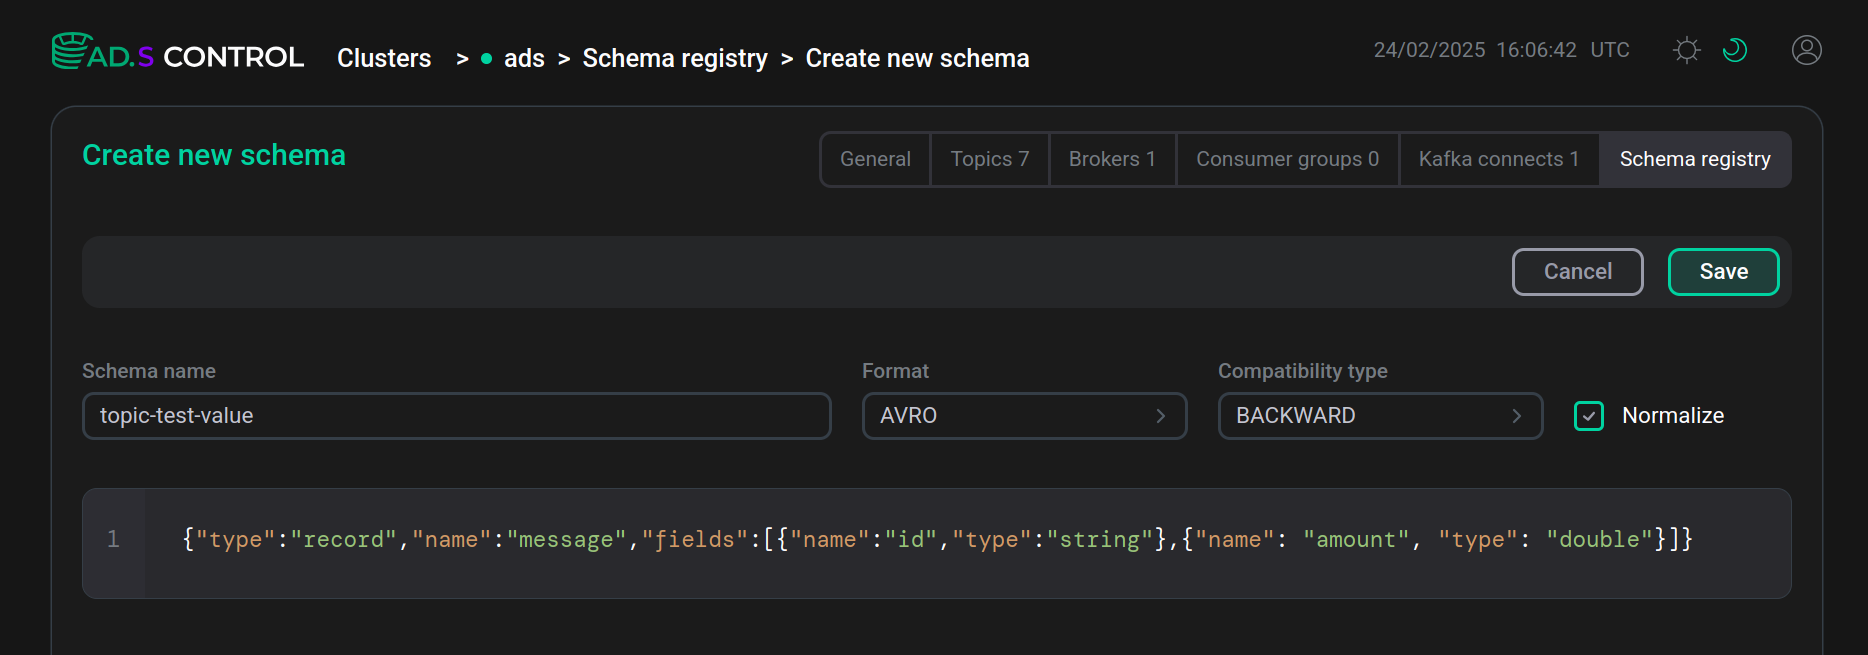
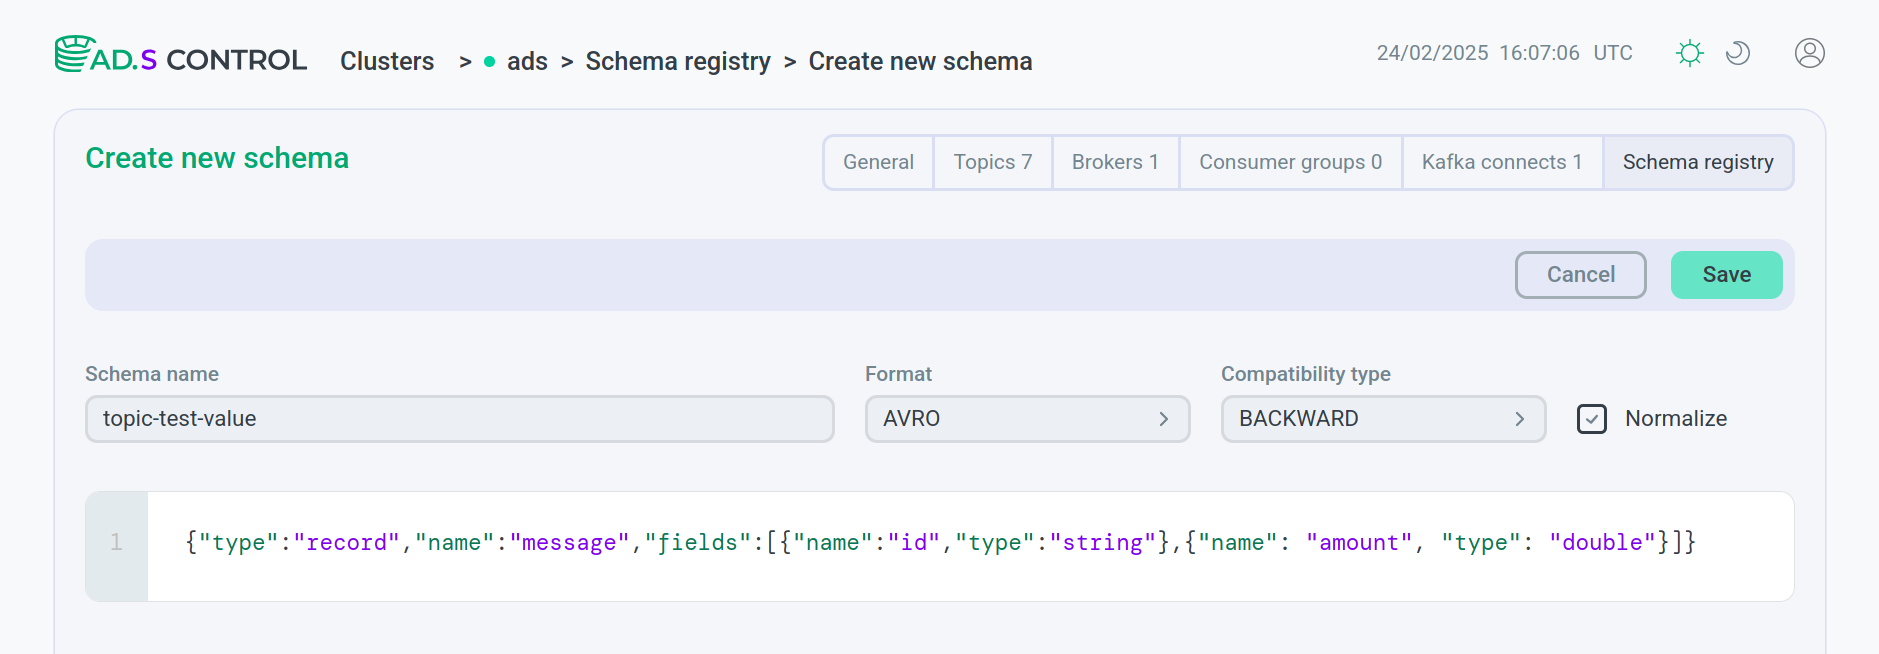
The page contains a field for entering the contents of the schema and fields with the parameters of the new schema, described in the table given above:
-
Schema name — name of the schema subject.
-
Format — schema format.
-
Compatibility type — schema compatibility type.
When the Normalize flag is activated, a semantic check for schema equivalence is performed. This activation sets the value true to the serializer parameter normalize.schemas.
After creation, the schema can be saved using the Save button. The Cancel button cancels the creation of the schema.
Schema overview
Clicking on the schema name in the table opens the schema overview page.
At the top of the page there is a section displaying the main parameters of the schema, described in the table given above, and the ![]()
![]() icon to delete the schema.
icon to delete the schema.
Tabs are displayed at the bottom:
Schema tab
The Clusters → <cluster name> → Schema registry → <schema name> → Schema tab opens by default when you go to the schema overview page. The tab displays the current version of the schema and information about it.
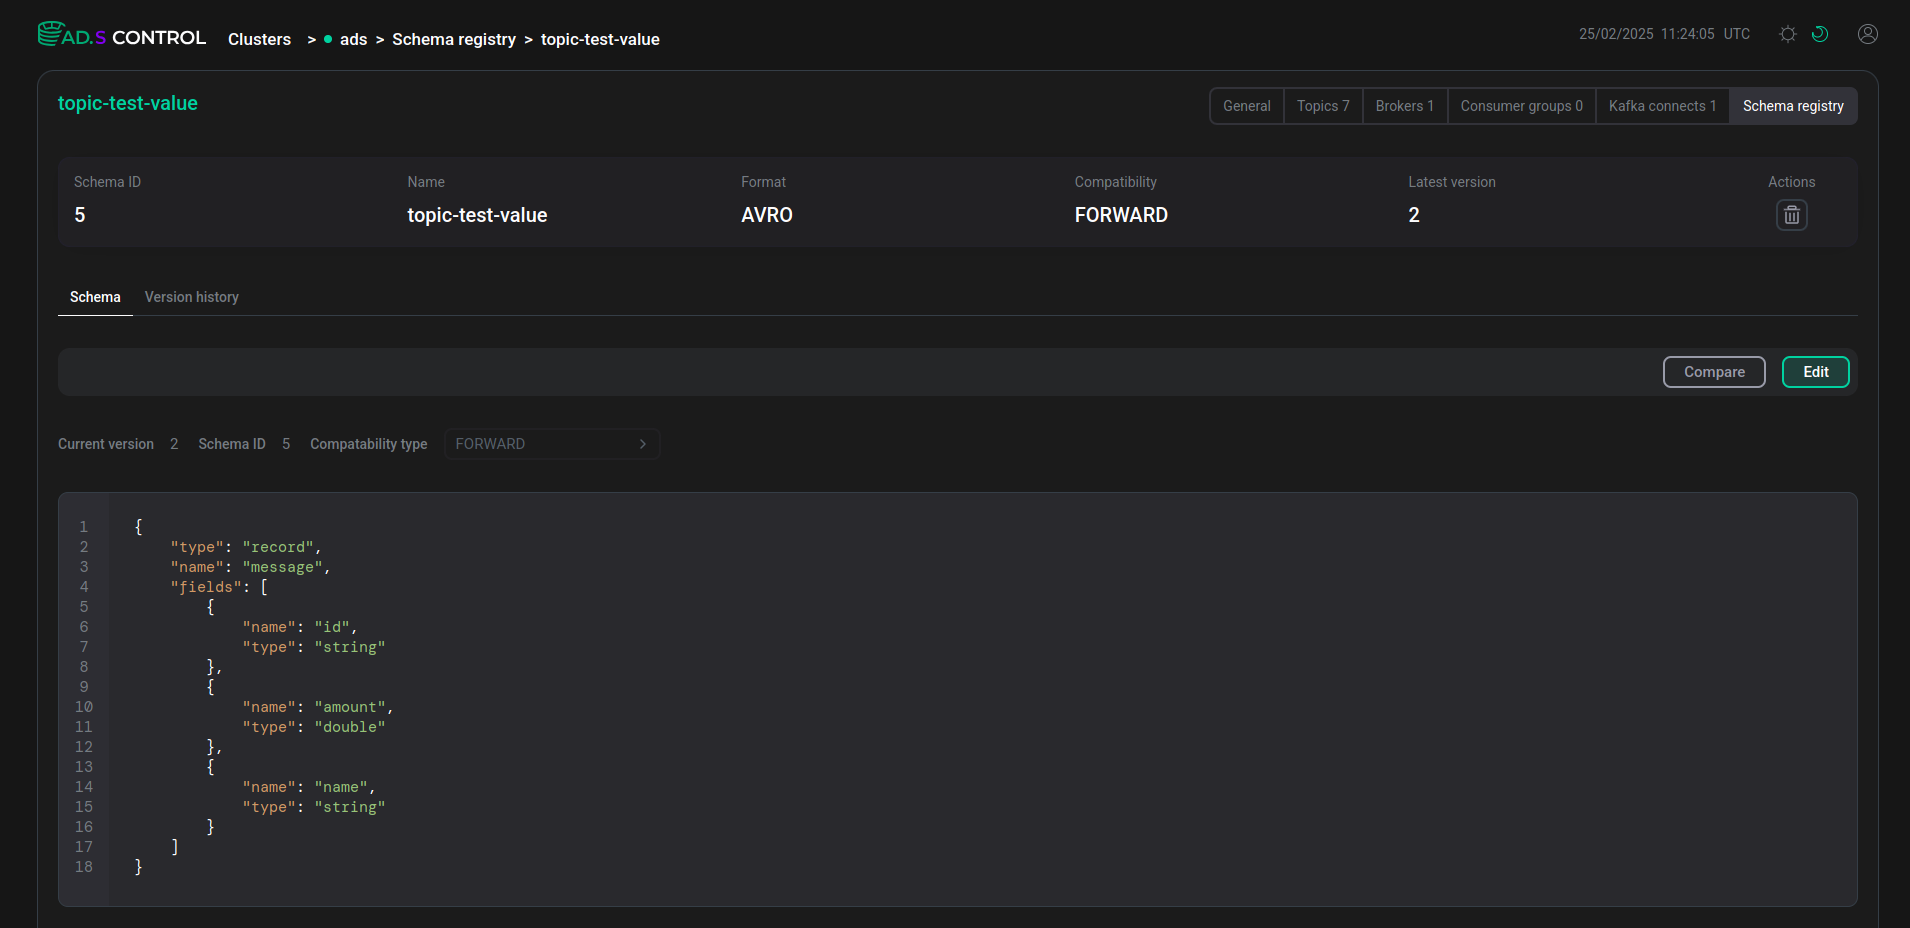
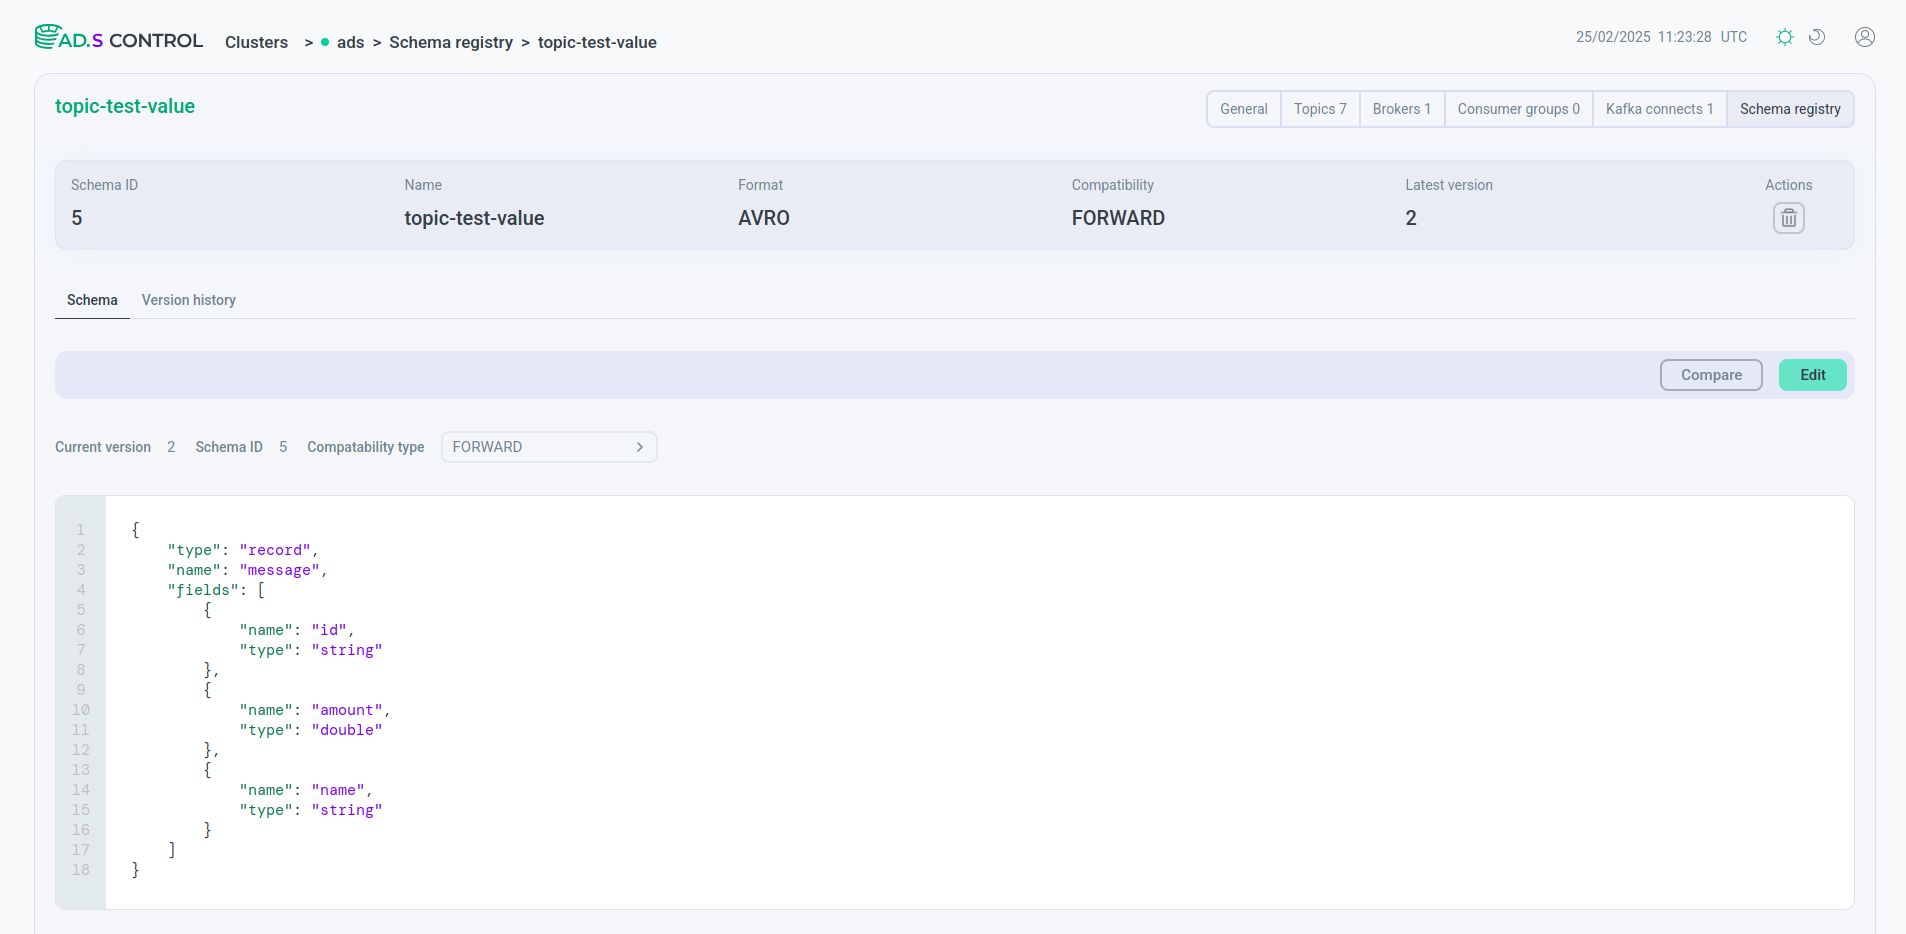
The Schema tab contains the schema and fields with schema parameters:
-
Current version — number of the current version.
-
Schema ID — identifier of the current version.
-
Compatability type — schema compatibility type.
After clicking the Edit button, the ability to edit the schema opens. In addition to the contents of the schema, the Normalize and Compatability type fields can also be changed. Clicking the Save button saves the changes. Any change to the schema content will result in a new version of the schema being created. The Cancel button cancels the change to the schema.
After clicking the Compare button, it becomes possible to compare the current version of the schema and any previous one. In this case, in the Version field that appears, the desired version of the schema is selected, and the Schema ID field displays the identifier of the selected schema version.
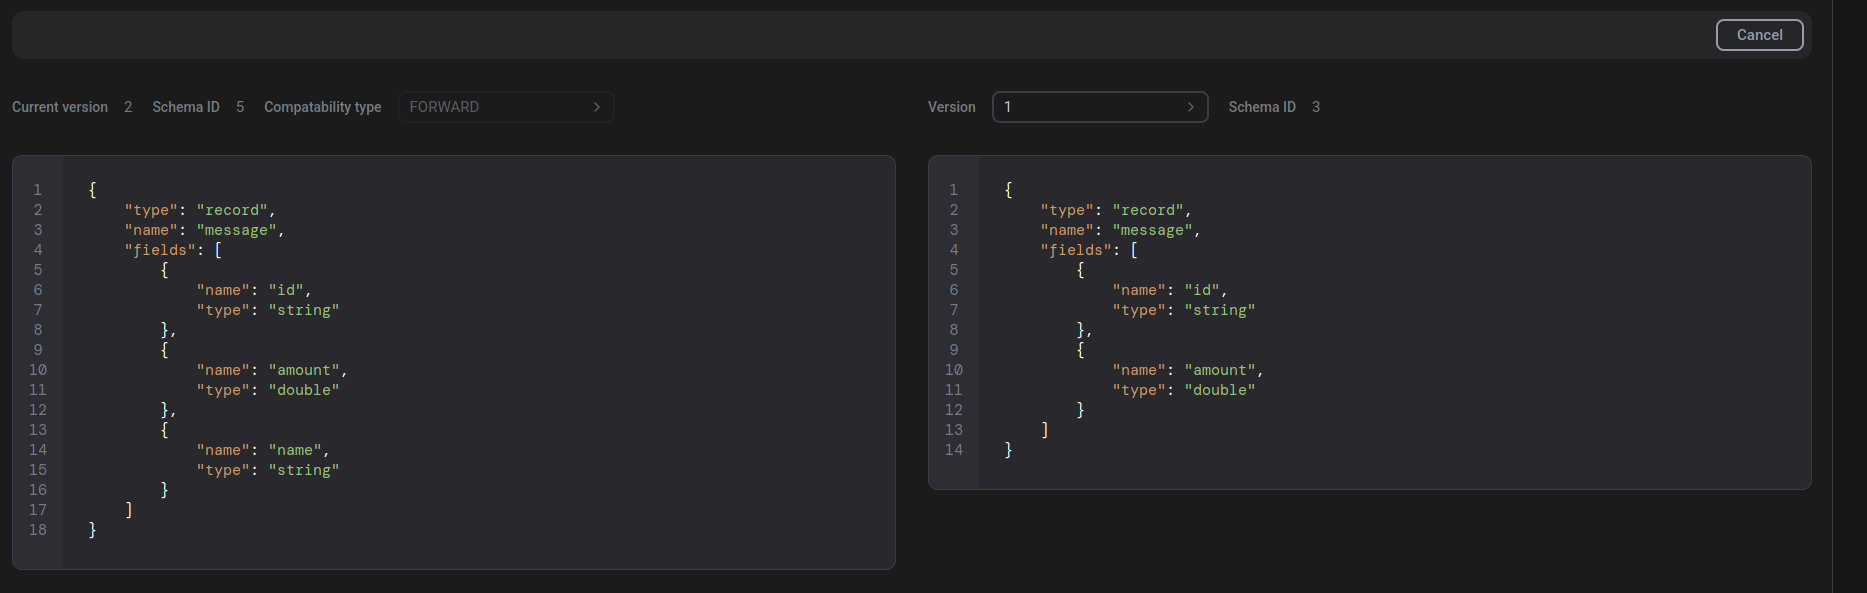
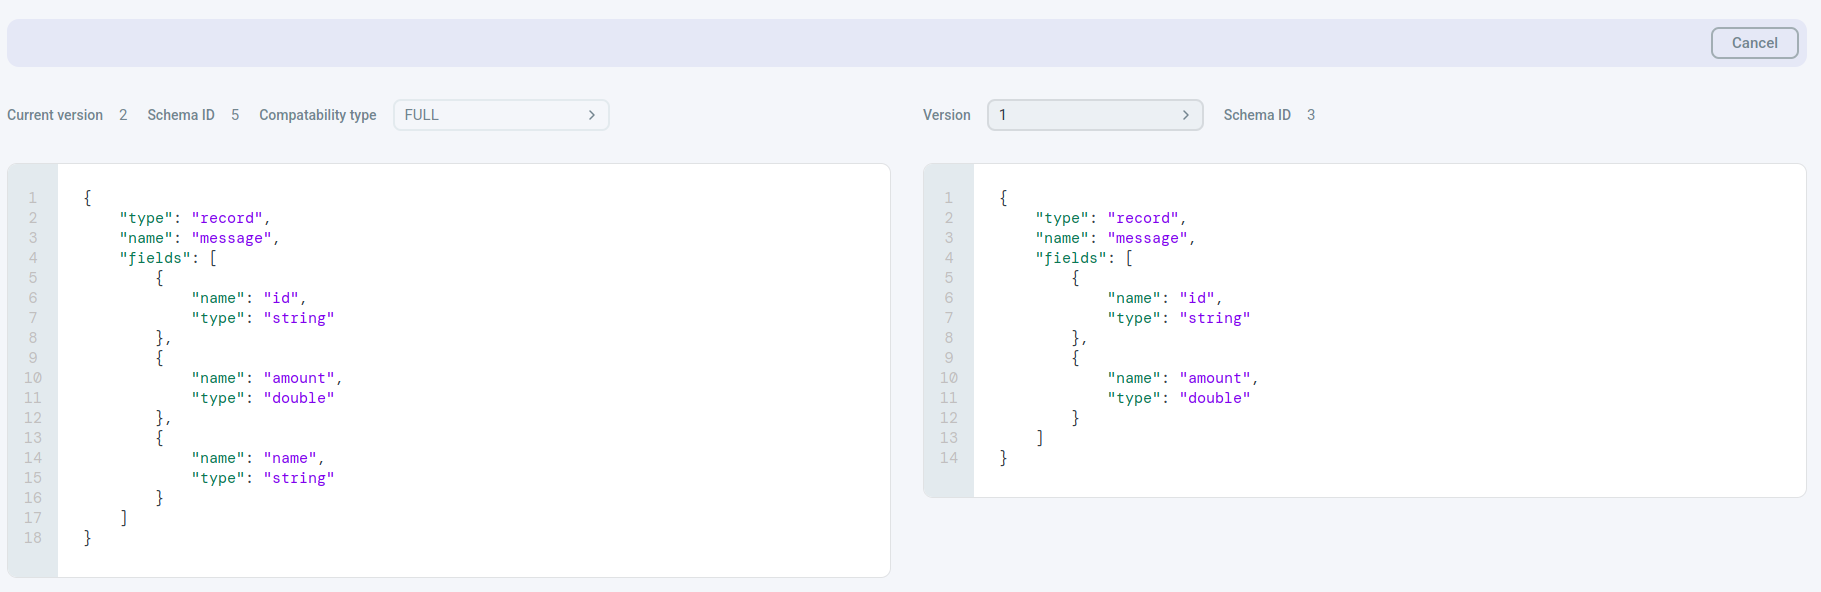
When schemas are being compared, all differences are highlighted (new and deleted rows or values). The Cancel button closes the ability to compare schemas.
Version history tab
The Clusters → <cluster name> → Schema registry → <schema name> → Version history tab opens from the schema overview page. The tab allows you to view all created schema versions.
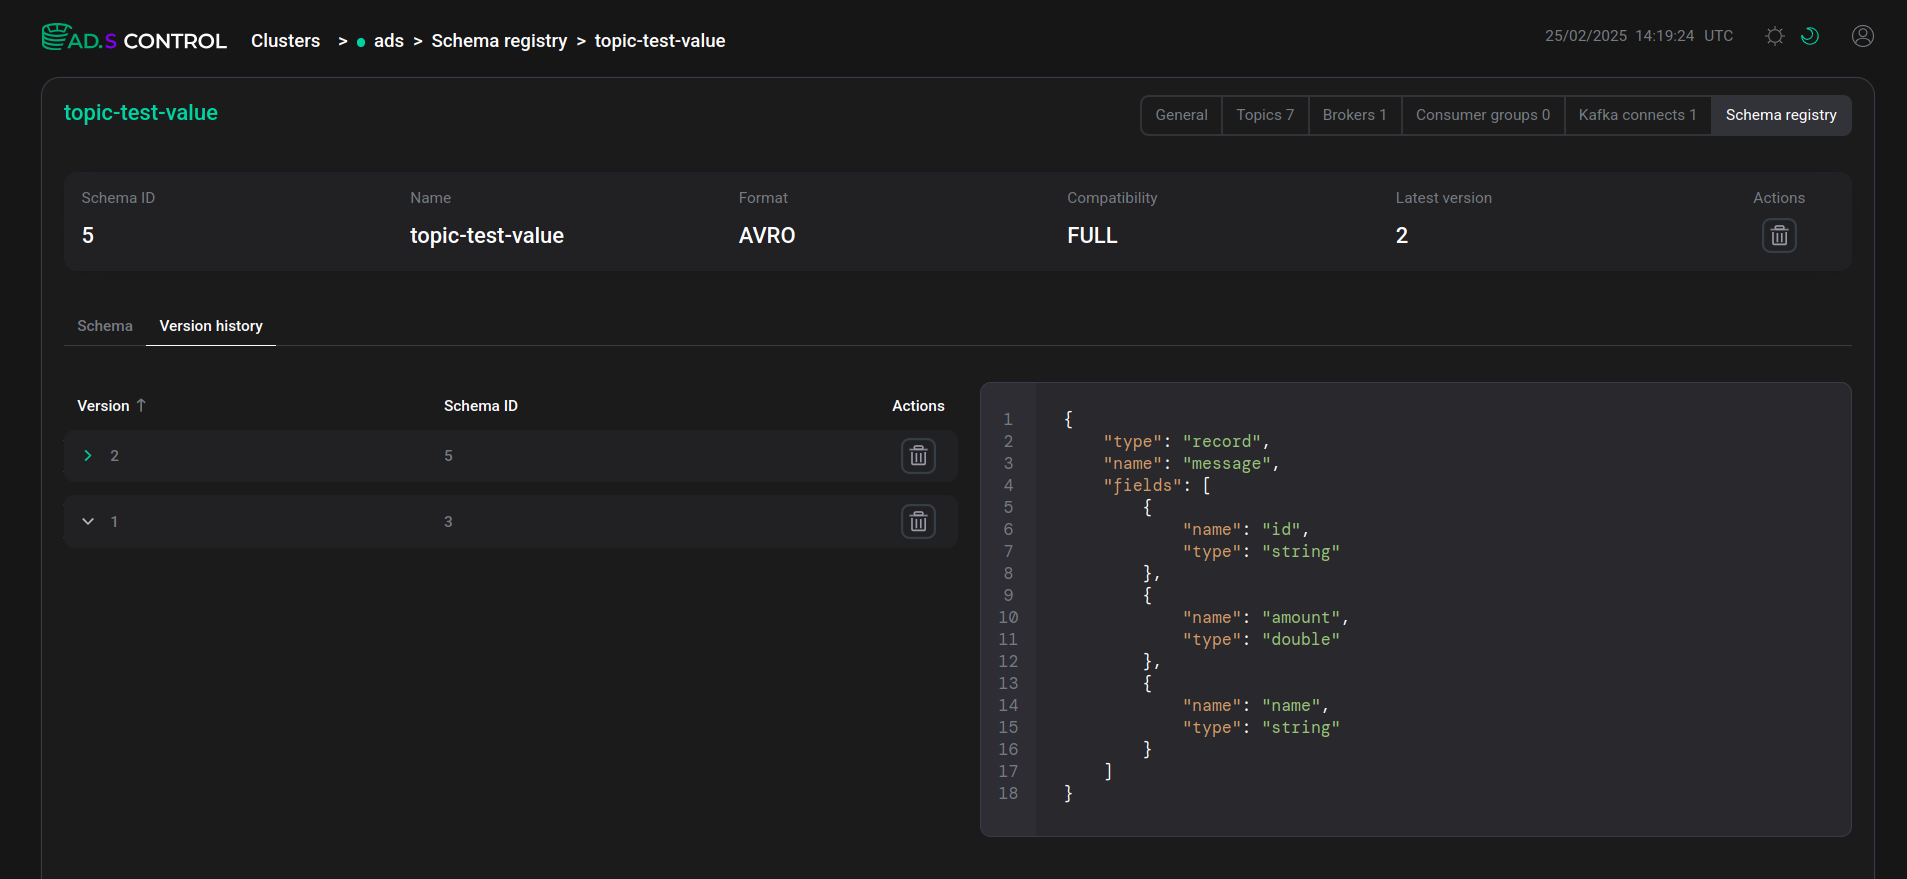
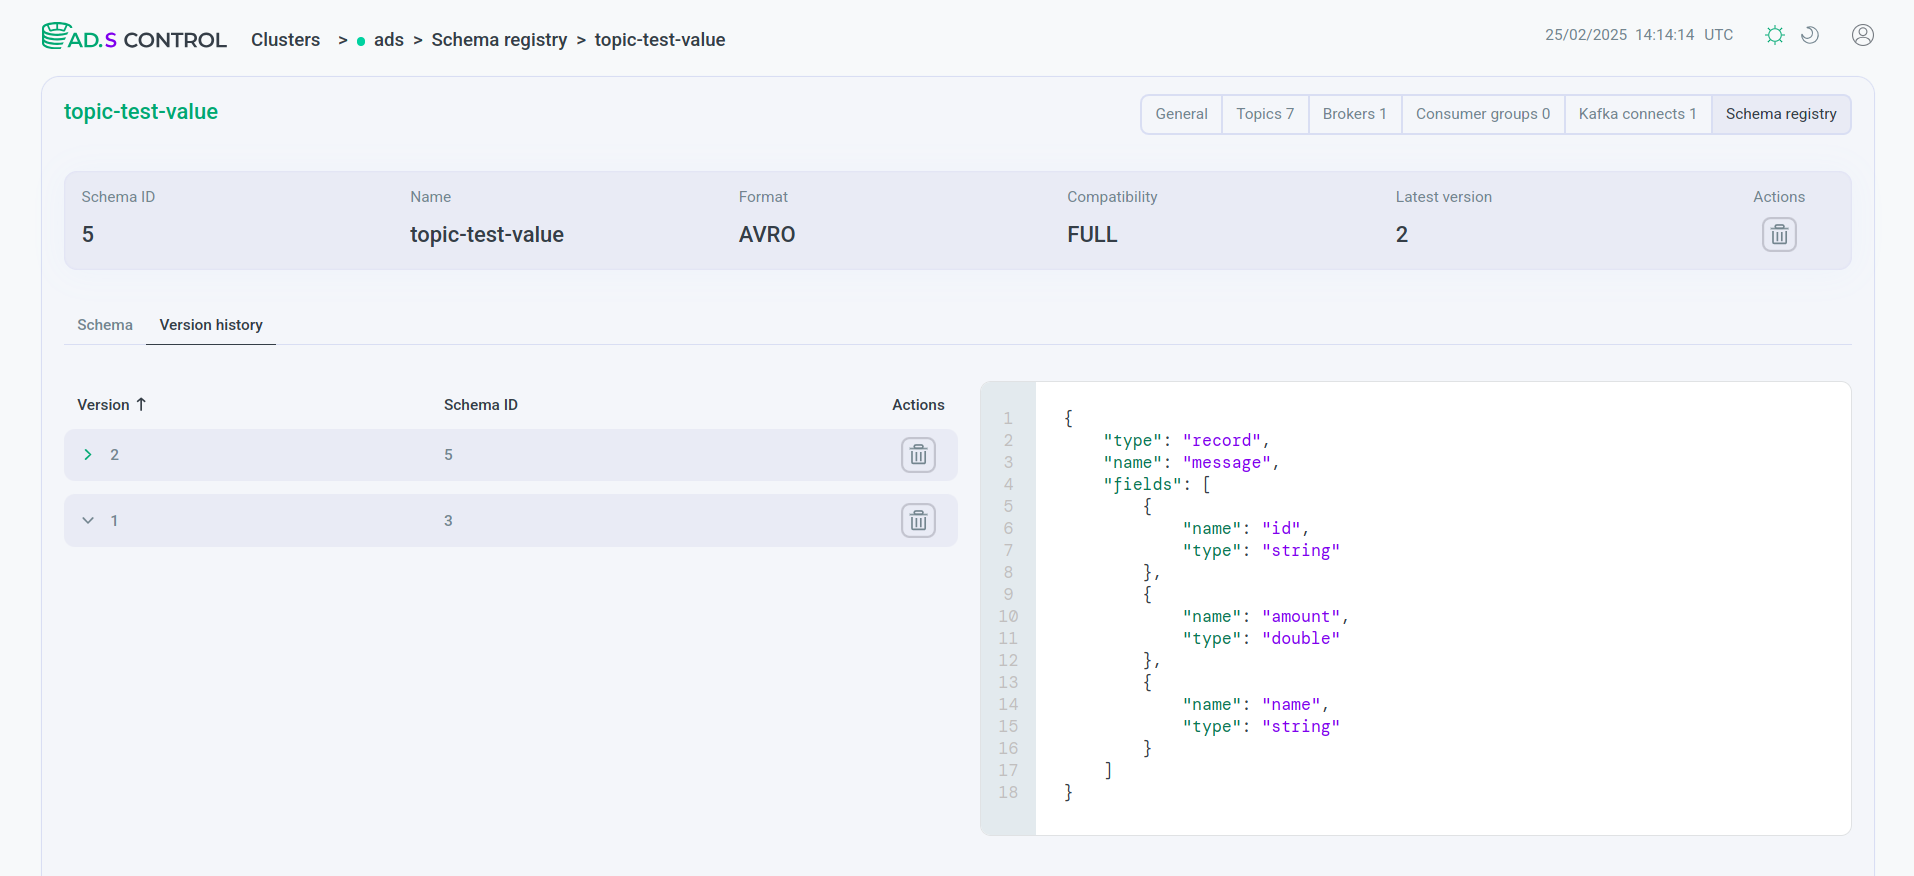
The Version history tab contains a table with the following fields:
-
Version — schema version.
-
Schema ID — schema version identifier.
The schema version can be deleted using ![]()
![]() .
.
The contents of the schema for each version can be viewed after clicking on the row.