

Installation and configuration
A typical installation sequence for the VCloud (VMware) hostprovider includes the following steps.
Step 1. Download a hostprovider bundle
Hostprovider distributions for ADCM come in bundles. Regarding the VCloud (VMware) hostprovider, a bundle is a regular archive that includes a description and logic to interact with VCloud.
The steps for downloading a bundle are given below:
-
Go to https://network.arenadata.io/ and select Arenadata Cluster Manager.
-
Navigate to Infrastructure bundles and select the required bundle from the table.
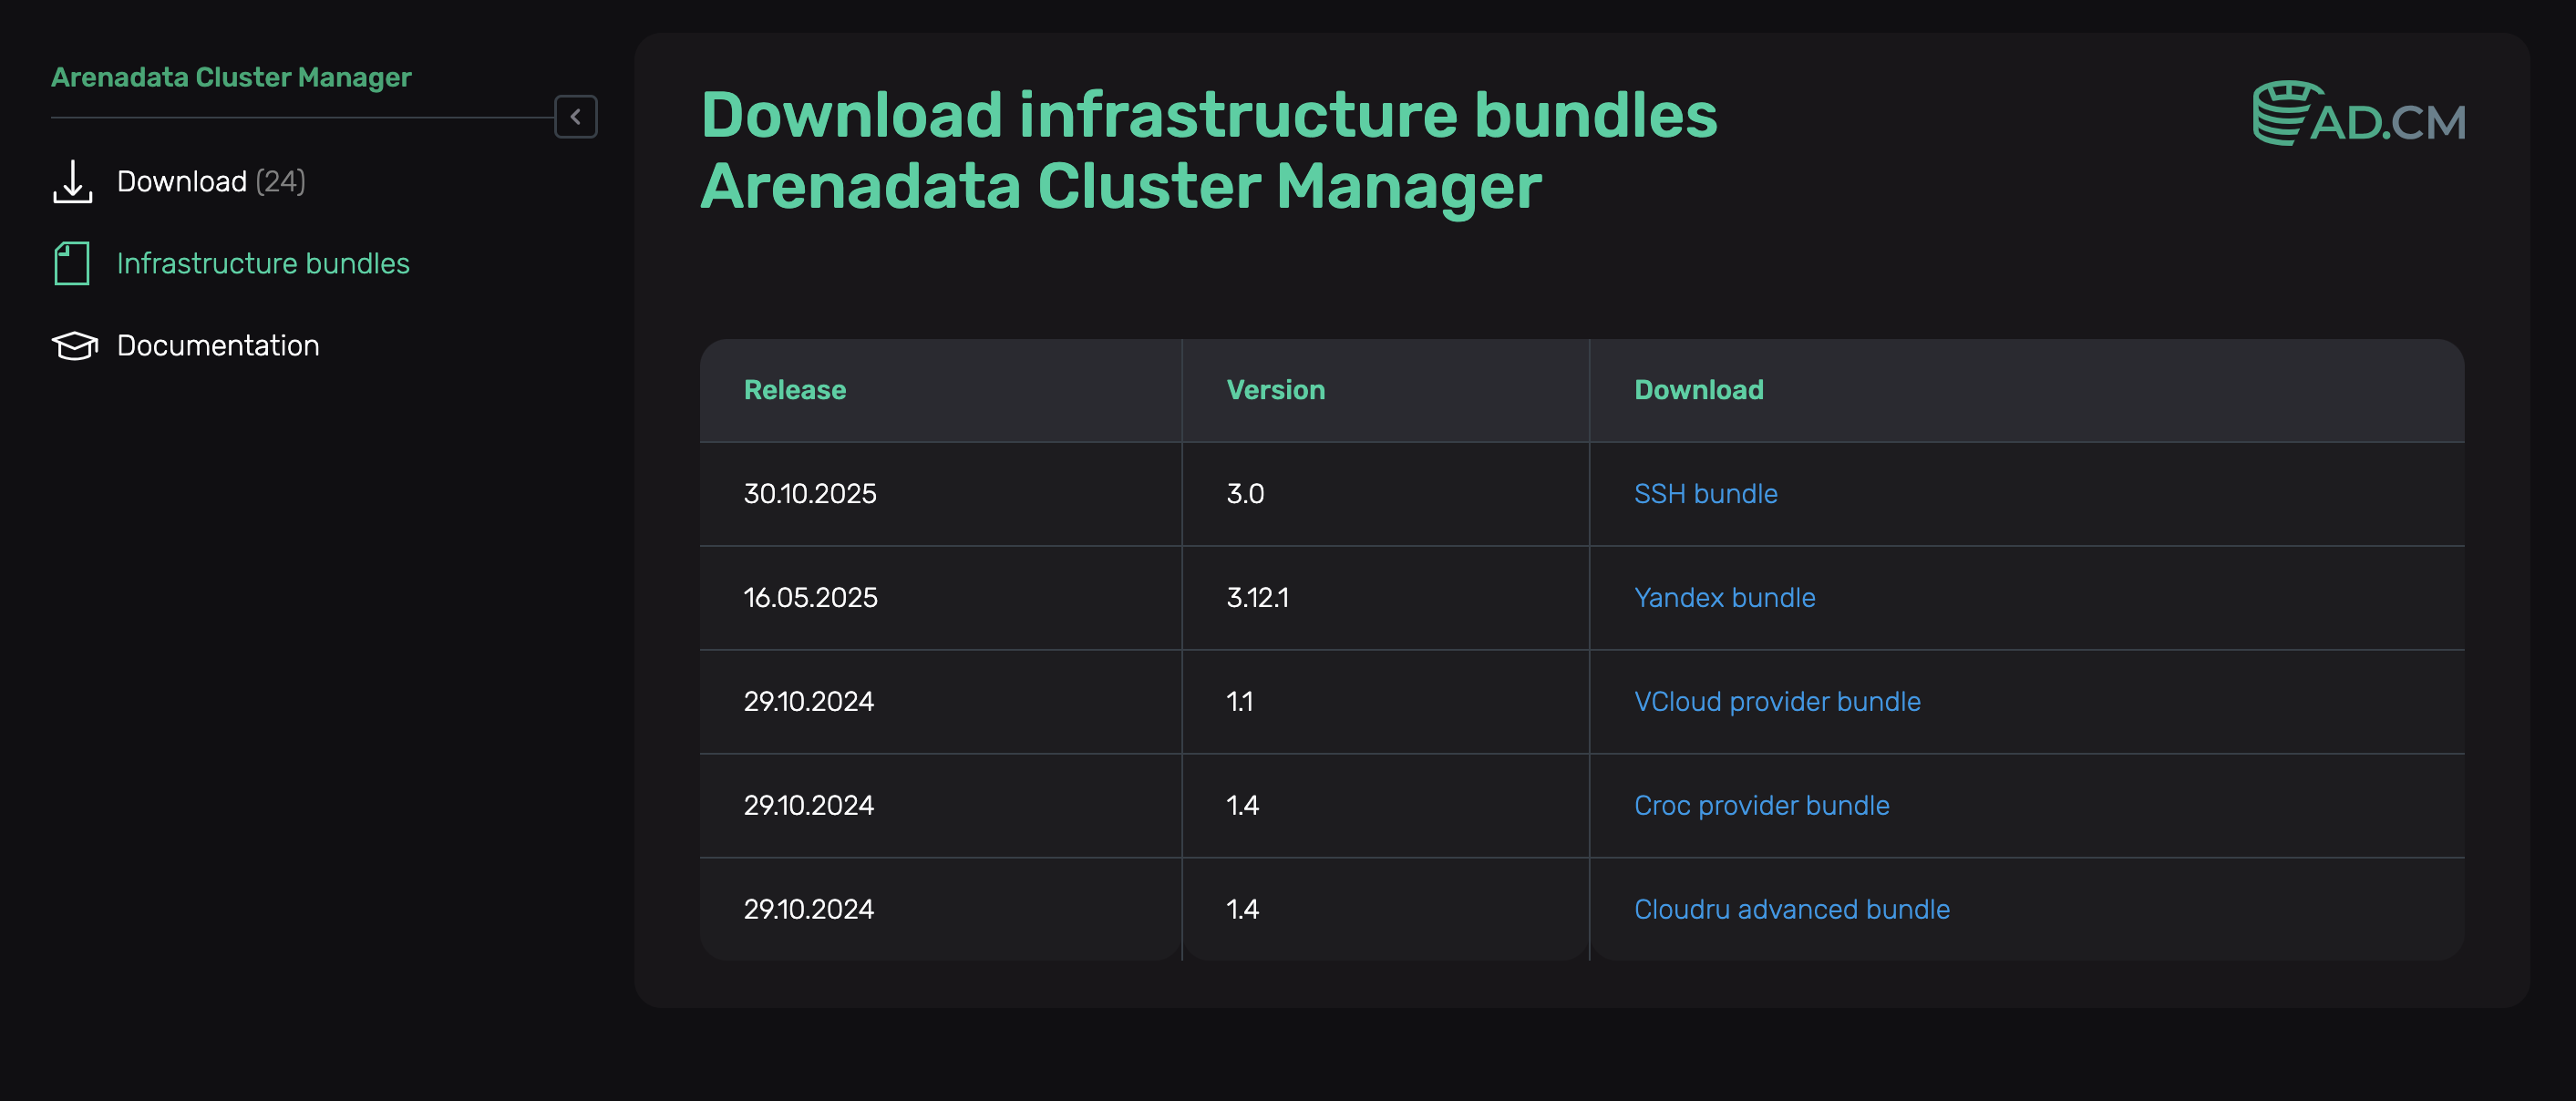 Infrastructure bundles page for ADCM
VCloud (VMware) hostprovider bundle is called VCloud provider bundle.
Step 2. Upload a hostprovider bundle to ADCM
To upload a bundle to ADCM, follow the steps:
-
Select the Bundles item in the left navigation menu and click Upload bundle.
-
Select a bundle in the Open File Dialog.
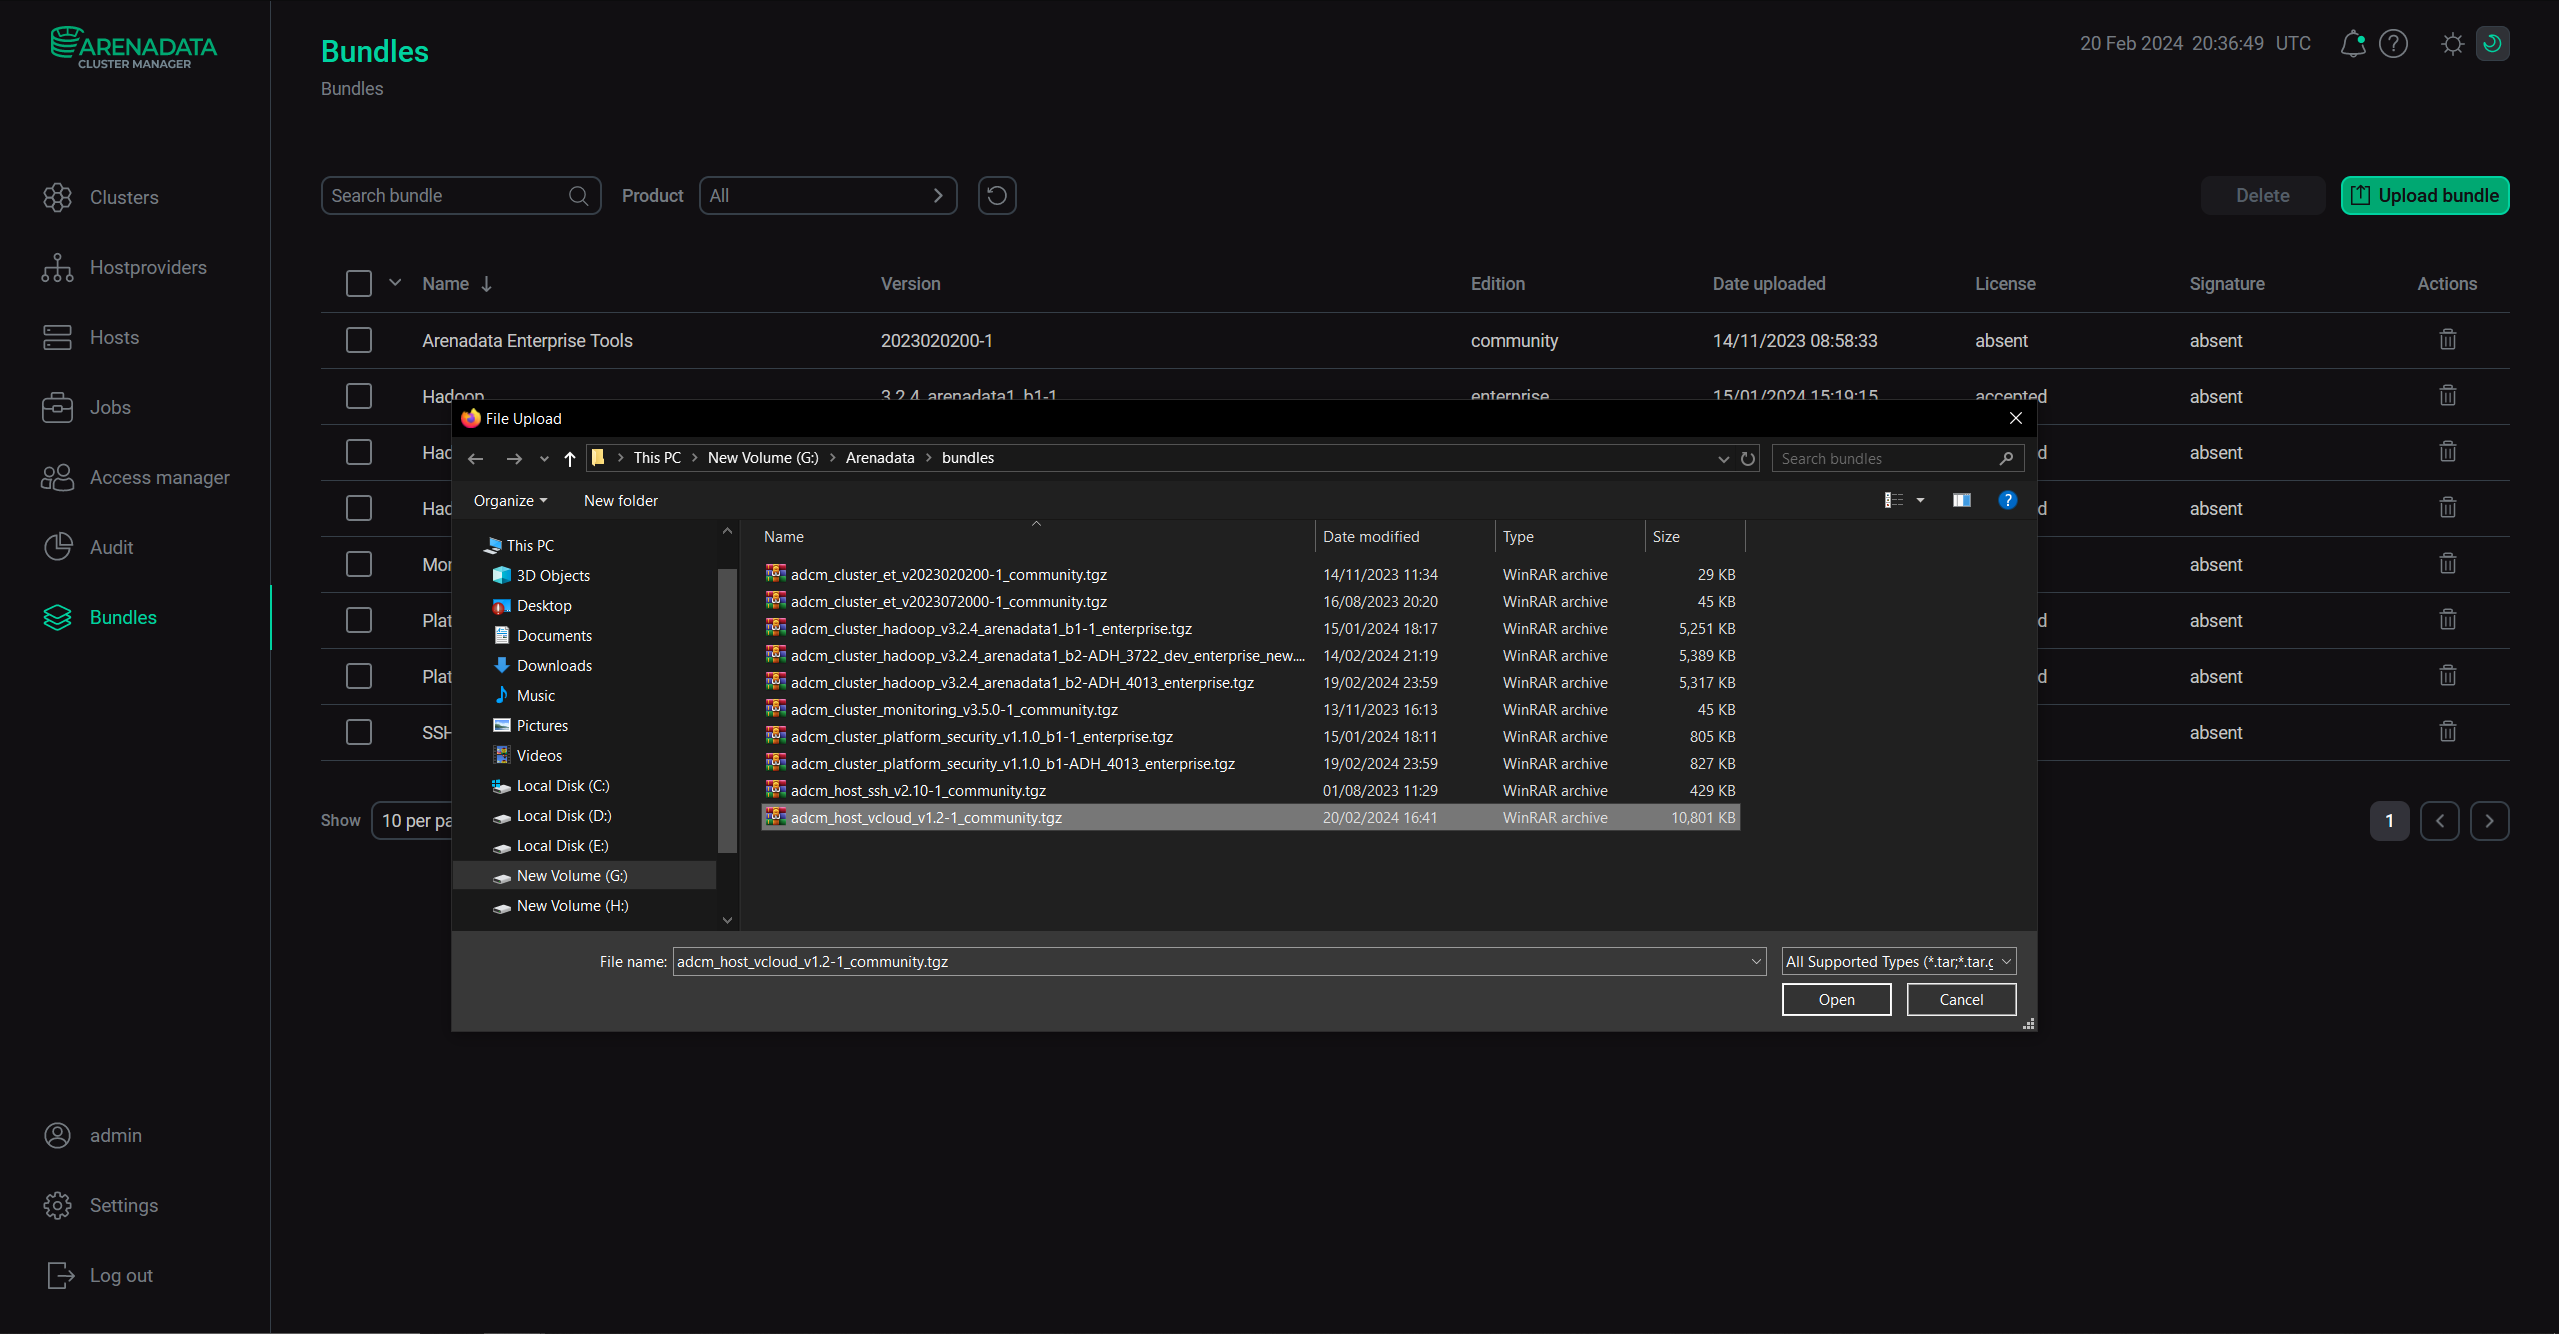 Upload a bundle
Upload a bundle
Upload a bundle -
As a result of the performed actions, a bundle is displayed on the Bundles page.
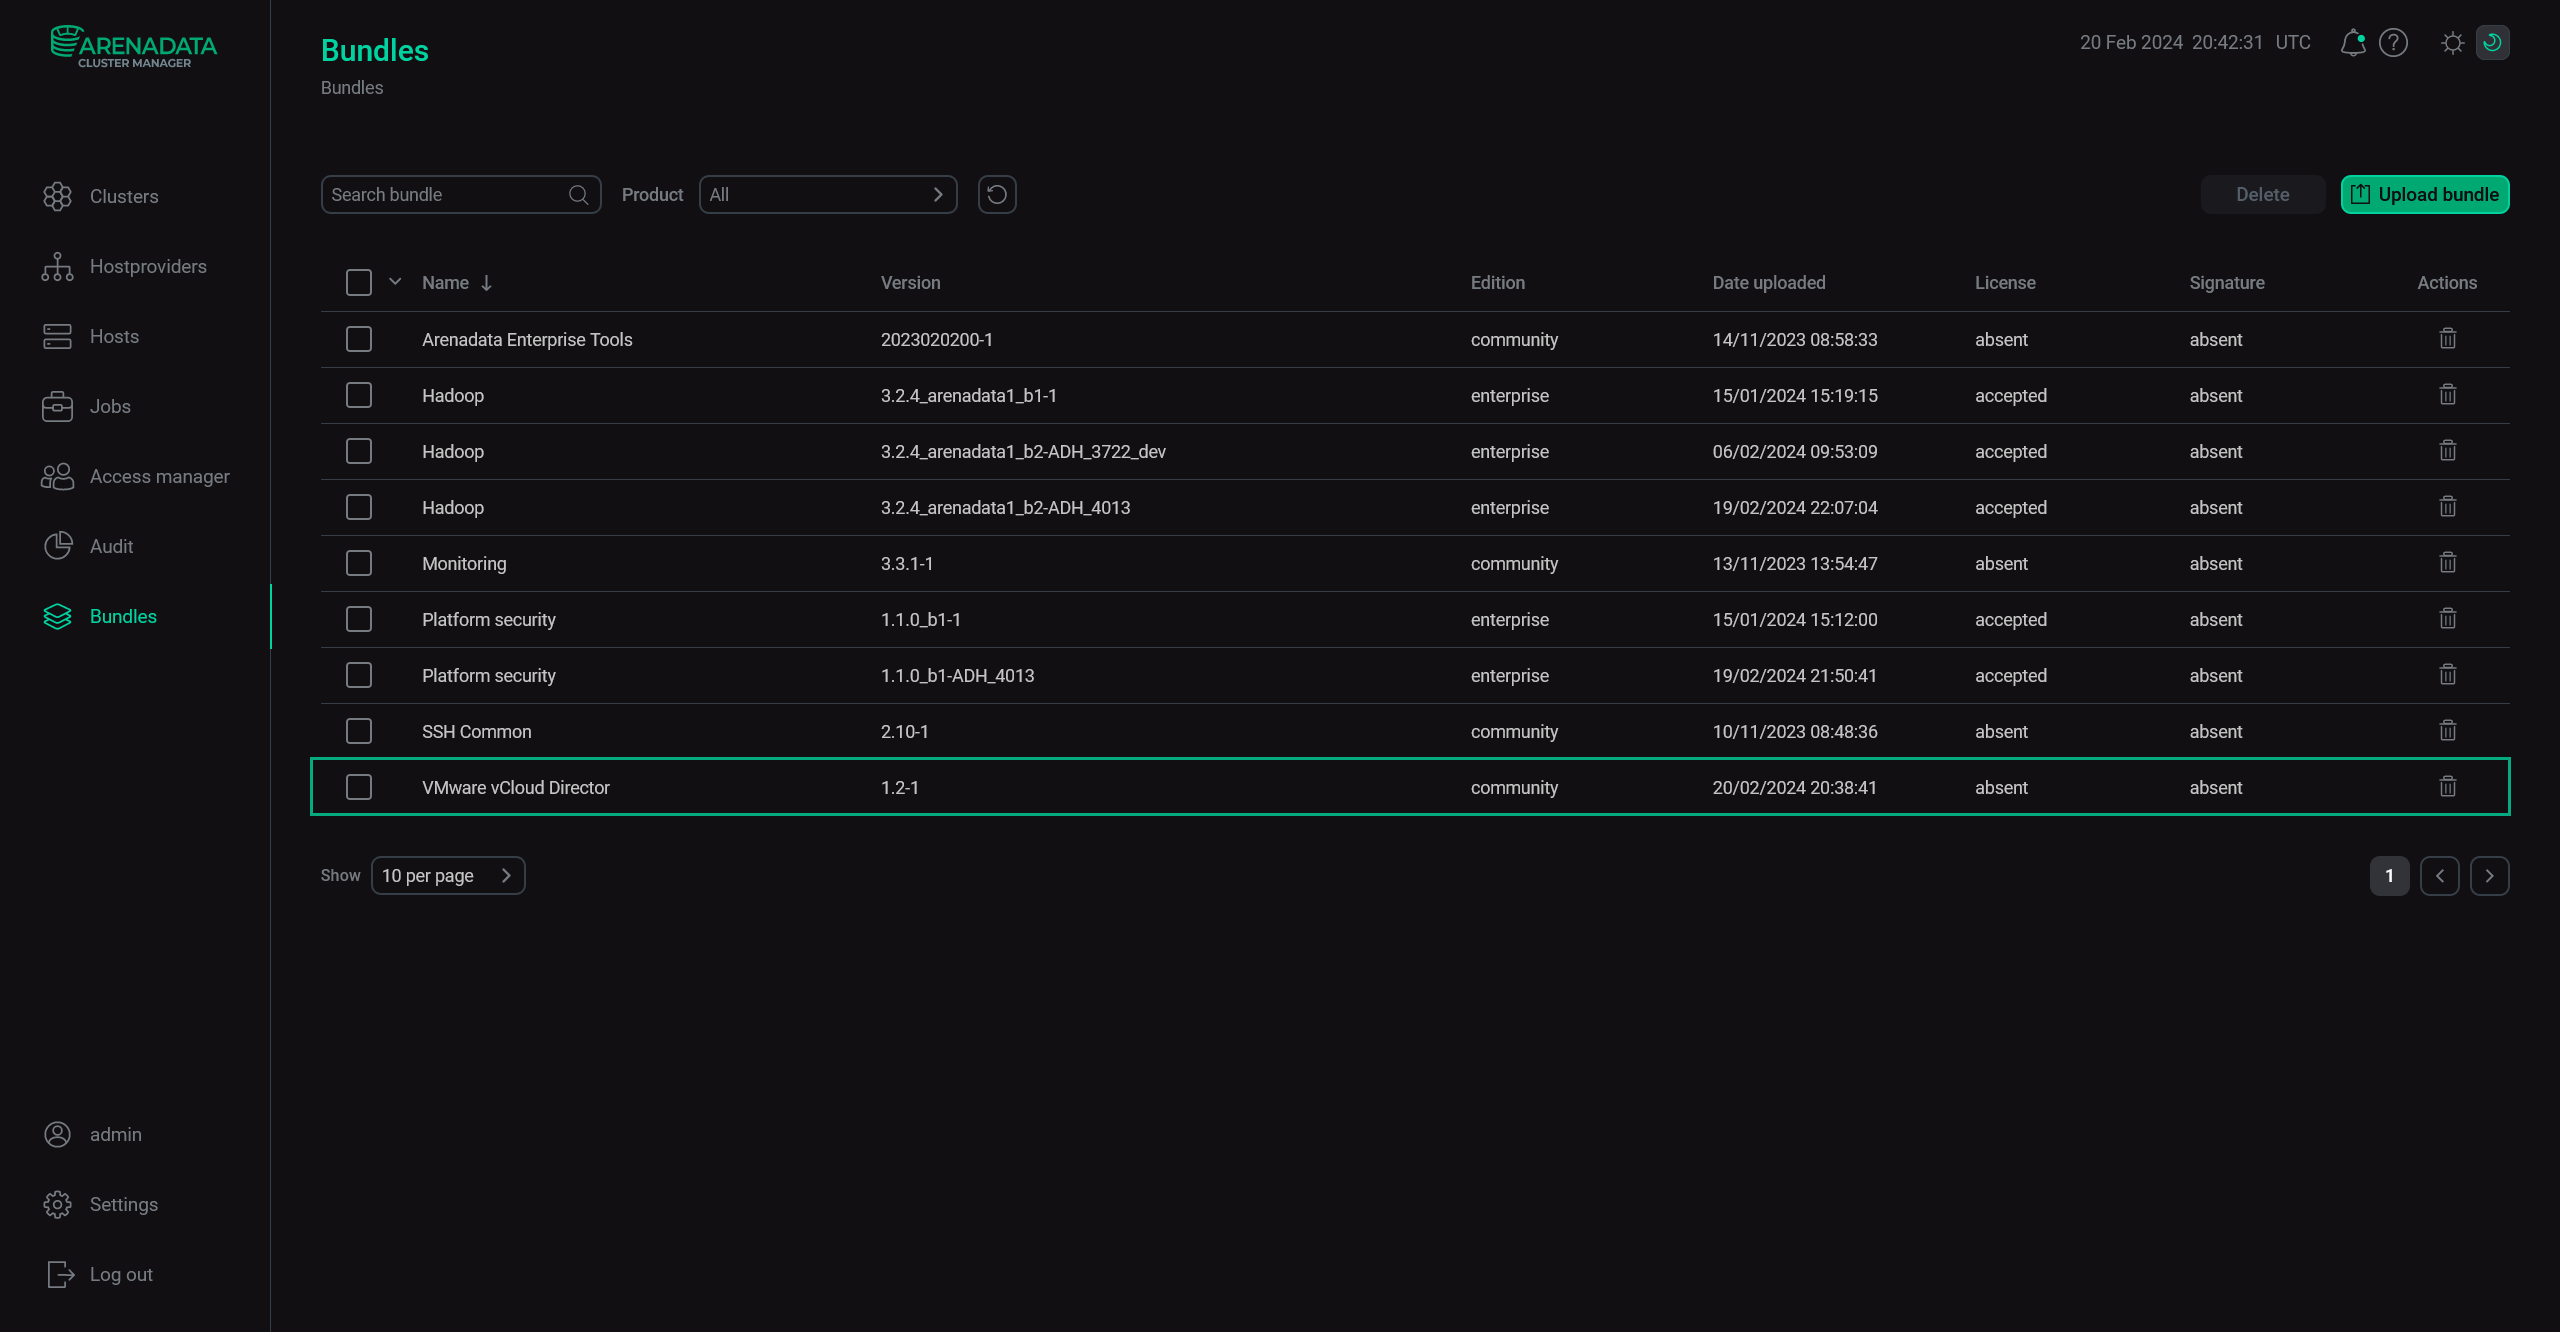 The result of successful uploading a bundle
Step 3. Create a hostprovider based on the uploaded bundle
To add a new hostprovider to ADCM on the base of the uploaded bundle, follow the steps:
-
Select the Hostproviders item in the left navigation menu and click Create provider.
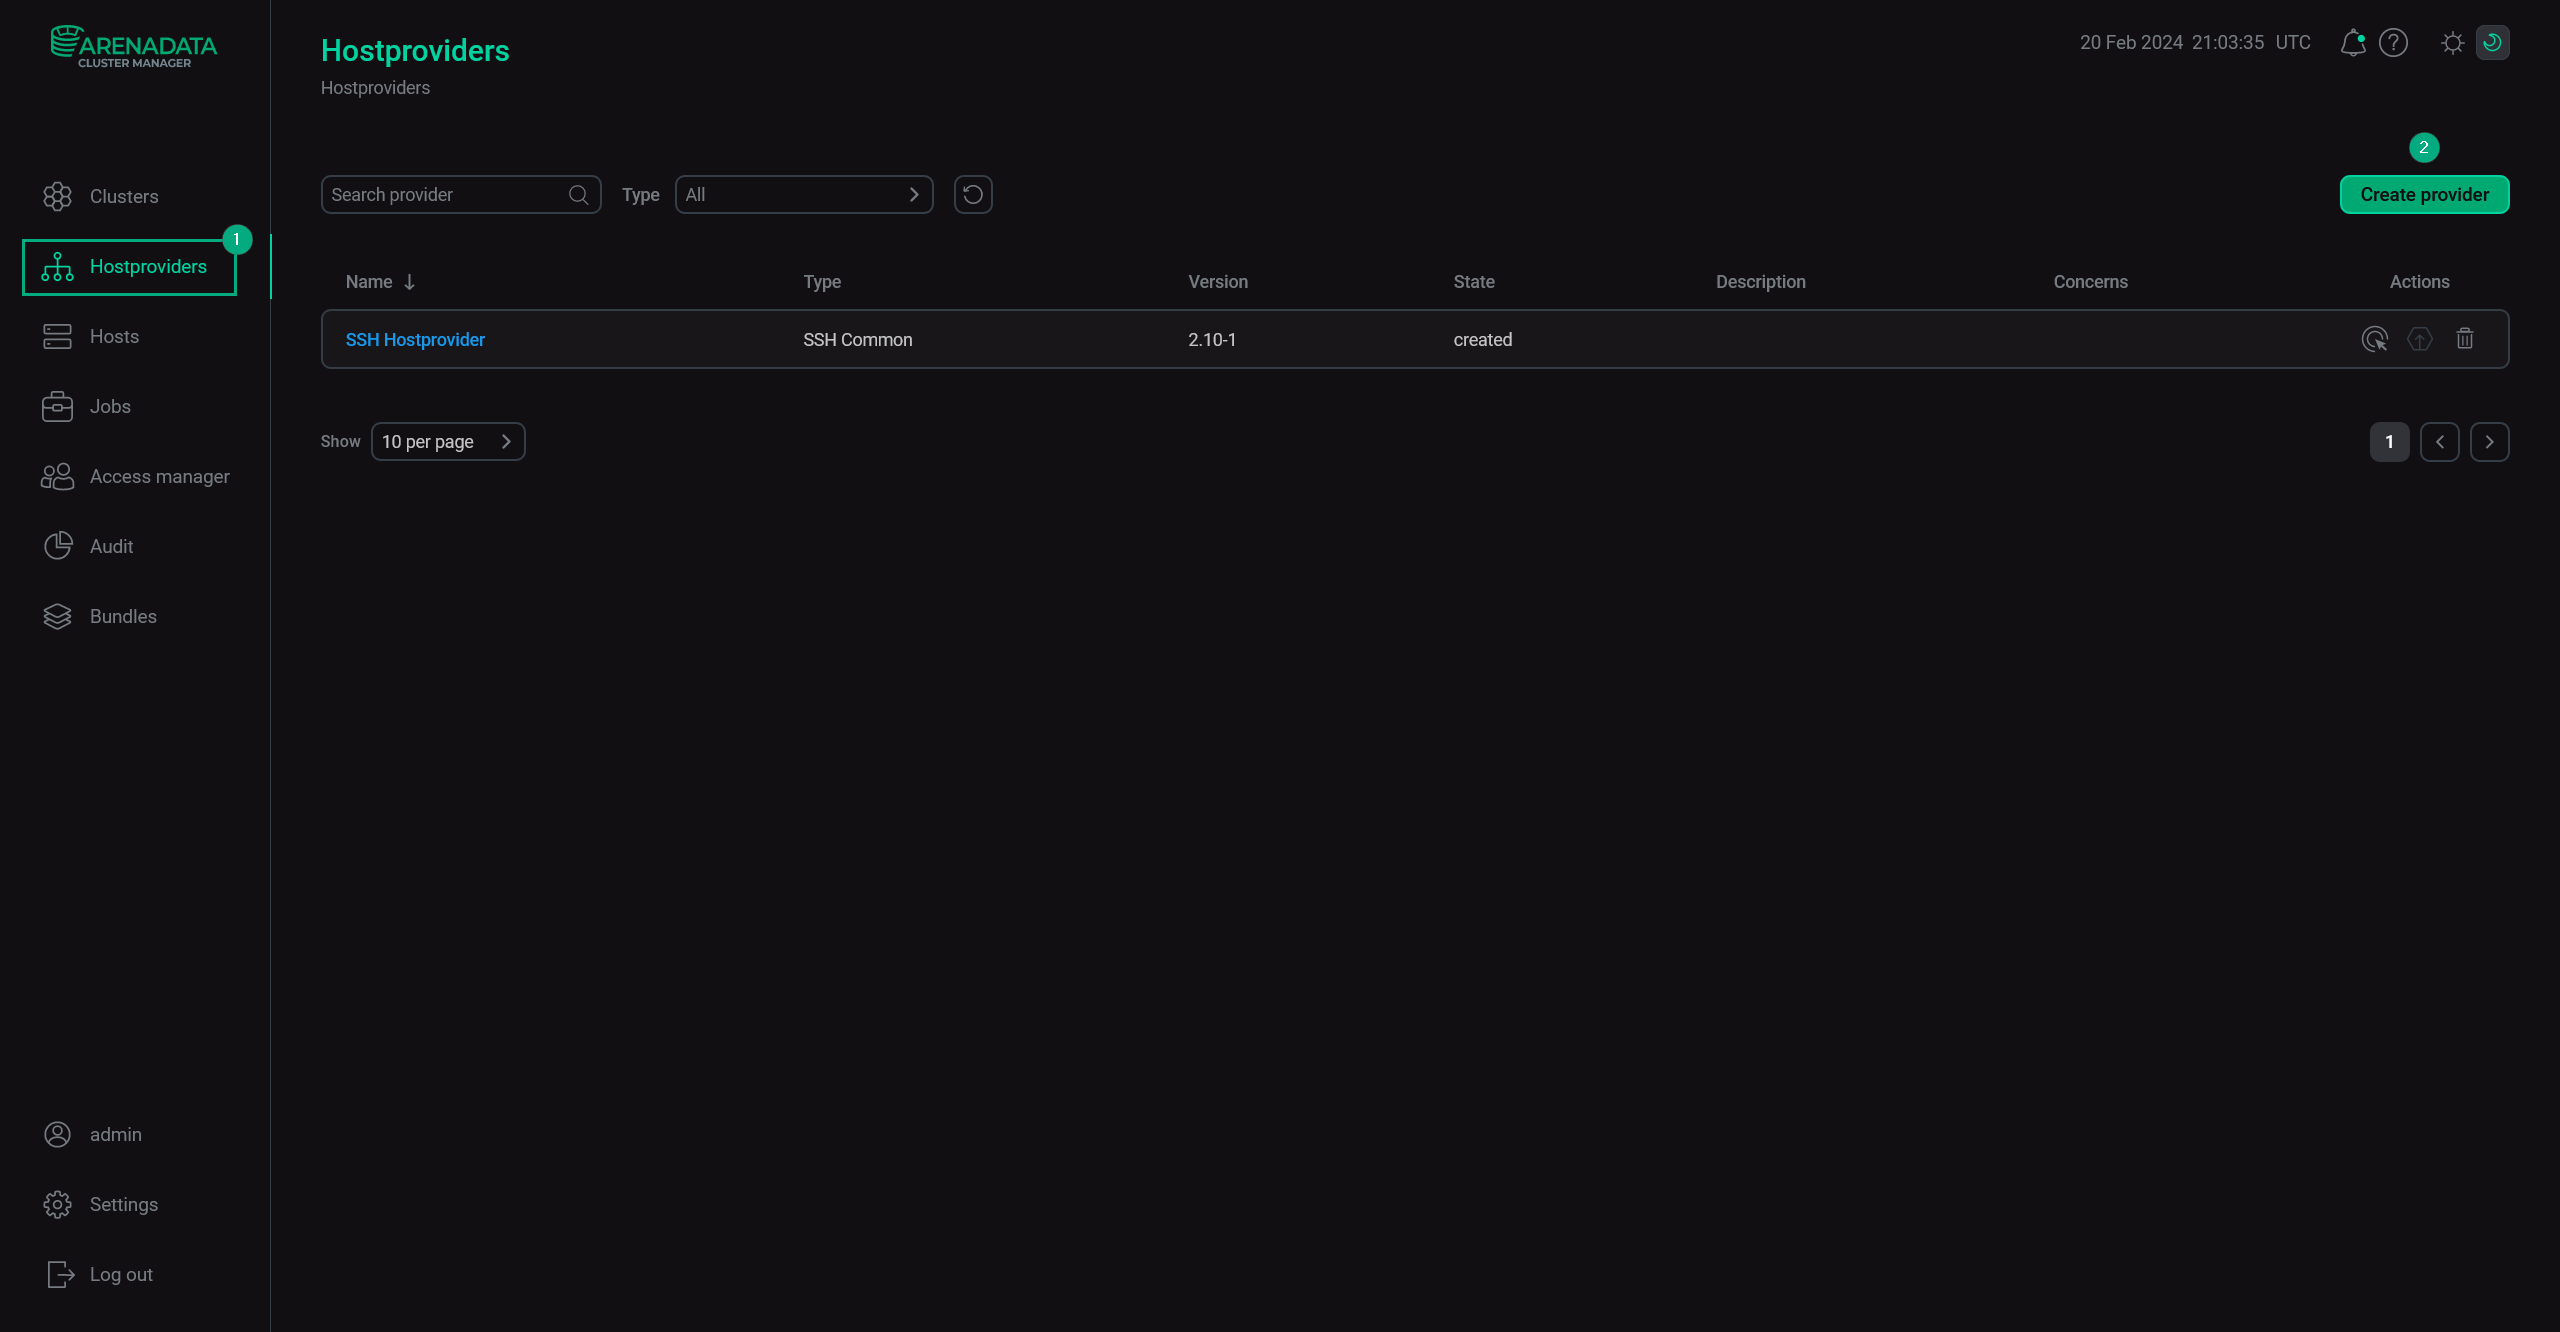 Create a new hostprovider
 -
In the opened window:
-
Select an uploaded bundle in the Type field.
-
Select a bundle version in the Version field. Several versions become available in the case of different versions of the same bundle being uploaded.
-
Enter a hostprovider name in the Name field.
-
Enter a hostprovider description in the Description field if necessary.
-
Click Create.
 Fill in hostprovider parameters
 -
-
As a result of the performed actions, the created hostprovider is displayed on the Hostproviders page.
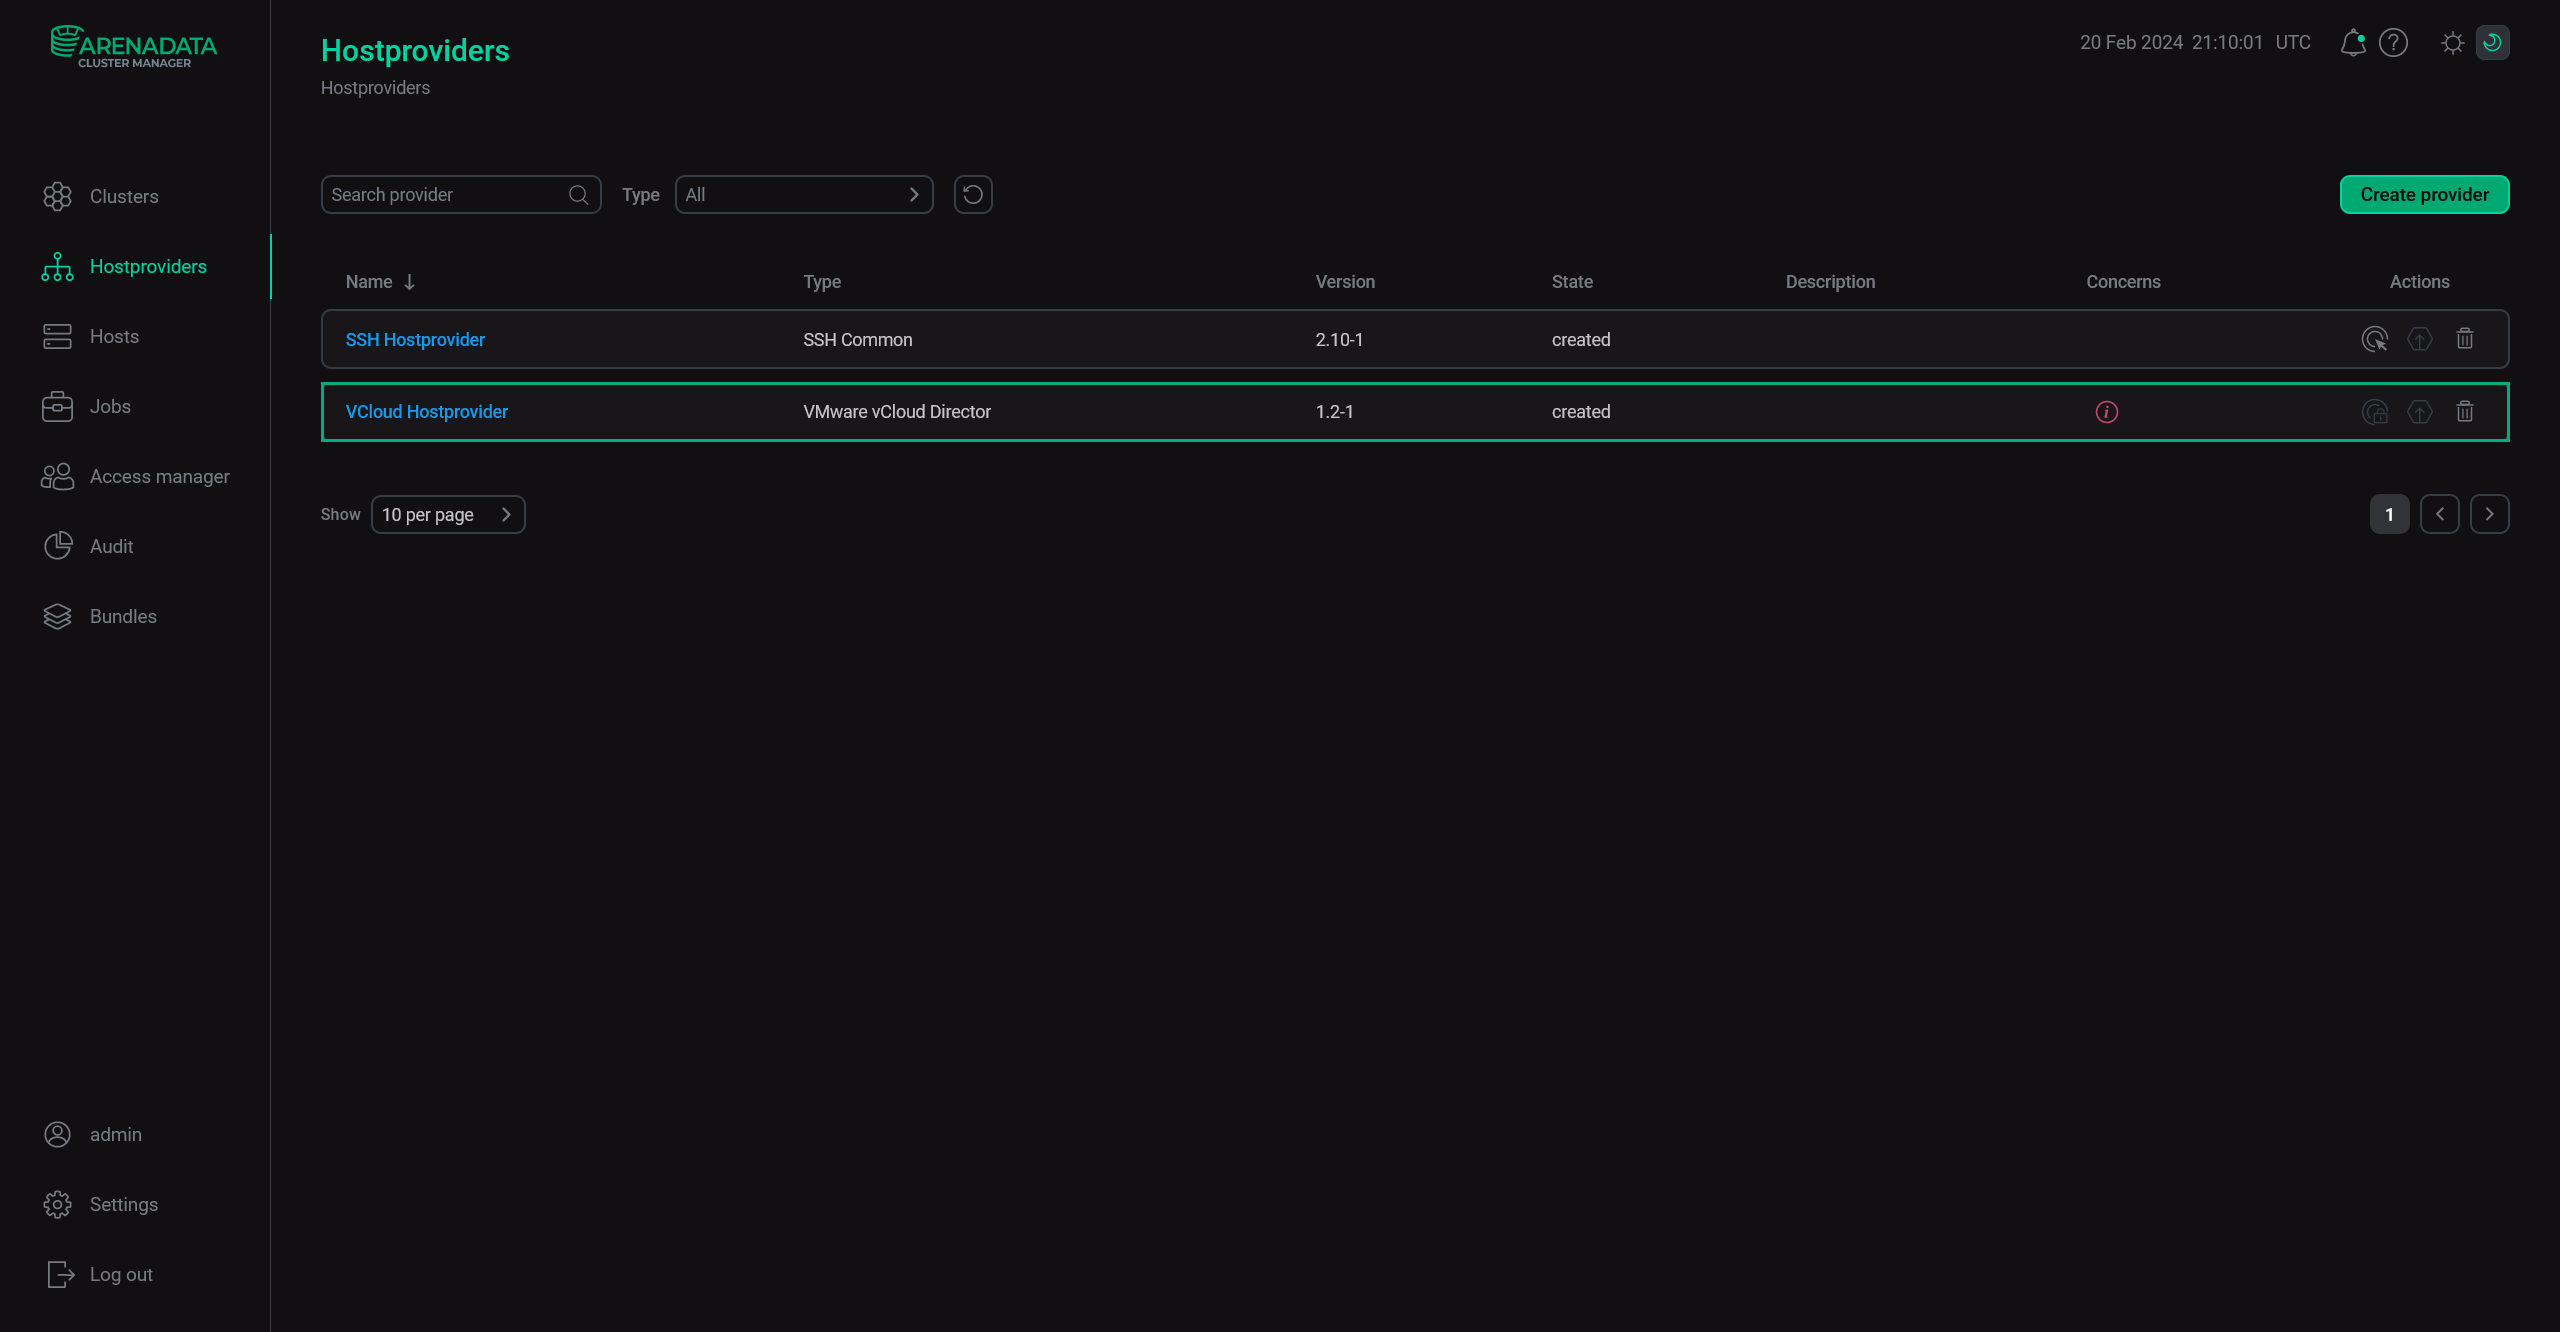 The result of adding a hostprovider successfully
Step 4. Configure a hostprovider
In order to configure the access to the cloud, follow the steps:
-
Select a hostprovider on the Hostproviders page. To do this, click a hostprovider name in the Name column. Alternatively, you can hover over the

 icon in the Concerns column and follow the link in the pop-up window that opens. The icon indicates the presence of critical errors in the current hostprovider configuration (e.g. mandatory fields).
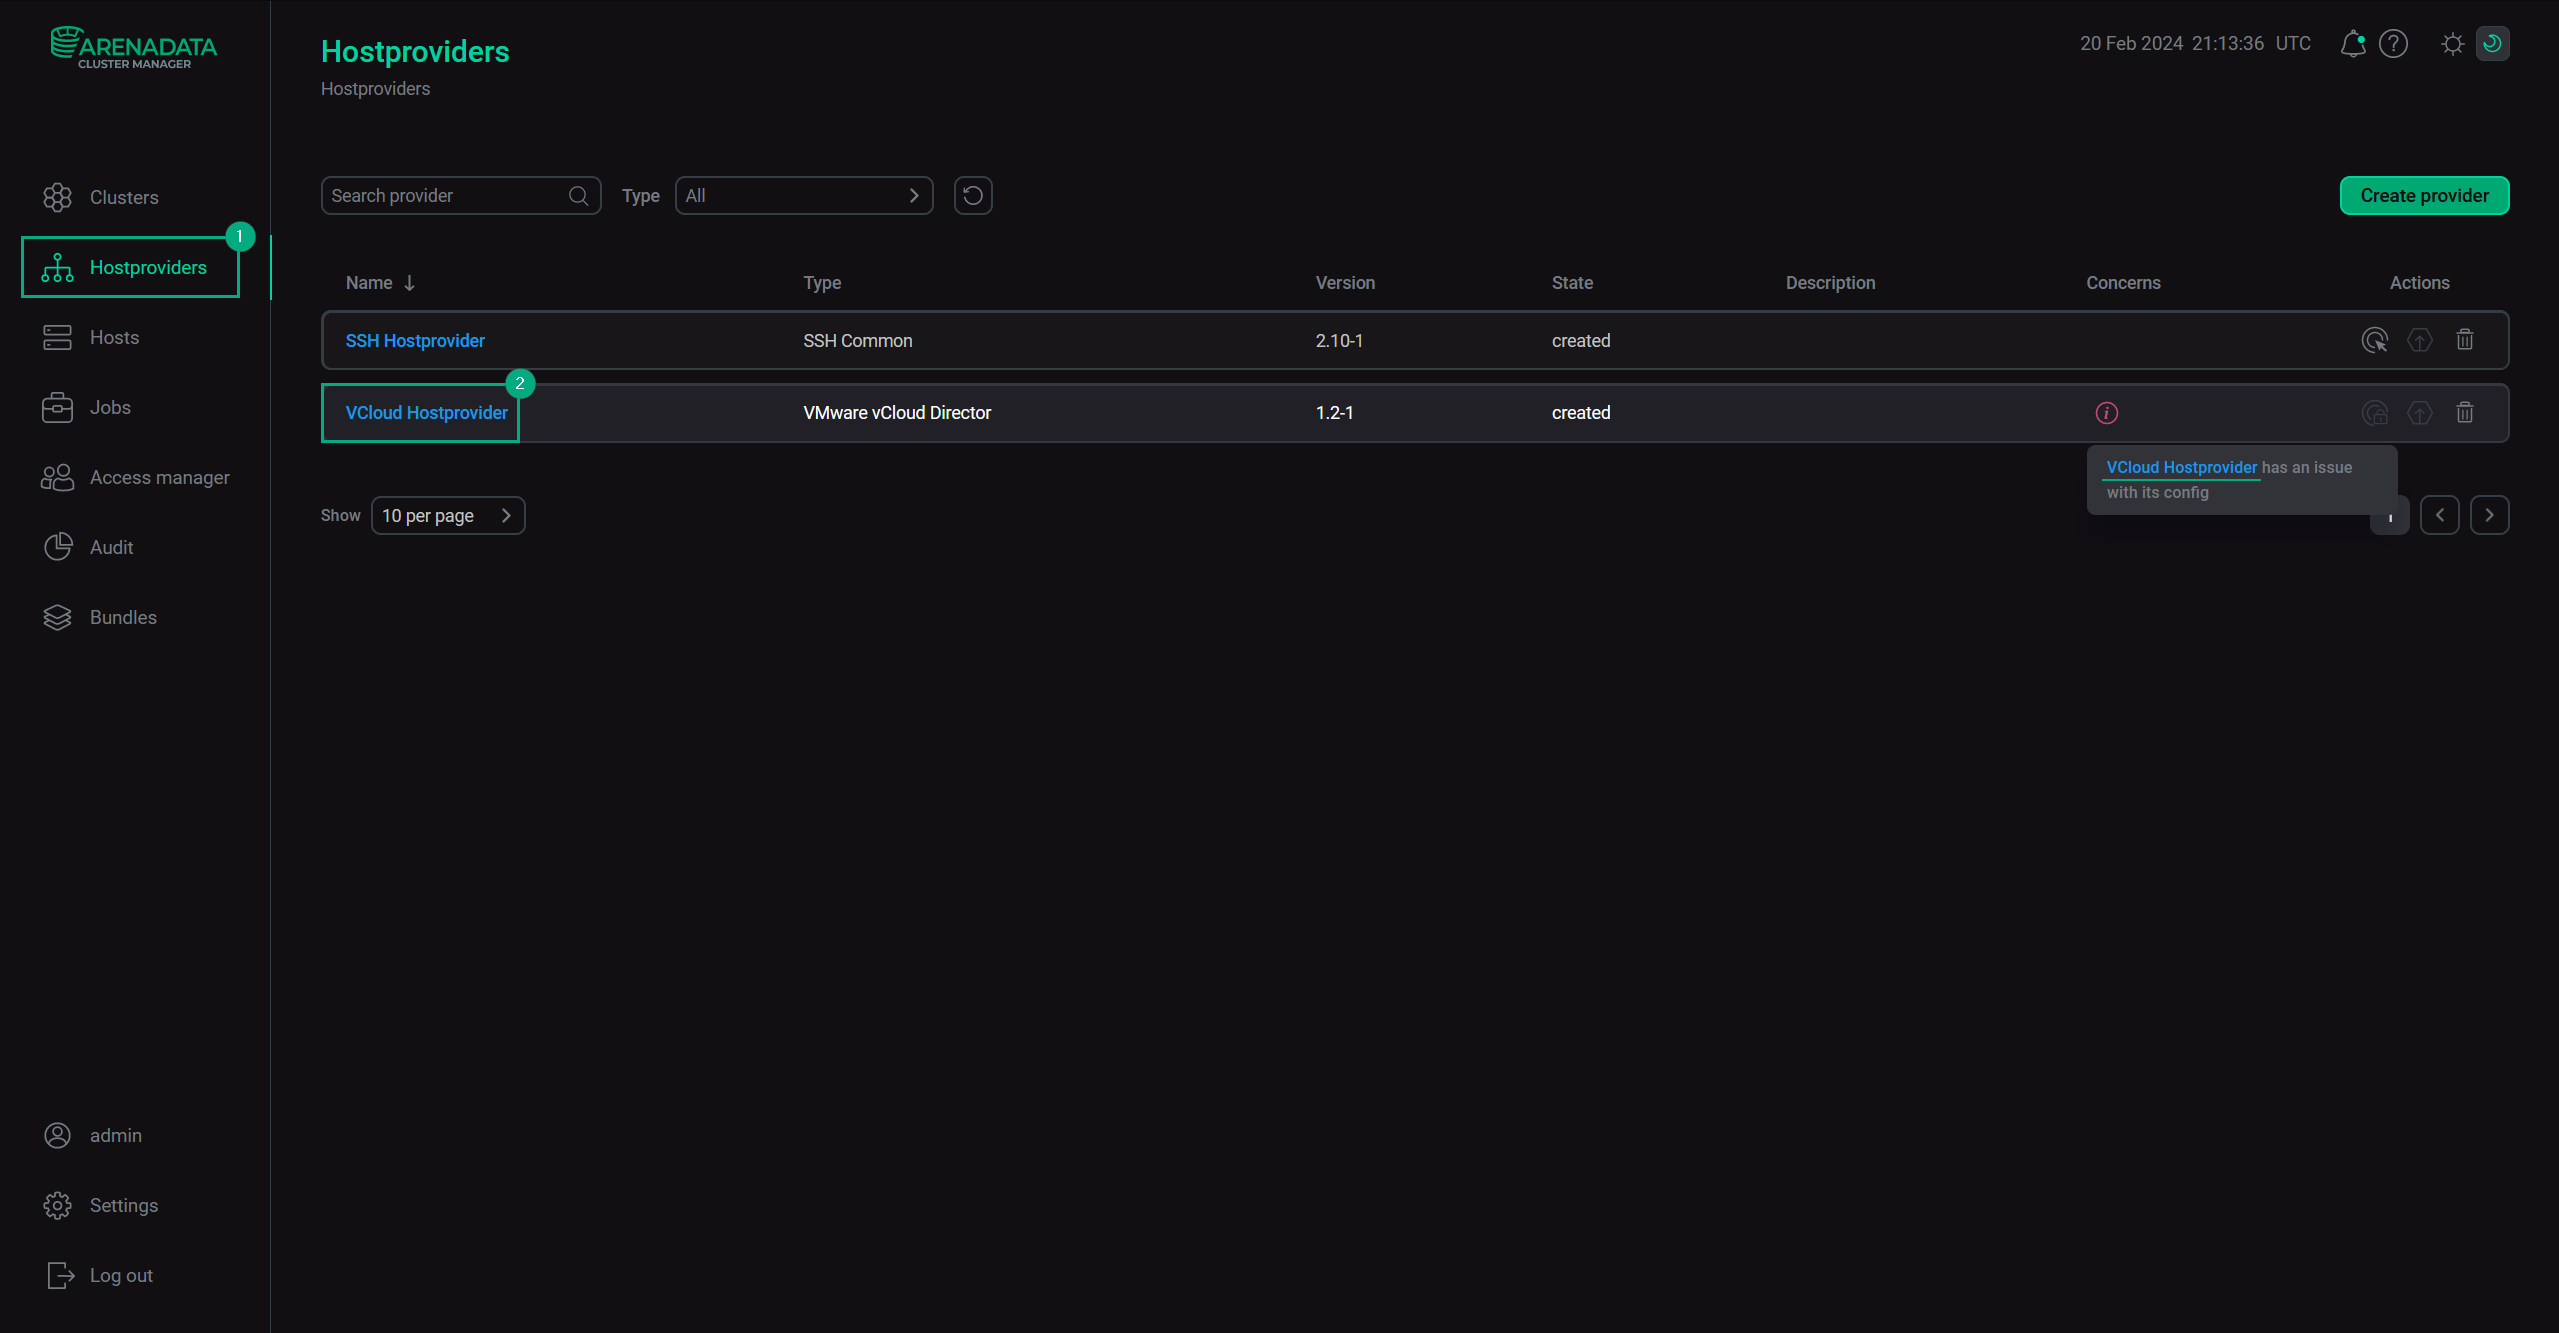 Go to configuring a hostprovider
 -
On the opened page, fill in the hostprovider parameters and click Save. The fields highlighted in red are mandatory.
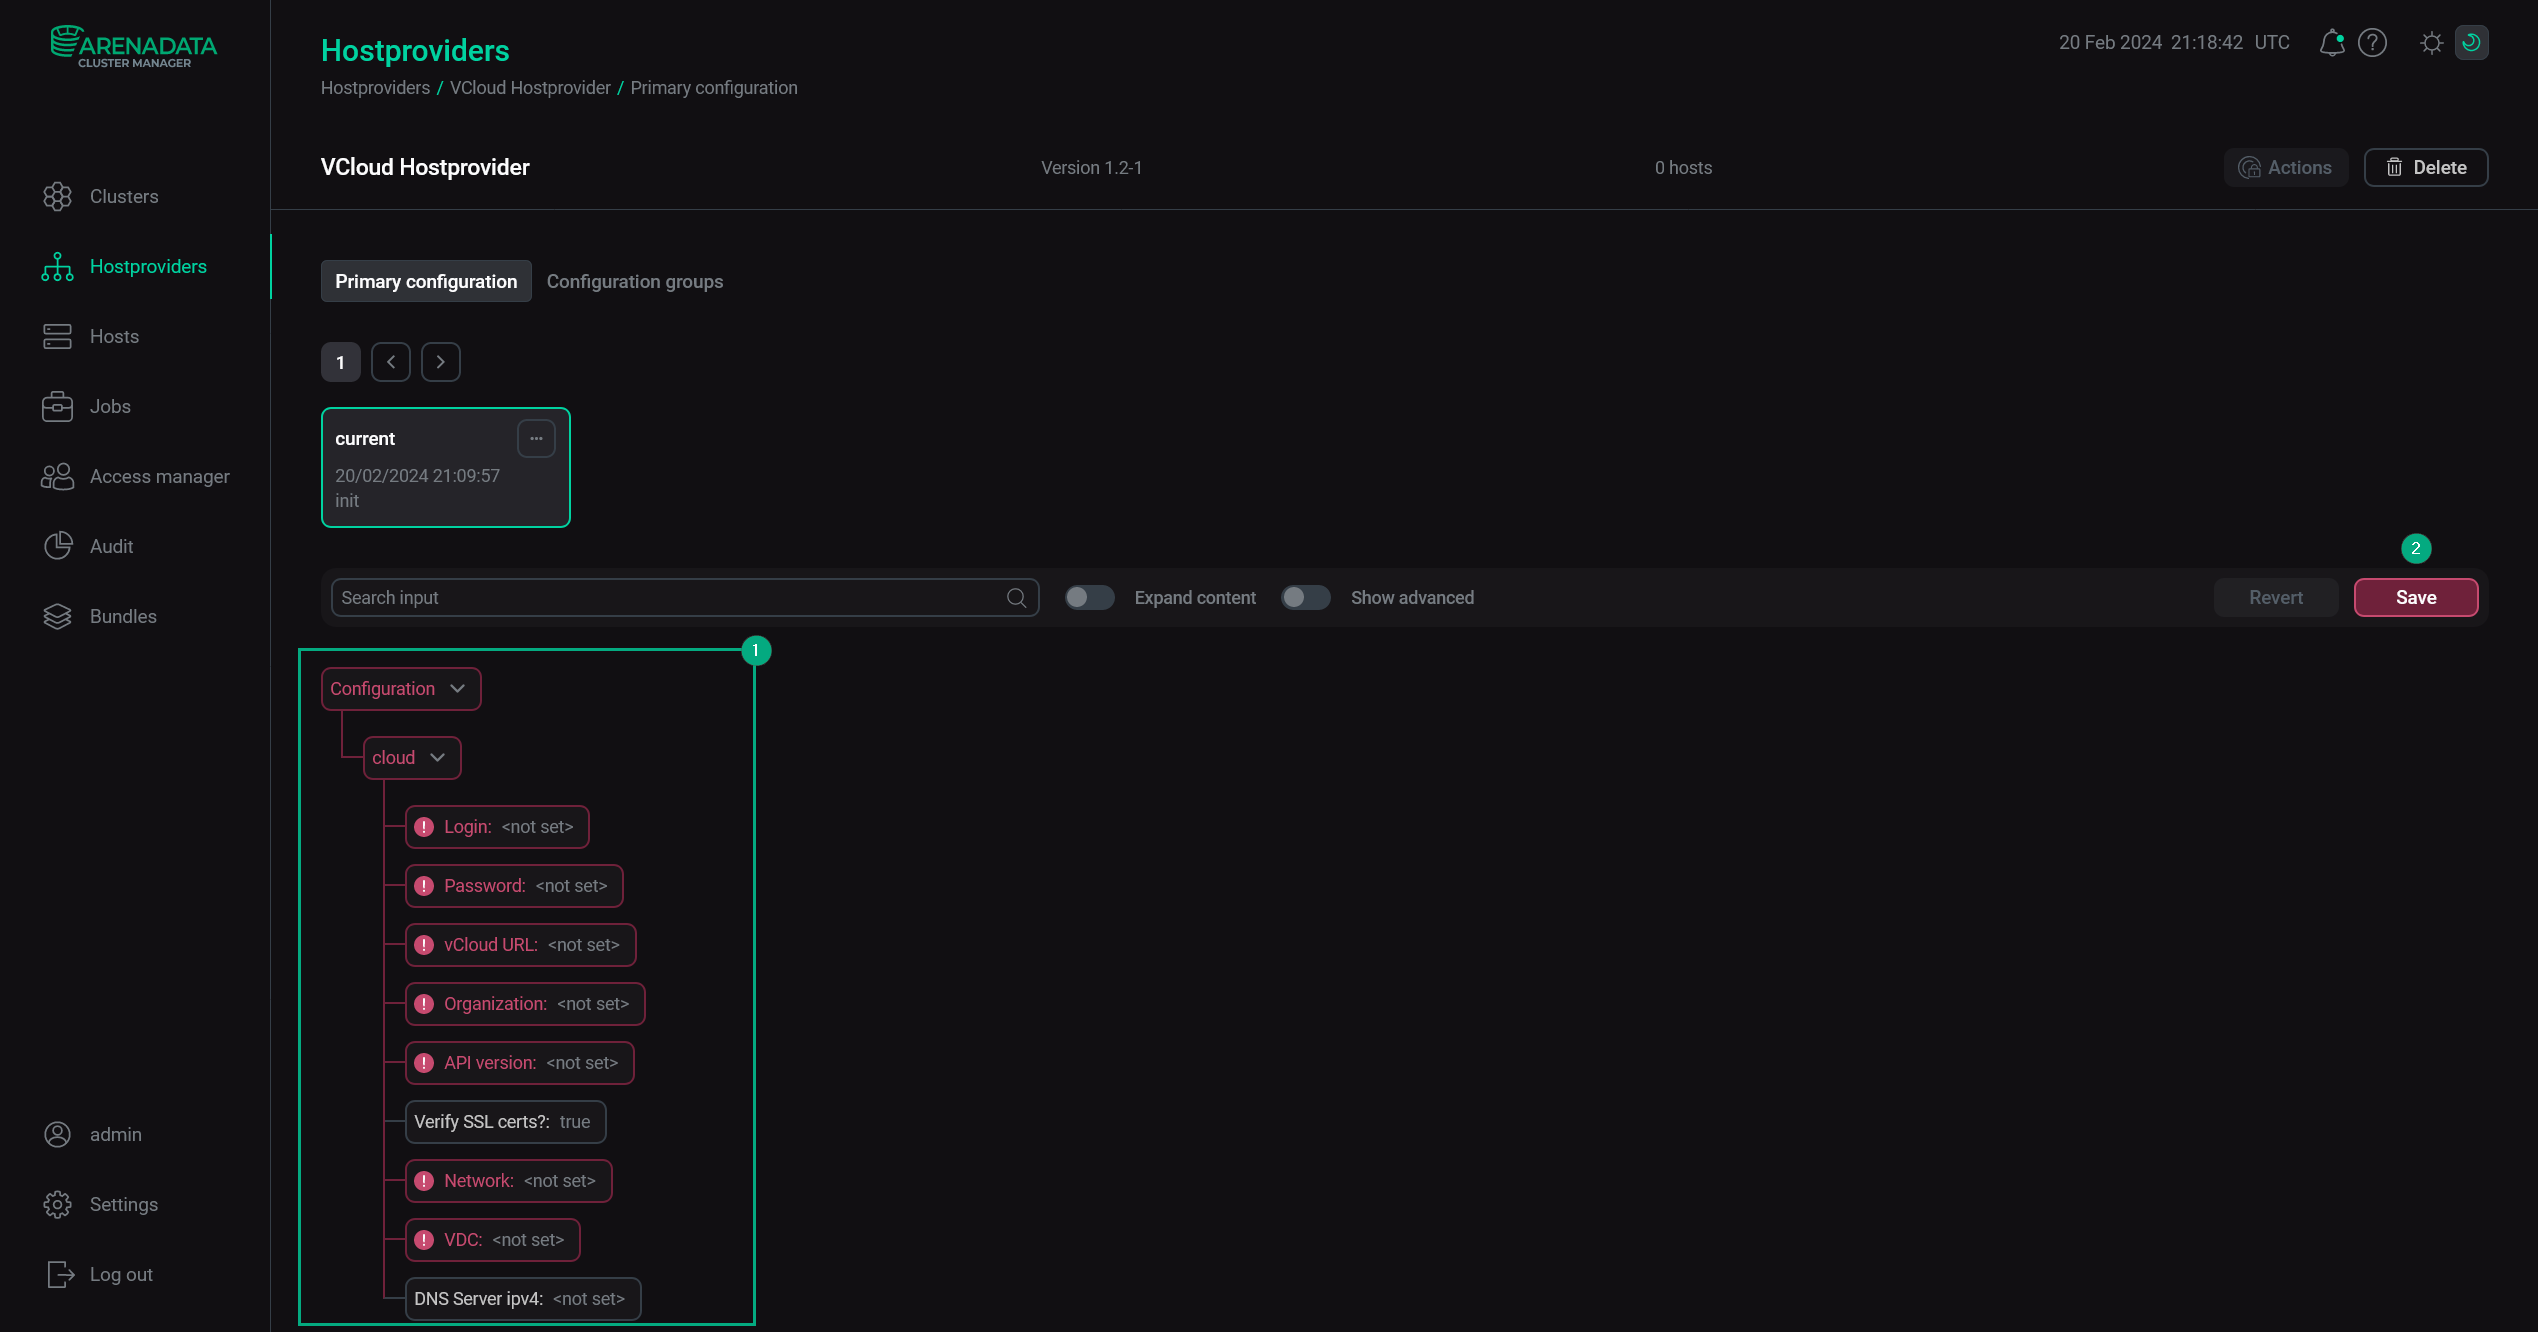 Hostprovider configuration
The assignment of parameters is listed below.
Configuration parameters Parameter Description Login
User login for cloud UI
Password
Password for
LoginvCloud URL
URL for Cloud UI
Organization
Unique project name
API version
Cloud API version
Verify SSL certs?
Indicates whether to verify the SSL certificates
Network
Name of the network in the project. The network must have a connected Edge Gateway with configured Primary IP (network access is required to update packages during installation)
VDC
Name of the virtual data center (VDC) in the project
DNS Server ipv4
IP of a DNS server to setup custom DNS on newly created hosts
NOTEIt’s recommended to create firewall rules and NAT rules for tcp/8000 (HTTP access to ADCM) and tcp/22 (SSH). -
Return to the Hostproviders page. As a result, the
icon stops being displayed in the Concerns column. The actions available for the configured hostprovider can be opened by clicking the 
 icon in the Actions column.
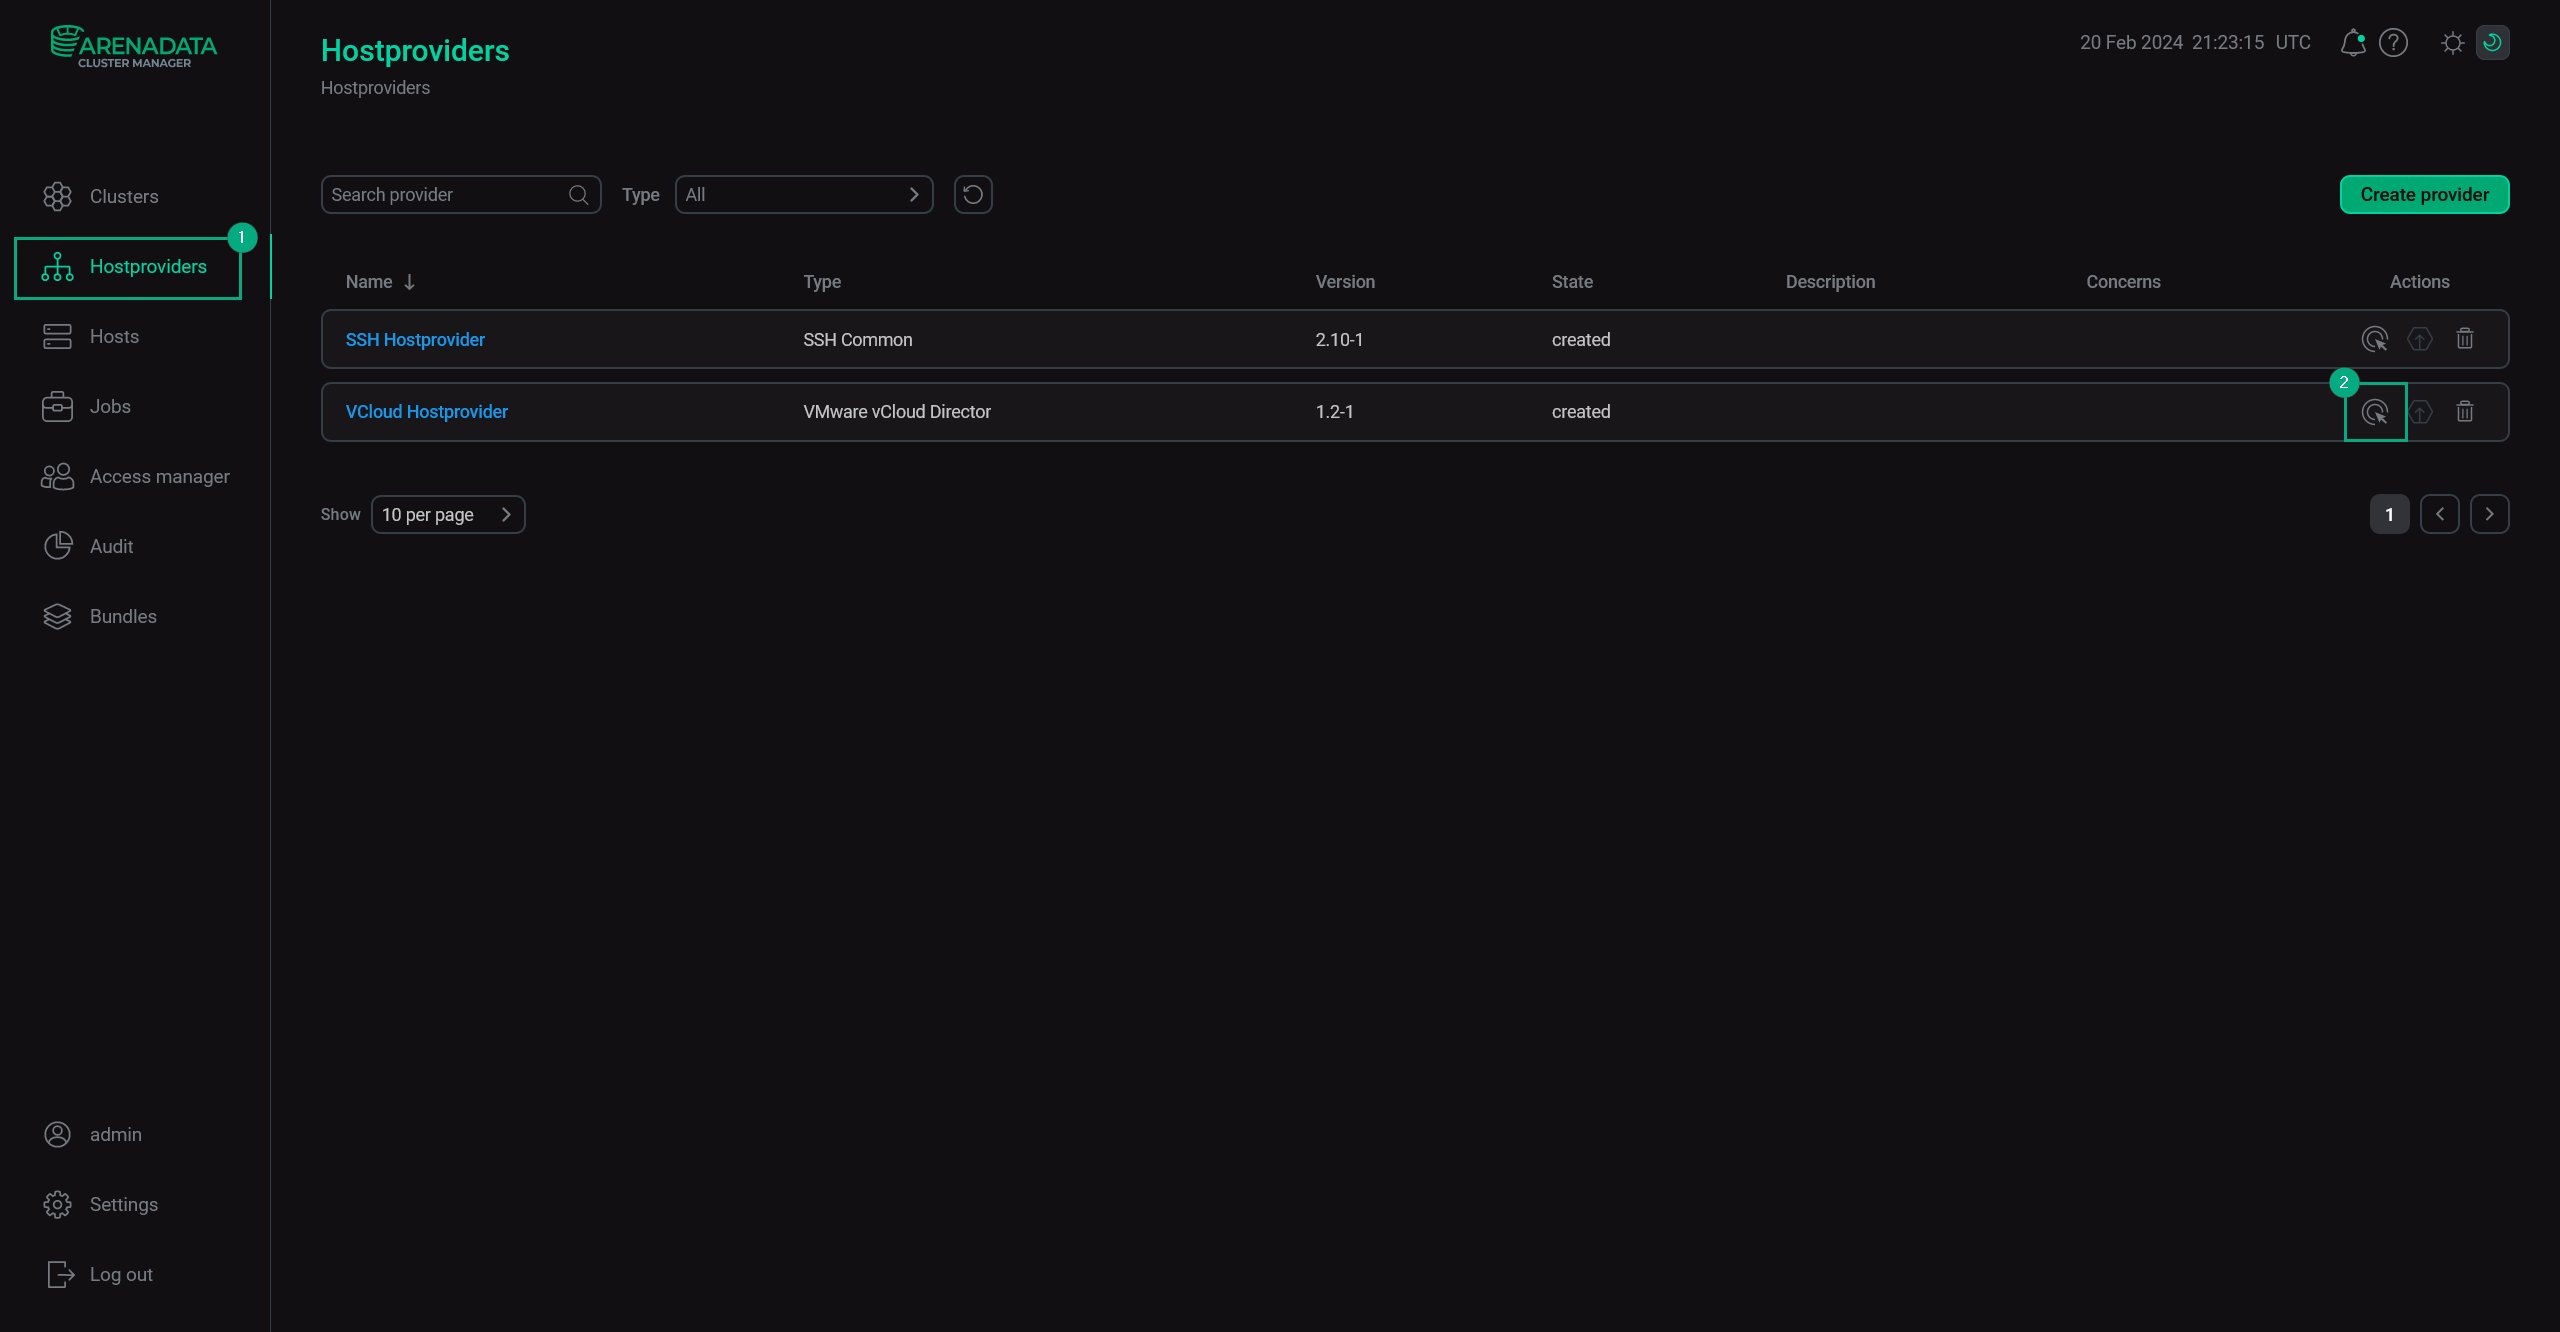 The result of configuring a hostprovider successfully