

Installation and configuration
Step 1. Download a hostprovider bundle
Hostprovider distributions for ADCM come in bundles. Regarding the SSH hostprovider, a bundle is a regular archive that includes a description and logic to establish an SSH connection to a host.
The steps for downloading a bundle are given below:
-
Go to https://network.arenadata.io/ and select Arenadata Cluster Manager.
-
Navigate to Infrastructure bundles and select the required bundle from the table.
 Infrastructure bundles page for ADCM
SSH hostprovider bundle is called SSH bundle.
Step 2. Upload a hostprovider bundle to ADCM
To upload a bundle to ADCM, follow the steps:
-
Select the Bundles item in the left navigation menu and click Upload bundle.
-
Select a bundle in the Open File Dialog.
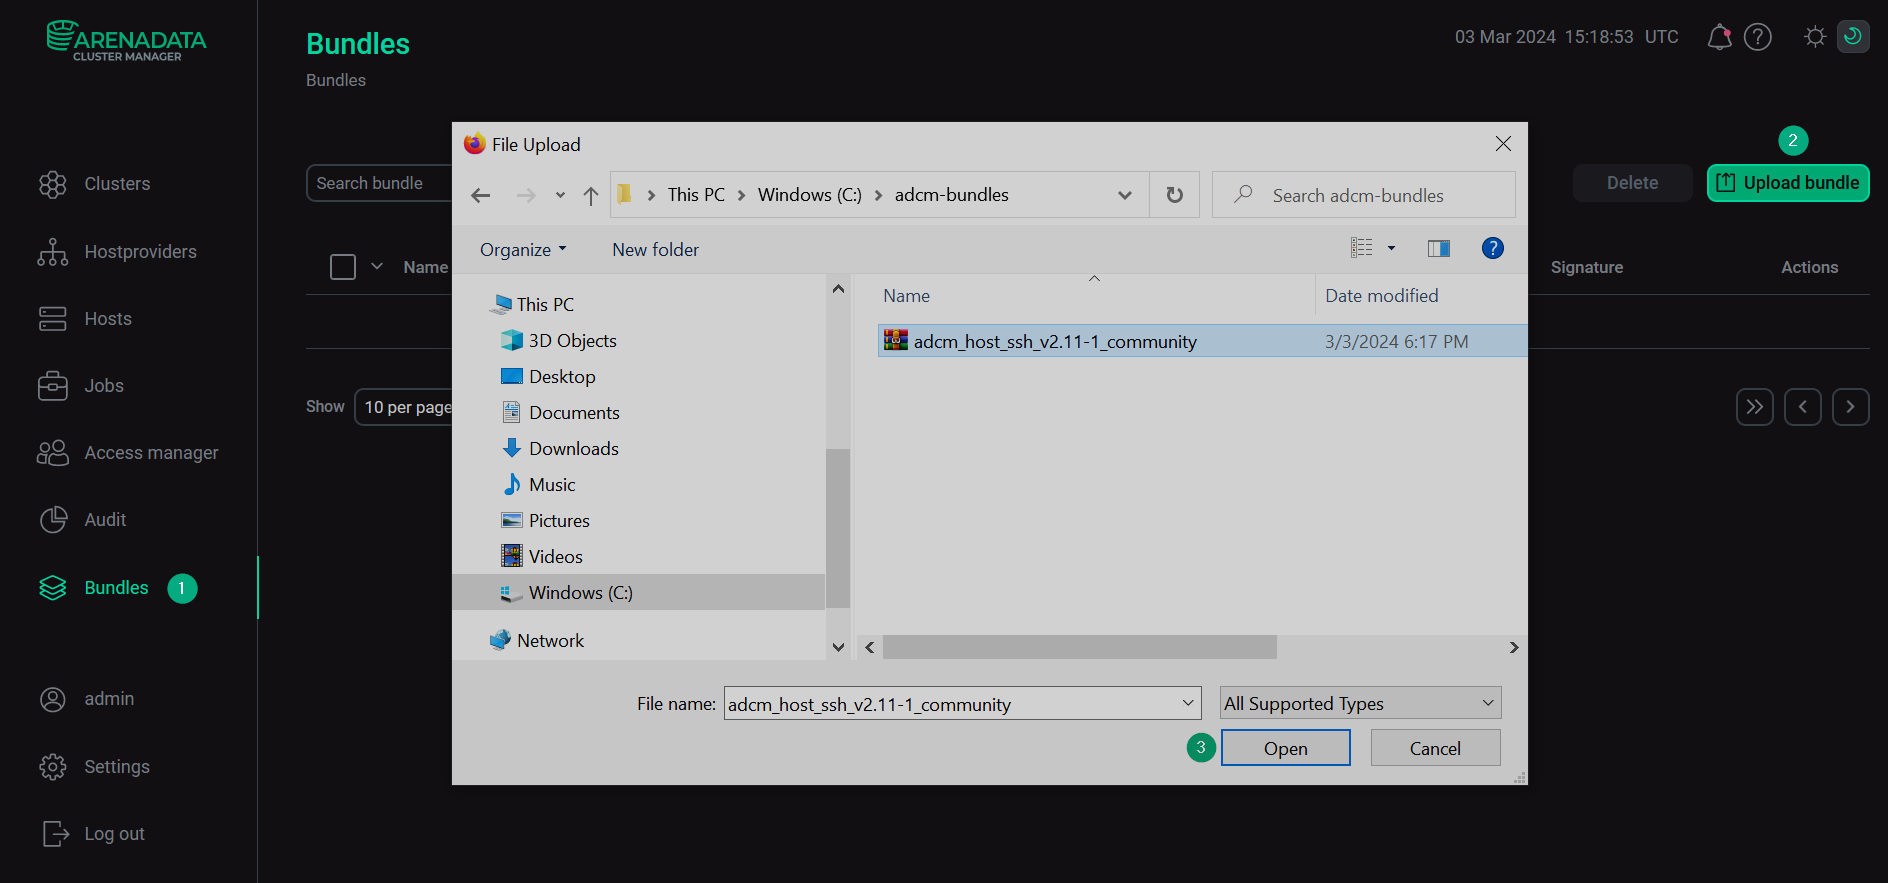 Upload a bundle
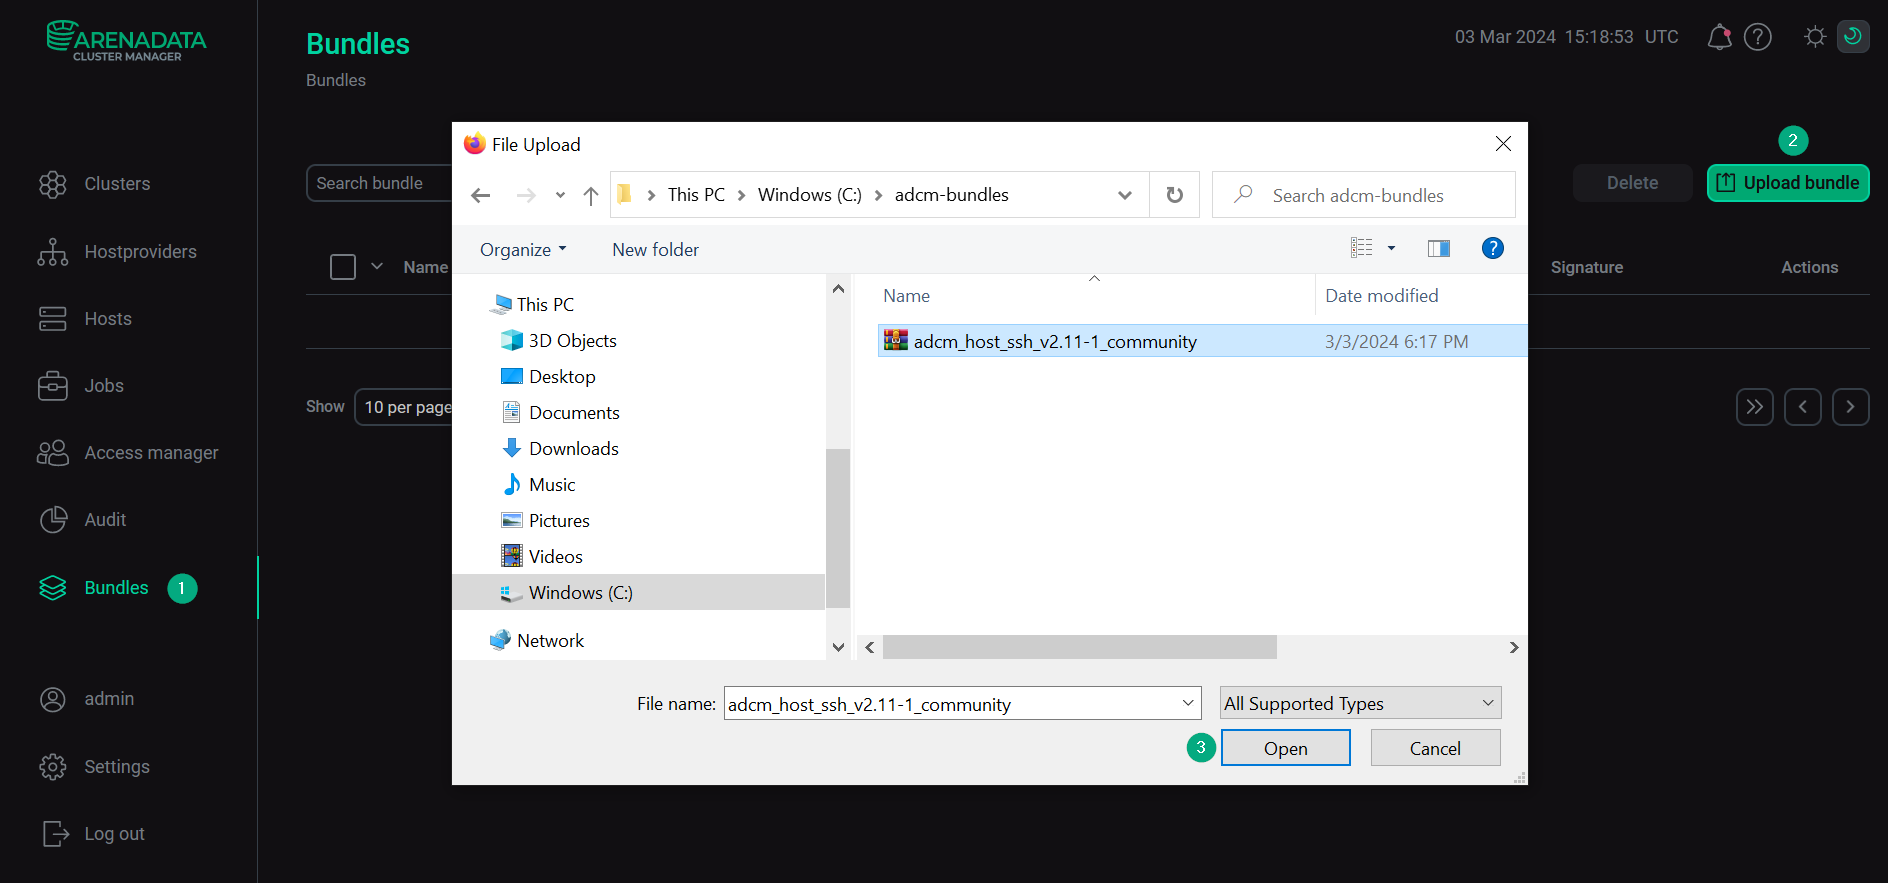 Upload a bundle
 -
As a result of the performed actions, a bundle is displayed on the Bundles page.
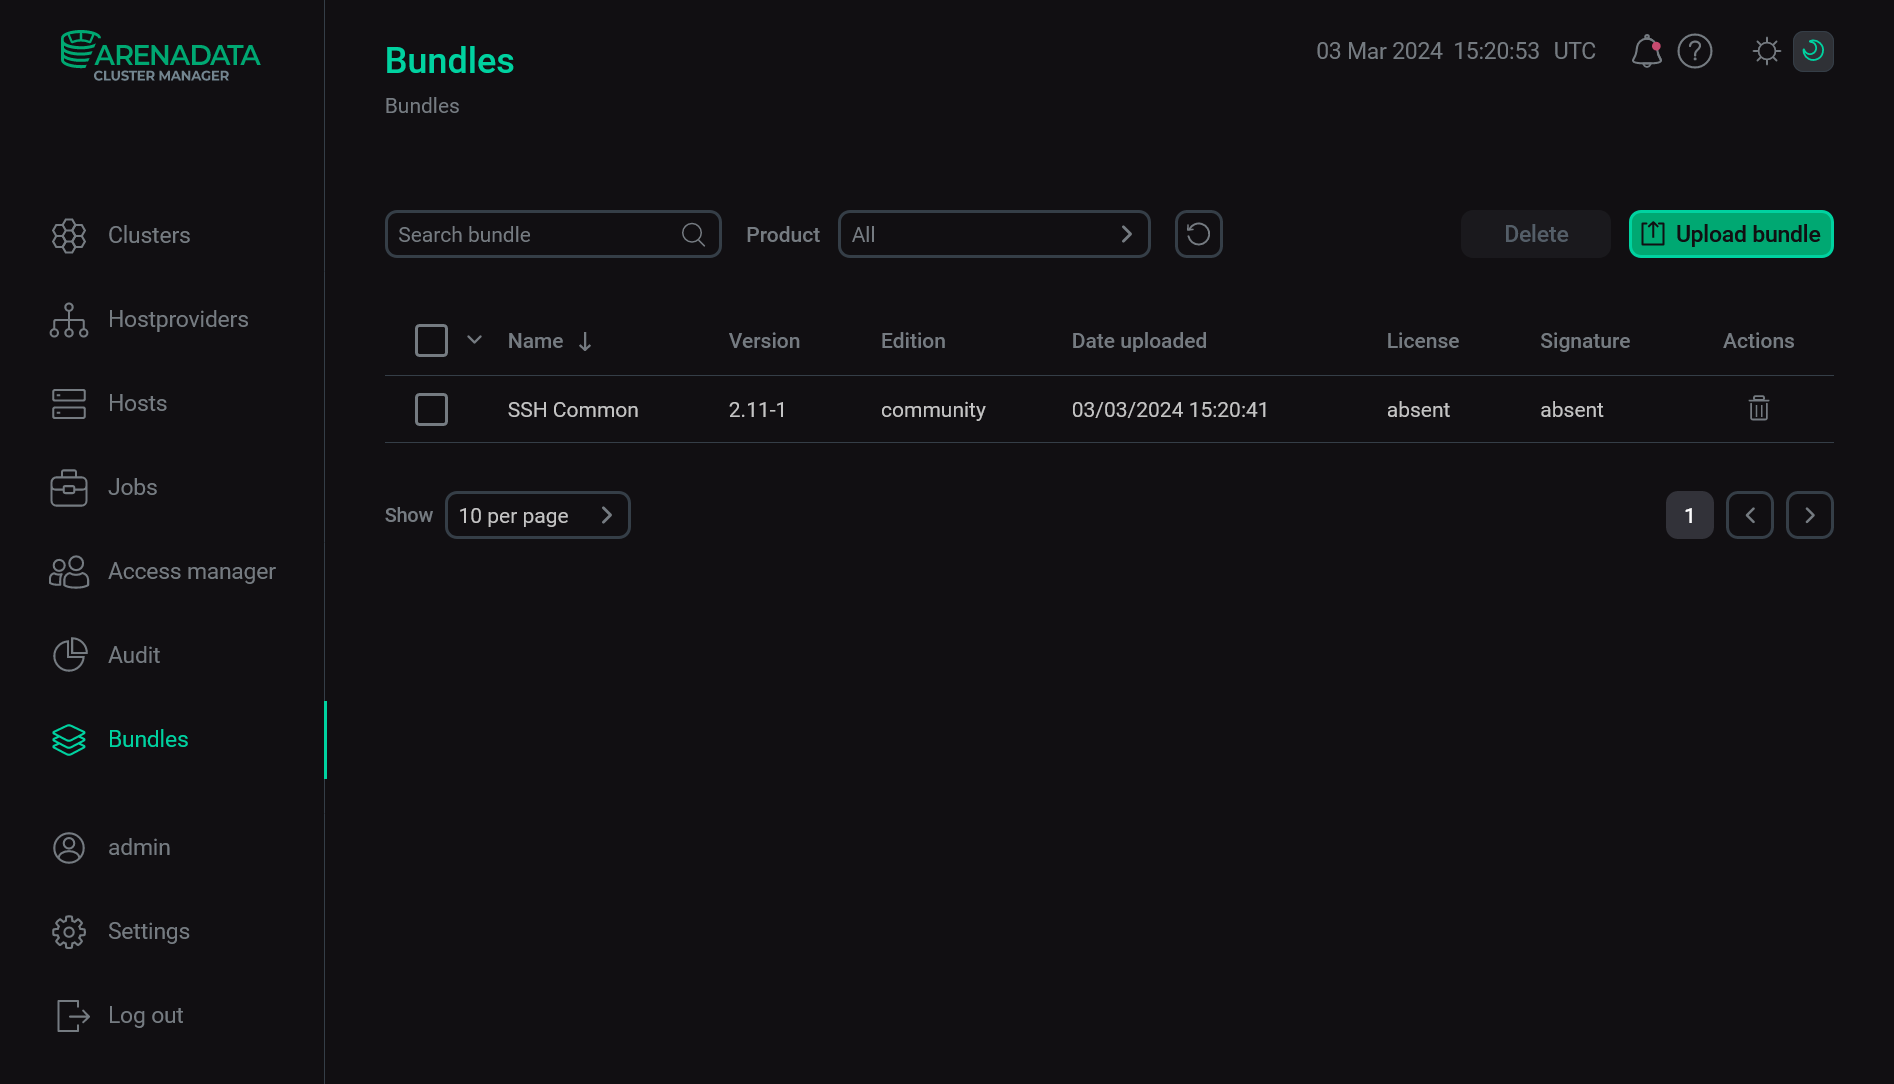 The result of successful uploading a bundle
Step 3. Create a hostprovider based on the uploaded bundle
To add a new hostprovider to ADCM on the base of the uploaded bundle, follow the steps:
-
Select the Hostproviders item in the left navigation menu and click Create provider.
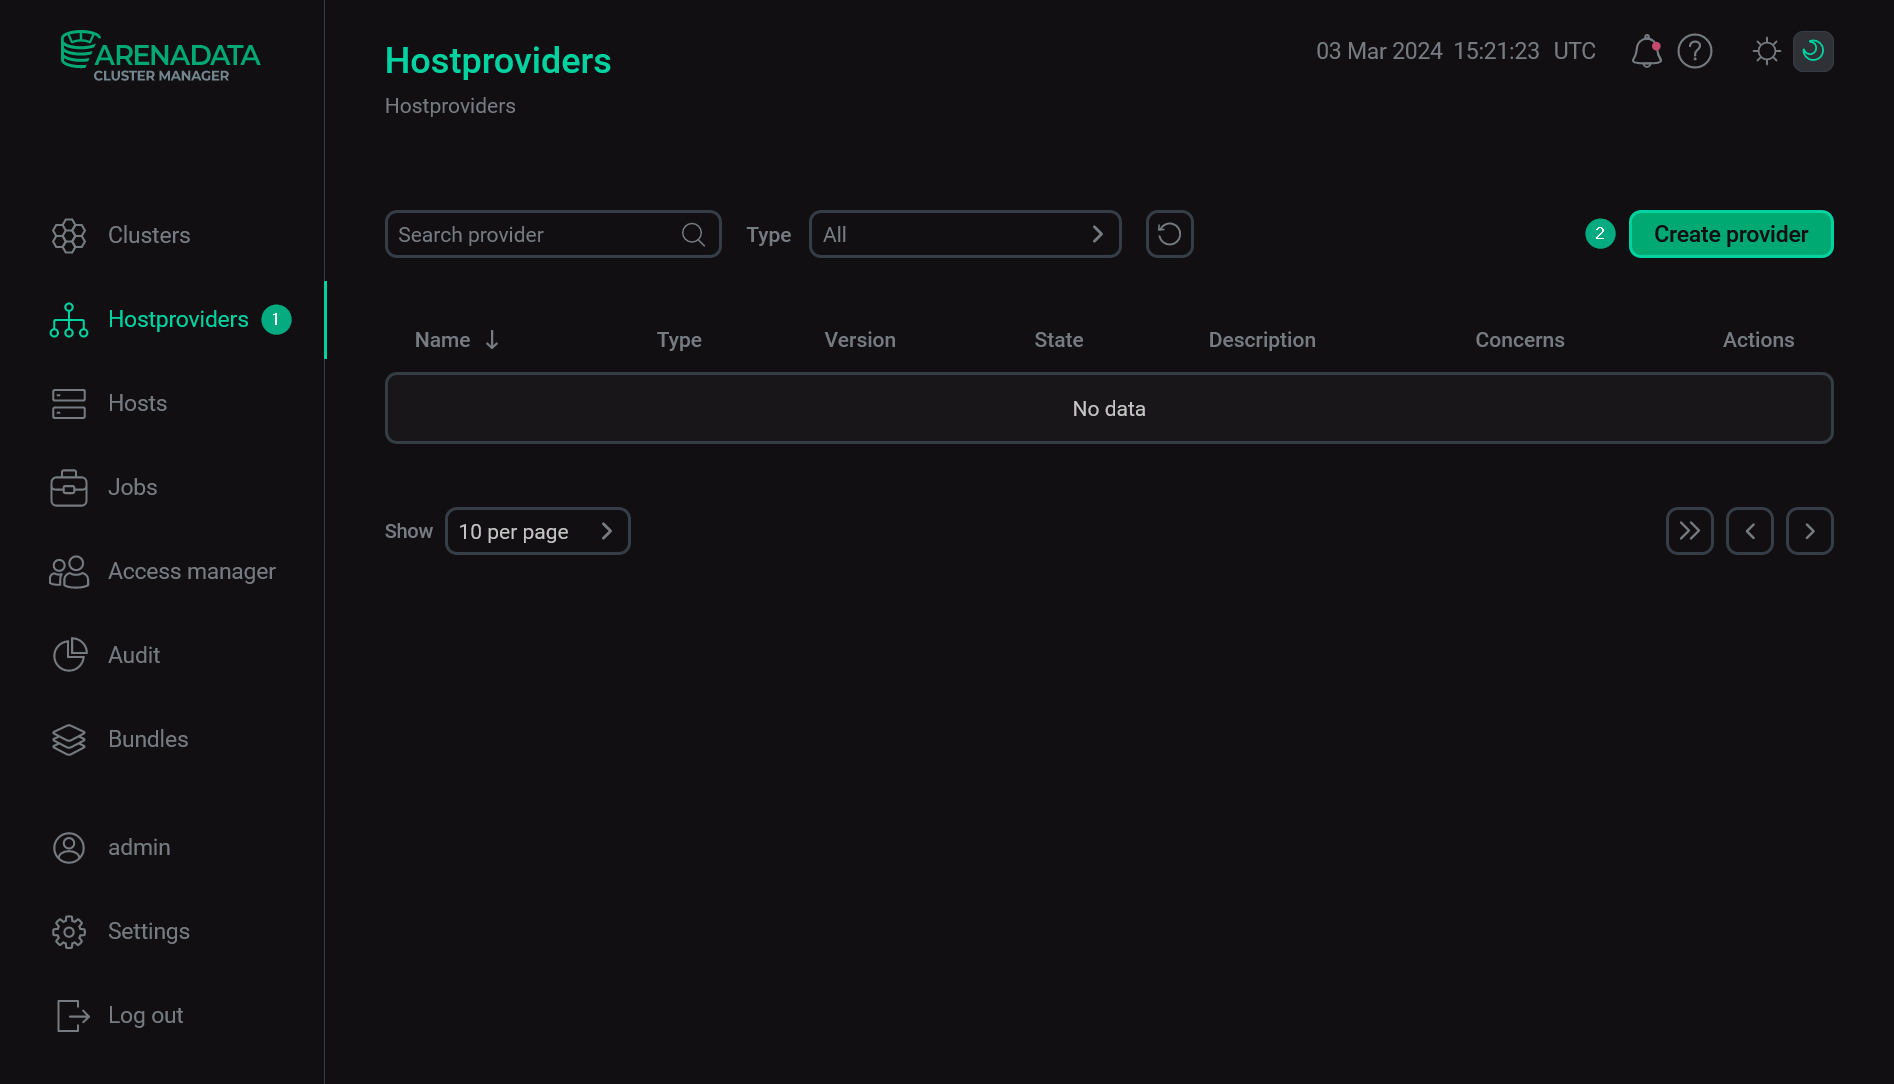 Create a new hostprovider
 -
In the opened window:
-
Select an uploaded bundle in the Type field.
-
Select a bundle version in the Version field. Several versions become available in the case of different versions of the same bundle being uploaded.
-
Enter a hostprovider name in the Name field.
-
Enter a hostprovider description in the Description field if necessary.
-
Click Create.
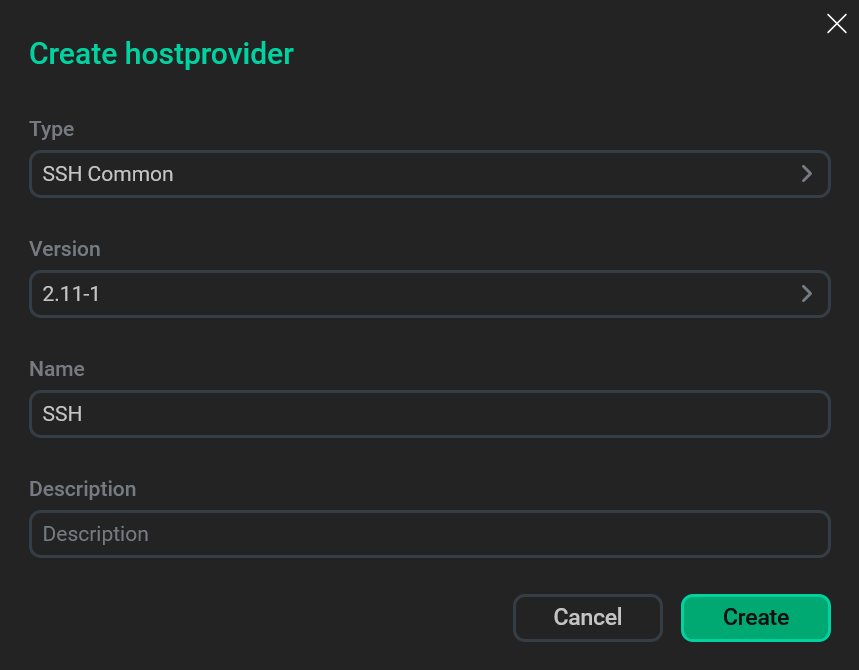 Fill in hostprovider parameters
 -
-
As a result of the performed actions, the created hostprovider is displayed on the Hostproviders page.
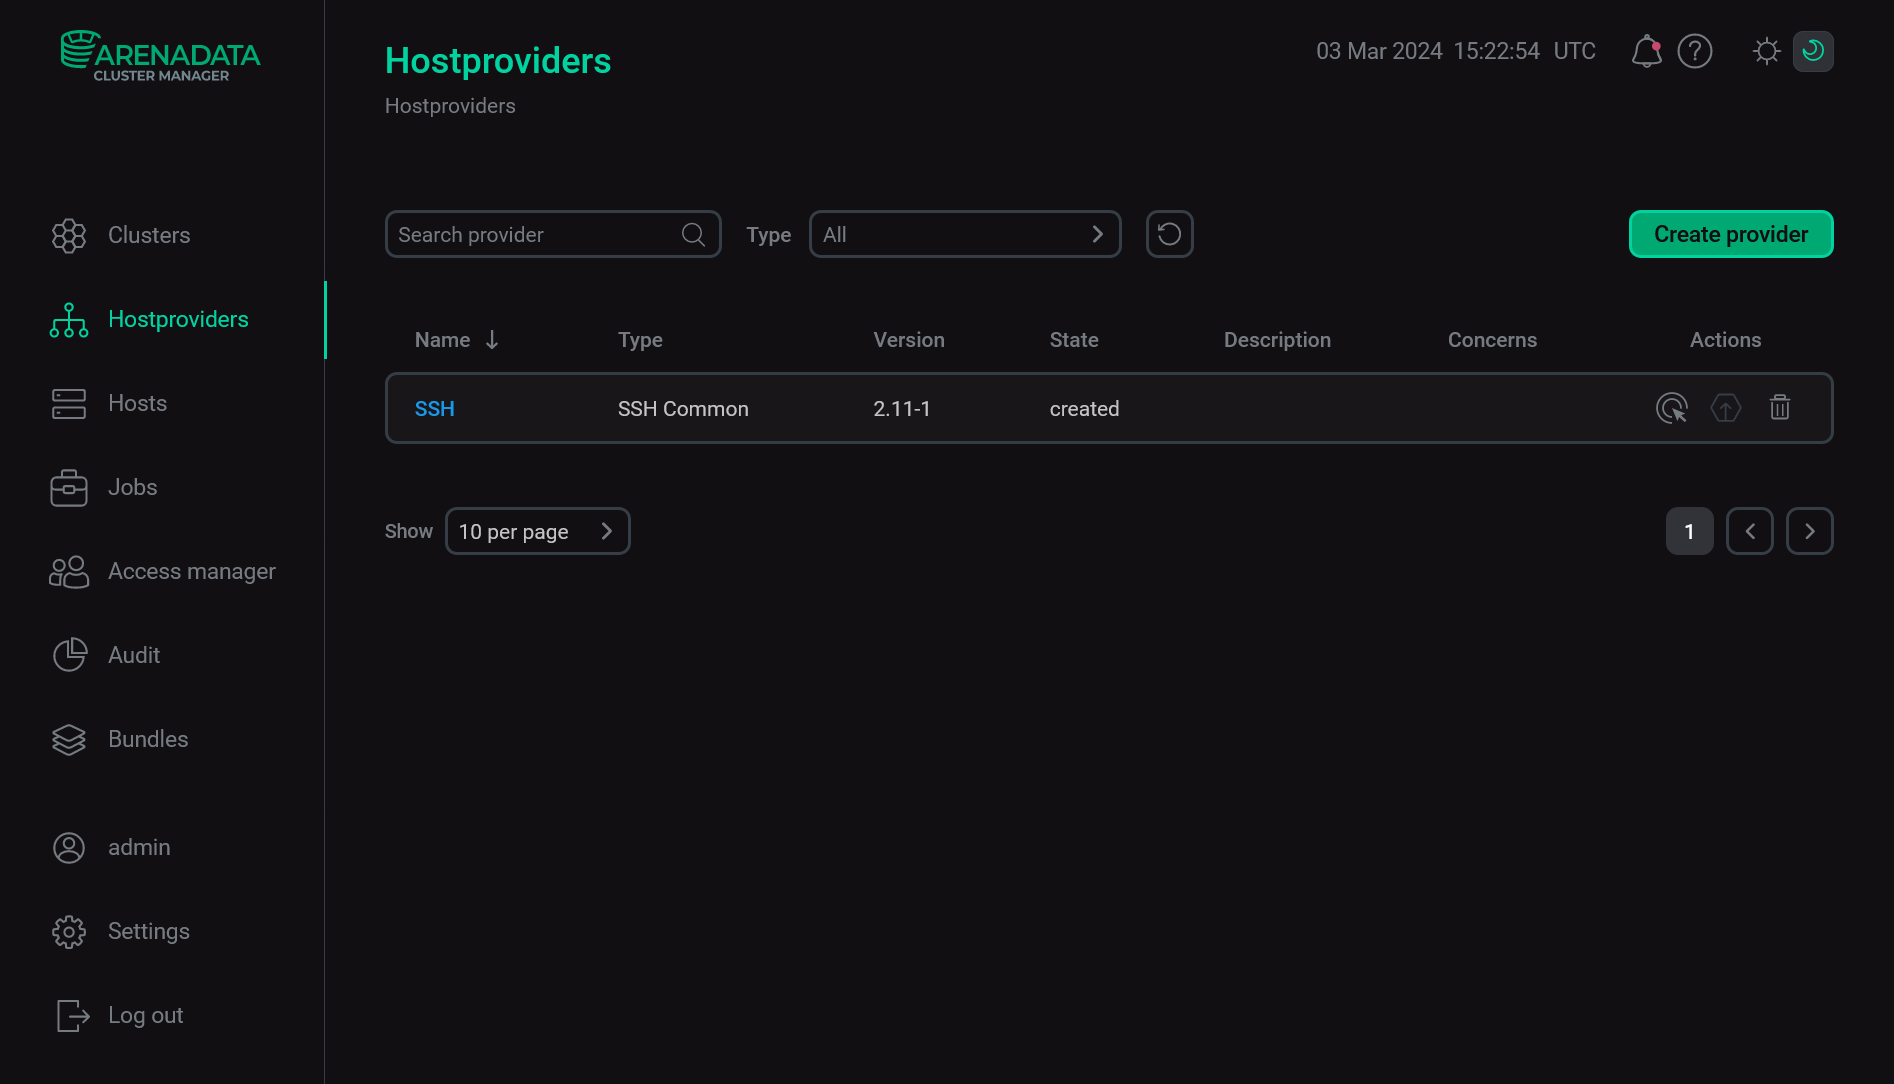 The result of adding a hostprovider successfully
Step 4. Configure a hostprovider
Configuring an SSH hostprovider is an optional step and is required only for the Create users and Create hosts actions. To configure an SSH hostprovider, follow the steps:
-
On the Hostproviders page, click a hostprovider name in the Name column.
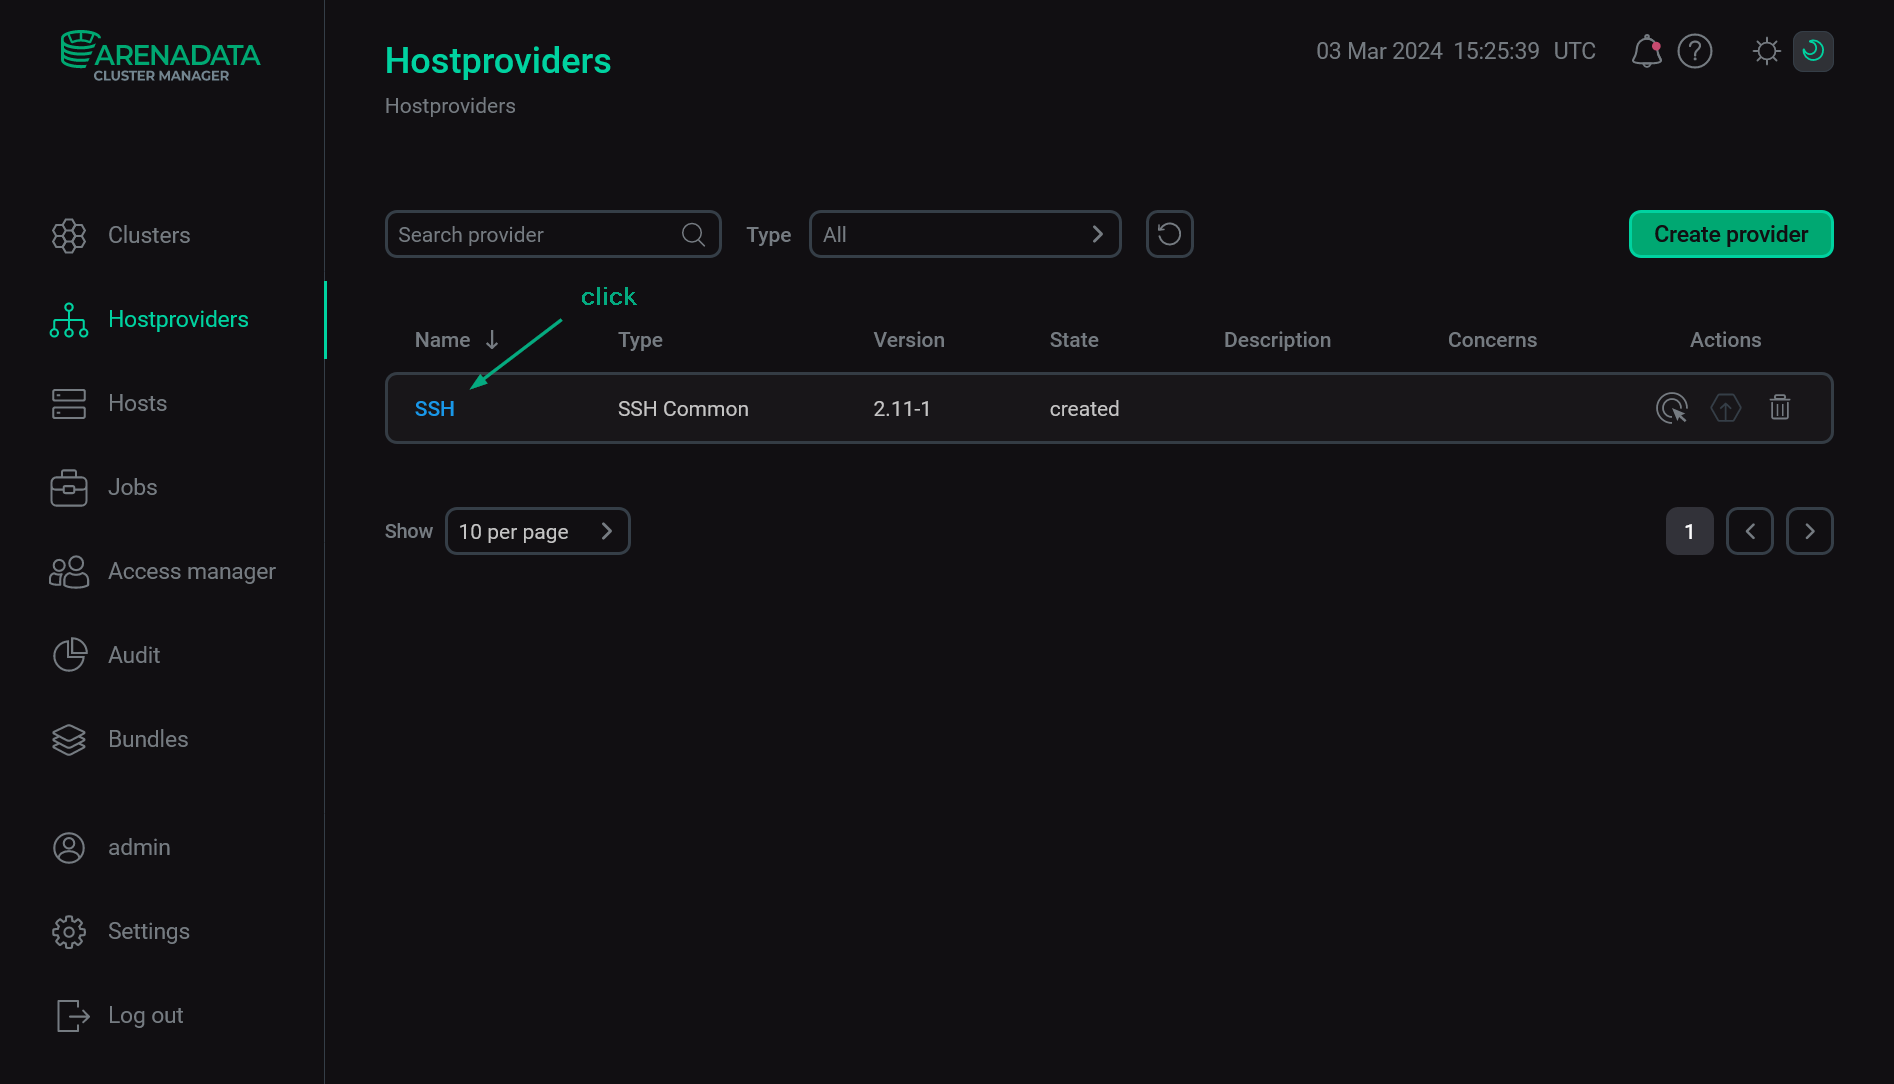 Go to configuring a hostprovider
 -
In the next window, switch on the Show advanced toggle, fill in hostprovider parameters, and click Save. The fields highlighted in red are mandatory.
 Configure a hostprovider
The assignment of parameters is listed below.
Hostprovider configuration parameters Parameter Description Ssh keys
A set of public keys that will be used to create users during the Create users action. Enter each key separately — by clicking the

 icon in the Ssh keys node and editing the new list element
 Ssh keys [N]subsequently. Each public key should be started withssh-rsaand ended withusername@hostnamePort
A port number that is used for connecting to a host via SSH (by default,
22)Username
A user name that is used for connecting to a host via SSH. The specified user should exist on the host
Password
A user password that is used for connecting to a host via SSH. If you do not use a password, leave this field blank
SSH private key
A private SSH key that is used for connecting to a host via SSH. If you do not use SSH keys, leave this field blank
Ansible become
A flag that grants the superuser privileges to the user specified in the Username field. The default value should be used (flag is set)
Ansible become password
A password that is used during granting of the superuser privileges to the user specified in the Username field. Can be left at the default value
SSH args
SSH arguments for Ansible. Each parameter requires the following format:
-o <name>=<value>. Several parameters are separated by space:-o StrictHostKeyChecking=no -o UserKnownHostsFile=/dev/null.Thus,
StrictHostKeyChecking=noandUserKnownHostsFile=/dev/nullparameters disable strict host key checking for SSH. Otherwise, when this checking is enabled, the SSH client connects only to the known hosts that are stored in the known hosts list.Can be left at the default value
|
IMPORTANT
|