

Authorization in the NiFi user interface
Authorization in the NiFi service using interface tools is carried out after authentication of a user who has an account in Active Directory.
It is possible to assign access policies to Active Directory users located in the User Search Base specified in the parameter configuration step of the NiFi service.
|
NOTE
All sensitive values for the NiFi Server and NiFi Registry components are replaced with encrypted values in the configuration files. For more information about data encryption, see the article Encryption of NiFi configuration parameters. |
NiFi Server
Configure access policies via the global NiFi menu
To assign an access policy via the NiFi Server interface global menu, do the following:
-
Go to the Policies page in the global menu.
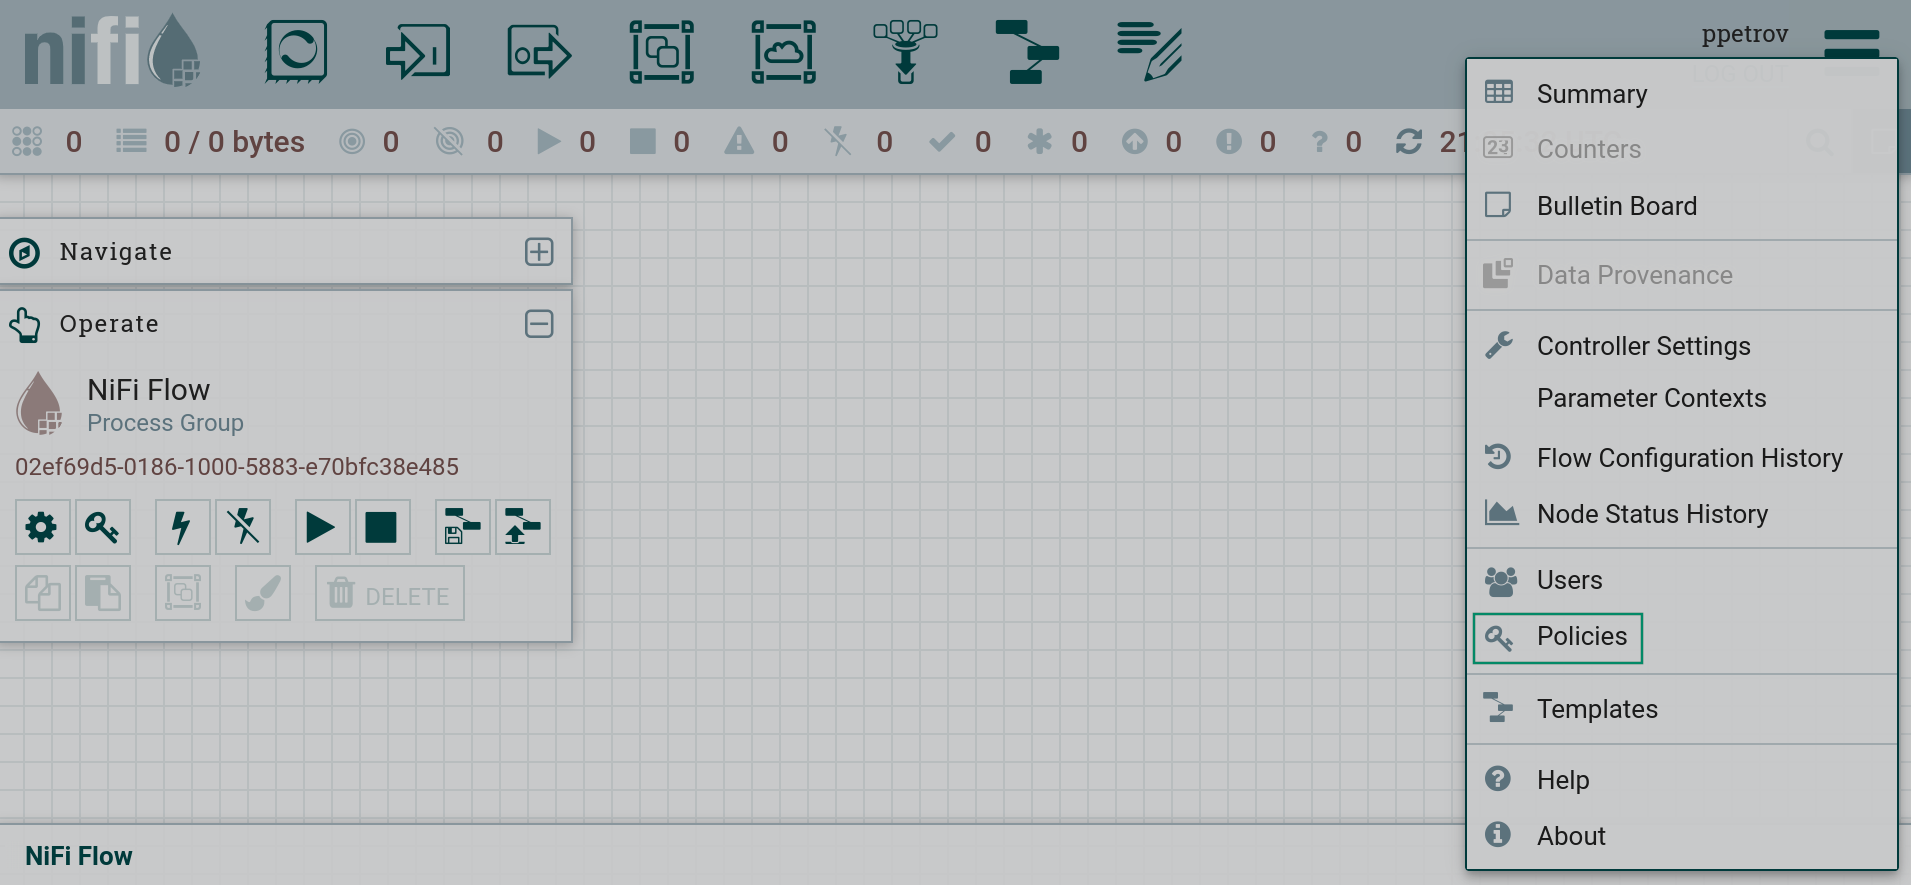 Go to access policies
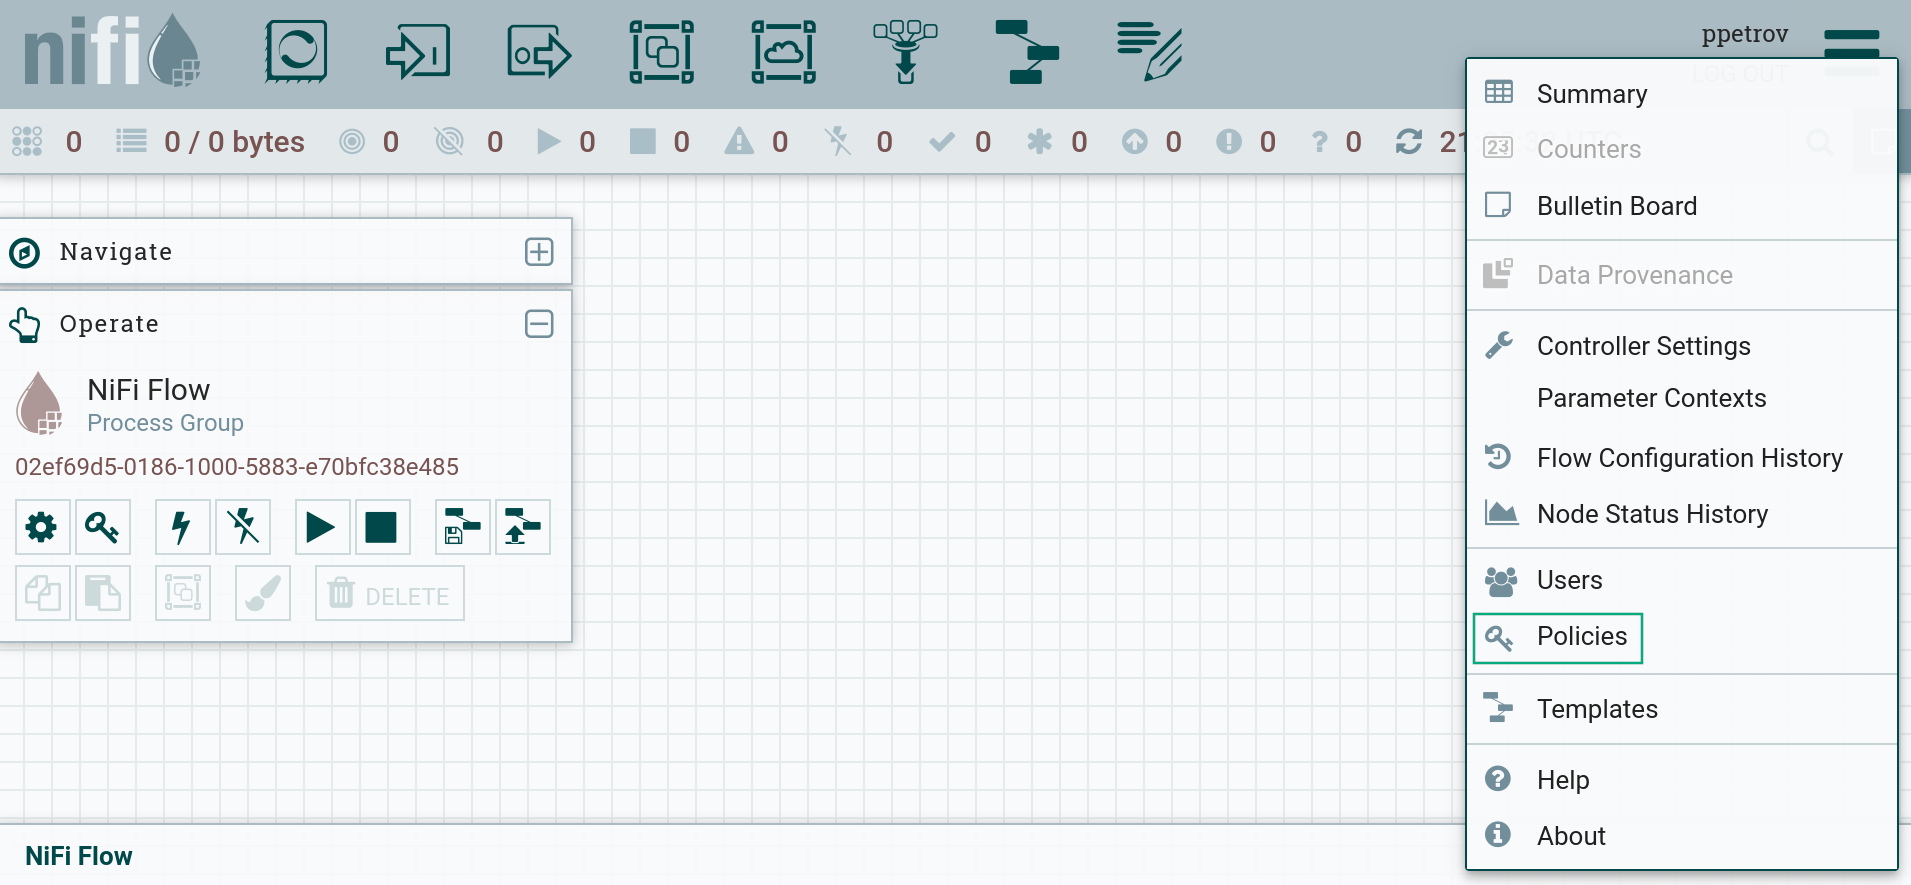 Go to access policies
 -
Open the list of access policies.
 Go to access policy selection
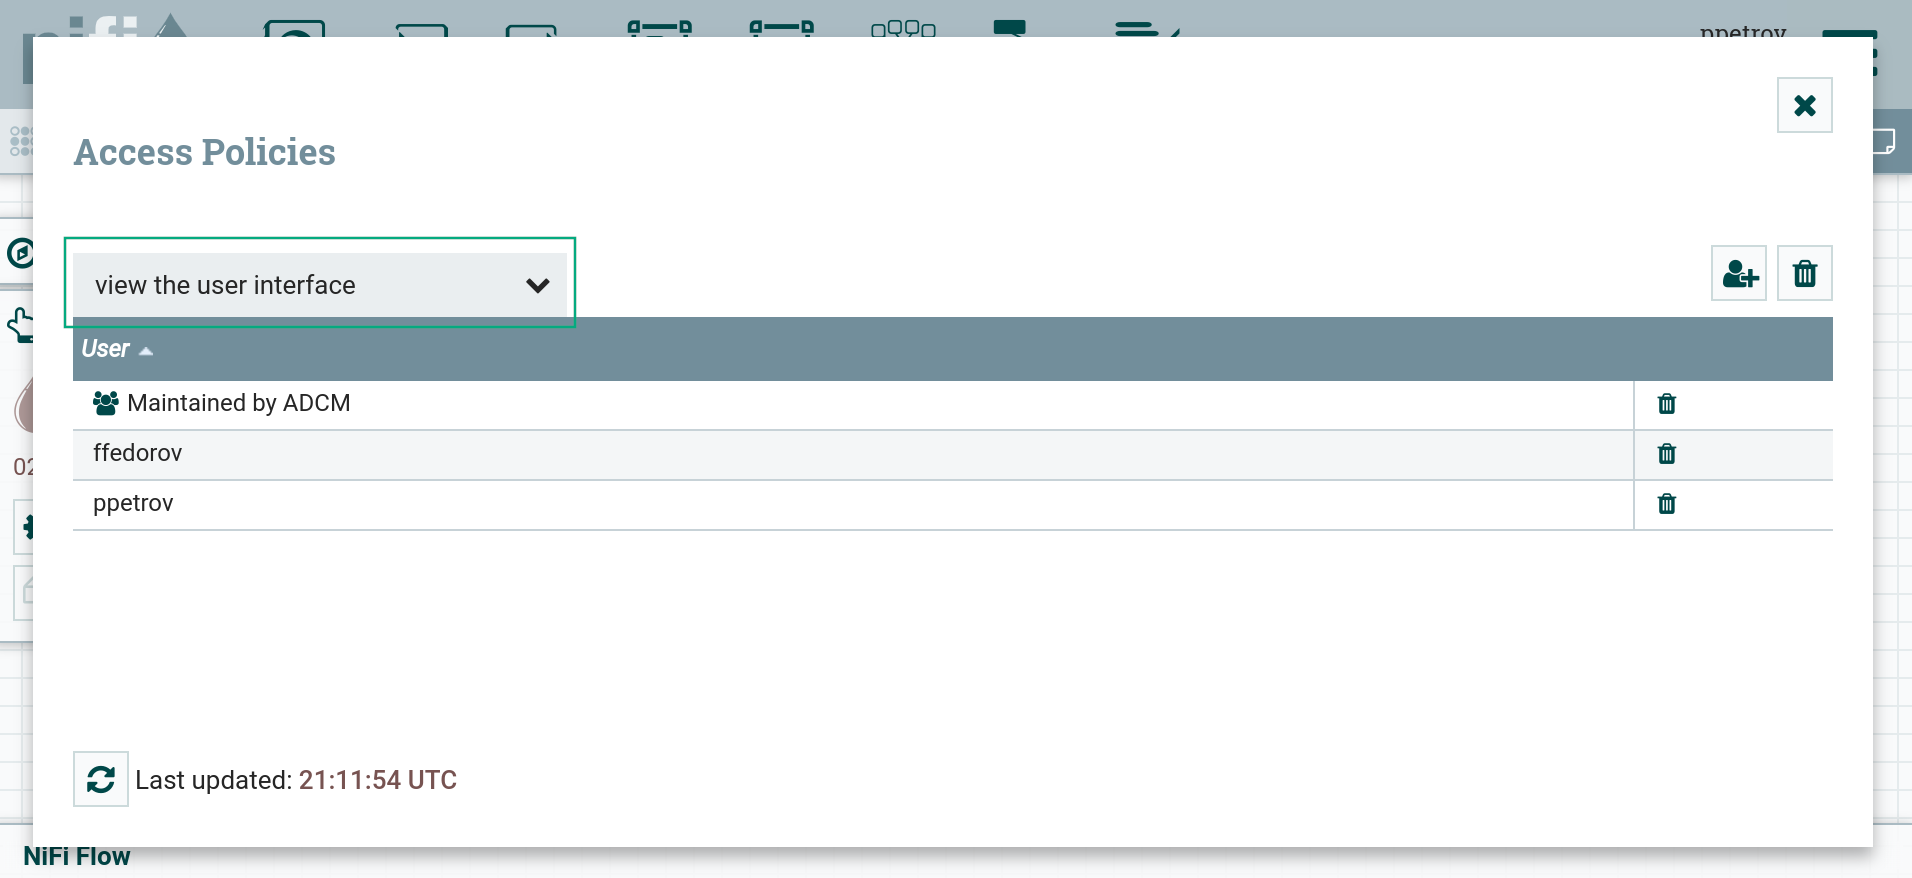 Go to access policy selection
 -
Select an access policy from the list and click the access policy assignment icon
 .
.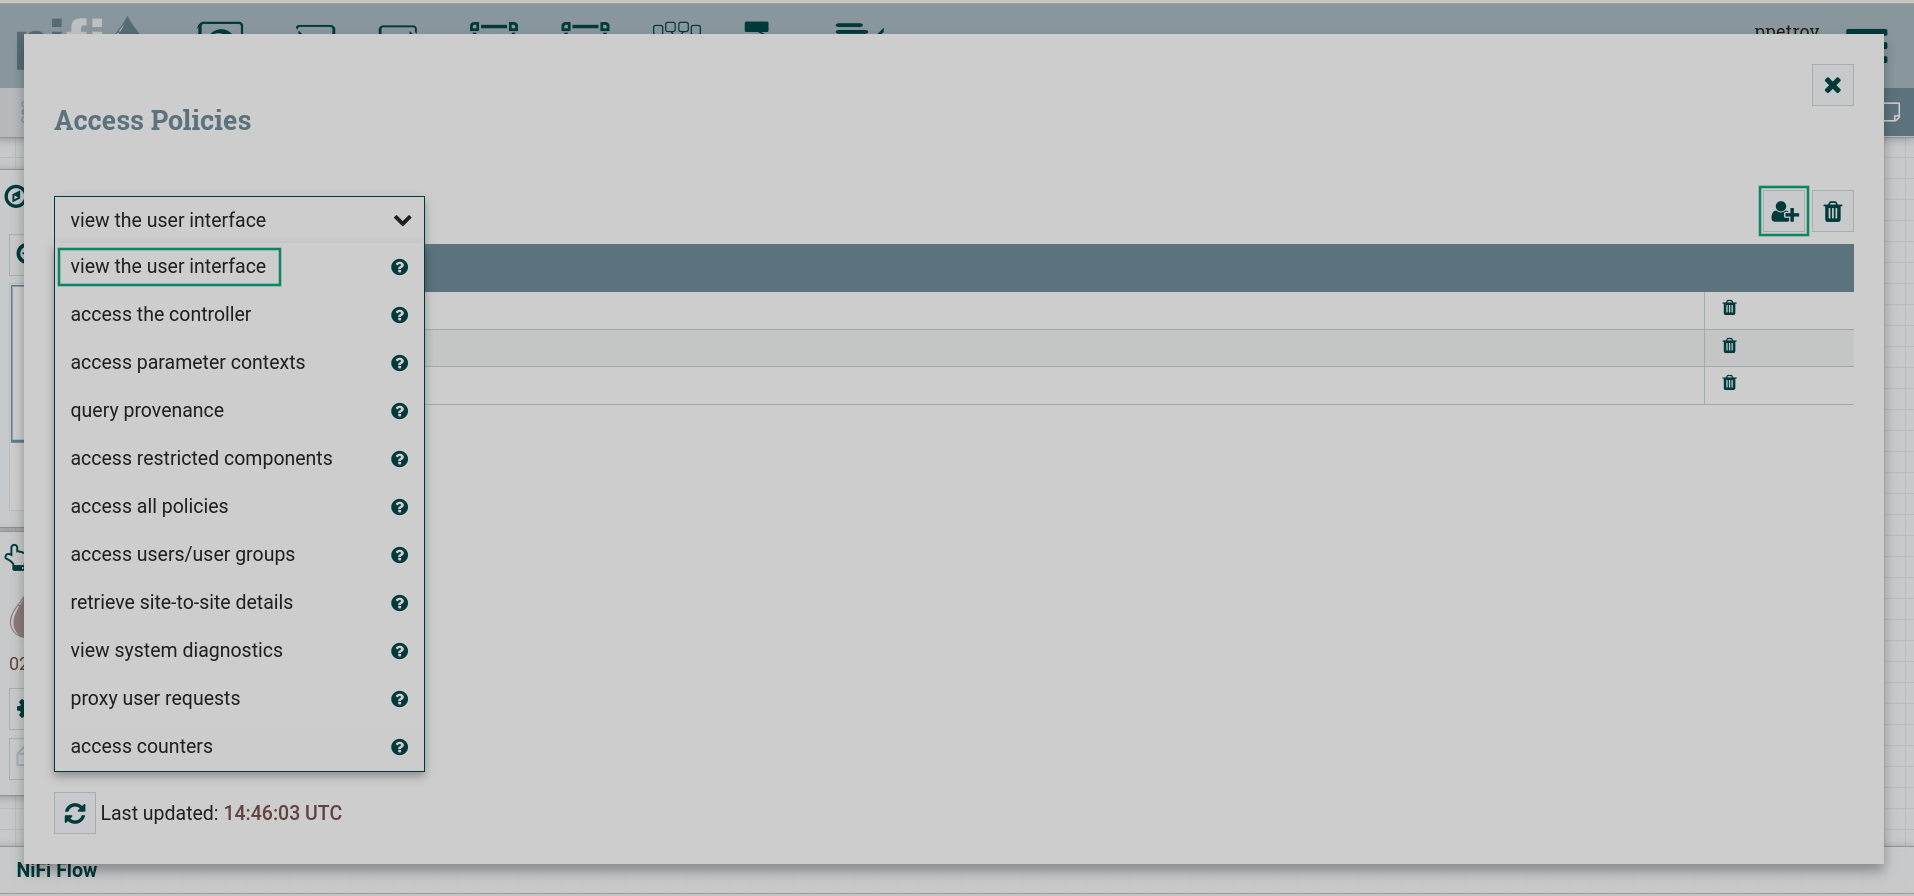 Available access policies
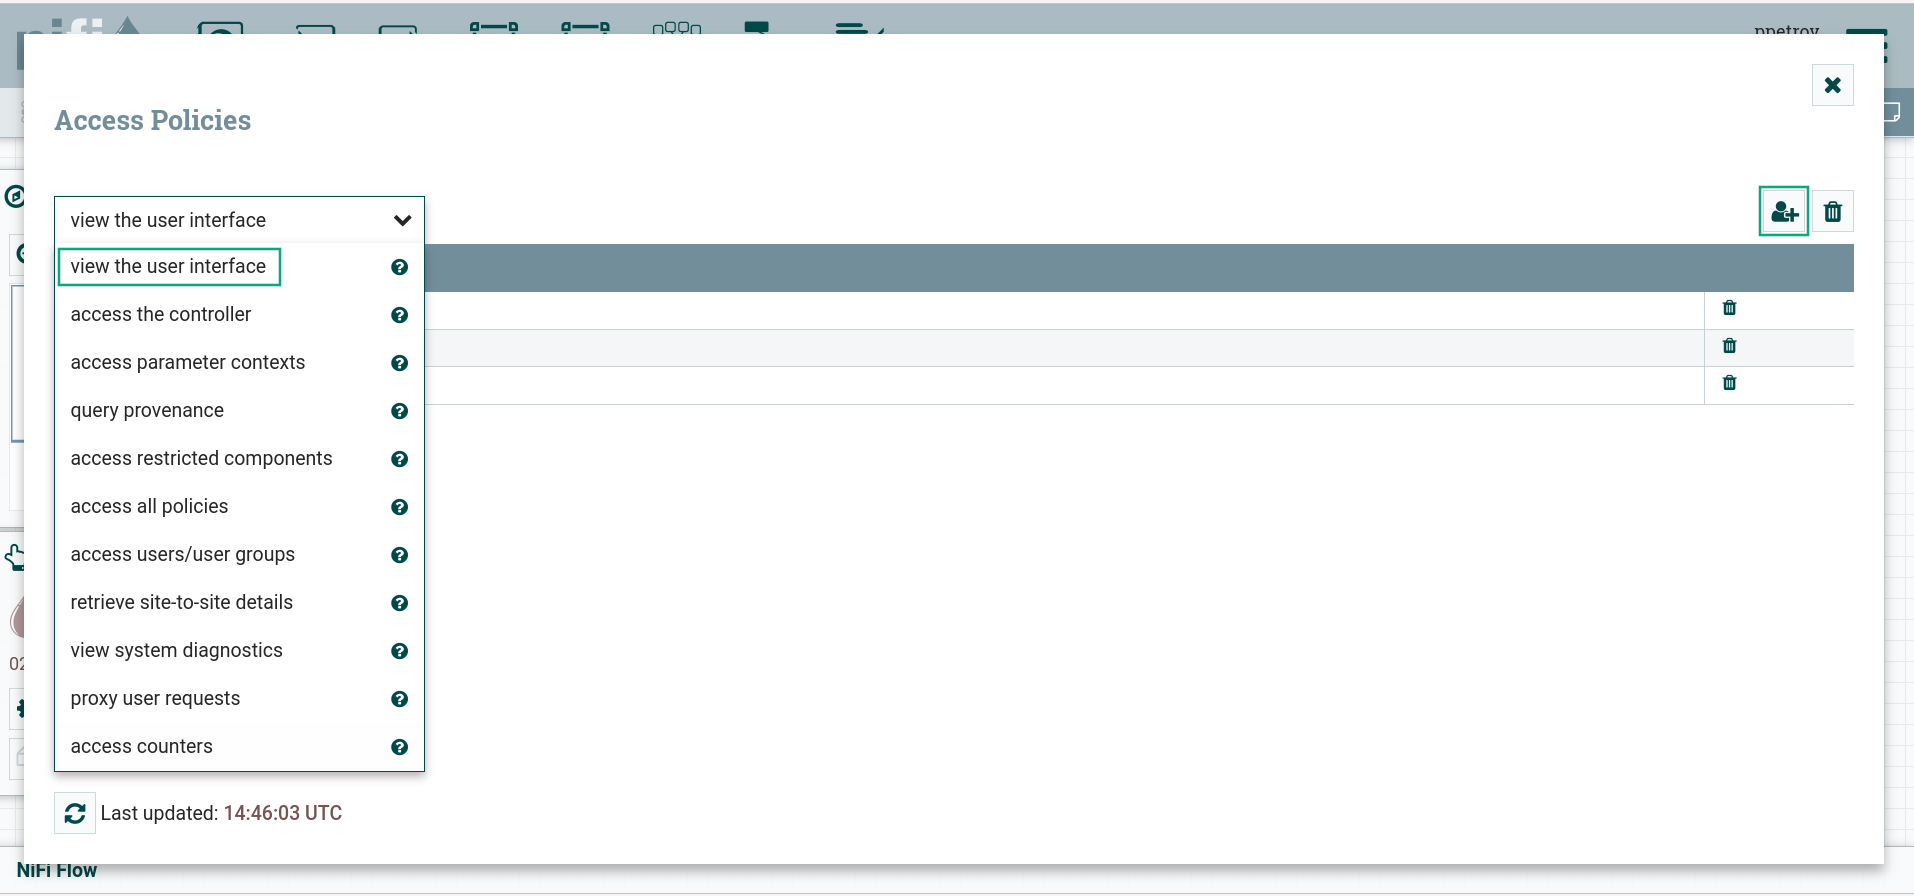 Available access policiesNOTE
For detailed information about access policies in the NiFi Server interface, please refer to Access Policies NiFi.
-
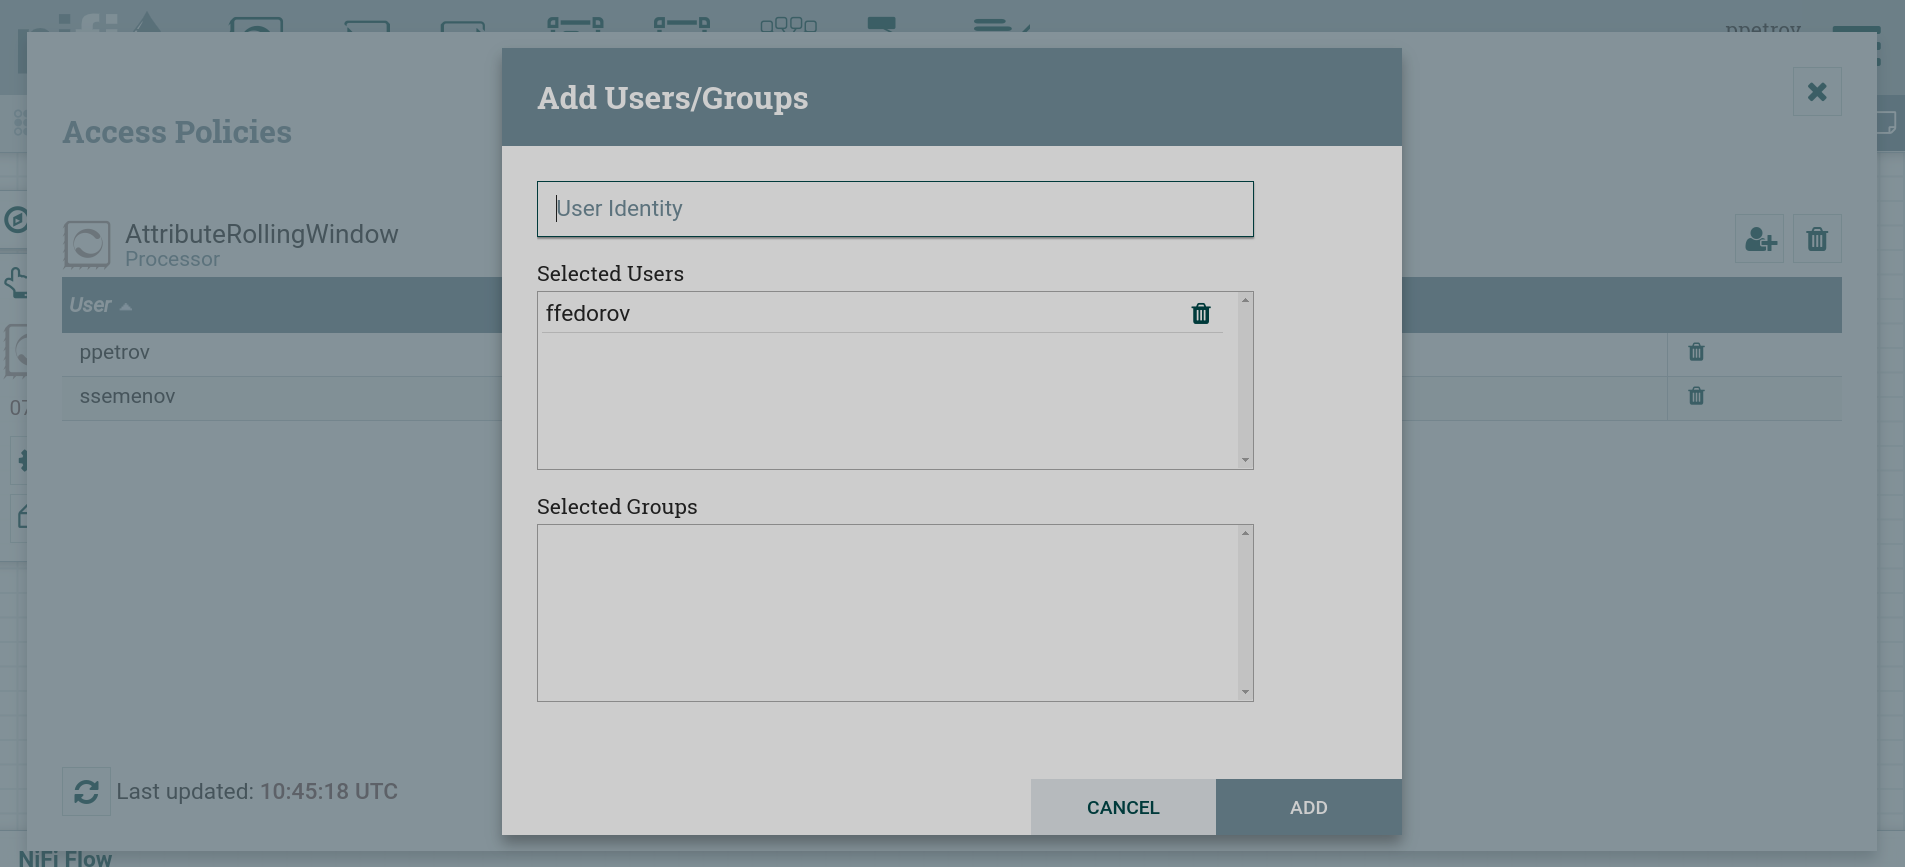
Find a user or a group to assign the policy using User Indentity string.
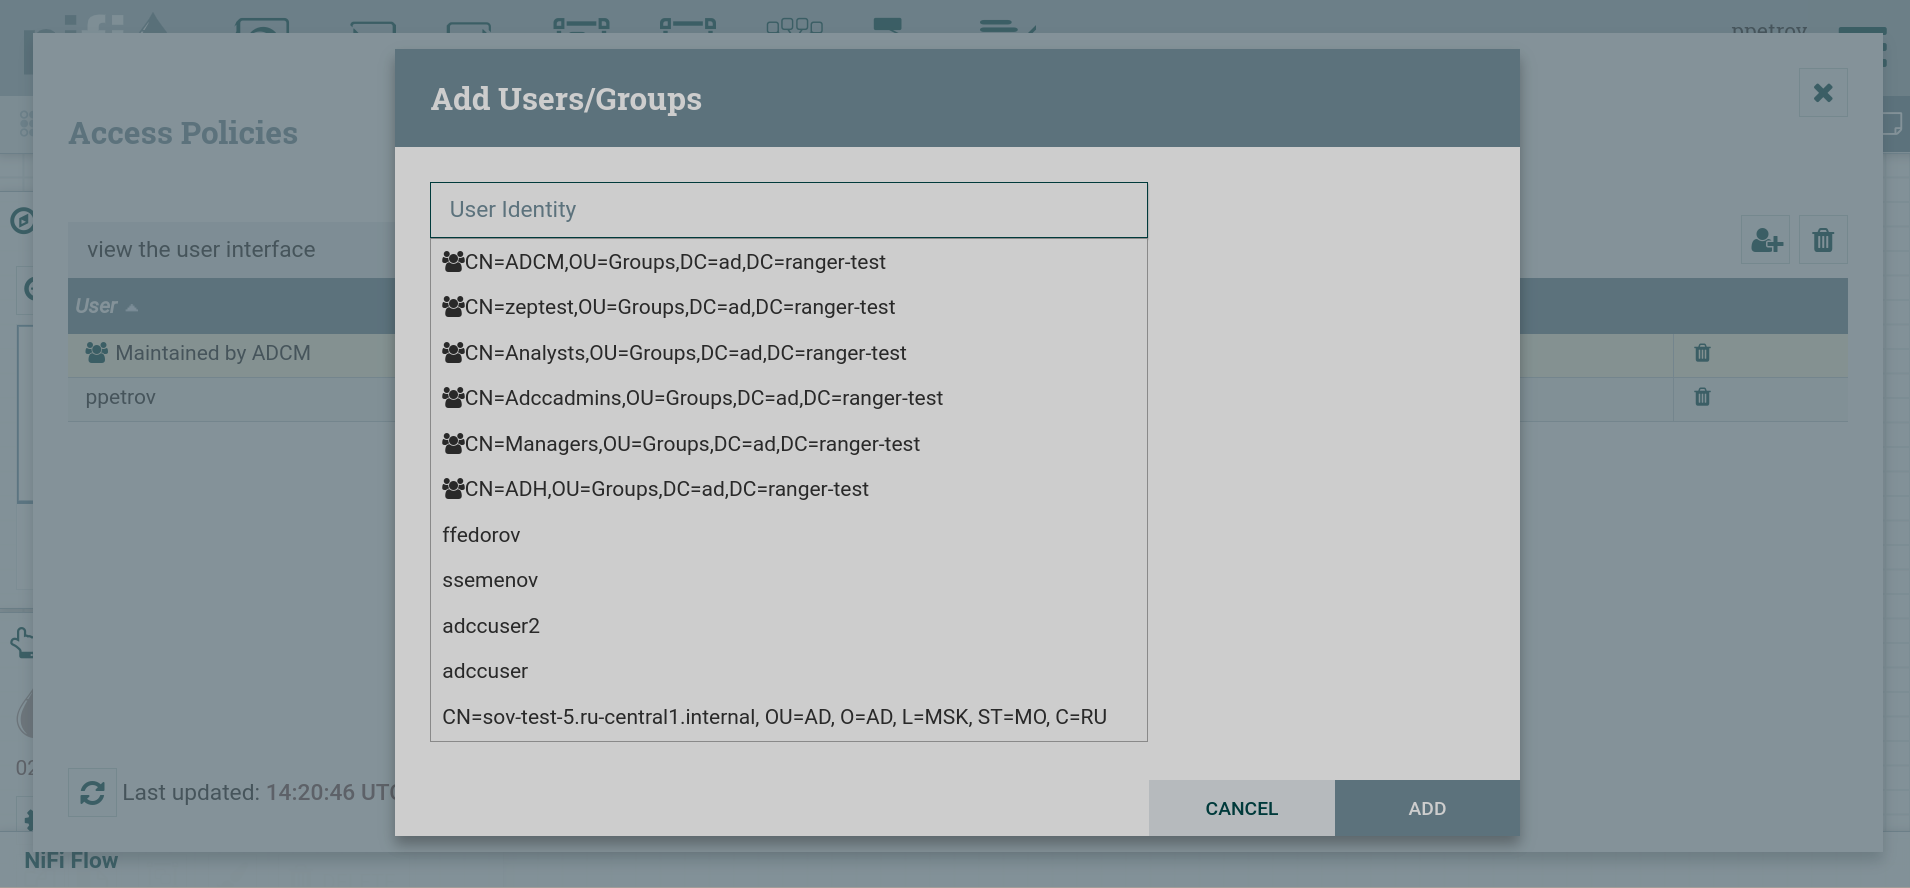 User search
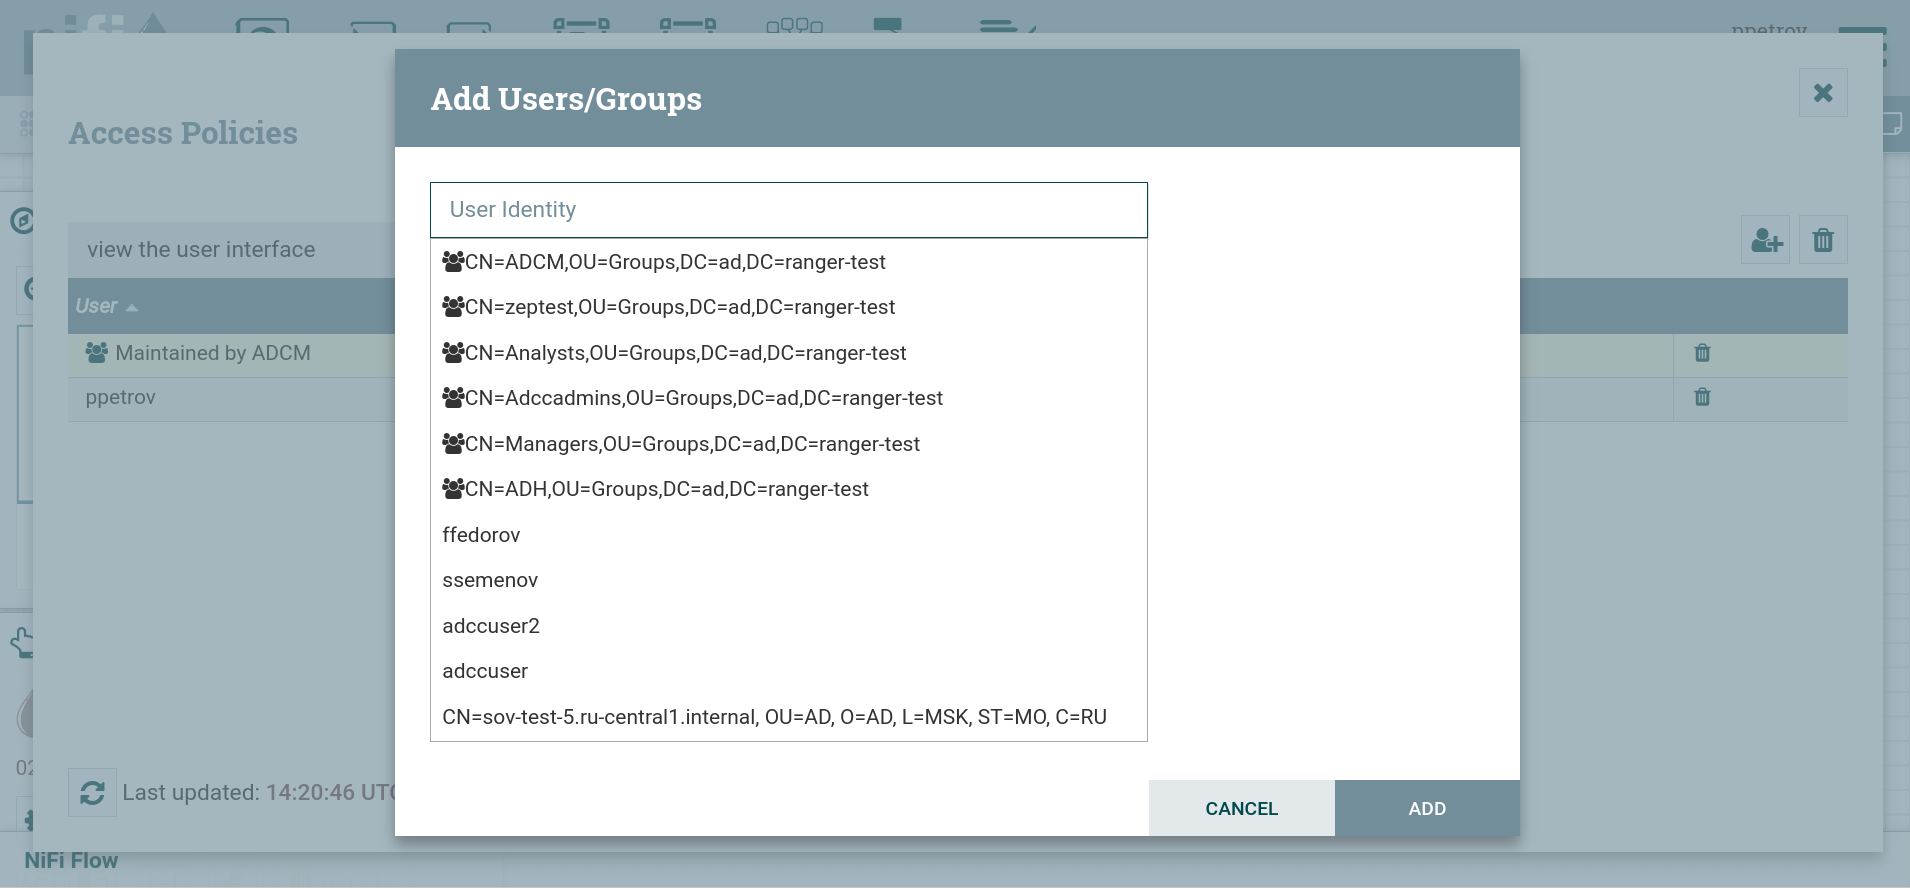 User search
 -
Select a user and click ADD.
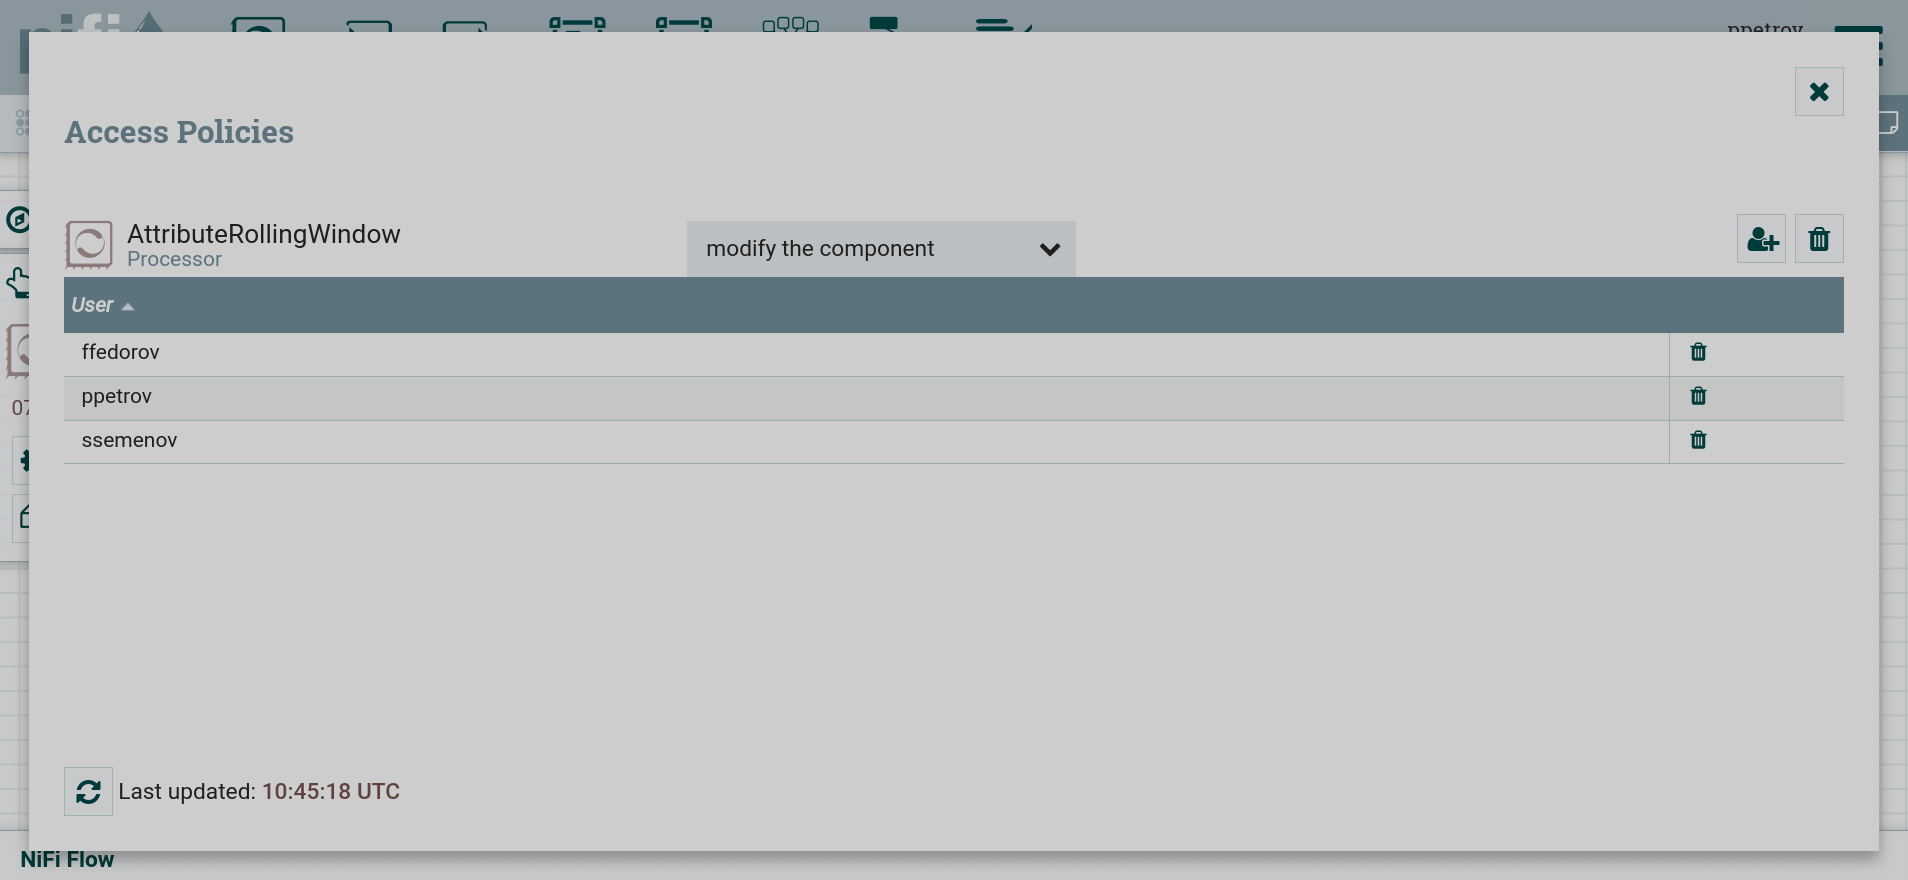
As a result, a new user or a group appears in the list of the selected access policy.
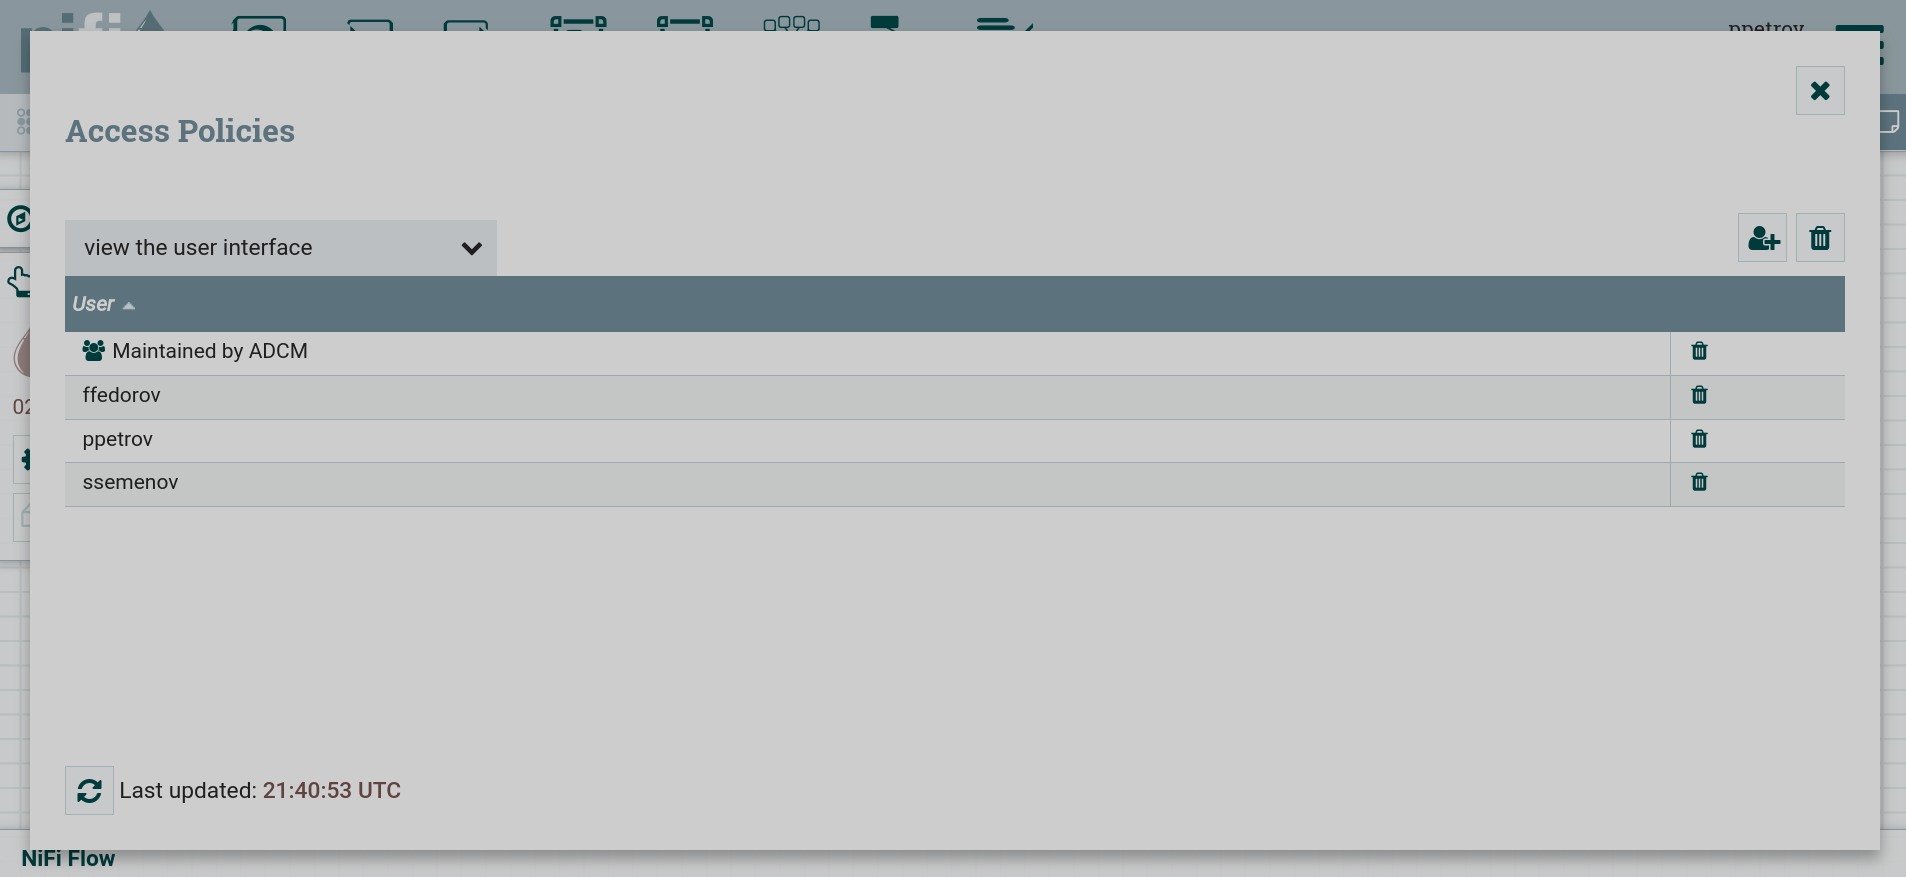 List of users for access policy
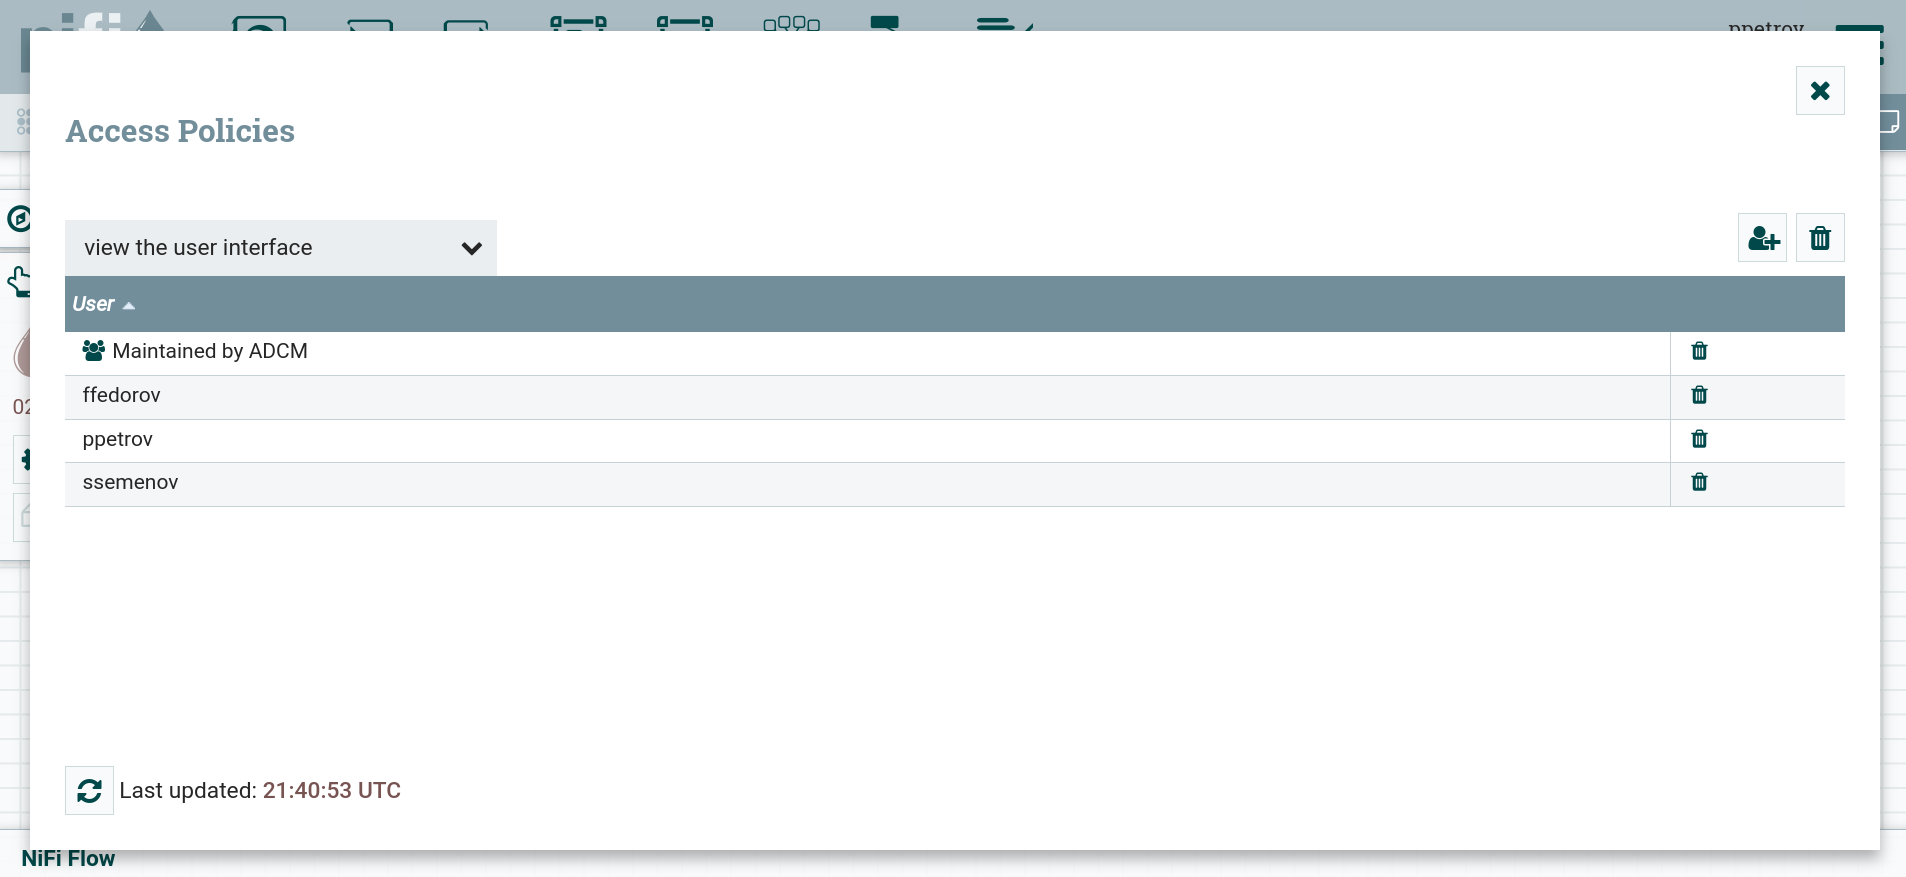 List of users for access policy
Configure access policies at the processor level
After configuring authentication, the ![]() icon appears on the Action palette, with which access policies are assigned at the level of the selected processor or groups. To assign policies, do the following:
icon appears on the Action palette, with which access policies are assigned at the level of the selected processor or groups. To assign policies, do the following:
-
Select the desired processor or a group and highlight it. Then the name of the selected processor appears on the palette of operations.
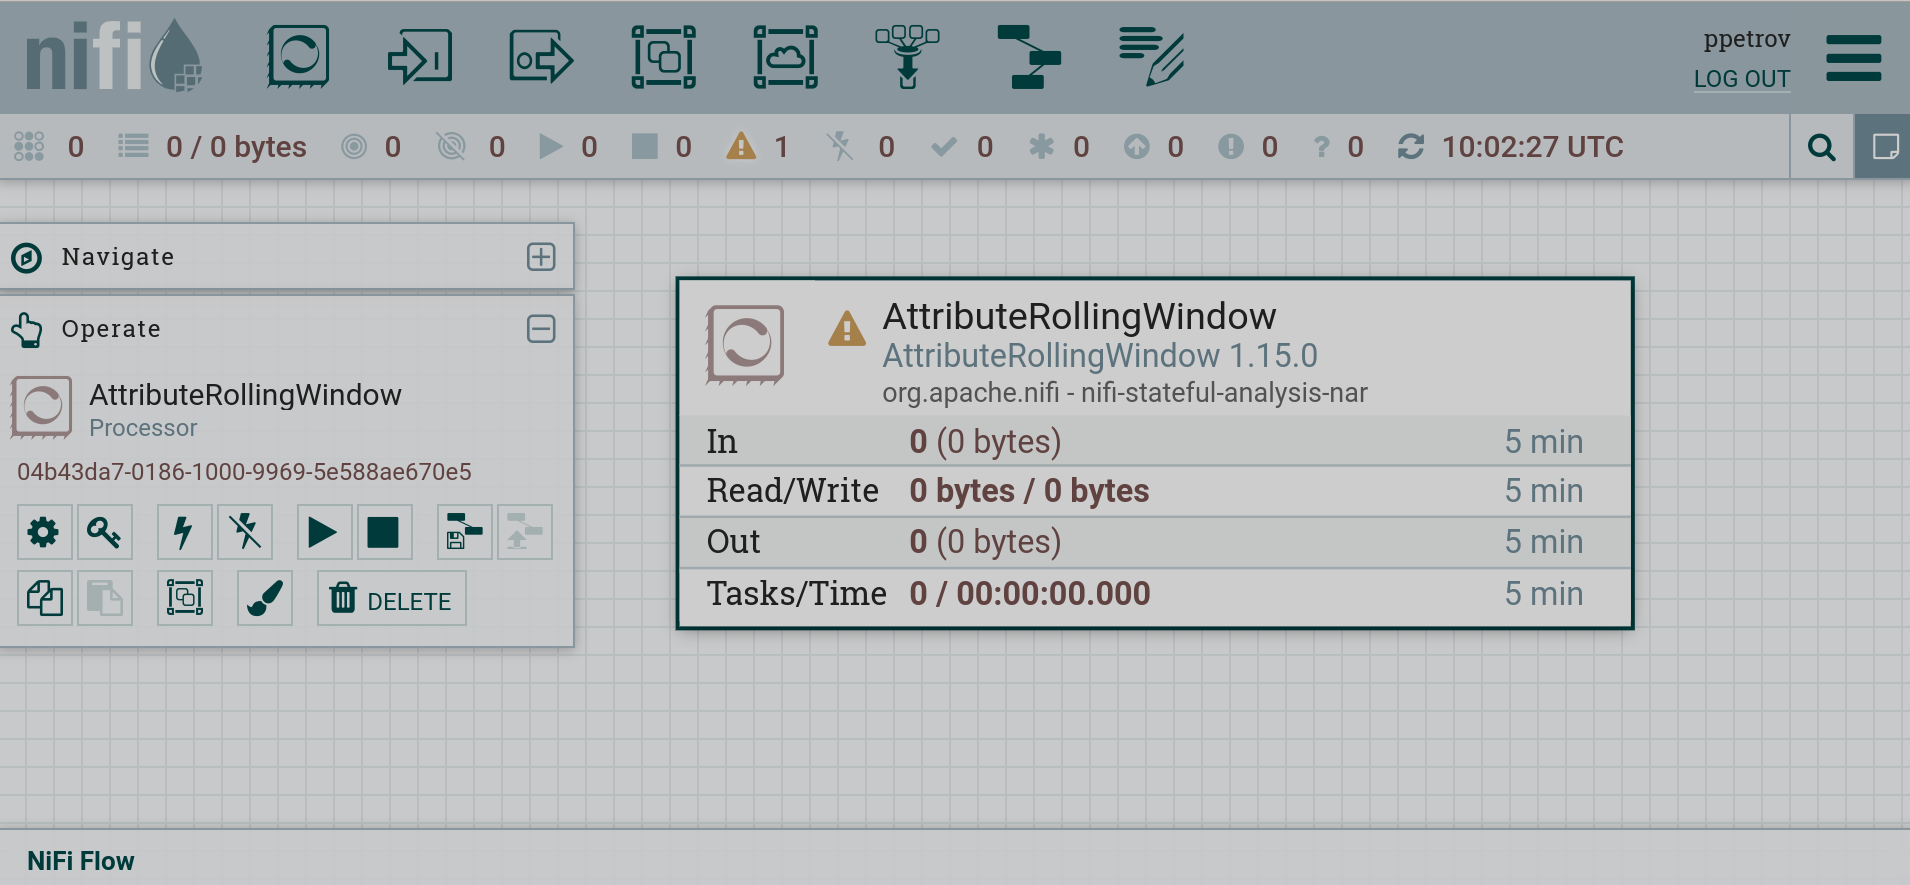 Action palette
 Action palette
 -
Click on the
 icon. In the window that opens, select an access policy from the list and click on the access policy assignment icon .
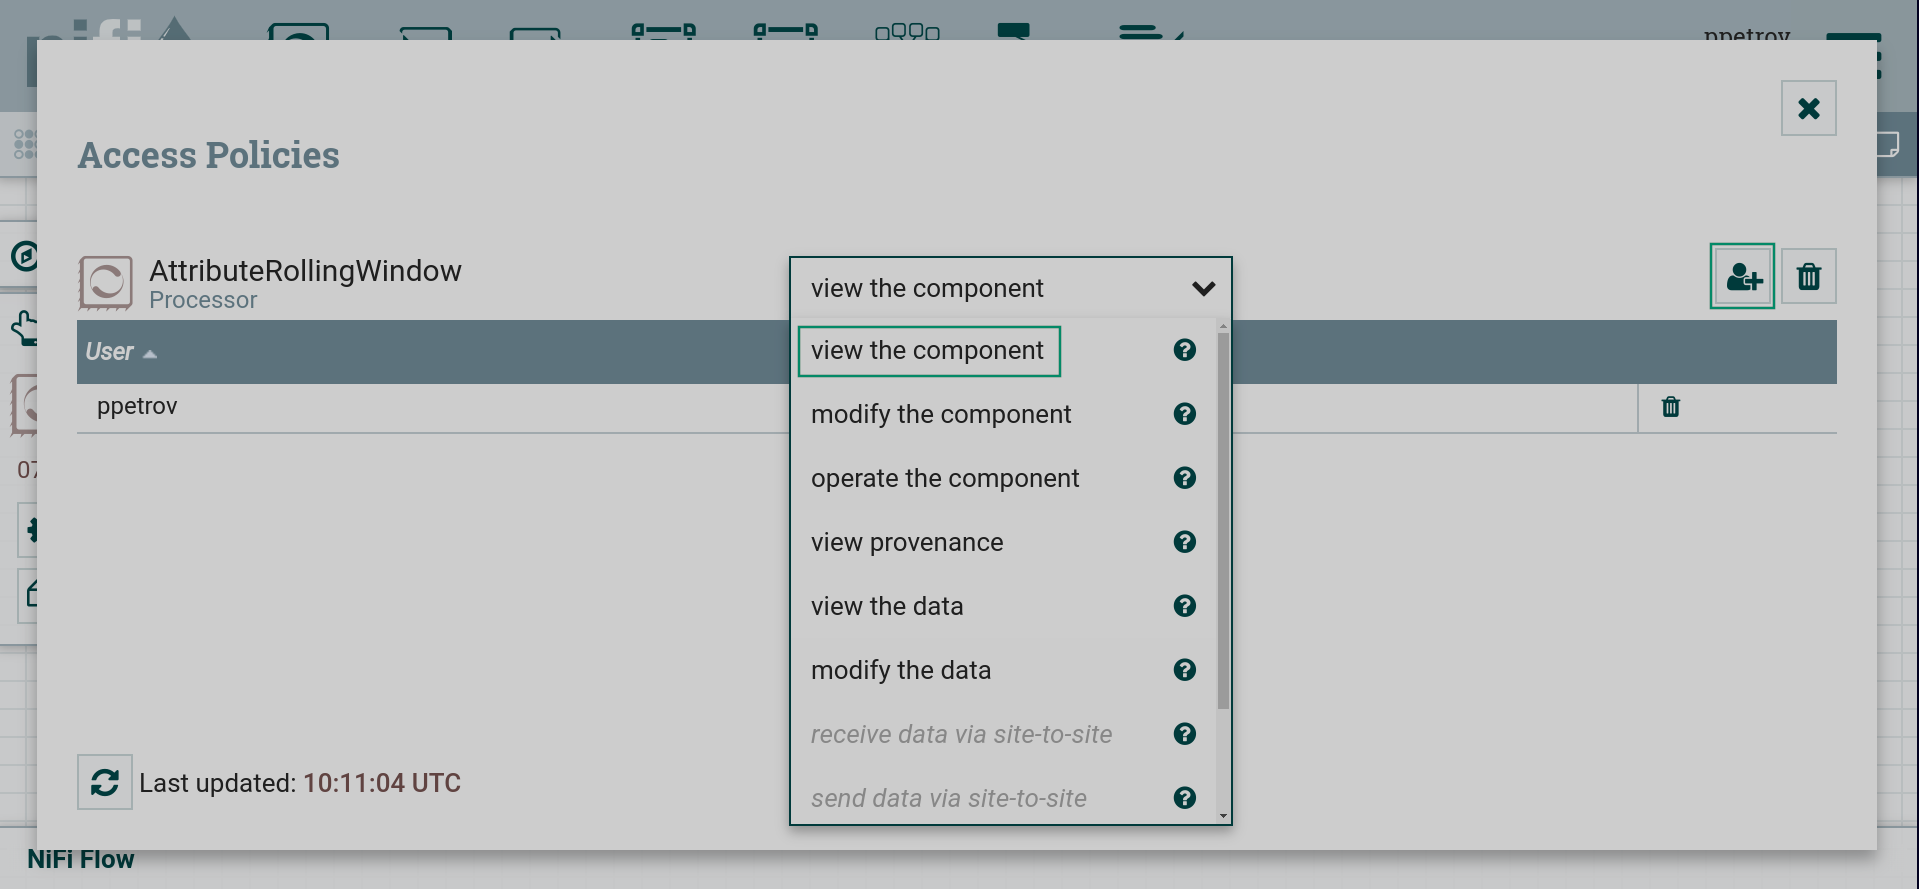 Processor-level access policies
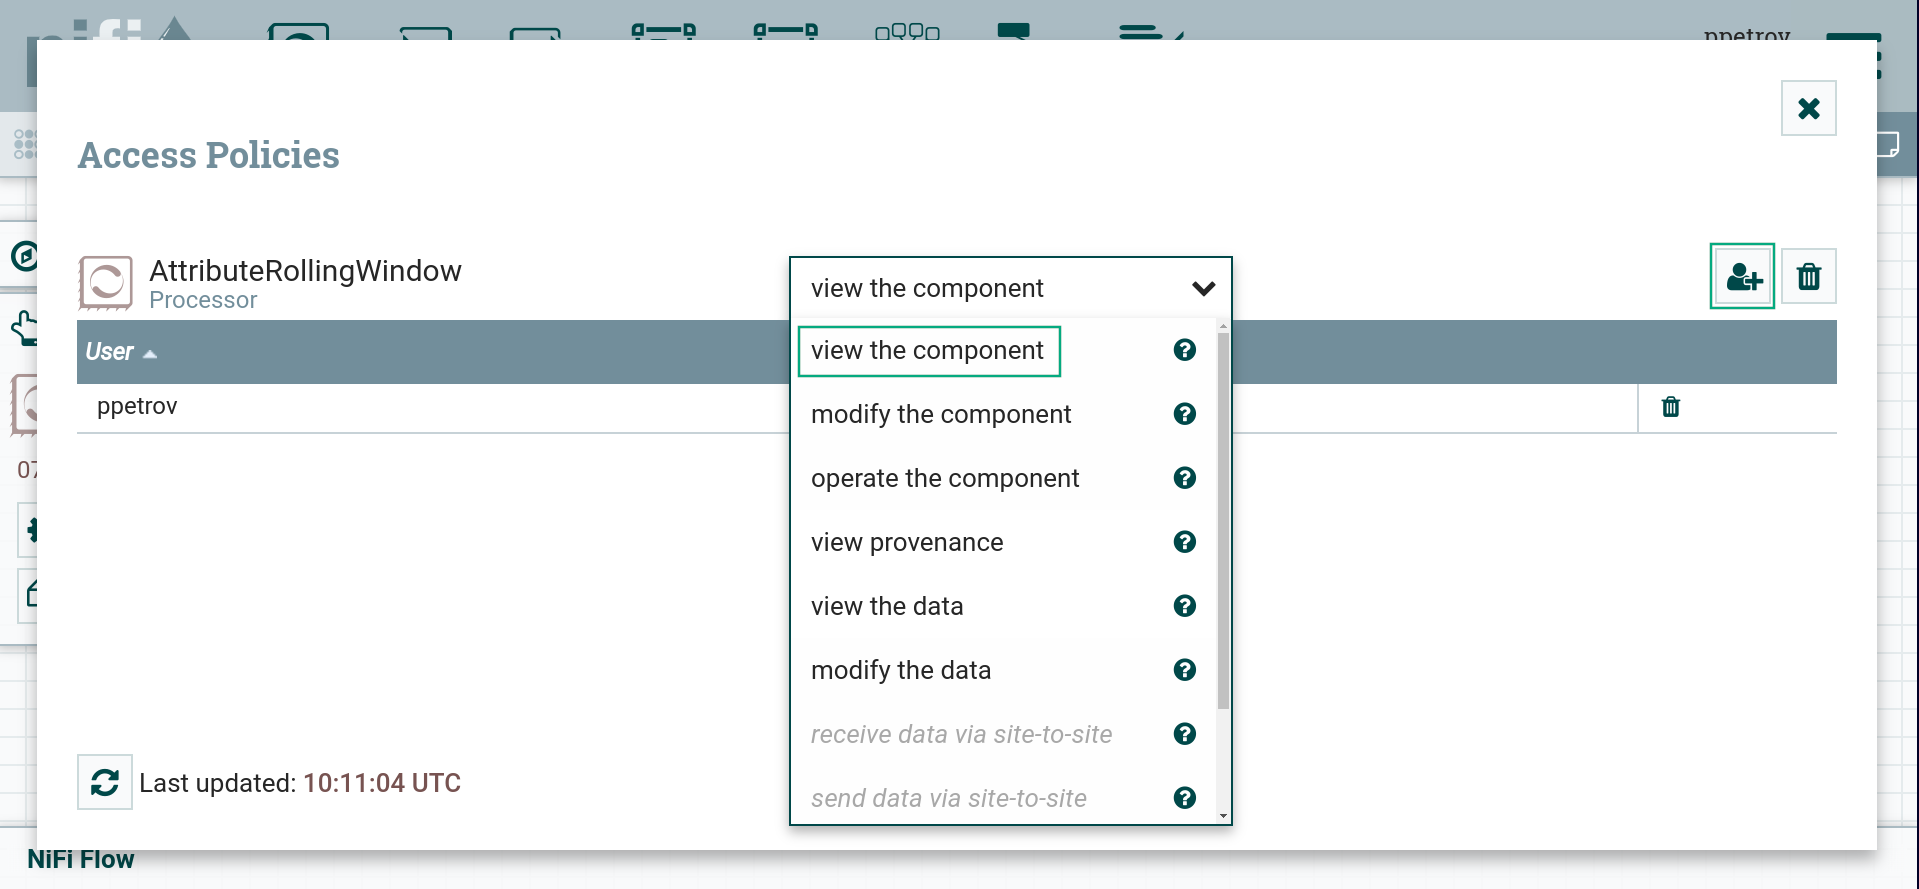 Processor-level access policies
 -
Find a user or a group to assign the policy using User Indentity string.
 User search
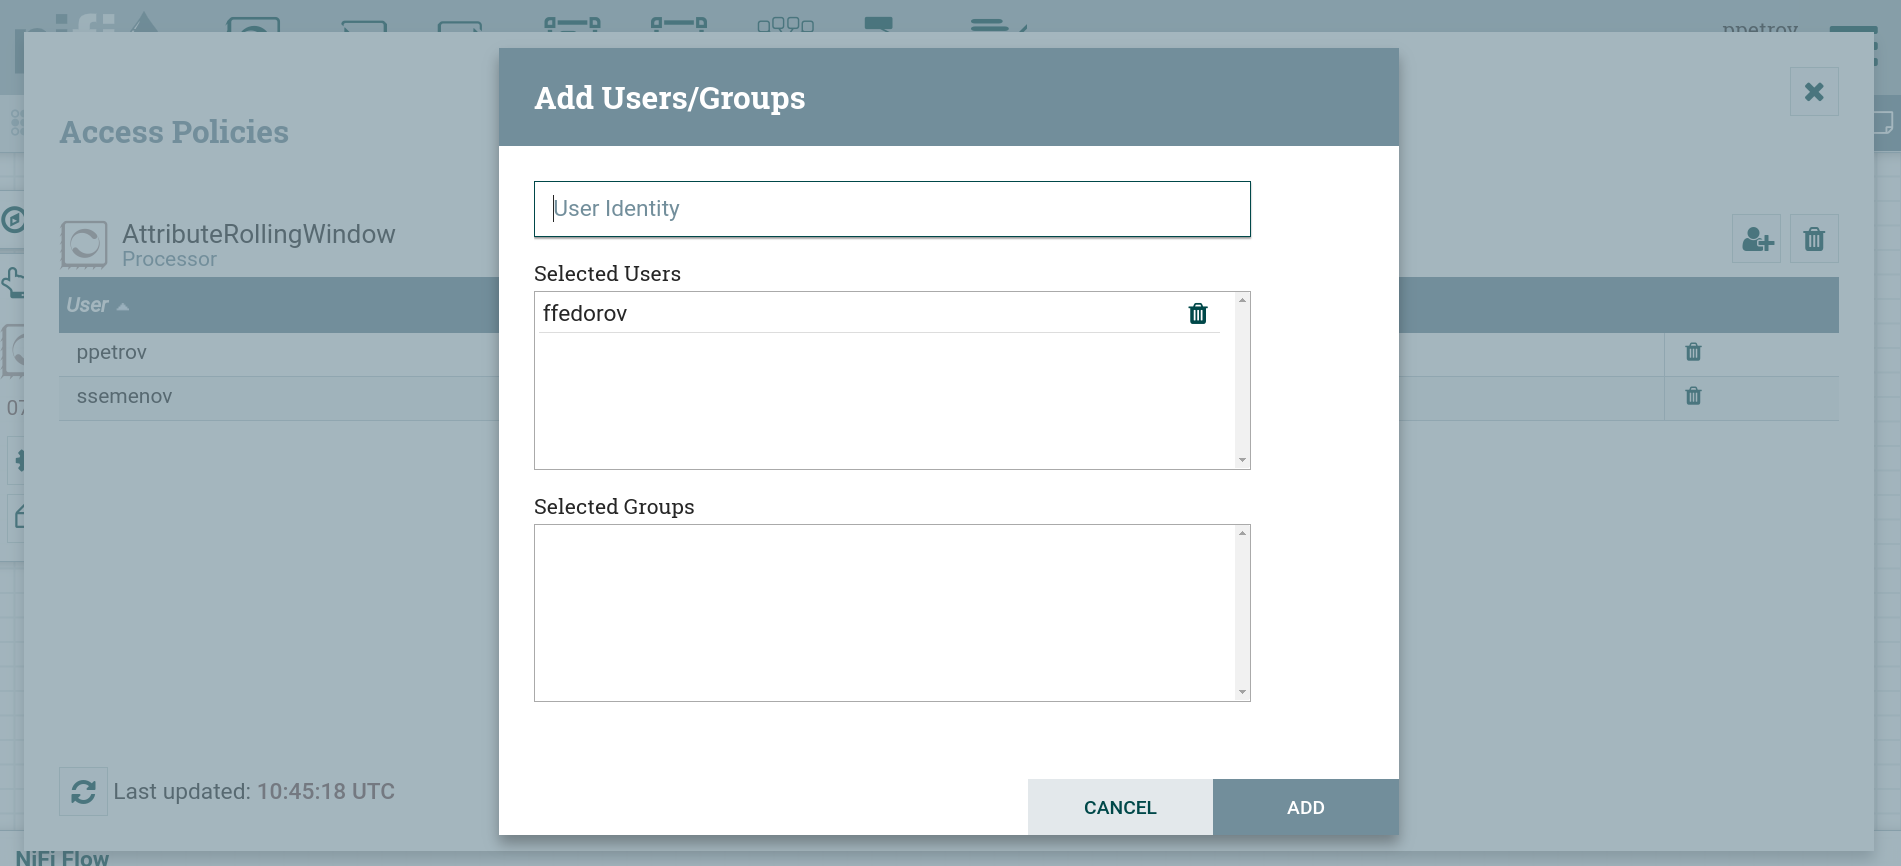 User search
 -
Select a user and click ADD.
As a result, a new user or a group appears in the list of the selected access policy.
 List of users for access policy
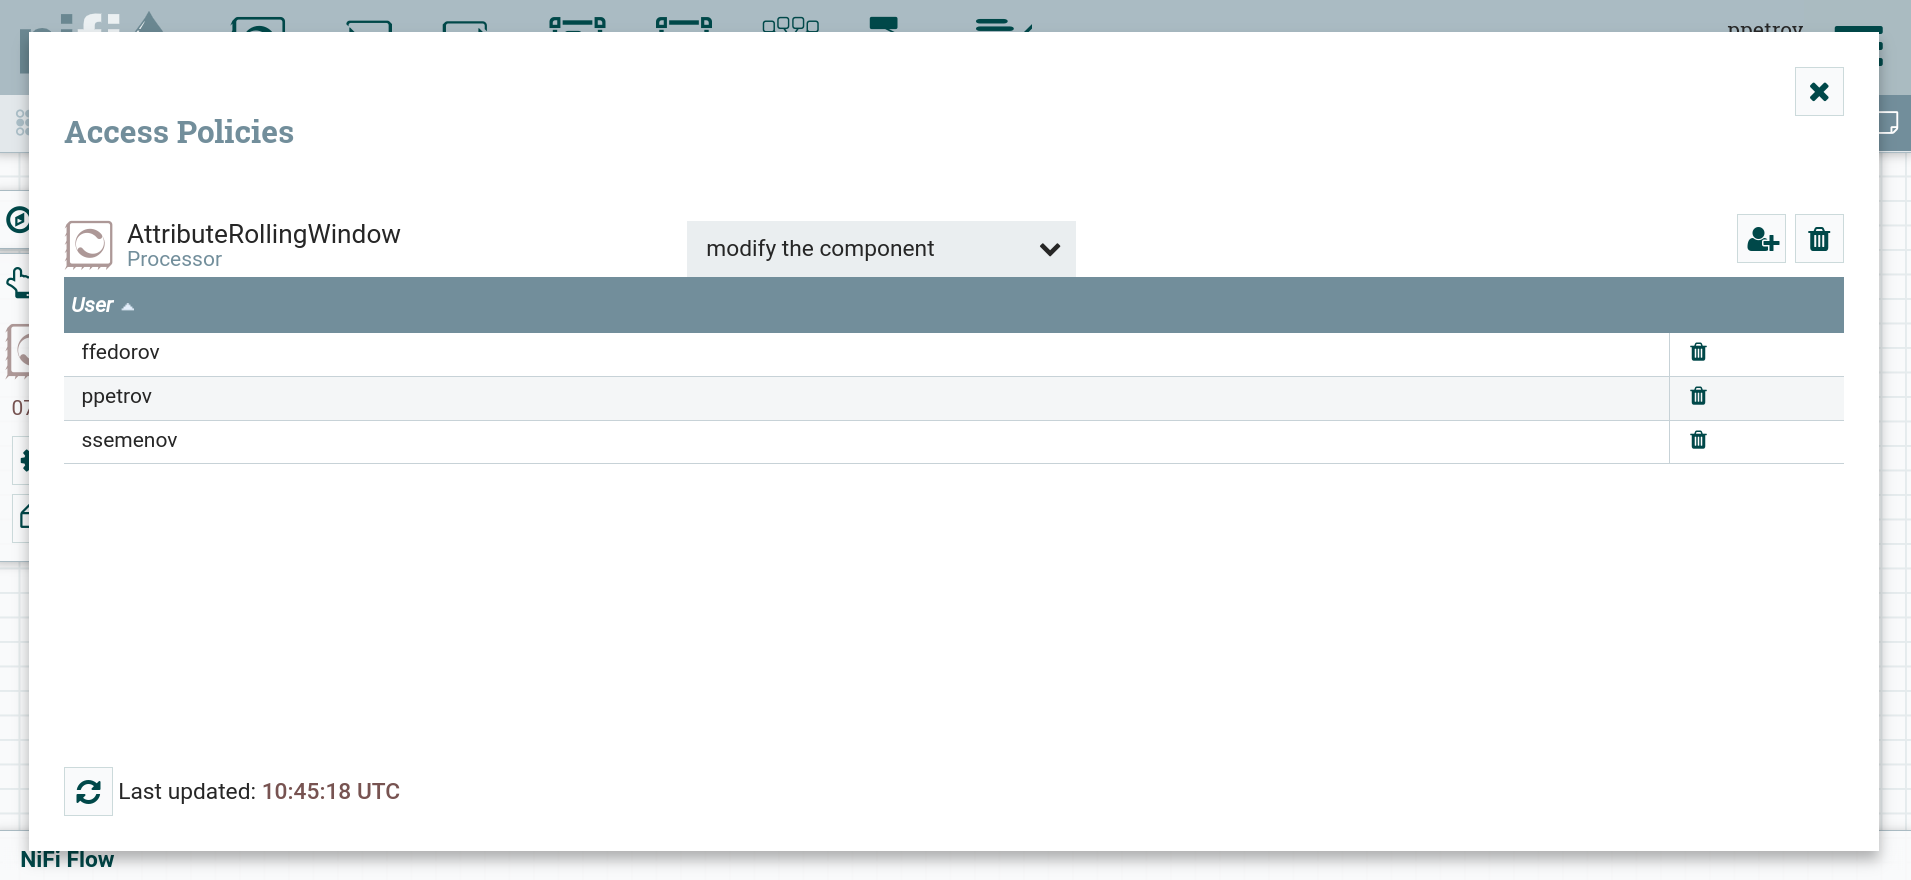 List of users for access policy
Deleting a user from the access policy is done via the icon ![]() .
.
To check the created policy, log in as the user for whom the policy was assigned.
NiFi Registry
To assign an access policy in NiFi Registry interface you need to:
-
Click on the settings icon

 and go to the USERS tab.
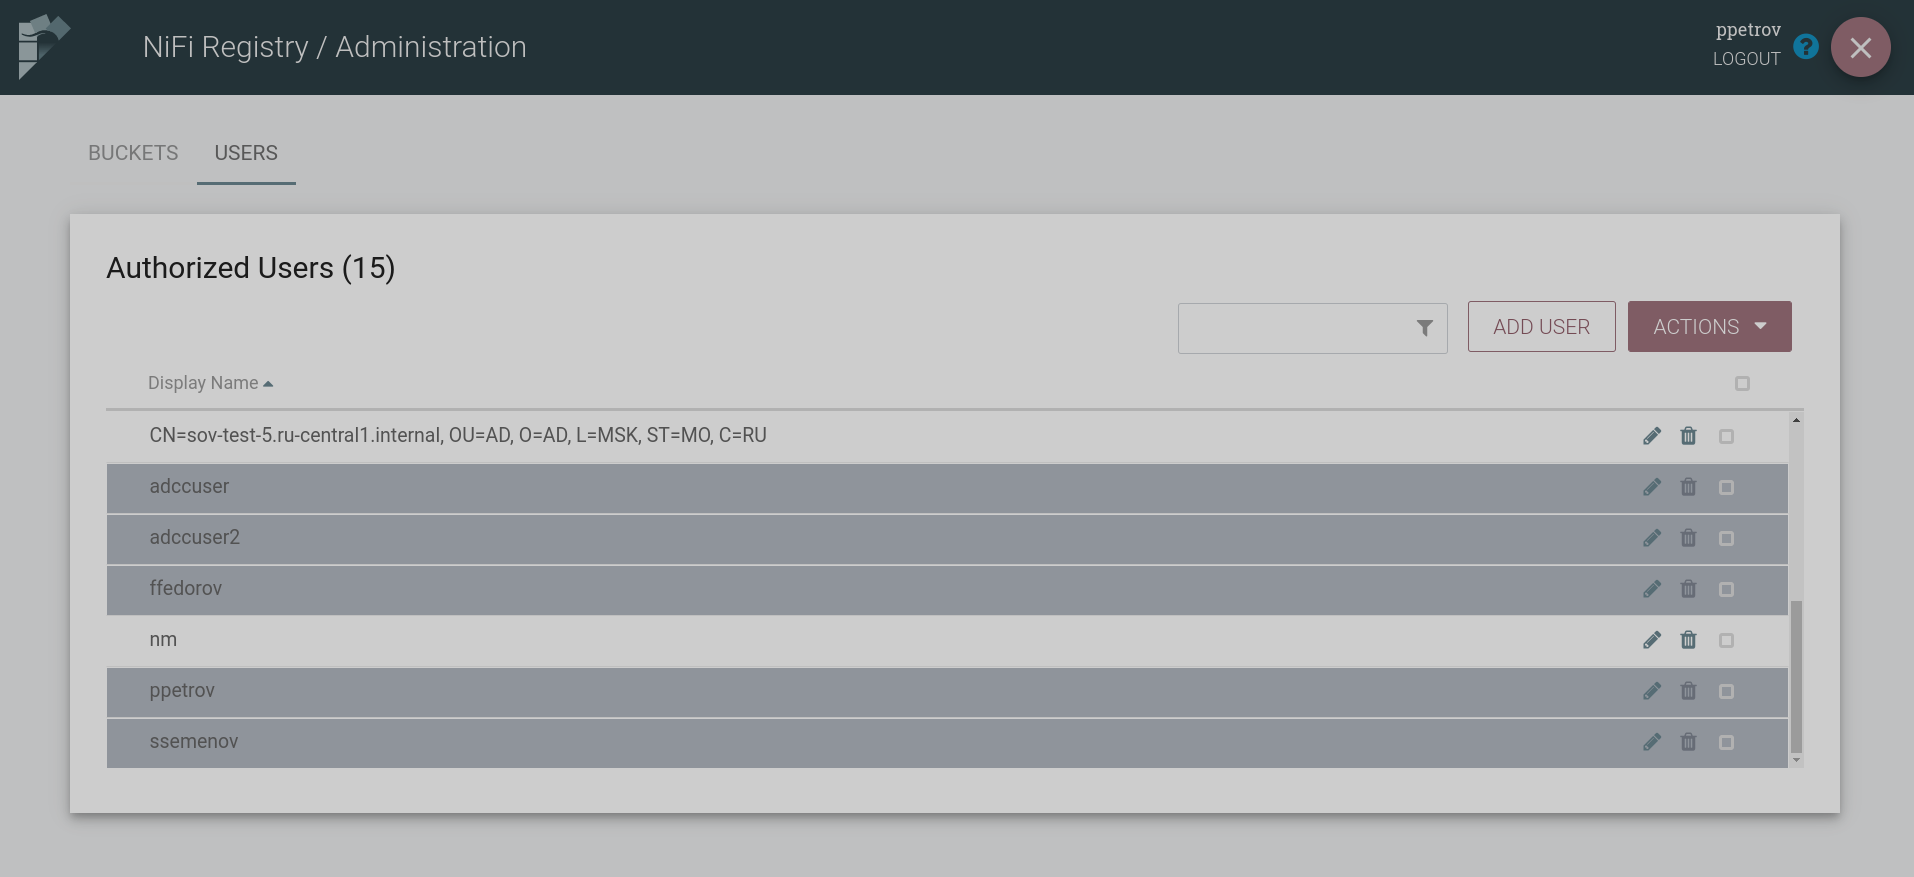 List of users for access policy
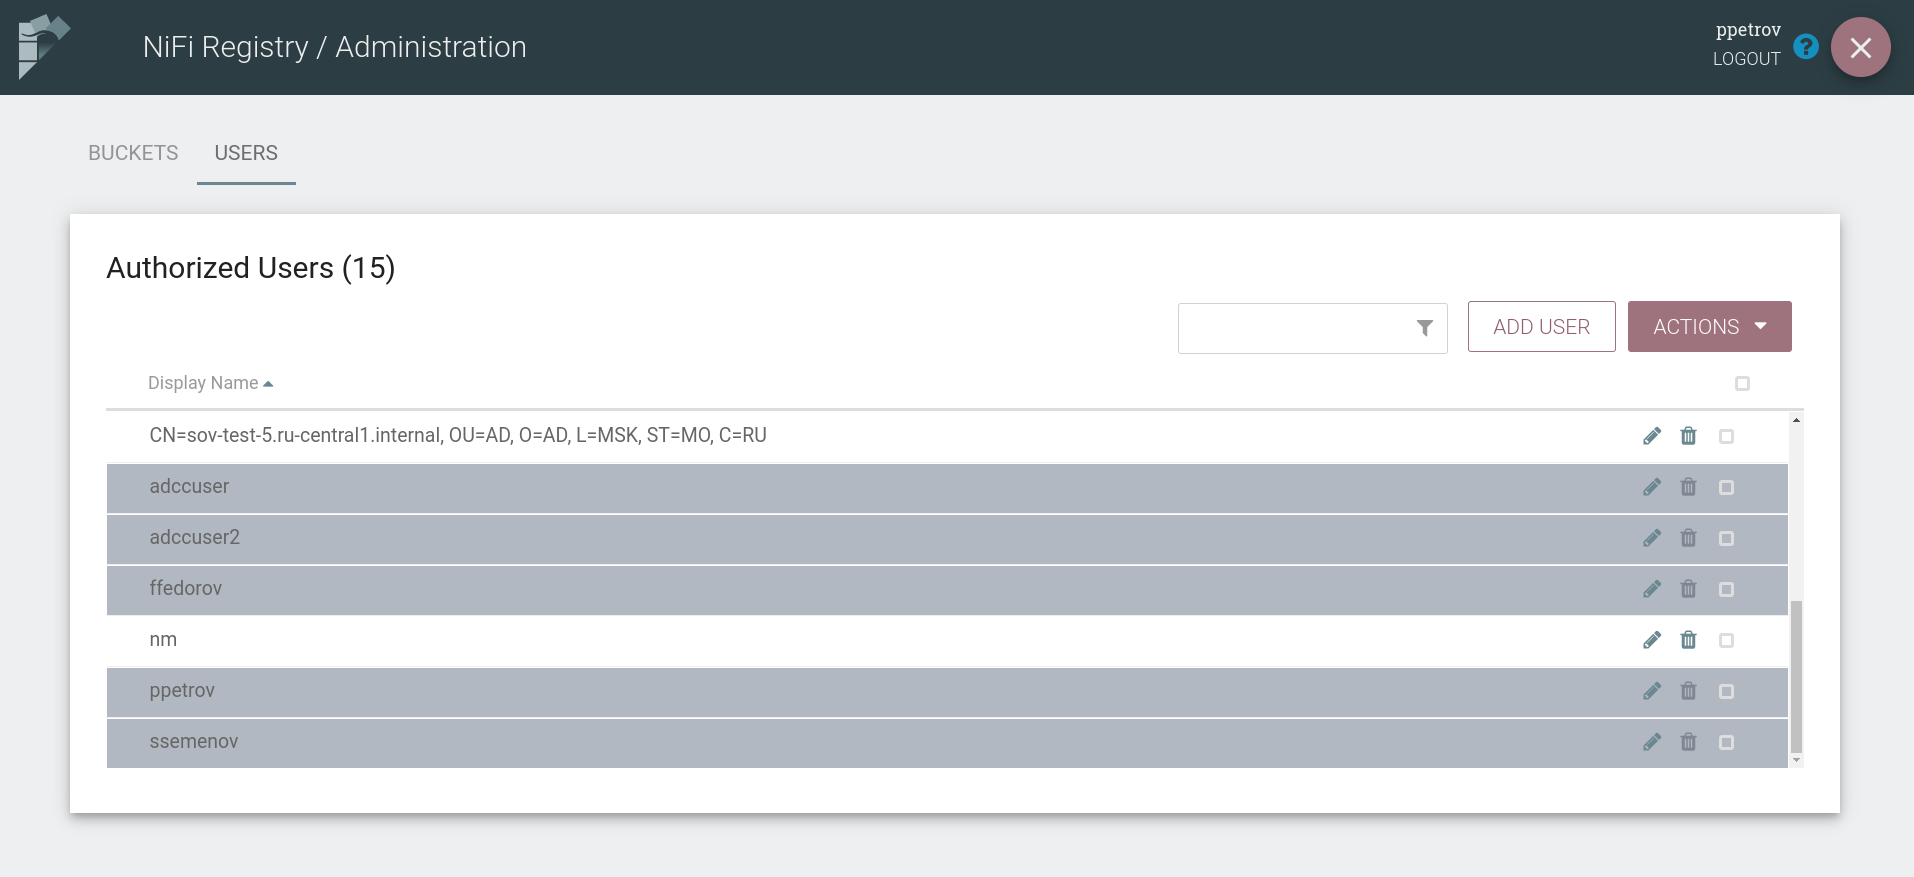 List of users for access policy
 -
Select a user or a group and click on the edit access policy icon
 .
. -
Select the required permissions and click CLOSE
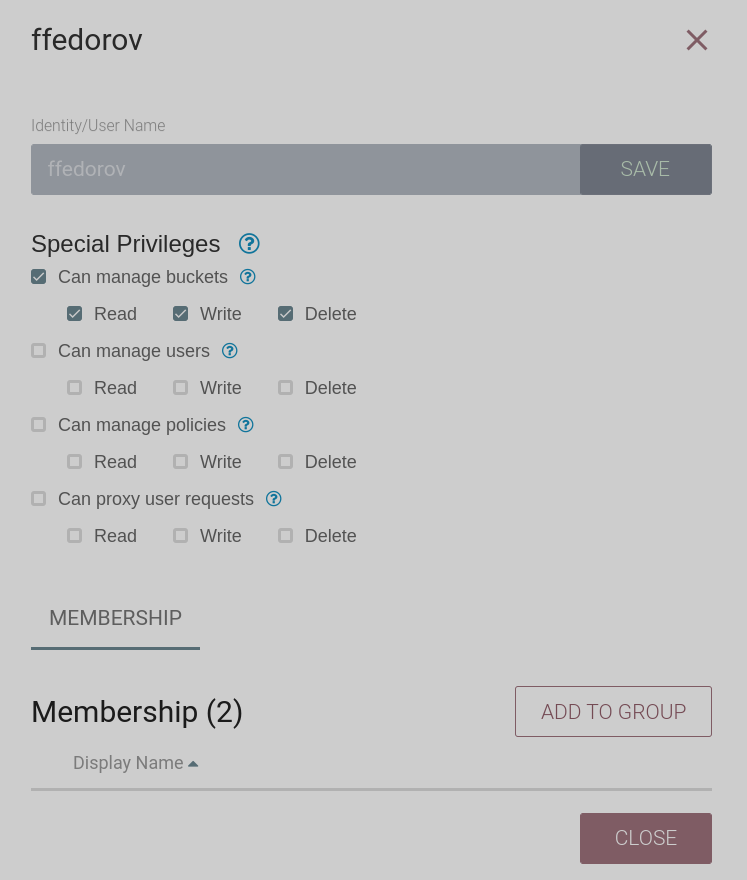 Select required permissions
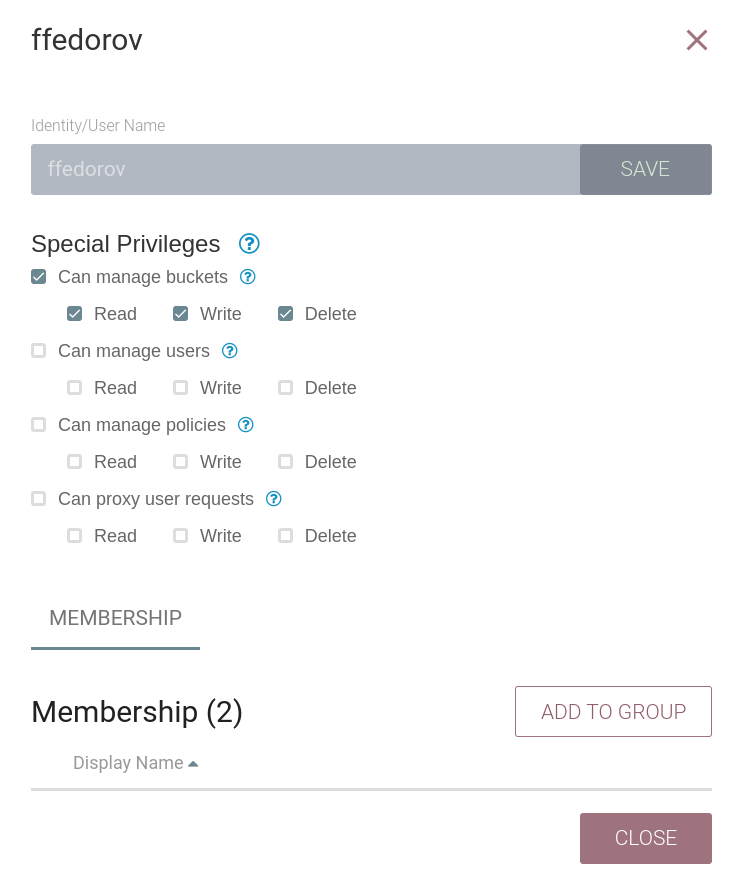 Select required permissions
|
NOTE
For detailed information about access policies in the NiFi Registry interface, refer to the article Access Policies NiFi Registry. |
To check the created policy, log in as the user for whom the policy was assigned.