

Install a cluster
Step 1. Run installation
To install a cluster, you need:
-
Apply the Install action to the cluster selected on the Clusters page by clicking the

 icon in the Actions column.
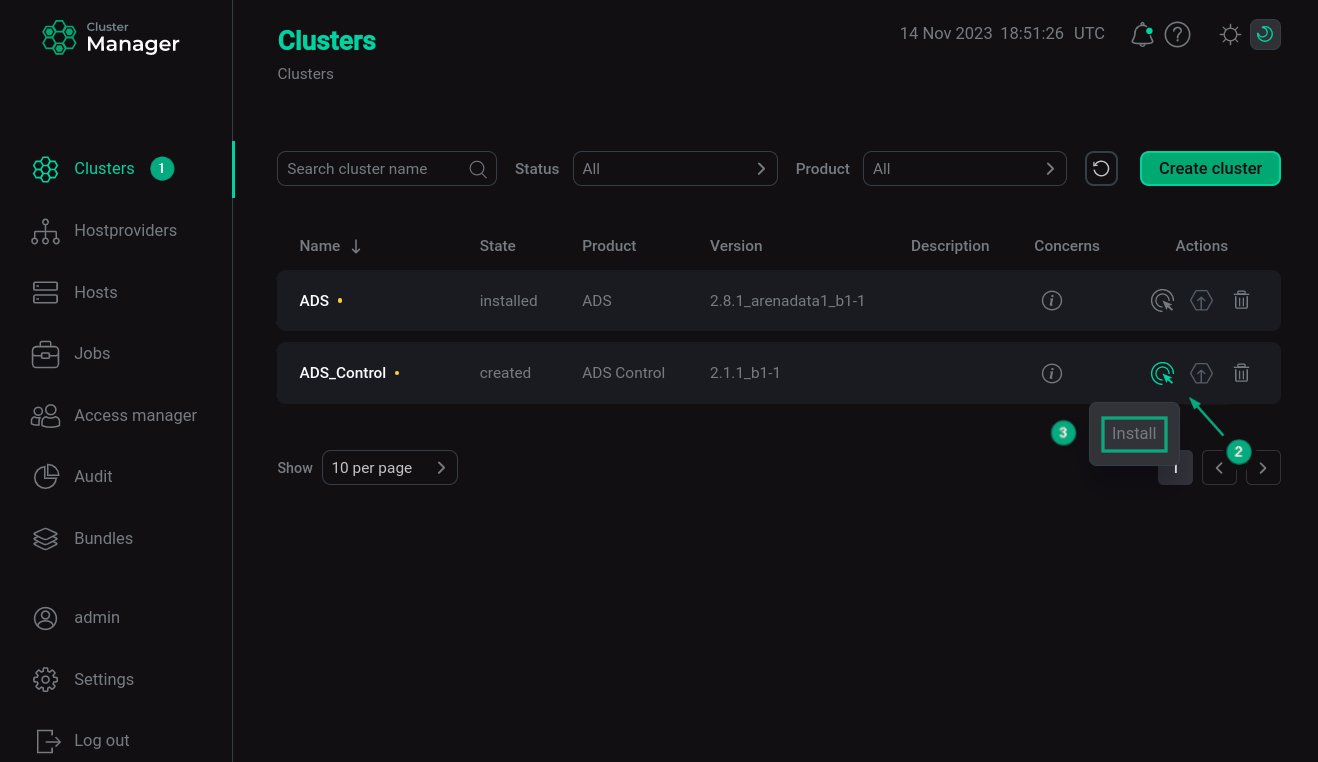 Switch to cluster installation
 -
In the dialog box that opens, select the required options for installation.
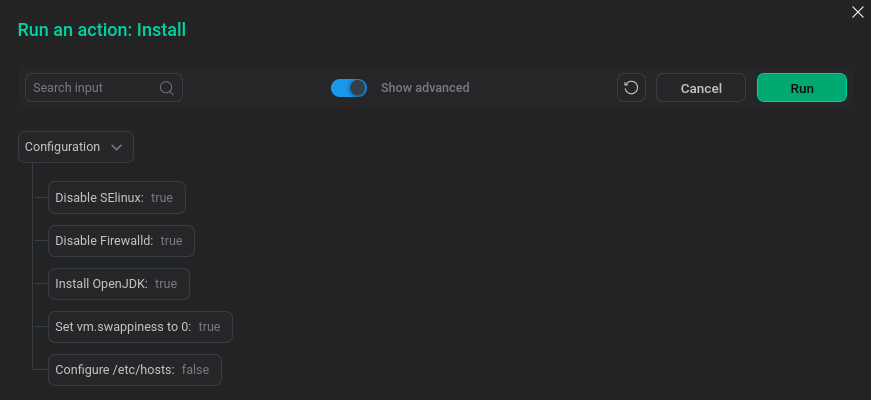 Select parameters for installation
The purpose of the parameters is given below.
Parameter Description Disable SELinux
Disable SELinux on added hosts. In order for this setting to be applied, after the completion of the Install operation, you must restart the hosts manually
Disable Firewalld
Disabling firewalld on hosts
Install OpenJDK
Install package java-1.8.0-openjdk on hosts
Set vm.swappiness to 0
Disabling swapping on hosts
Configure /etc/hosts
Write added nodes to /etc/hosts on cluster hosts. It is recommended to disable this option if DNS is configured
-
Verify the action in the opened window.
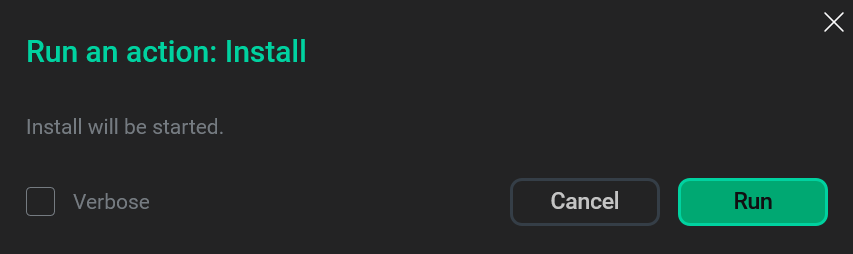 Verify the action
 -
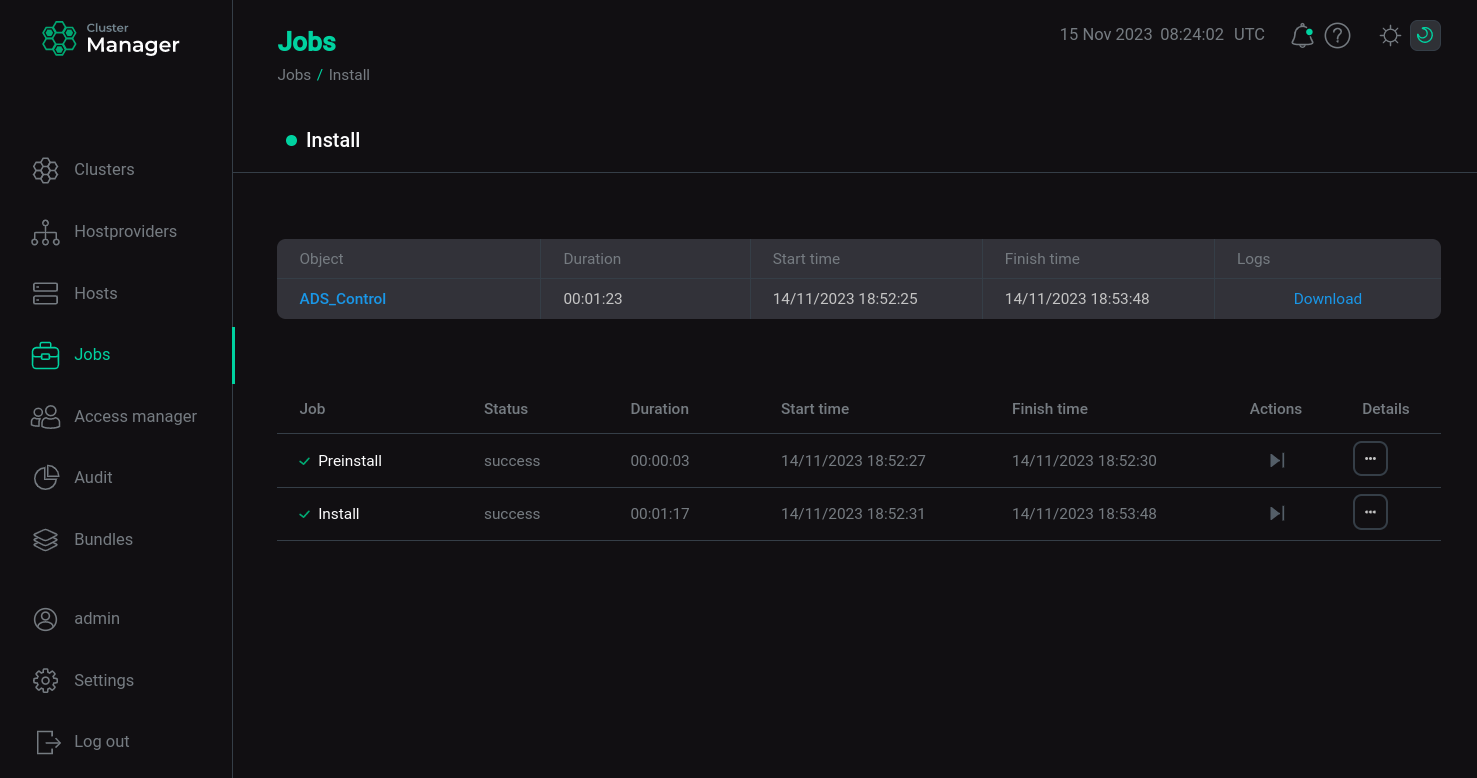
Wait until the job is completed.
|
NOTE
In case of errors, you can find logs on the Jobs page.
|
Step 2. View the results of installation
ADCM starts a single job for installation process, as well as for any other task. You can find out about the status of jobs more specifically on the Jobs page.
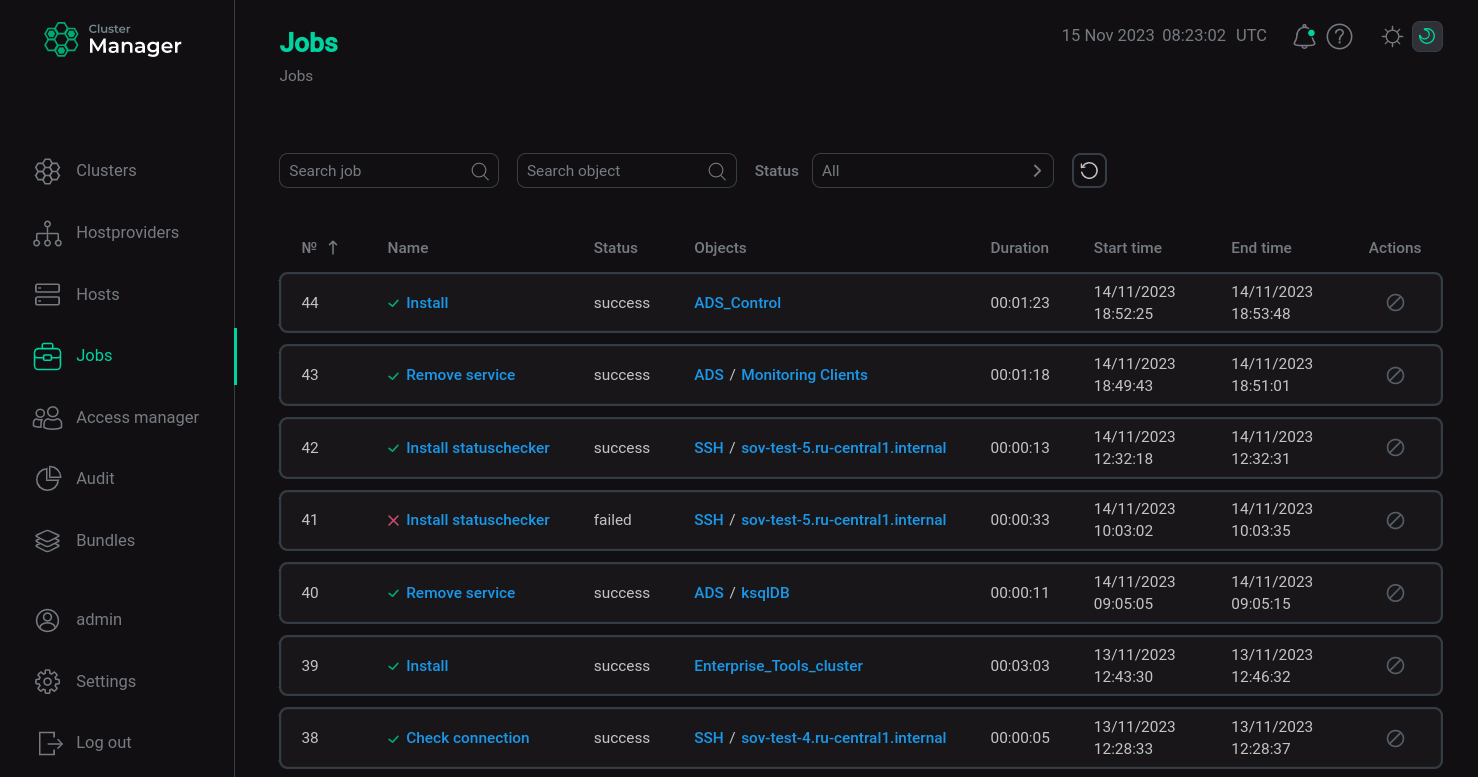
The successful completion of the service installation is determined by the transition of the job from the running status to the success status on the Jobs page. If the job fails, it switches to the failed status. In this case it is possible to see more detailed information about the errors that occurred via clicking the failed job on the Jobs page.
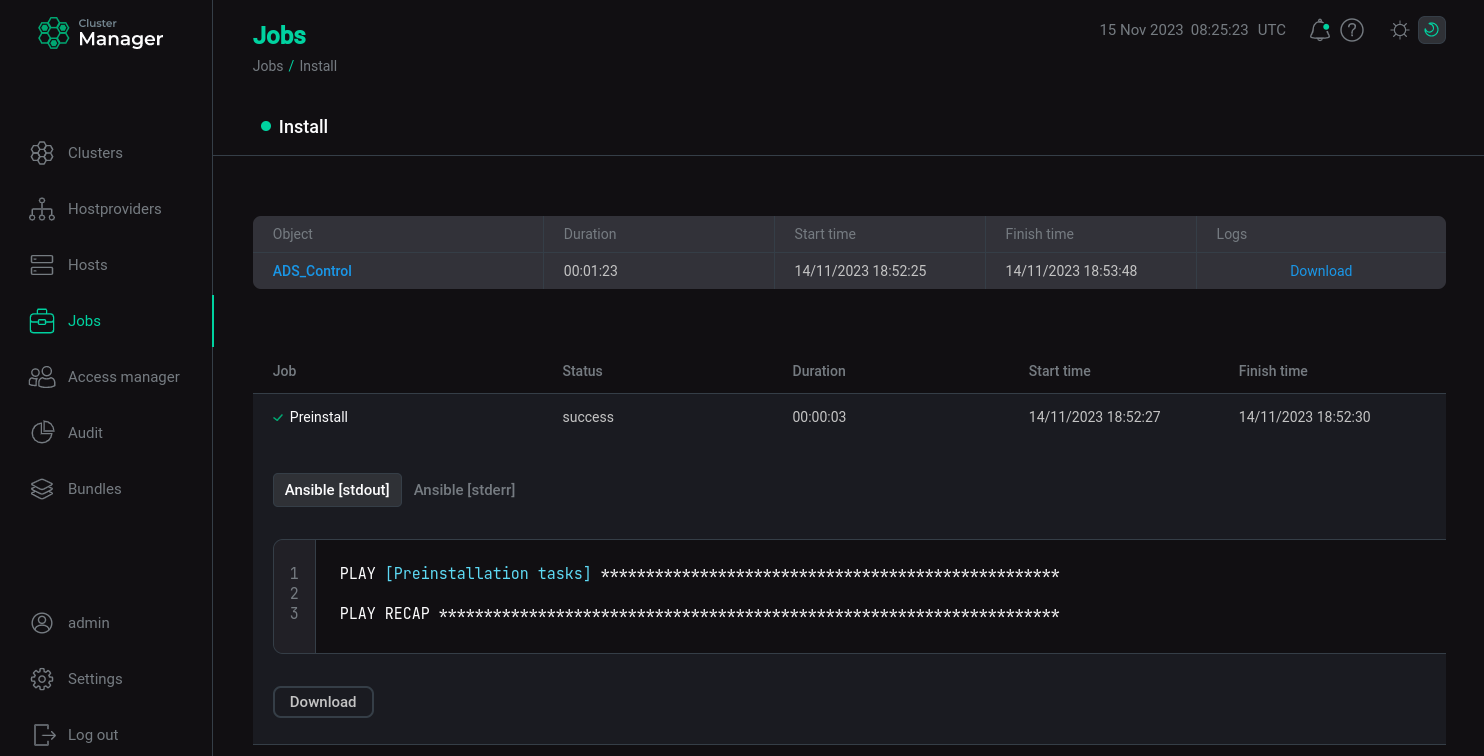
A job page contains two sections: ansible [ stdout] and ansible [ stderr ]. These are technical logs of the job that include information from standard I/O streams stdout/stderr. These logs can help to understand what caused the problems.
There can also be the optional third section ansible [ check ]. These are the logs of the most frequent errors checks. The description of these errors is more simple and specific, than in two previous technical logs.
The contents of all three sections should be studied if errors occur.
Step 3. Check the cluster state after installation
As a result of successful installation, the cluster and its services change their state according to the following rules:
-
The cluster state, displayed in the State field on the Clusters page, is being changed from
createdtoinstalled.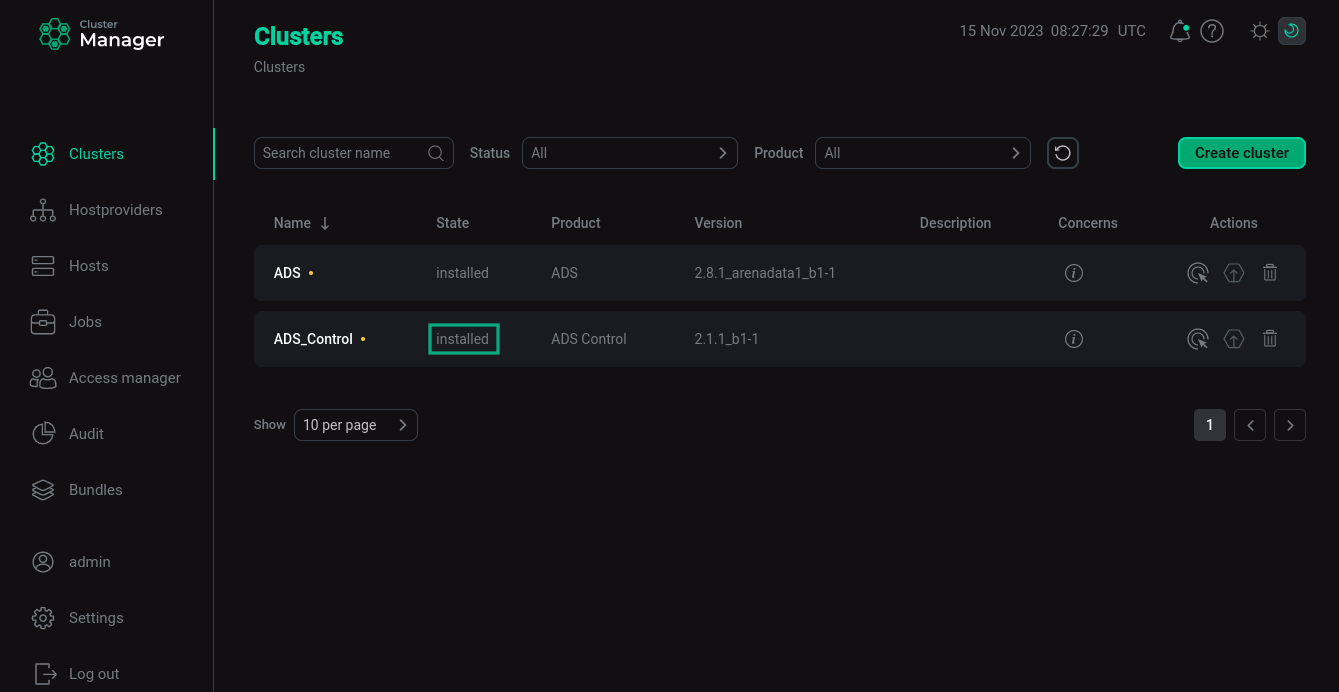 The cluster state after successful installation
 -
The service status displayed on the Services tab in the cluster menu changes from
createdtoinstalled.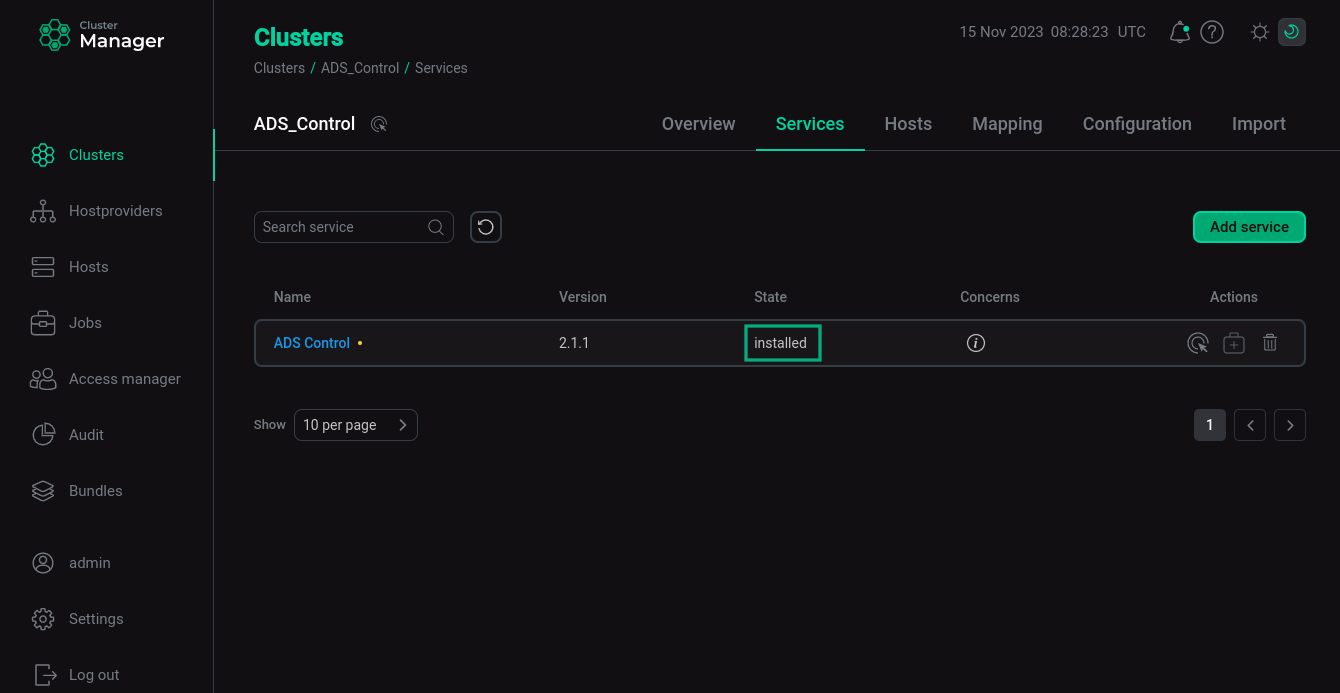 The state of cluster services after successful installation